
Hello Crafters!
Recently, something interesting has been popping up among makers. A few crafters have been experimenting with using the Auto Heat Press 2 to fuse perler beads, and the results have been surprisingly good.
Since this is not the most typical use case for a heat press, some helpful settings and small tips were gathered along the way. If you’re curious about trying it, here are a few things that may help.
Perler Beads with Auto Heat Press 2
![]() Things to keep in mind
Things to keep in mind
• Because beads are small plastic pieces, pressure distribution matters a lot.
• Continuous pressing may slightly reduce the surface temperature of the heating plate, so small breaks between presses can help maintain consistent results.
![]() Recommended setup
Recommended setup
- Temperature & time
150°C for about 25 seconds
(Lower-melting beads may work better at around 145°C.) - Pressure
• With heat press mat: 20 kg
• Without mat: 30 kg
A mat is highly recommended since it helps absorb pressure and improves surface contact.

- If using a bead board
Cover the design with Teflon sheet and place it centered under the heat plate.
Because the heating plate itself uses internal springs to help compensate for surface leveling, placing the project off-center may lead to uneven pressure during pressing. Keeping the design centered helps ensure the pressure is distributed more evenly. - If using masking tape to hold beads
Place a 1–2 mm thin metal sheet on the mat first to help distribute pressure evenly, then cover with a Teflon sheet. And place it centered under the heat plate.

- Push the press tray fully in place
You may feel slight resistance just before it reaches the final position. Apply pressure slowly if you’re worried about the beads shifting. - Check the heating plate if melting becomes uneven
Sometimes small bits of adhesive residue may stick to the plate and affect heat transfer. - For continuous projects
After several presses, the heating plate surface may lose heat faster. If you notice incomplete melting, letting the machine rest about 5–6 minutes can help the temperature stabilize again.
![]() Crafting tools often find new purposes through experimentation like this. It is always interesting to see how different makers adapt them for their own workflows.
Crafting tools often find new purposes through experimentation like this. It is always interesting to see how different makers adapt them for their own workflows.
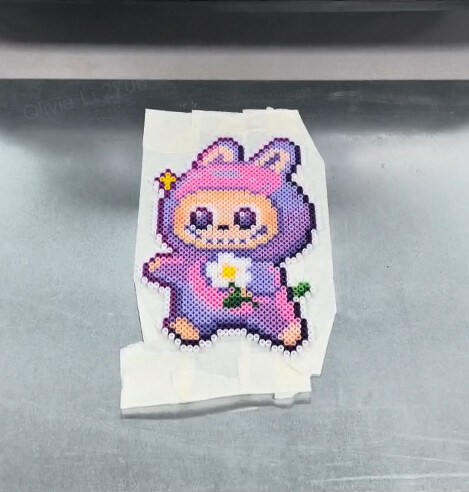
If you’ve tried fusing perler beads with Auto Heat Press 2, feel free to share your experience or results. Photos, tips, or even small adjustments to the settings are always helpful for others who might want to try it too.
![]() Missed earlier Crafter Notes?
Missed earlier Crafter Notes?
• Not Sure How to Press Your HTV? Start Here
• The Little Things We Do for Better Mug Pressing
• Heat Press Settings for Popular Materials