I recently purchased some metal sublimation bookmark blanks. There was a recommended time and temp on the packaging however the results were LESS than stellar. When you have issues like this and need to make adjustments do you increase the time or the temperature first and by what increment? 5 degrees, 10 degrees?
It really depends on the results you got from your first test. Was the print faded? Was there still ink on the sublimation paper? Did it not transfer at all? Colors are not correct?
I always get the best transfer results when the sublimation paper is on top the of the blank facing down on the blank. With butchers’ paper on top with the heat press then being applied to the sublimation paper.
So, if your test piece came out dull I would increase your time first. To test this, I always use heat resistant tape and tape it into place in your case on the book mark. I increase time by 30 seconds and then peel the sublimation back a bit to see how the press went. If it’s still dull place the sublimation paper back down should line up as you have taped it down and press again for another 30 seconds. If you get to over 3 minutes more in pressing time. I would increase my temp by 10 to 15 degrees Celsius. Then go back to original time and start increasing it again from there. If the temp is getting really high, I would increase your pressure. Lots of people forget sublimation gets the best results with high pressure.
To sublimate on metal, I have used previously:
210 degrees Celsius / 400 Fahrenheit
80 seconds
med to high pressure
If your print was half there and half not, this means you did not have even pressure. Try using a firm heat mat to press on.
That’s the testing process I go through, sometimes it can be very trying and frustrating trying a new material. But try to minimize wastage by using the tape and keep pressing the same sublimation paper until you can’t anymore. Then I use the backside of whatever I’m pressing to continue to test more.
Also, another tip, if your blacks are brown turn the heat down, if your blacks are green turn the heat up.
Hope this helps a bit. If you can let us know or even take pictures of your result would help a lot too
8 Likes
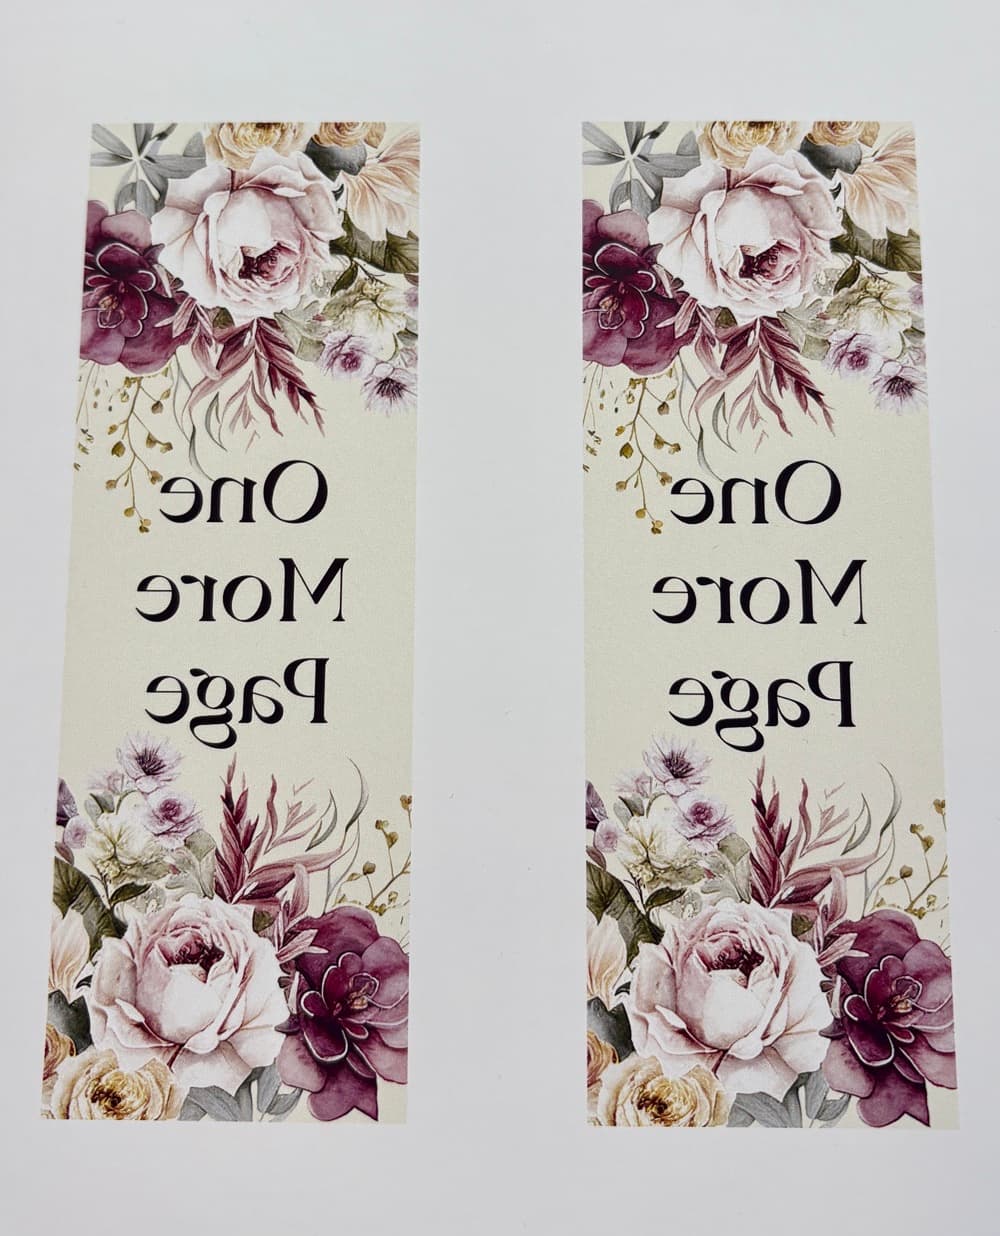
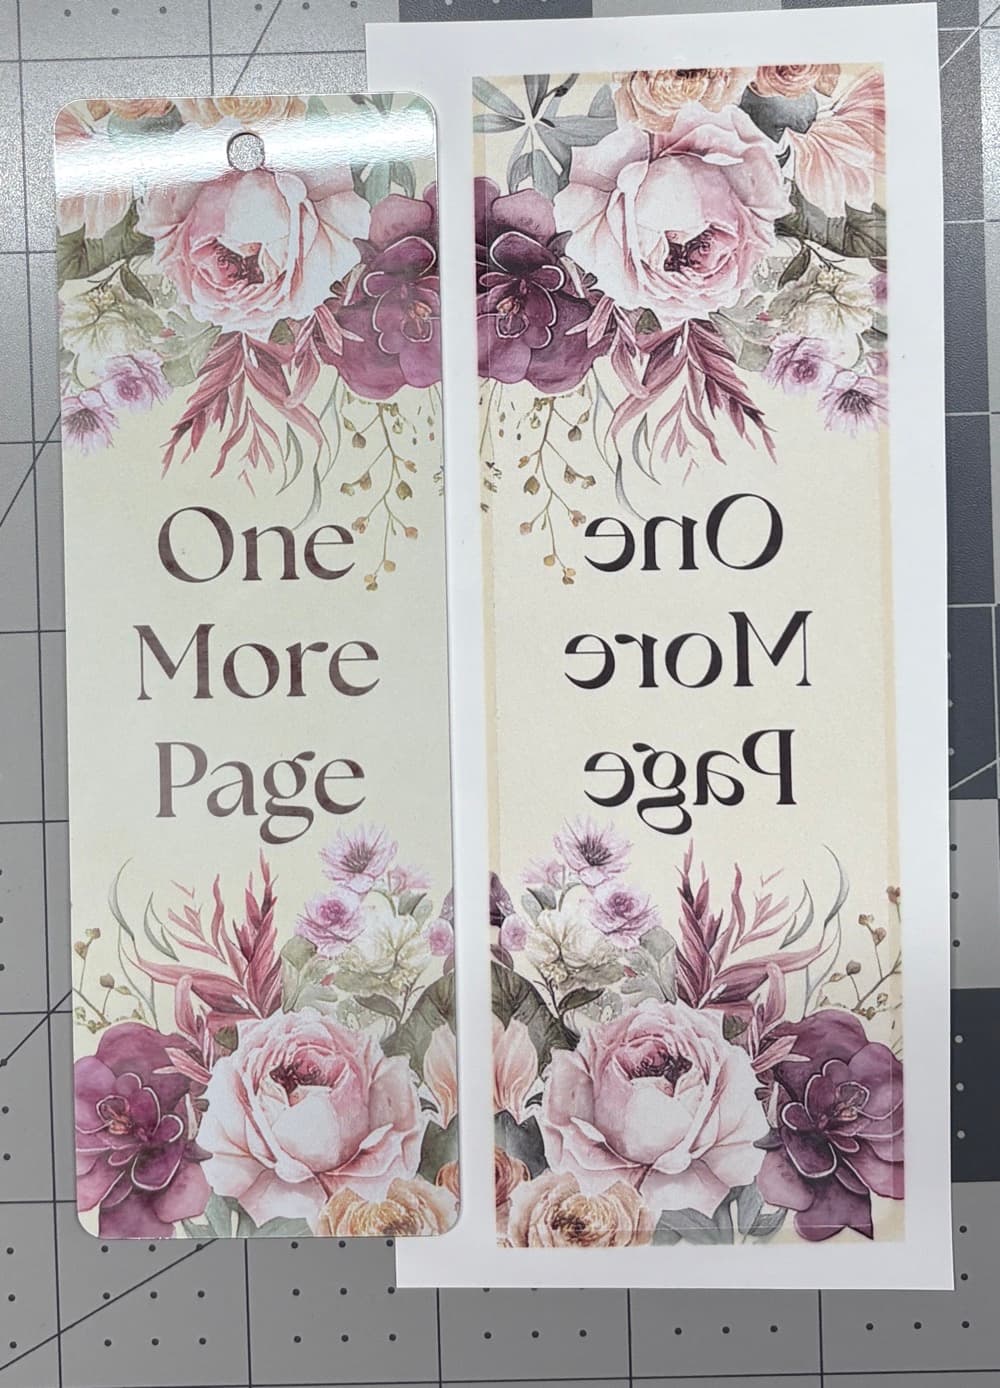
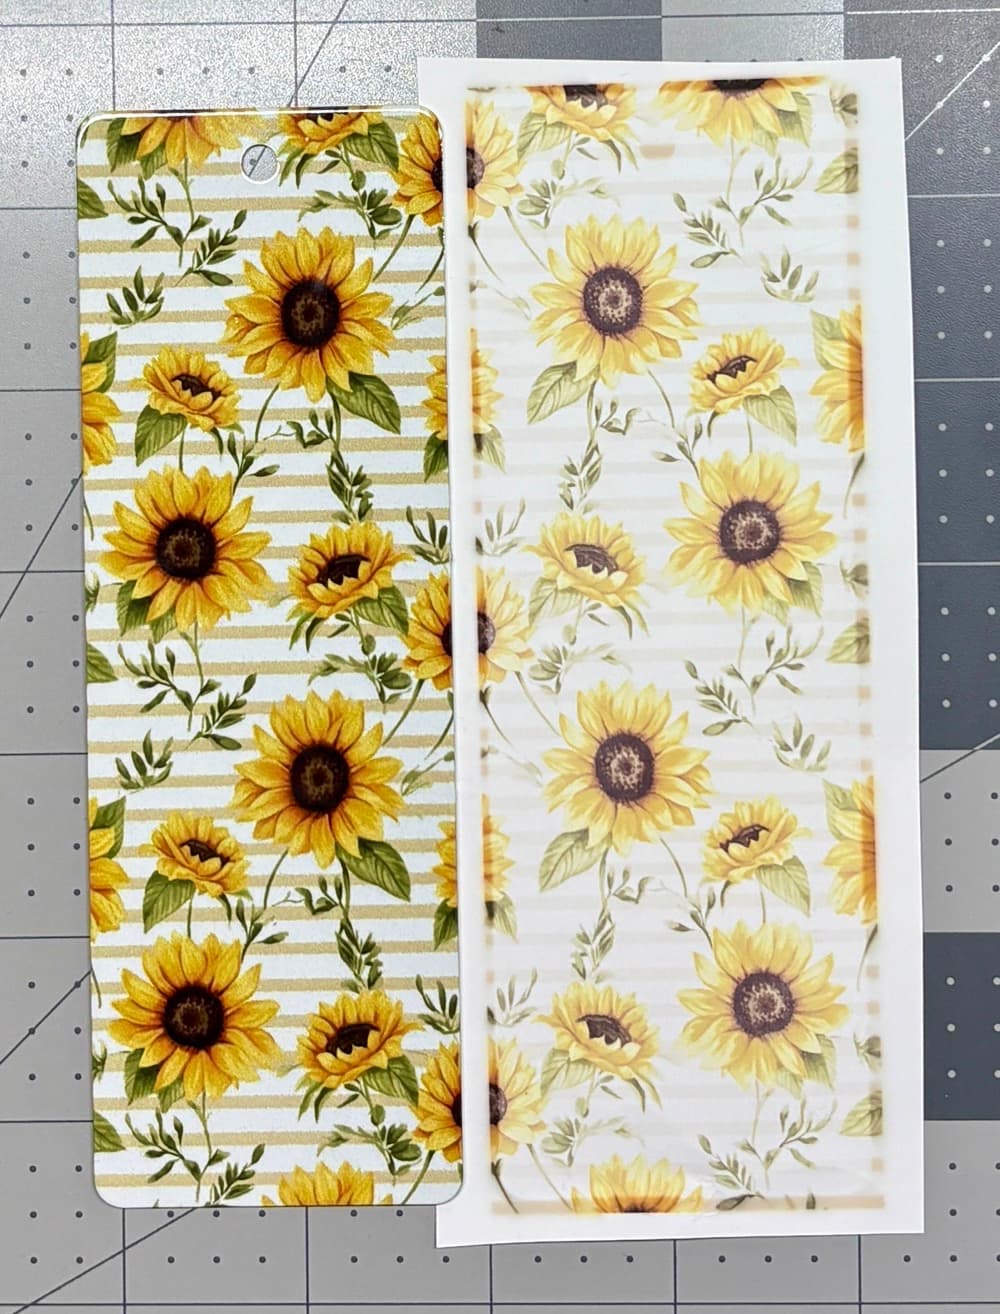
Thank you so much for this information! The temp and time that were suggested on the blank was 356 degrees Fahrenheit for 50 seconds. The image did transfer but there was still a ton of ink left on the sublimation paper. I ended up testing on 2 bookmarks front and back and was kind of happy with the 4th test of 370 degrees for 60 seconds with extra pressure. The last bookmark I upped the temp to 375 degrees for 60 seconds with extra pressure and it came out great. I am including images of the original print before heating as well as the first test and the last test.
When it comes to the blacks, I had an interesting situation with that as well. I was making tumblers for my cousin that were 90% black (with her lime green logo as the only color) and around the top and bottom edges it was turning brown. In this case after looking at the sublimation paper after the tumbler was done, there was still a lot of black ink left that had not been transferred to the tumbler. I had to move the tumbler to each end of the press and add an additional 40 seconds after turning them to get all the color transferred.
6 Likes
Open it with one smooth movement and wait ~10-15 seconds before removing the cover paper from top or whatever. A good hard pad on the bottom will also come in handy.
190°C
90s
The manufacturer (I wont say who it is because you ll laugh at me :c) of my poor heating press is relatively flexible when it comes to recognizing values such as vertical and horizontal. I have stable heating on 1/3 of the surface, so I only heat small elements in a specific place.
4 Likes
Since I started sublimating I have always worried about things shifting around when the top plate comes up, so I always keep my butcher paper wide enough to hold the sides when the run is finished. It isn’t great for multi tasking because I’m always watching the timer, but then again I always use the “auto” feature on the HYVRont Auto heat press.
1 Like
Whatever temperature they recommend I will always go with at least 20 to 30° lower and then increase the amount of seconds by like eight. That always gives me the best settings. You never wanna burn it by it being too hot and every heat press heats differently so I’m always gonna go with lower temperature and more time.
1 Like
It’s just all so confusing. I’m glad I have 6 bookmarks to mess around with to find the perfect settings.
Having said that, I wanted to make sure my heat press was getting up to temperature. This morning I grabbed my husbands thermal thermometer and as the press was heating up, the temps matched. However, when it got up to 375 degrees, the thermometer was only reading around 369 degrees. And I took the temp in multiple locations on the heat plate. ]
So there’s that… ![]()
I think every blank has their instruction for the temp
1 Like
I’ve found that the majority of them do, and that’s where I started with these bookmarks, but the results were not good at all. Now that may be because my press doesn’t seem to be hitting to proper temps, but I don’t know for sure. I’ll just have to make sure to have enough extra blanks to practice on when I’m trying something new.
But did you remove the transparent protective film? ![]()
1 Like
I did indeed! One side came off without a hitch, the other side tool a good 5 minutes. ![]()
1 Like
However, I usually heat it up and don’t take it out halfway through. I’ll remember about it, quickly take out the next one, the machine will finish heating up - beep beep beep! I’ll run to open it, then go back for another metal sheet, quickly, quickly, its no time to explain! and 90 seconds later… (╯°□°)╯︵ ┻━┻
1 Like