
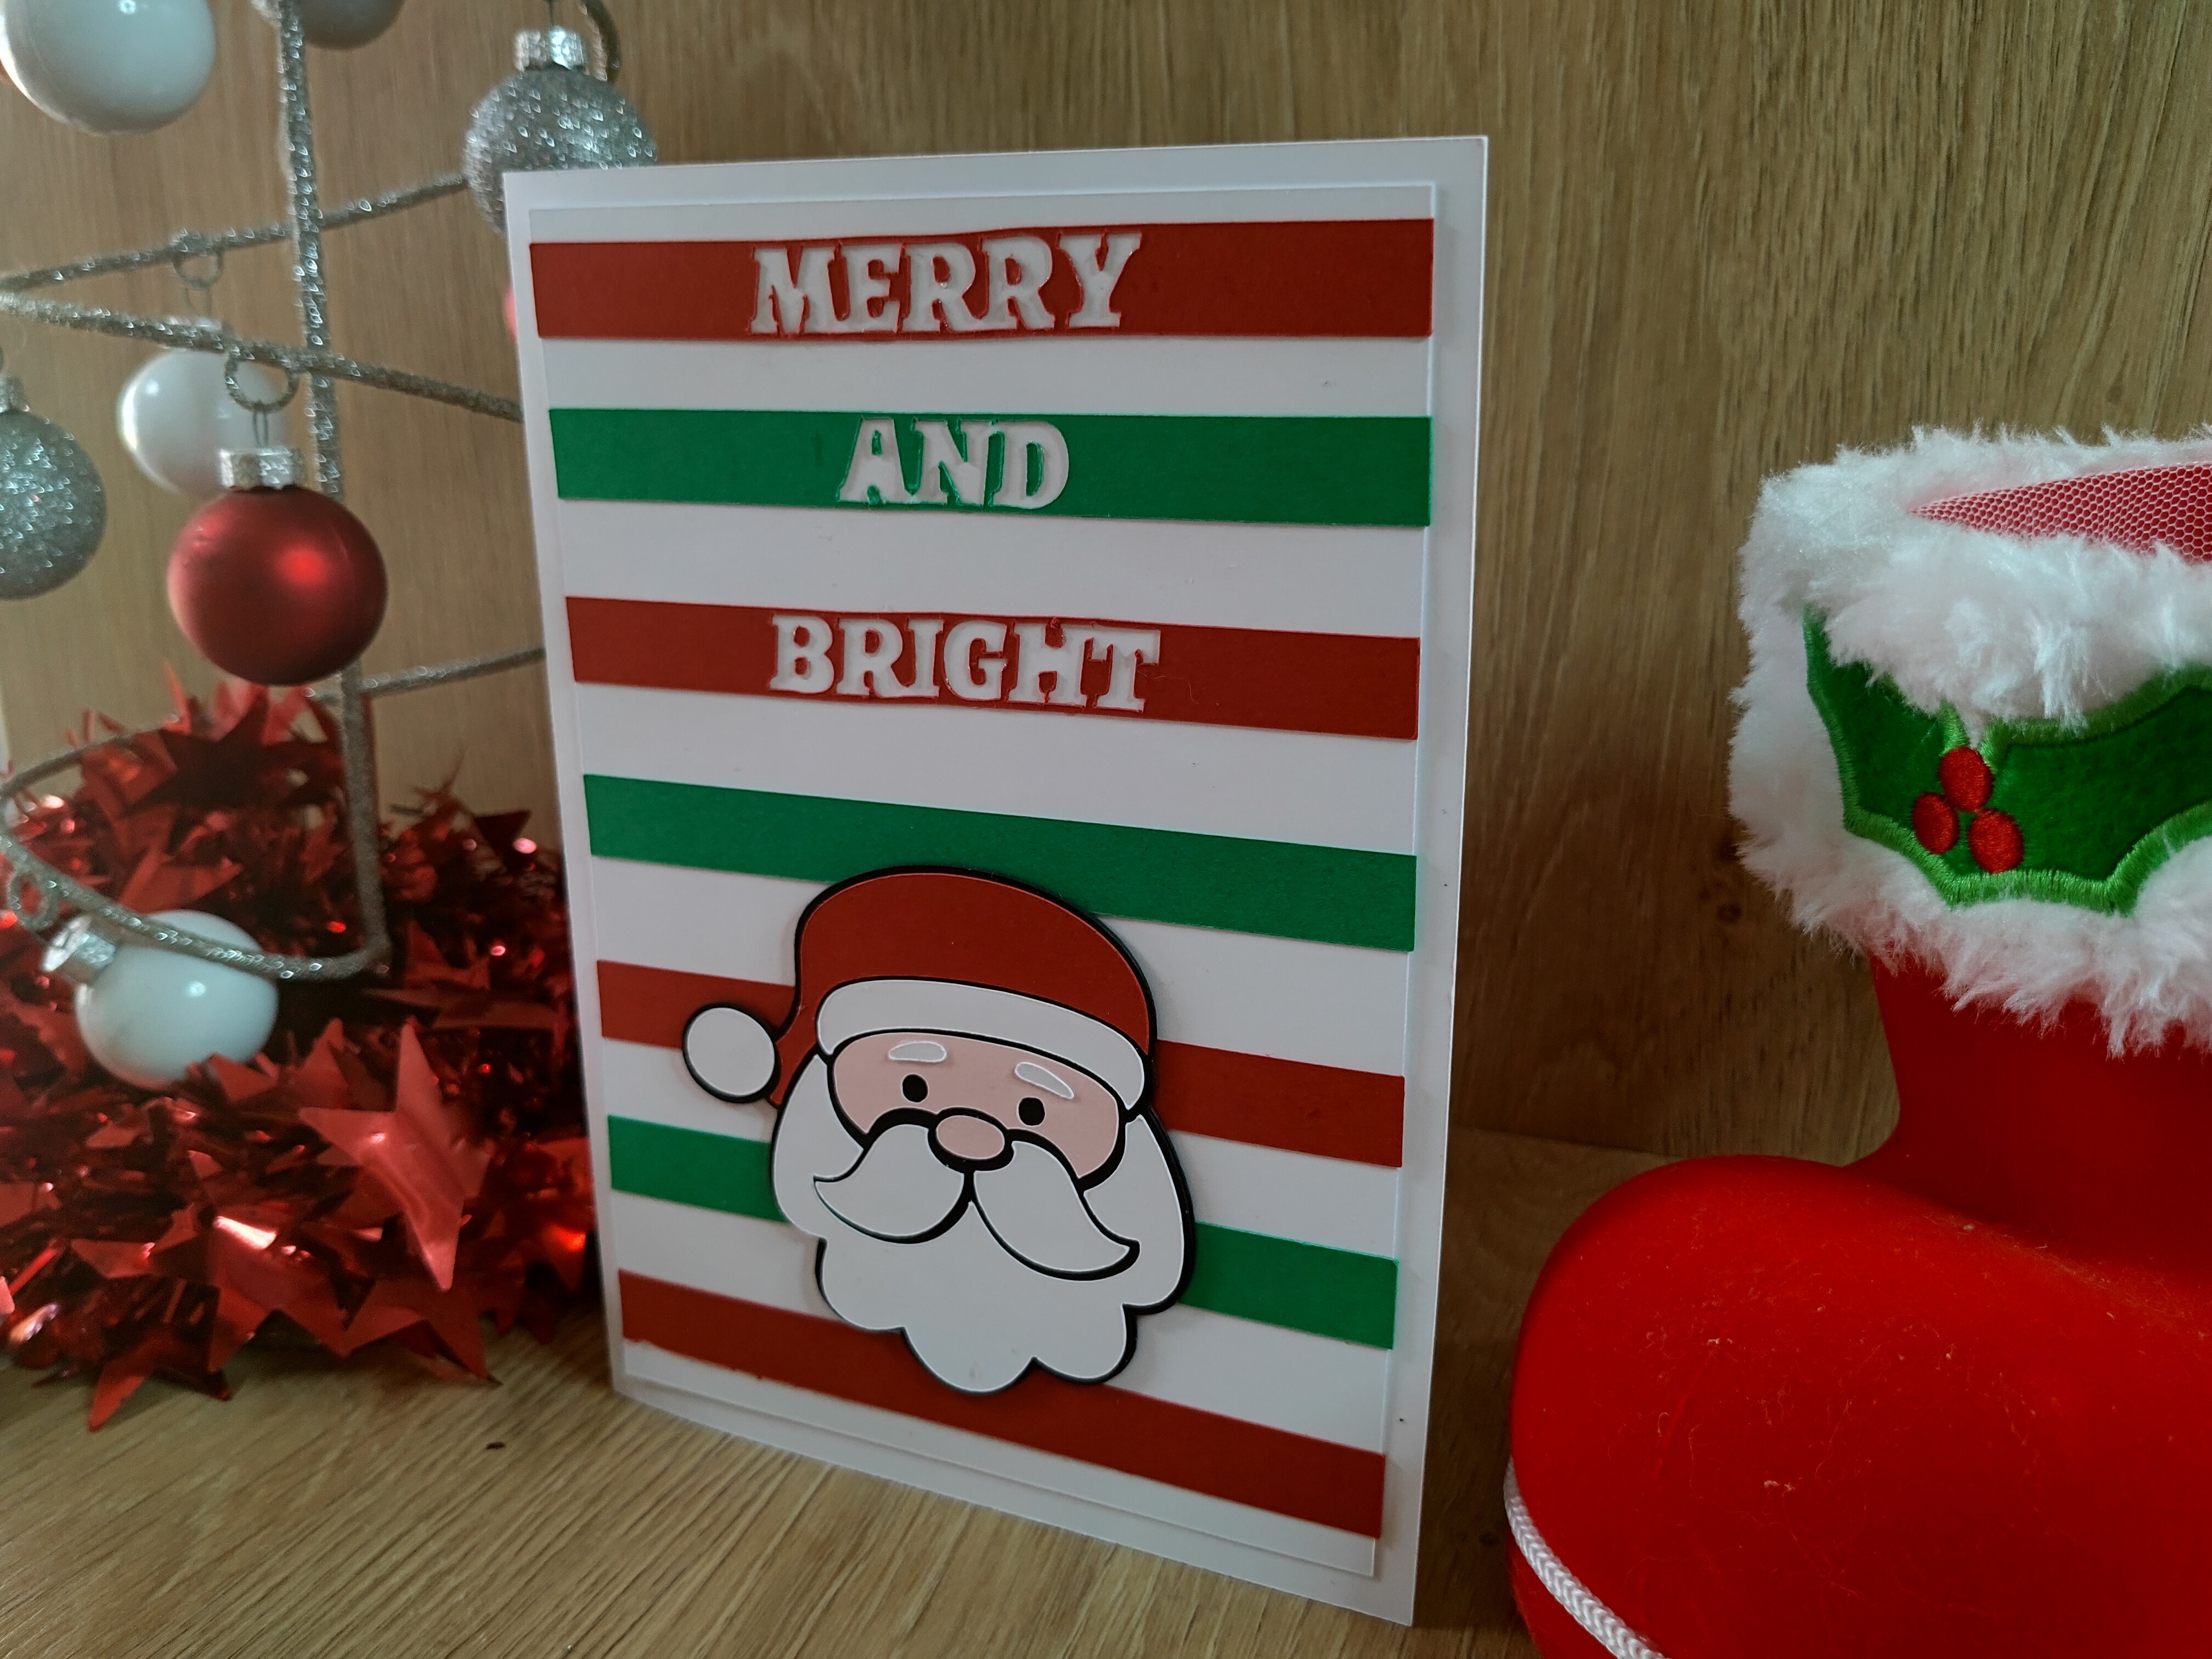
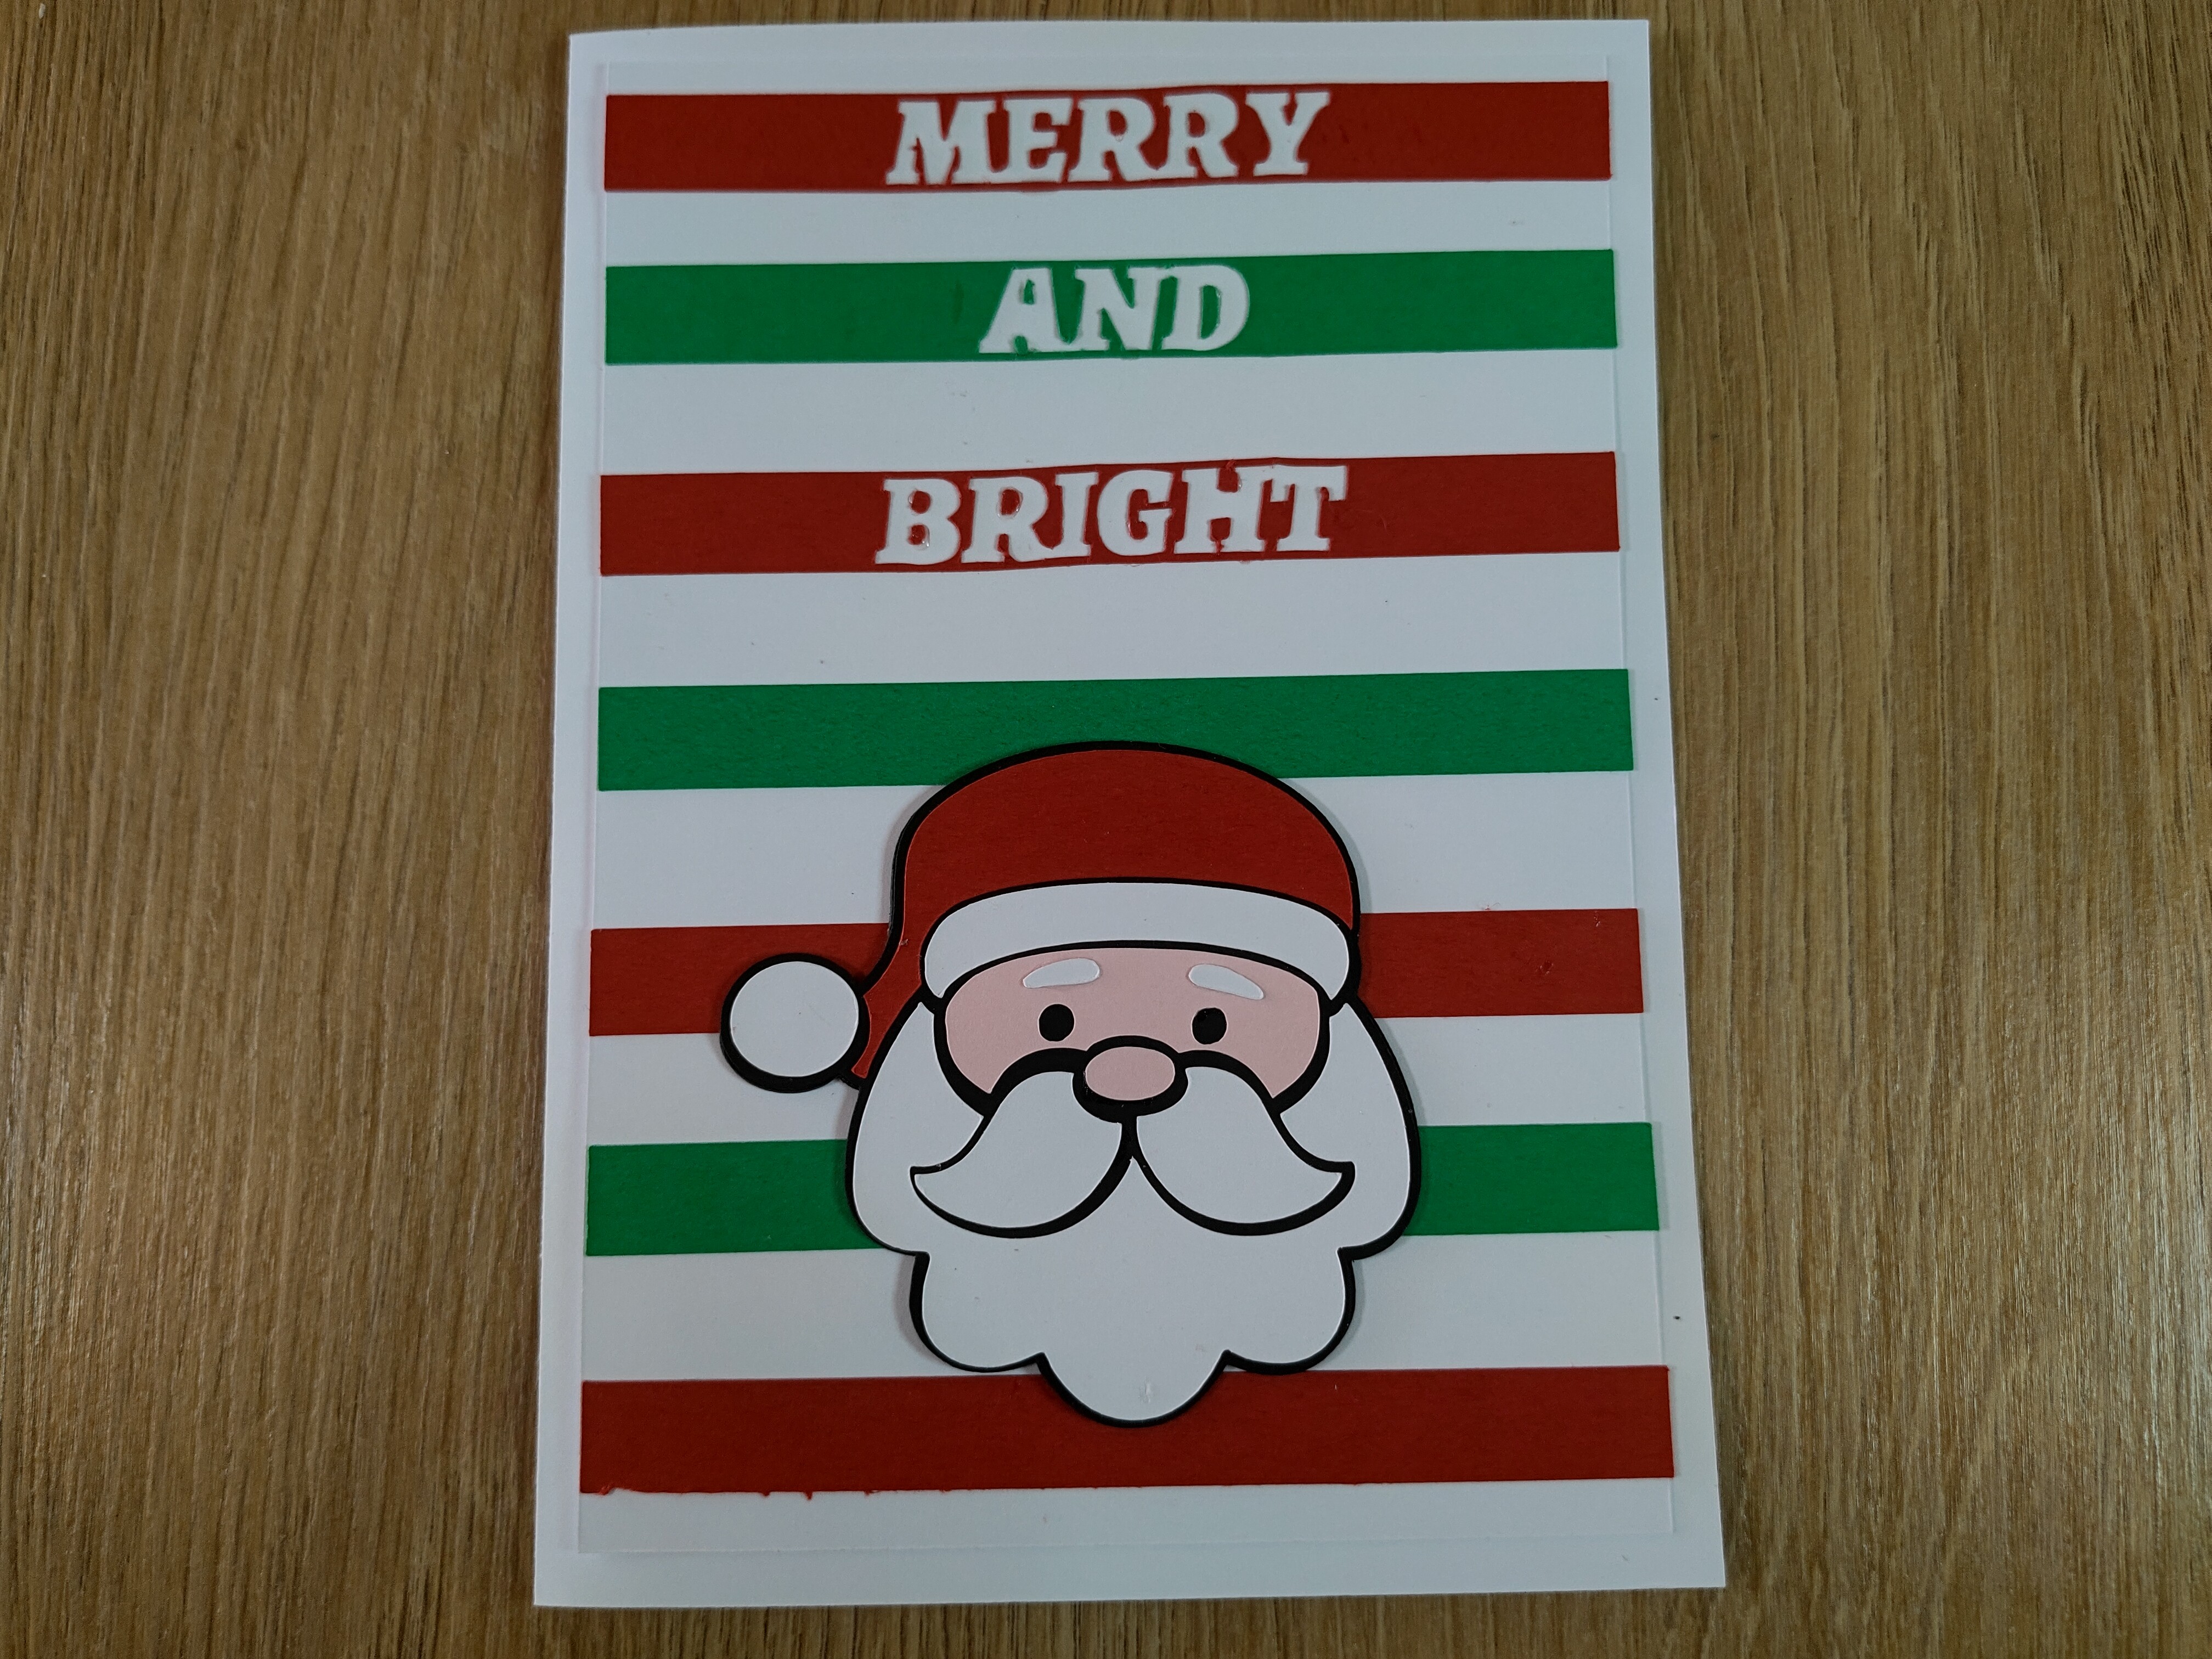
In this tutorial I will explain how to create this very Merry Christmas Card using LOKLiK iCraft. I walk you step by step through the process of designing the card in LOKLiK Idea Studio. If you don’t want to recreate it yourself you can go here and make it right a way.
Materials Needed
- Cardstock 210gsm – Red, Green, White, Black and Pink
- Glue
- Roller
- Scraper
- Tweezers
- Scoring Stylus
- Cutting Mat
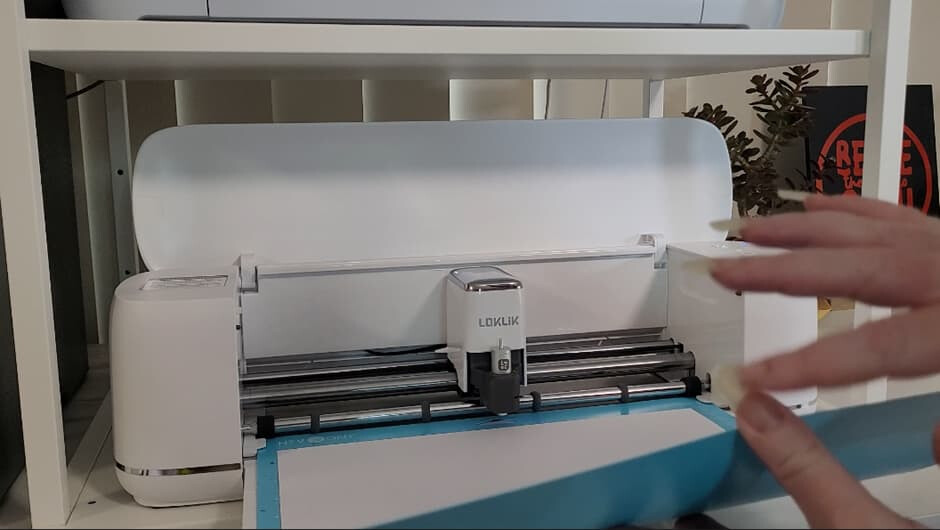
- LOKLiK iCraft (2nd Gen) or LOKLiK Crafter (1st Gen)
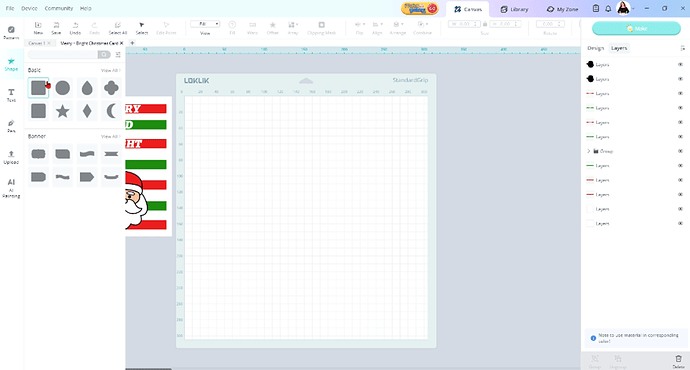
Step 1.
Open LOKLiK Idea Studio. Select the shape icon. Click on the first rectangle to add it to your canvas.
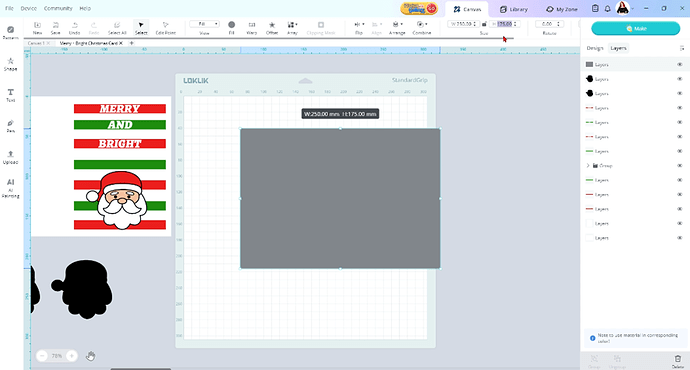
Step 2.
Select your shape and then unlock the aspect ratio padlock under size. Resize your rectangle to 250mm x 175mm. This is our card base.
Step 3.
Select the pattern icon. Click on the line tool.

Step 4.
Click on your canvas and drag your mouse down to create your score line.
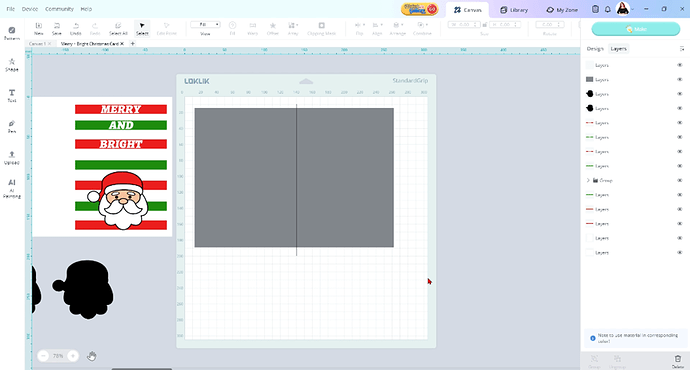
Step 5.
Select both the score line and rectangle layers. Then select align and centre horizontal align. This makes our score line directly in the centre of our card base to create our fold.

Step 6.
Now let’s create our card face panel. Select shape and the 1st rectangle again.

Step 7.
Now resize this rectangle to 115mm by 165mm. Make sure the padlock is off.

Step 8.
Now let’s change the colour of our front panel. Click the fill option and select white.

Step 9
Now we shall create our strips. Select the shape tool, then select the first rectangle.

Step 10
Let’s change the colour of our rectangle to red. Select the fill option and select red.

Step 11
Now under size, unlock the padlock. Resize the rectangle to 115.09mm by 11.64mm.

Step 12
Now duplicate so you have 7 bars. Select the red rectangle and press ctrl + C and then ctrl + V or if you are using a mac cmd + c and then cmd +v.
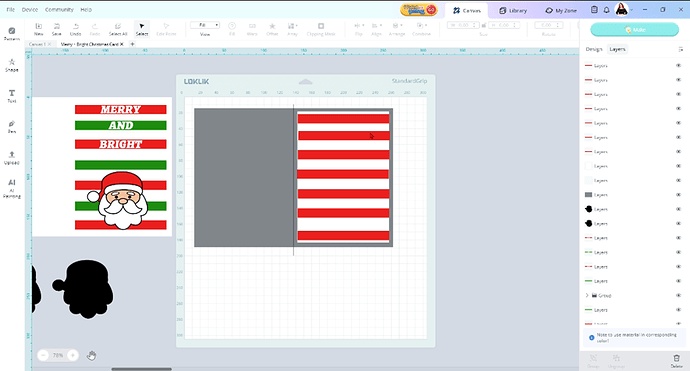
Step 13
Now change the colour of every second rectangle to green. Select your rectangle layer, select fill then select green.

Step 14
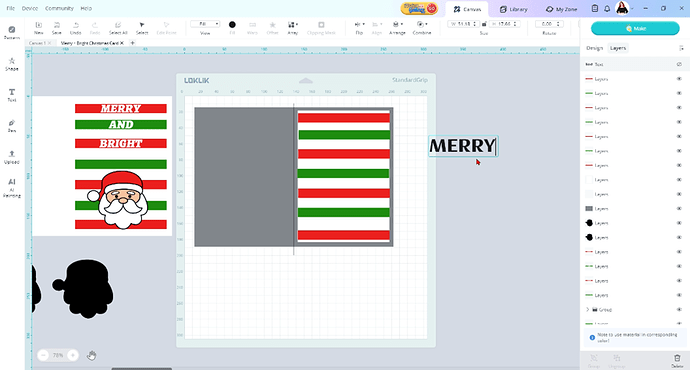
Let’s add our words to our coloured rectangles. Select the Text tool.

Step 15
Double click on the text box. Then type in MERRY, using all caps.
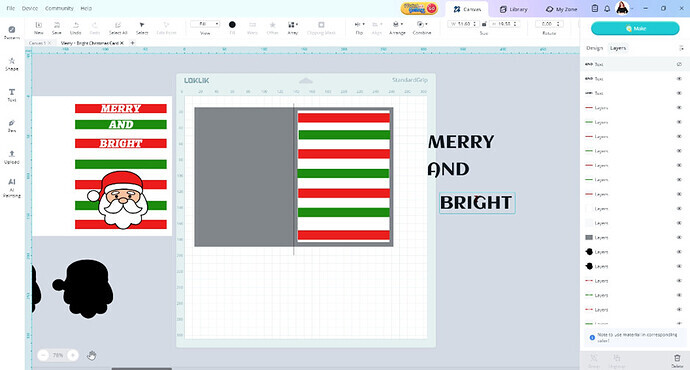
Step 16
Duplicate your text layer 2 more times using ctrl + C (cmd +C) and then ctrl + V (cmd + V. Double click the text boxes and change the words to AND and BRIGHT.
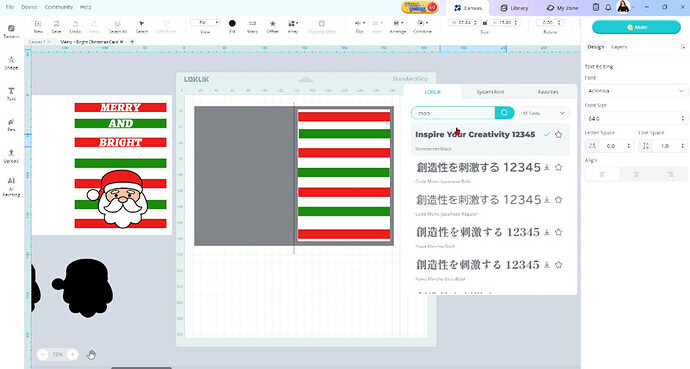
Step 17
Select one of the text boxes and then select the design tab next to layers. Select font then type in the search box mon. Then select that font. Do the same process for the other text boxes.
Step 18
Now select the text box and move it to on top of the strips. Using the corner dots resize your word to fit within the rectangle box. Make sure the padlock is off as you want your words to be taller than normal.

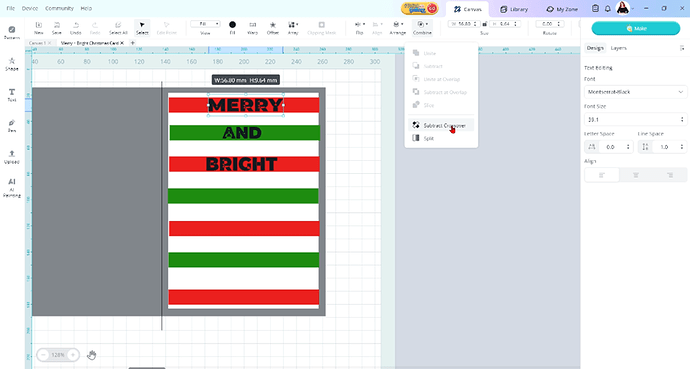
Step 19
Now we need to make sure that our word cuts out around the outside. Select the word and then select combine. Then select Subtract Crossover. This combines our letter strokes together so the machine will only cut around the letter outline. You normally need to do this if you can see lot’s of slices through your letters, especially in cursive fonts. Follow these steps for the remaining words.
Step 20
Now let’s make sure our words are centered on our rectangles. Select the rectangle layer and holding down ctrl (cmd) select the corresponding word. Now select align and click on Center Horizontally. Now select align again and click on Center Vertically. Do these steps for the remaining words.

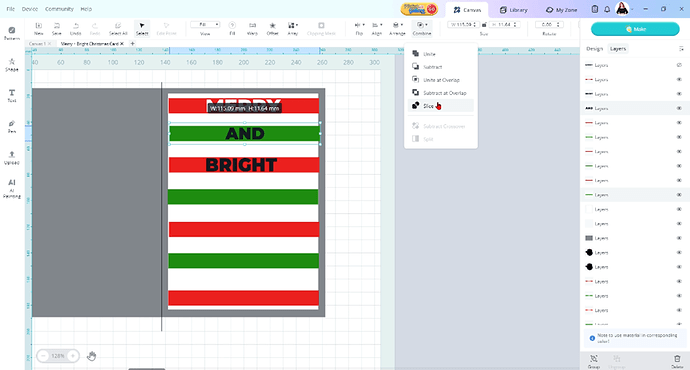
Step 21
Now select the rectangle layer and hold down ctrl (cmd) and select the word layer. Now select combine and then click slice. This cuts our word out of the rectangle. Repeat these steps for the other 2 words
Step 22
Now let’s grab Santa. Click on the library tab. Then type Santa in the search bar. Click on the Santa and click add to canvas. Then go back to our canvas.

Step 23
Resize Santa making sure the padlock is on so he keeps his figure.

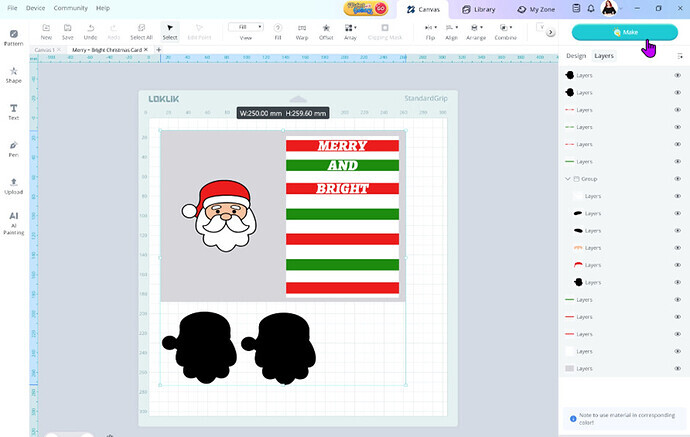
Step 24
Click on the Group layer for Santa. Then click on the black outline layer. Duplicate this layer twice. This will make Santa pop out of the card. Now our card is ready to cut out

Step 25
Now select all the layers and press make
Step 26
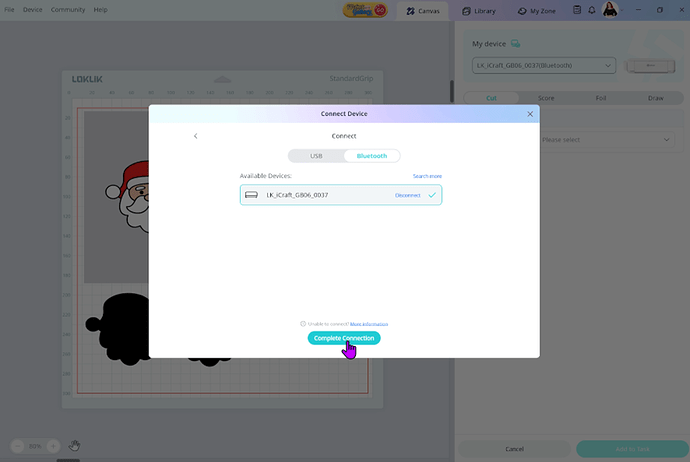
Connect your device
Step 27
Select the score operation, then select the blue group. I did change my score line to the colour blue. Then select Type and cardstock, then add to task

Step 28
Now select the cut operation – standard cut – all groups apart from the blue scoring line group. Then select your material cut settings for your paper. Then select make

Step 29
Now you should have all your cut task ready to go in your task list.

Step 30
Lets load our mat with our cardstock. We are going to do the card base first. So we need our White cardstock

Step 31
Now let’s load our mat. Making sure our mat is in the guides of the machine. Hold the bottom of the mat with your thumb giving it a little pressure. Then press the load button on your machine. This is the button with a down and up arrow.
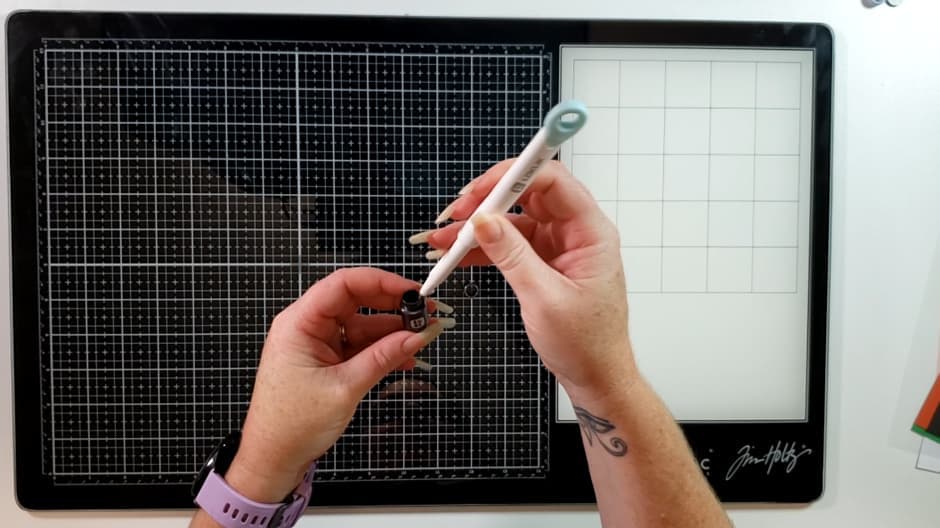
Step 32
Insert the scoring stylus into the pen adaptor. Remove the blade from the machine and insert the scoring stylus.

Step 33
Back on Idea Studio select our scoring task and press start. Let the machine do it’s thing, when it’s finished don’t unload the mat.


Step 34
Take the scoring stylus out of the machine and place the blade back in

Select the card base layer (grey layer) and press start

Let your machine do it’s thing

Step 35
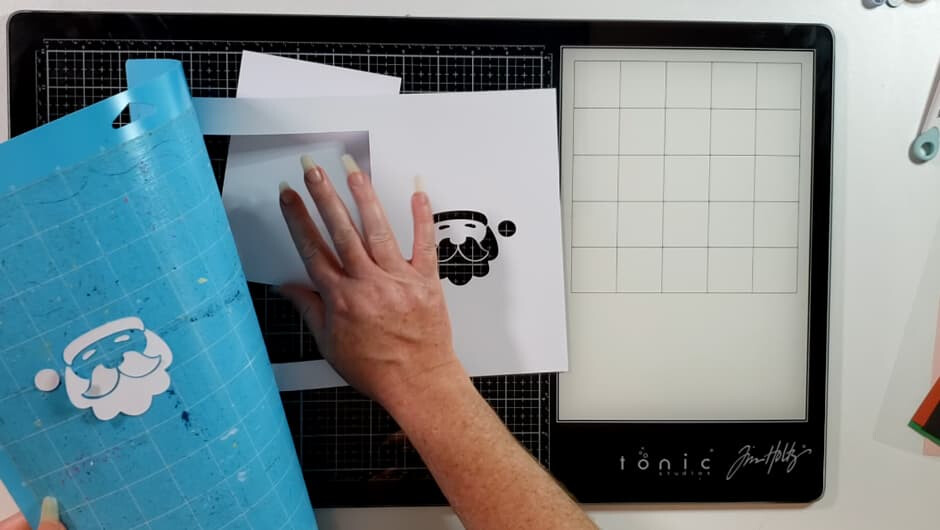
When the machine is done, unload your mat. Then flip your mat over so it’s face down and peel the mat away from your cardstock.

Step 36
Repeat the cutting process with the rest of the tasks.
Load correct colour paper on your mat

Select the task and let the machine cut

Unload your mat and carefully take your cardstock off your mat. Then load it with the next colour
Step 37
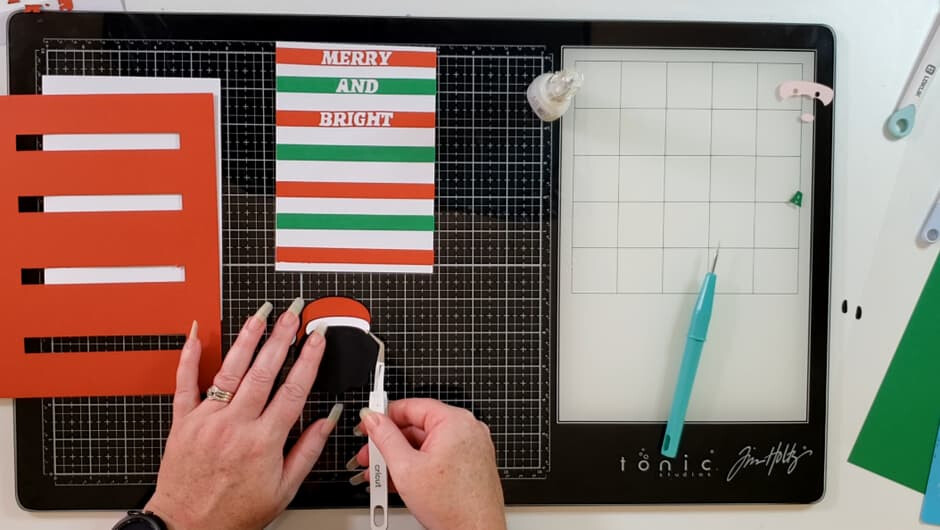
Now all our pieces are cut out, lets glue everything together. Grab your card face panel and your red strips. I used the cut out piece of paper to line up my strips on my card face to glue them down.

Step 38
Now glue the green strips down. Don’t forget to add the inner parts of the letters

Step 39
Glue the black Santa layers together

Glue Santas hat on

Then his hair, making sure to leave some of the black between the hat and the hair
Then his face
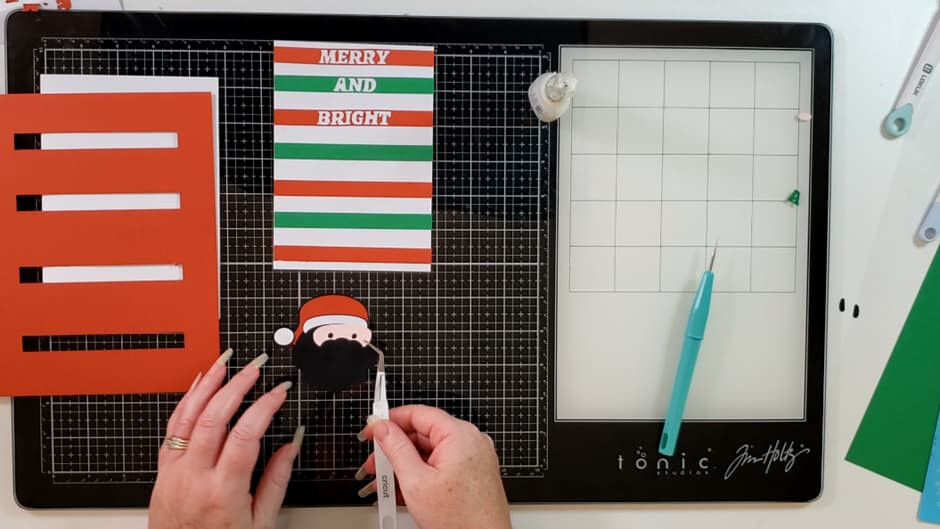
Then beard and moustache
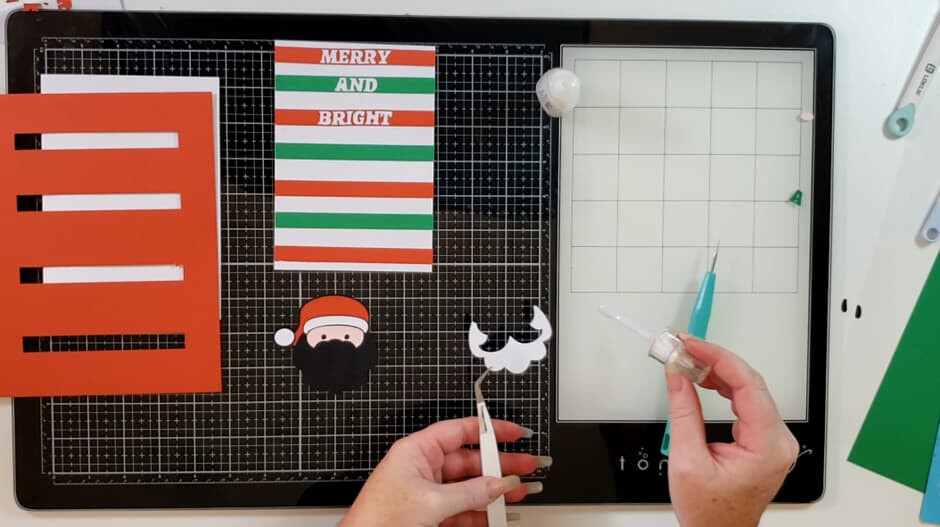
And finally, his eyebrows, then glue him on to the card face panel

Step 40
Now lets glue our card face panel on to our card base. Make sure you have it the right way up.
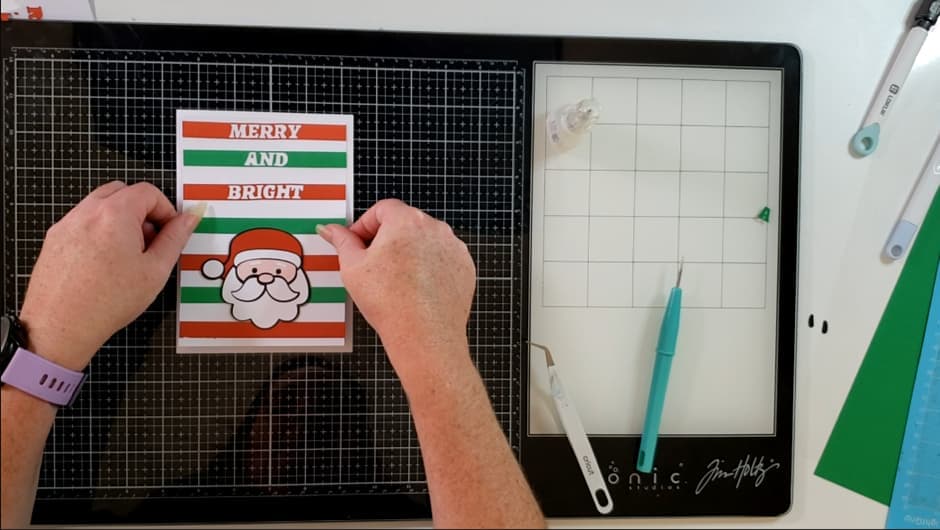
Now enjoy your festive new Christmas Card. Send Christmas wishes to a loved one with this really cute card.


Check out the video tutorial below if you want to follow along.
Find the project file here
https://design.loklikideastudio.com/share/2001889366600335360
