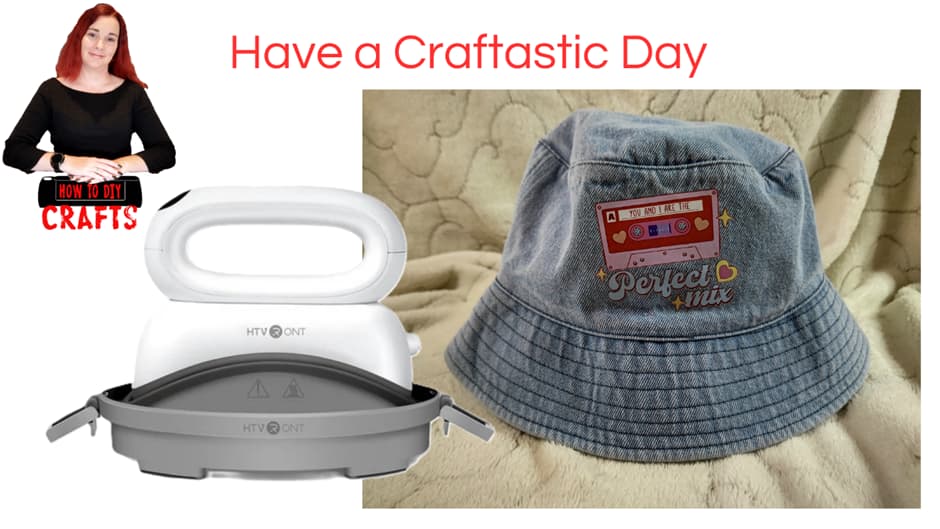
In this tutorial I will explain how to customize a denim bucket hat with a DTF transfer using the HTVRont Hat Heat Press. The HTVRont Hat Heat Press is the same as the LOKLiK Hat Heat Press so if you have either you will be able to do this project. A DTF transfer is a Direct To Film Transfer, if you have a DTF printer you can print it yourself or go to the many DTF printing companies.
Materials Needed
- Bucket Hat Blank
- Heat Resistant Tape
- Lint Roller
- Teflon Sheet
- DTF Transfer with your design
Step 1.
Set your hat heat press to 155C for 10 seconds
Step 2.
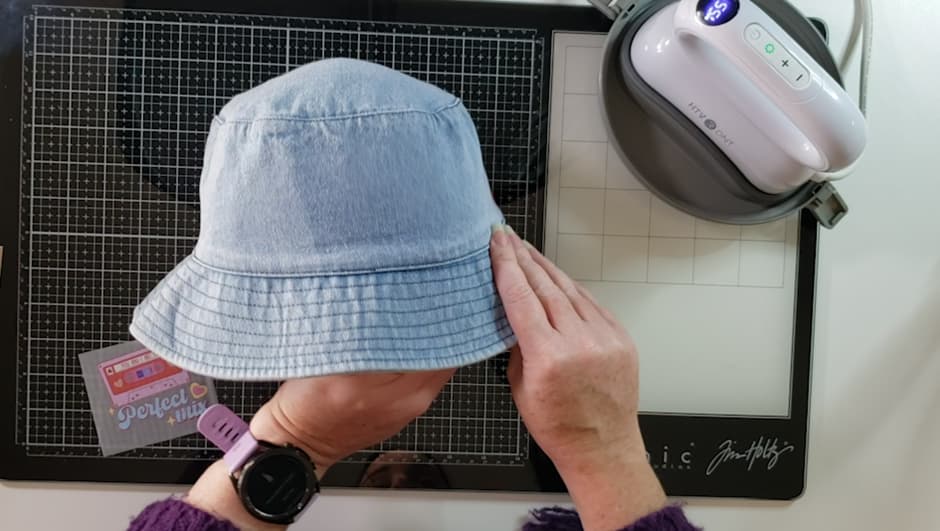
Place your bucket hat on the hat form that came with your hat heat press. Make sure the hat is s pulled down tight around the hat form. If you hat has any bills or tongues make sure they are out so you get a nice flat surface to press.
Step 3.
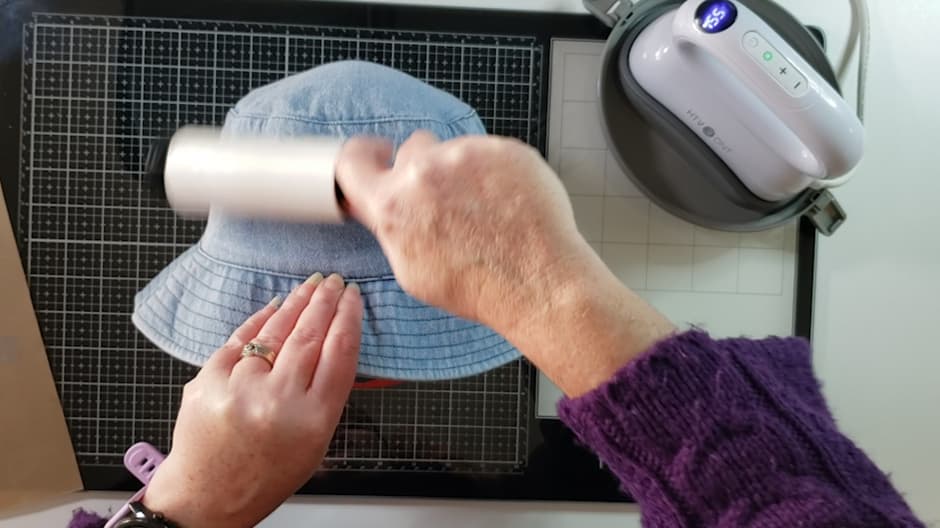
Lint roll your bucket hat to remove loose particles so the DTF transfer sticks well
Step 4.
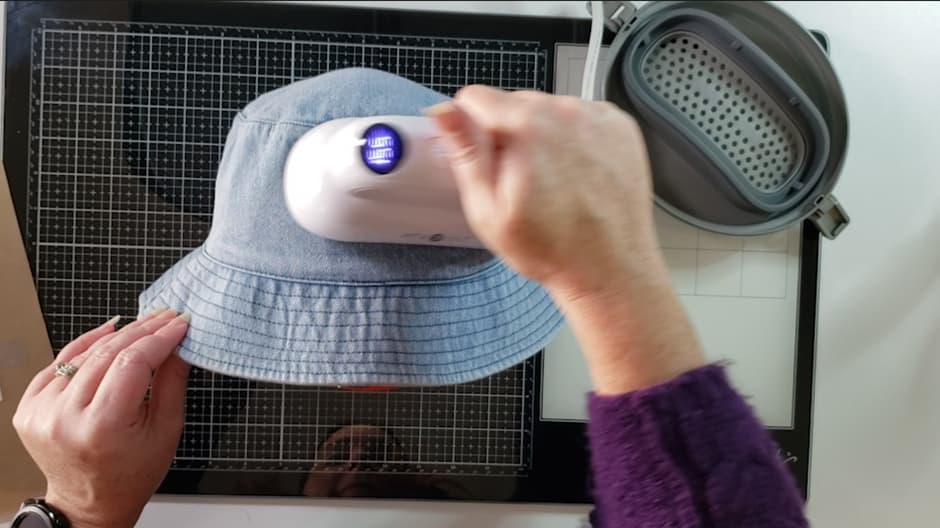
Preheat the area with your press for about 5 seconds
Step 5.
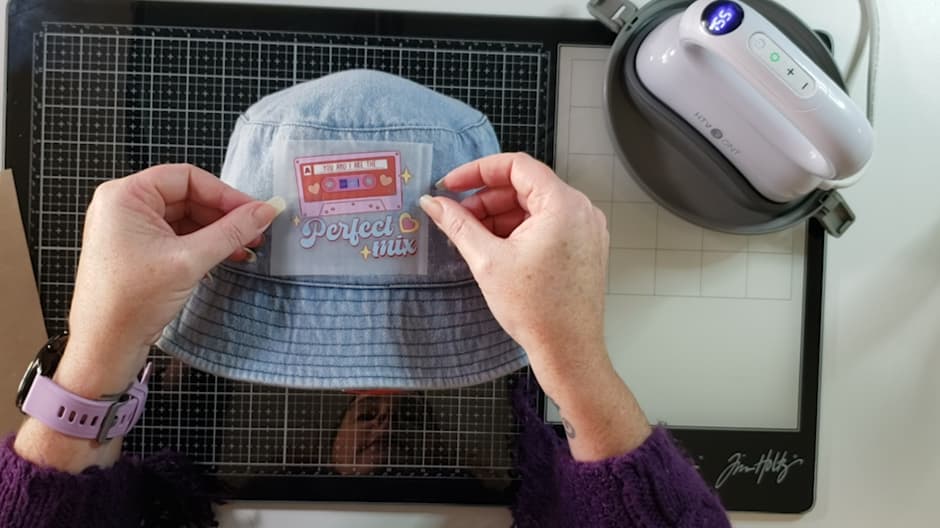
Line up your design and then secure it in place with some heat resistant tape.
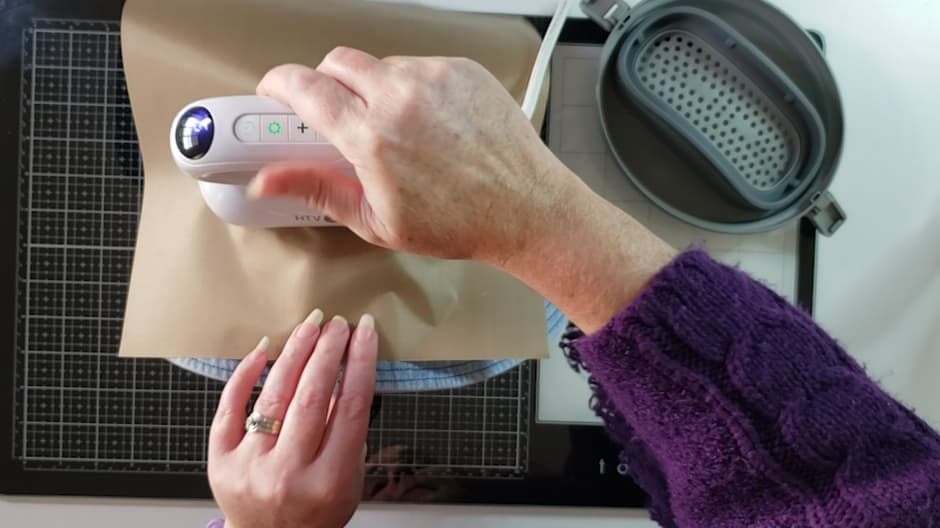
Step 6.
Place a Teflon sheet over your design. Now heat your design with your hat heat press. Apply firm amount of pressure. Take note if your design is wider than the heat press plate you may have to press multiple times to cover the whole design. You can set the timer to count down on the heat press by long pressing the power button.
Step 7.
DTF transfer are normally cold peel. I placed it on my glass craft mat to cool it down. Slowly peel back the film on a diagonal angle monitoring your design to see if any of the DTF lifts up. If it does place the film sheet back down and press again.
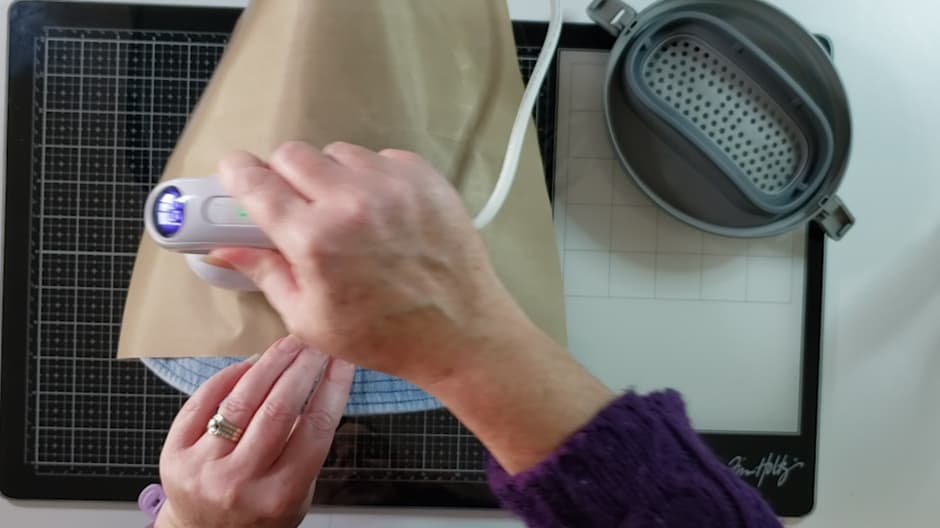
Step 8.
DTF requires a second press for 5 seconds. Place the Teflon sheet over your design and press again for 5 seconds.
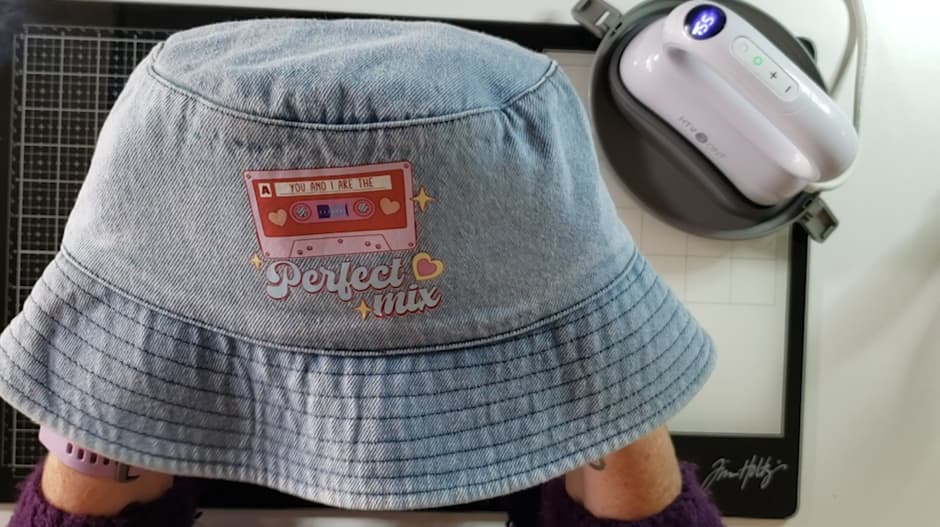
Take your bucket hat off your hat form and wear proudly.
Check out the video tutorial below if you want to follow along and hear my thoughts on the cool HTVRont Hat Heat Press.
15 Likes
Lovely design, good Belle! Thank you for sharing!
There’s a doubt is buzzing round my head since Olivia’s Tips about sublimation/DTF.
She said, if I recall well, that there’s a DTF paper that can be used with inkjet printer. Can someone talk about this? Because Belle says here you need the DTF printed, which is something many tutorials say, I guess because how you get there is another complete side topic…
I understand you can buy a print, you can print with sublimation and dtf printer OR inkjet with a special dtf ready paper with powder?!??!
8 Likes
Yes so, I know there is so much confusion regarding DTF as there is so many DTF hacks out there. But that’s all they are, are hacks. It’s not true DTF if you don’t use DTF Ink in a DTF printer then bake the powder on the film and then you press it on the shirt.
The hacks have people printing on DTF film with their sublimation printers or ink jet printers and applying the powder then pressing. You can do this, but it’s a hack. It doesn’t last as long and the quality isn’t really there in my opinion. I actually have a video in the works using my Sublimation printer with the film, it worked but when I compare to DTF prints it doesn’t compare. Because normal printers and sublimation printers don’t print white, so I don’t think the colors pop as much as they normally do when using a DTF printer.
So this was a bit of a blah of information, I hope I explained it ok
9 Likes
what DTF machine did you iuse?
8 Likes
Unfortunately, I don’t have my own DTF machine. I would absolutely love one and it’s on my wish list.
I order DTF prints from DTF printer companies. You can do a google search for your area and places should pop up. I think 1 gang sheet for me is like 25 bucks so it’s pretty reasonably priced. I get about 10 full shirt designs then maybe 10 to 15 smaller designs on one gang sheet. It’s a great way to get started with DTF without the overhead cost.
9 Likes
Oh ok, I see, your blah blah information made it so so clear, because it is very confussing when you don’t really get the differences and there’s so much blah blah mixed and confussing info out there 
Thank you @BellethehowtoGuru !!
7 Likes
You are welcome, I’m glad my blah made sense lol 
8 Likes
I can’t wait to use my machine 
8 Likes
It’s so much fun making hats 
7 Likes
I agree, I tried it qith pigment ink and they crack easily. Or maybe I did something wrong along the way 
7 Likes
What pigment ink did you use and how did you apply it?
7 Likes
Hansol & Cuyi pigment inks. i just followed the YT vids. right after printing I place the hot melt glue then heat it on the easy press to let the adhesive set on the inks.
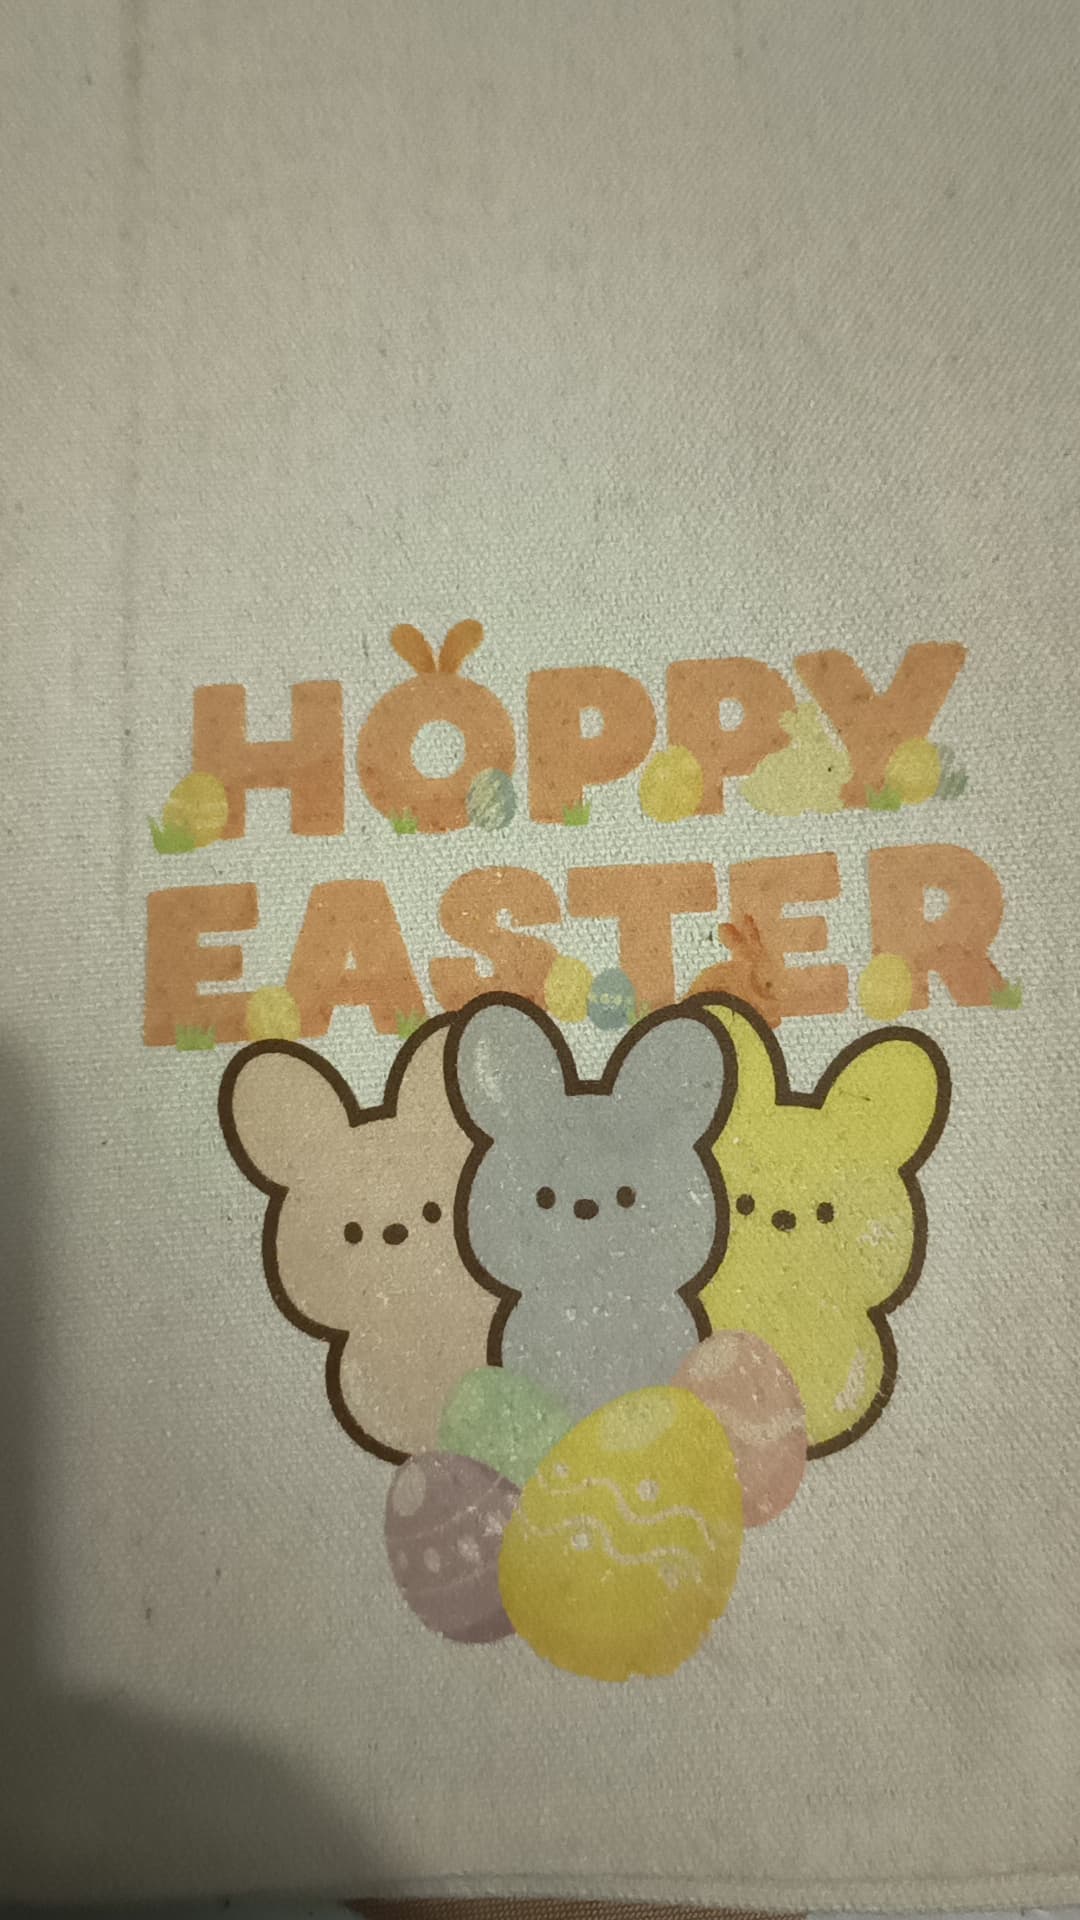
Here is a sample of my pigment DTF hack
7 Likes
Oh this is very cool and it looks great. Gonna have to try this out
7 Likes
But don’t attempt the white htv hack like what they do with the subli DTV hack. Tried it, after wash the “pigment DTV hack” on the htv washed of maybe it will work with white felt htv 
7 Likes
Oh ok, thank you for the tip. Might have to watch some videos and learn more about this. Looks really fun and I love the look of it when it’s completed. Might be great for all my Kawaii art stock
6 Likes
Great tutorial! Very easy to follow and love the photos which show actual steps! Great for us newbies! Thank you @BellethehowtoGuru ! 

3 Likes
You are very welcome. I’m glad it helped
4 Likes
That is such a cool hat! It makes my Gen X heart happy! lol
4 Likes
I’m so glad you liked it. I gave it to my daughter, and she said what is that mum lol. I remember staying up trying to record my favorite songs on the radio lol, oh the memories.
5 Likes
I remember that too, and getting so mad when the DJ decide to talk over the beginning or ending of the songs!
3 Likes