Hi, I’m trying to upload a picture then using some of the shapes already in the studio cut that shape. But any image I upload will not let me use any of the combine or slicing options. What am I doing wrong?
3 Likes
Can you take some pictures of what you are doing so it is easier to see and maybe help you.
3 Likes
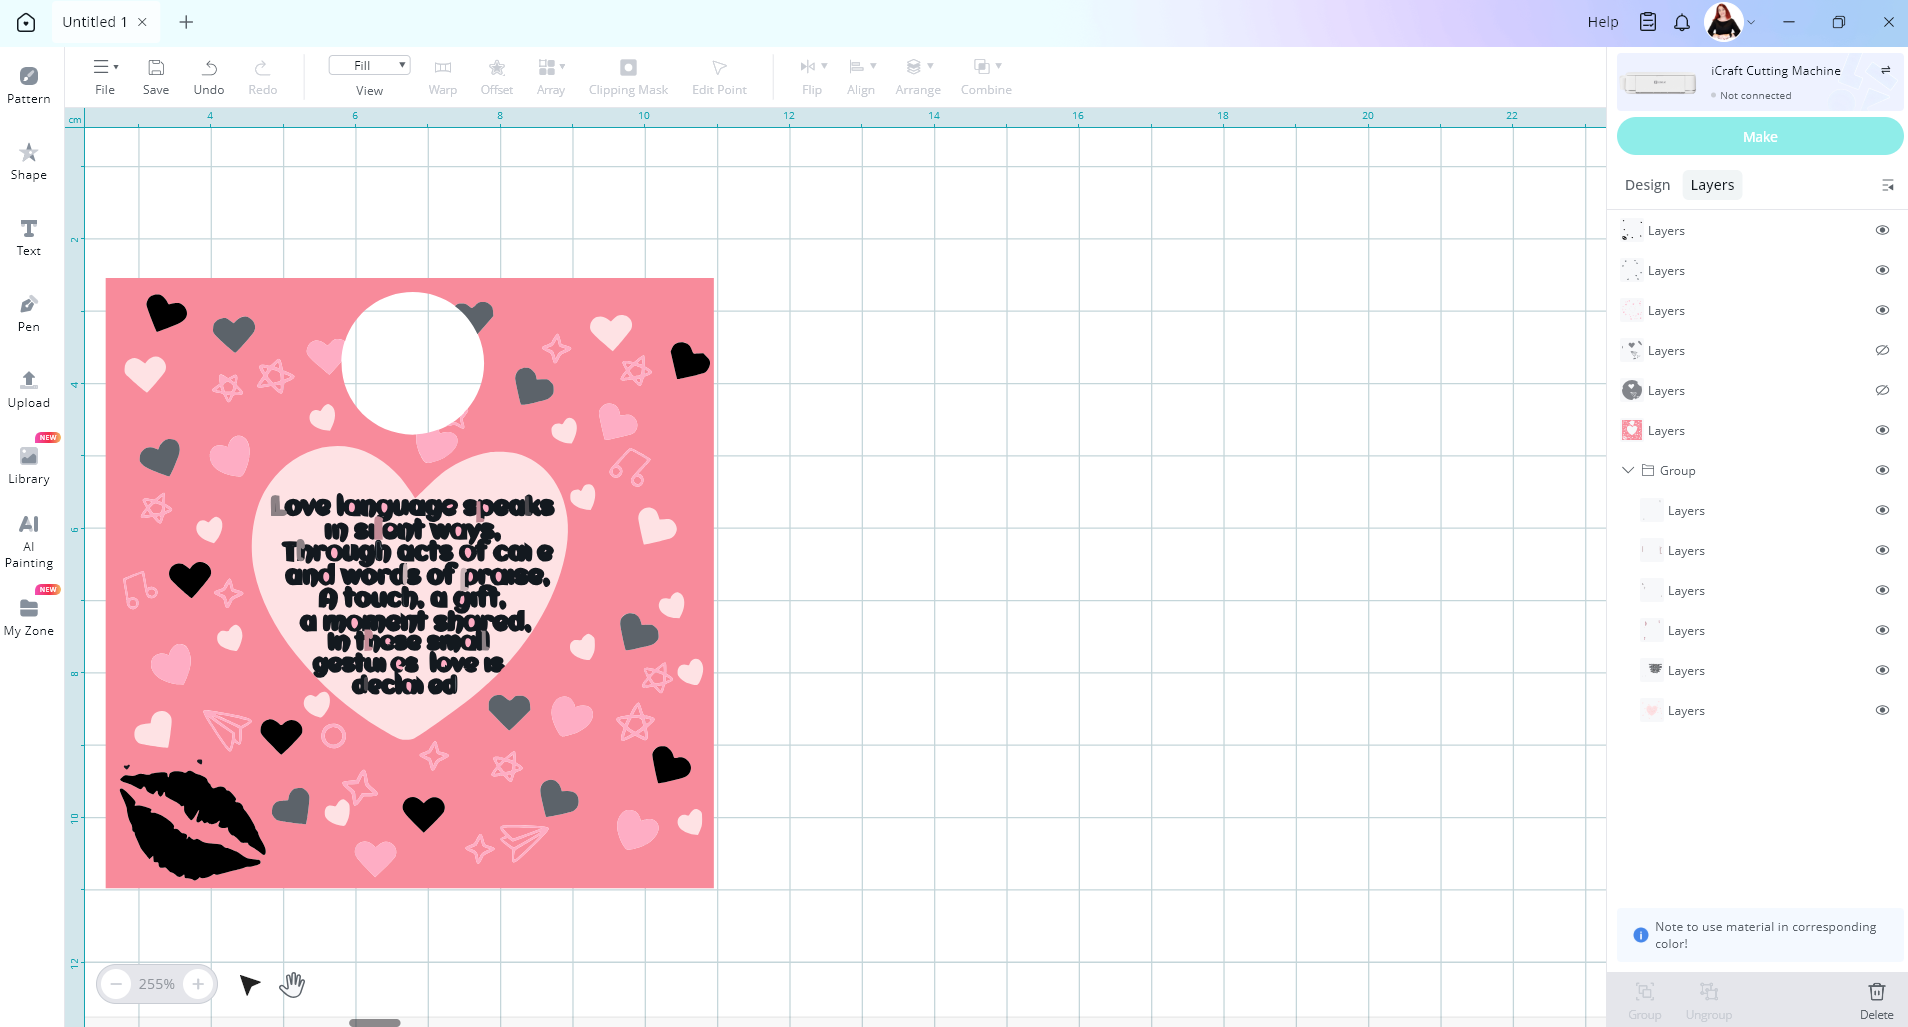
Here, I've got my image and a shape and you can see combine is not available.
2 Likes
Hi @Lauriece_Logan-Breen. So, you can also use the combine tools when both objects or layers are vector images. There are free programs online that can convert your file into a vector image. You can just google, convert file to SVG and many options will come up.
You can also do this in LOKLiK Idea Studio
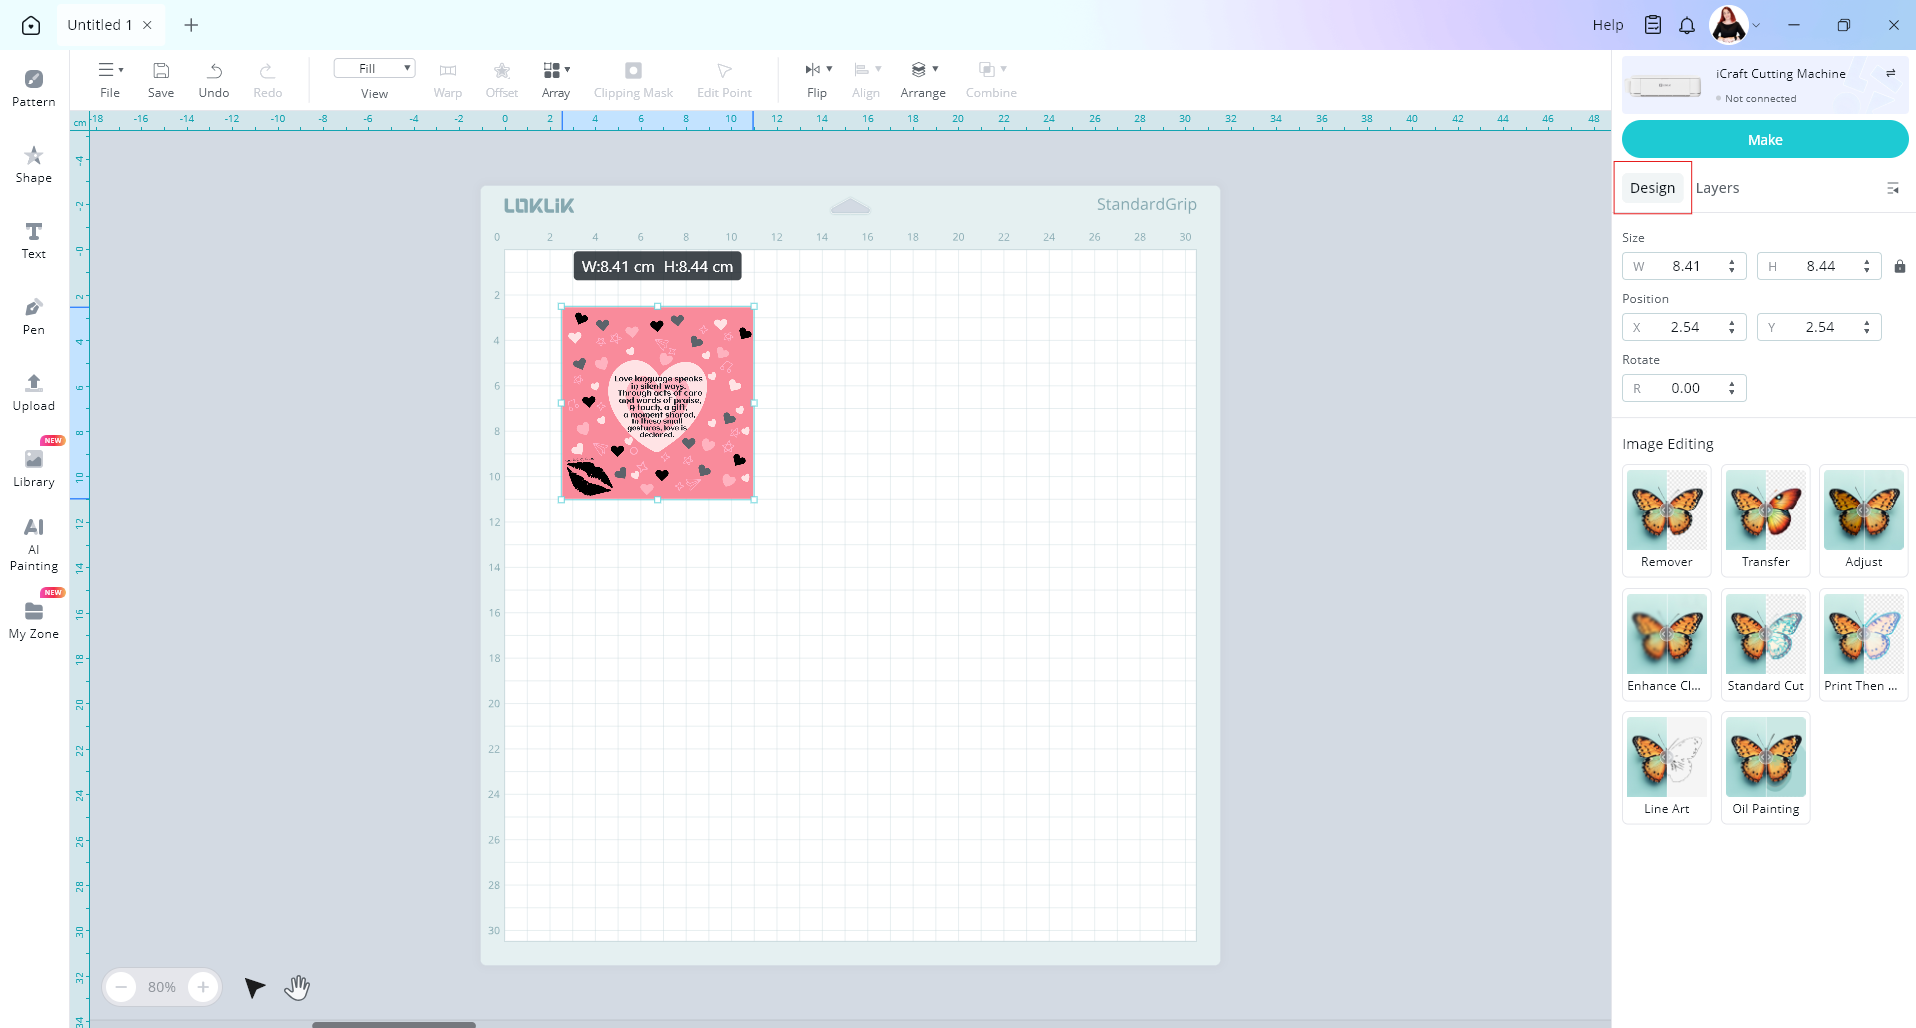
After you upload your image, and with your image selected go to the design tab on the right hand side.

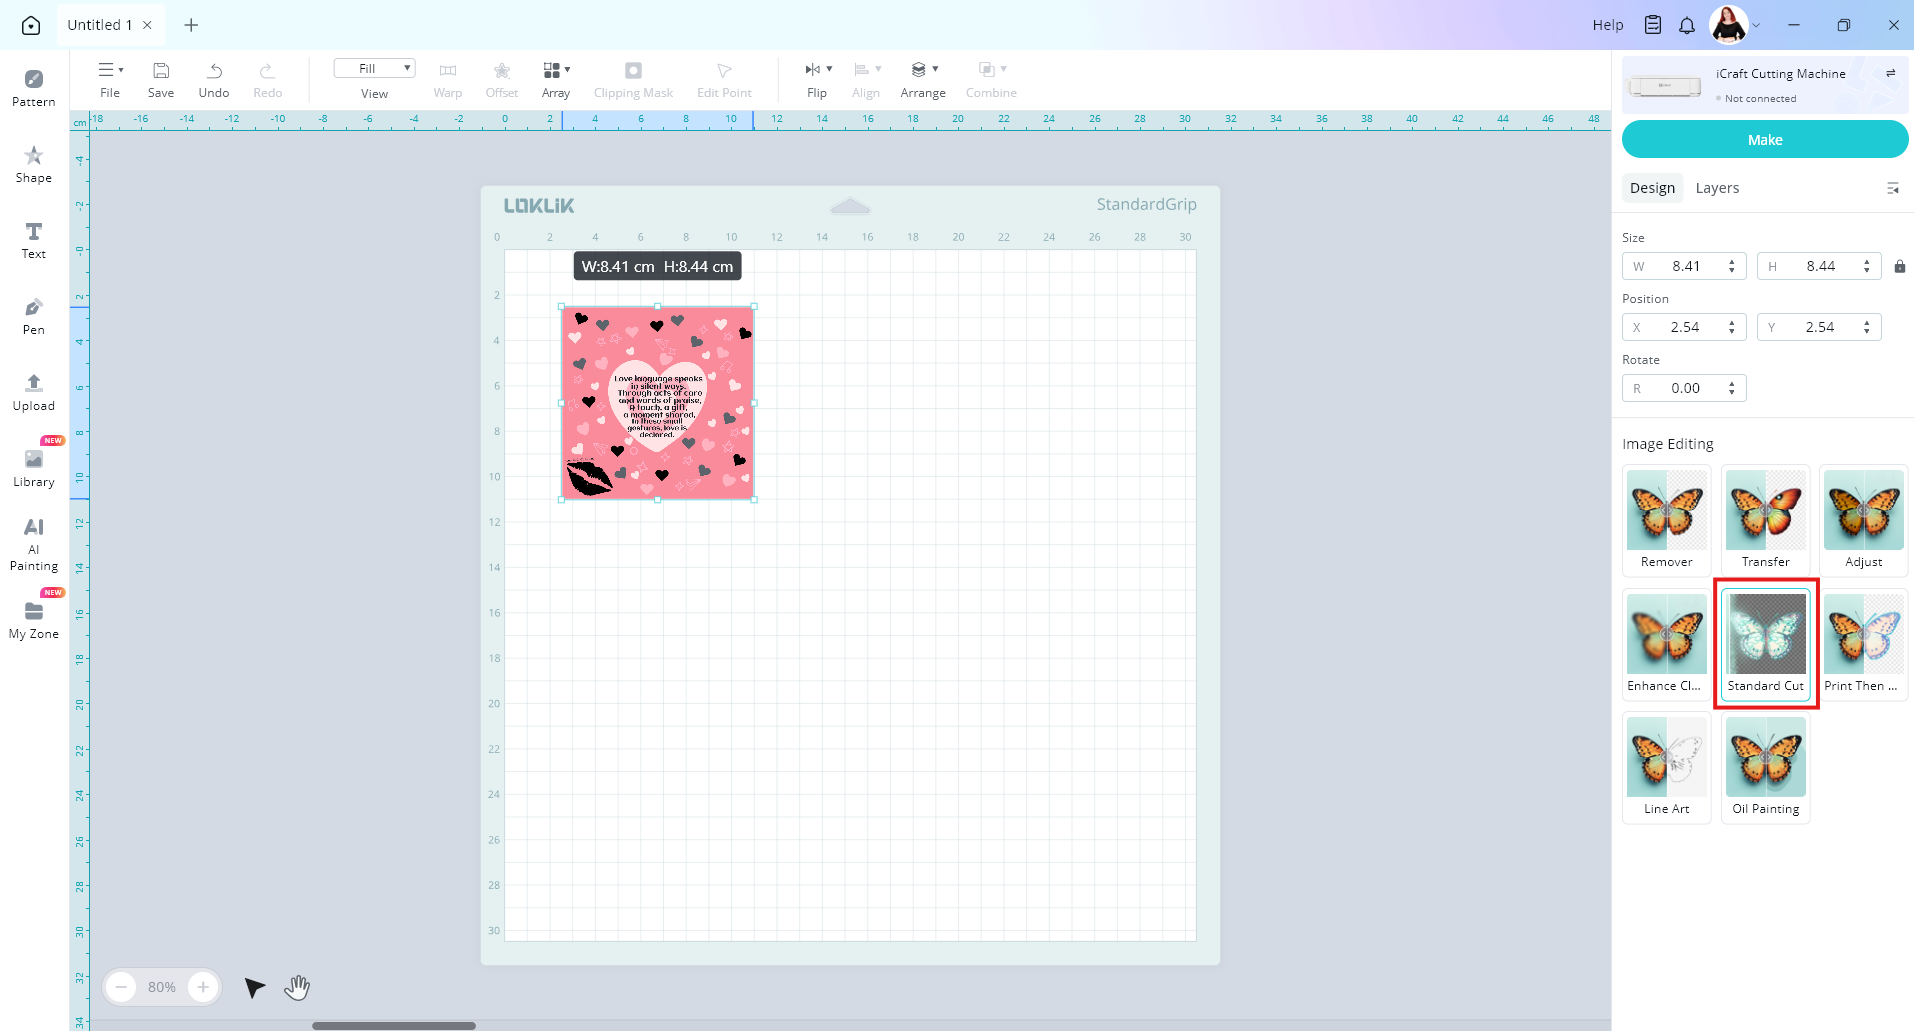
From the list you can remove your background by choosing image matting if you want. When your image is ready you can choose Standard cut option. This will change your image from a flat image to an image that is broken up into layers, or a vector image.

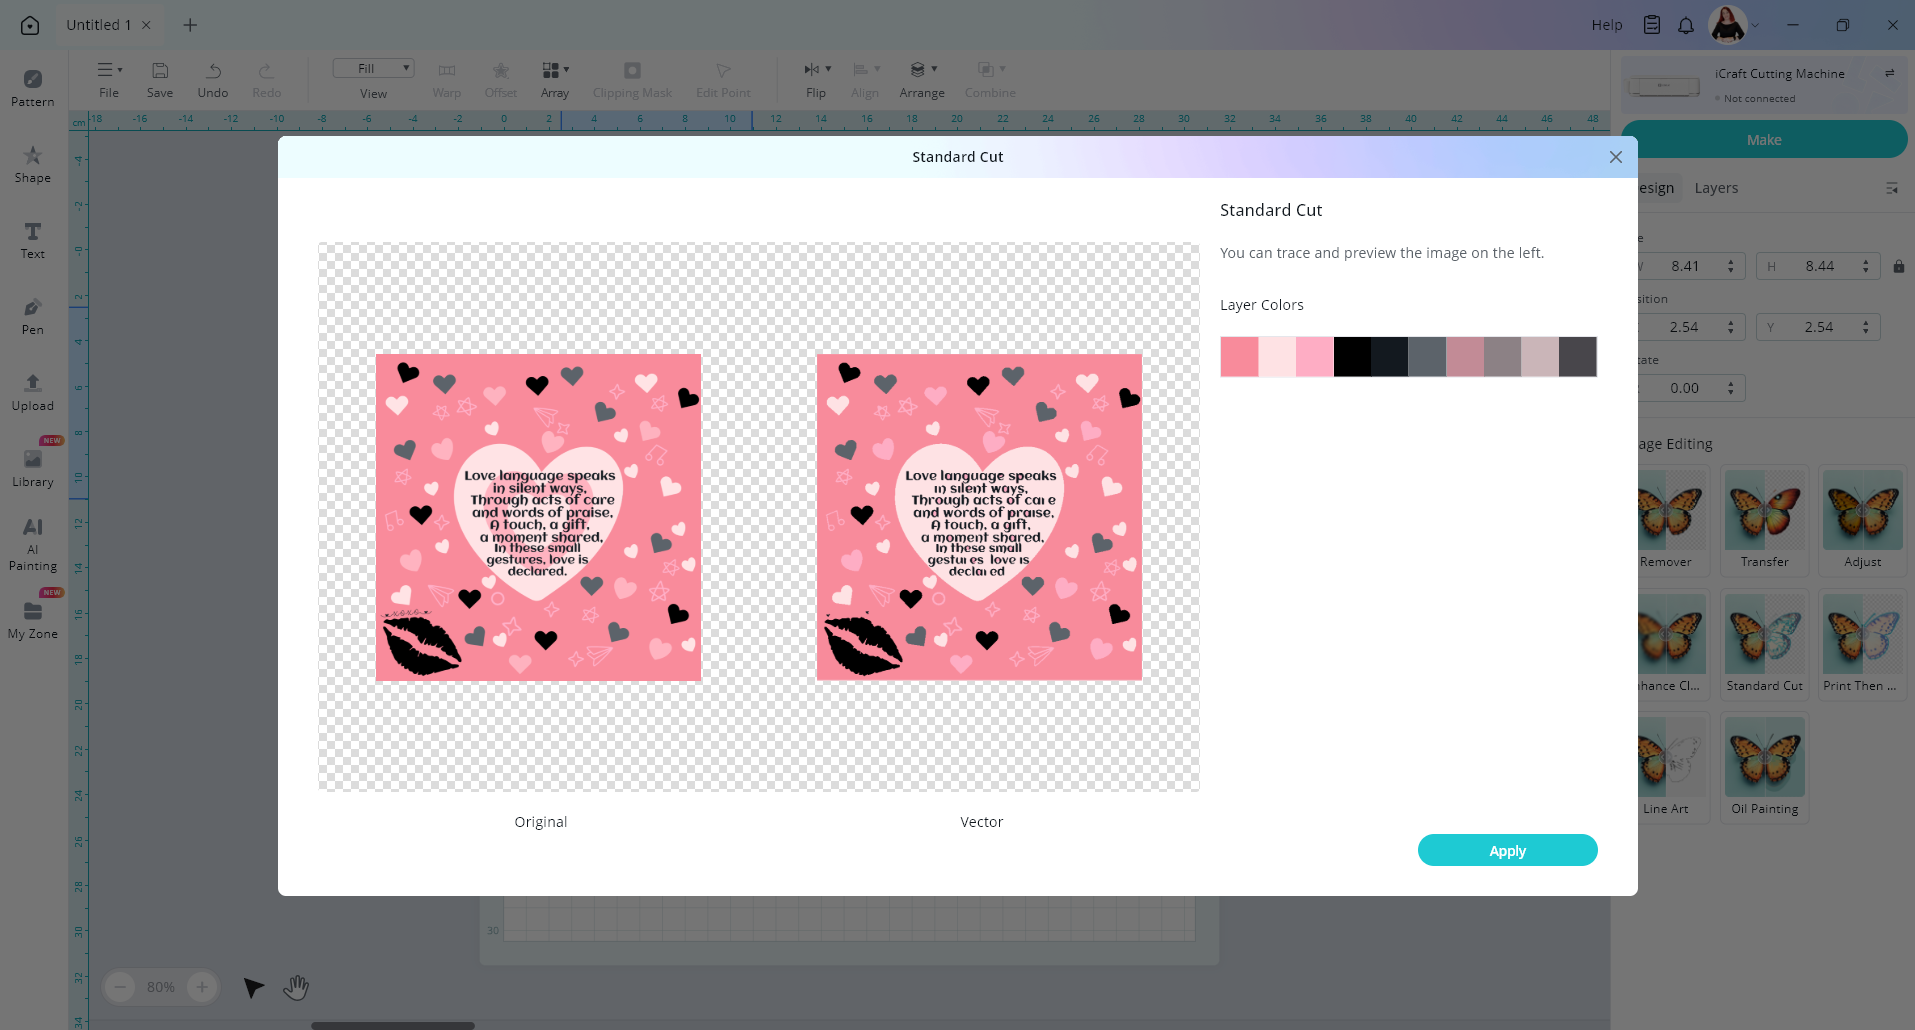
Select apply
Now you can see your image has layers
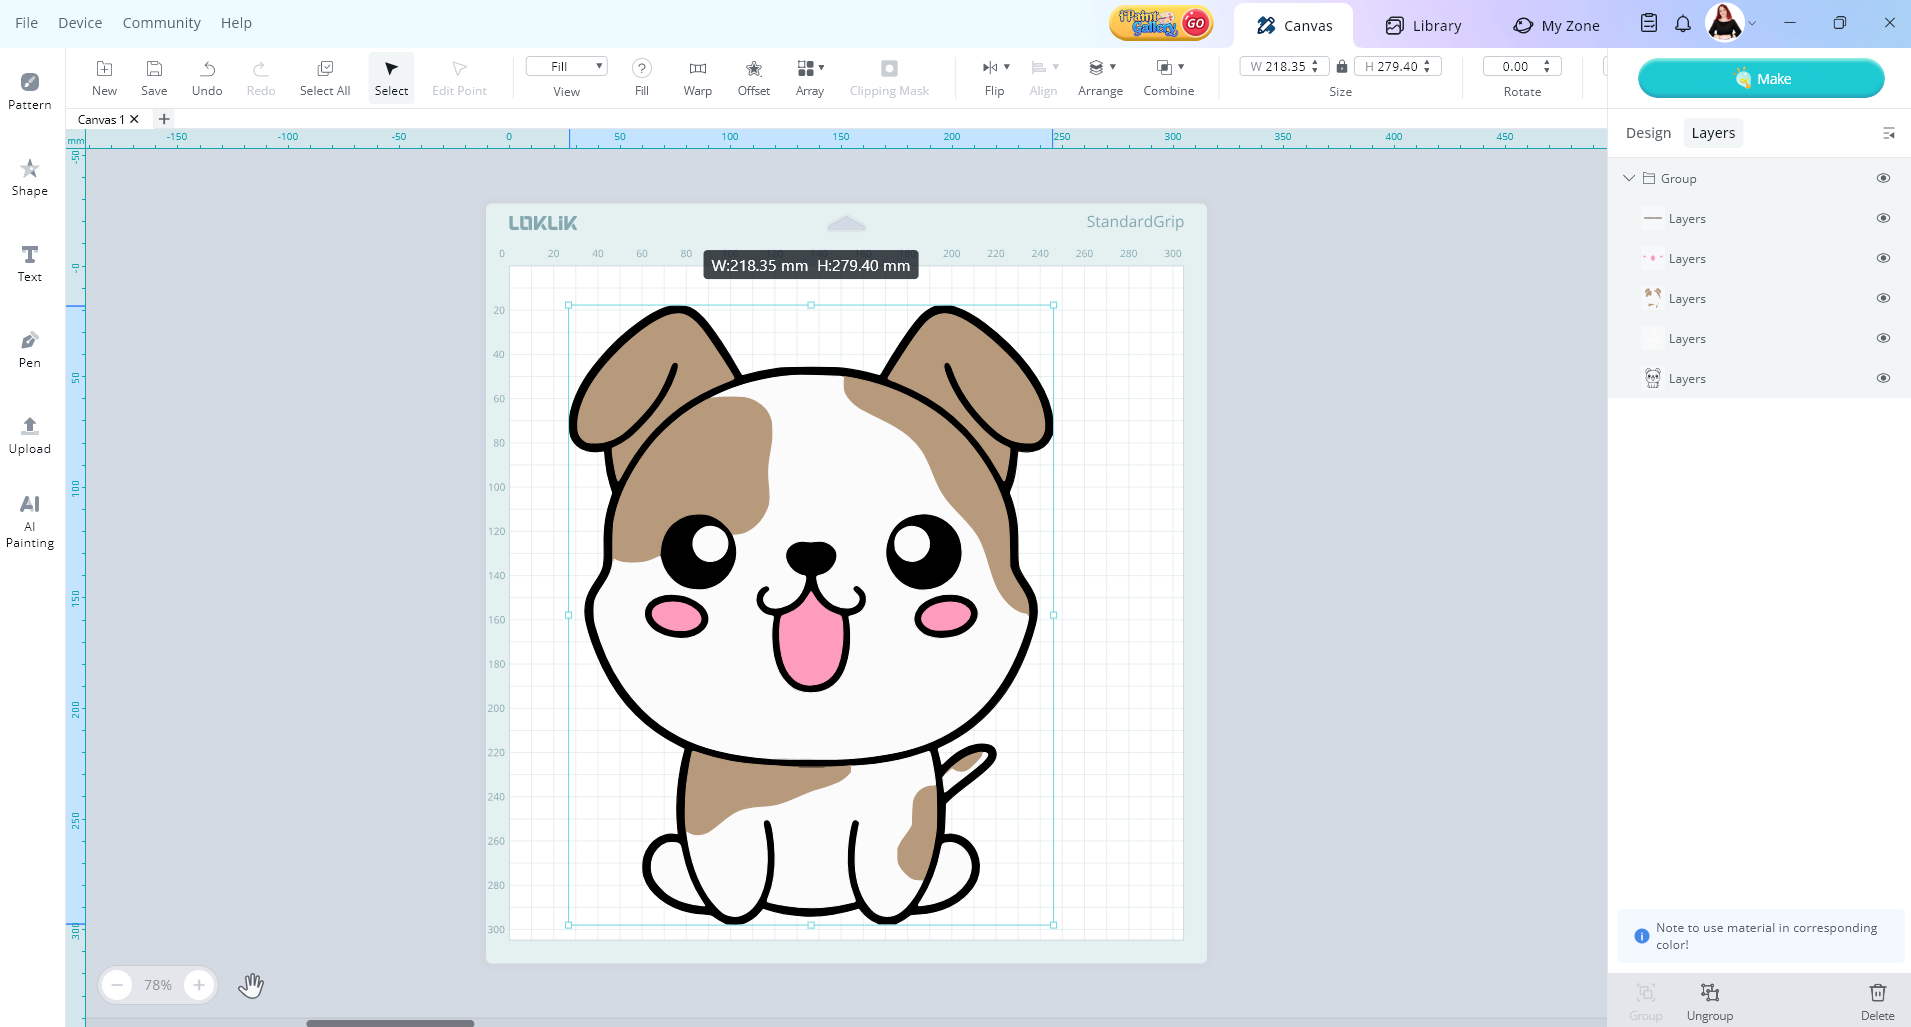
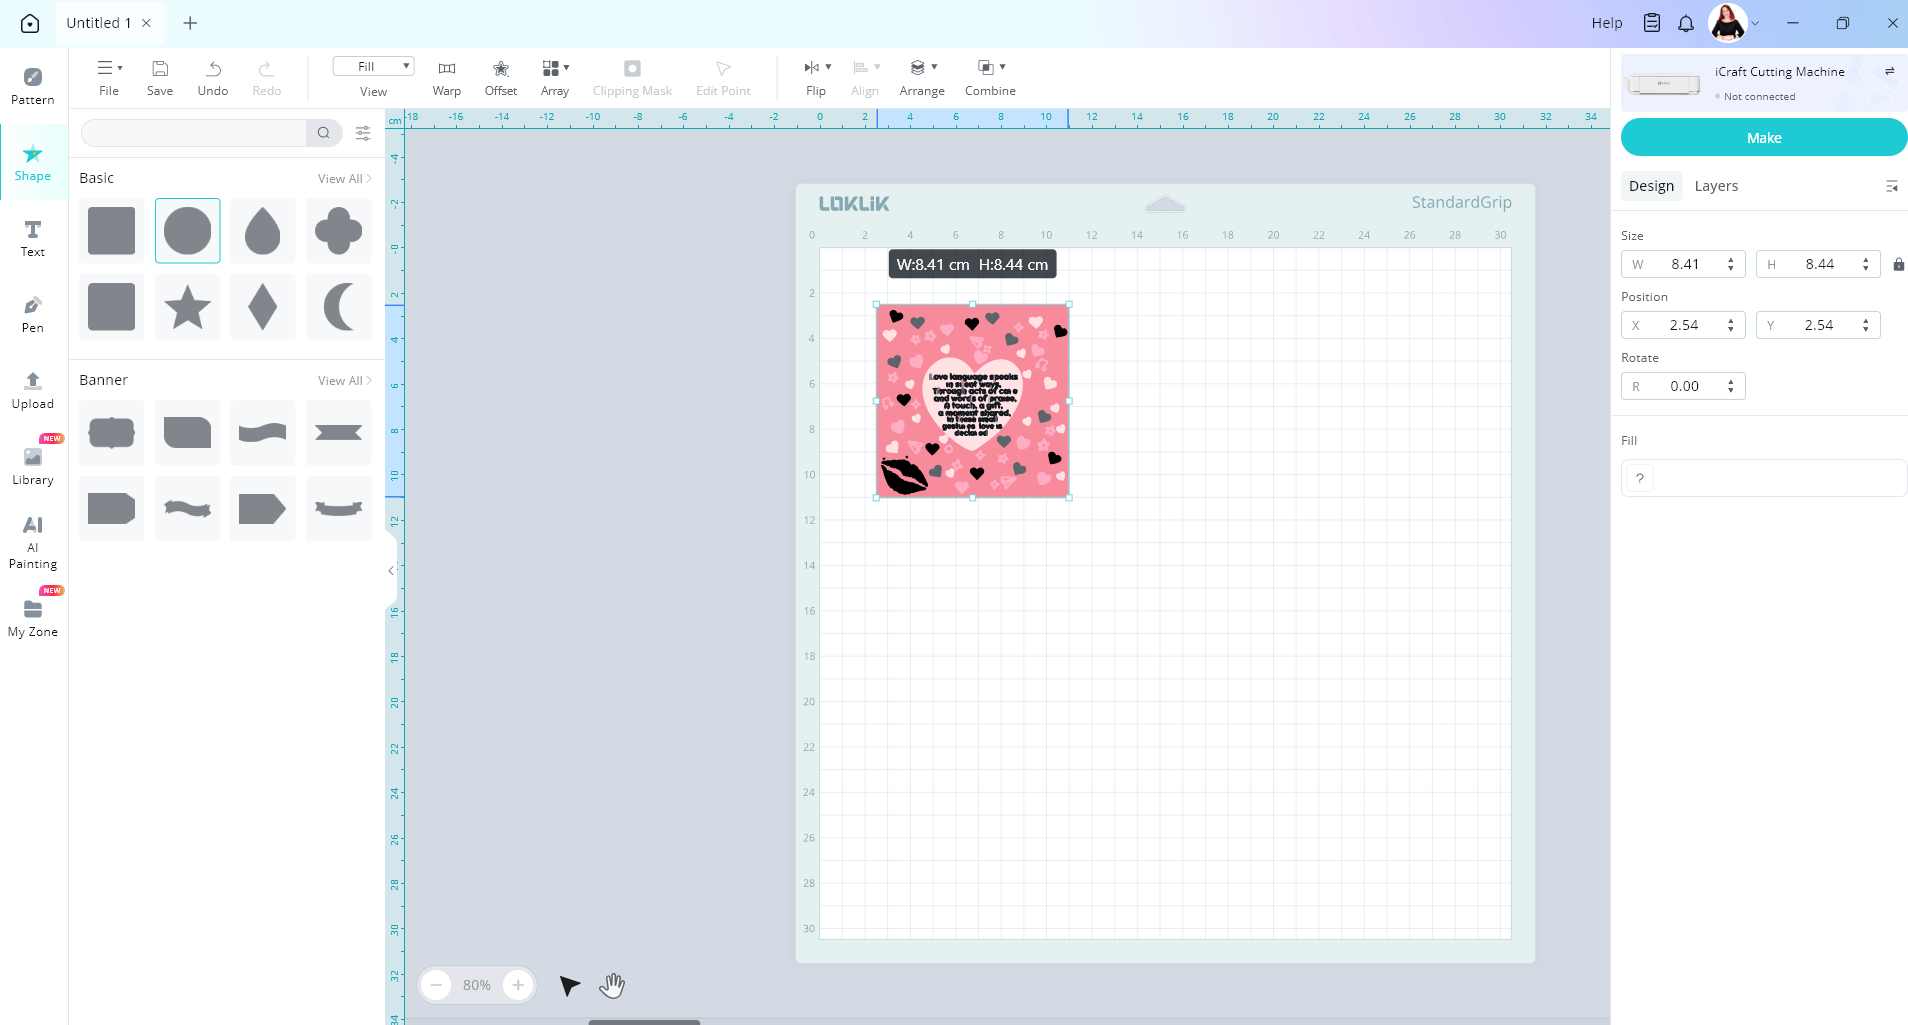
Now you can ungroup your image. Then choose your shape and cut the layers into that shape if you want.
2 Likes
you can try this
2 Likes
I will try again. Havr had issues with vector as well but I like your in depth. Im hoing to try you way. Ill let you know if any issues.
2 Likes
I always wondered what that button did. Will try this and let you know.
2 Likes
No worries at all. Just make sure you do one layer at a time. The clipping mask tool could totally help you to
1 Like
I can’t say that it has or hasn’t worked. As its not working with all my vector images. I’m sure it may just be my file types so I continue to try but progress has been made.
2 Likes
This has worked pretty well. I’m getting better results and now I’m looking into a lot of new projects.
2 Likes
I am glad to hear it worked out for you
1 Like
Does this only work with “vector” images or images directly from LOKLiK? I have tried to “slice” a circle shape out of my uploaded image to make earring holes. If I put the circle in front of the image, the combine button is accessible, but not the slice feature. If I select the image, or group the layers and select the group, the combine feature is not even accessible!
I did a screenshot of the image and shape on the ideastudio, but do not know how to put it here for you to see.
1 Like
Hey, to upload a picture here in the community. Just go to reply to start compossing a message. Then you can type your message or just press the upload button and choose your picture from your files. Wait till the picture has finished uploading and then press the reply button to send your message.

Regarding the slice issue, it’s a bit finicky. But I’ll walk you through it.
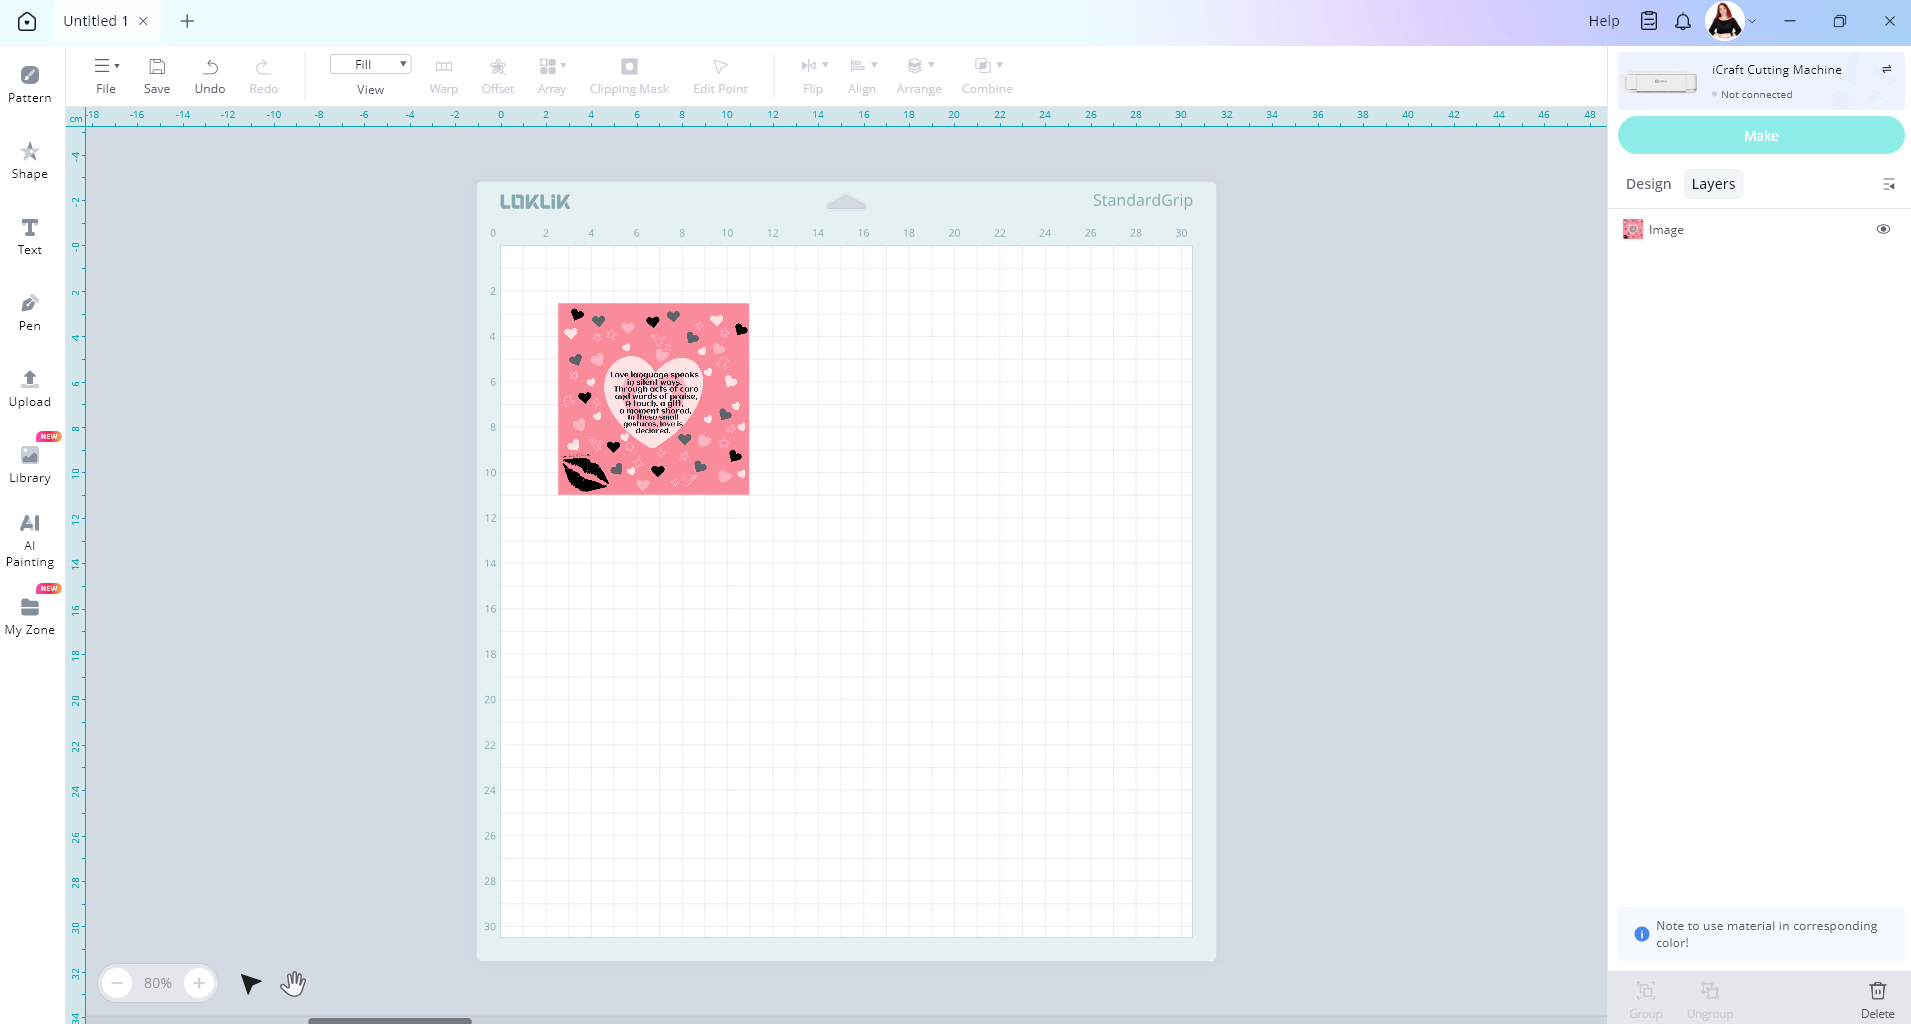
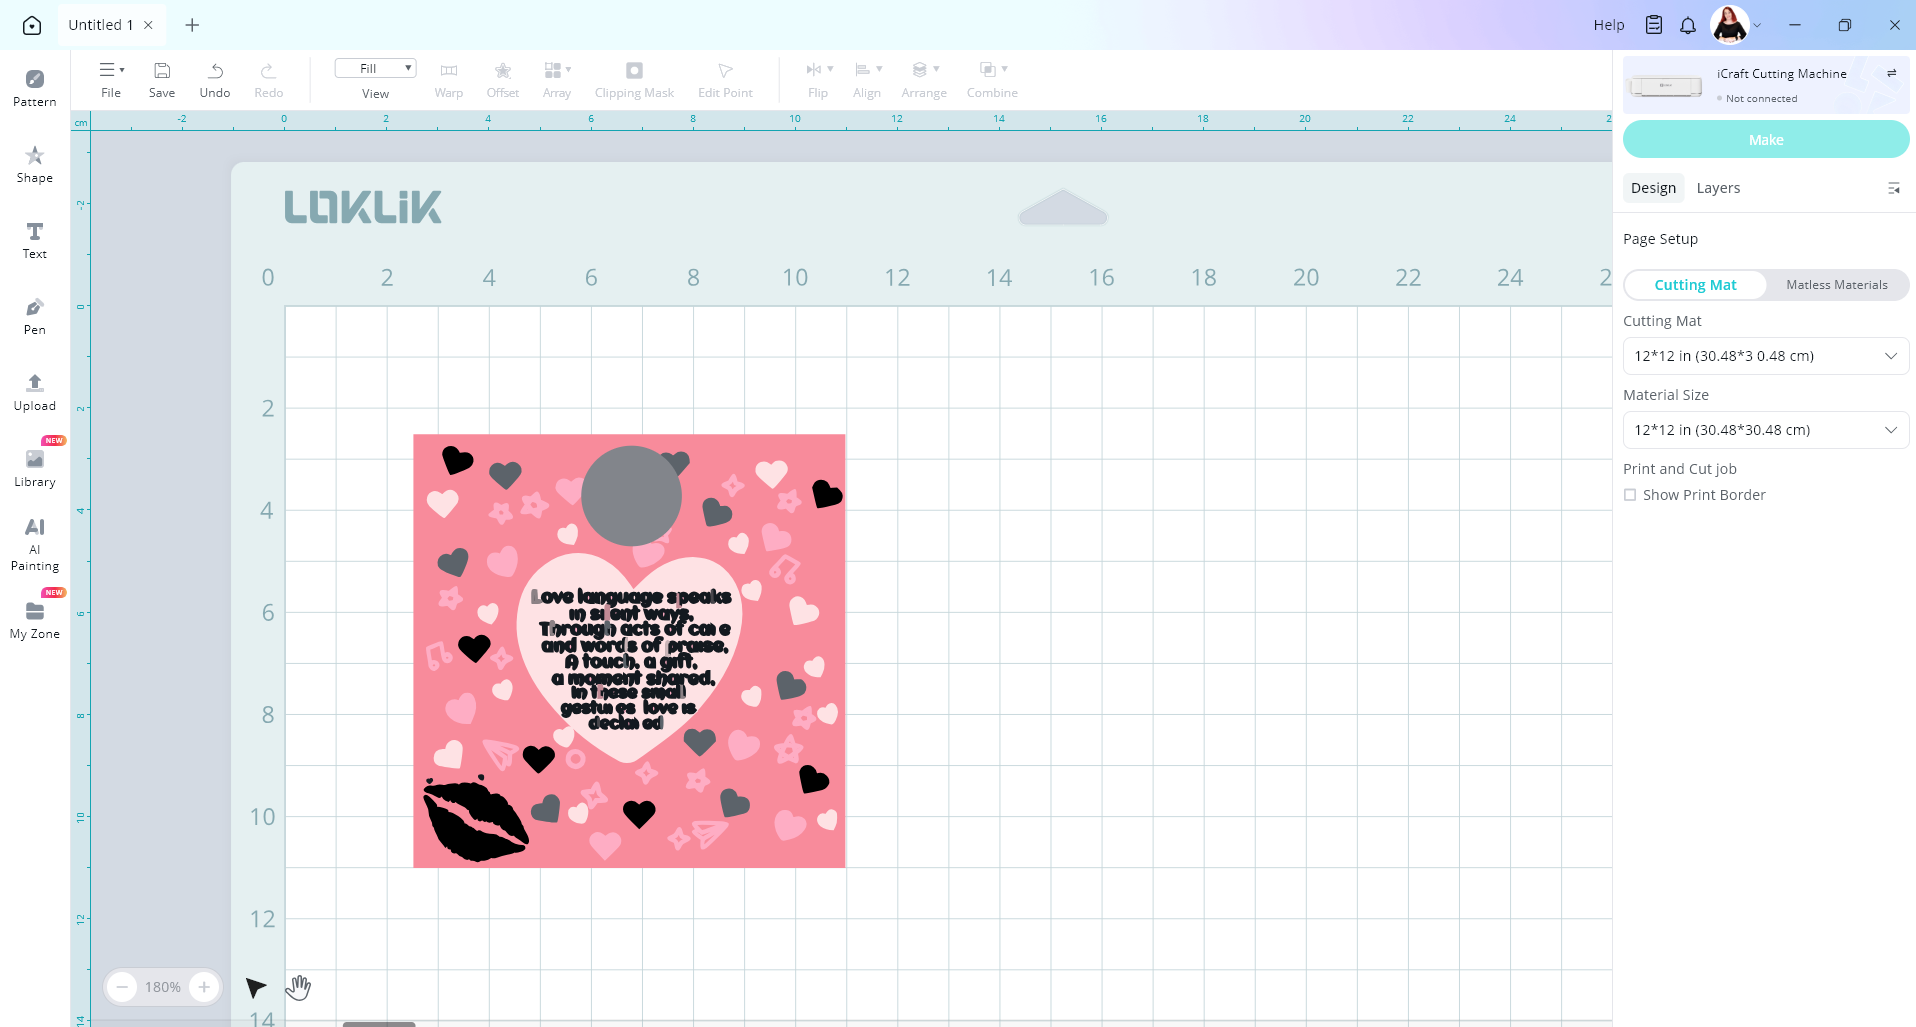
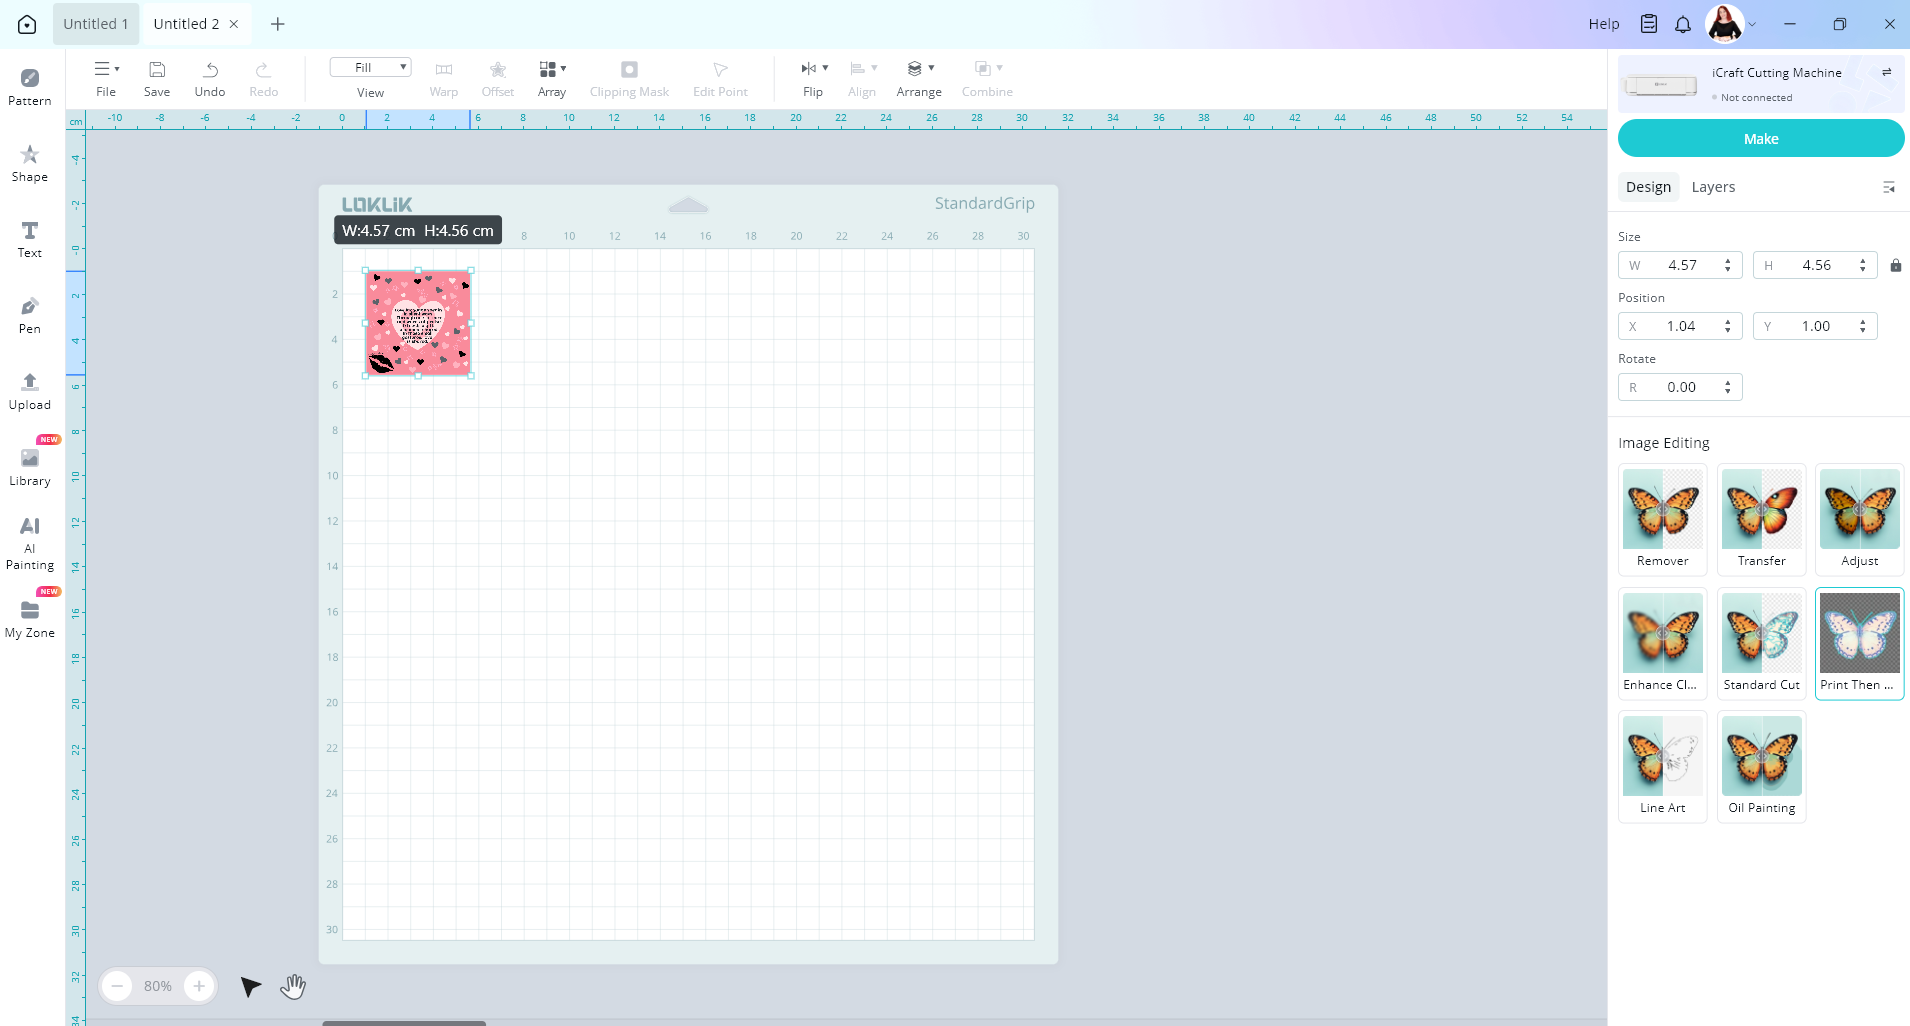
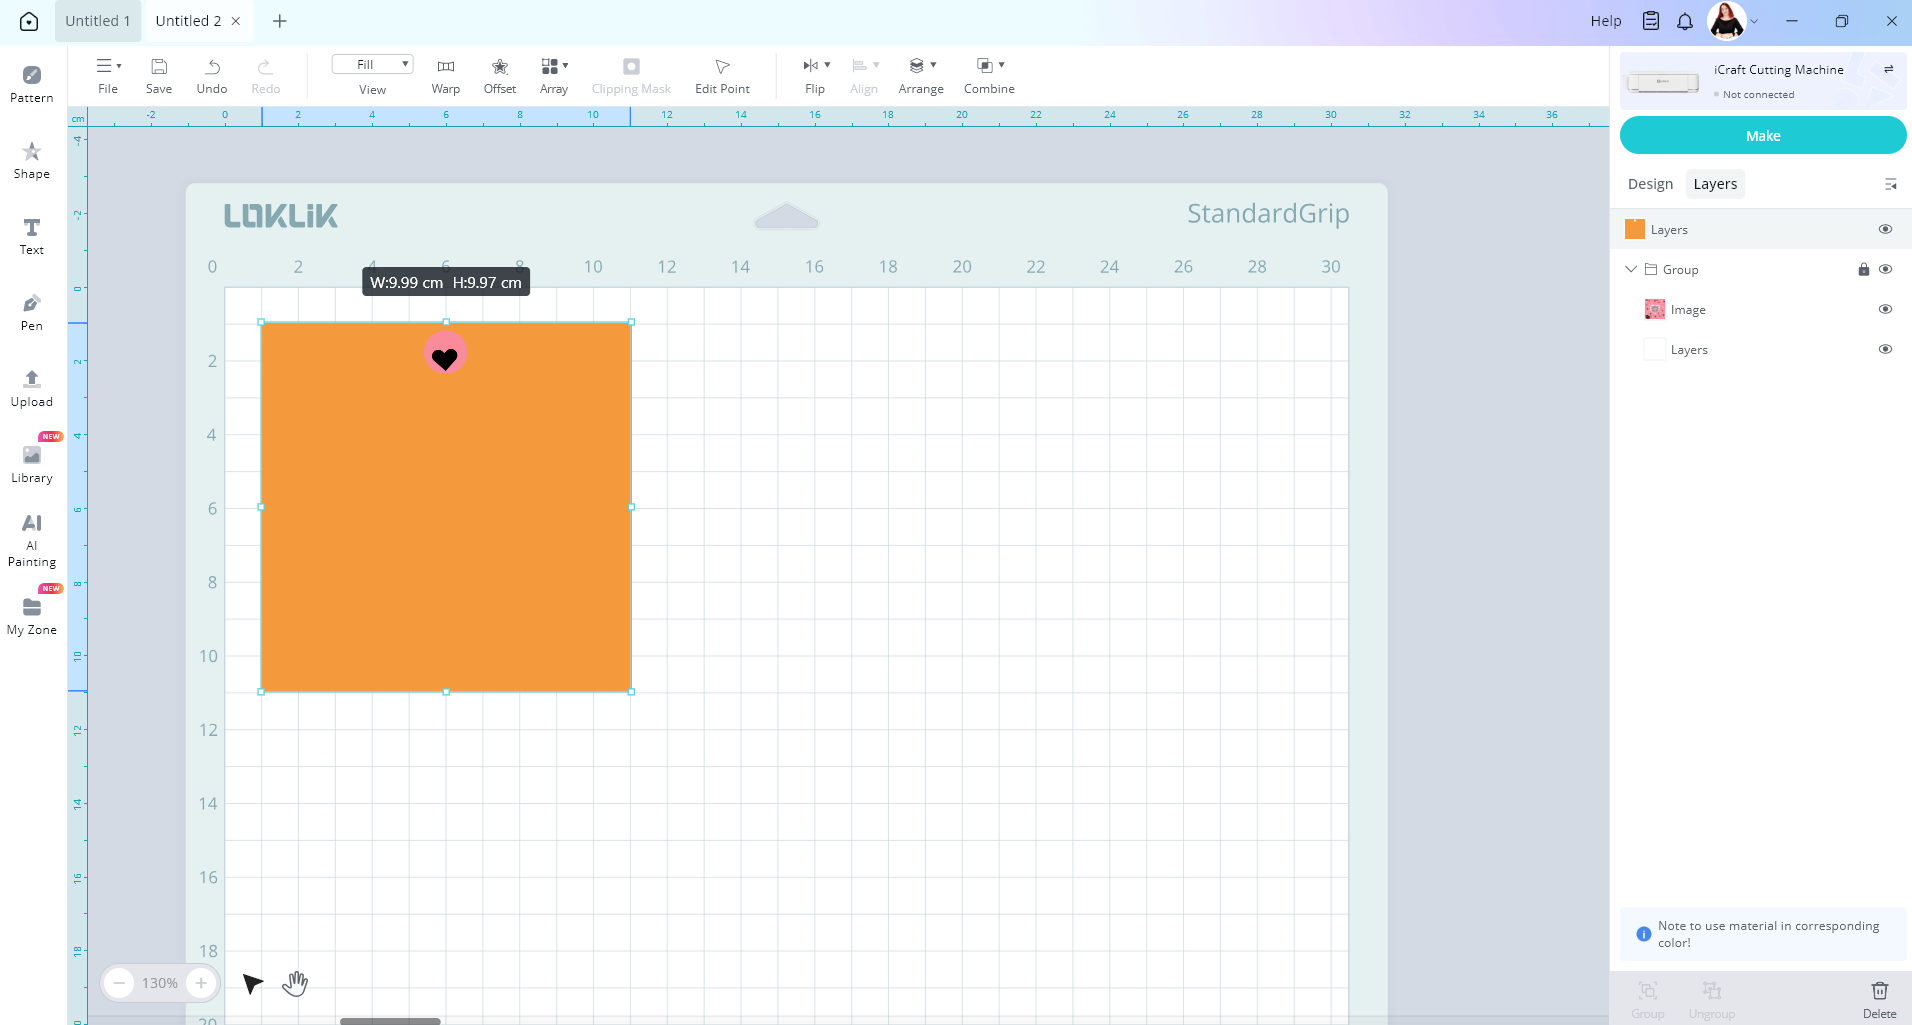
So first I’ll upload my image which is just a PNG screen shot

After we have our image unloaded we need to tell the LOKLiK IdeaStudio what we want to do with it. For this case, make sure your image is selected and then press the design tab.
I’m going to choose the standard cut operation
This turns the image into a vector image with layers. Press apply
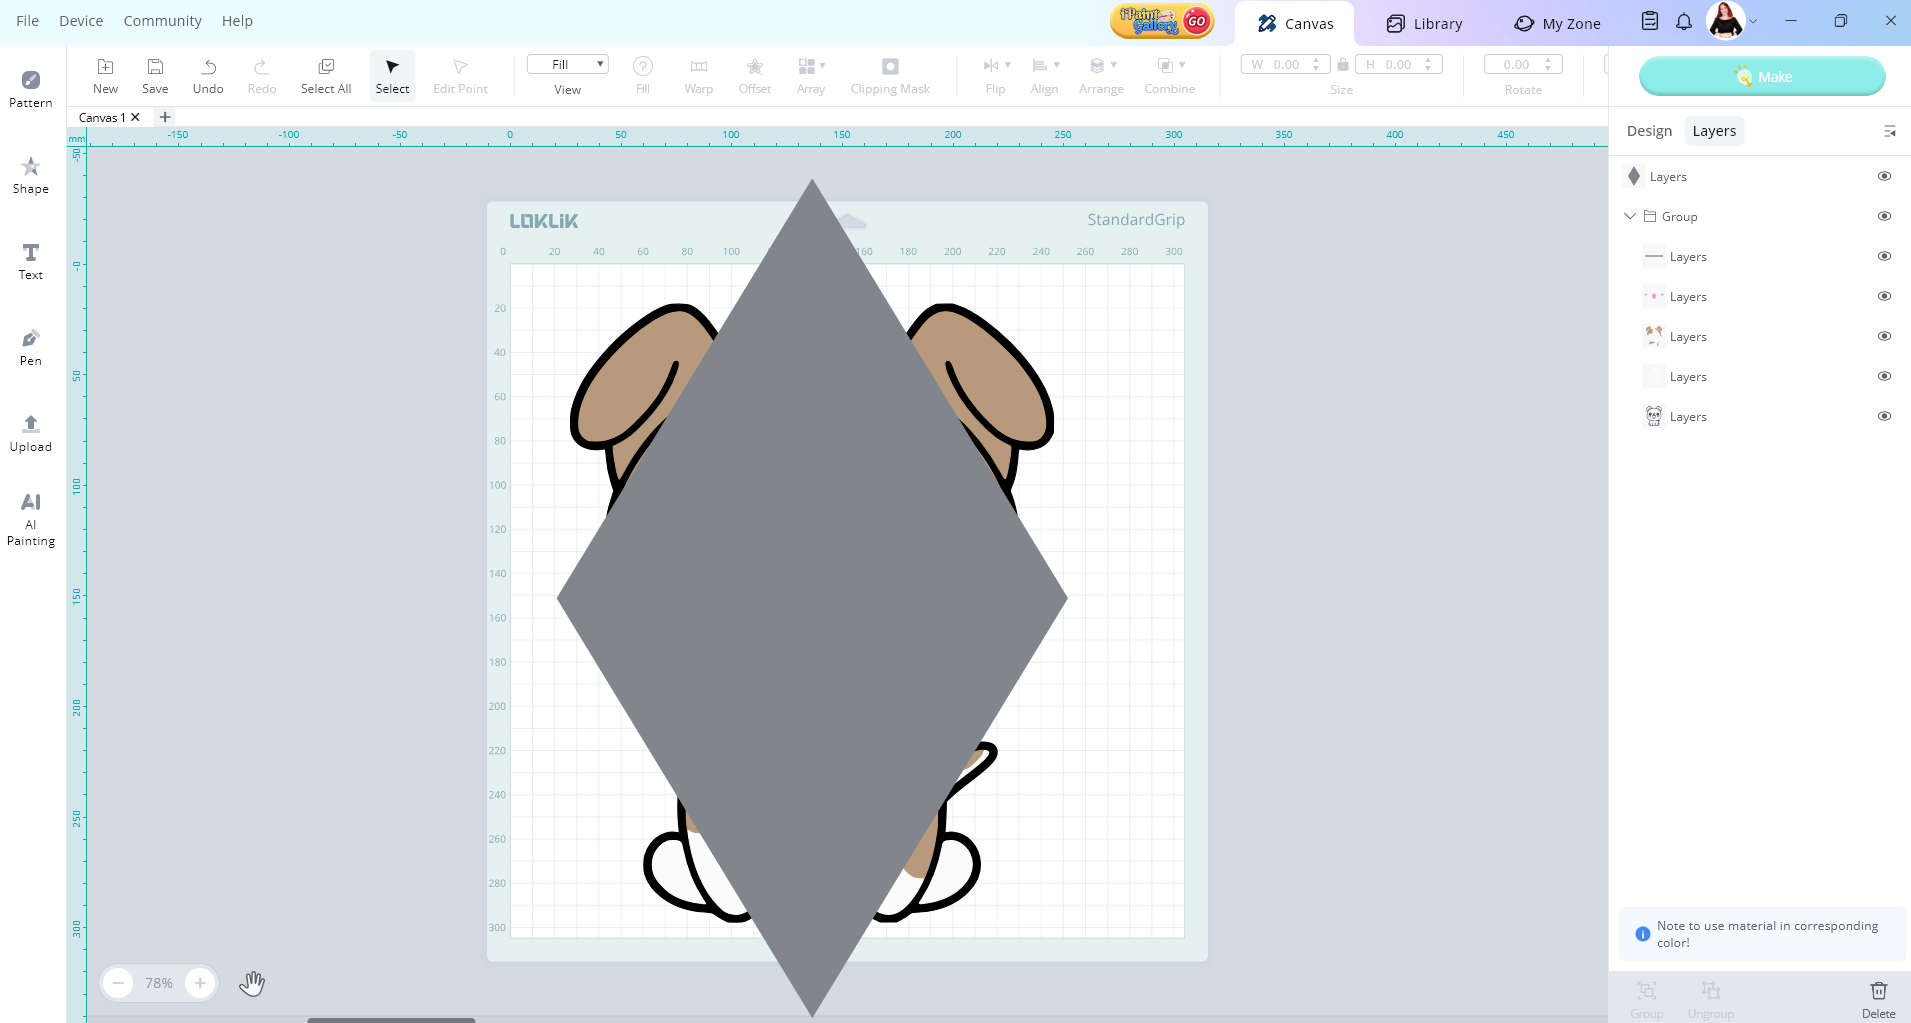
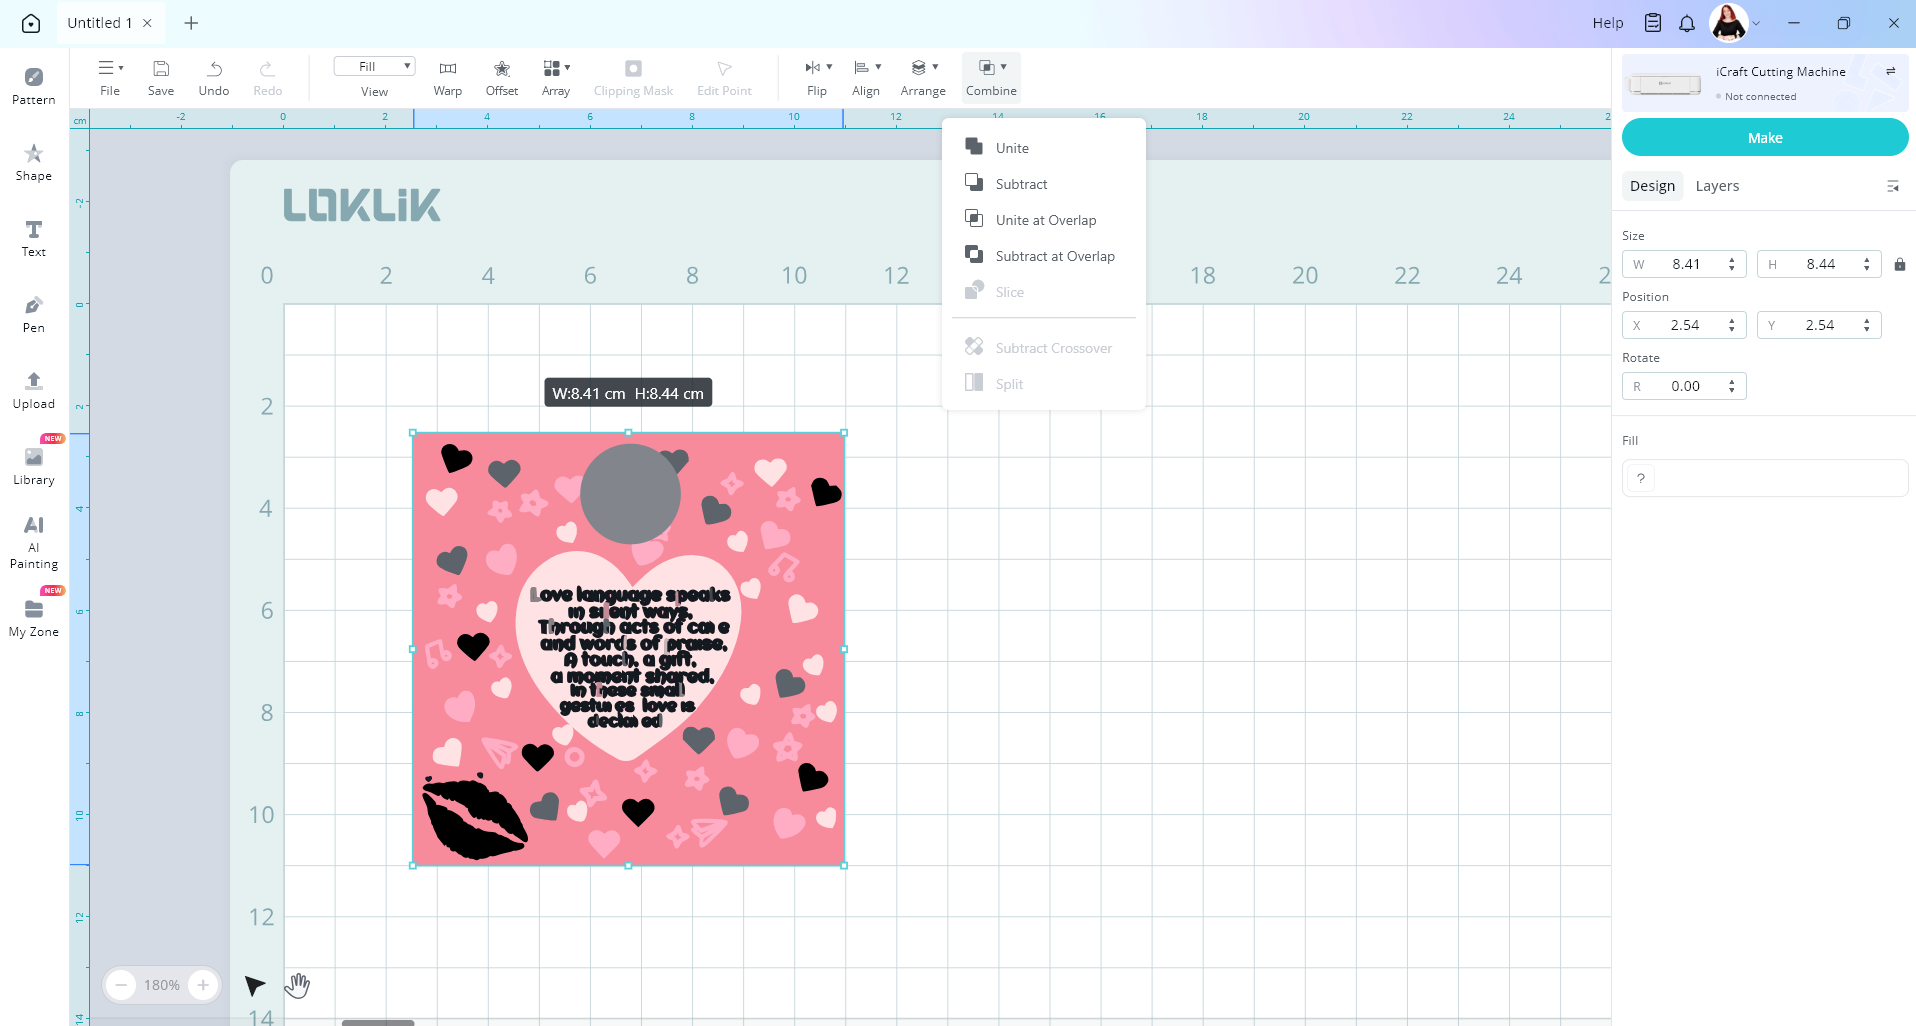
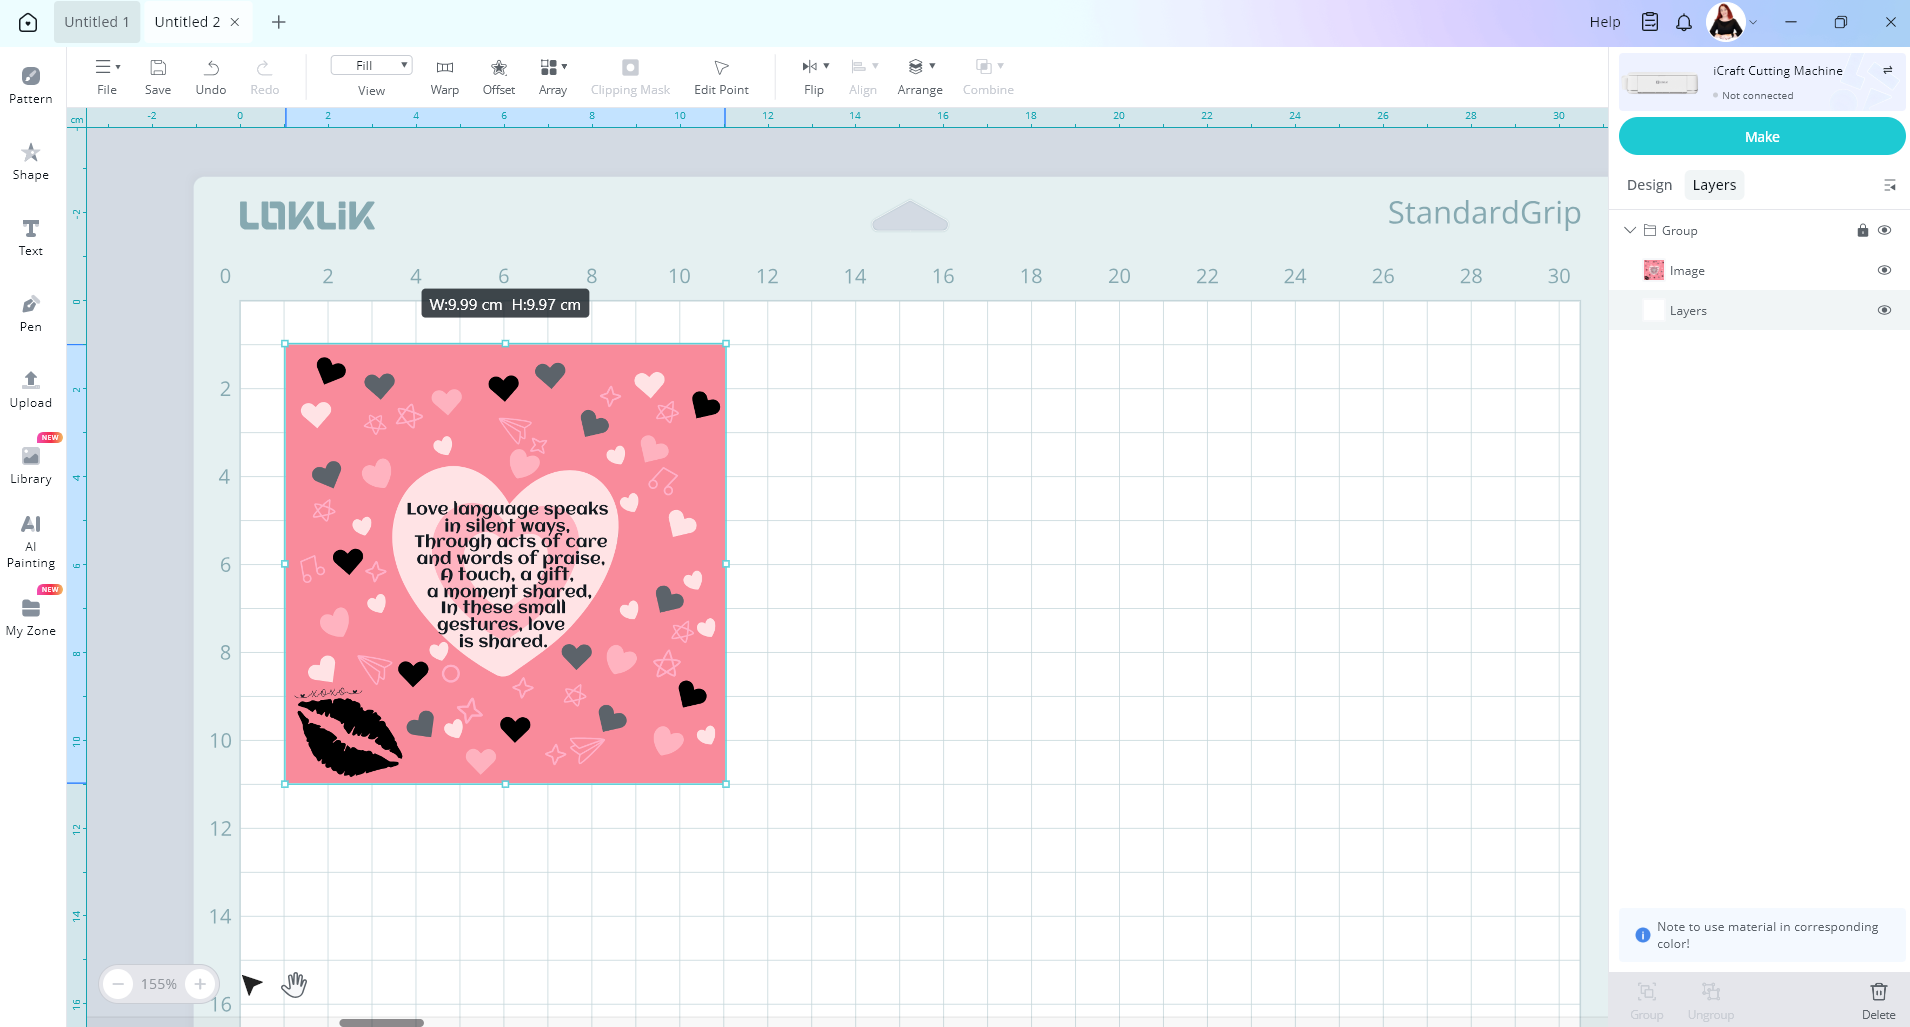
Now let’s slice a circle out of our image. Create a circle shape and resize it.
Now if we select all image layer and the circle and go to combine and slice, you will notice the slice button is greyed out and can’t be selected. The slice tool can only be used with 2 layers selected.
So we need to go to our layers panel and I’m going to select the pink layer of my image.
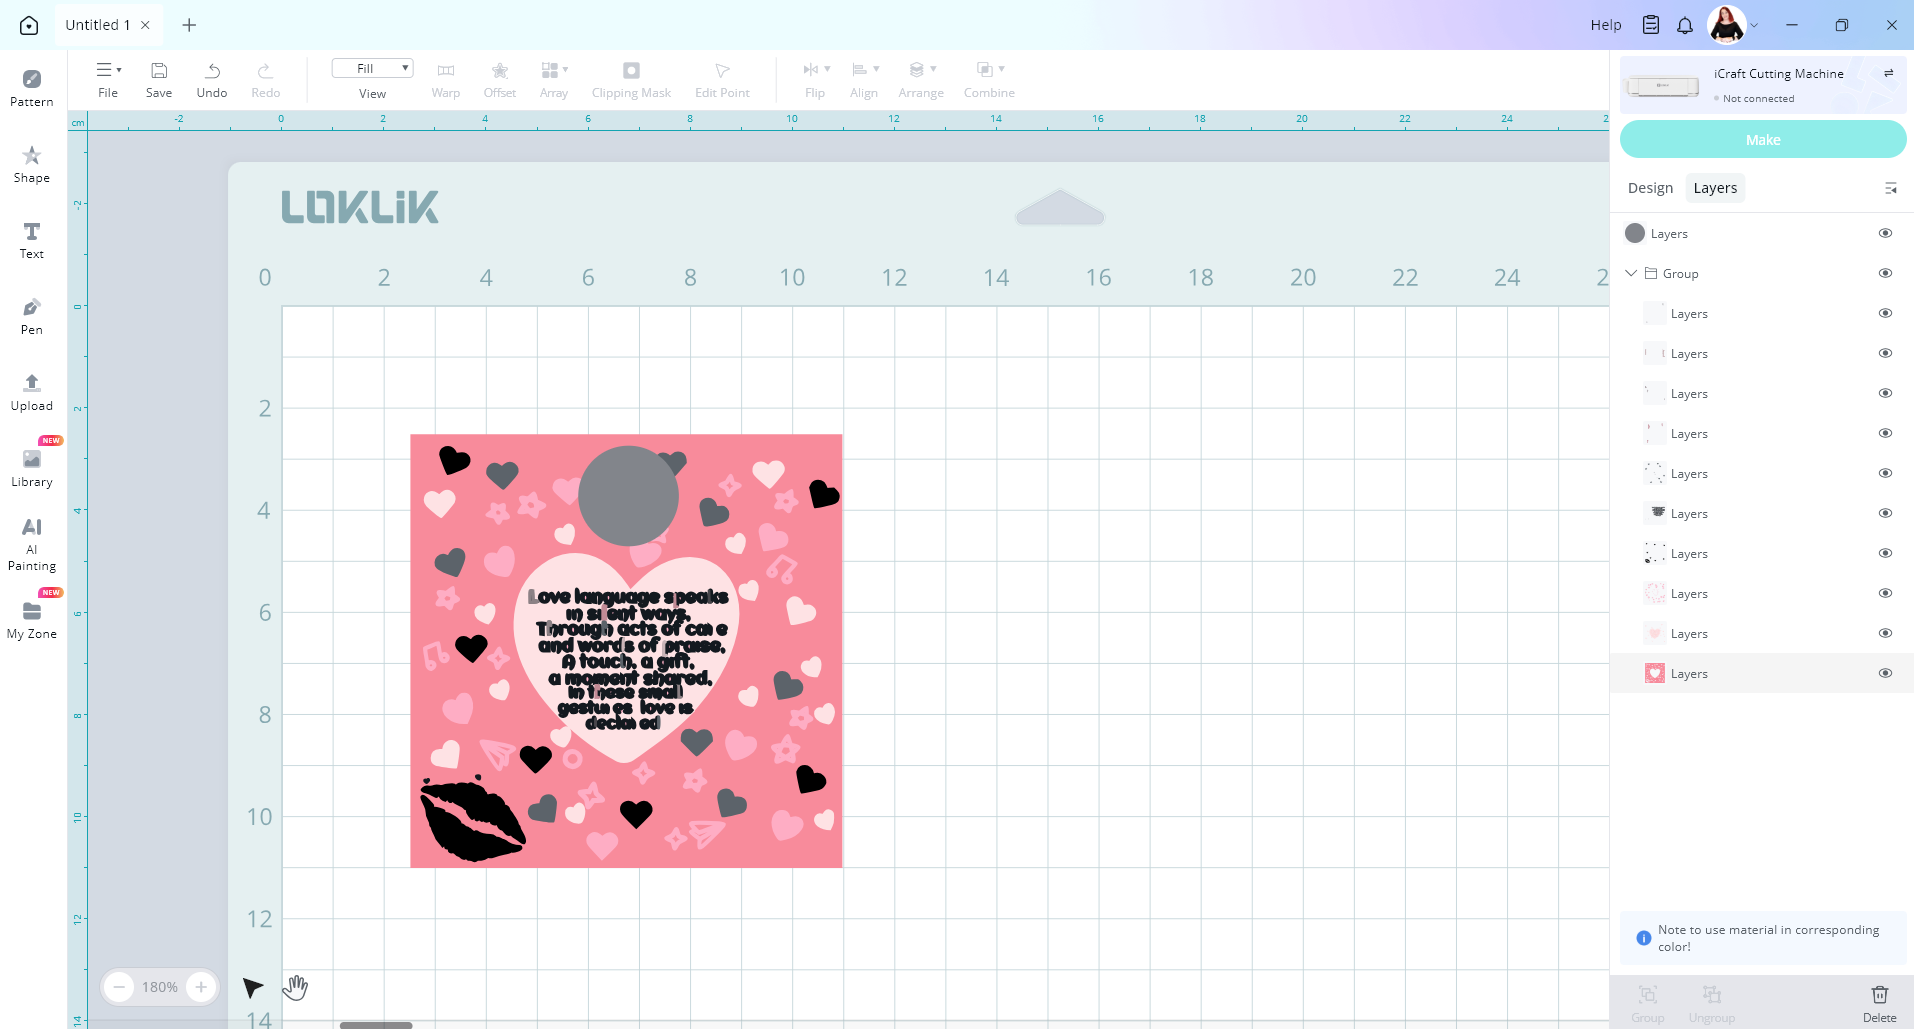
You can hold down your ctrl key /cmd key to then select your circle layer in the layers panel.

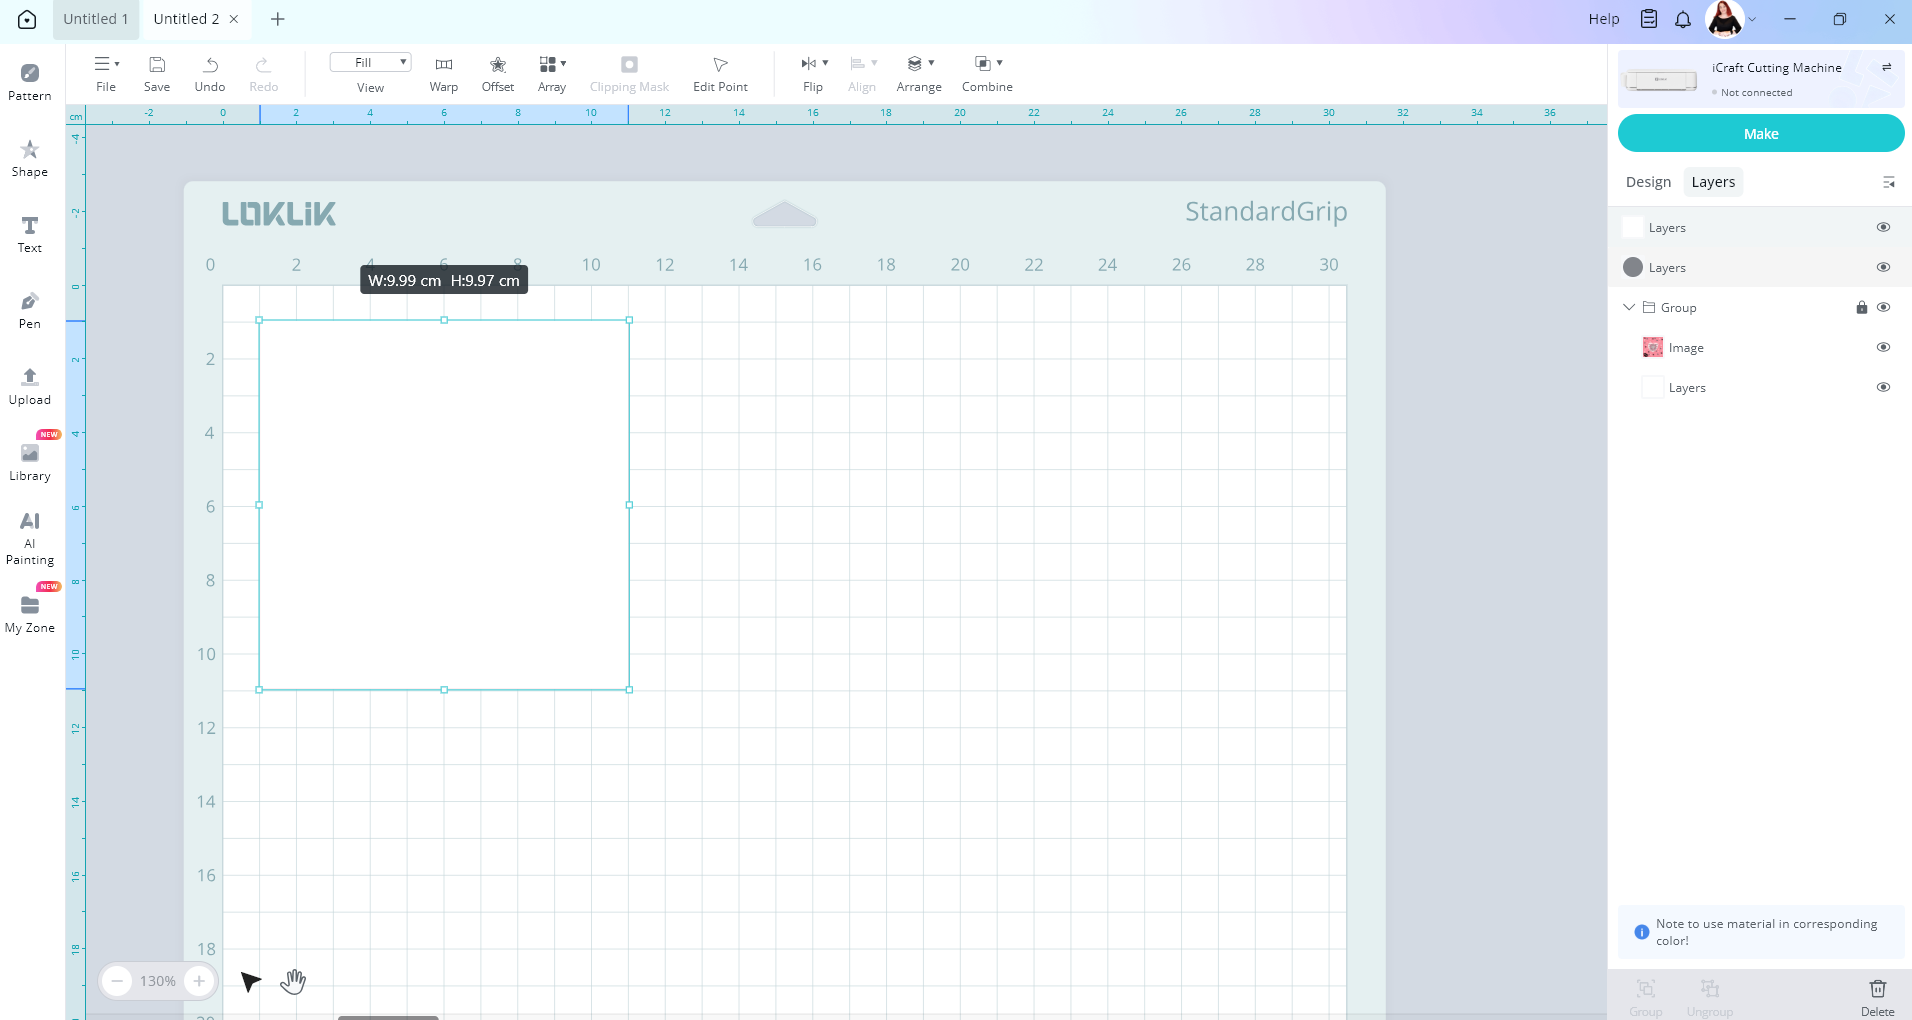
Now go up to the combine button and click on slice
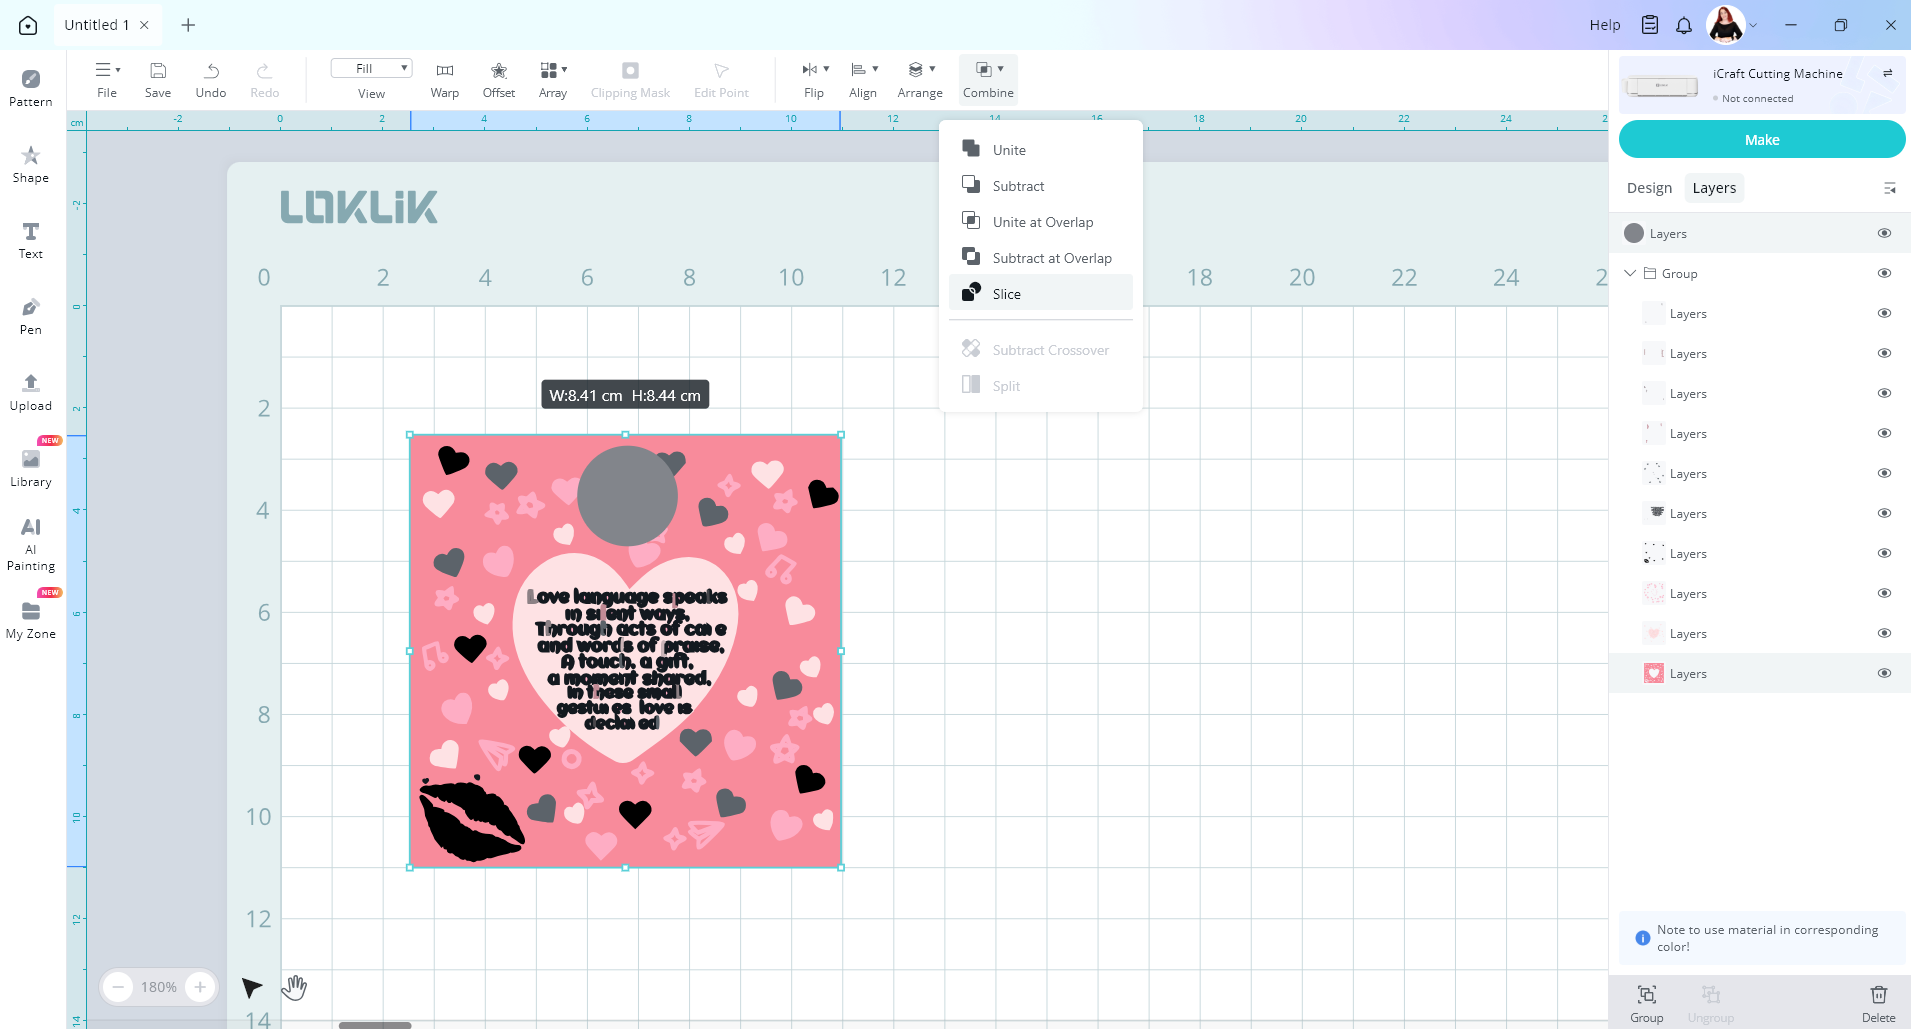
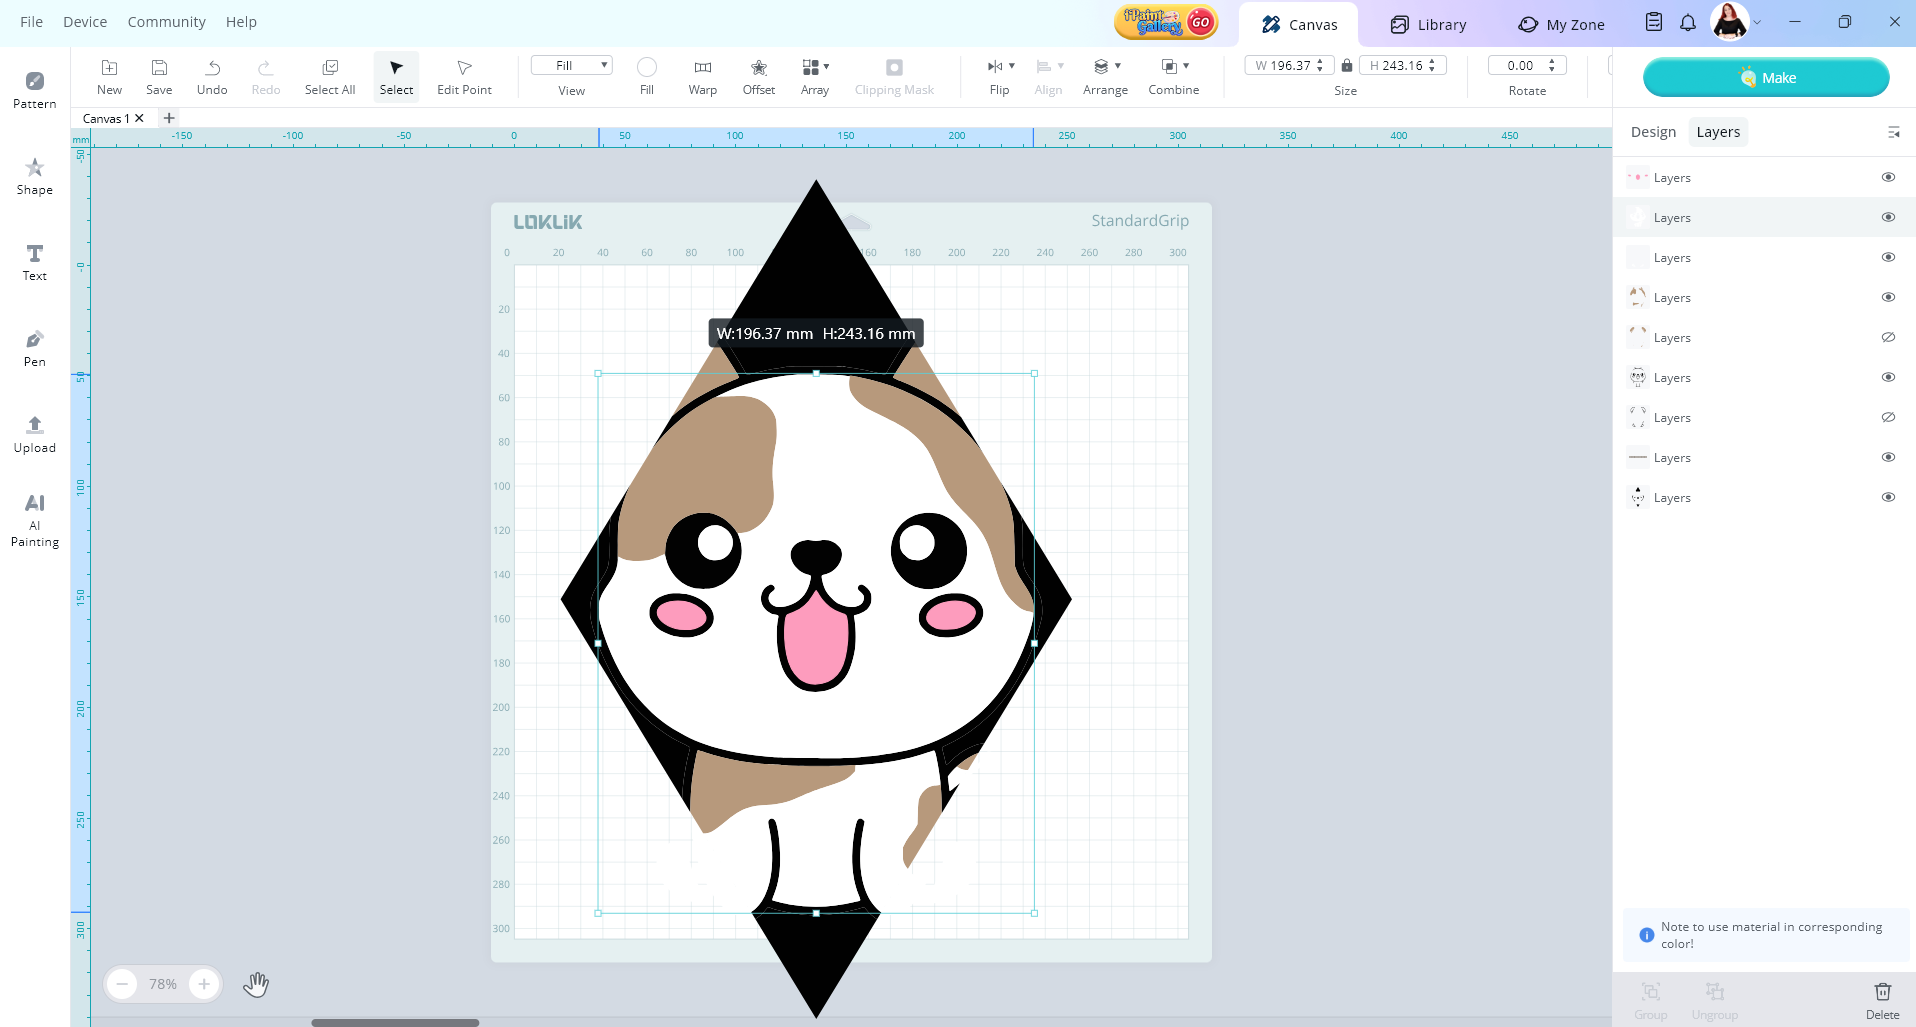
Now our circle has been sliced out of our pink layer

To cut the rest of the layers out using the circle to repeat these steps.
Hope this helps, if you still need help please just ask
1 Like
Thank you very much for the time you took and the extensive explanation. I tried, but no luck. Unfortunately, my images have too many layers, and none are lined up where the hole is supposed to go. I finally got the machine set to cut the images without the holes sliced out, but it only cut a few from the entire page of images, and didn’t do well with those. Maybe I have a defunct machine? Either way, thank you for your time.
1 Like
Other way you could do it is to make your image a print then cut picture.
So upload image, then under design tab select print then cut
So now you have your image layer and cut layer
You can then create a circle shape and resize it

Then selecting the cut layer, duplicate it and align it to your image.
Now use the combine tool and press slice with the copied cut layer and the circle

Delete the circle layer. Then change the color of the cut layer to one that your design isn’t using. So I’m going to choose yellow.
Now you can copy and paste as many images you want to fill your page. Just make sure to keep the yellow layer directly behind your image for a perfect cut. When you go to make, choose the print then cut operation. Print your design, then select the yellow layer to cut. Your image should get cut out along with the circle hole.

Oh and one tip is to place the yellow cut layer behind your image. Otherwise, when you go to print you will print out that yellow cut layer instead of your image. Hopefully this way helps you. Let me know how you go
1 Like