Hi everyone! I posted Part 2 of my H10 heat press review please give it a look ![]() HTVRONT H10 12x10in Heat Press Hands On Review: Testing It Out
HTVRONT H10 12x10in Heat Press Hands On Review: Testing It Out
12 Likes
Great review @DianeB! ![]()
![]()
9 Likes
@Katrina_Moore @DianeB Thank you! ![]() I have one that I made for myself and this one is a gift for my cousin.
I have one that I made for myself and this one is a gift for my cousin.
7 Likes
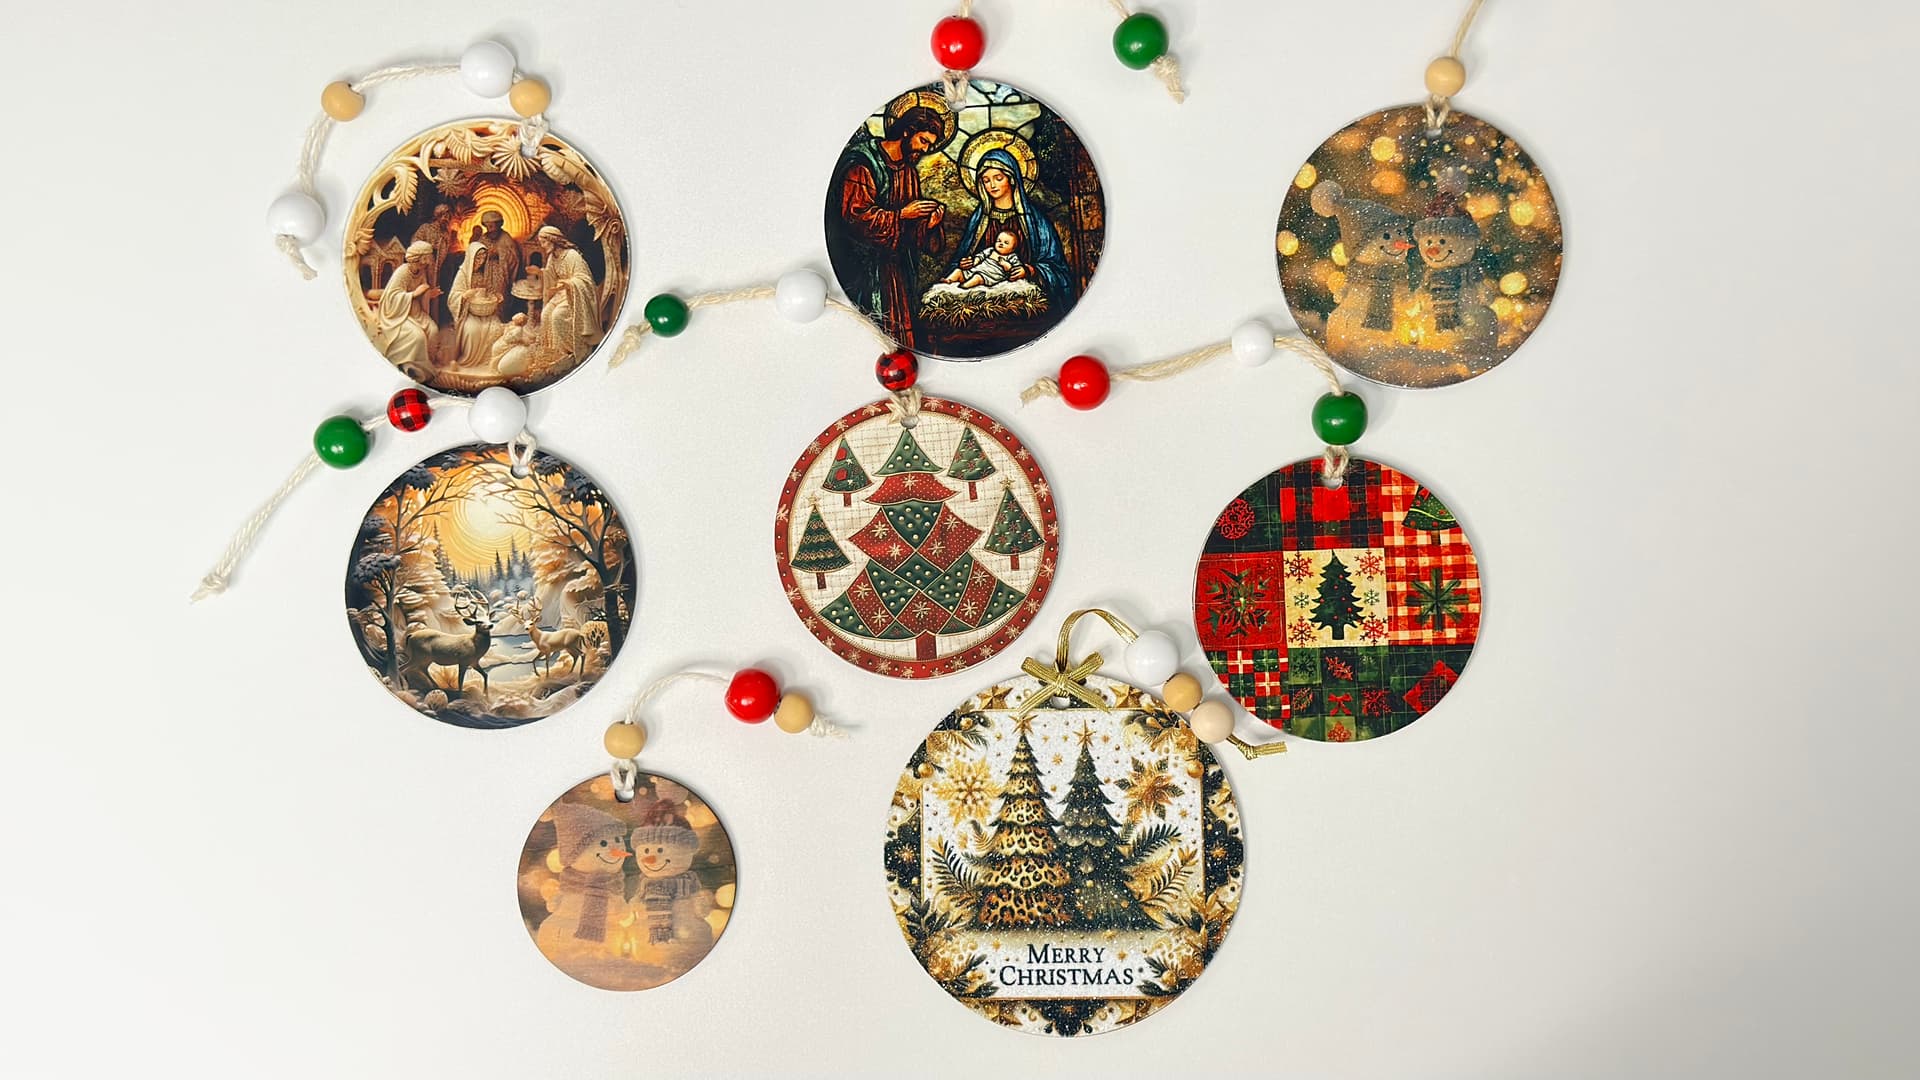
Day 12 Designed some memorial ornaments
9 Likes
Thank you so much lajuana ![]()
7 Likes
Key word, INVESTMENTS ![]()
![]() That’s exactly how I talk myself into buying allll the things lol
That’s exactly how I talk myself into buying allll the things lol
8 Likes
Day #49: I’m in!
Today’s Tip Tuesday is one of those small but mighty tricks that most crafters do not think about… but once you start using it, you will wonder how you ever lived without it.
Today’s Tip:
Place a small piece of white cardstock or printer paper behind your project when you are photographing items for your shop or social media. Even if the paper is not seen in the final shot, it quietly bounces light back onto your product. This soft reflection reduces shadows, brightens colors, and makes details pop without needing any special lighting or editing.
This technique is especially magical for earrings, ornaments, small wood pieces, or anything with fine detail. The light bounce gives your items a crisp, clean look that feels professional and polished. It is like having a mini photography assistant hiding behind the scenes.
Adding little habits like this into your workflow can elevate your presentation without costing a thing. Small improvements create big impact over time. Keep exploring, keep experimenting, and keep finding joy in the details that make your craft uniquely yours.
12 Likes
That’s great news, you must be so relieved. ![]()
6 Likes
Yep, same! ![]()
7 Likes
Oh, for sure! I lost my cousin last year due to breast cancer. She was like a “sister” to me.
7 Likes
Day 49 - My Christmas Wood Ornaments Tutorial is now live on my YouTube channel. I hope it inspires your holiday crafting—enjoy!
13 Likes
Day 49: it’s one of those days your just blah it’s cold snowy icky winter wonderland outside I don’t want to adult but I want to get my tree up so I must de clutter a little more… ied pre fear naps and hot chocolate.
5 Likes
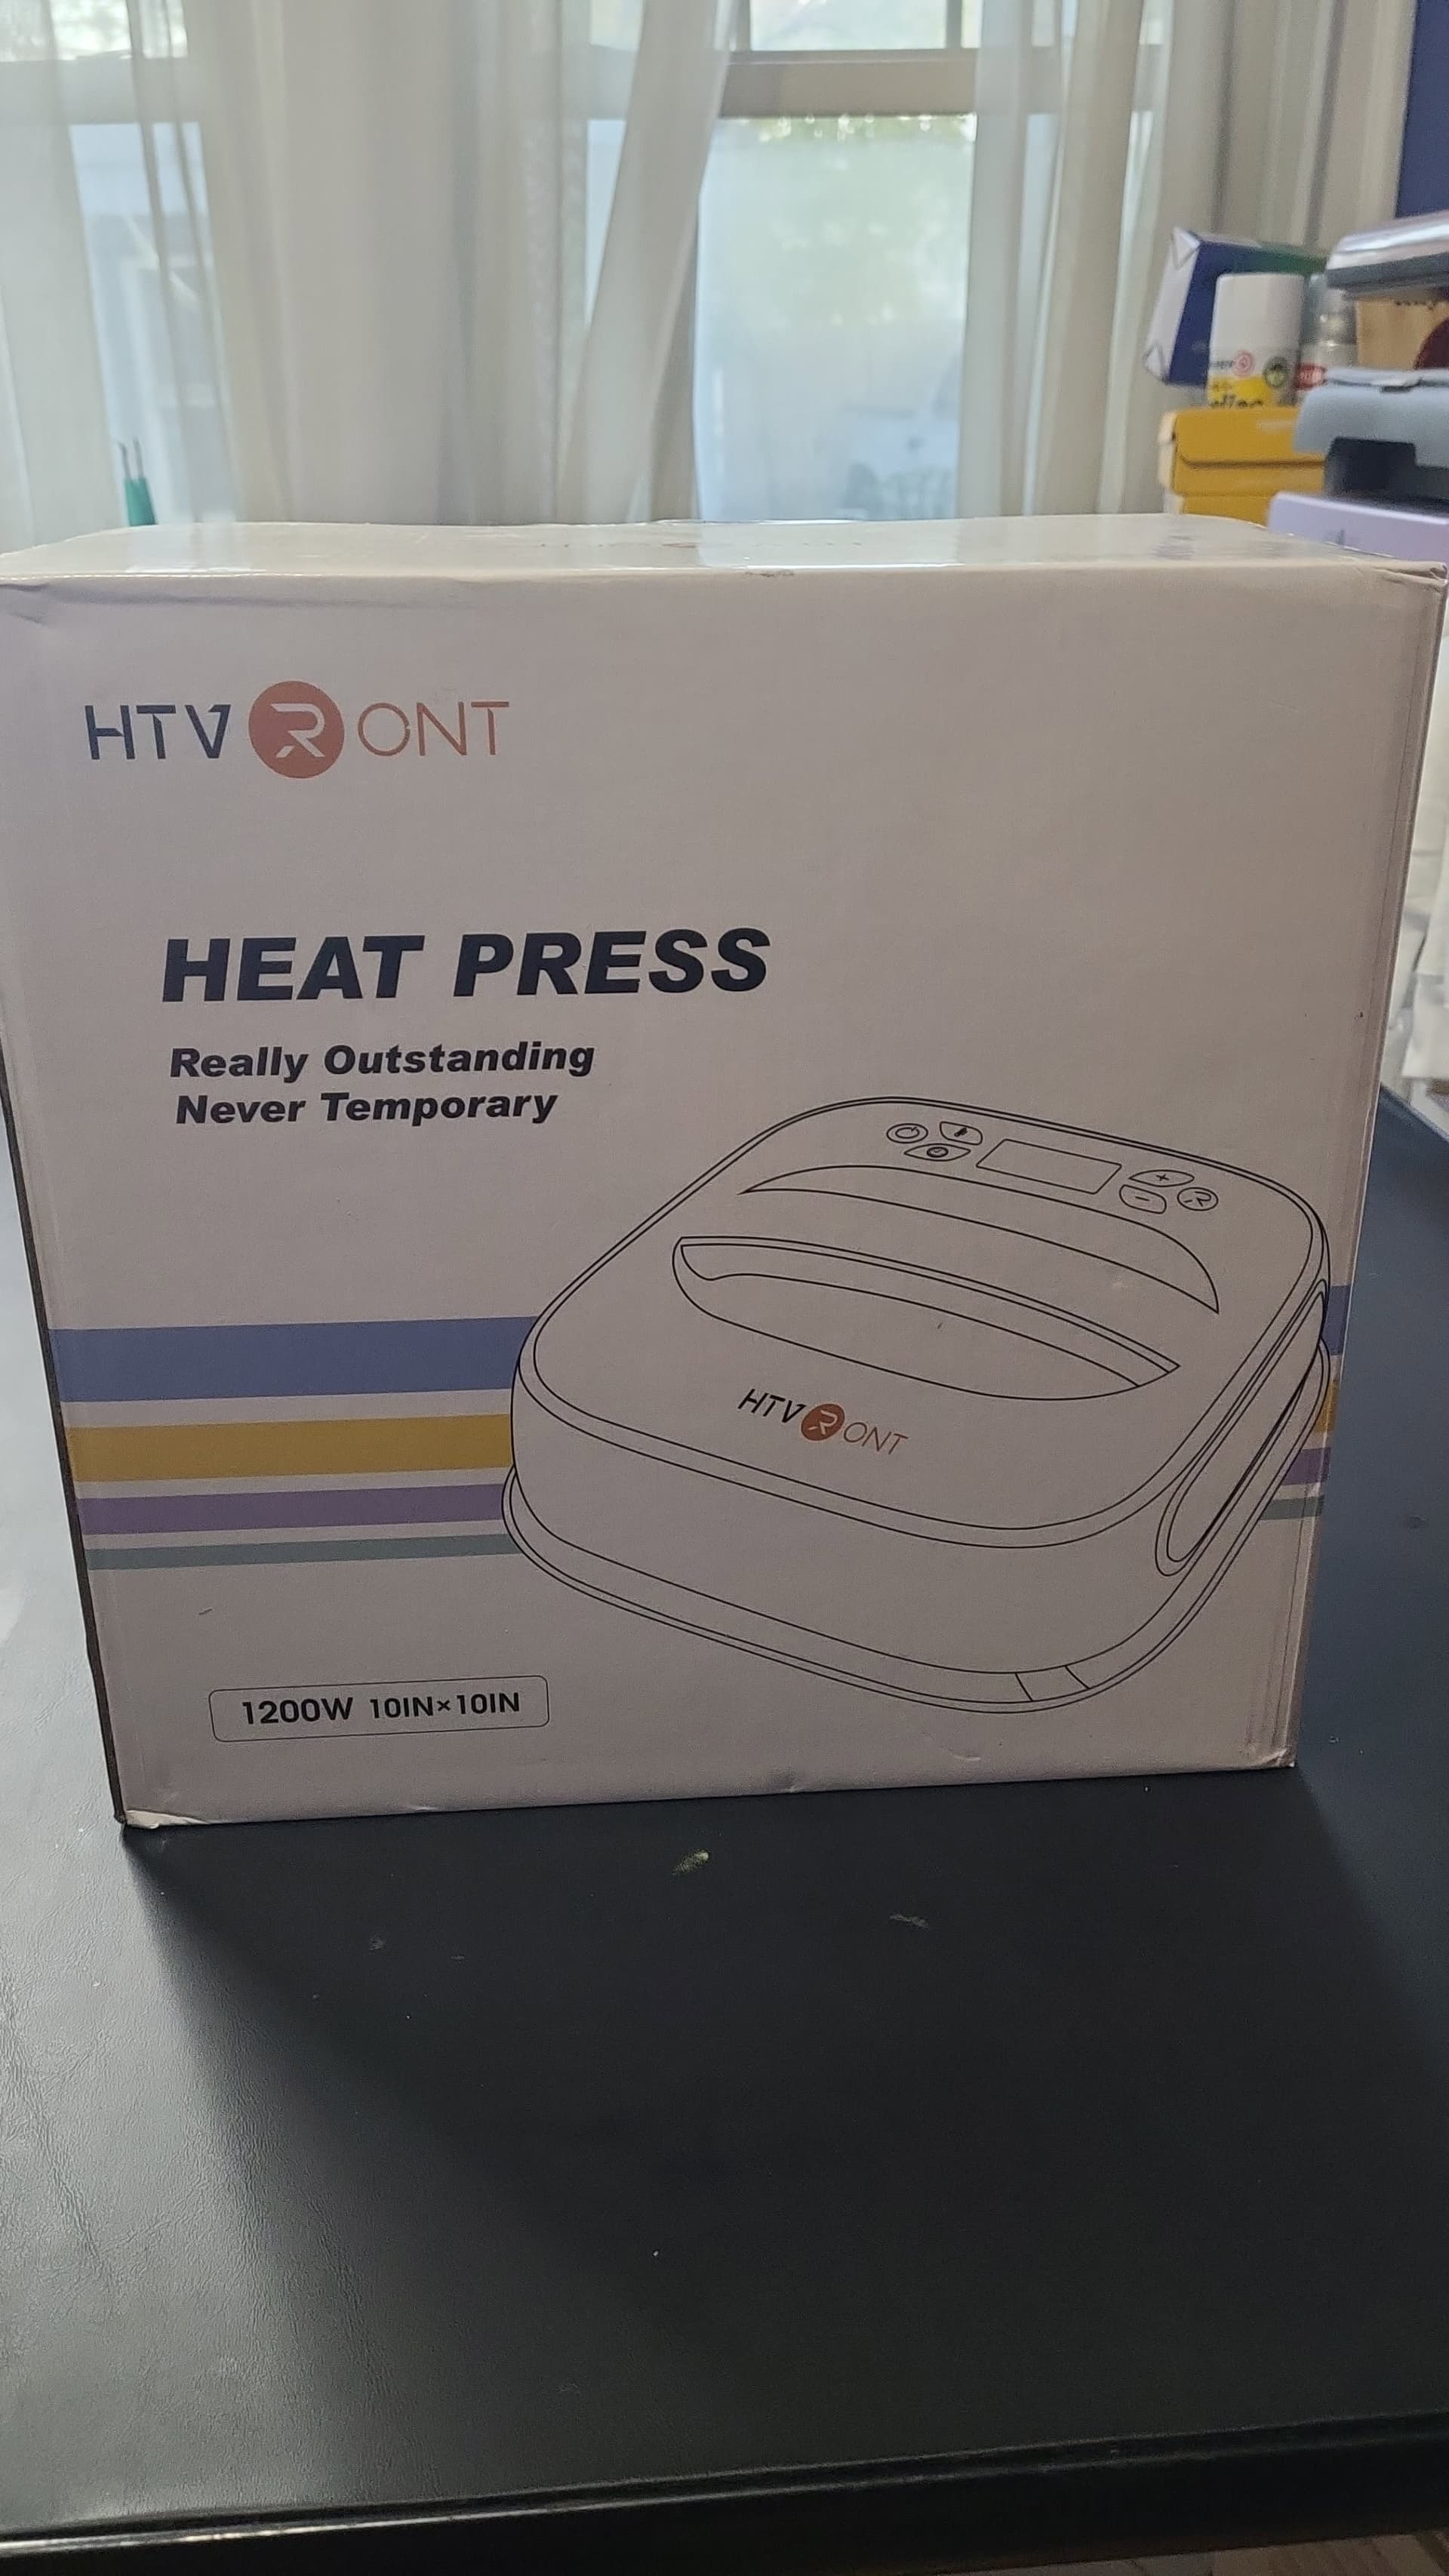
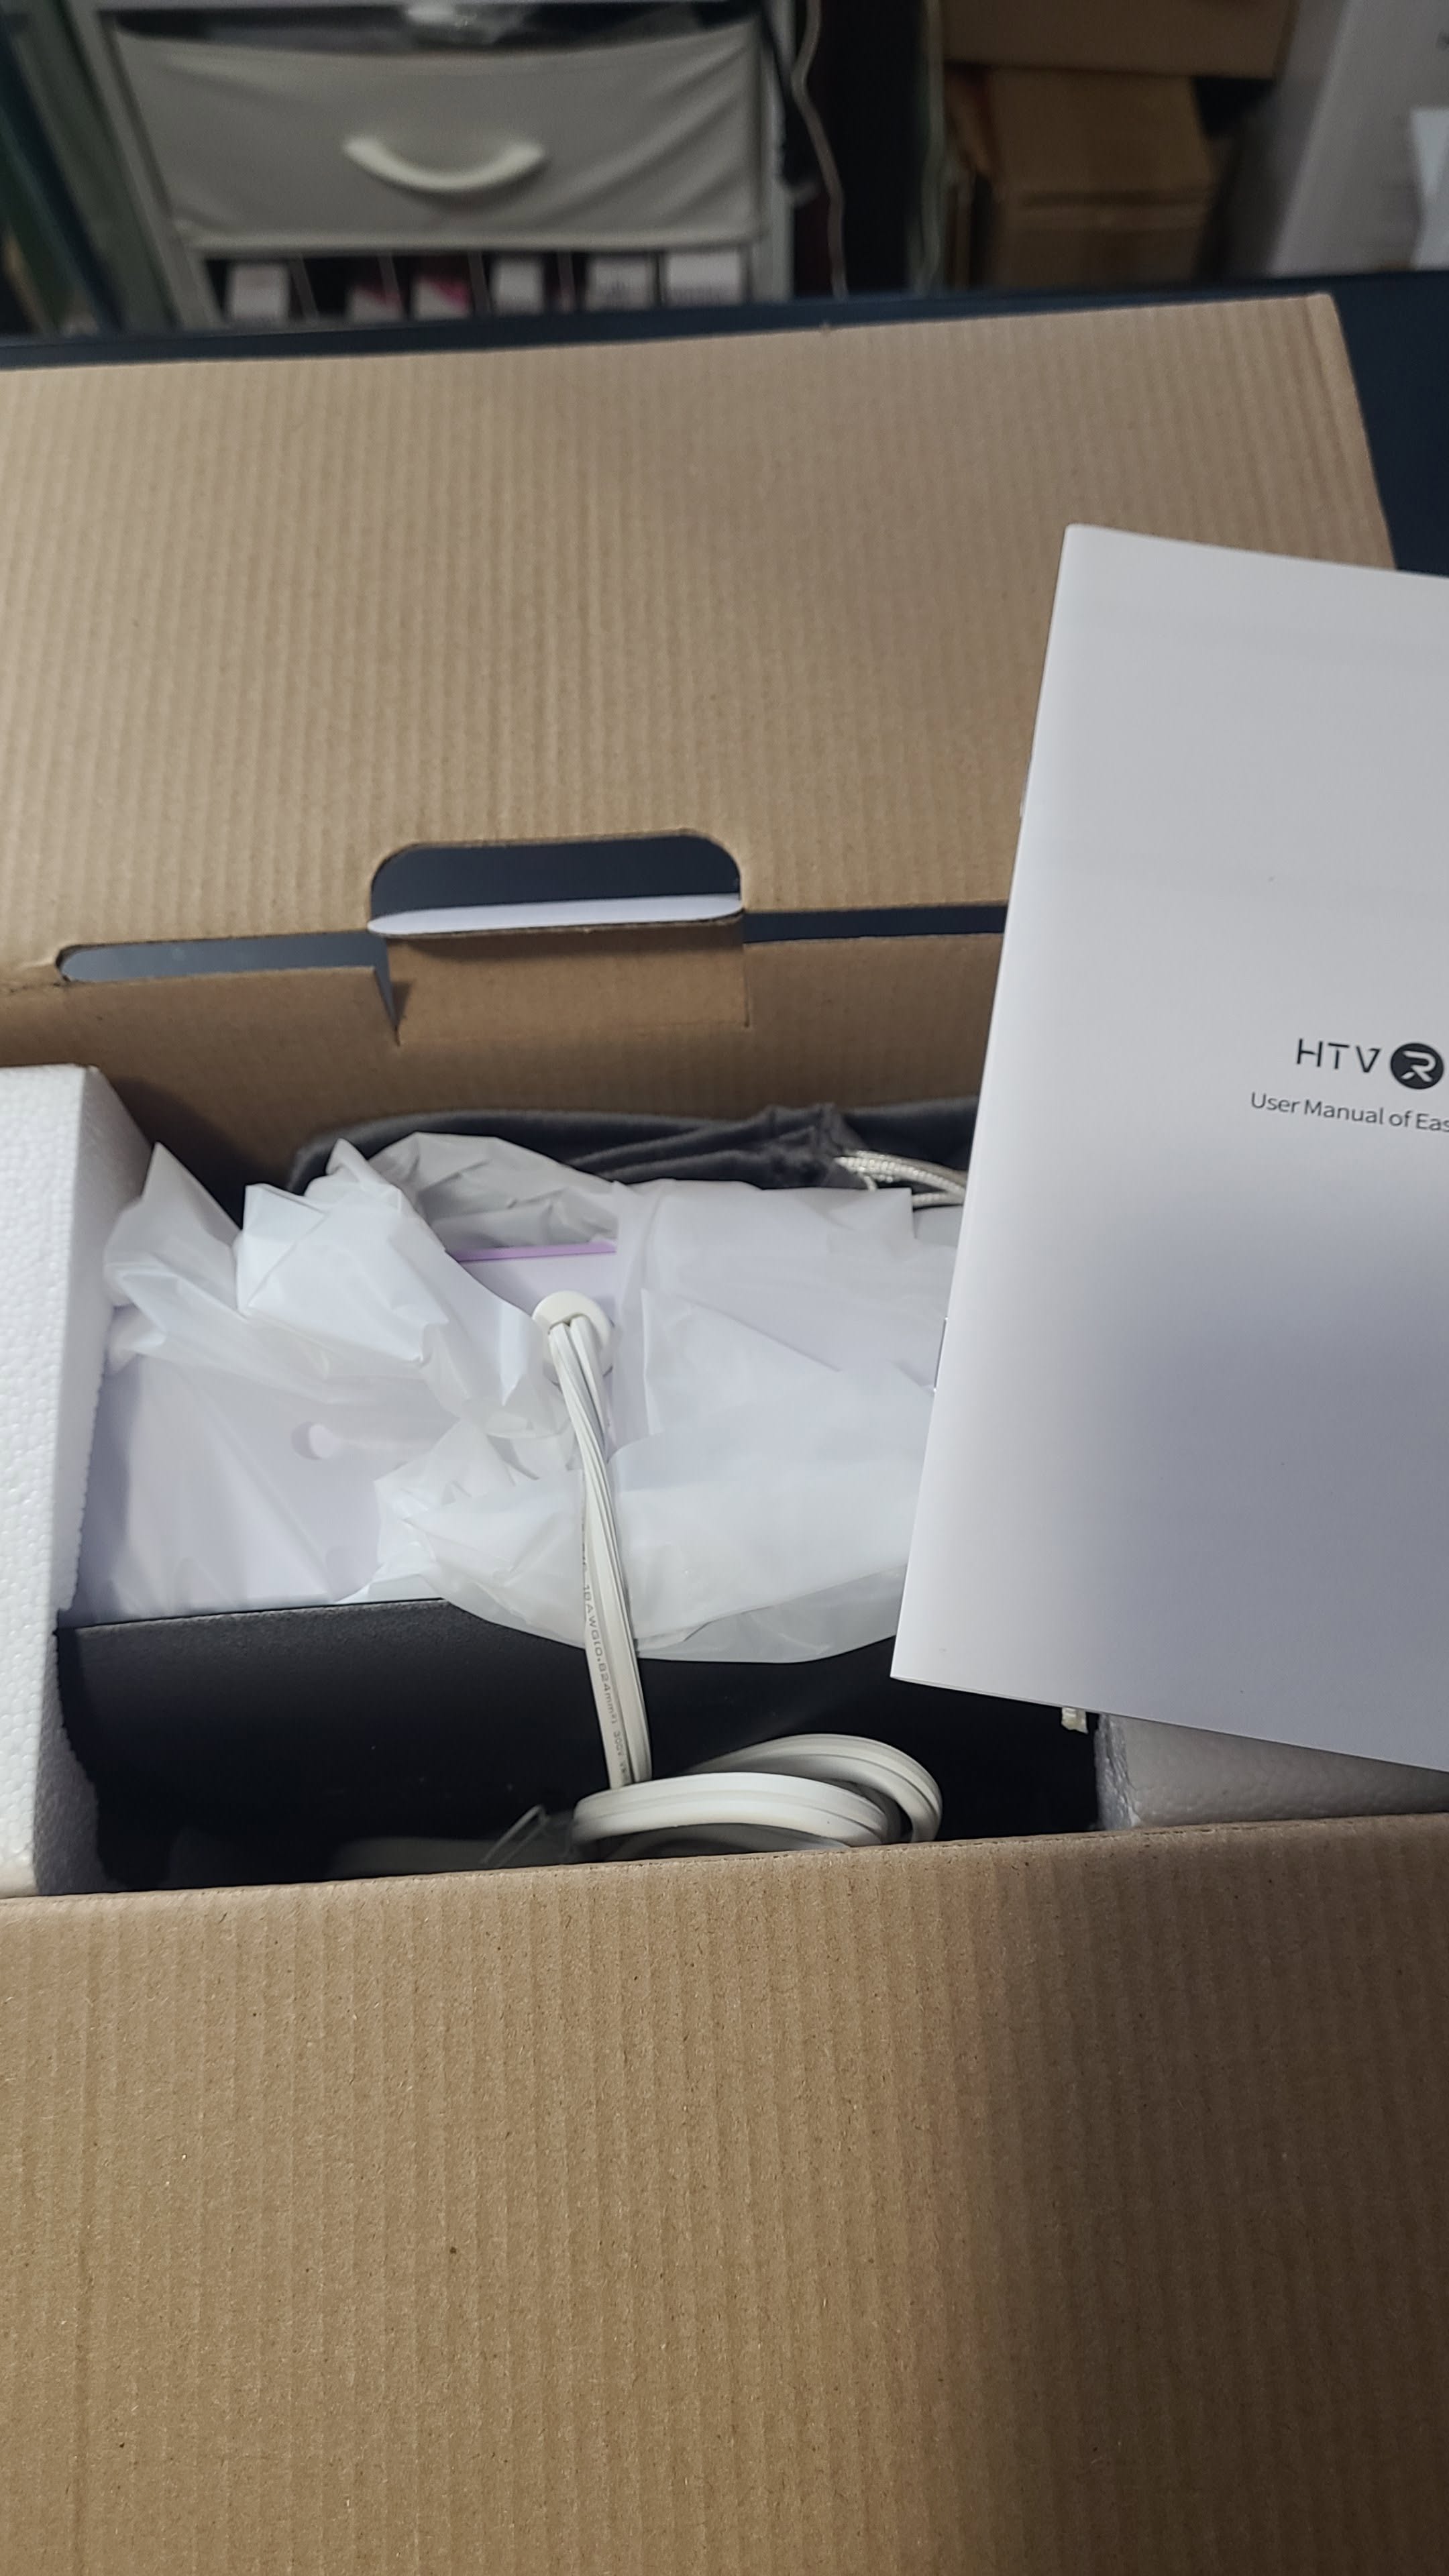
Hey Day Checking in. ![]() Sublimating on Cotton with My HTVRONT Heat Press
Sublimating on Cotton with My HTVRONT Heat Press
I recently unboxed my HTVRONT Portable Heat Press and put it to the test on a 100% cotton hoodie. Using HTVRONT Sublimation Paper, my Brother sublimation printer, and a design I created in Canva, I pressed the transfer at 370°F for 60 seconds. Here’s the full process, step by step.
![]() Unboxing the Heat Press
Unboxing the Heat Press
Inside the box, I found everything neatly packed and ready to go:
 HTVRONT Portable Heat Press (10x10 inches, 1200W, lavender + white)
 Heat-resistant gloves
 User manual labeled “HTVRONT User Manual of EasyPress”
 Power cord and protective packaging
The sleek design and easy setup made it feel like a boutique tool built for creators.
![]() Designing in Canva
Designing in Canva
I started by creating my design in Canva, layering bold text and icons with my brand colors. Canva makes it simple to:
- Match fonts and palettes to your boutique style
- Export high-resolution PNGs for sublimation printing
- Build designs that look polished and professional
Once finished, I printed the design using sublimation ink on HTVRONT’s sublimation paper.
![]() Preparing the Cotton Hoodie
Preparing the Cotton Hoodie
- Pre-press the garment: I pressed the hoodie for a few seconds to remove moisture and wrinkles.
- Position the transfer: I placed the sublimation paper face-down exactly where I wanted the design.
- Protect the surface: Optional, but I used butcher paper to keep the press clean.
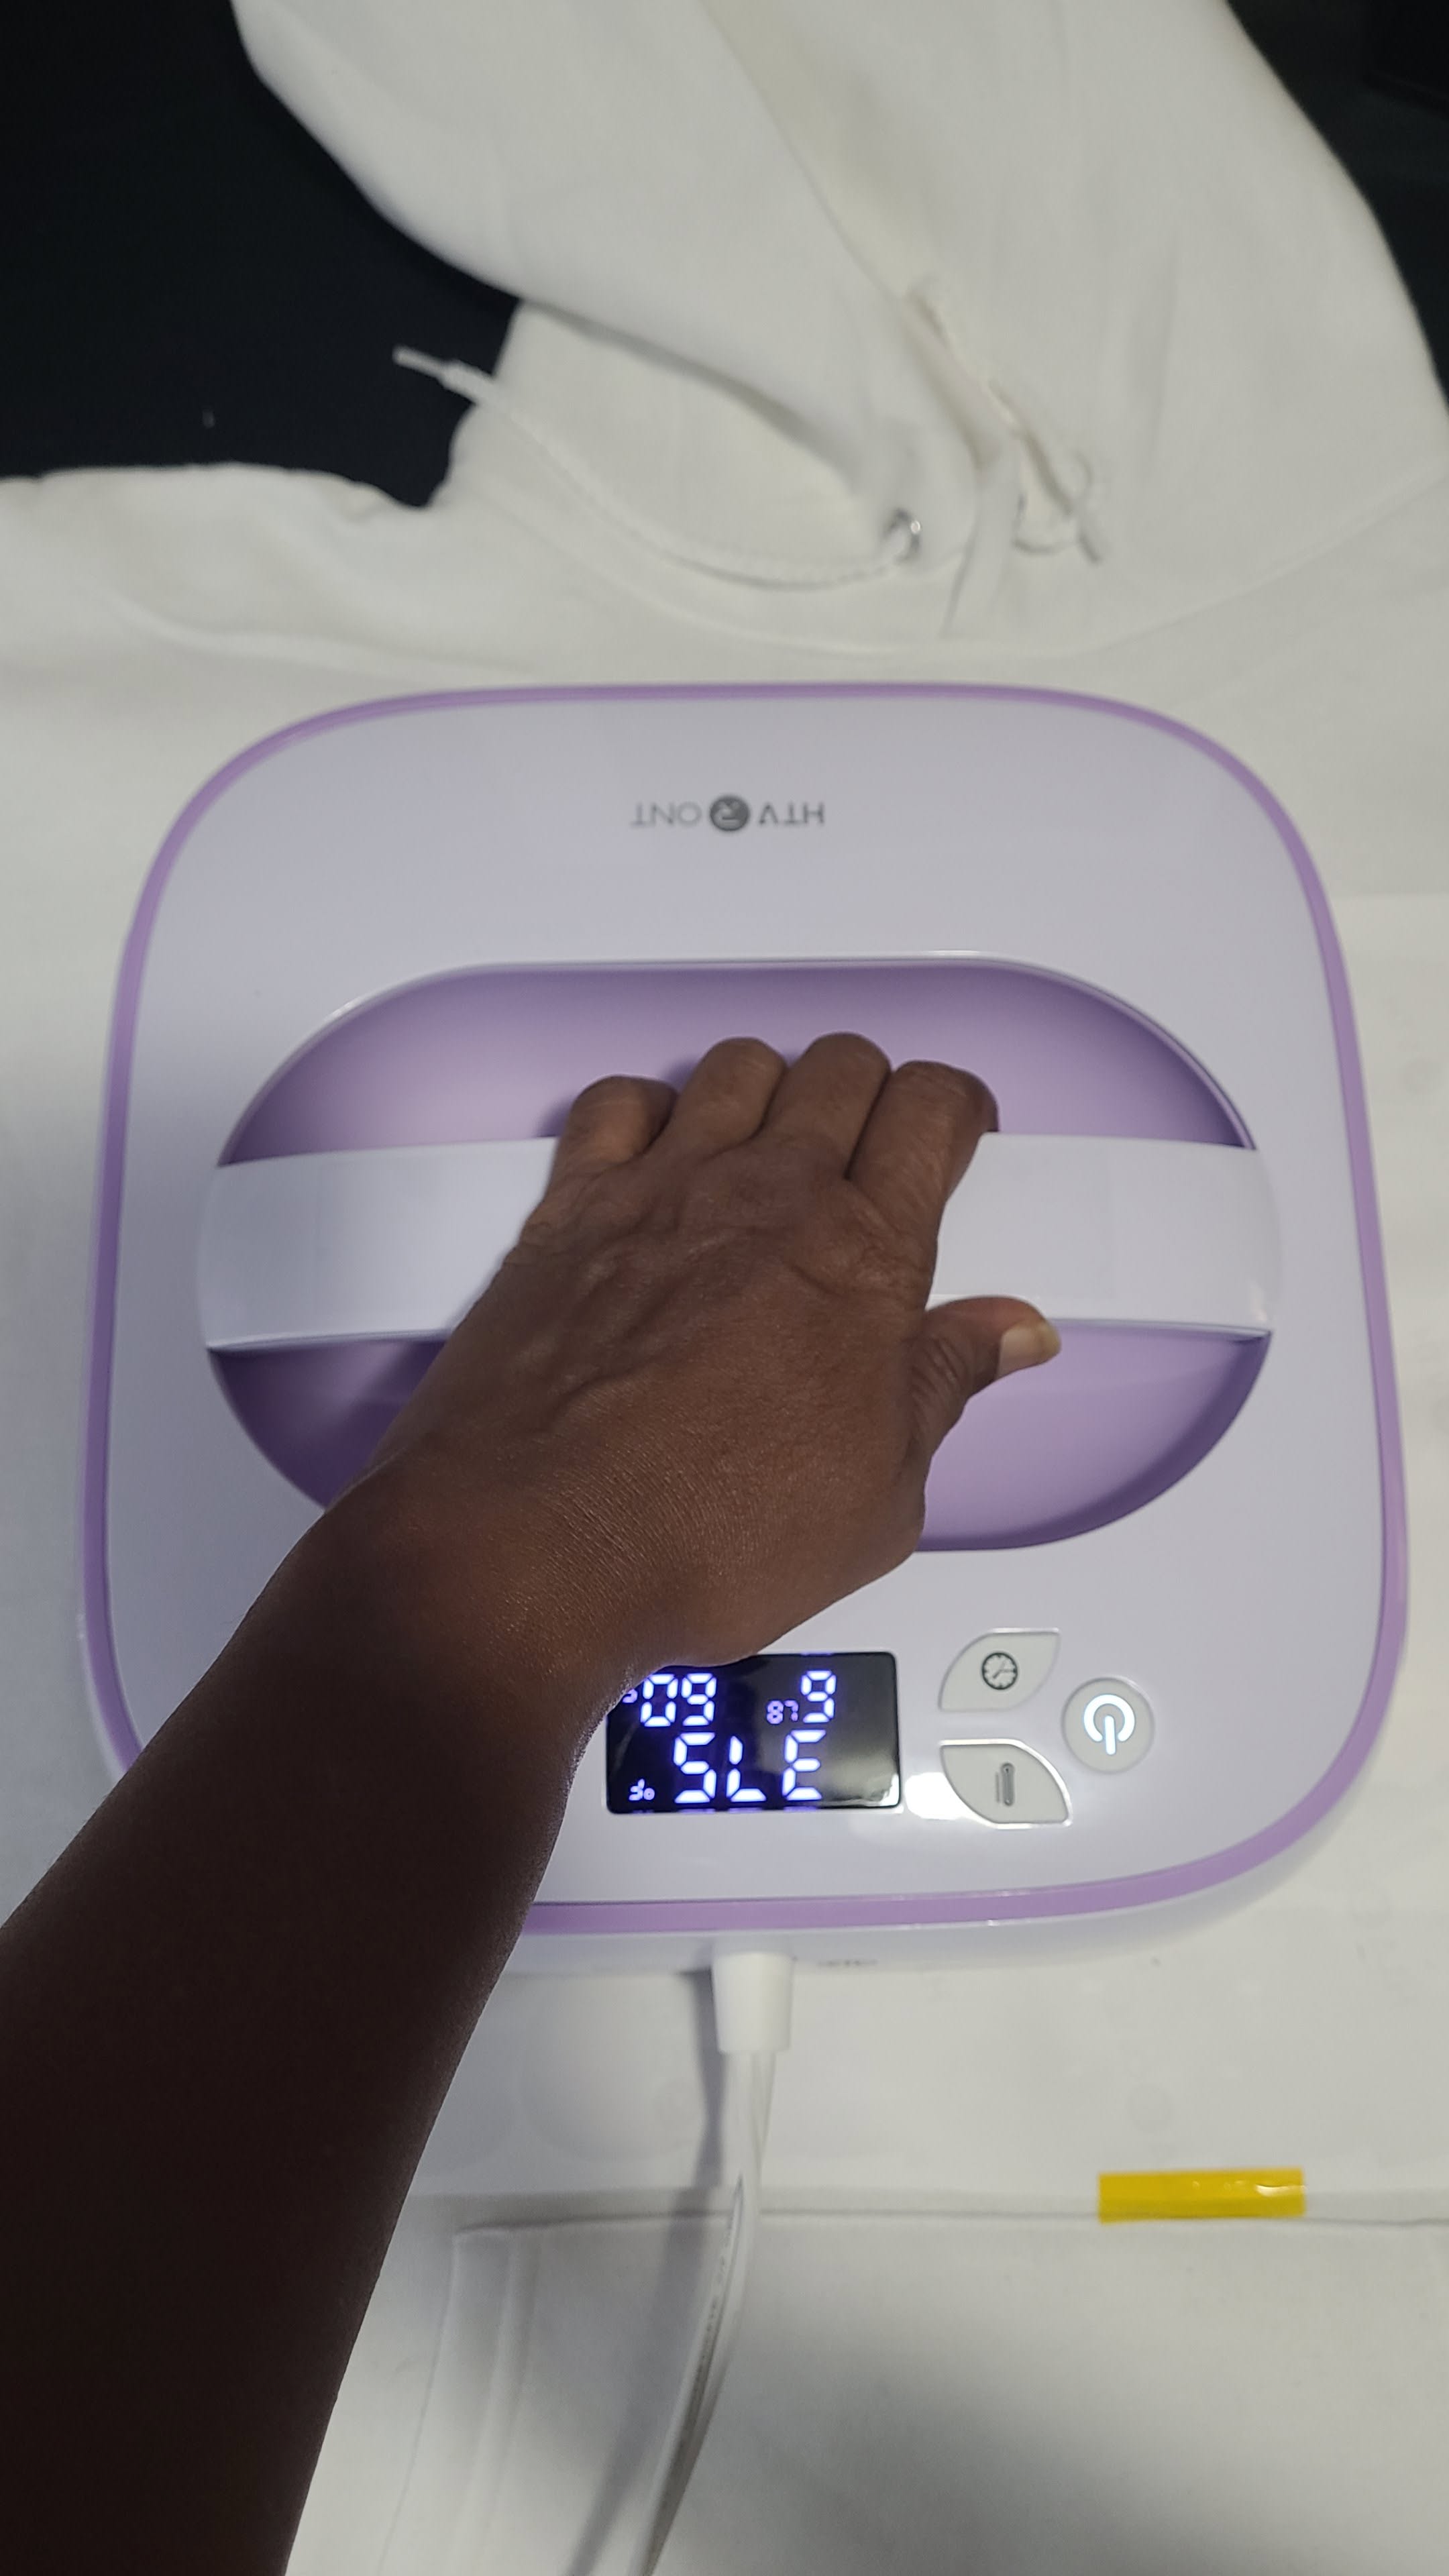
![]() Pressing the Design
Pressing the Design
With the hoodie ready, I set my HTVRONT Heat Press 2 to:
- Temperature: 375°F
- Time: 60 seconds
I pressed firmly with even pressure, then peeled the paper while warm. The design transferred beautifully onto the cotton surface.
![]() Tips for Success
Tips for Success
- Pre-pressing is essential for smooth results.
- Always wear your heat-resistant gloves for safety.
- Sublimation works best on polyester, but with HTVRONT sublimation paper and cotton blanks, you can still achieve bold, boutique-worthy designs.
- For extra vibrancy, consider sublimation coating sprays or cotton-poly blends.
![]() Final Thoughts
Final Thoughts
From unboxing to pressing, the HTVRONT Portable Heat Press delivered consistent heat and professional results. Pairing it with Canva designs and HTVRONT sublimation paper made the process seamless. This setup is perfect for boutique creators who want to customize cotton garments with vibrant, lasting designs.
12 Likes
So sorry for your loss. That must have made it even more worrying for you. Glad you’re ok though.
7 Likes
That’s such a great tip, thanks. I’ll have to try it next time.
8 Likes
Im a little sad, my LOKLIK iCraft arrived today however the shipping box was all damaged and the machine itself was out of the original box, I decided I wanted to replace it with a new one since I don’t want to run the risk of it being defective down the road, now I wait until the new one comes! ![]()
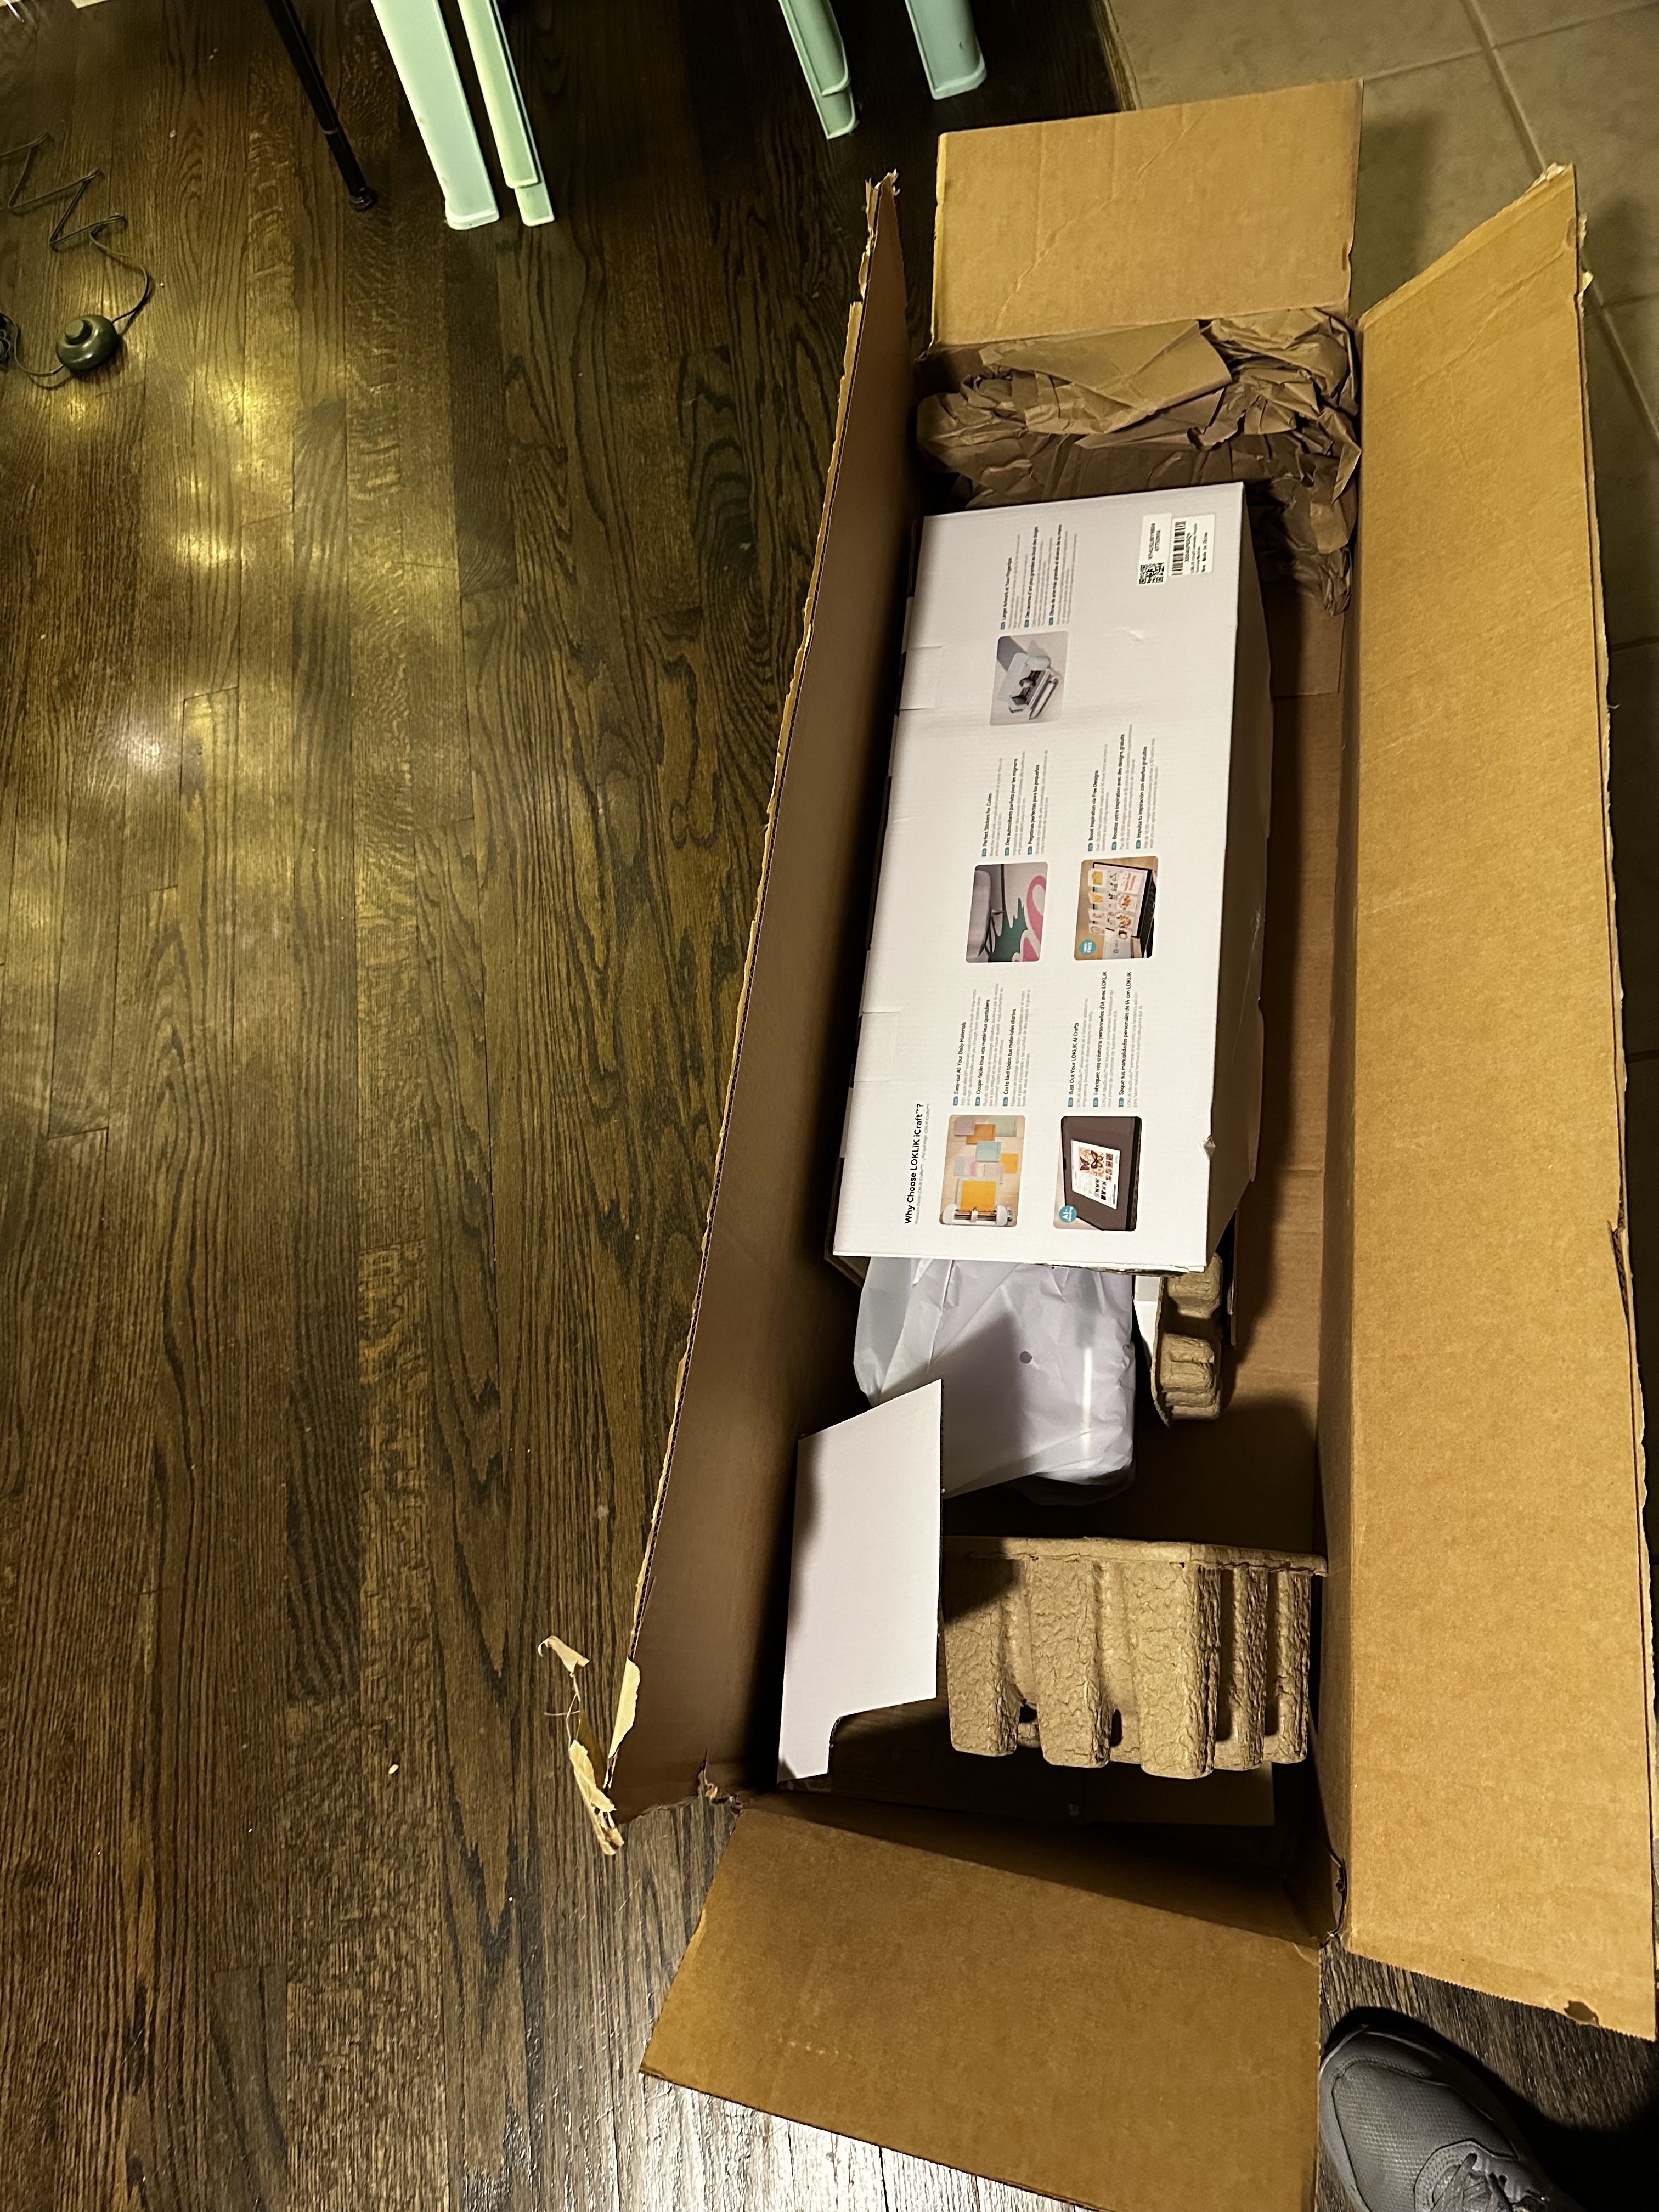
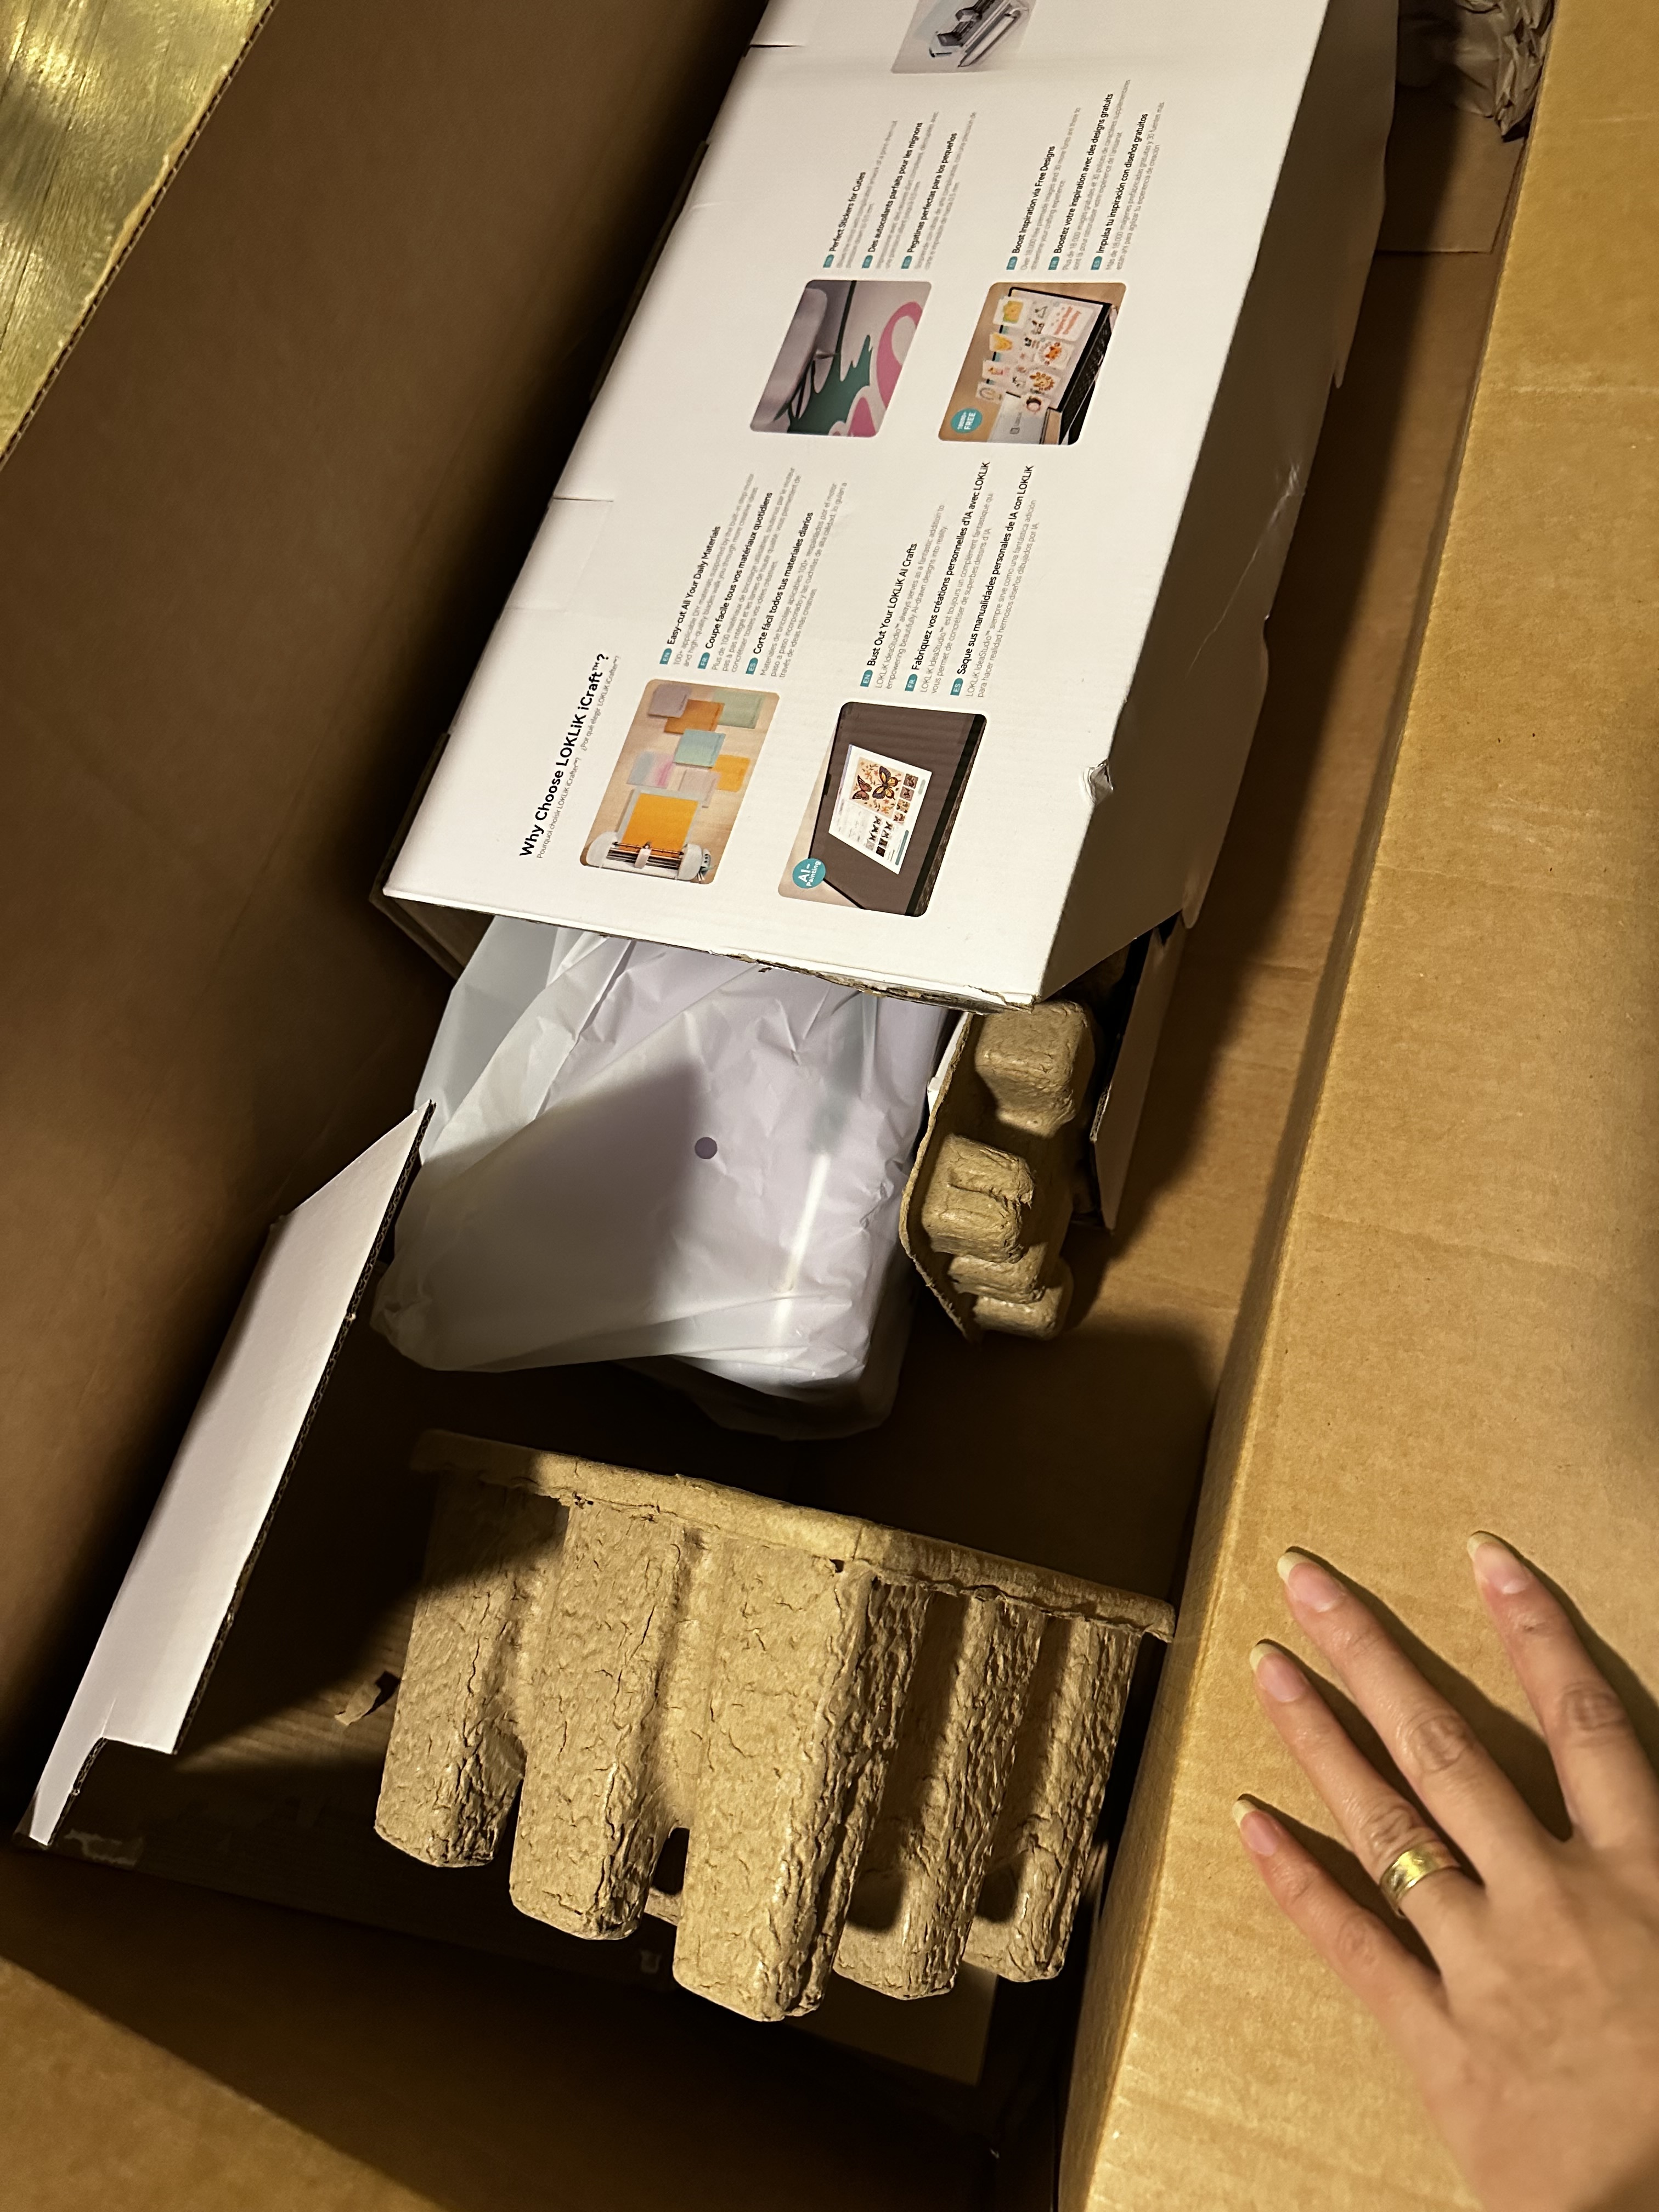
since it was so badly handled.
11 Likes
Oh, gosh! You need a new one, a replacement.
8 Likes
I know ![]() I arranged a replacement, hopefully it’ll work out for the best
I arranged a replacement, hopefully it’ll work out for the best ![]()
9 Likes
Oh my, what happened to that? The purple one I ordered overseas came in 2 boxes.
9 Likes
Oh no. Sorry to hear that. -uploaded image goes here-
6 Likes