
Hello fellow crafters. I’m back with part two of my H10 12x10in heat press review. This time I’m focusing on how the machine actually feels to use, the settings I ended up using, and a few projects I tested with different types of vinyl.
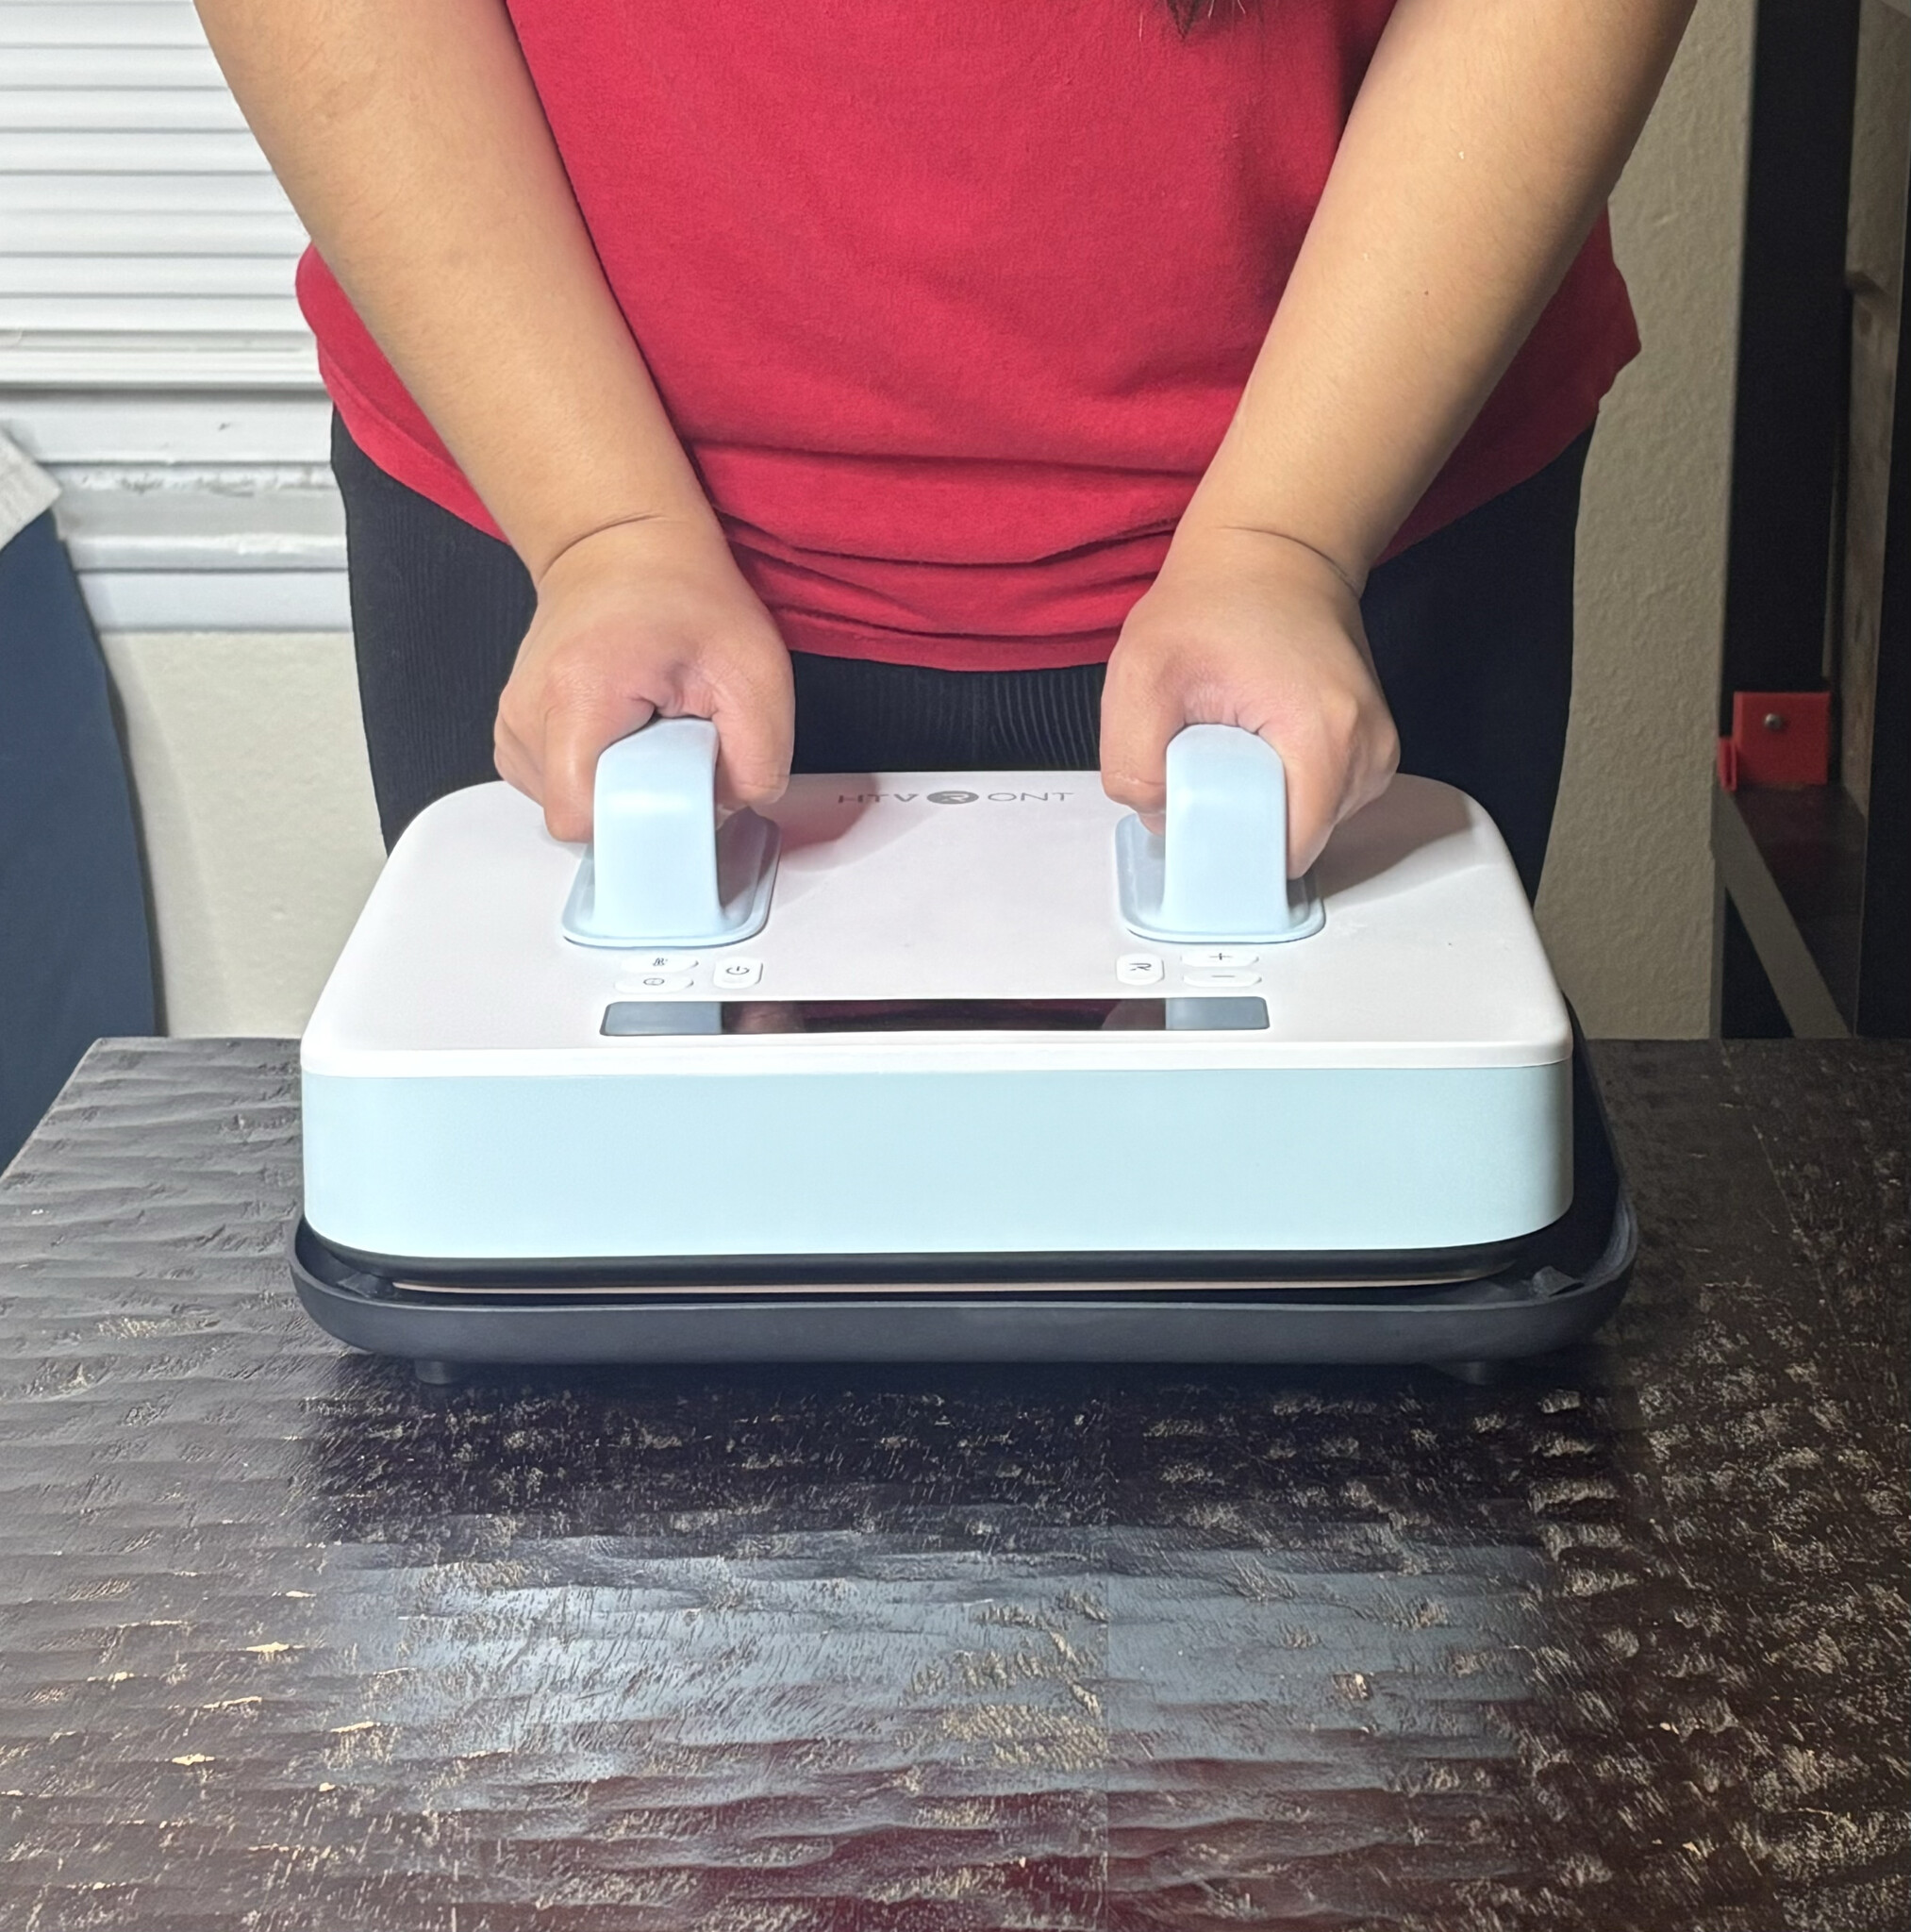
As I’ve mentioned before, the larger 12x10 pressing area gives you more room to work with compared to a lot of similar presses. It’s a welcome upgrade because it covers more surface at once, which means less pressing time especially on bigger projects. I also talked about the pressure monitor and dual-handle design in part one, and those two features really make this press stand out. Both ended up being game changers for me.
I noticed the difference from the very first project I worked on. The dual handles helped me easily lean into it when I needed heavier pressure and ease up when I didn’t. It’s not a dramatic night-and-day upgrade, but it’s definitely noticeable. I also really loved having the pressure monitor because it showed me exactly how much pressure I was applying and made it easy to jot down accurate settings for future projects. It quickly became one of my favorite parts of the H10. It felt easy to use and gave me confidence to jump into all the projects I had lined up.
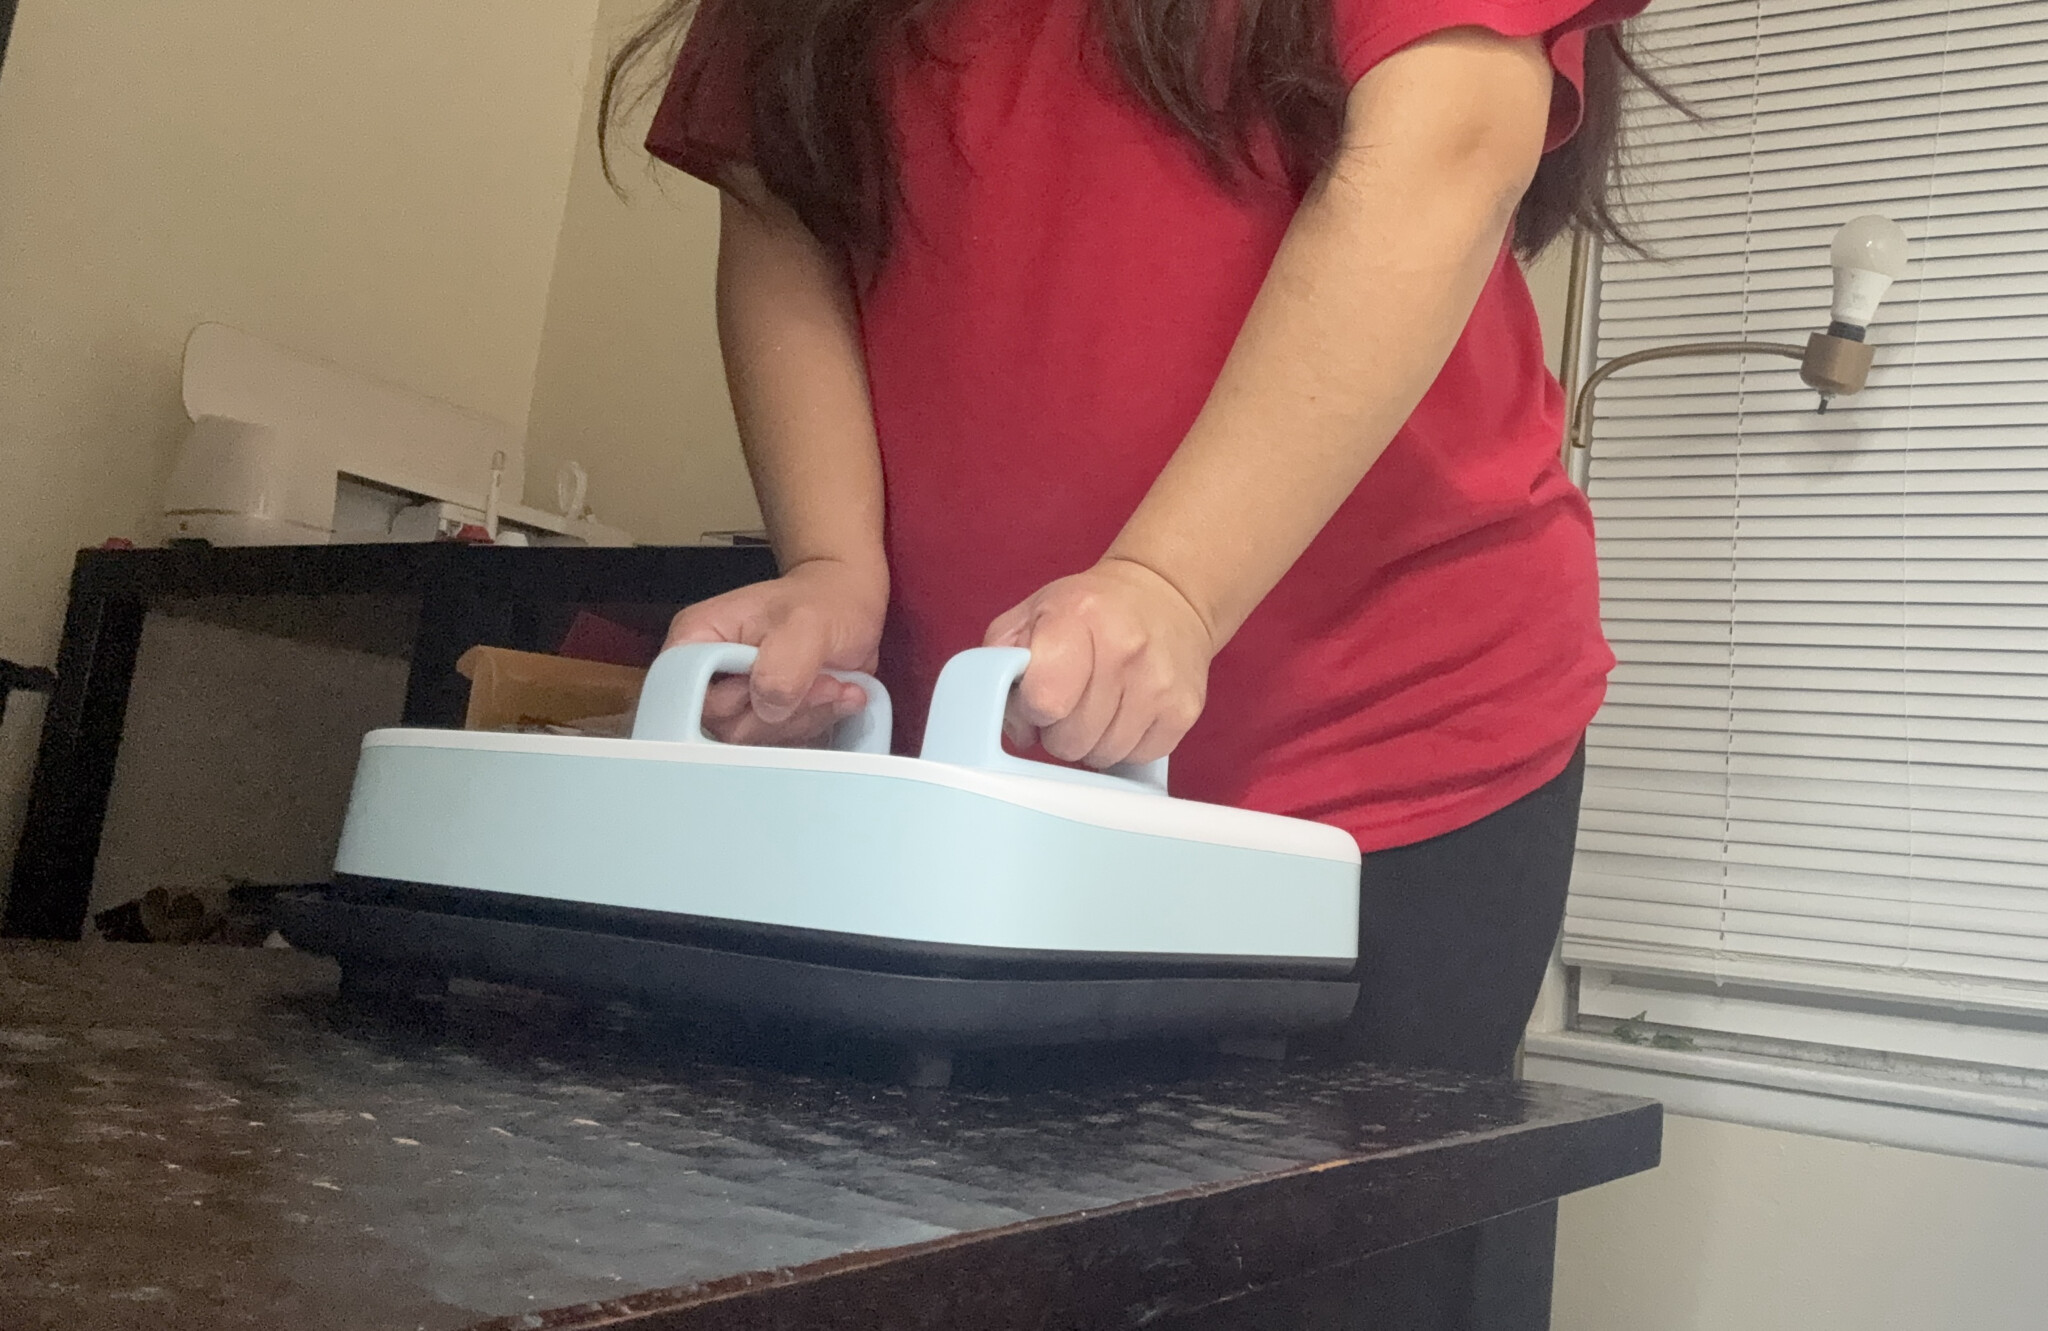
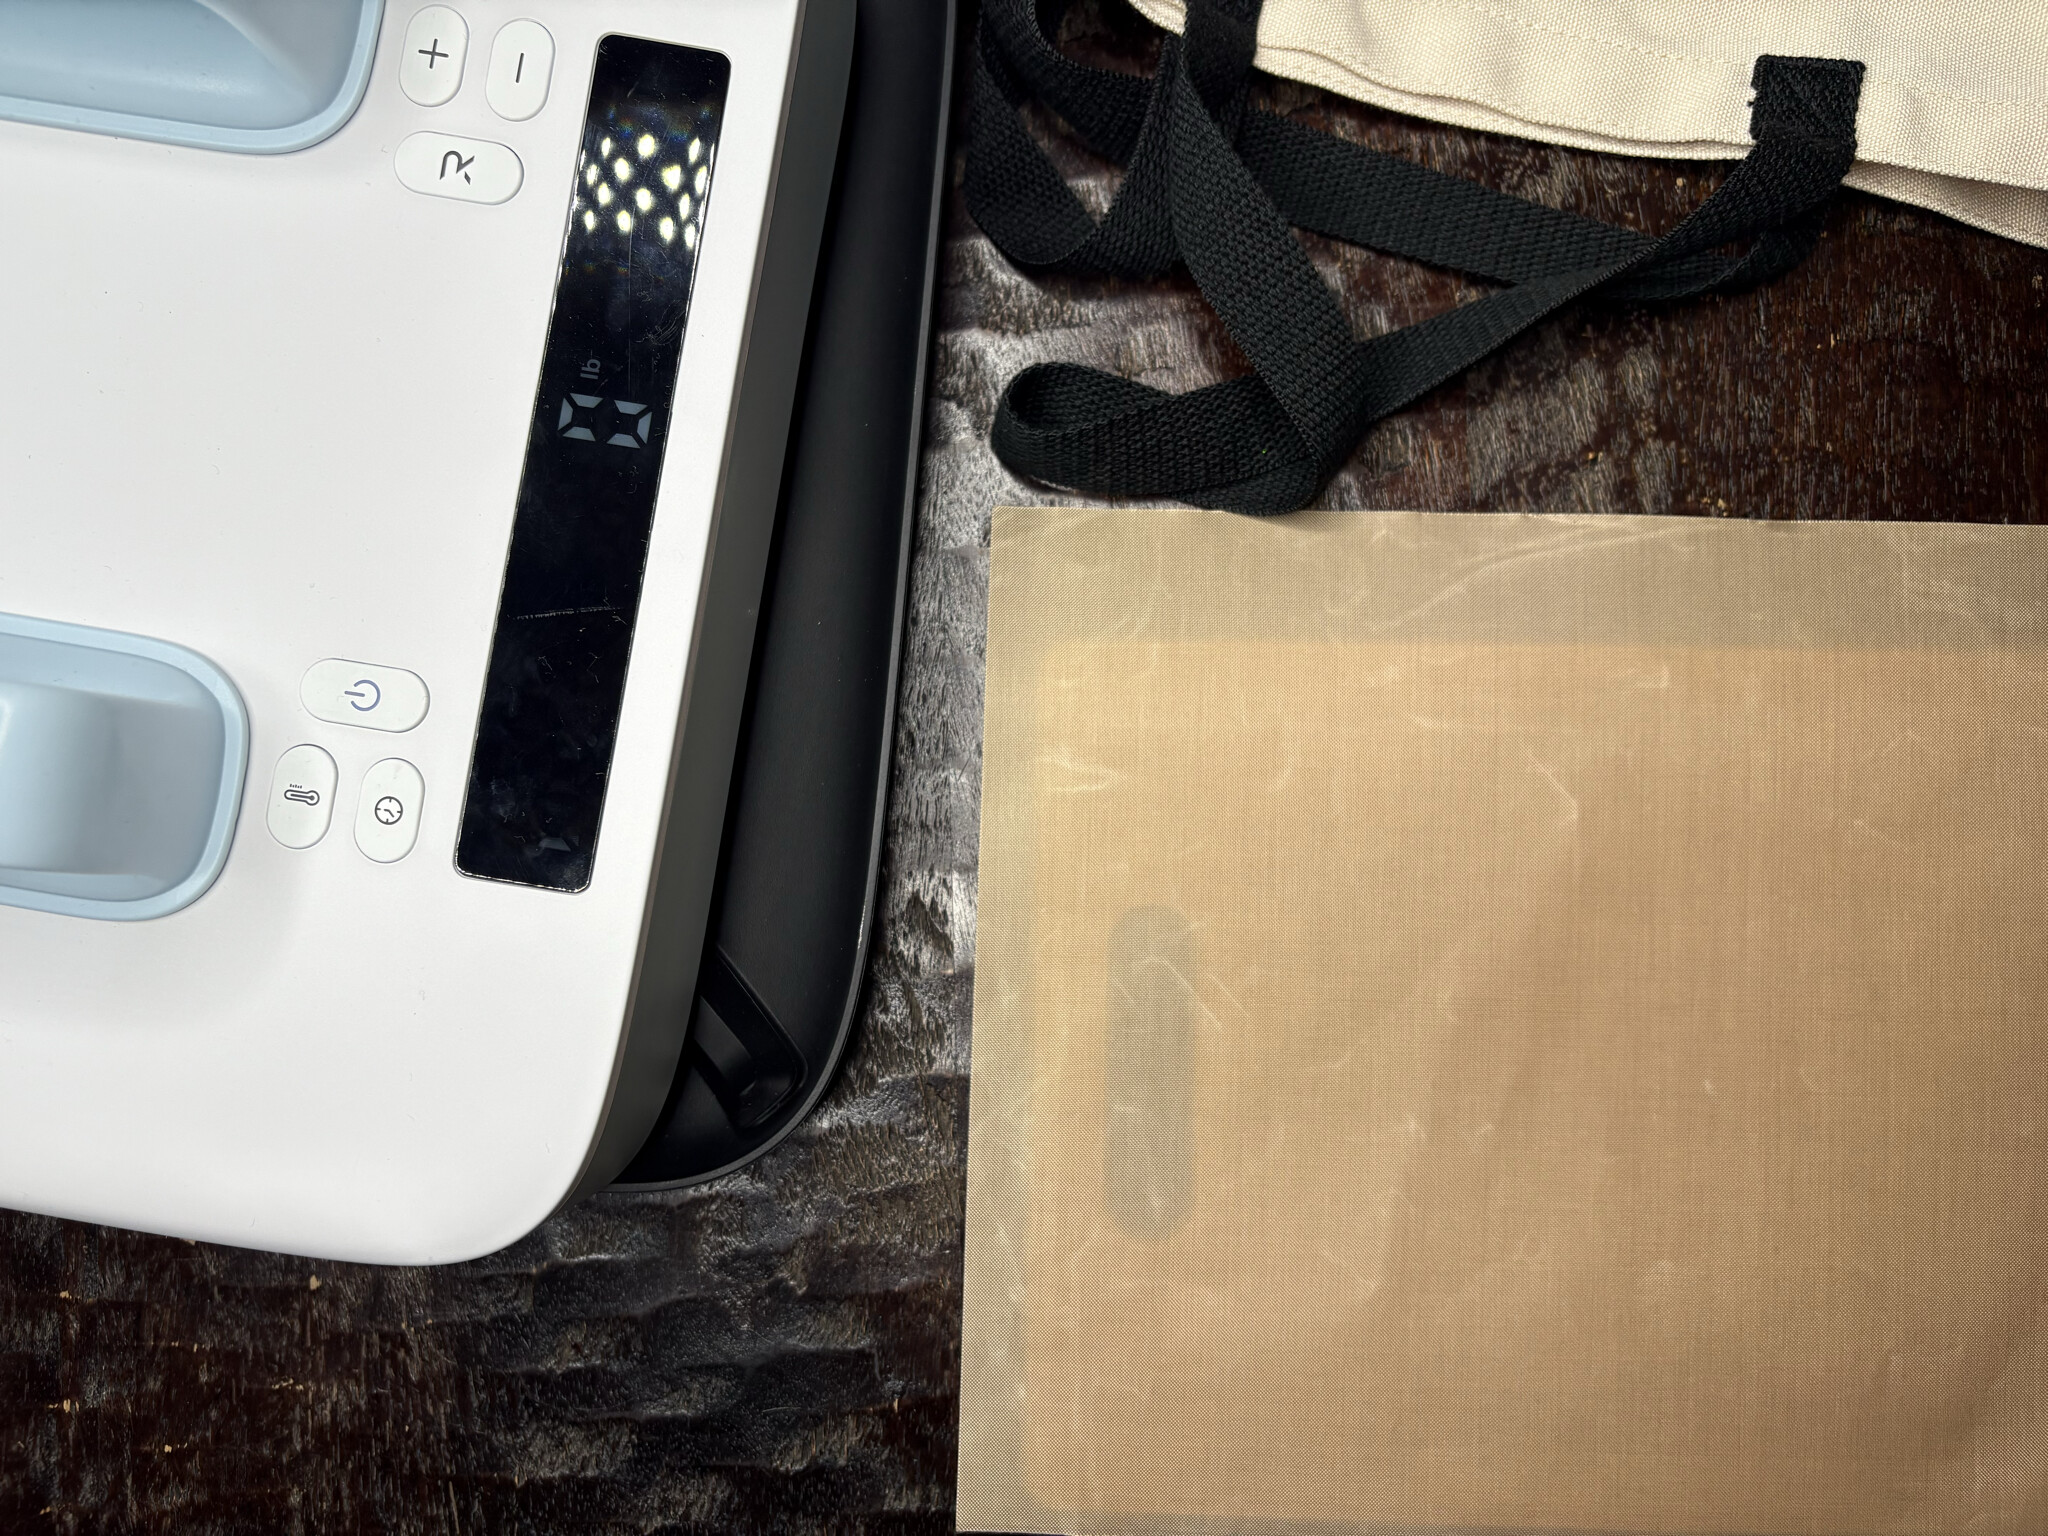
Before getting to that I wanted to share how I have my table set up for pressing. My table sits just a little above knee height, which lets me use my body weight and gravity to help apply pressure instead of relying only on my arms. This setup makes a big difference for me when I worked on projects that needed heavier pressure. It’s what works best for me but I thought it would be great to add just in case anyone wanted to know. Picture for reference.
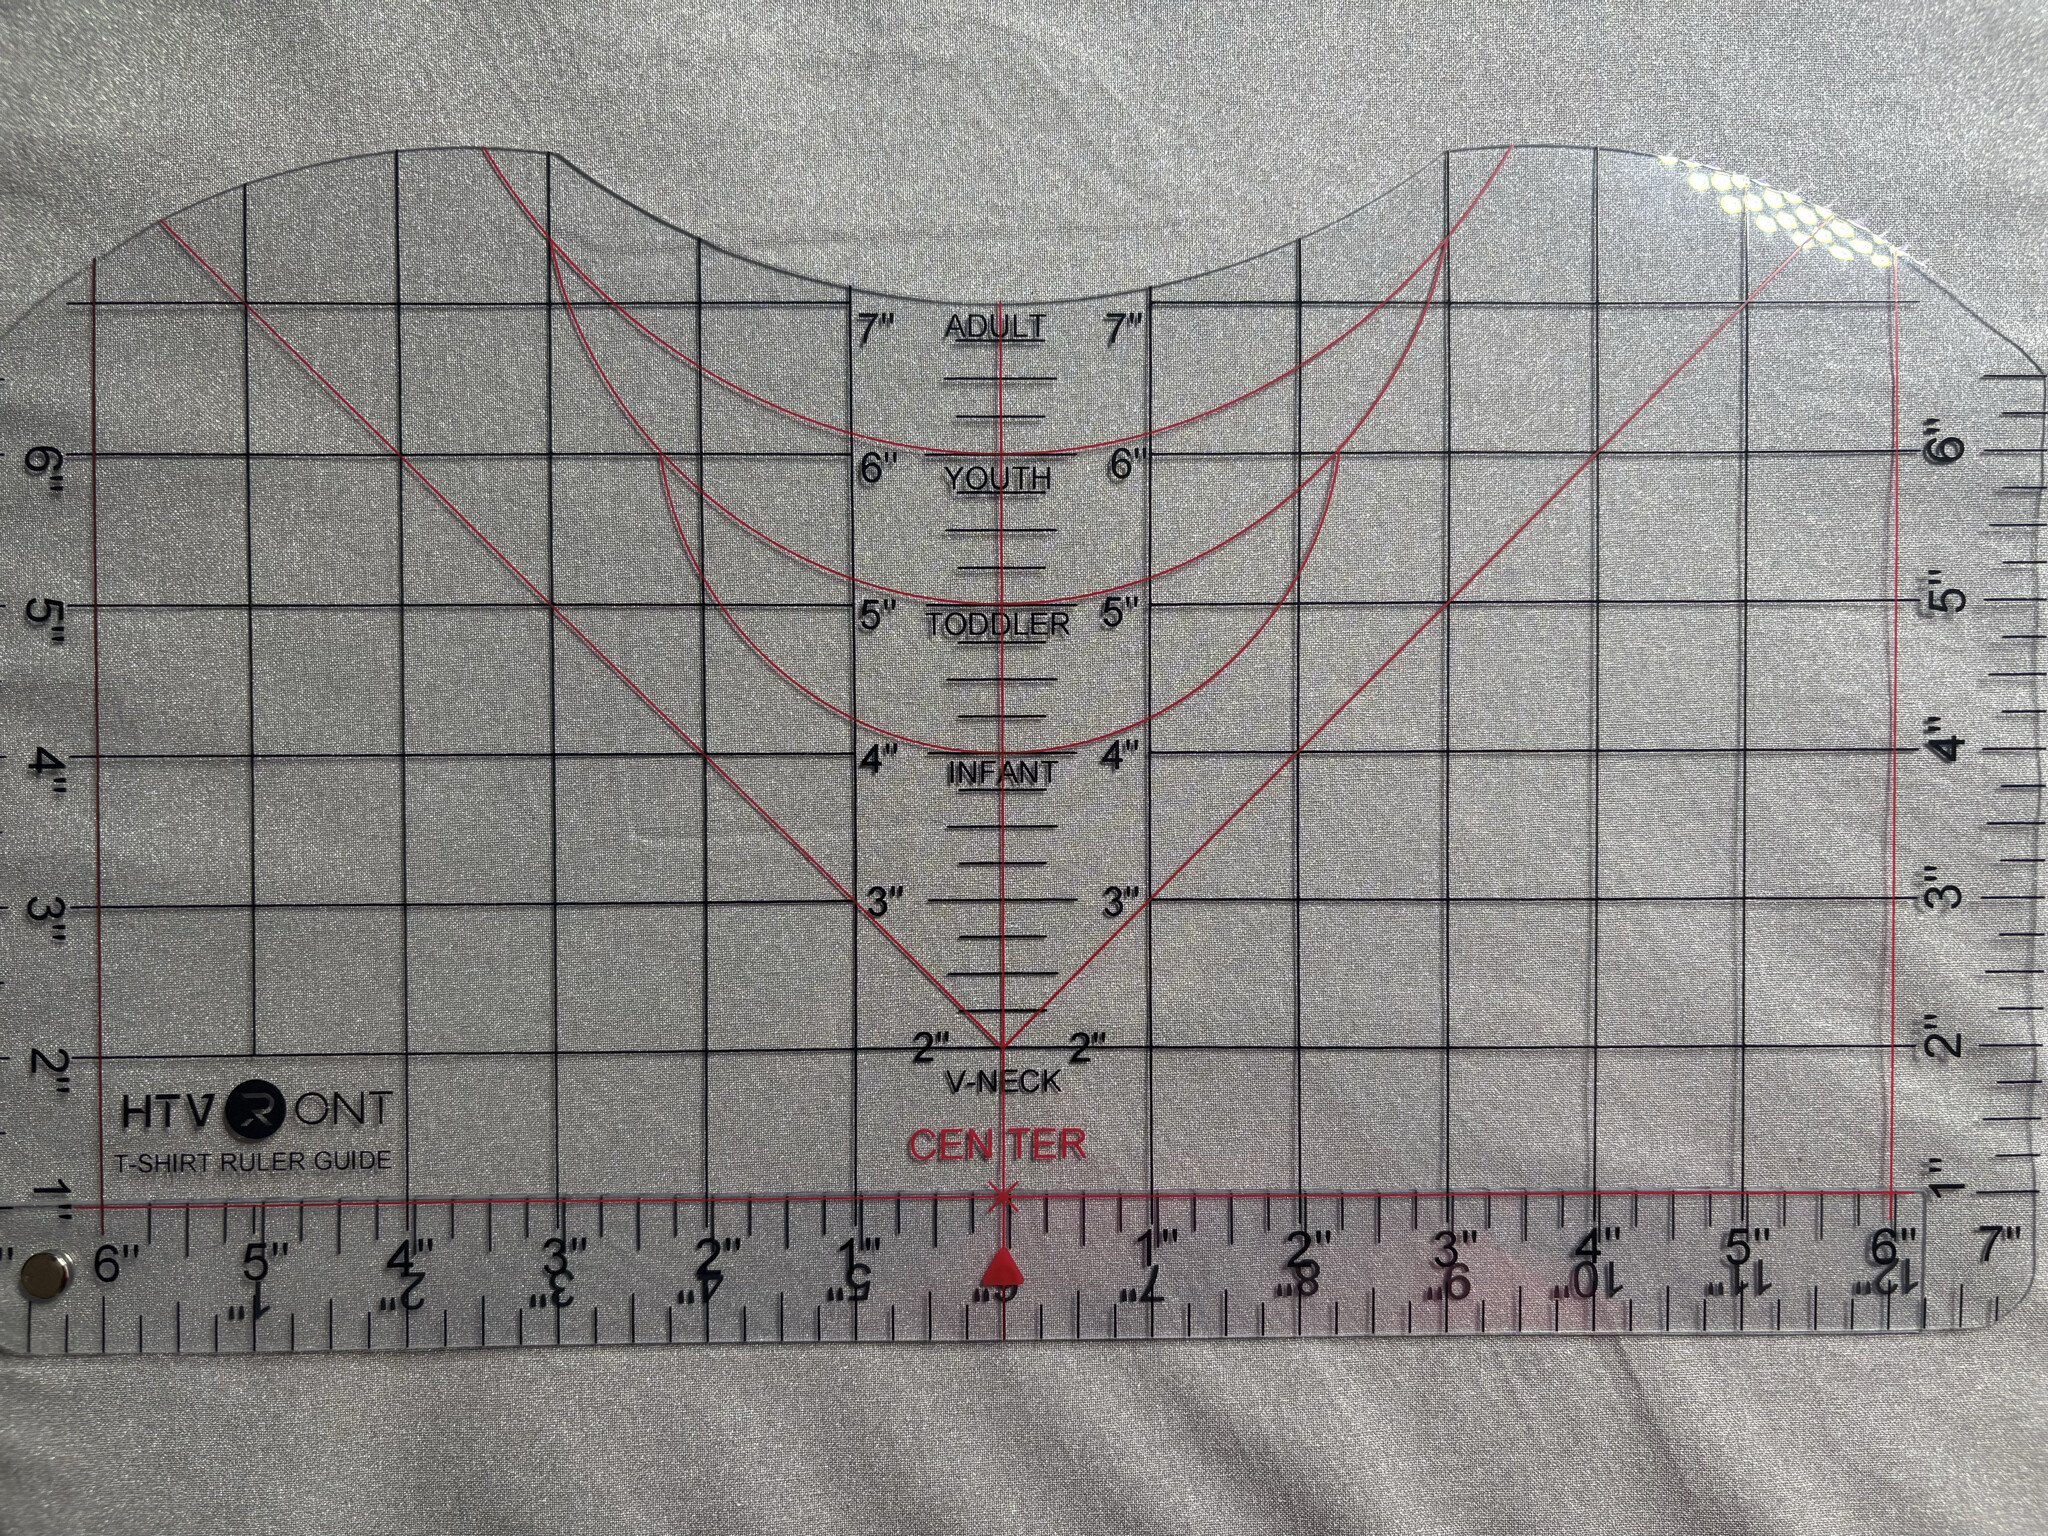
I used the HTVRont t-shirt ruler for placing my designs. It’s easy to use and has all the sizes I need and honestly any mistakes made with alignment were my own, not the ruler. I admittedly still need to practice proper alignment for designs on tshirts.
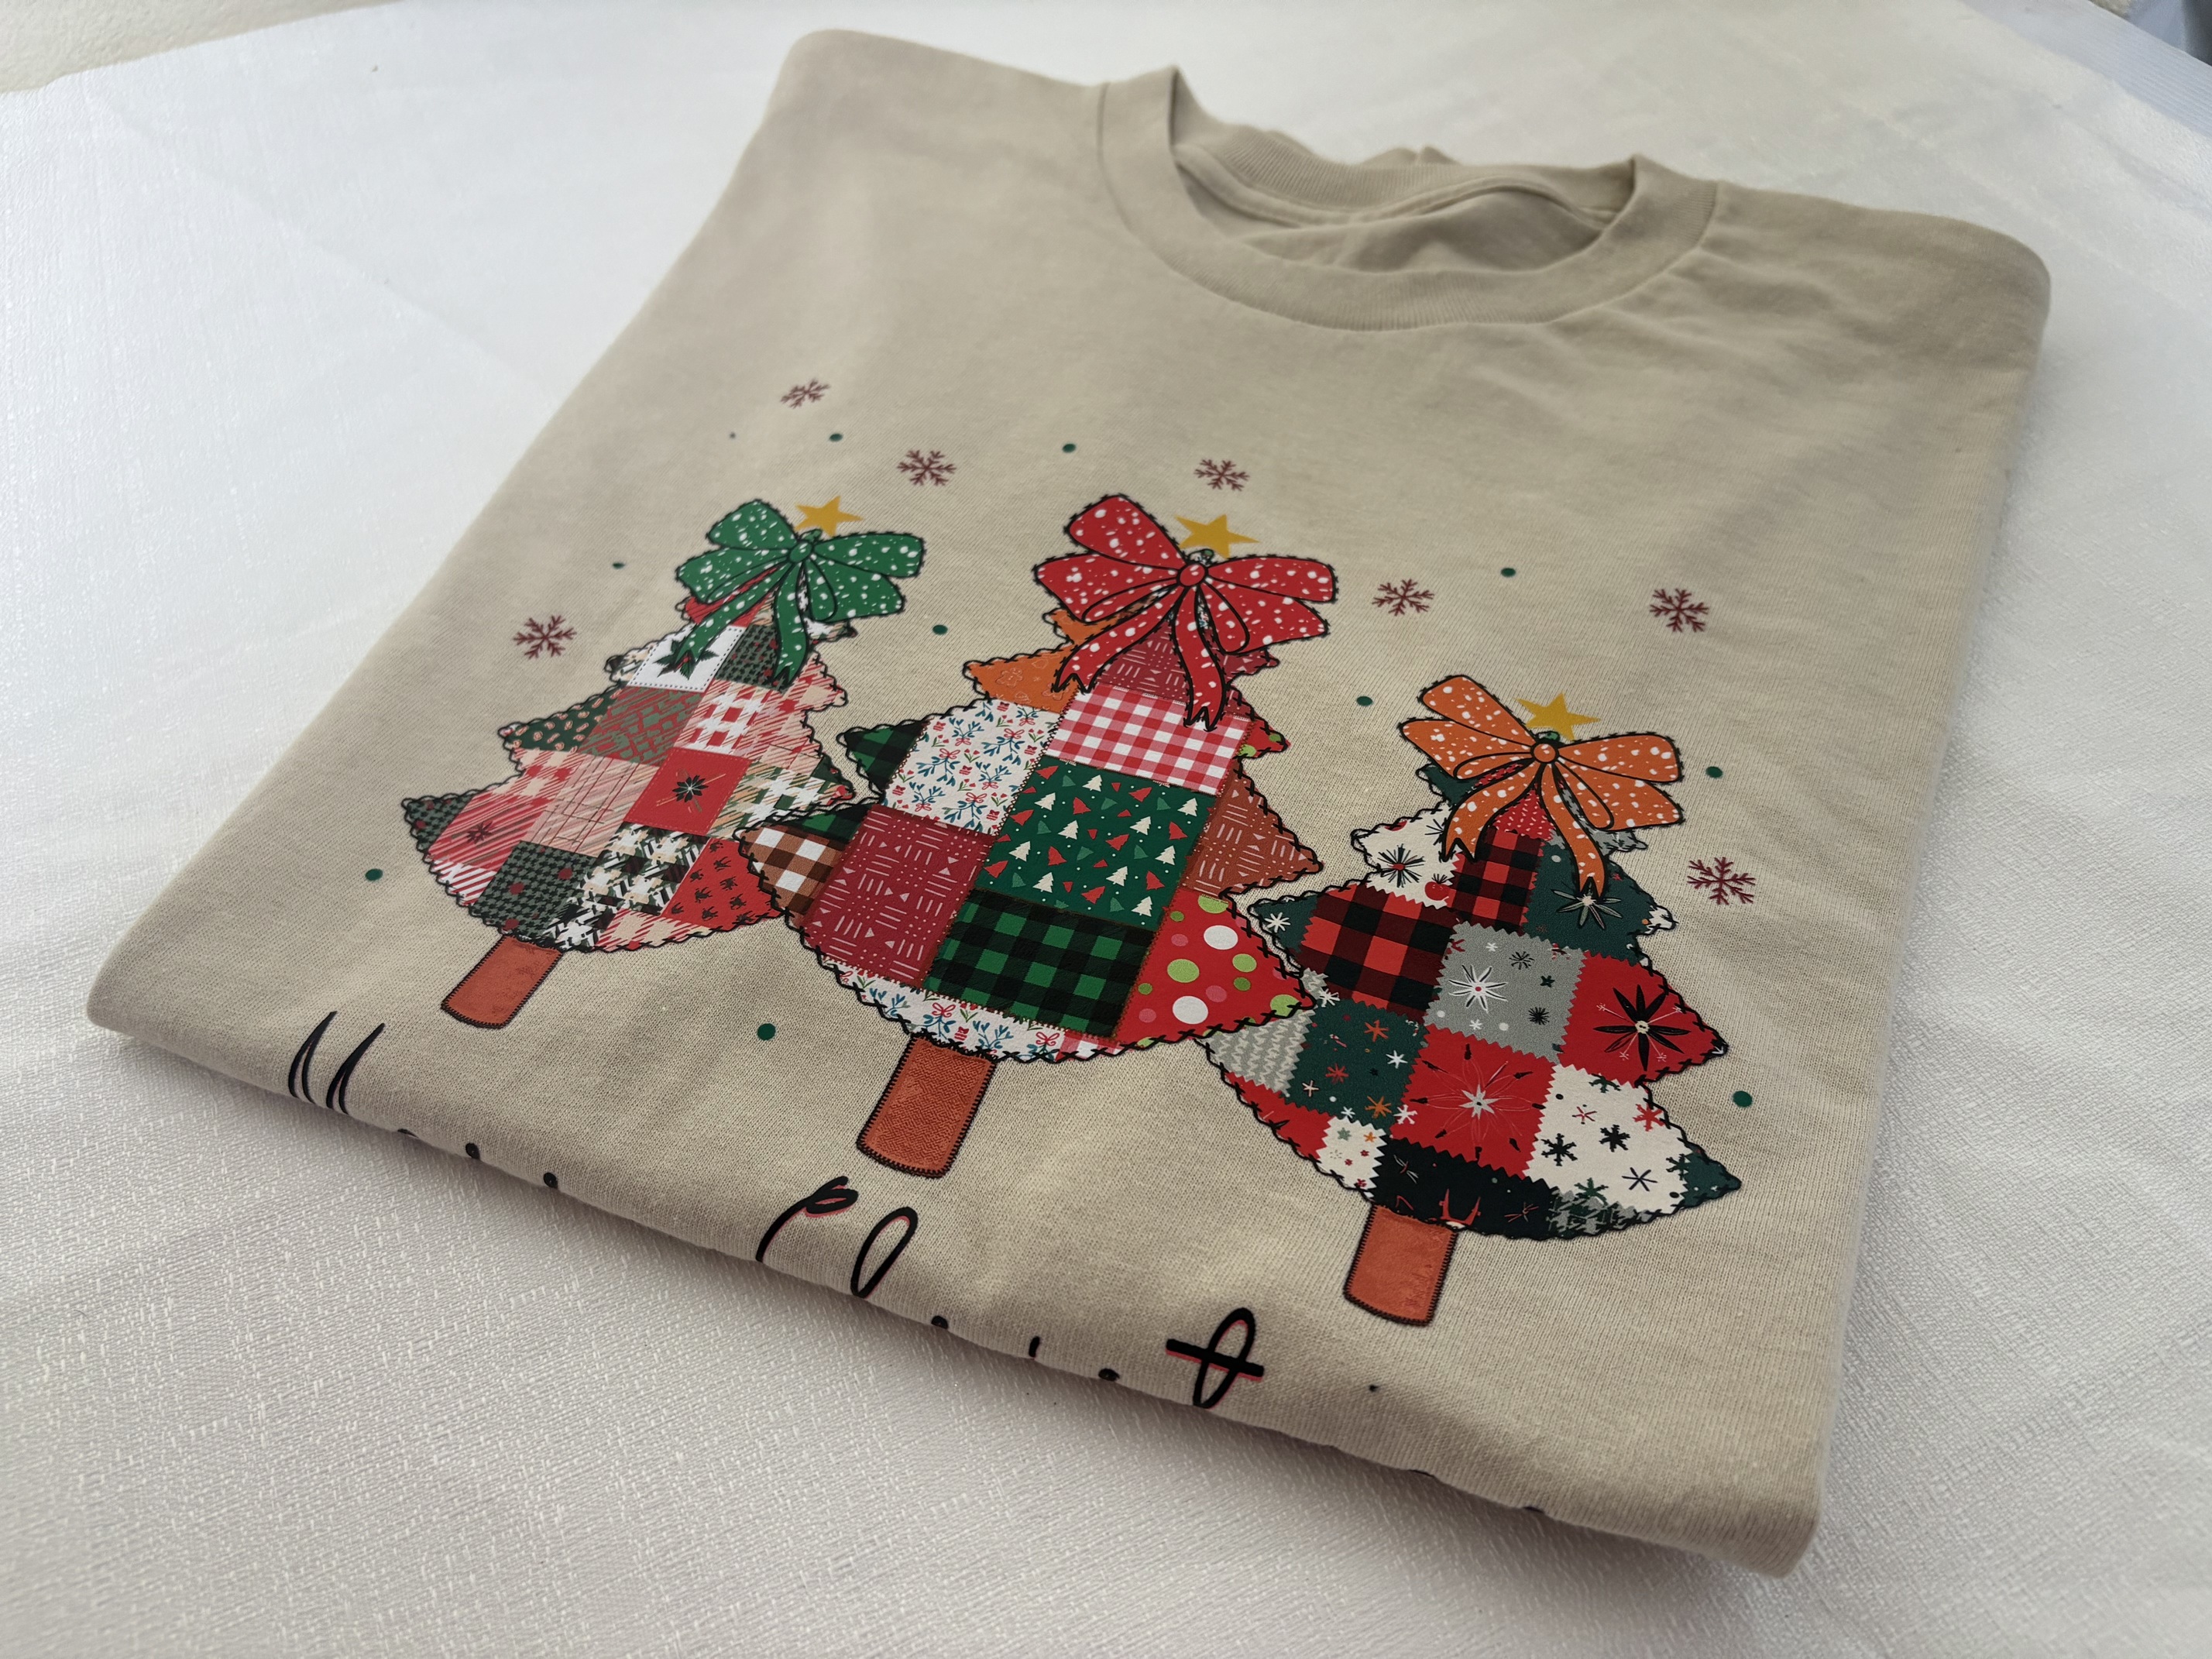
1. Patterned HTV and Regular HTV
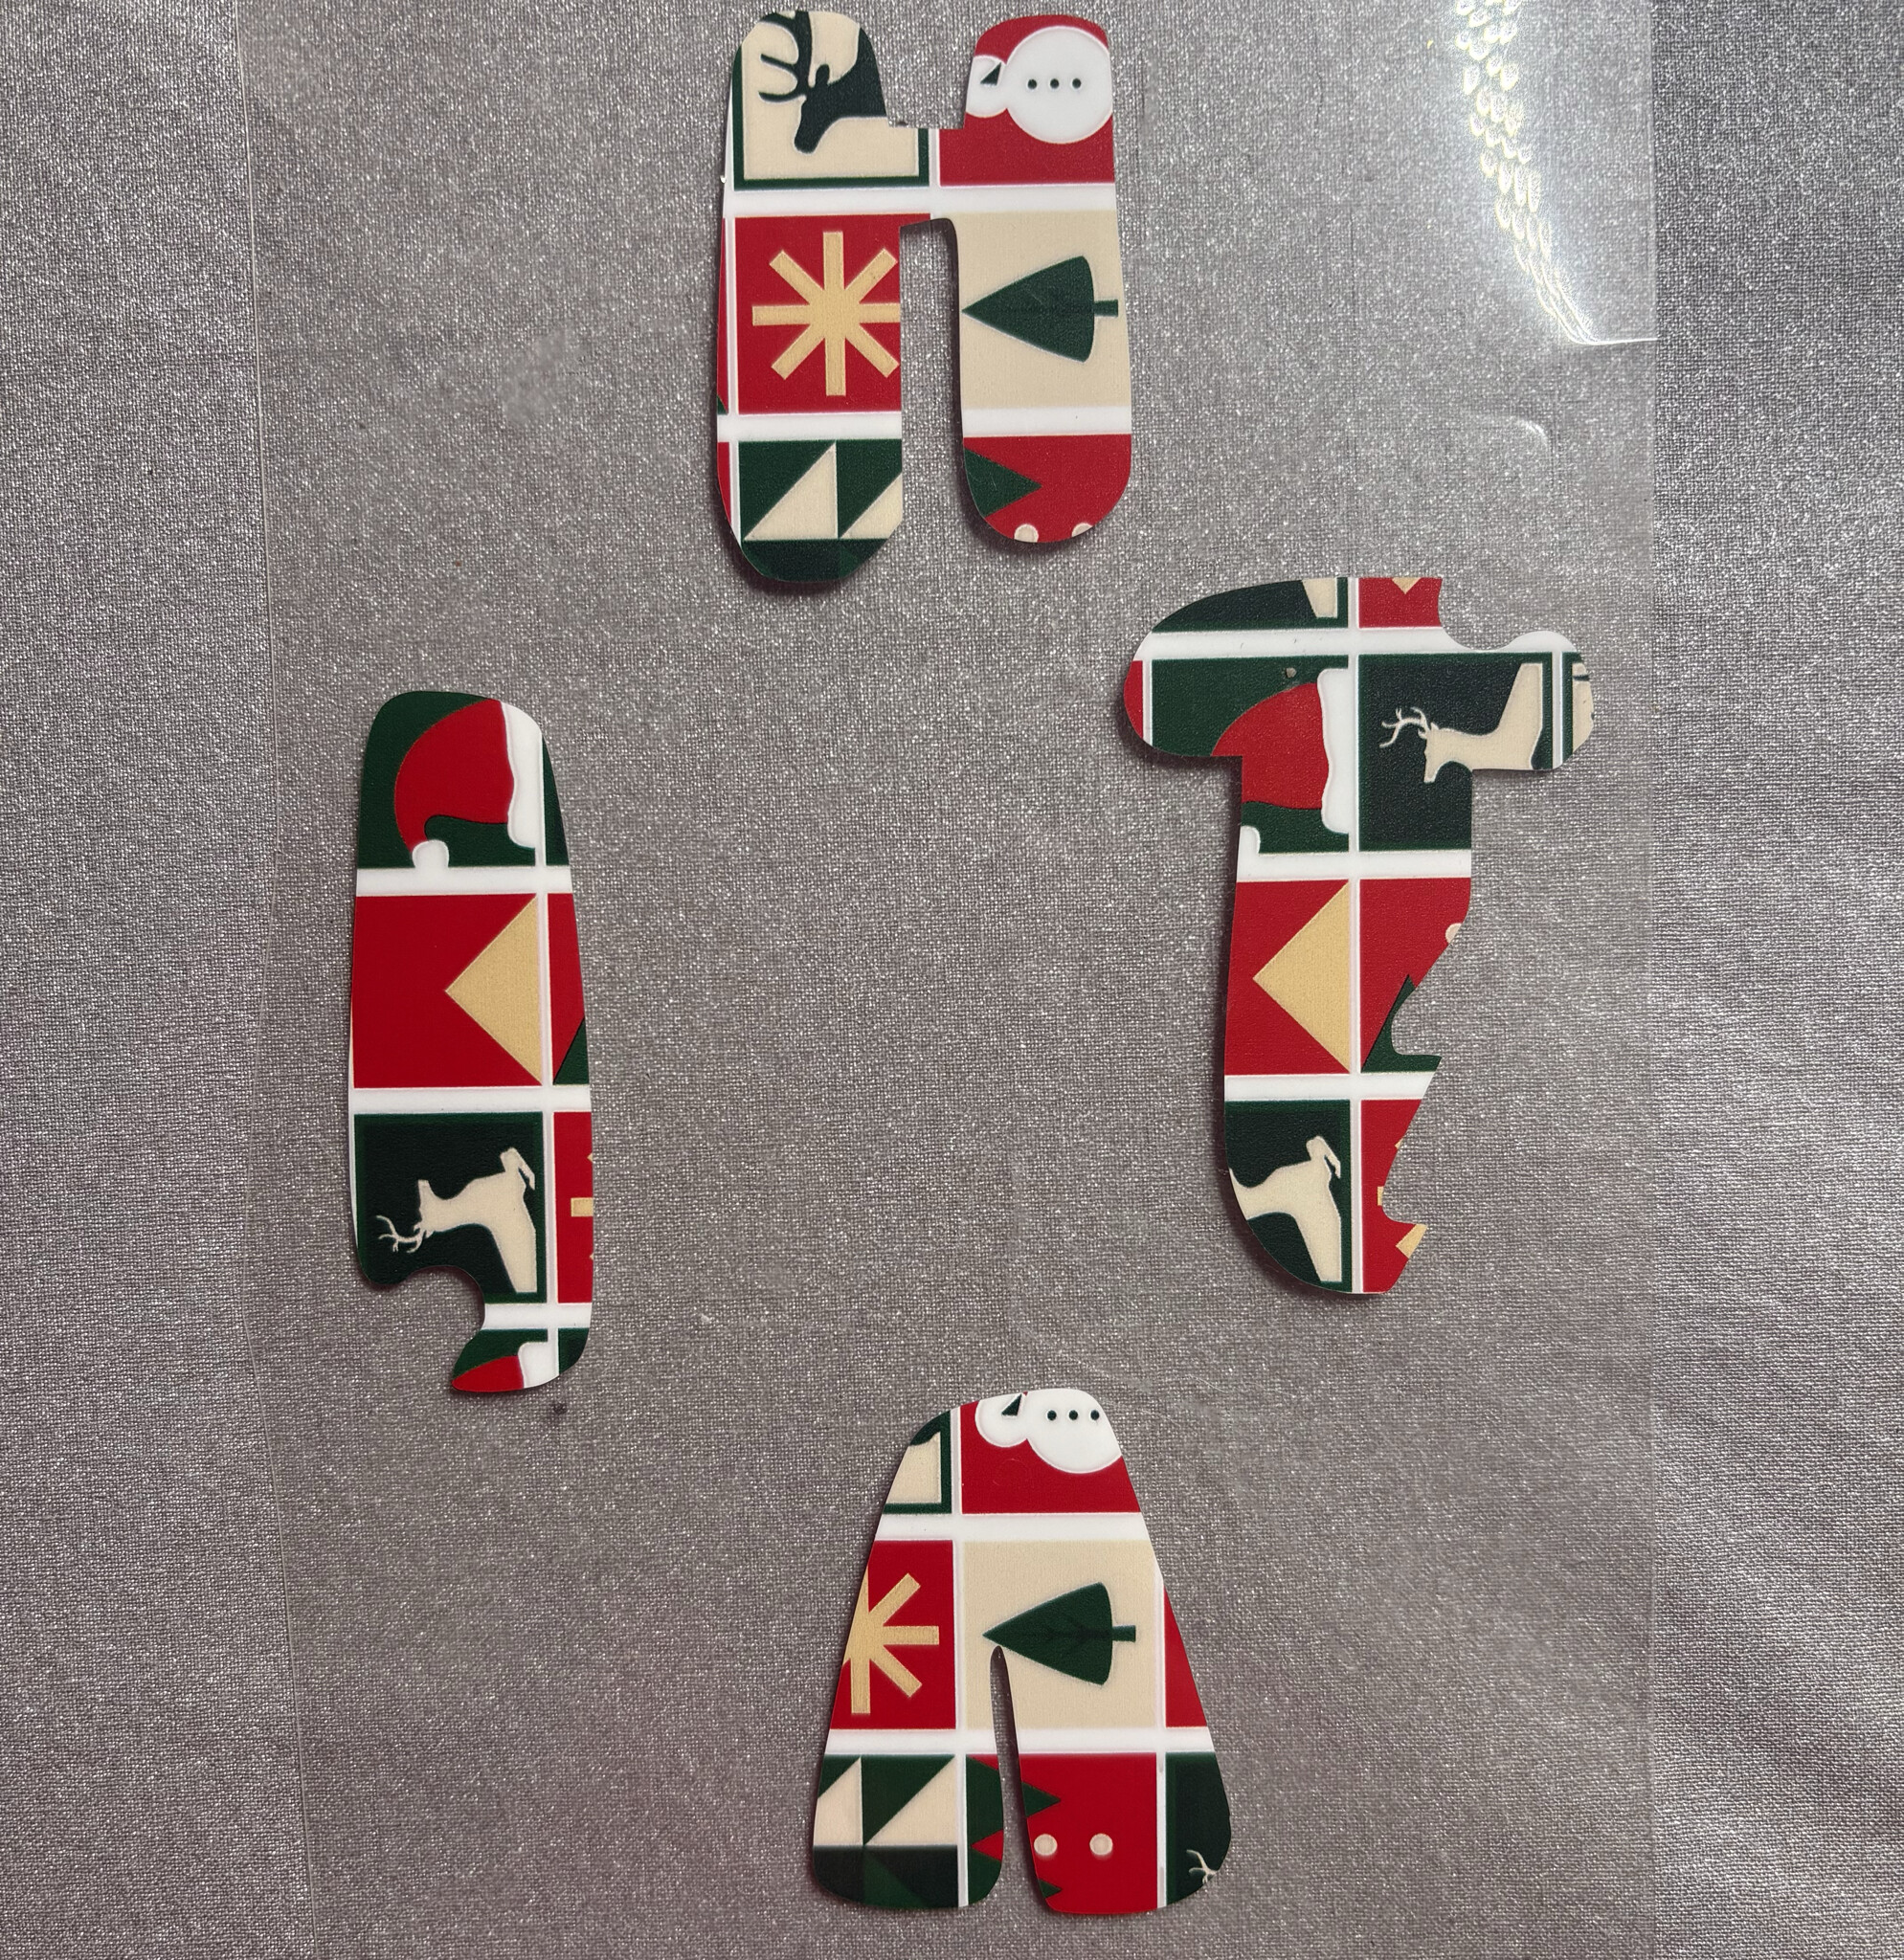
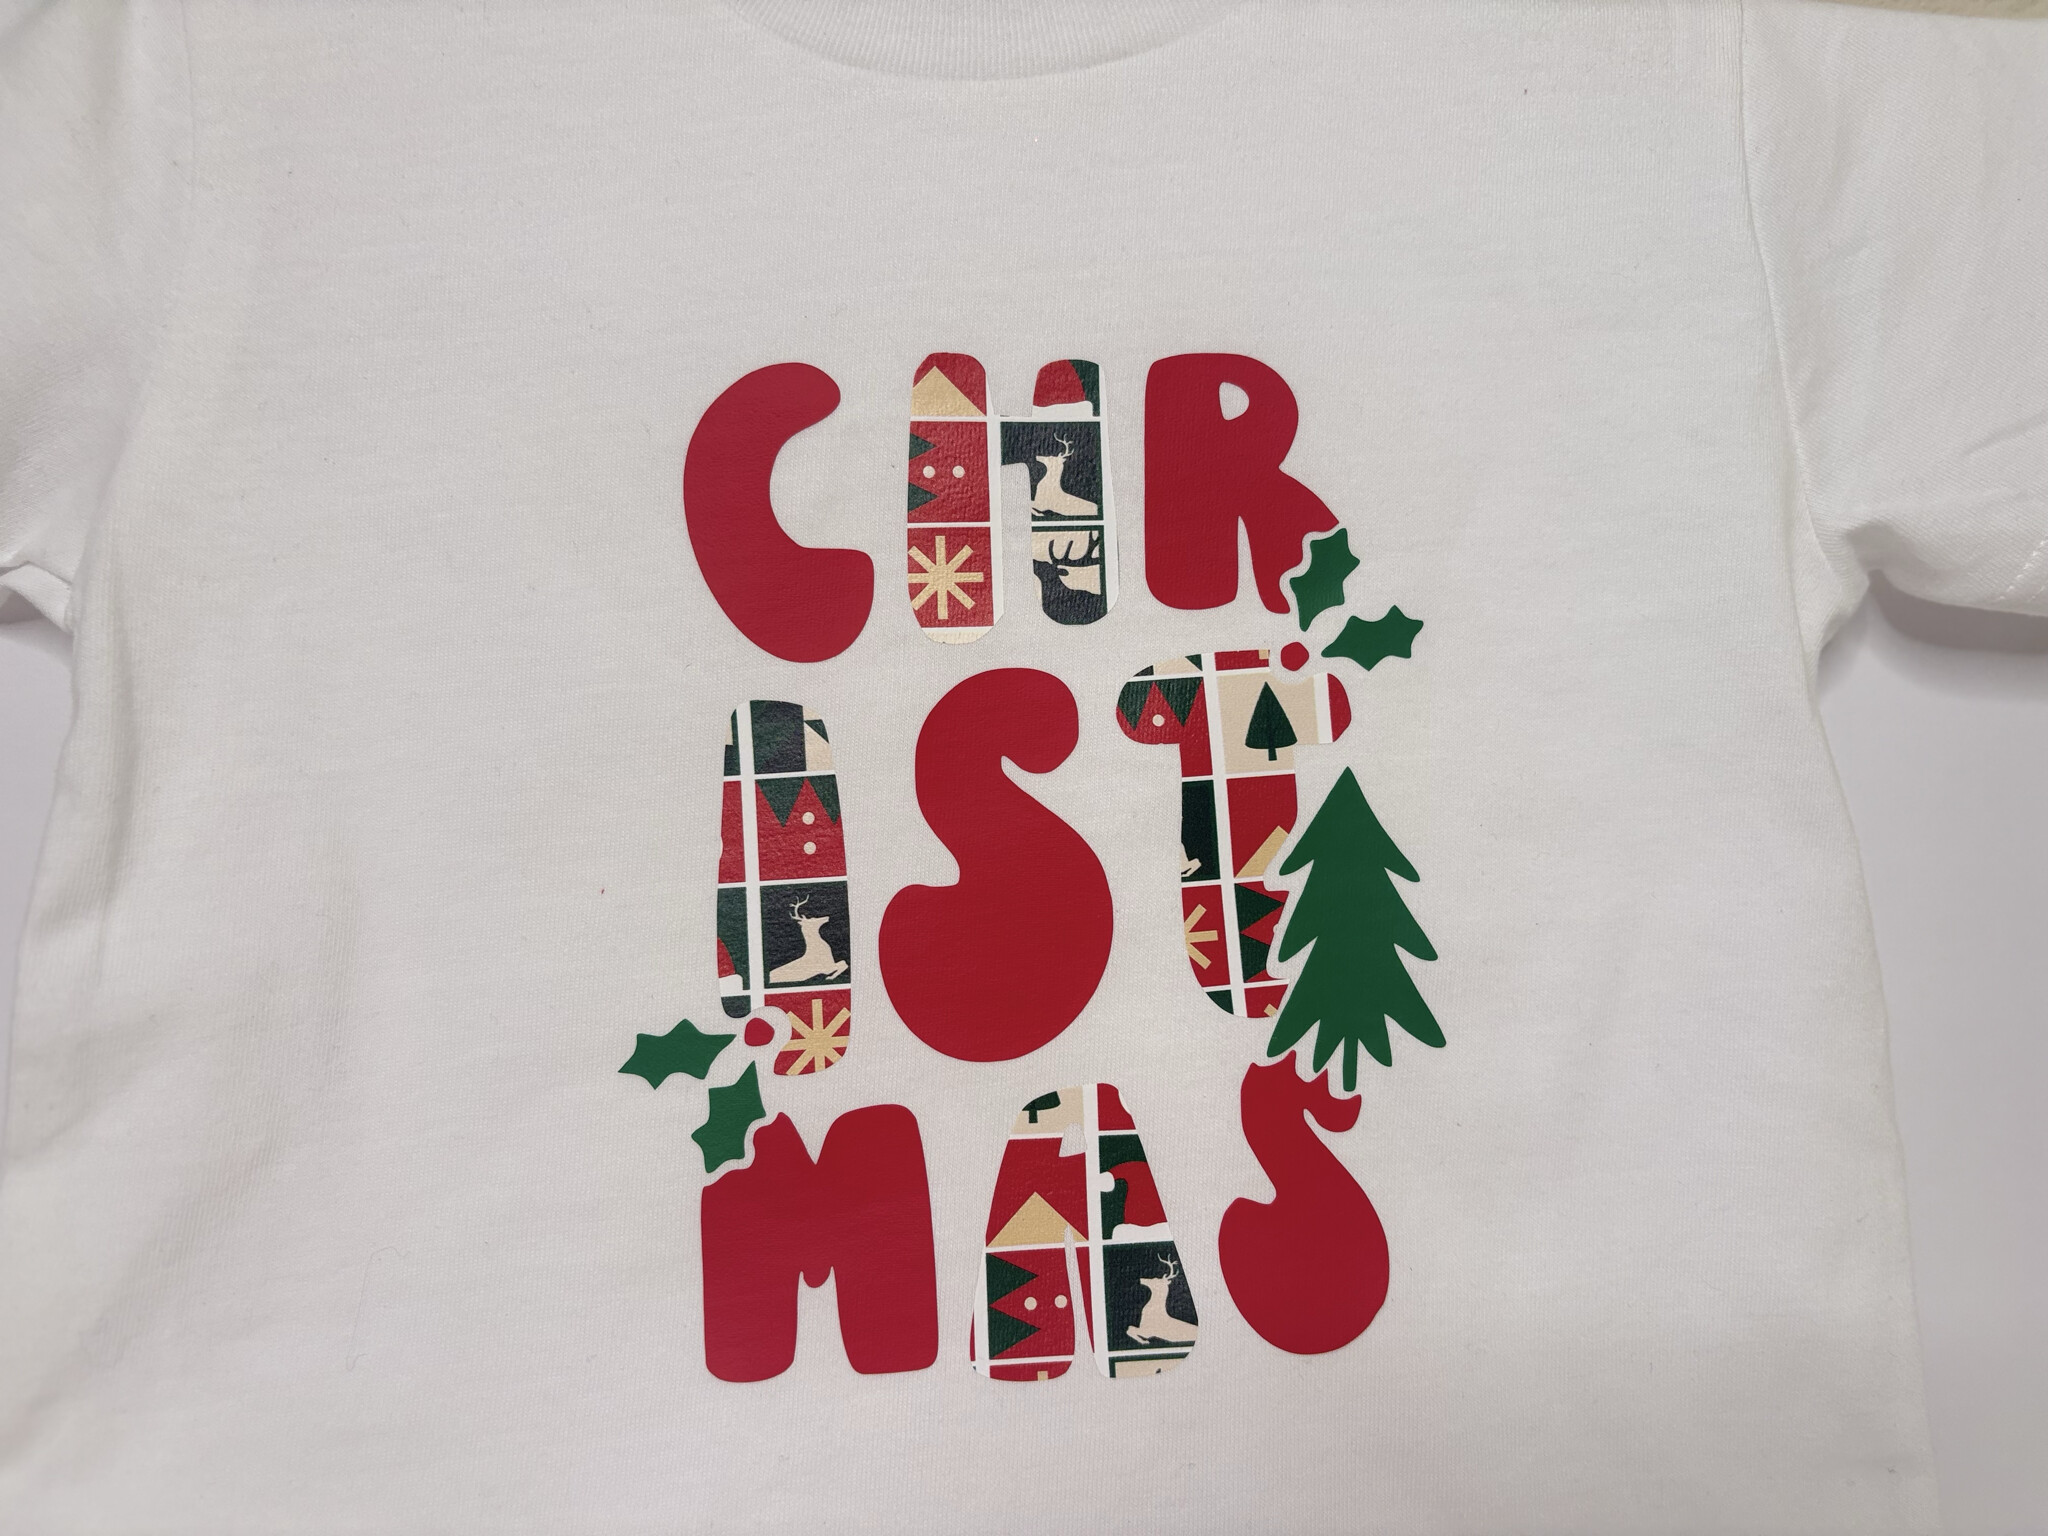
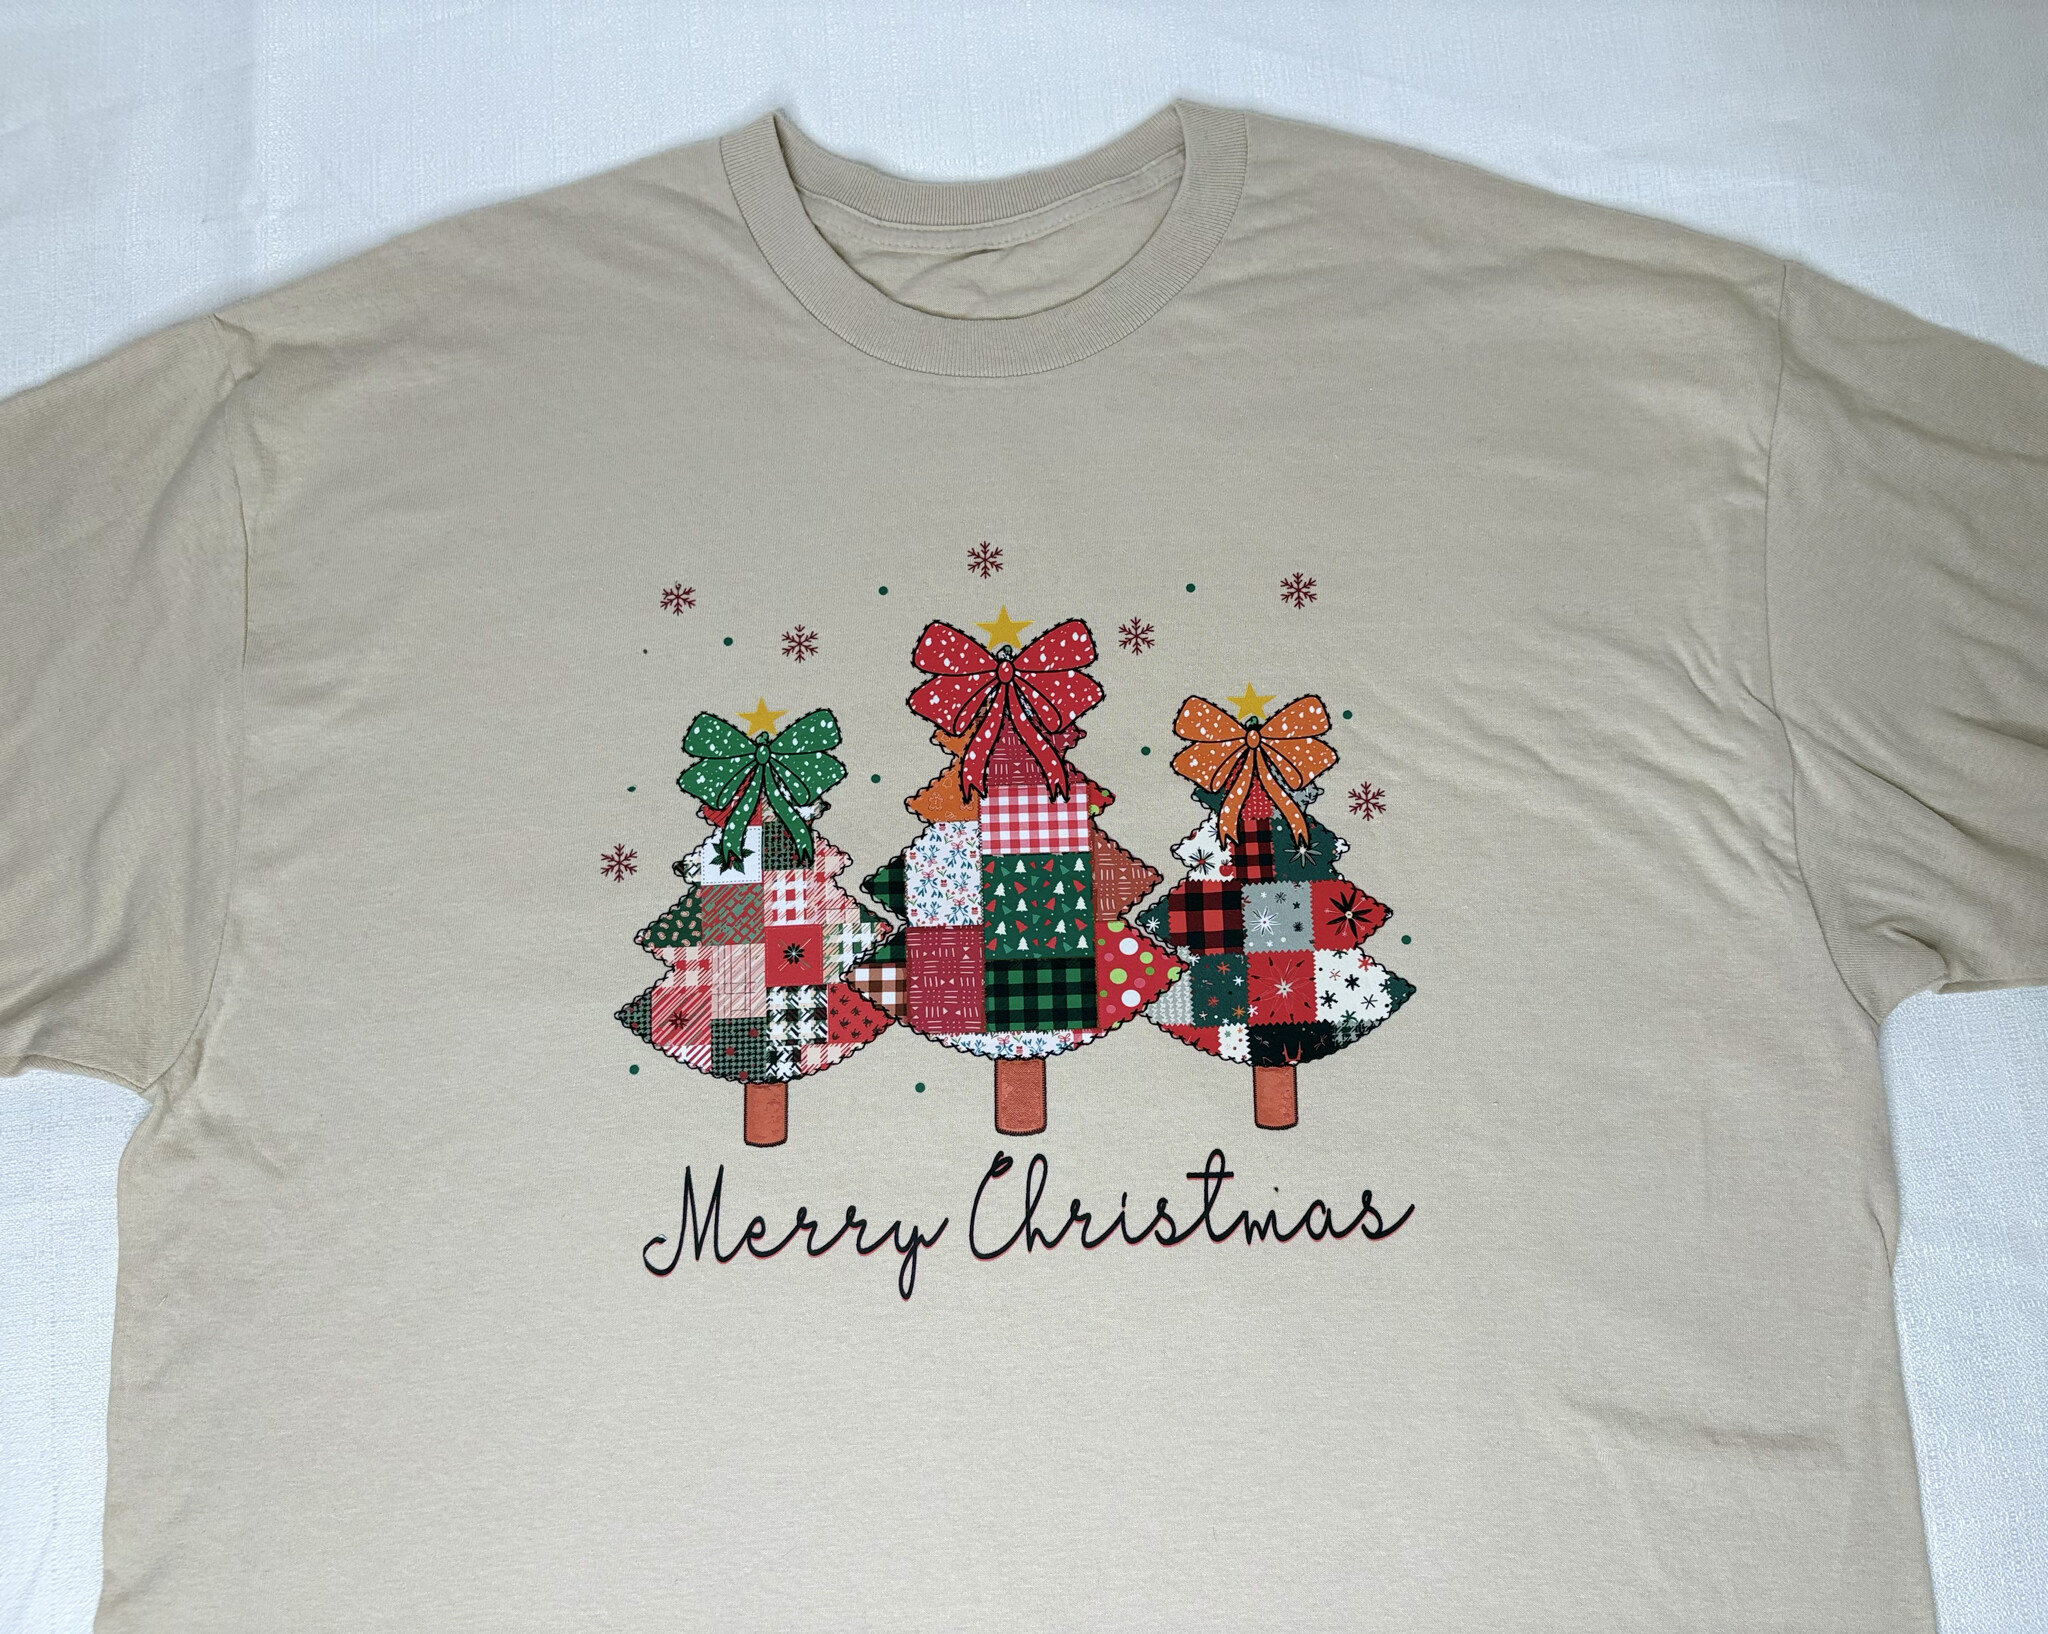
When the press was sent to me I also received some really pretty patterned vinyl with Christmas designs, perfect for the season. I mixed both patterned HTV and regular HTV for a toddler shirt. The design I found in IdeaStudio.

A quick tip so you don’t make my mistake: make sure your patterns are facing the right direction. I accidentally cut mine sideways and didn’t notice until right before pressing.
Not the end of the world but when you’re trying to get the most out of your vinyl, it matters. For this example I first pre pressed the 100% cotton t-shirt for 5 seconds, then pressed at 310 degrees Fahrenheit for 10 seconds with about 40 pounds of pressure. Waited for it too cool then peeled away the carrier sheet. Lastly, I gave it one more quick press with a Teflon sheet. The shirt came out great and the heat press felt easy to use in this example

2. Glitter HTV
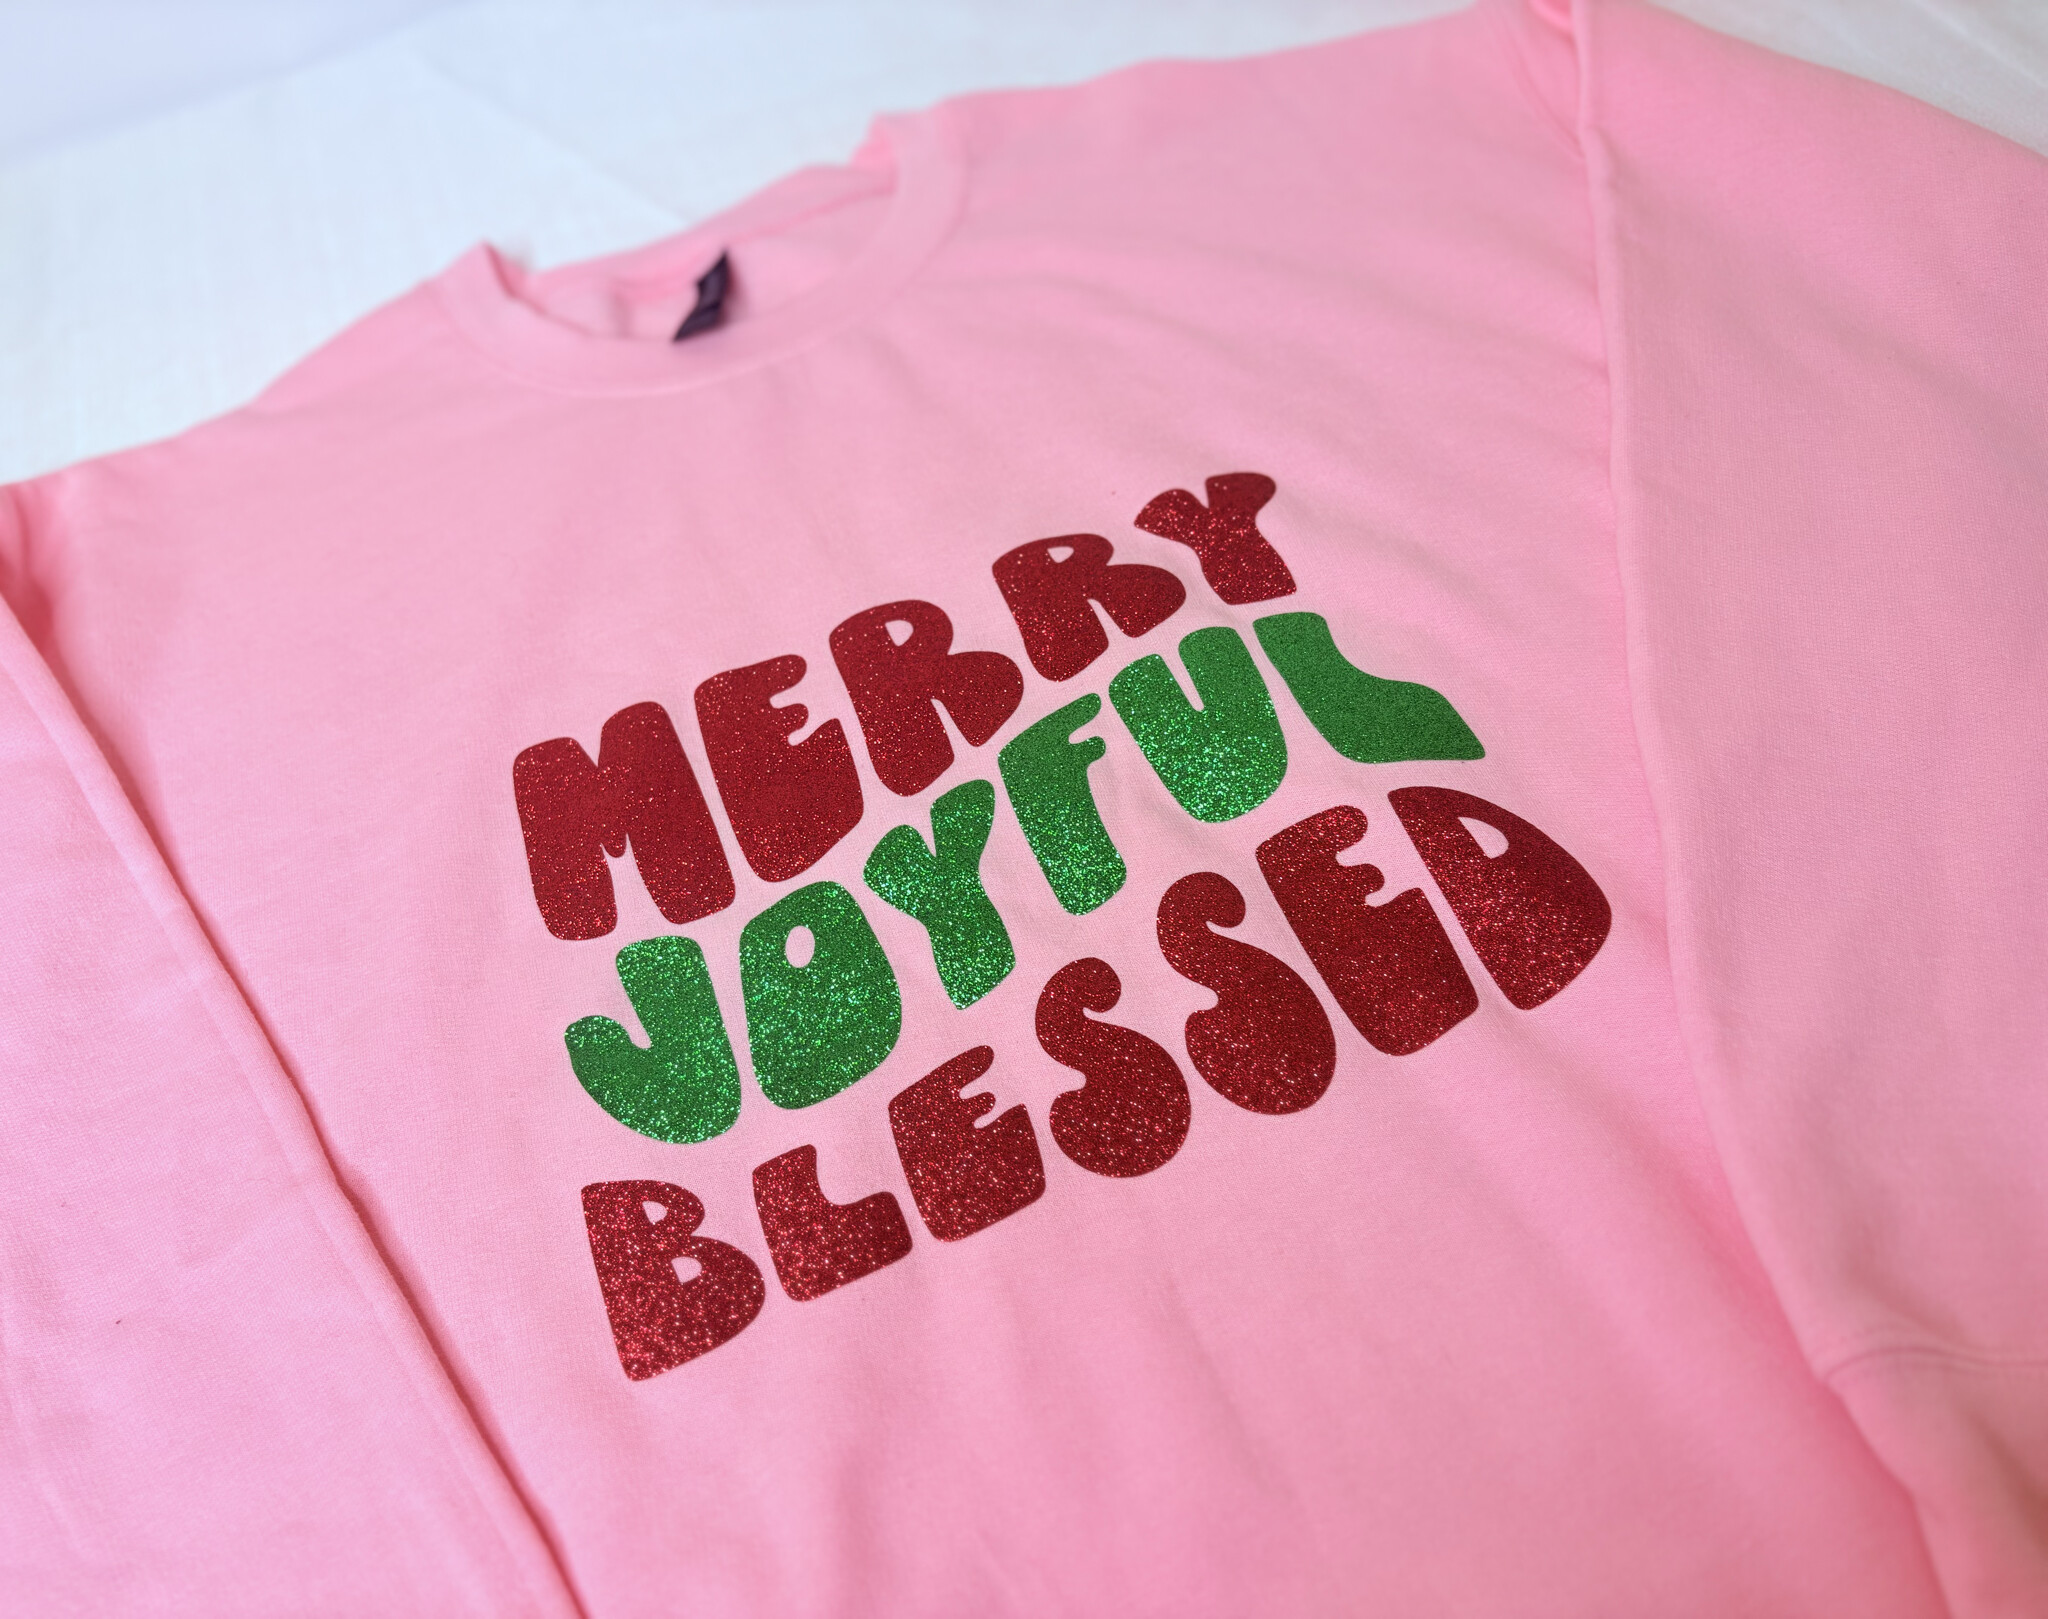
For this example I used the glitter HTV that came in a pack that was sent with the press. I used it on a cotton poly blend sweater and chose another IdeaStudio design. I pre pressed the sweater for 5 seconds, then pressed at 320 degrees Fahrenheit for 15 seconds with around 60 pounds of pressure. After a cold peel I pressed again with just the Teflon sheet. The carrier sheet peeled off beautifully and the sweater came out so eye catching. I’ll admit I was a little too excited and placed the design slightly below the proper placement but fortunately it still looks great and I’m thinking of wearing it for Christmas since I just like how beautiful the glitter htv looks. I didn’t find any issues pressing it on the sweater.

3. 3D Puff HTV
For this example I used HTVRont 3D Puff Vinyl Heat Transfer and I chose a design from idea studio. I want to make a note that Puff vinyl can be tricky because if your pressure, heat, or timing is off it either won’t adhere well or it will wrinkle too much and fall off. I had to practice a bit before finding the settings I liked. You can get either a smooth or more textured puff depending on how you press and also material you press on has a factor in that too. I added a photo below of the smoothest I got on one of my presses.

So while I did find a good setting I was honestly getting different results each time. What worked best for me was removing the heat press mat completely and using a regular cutting board instead, then a Teflon sheet over it. These were the steps: I placed a Teflon sheet on top of my cutting board, then I placed my tote bag on top, then covered the design with another Teflon sheet, and pressed at 290 degrees Fahrenheit for 6 seconds with about 80 to 90 pounds of pressure. Once it’s pressed peel the carrier sheet off immediately with tweezers or heat gloves. I loved the results, it had a more textured look but that was most likely from the texture of the tote bag. Results may vary with this method and this material so for the most part this was the best setting and setup that worked for me. 3D puff HTV can absolutely be pressed with this machine but I do think an automatic press or clamshell might give more consistent results.

One thing to note, If you have any complications with your wrists this might be a tough material to do with the H10 because it definitely made me put some weight in my wrist.
Quick tip : A little trick if you want to remove puff vinyl you’re not happy with: set your press to 330 degrees, place a Teflon sheet over the design, and sit the press on top with no added pressure for a few seconds. The puff should wrinkle and lift right off or you can use tweezers to try to pick it up.
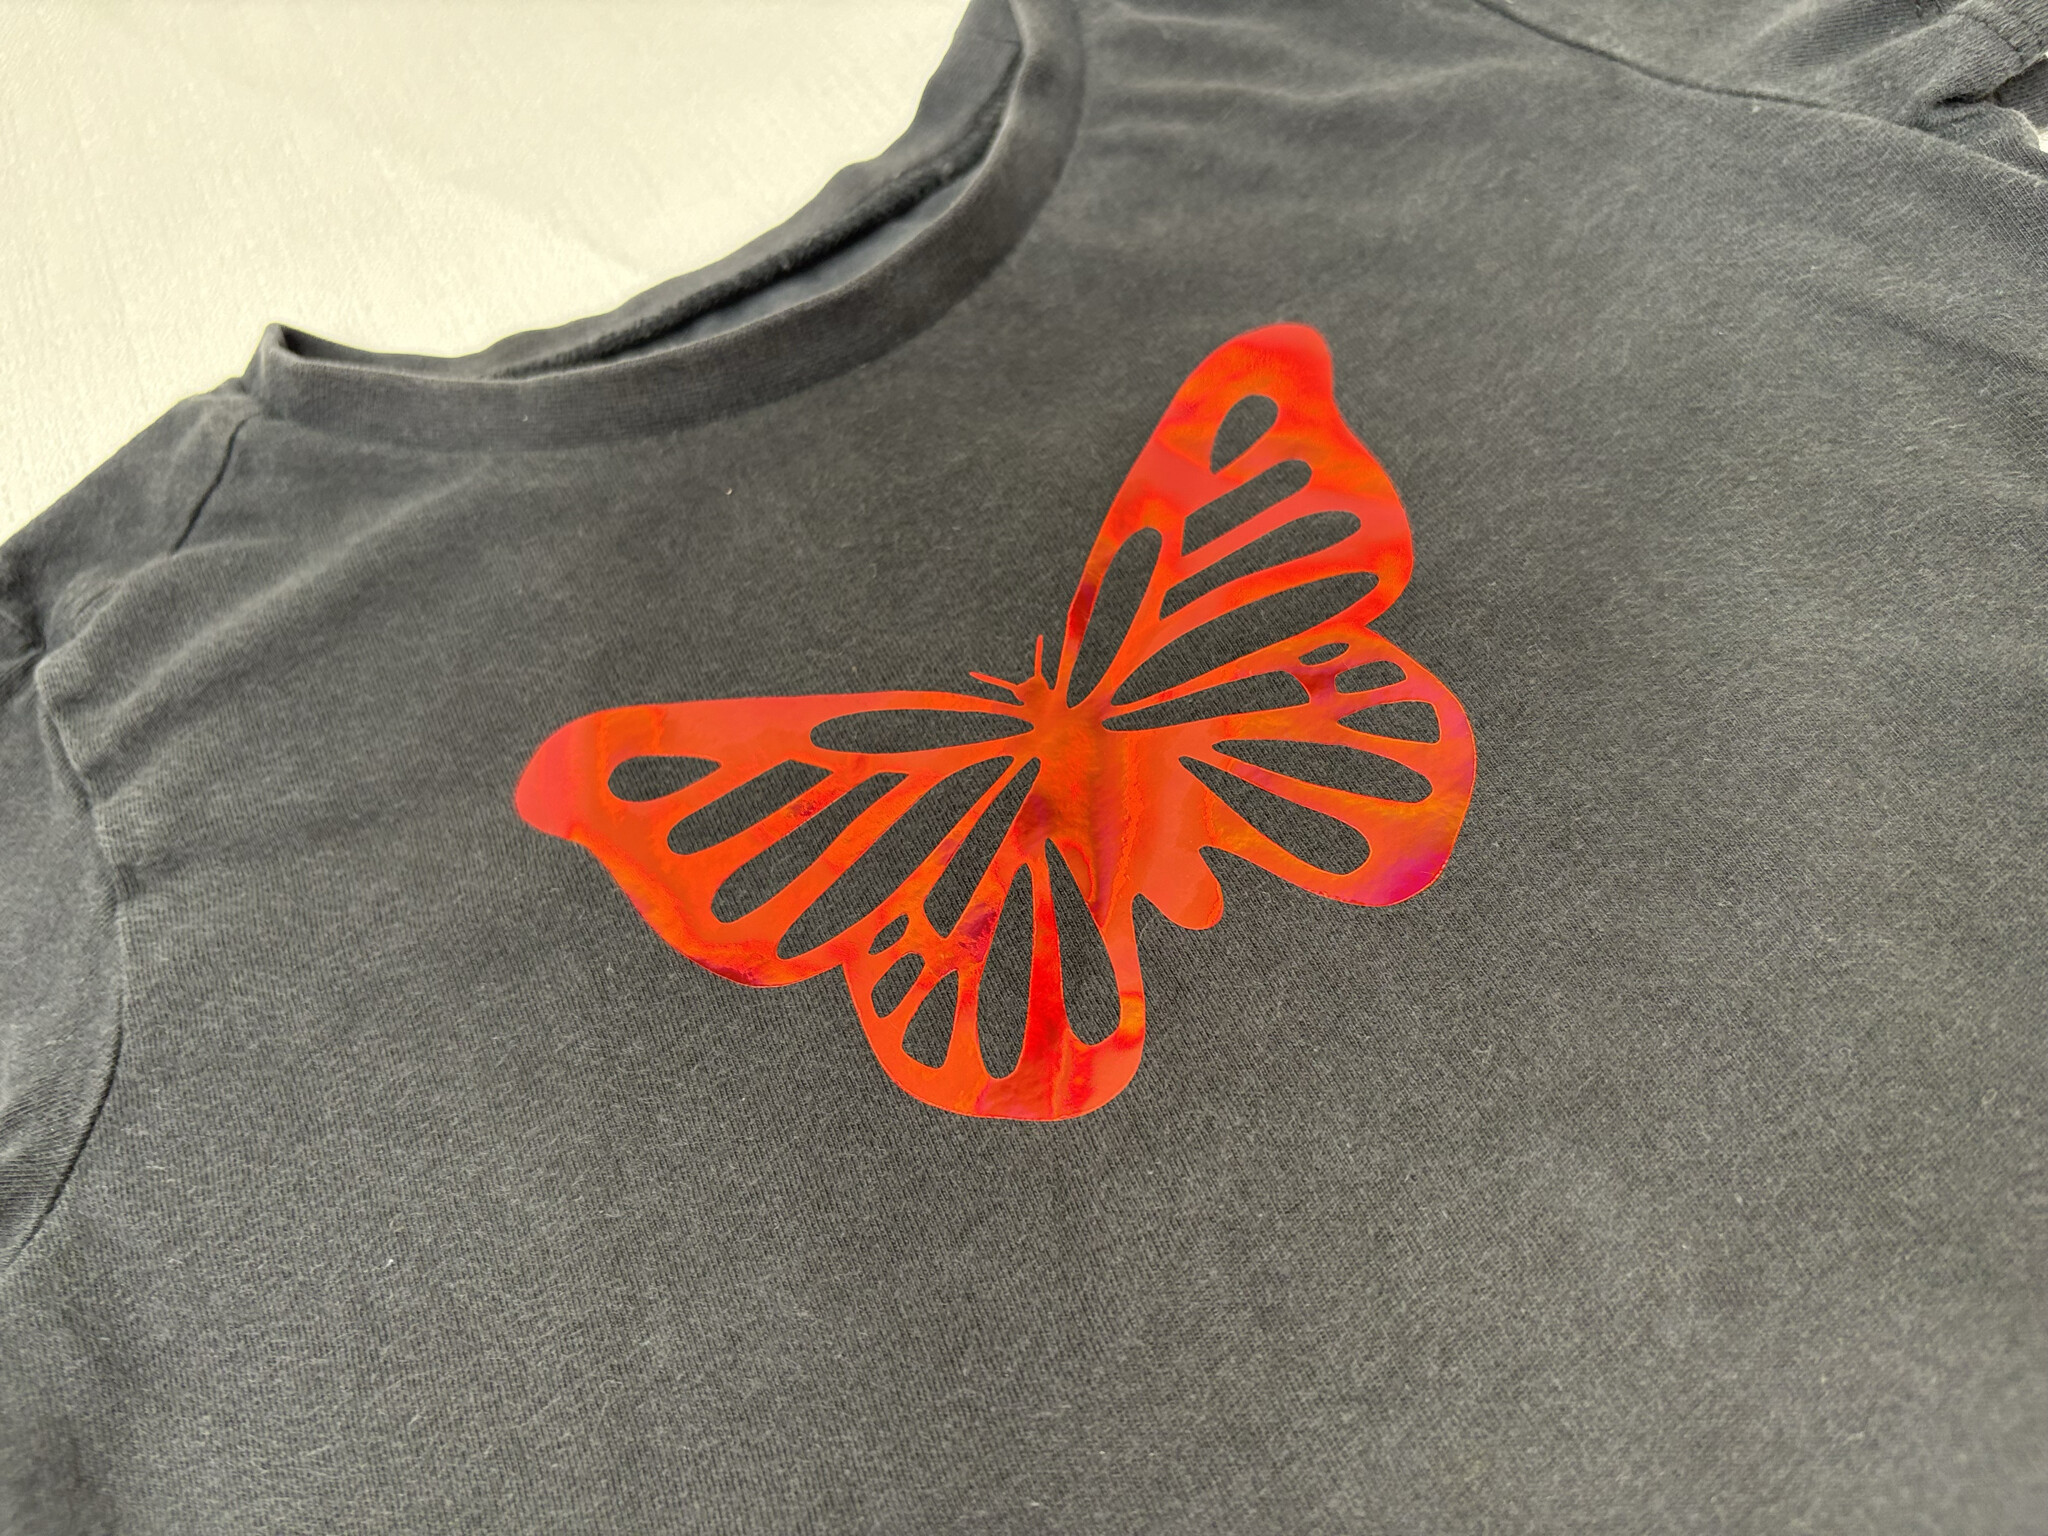
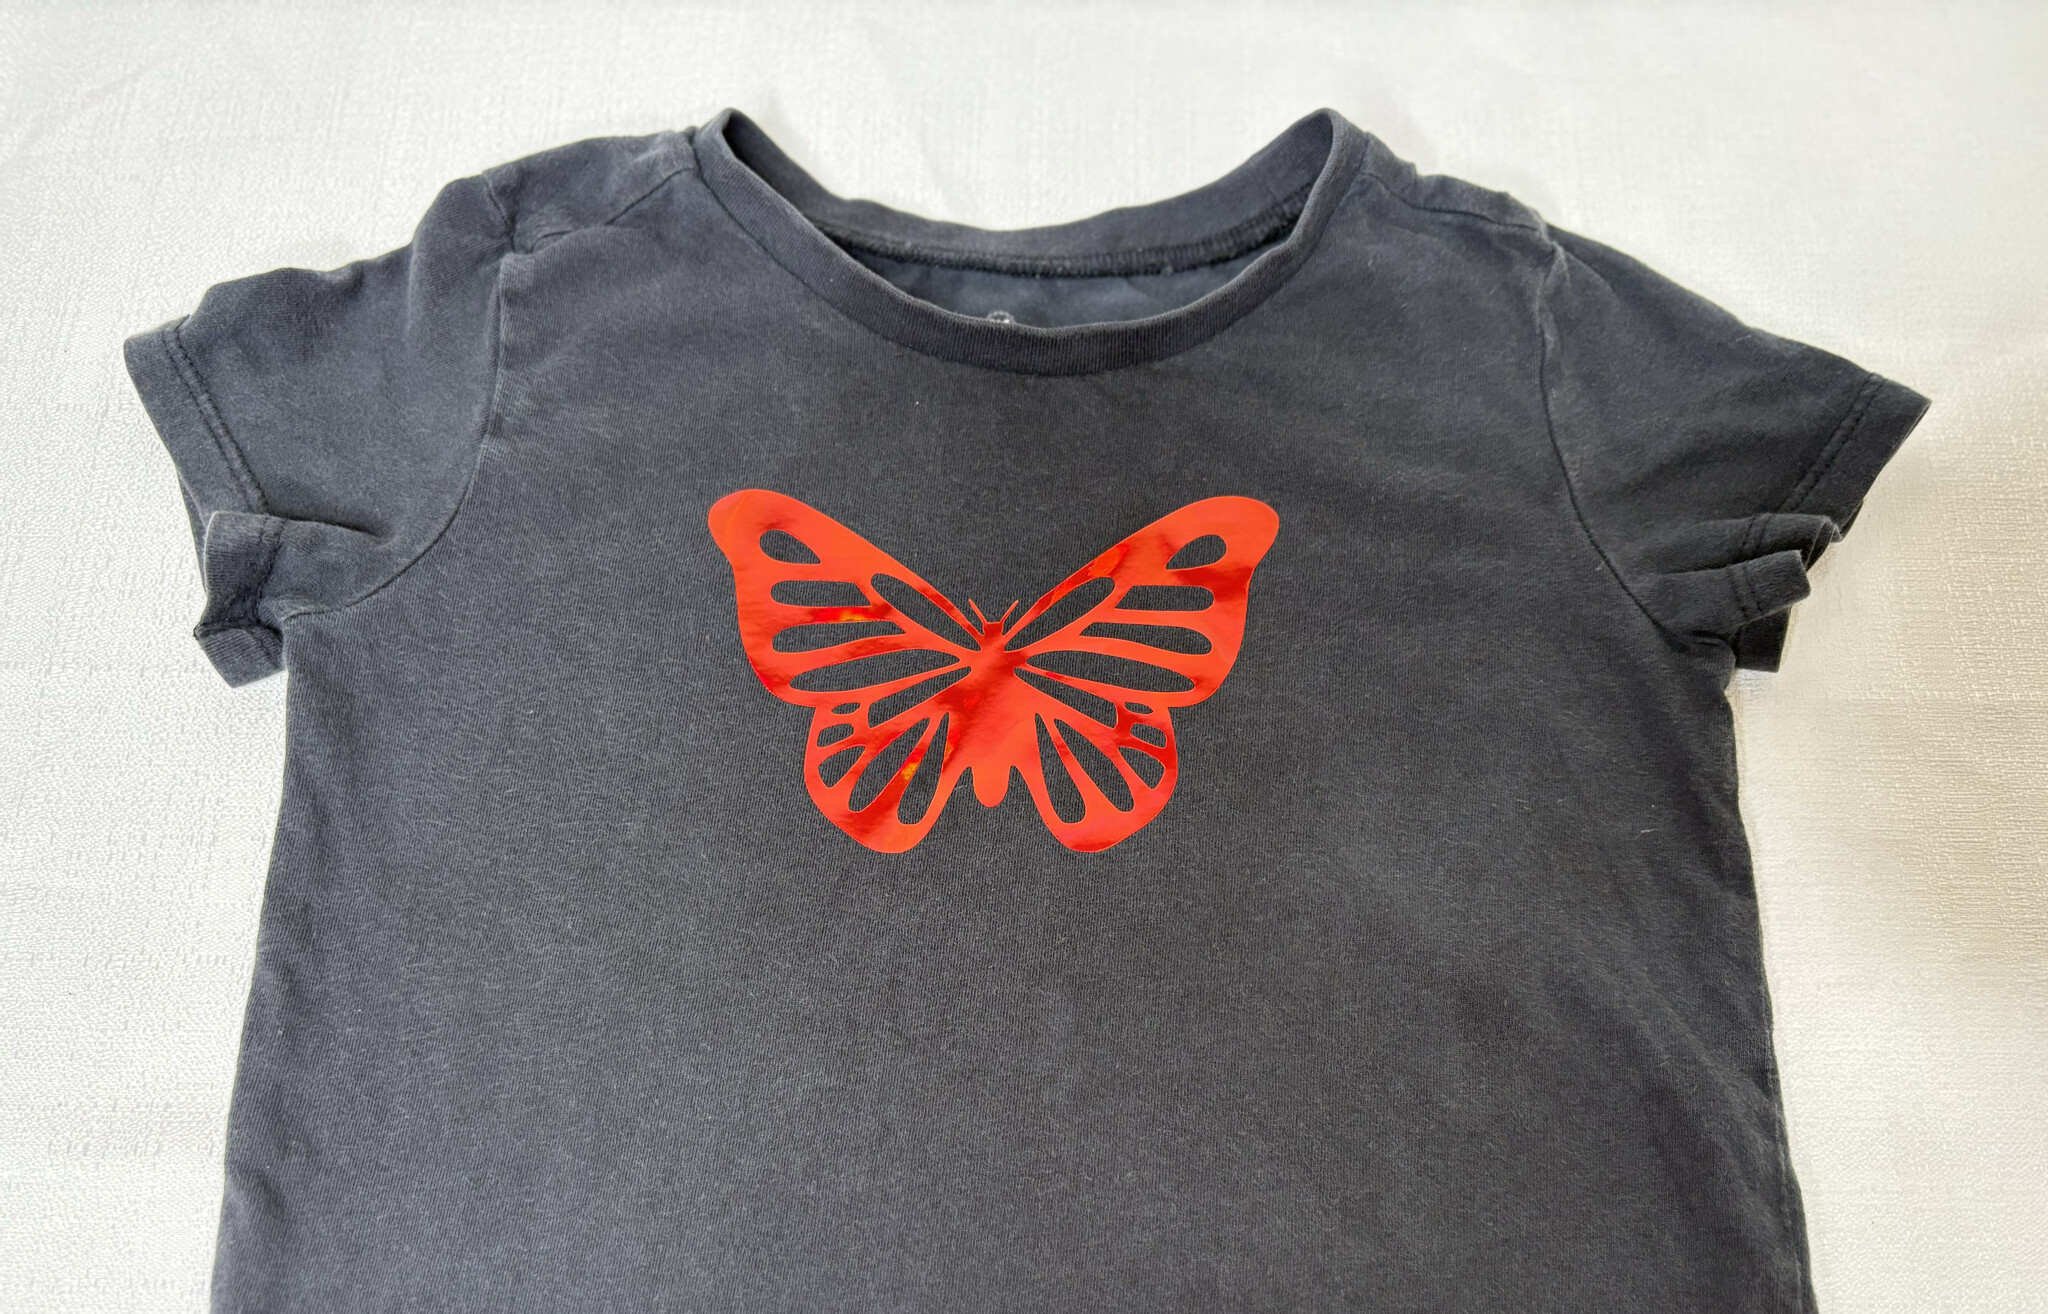
4. Holographic HTV
I love the look of holographic vinyl so I was excited to try it with the H10. For this example I chose a design with some intricate cuts, I chose a butterfly design from IdeaStudio. I pre pressed the shirt for 5 seconds, then pressed at 285 degrees Fahrenheit for 12 seconds with about 40 pounds of pressure. I waited for a cold peel and was left with a gorgeous holographic design for my toddler’s shirt. My toddler saw it and loved it so that made me extra happy with the results.
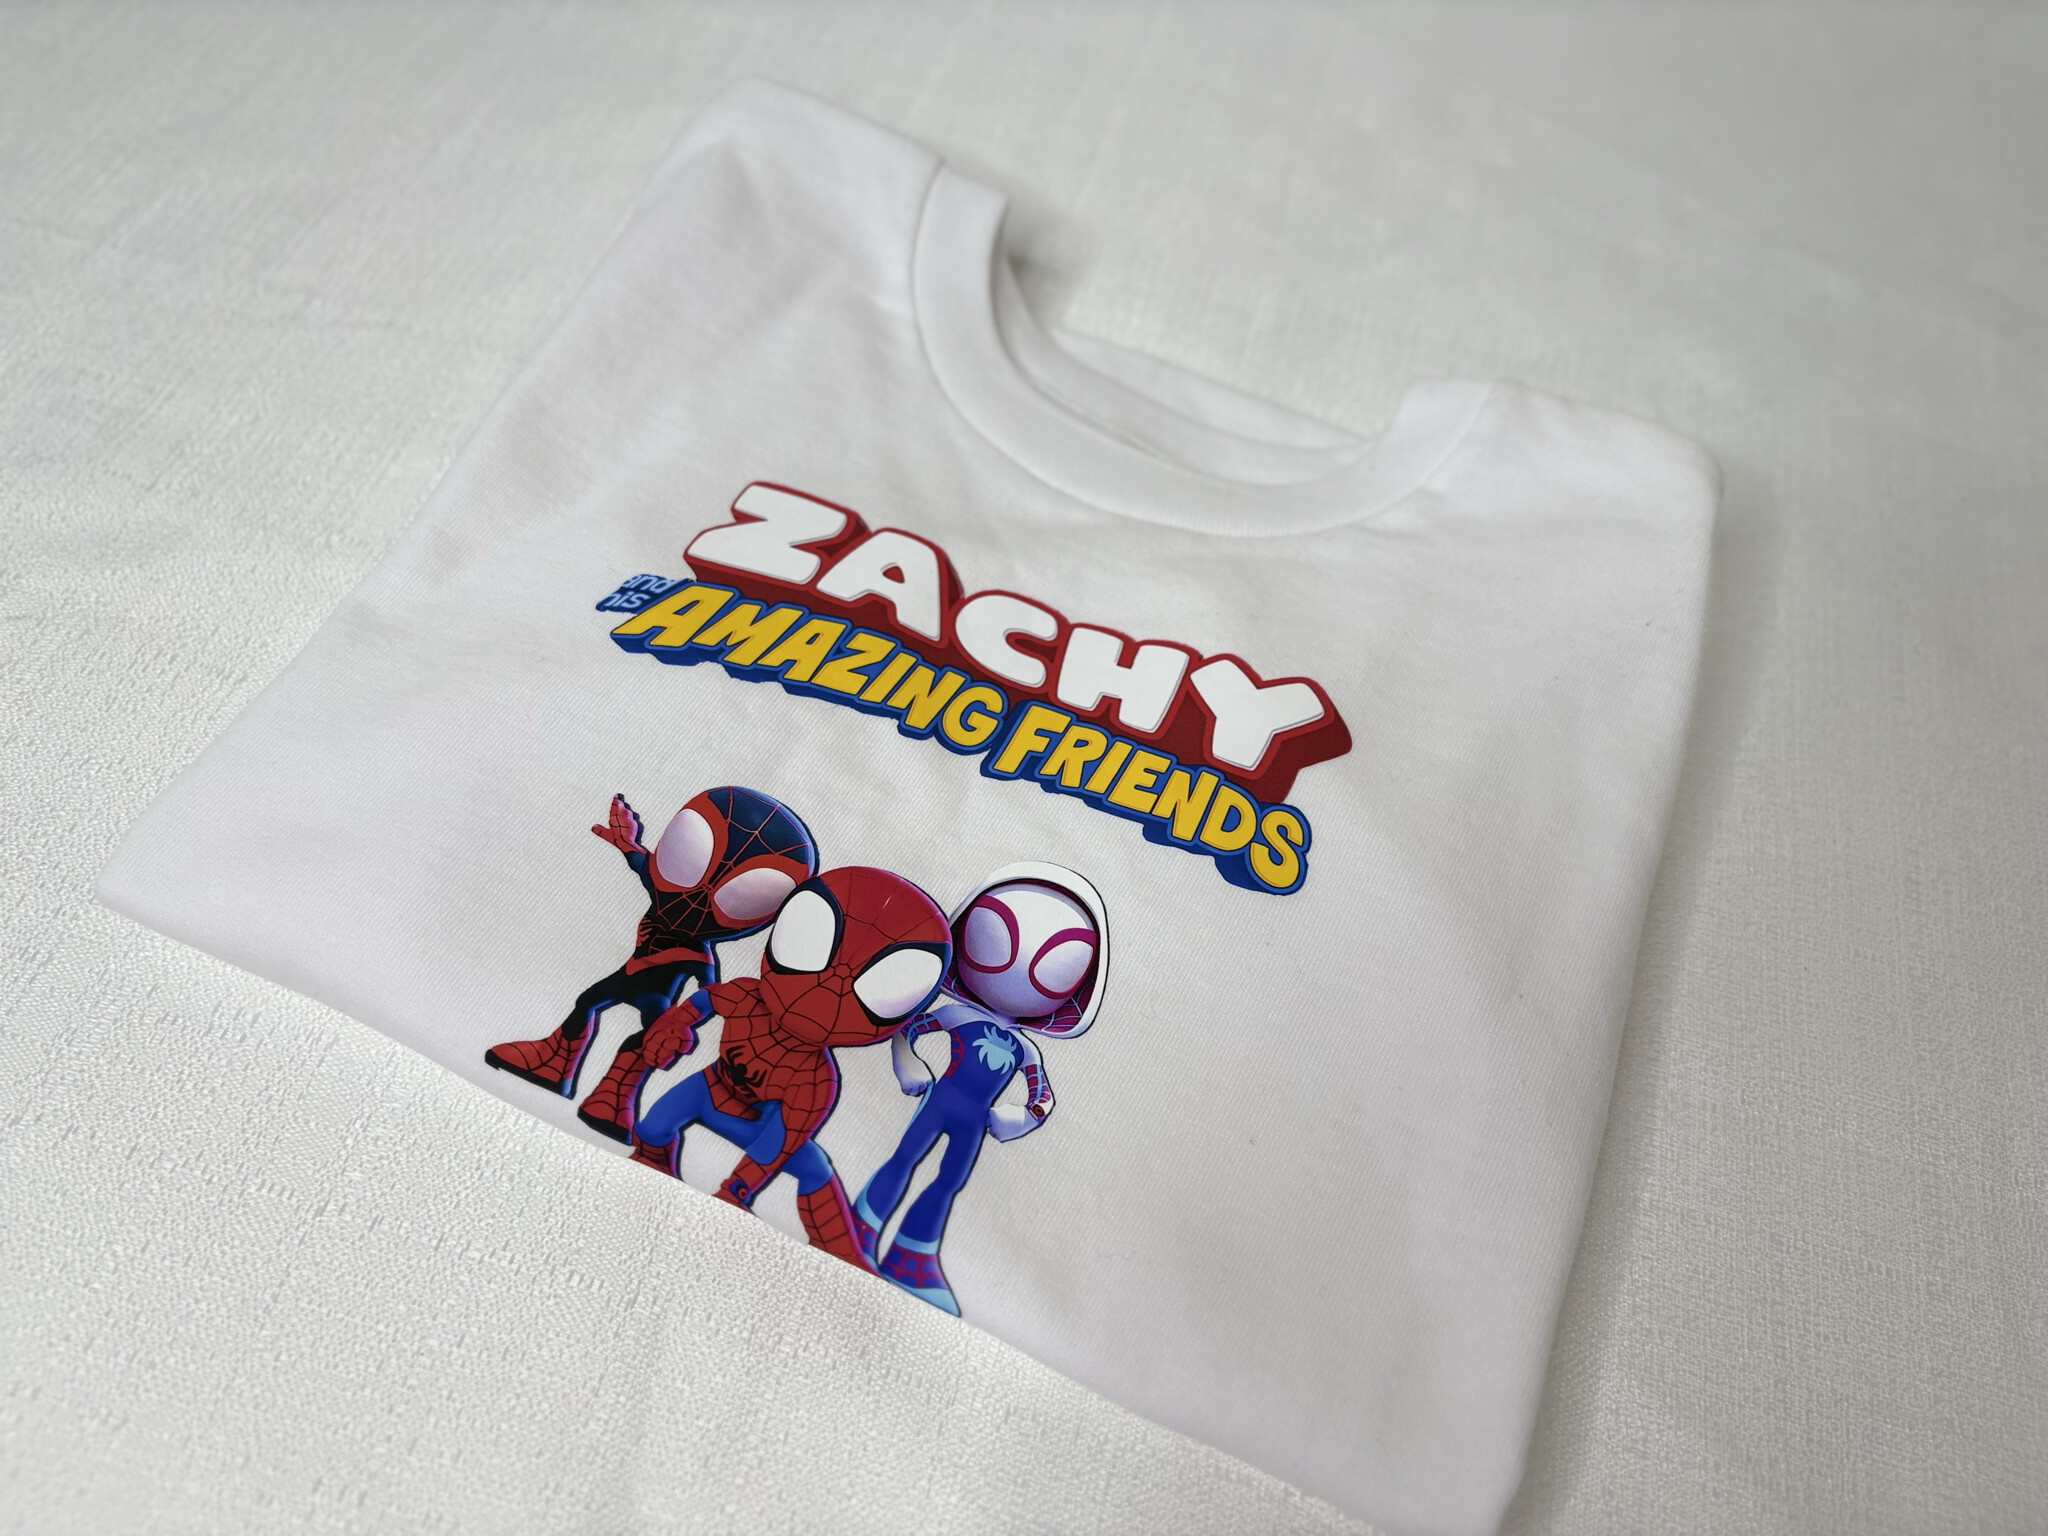
5. Printable heat transfer vinyl
For this example I used HTVRont printable heat transfer for dark fabrics and I actually love using on all tshirts even light colored ones. That’s just my preference there’s nothing wrong with the light fabric transfer. For the design I chose one for my son’s upcoming birthday. I cut the design with my cutting machine, peeled the backing carefully, pre-pressed the shirt for 5 seconds, placed the design where I wanted it on the t-shirt, covered it with the included parchment sheet, and pressed at 320 degrees Fahrenheit for 15 seconds with around 60 pounds of pressure. I gave it a final quick press with just a Teflon sheet. The design stayed vibrant and pressed perfectly. I loved the results and so did my son.

6. DTF transfer
I bought DTF transfers from a company that prints them and mails them out. I’ve been wanting to try DTF for a while and this gave me an excuse. The website instructions said to pre-press the shirt for 10 seconds, place the transfer, then press at 300 to 320 degrees Fahrenheit for 15 seconds. I did 320 degrees with firm pressure, around 70 to 80 pounds. You’re supposed to wait at least 10 seconds before peeling the carrier sheet and peel it back over itself slowly. Then do a final press with a Teflon sheet for 10 seconds. The results were great. On my first try I peeled too early so some small details tried to lift with the carrier sheet. Again, user error, not the machine. If you have a big design on a bigger shirt you may need to press it in two sections. This mostly applies when doing sizes like 2XL and up. Overall though I was happy with the results and it was an easy press. Definitely want to try more DTF projects in the future.

7. Sublimation
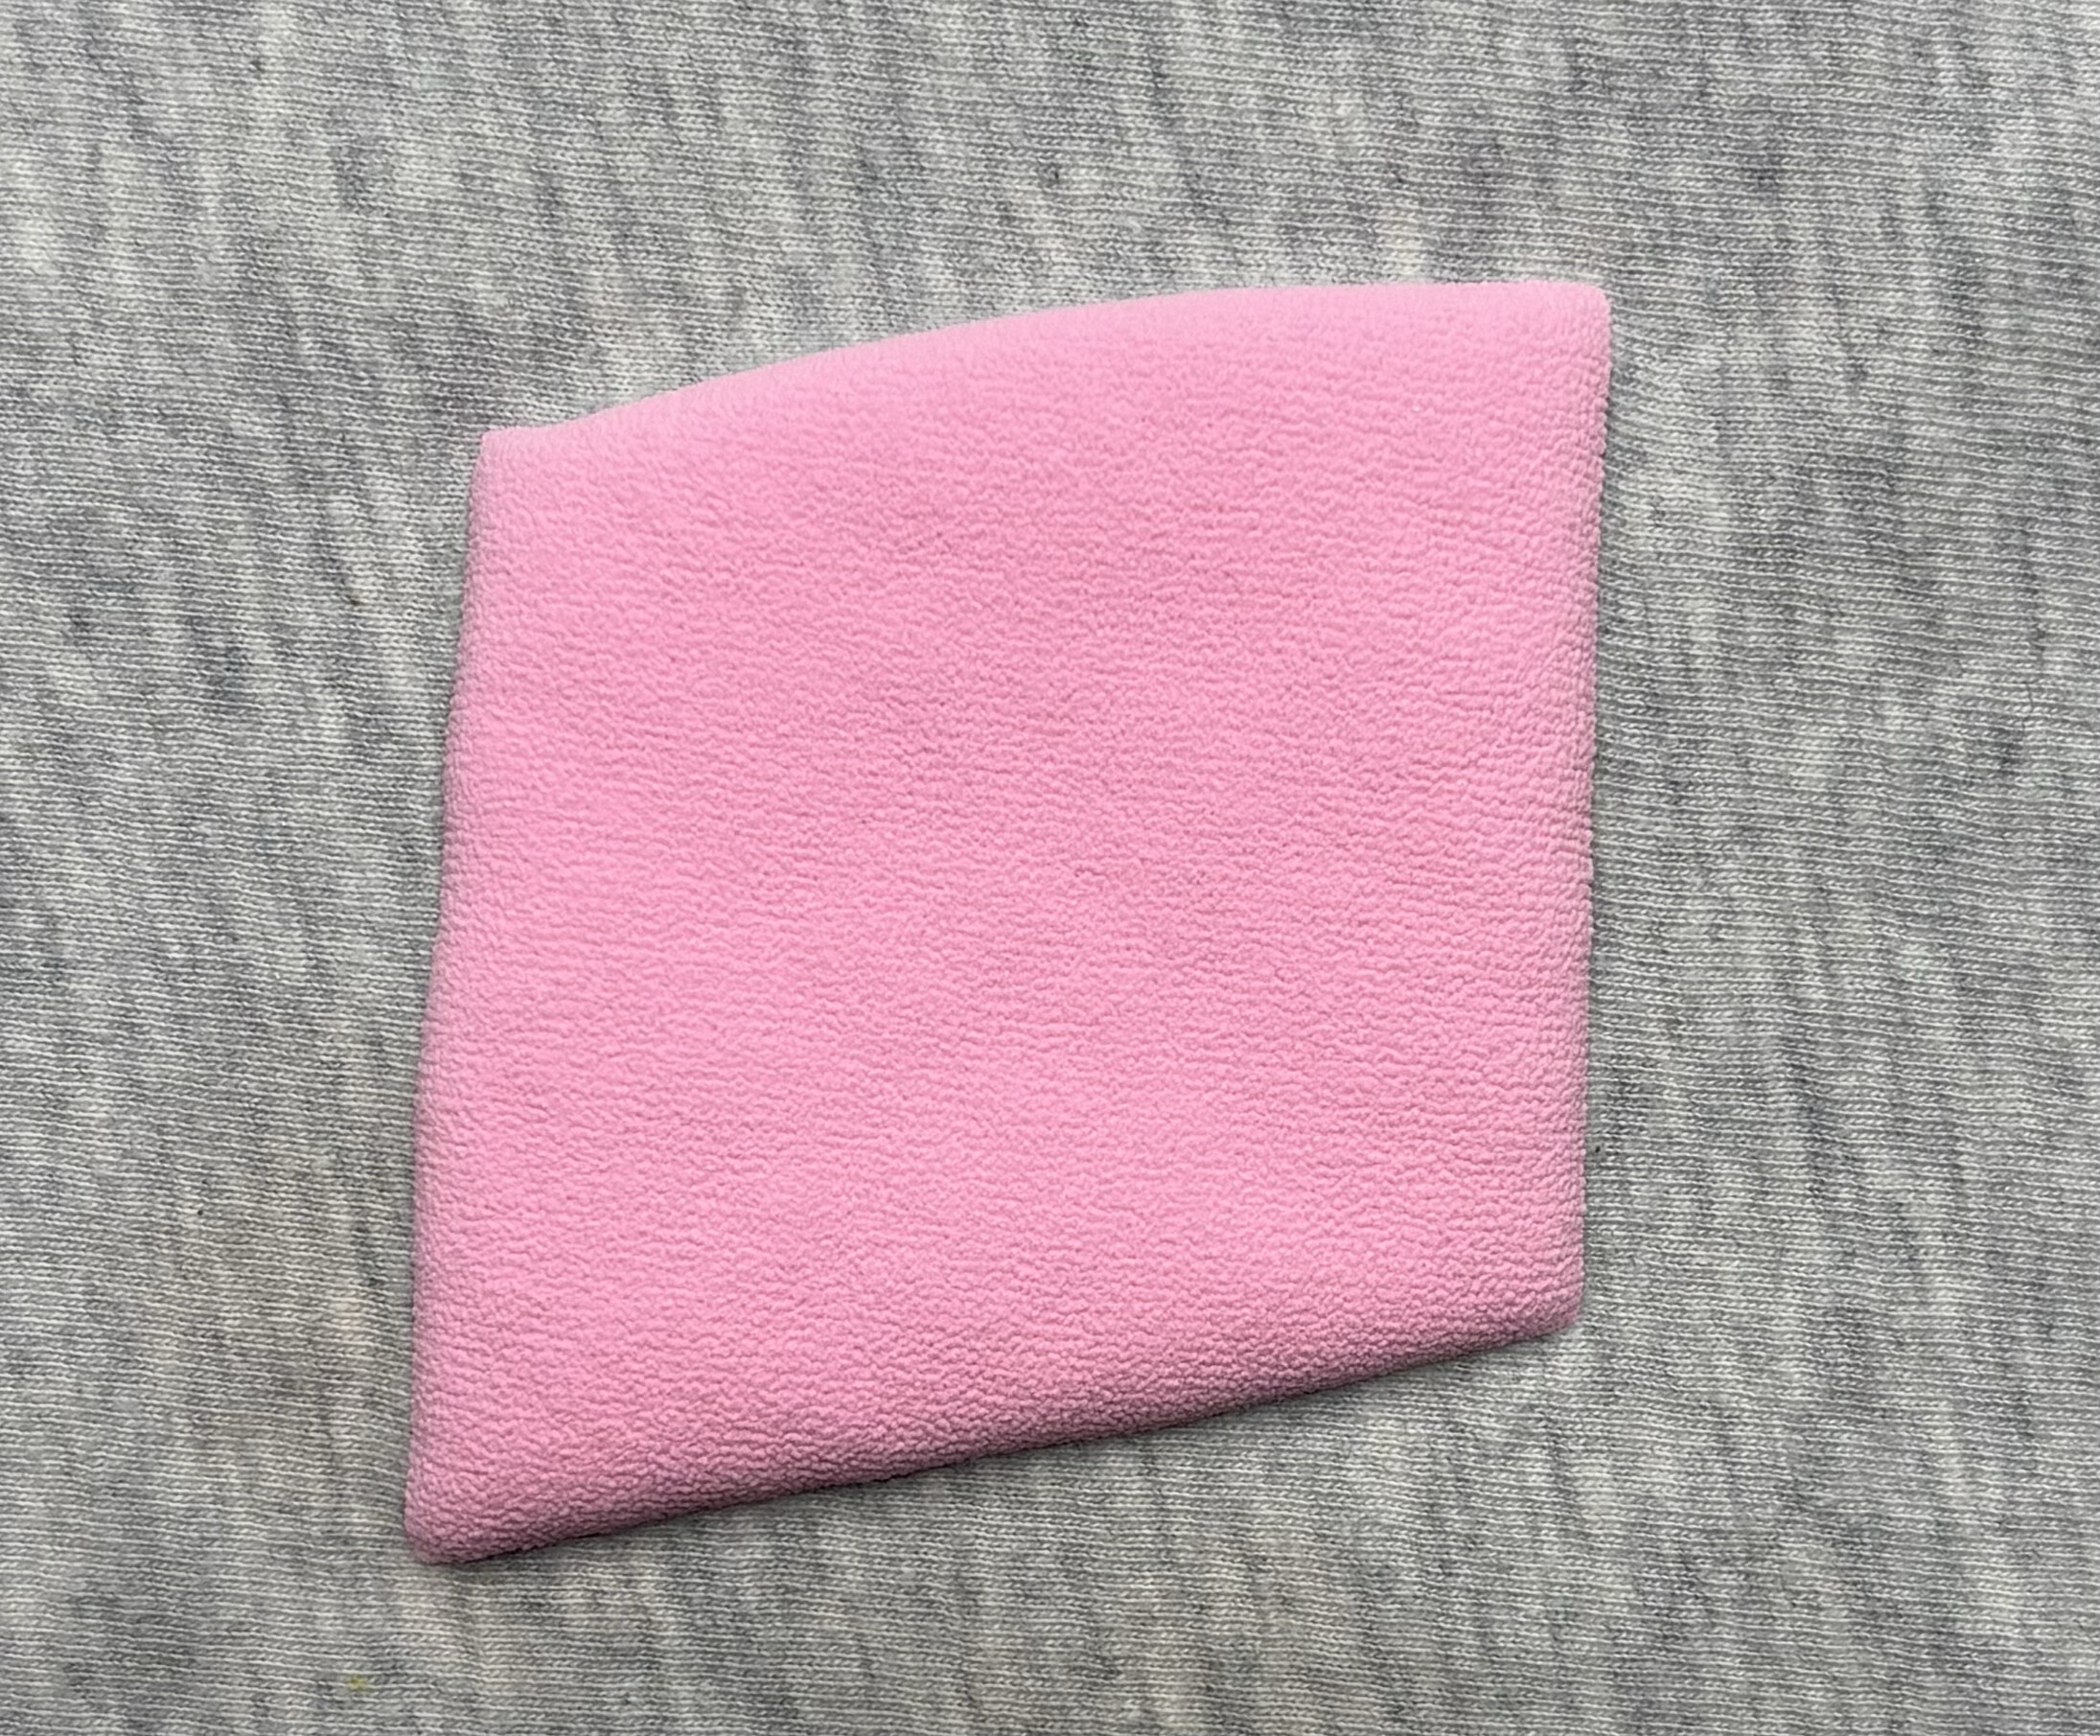
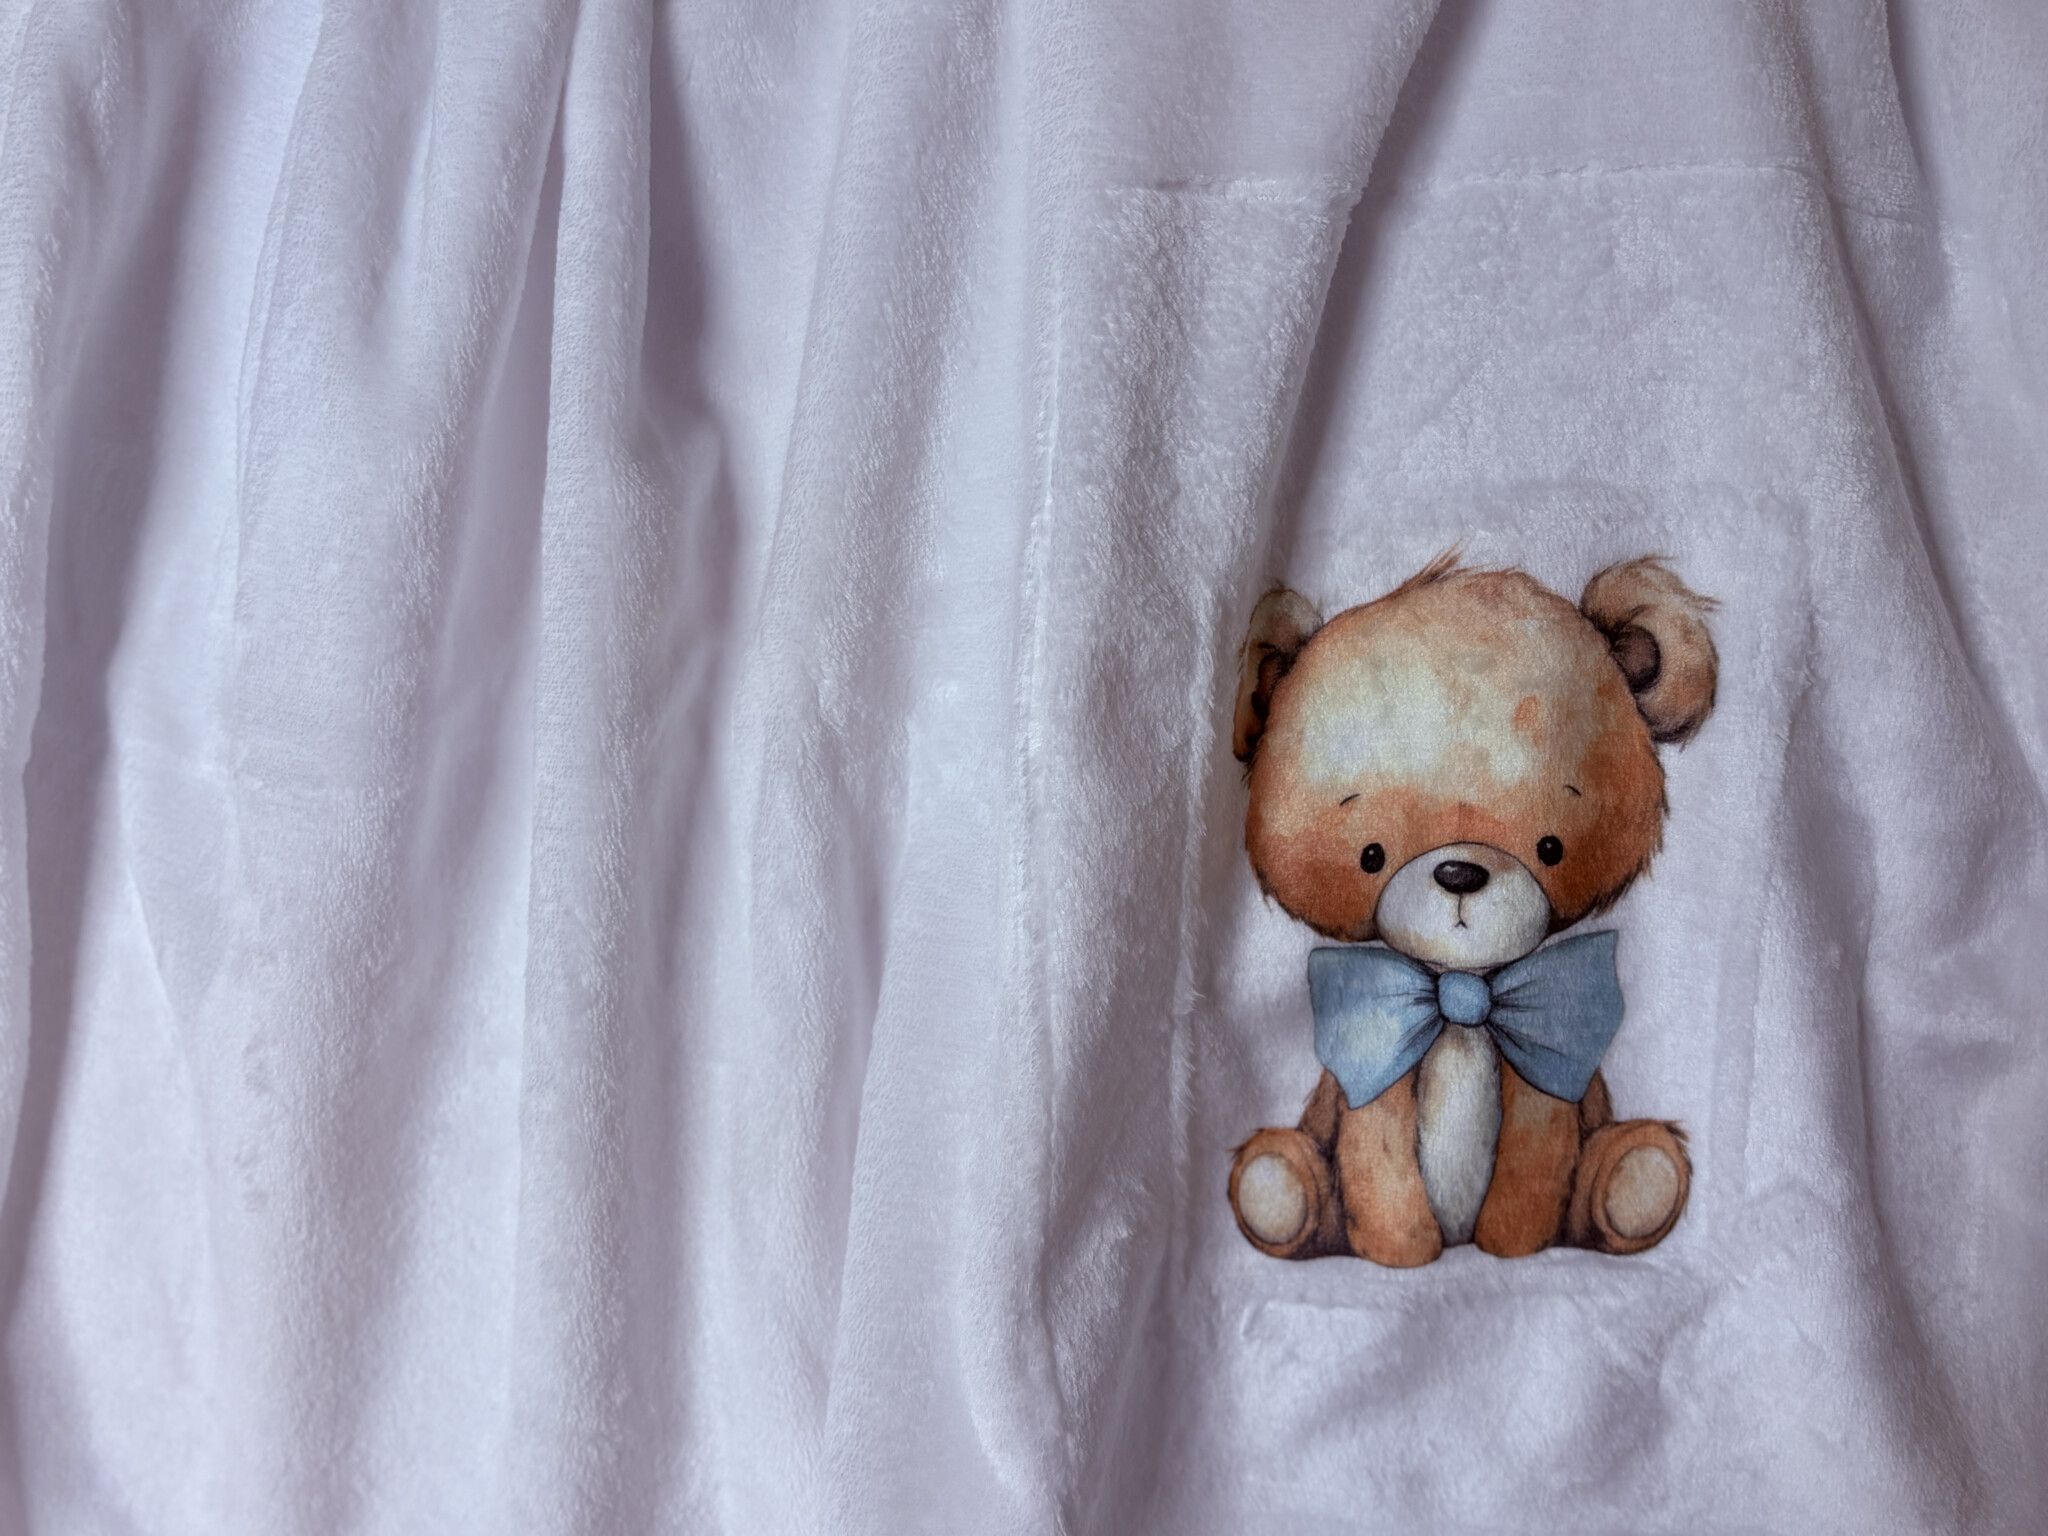
I’m not a pro at sublimation. I’m very much at the bottom stage of beginner I’ve watched so many of you post the most beautiful sublimation projects and always wanted to try. I ordered ready to press sublimation transfers from the same company I got the DTF from. I also picked up a sublimation blanket from Hobby Lobby. The texture of the blanket is soft and fuzzy.
The instructions said to pre-press for 10 seconds, then press at 390 degrees Fahrenheit for 50 seconds. I taped the design face down, put butcher paper under the blanket in case any ink transferred through, and another sheet over the top to protect the heat press. I used medium pressure, about 50 pounds, and peeled immediately as stated by the instructions. I loved how it turned out. The design really embedded into the blanket and stayed vibrant. For being my first sublimation project I was proud of it and I completely understand why everyone loves sublimation now. I definitely want to do more in the future. Truly I was stunned with the results and just knowing that the H10 could handle it especially with a novice like me doing it was such a nice surprise. I’m sure all the pros will have a much easier time with it and surely obtain the maximum results. Here’s a reference of the picture I ordered, the print that came and the results


Thoughts
I loved how every project came out. Some materials had a learning curve and pressure and timing can vary from person to person, but overall it’s a great machine for lots of different projects. Being able to monitor pressure helped me stay consistent with so many of the examples I used in this review and the dual handles felt like a good upgrade from the single handle design. I felt like I could shift my pressure more evenly. Some vinyls that need light pressure are perfectly comfortable but anything that needs heavier pressure might strain your wrists a bit, so that’s something to keep in mind if you’re looking into the H10. In my opinion this machine is able to handle so much and I have one more part coming where I’ll share my final thoughts on everything overall and a few extra projects I didn’t mention here that test further the capability of the H10.