As makers, we’re always looking for ways to make our crafting process smoother, more precise, and repeatable — and that’s where a custom jig comes in handy!
Today’s mission is all about how to create a perfect-fitting jig using your LOKLiK iEngrave — a must-have trick if you’re working on layered projects, like my layered nativity set.
What’s a Jig and Why Do You Need One?
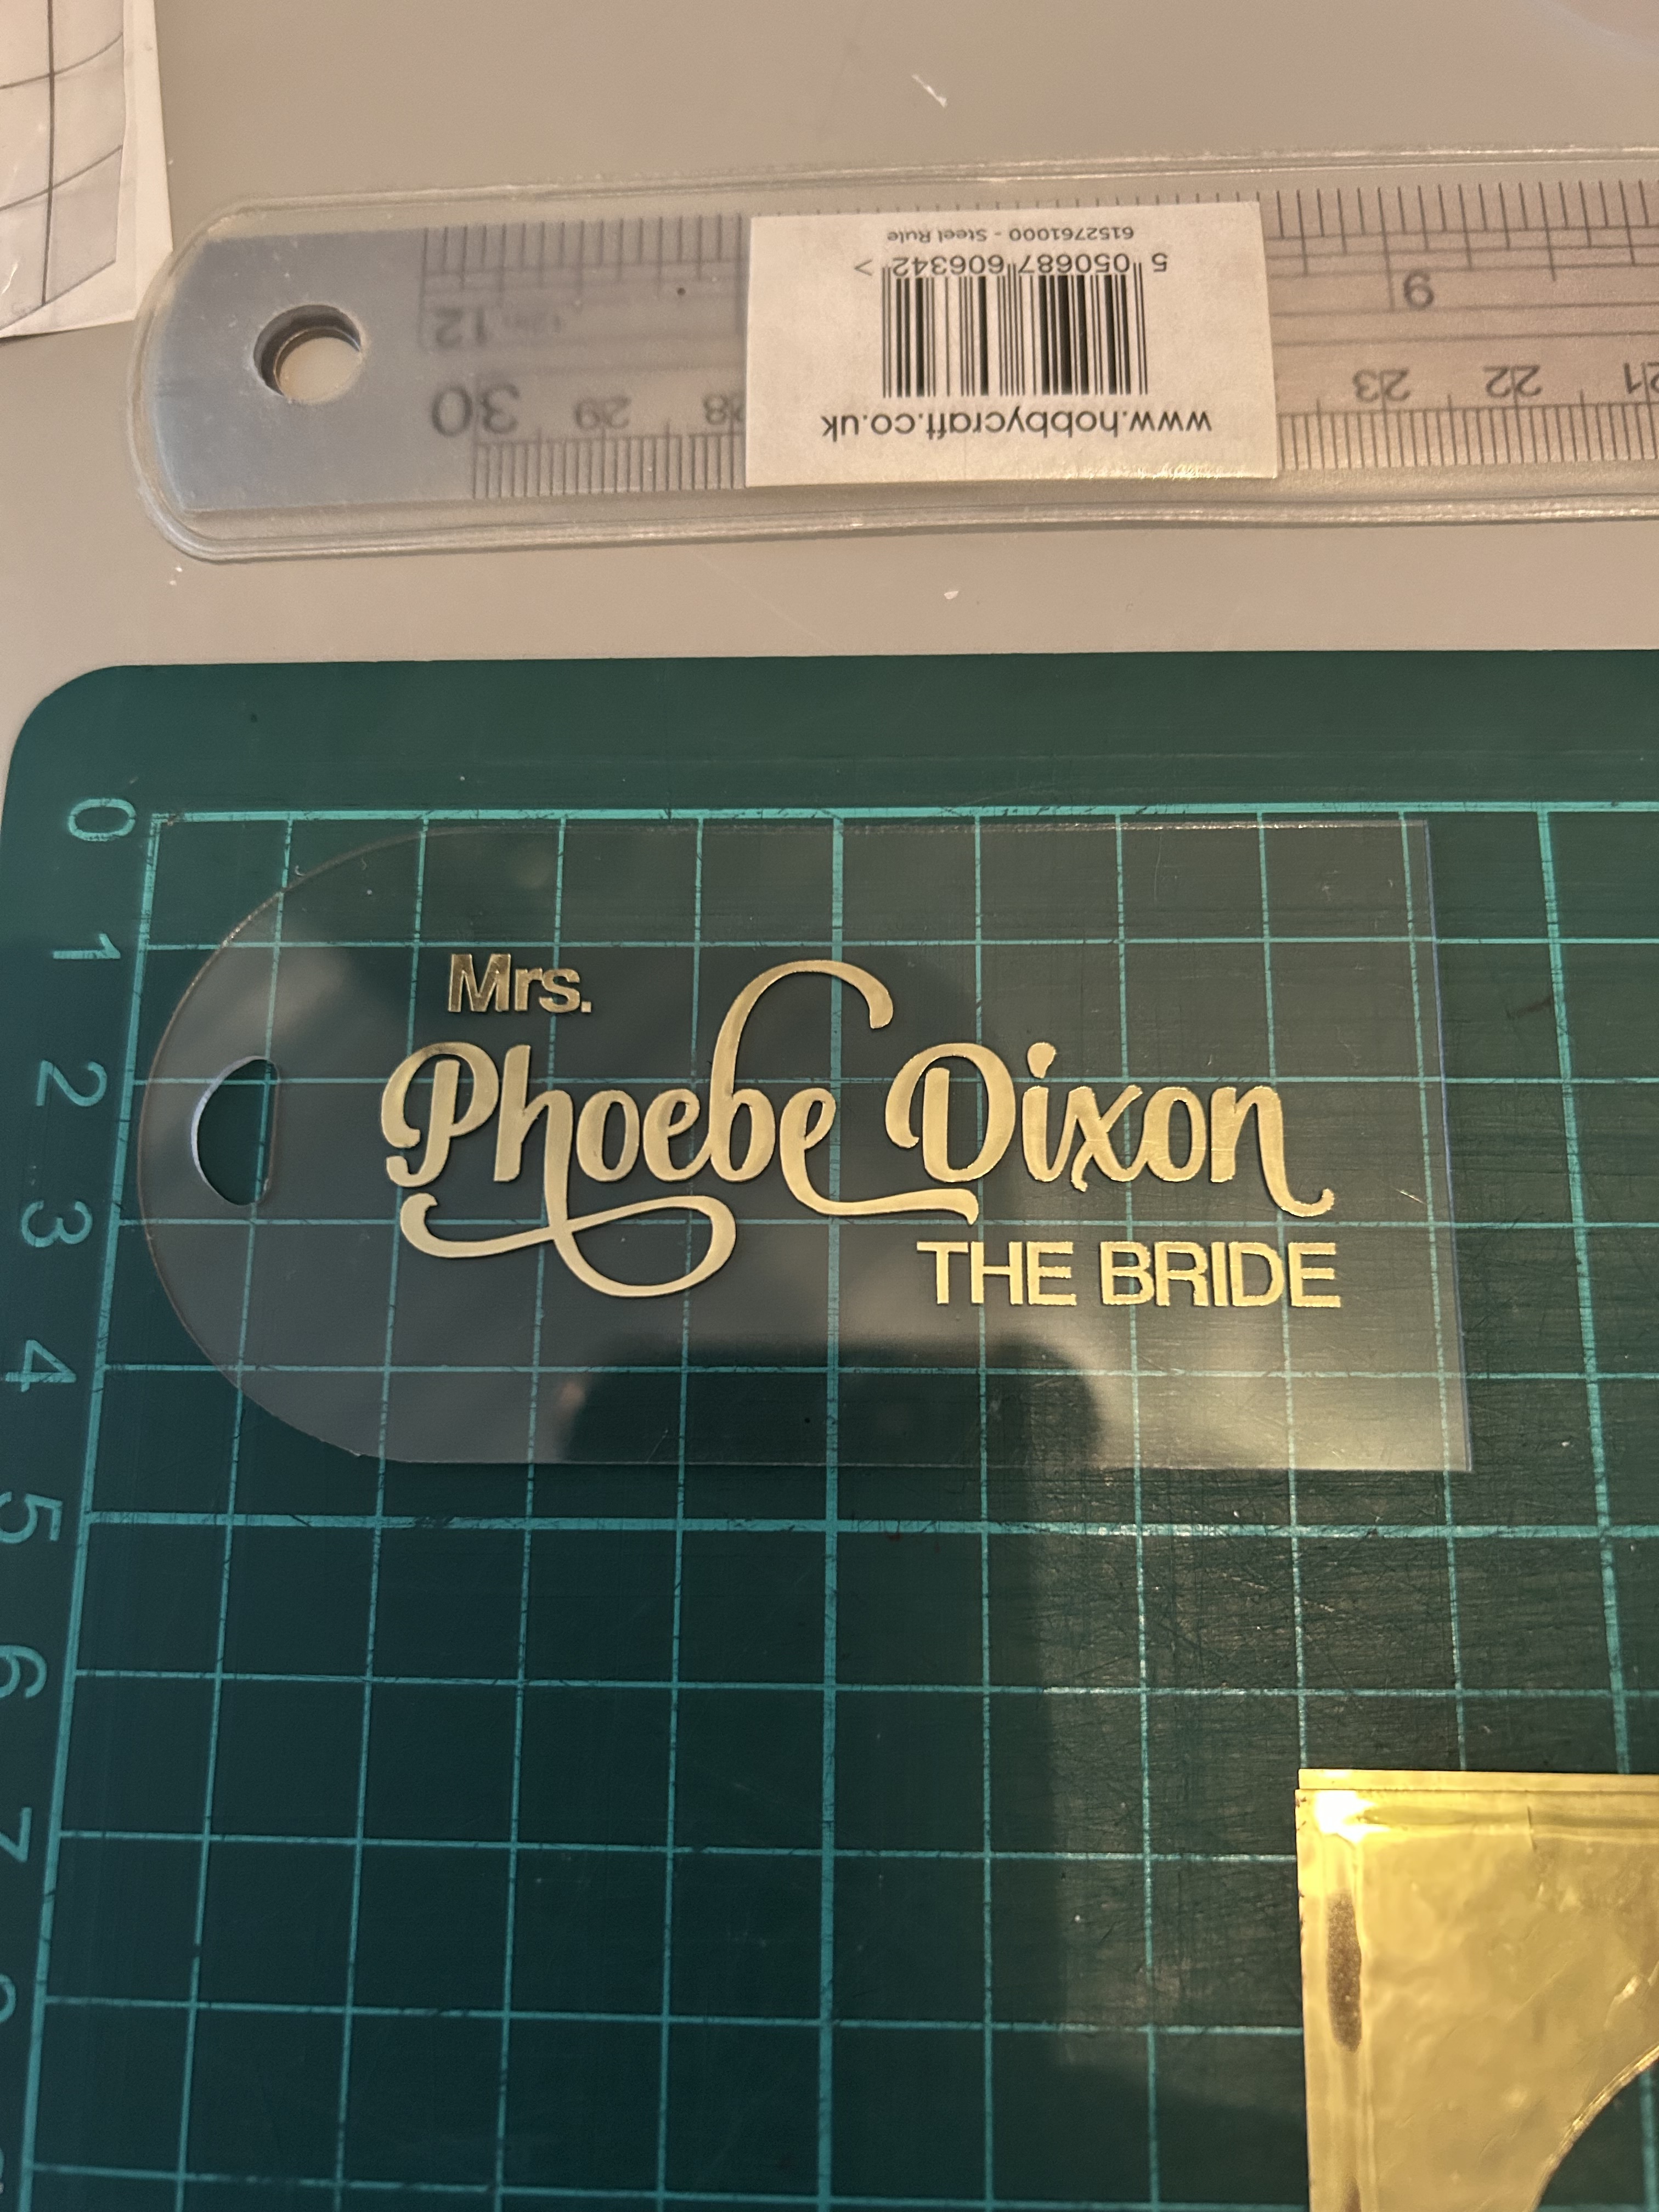
A jig is simply a positioning guide — it helps hold your pieces perfectly in place while engraving, painting, or assembling. Using a jig with the LOKLiK iEngrave ensures that each piece aligns consistently, even if you’re producing multiple layers or repeating the same design.
It’s especially helpful for projects that need precise layering, like multi-tiered signs, ornaments, or nativity sets.
Using an Offset for a Perfect Fit
When designing your jig, you’ll want to use an offset — that’s a small adjustment made to your original shape to make sure your engraved cutout fits just right.
Here’s how it works:
- A positive offset (outward) makes the jig’s opening slightly larger, so your pieces drop in smoothly.
- A negative offset (inward) makes it smaller, creating a tighter fit — but this can sometimes be too snug.
How Much Offset to Use with the LOKLiK iEngrave
The offset you use depends on the material thickness and how tight you want the fit to be.
Here’s a simple guide to get you started:
| Material | Recommended Offset | Fit Style |
|---|---|---|
| 1/8" (3mm) wood | +0.15 mm (0.006") | Smooth, slightly snug fit |
| 1/4" (6mm) wood | +0.20 mm (0.008") | Roomy, easy insert |
| Acrylic | +0.15 mm (0.006") | Clean, precise fit |
Tip:
Start with +0.15 mm, cut a single test piece, and adjust as needed. Too tight? Try +0.20 mm. Too loose? Try +0.10 mm.
Step-by-Step Jig Creation (LOKLiK iEngrave Edition)
- Duplicate your original shape design.
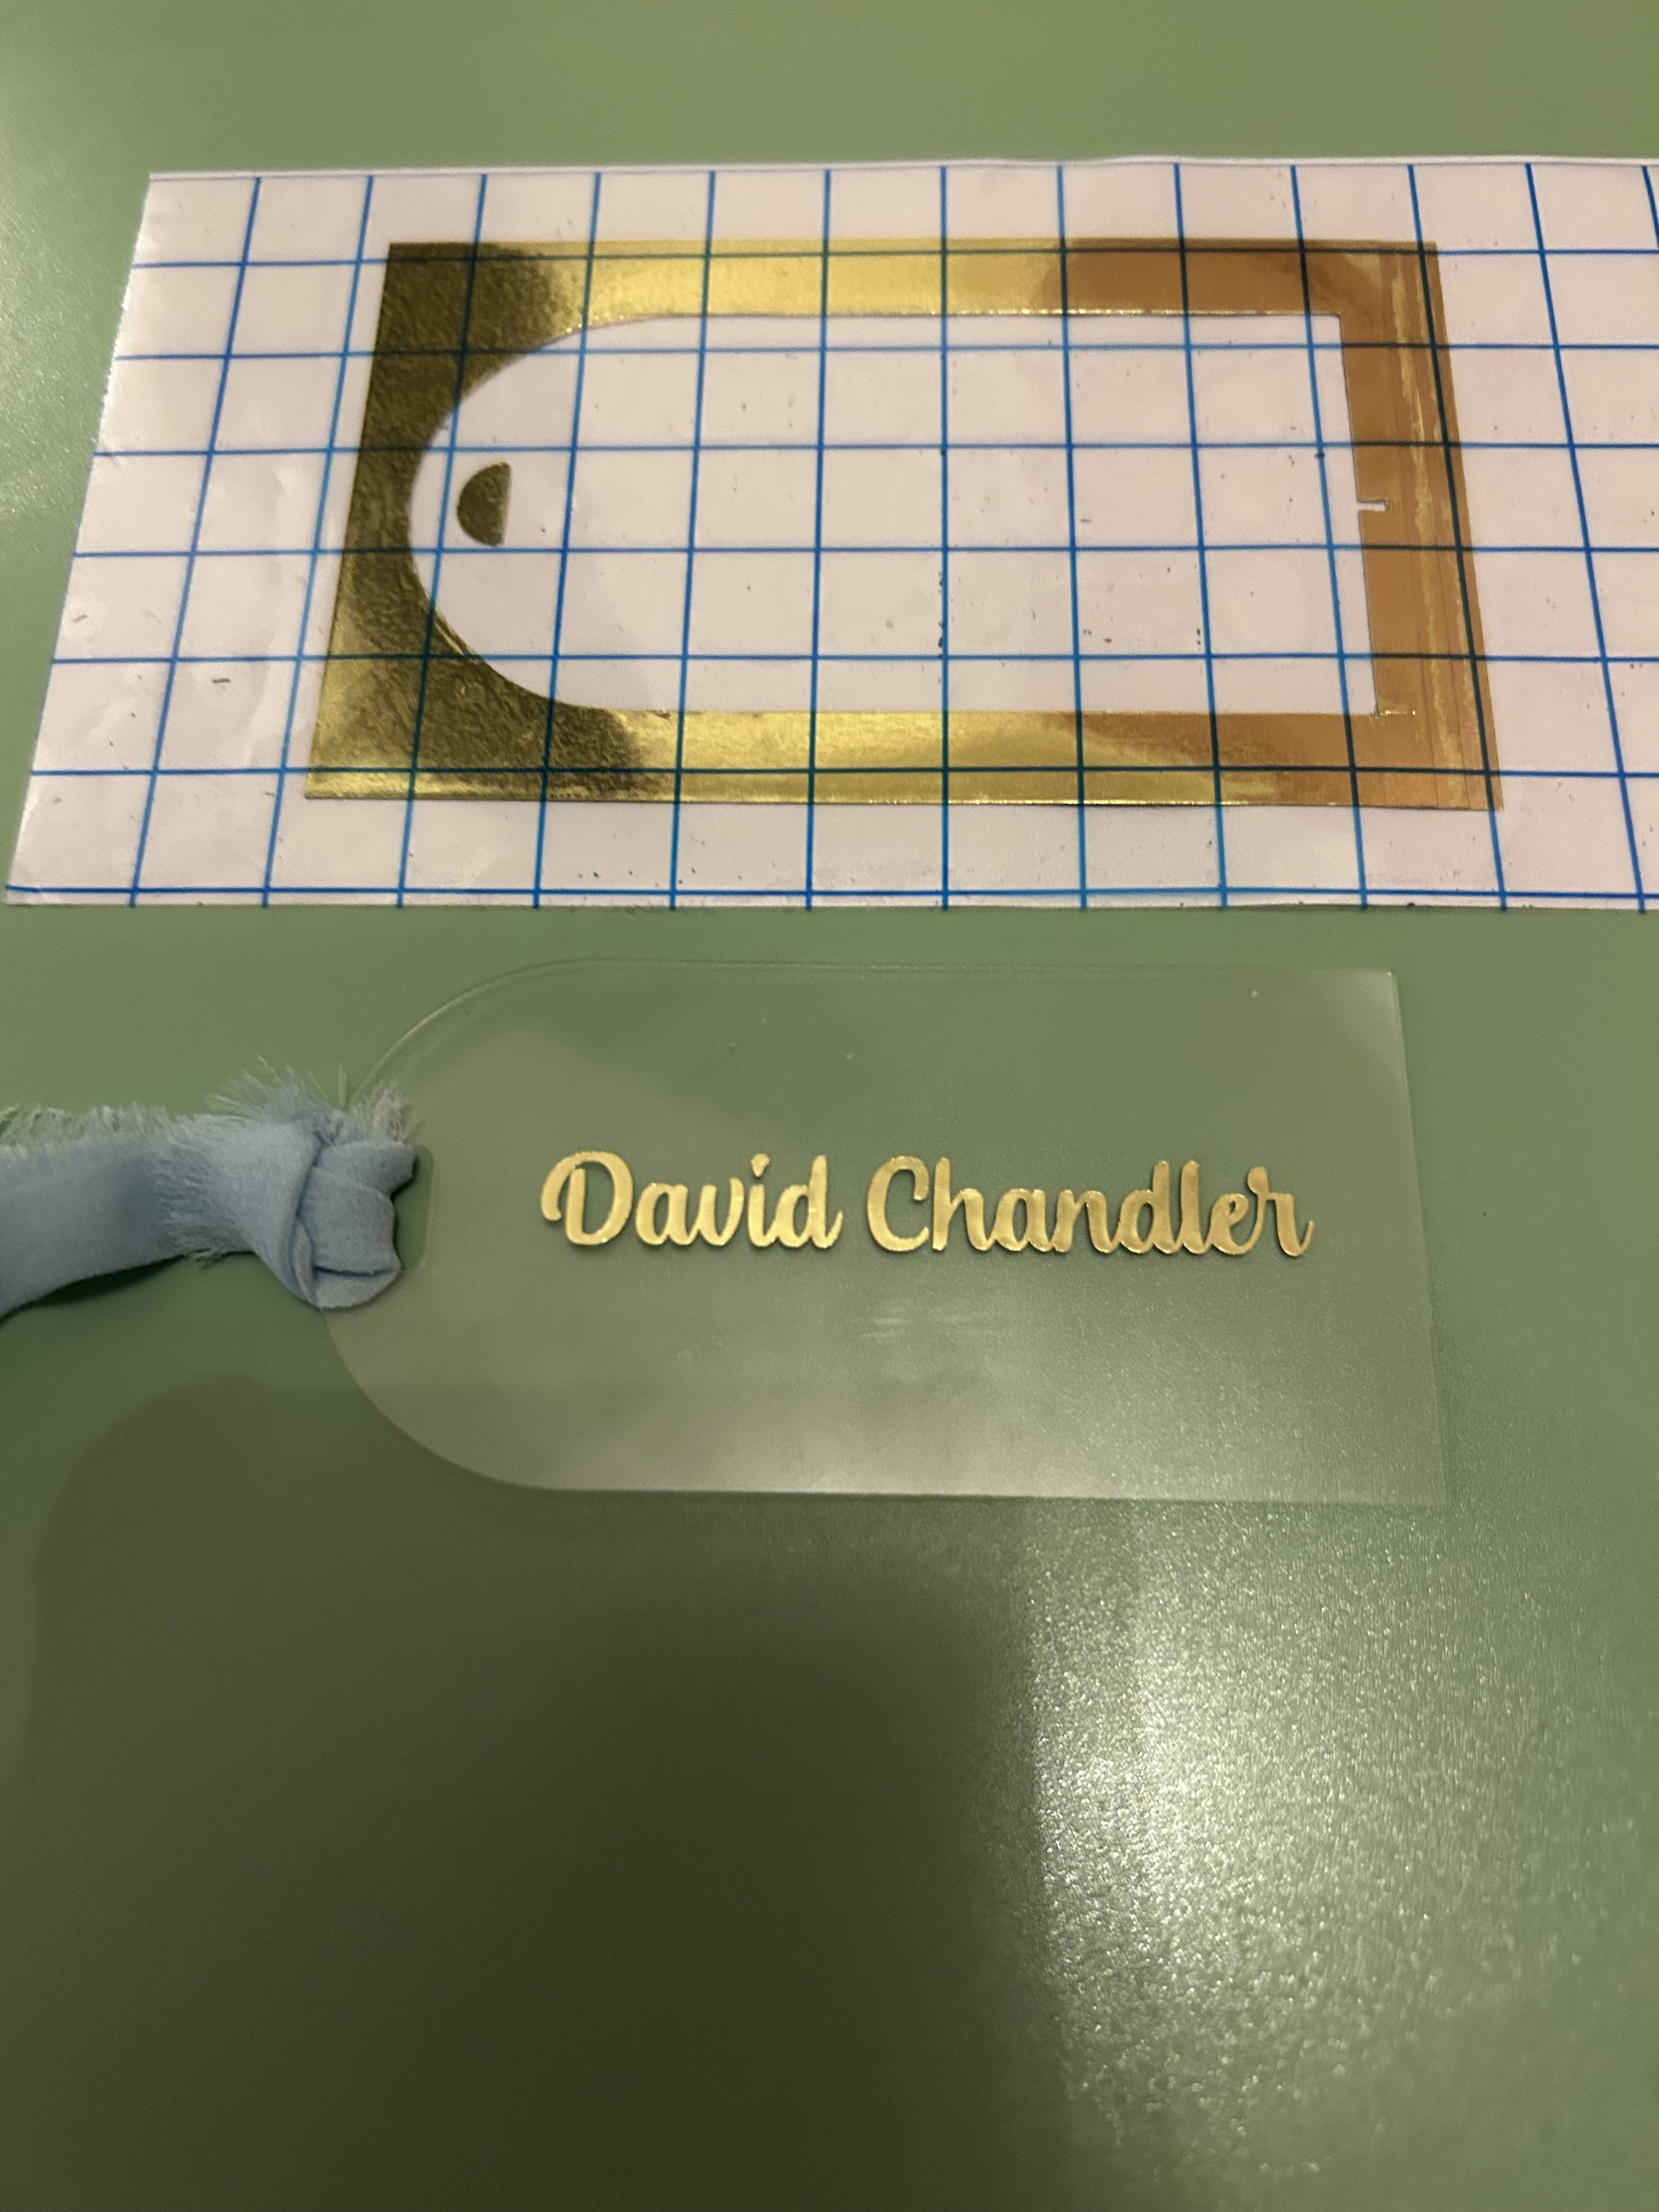
- Apply an outward offset (about +0.15 mm).
- Remove the original inner shape — you’ll only engrave/cut the offset shape for your jig.
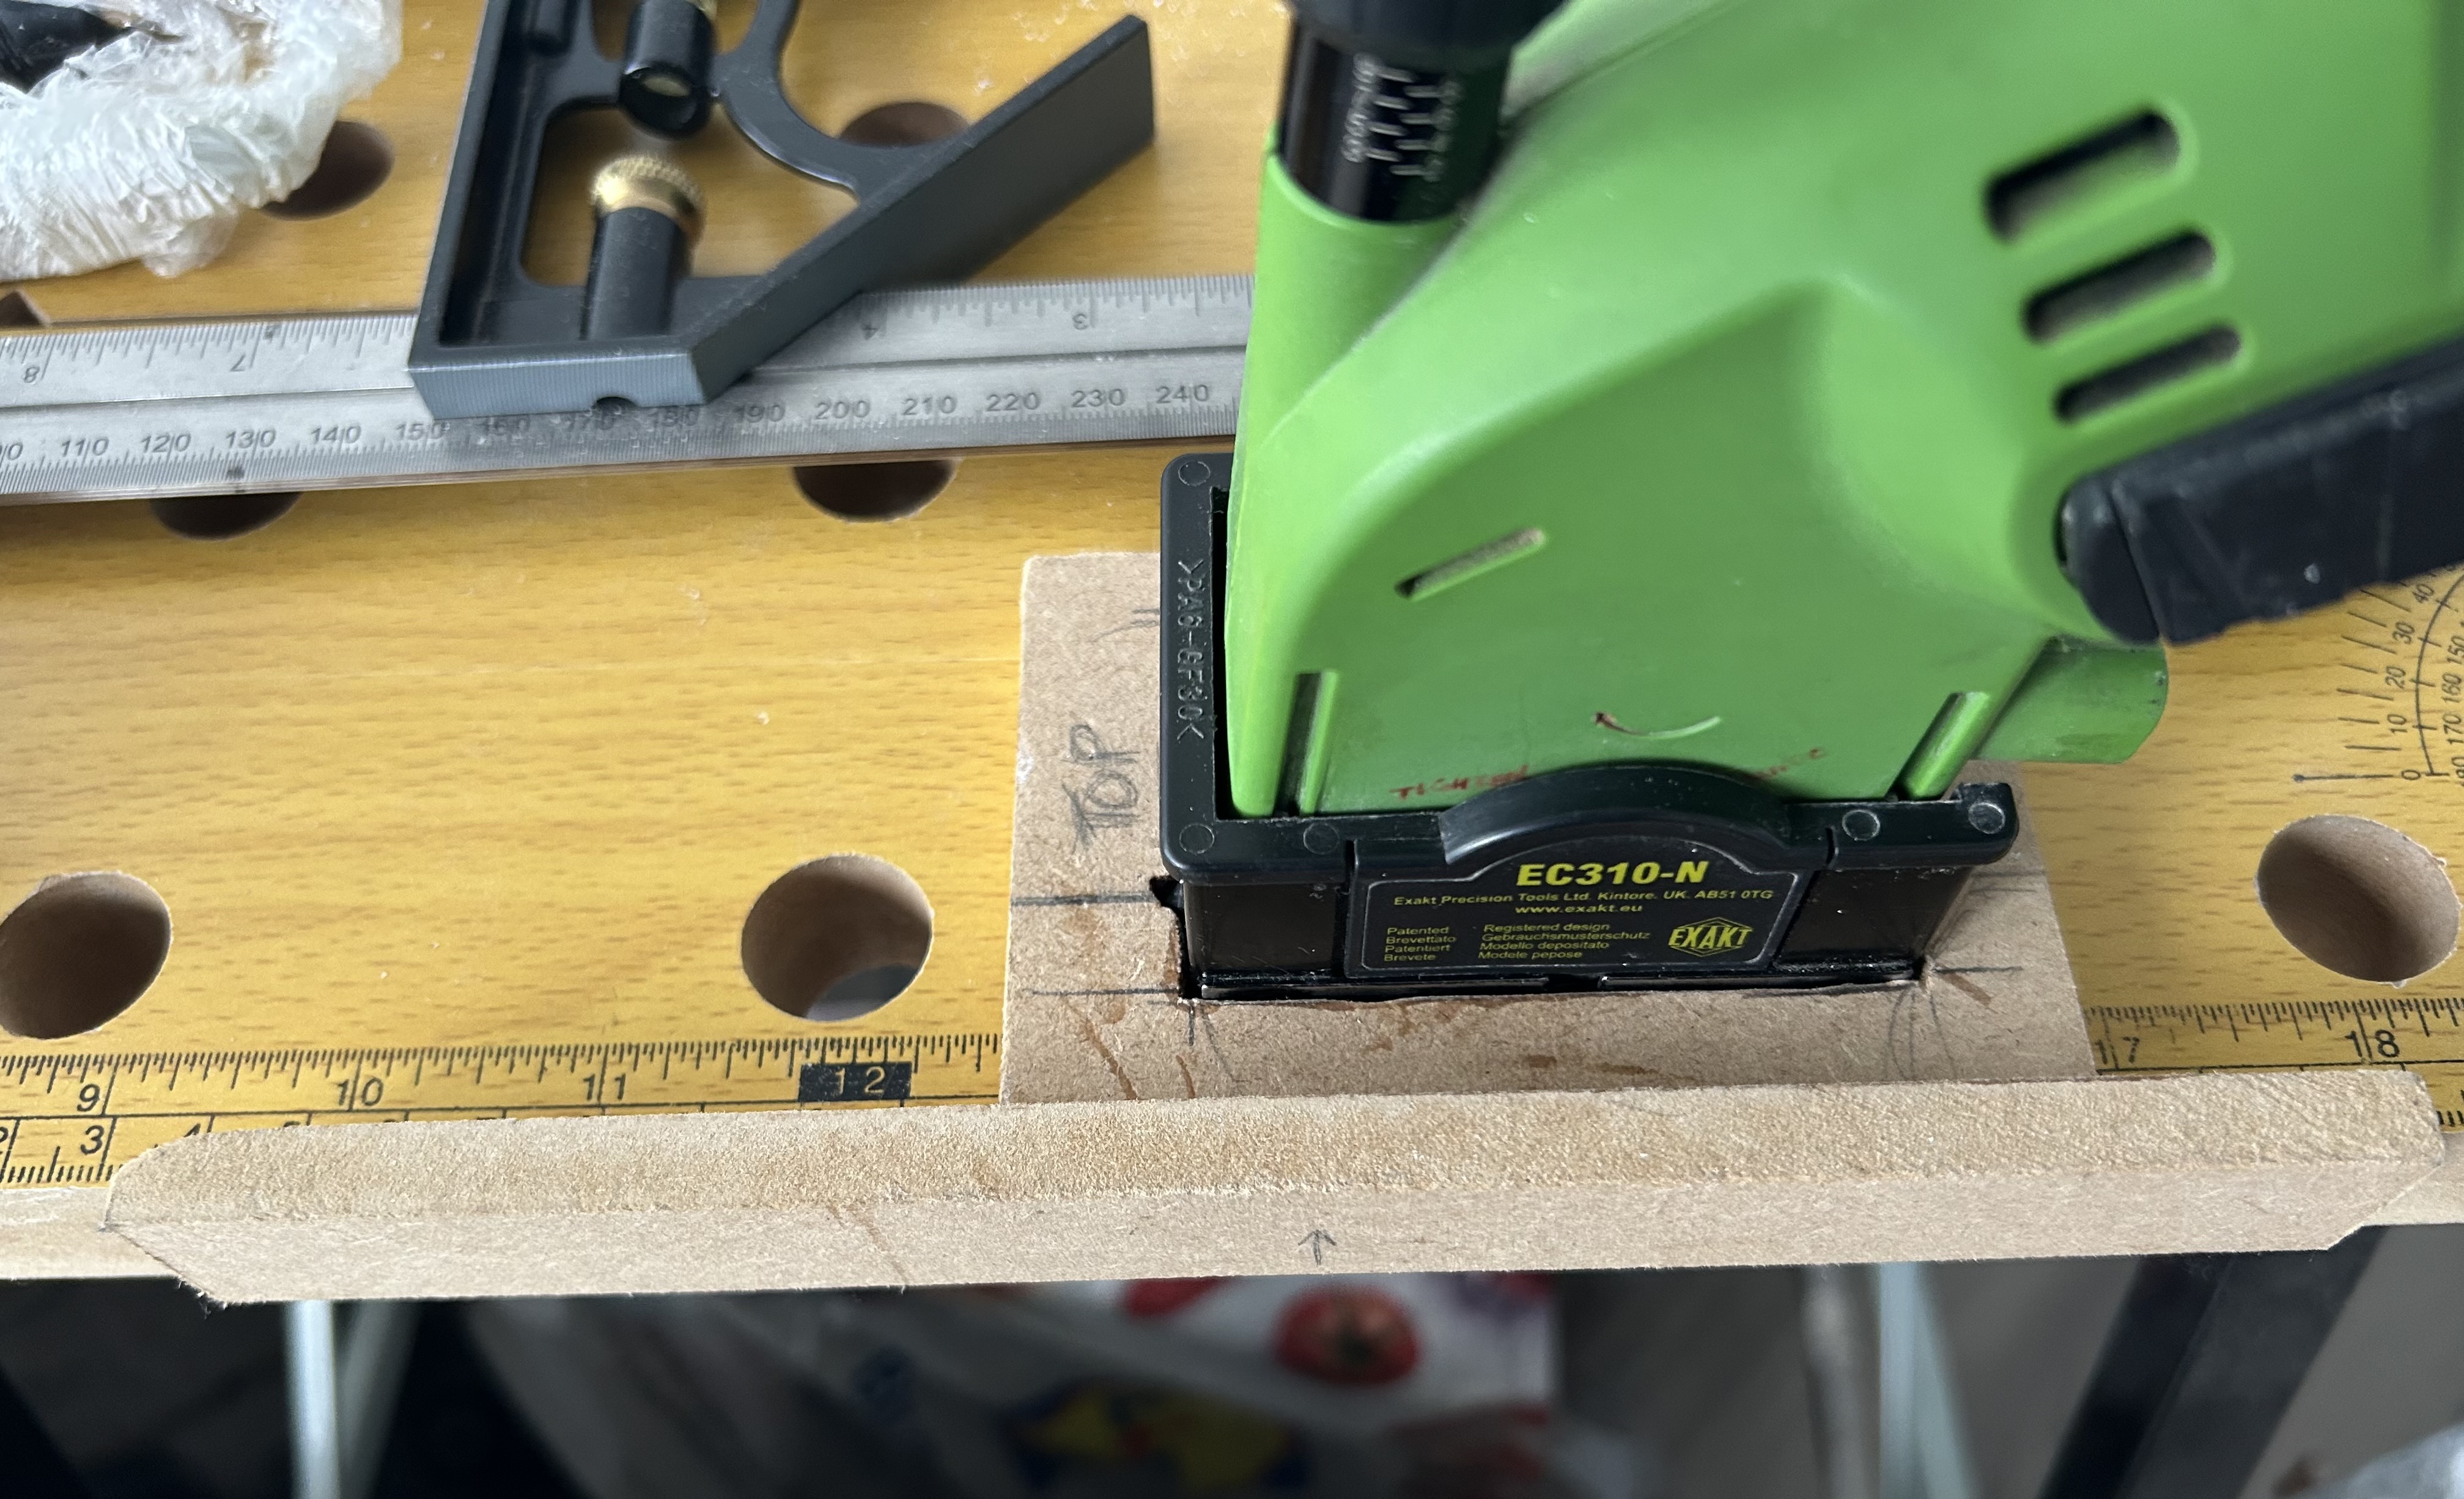
- Cut your jig base from a sturdy, flat material like MDF, acrylic, or plywood.
- Insert your pieces into the jig to hold them steady while you assemble, paint, or apply finishing touches.
Bonus Tip:
If you’re working on multiple layers — like a nativity scene — engrave labels onto your jig (“Layer 1: Background,” “Layer 2: Figures,” etc.) so you can stay perfectly organized.
Your Mission for Today:
Have you ever created or thought about creating a jig for your LOKLiK iEngrave projects?
If not, today’s a great day to try! Share your experience, your favorite setup, or even a photo of a layered project that could benefit from one.
Remember — crafting isn’t just about the final result; it’s about creating smart systems that make the process smoother and more enjoyable.
Let’s keep learning from each other and pushing our creativity forward!