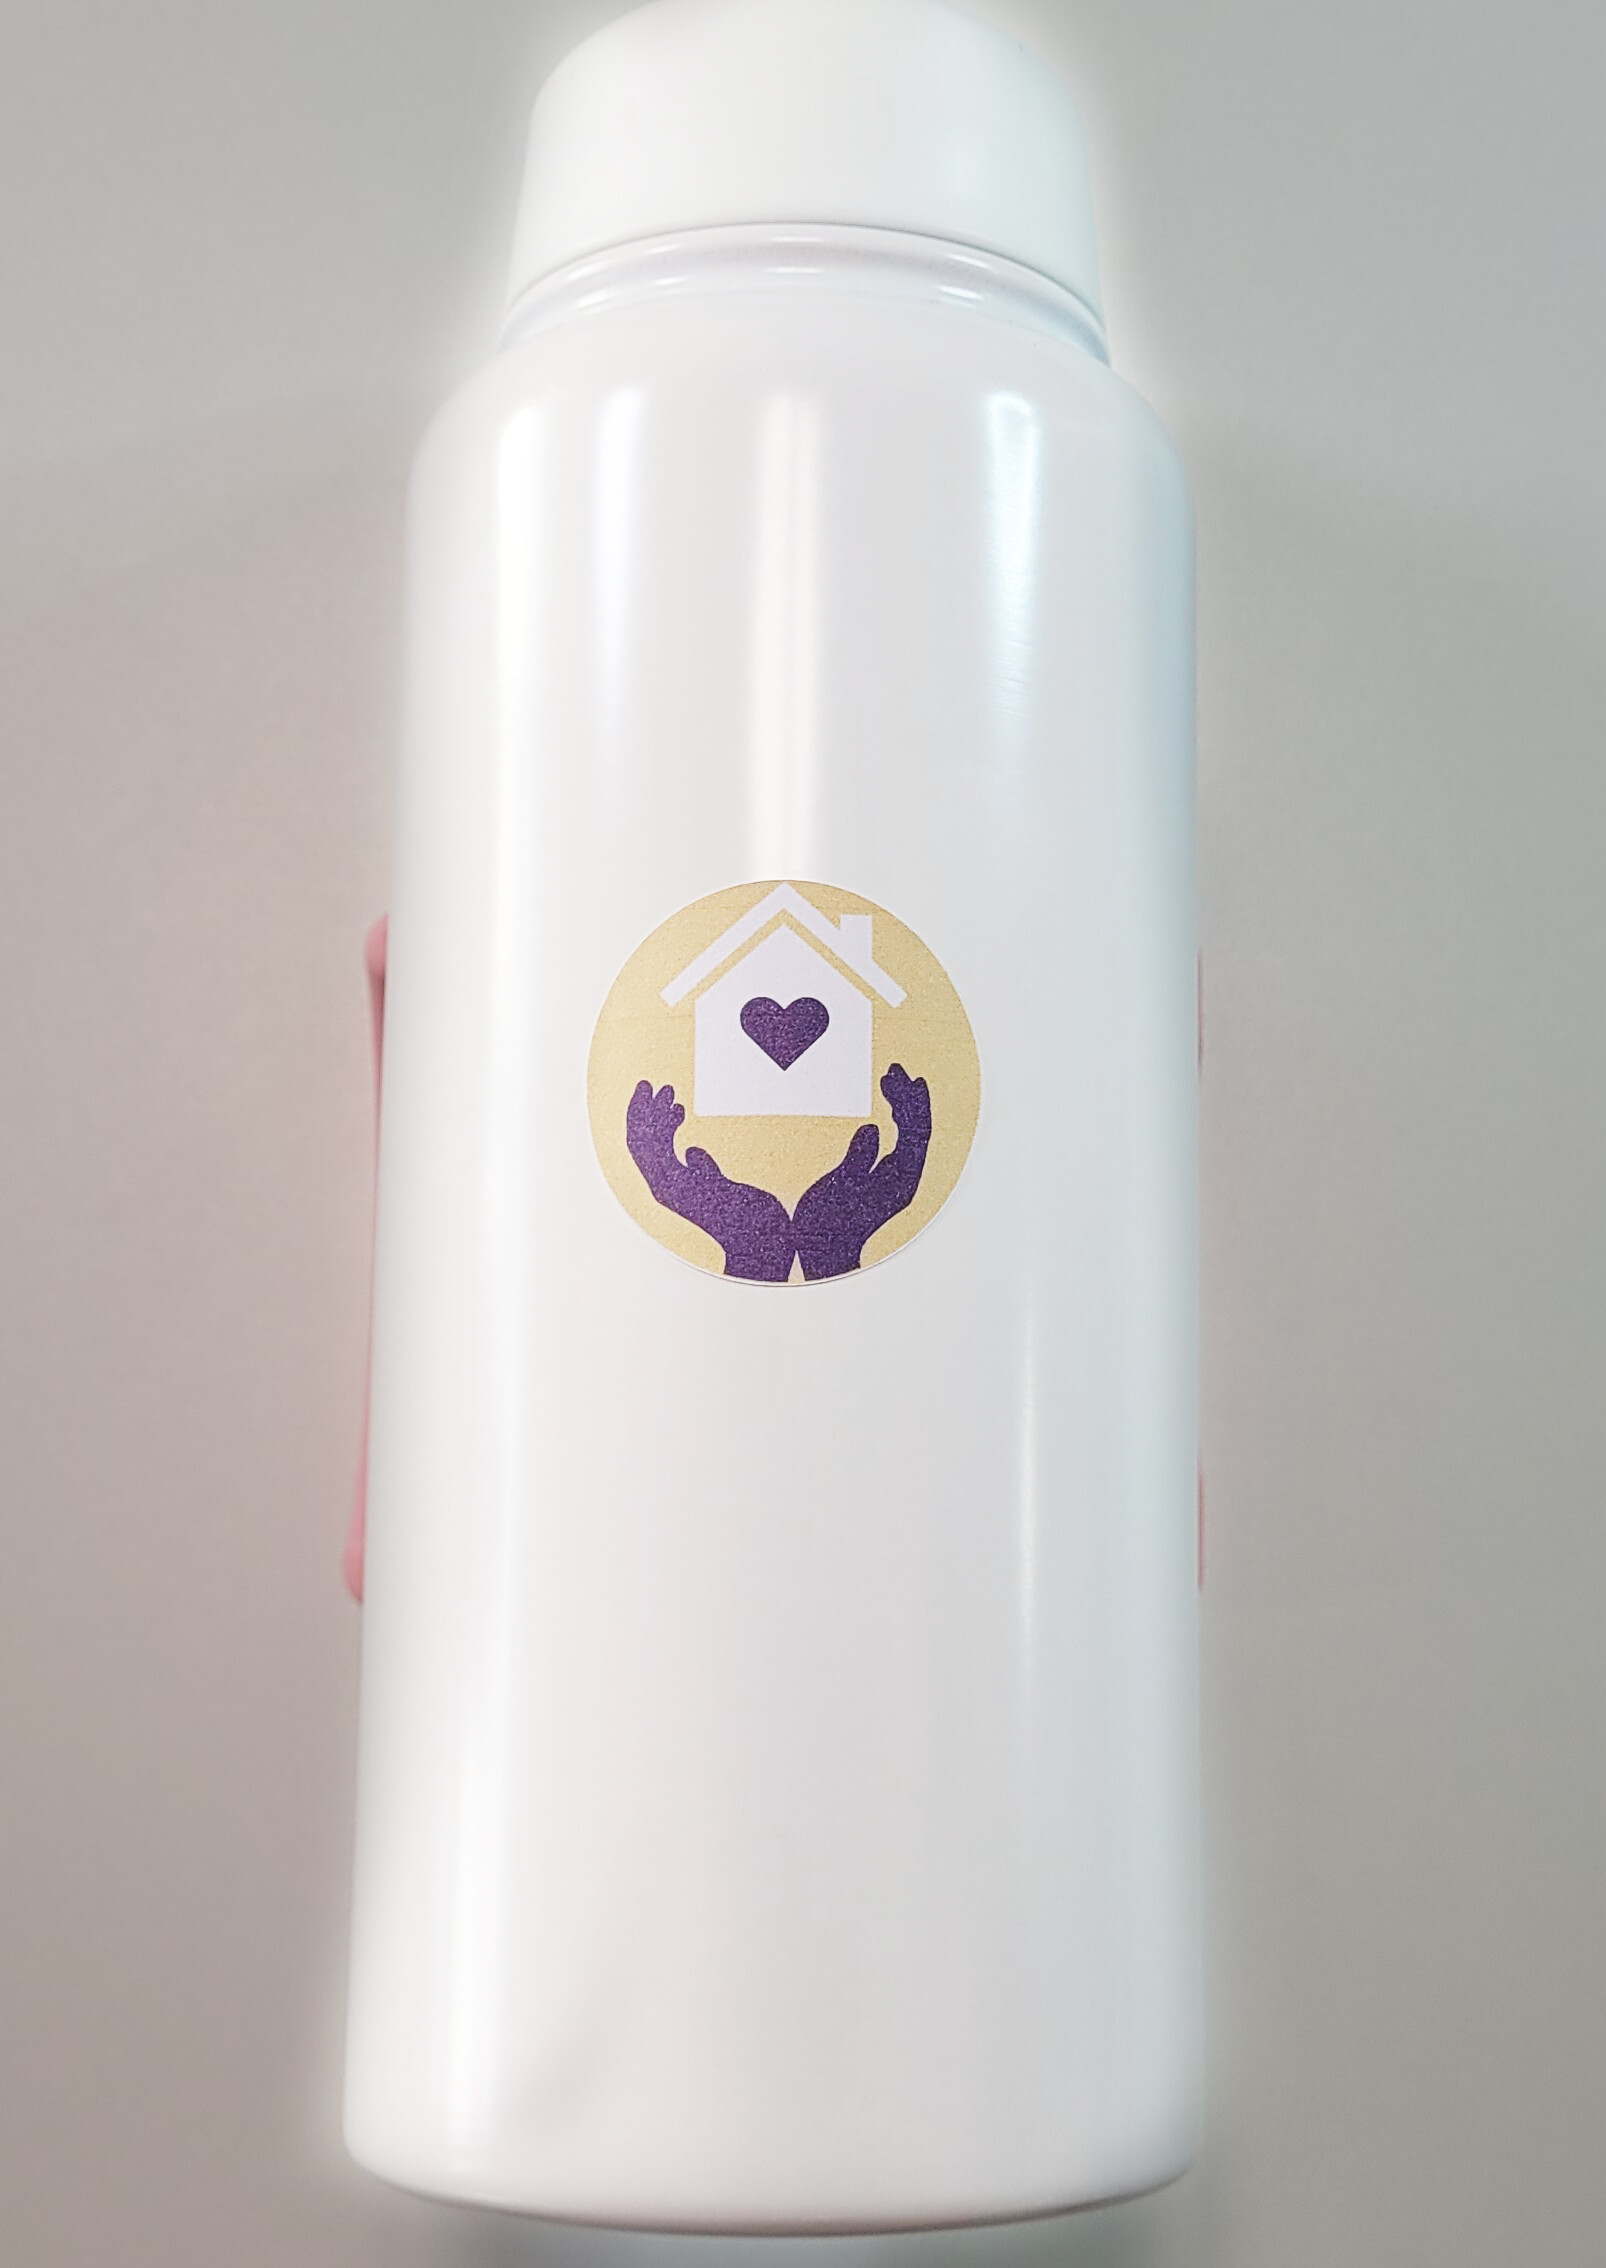
This project was to help out a fellow community memeber. It’s logo stickers to put on drink bottles and things.
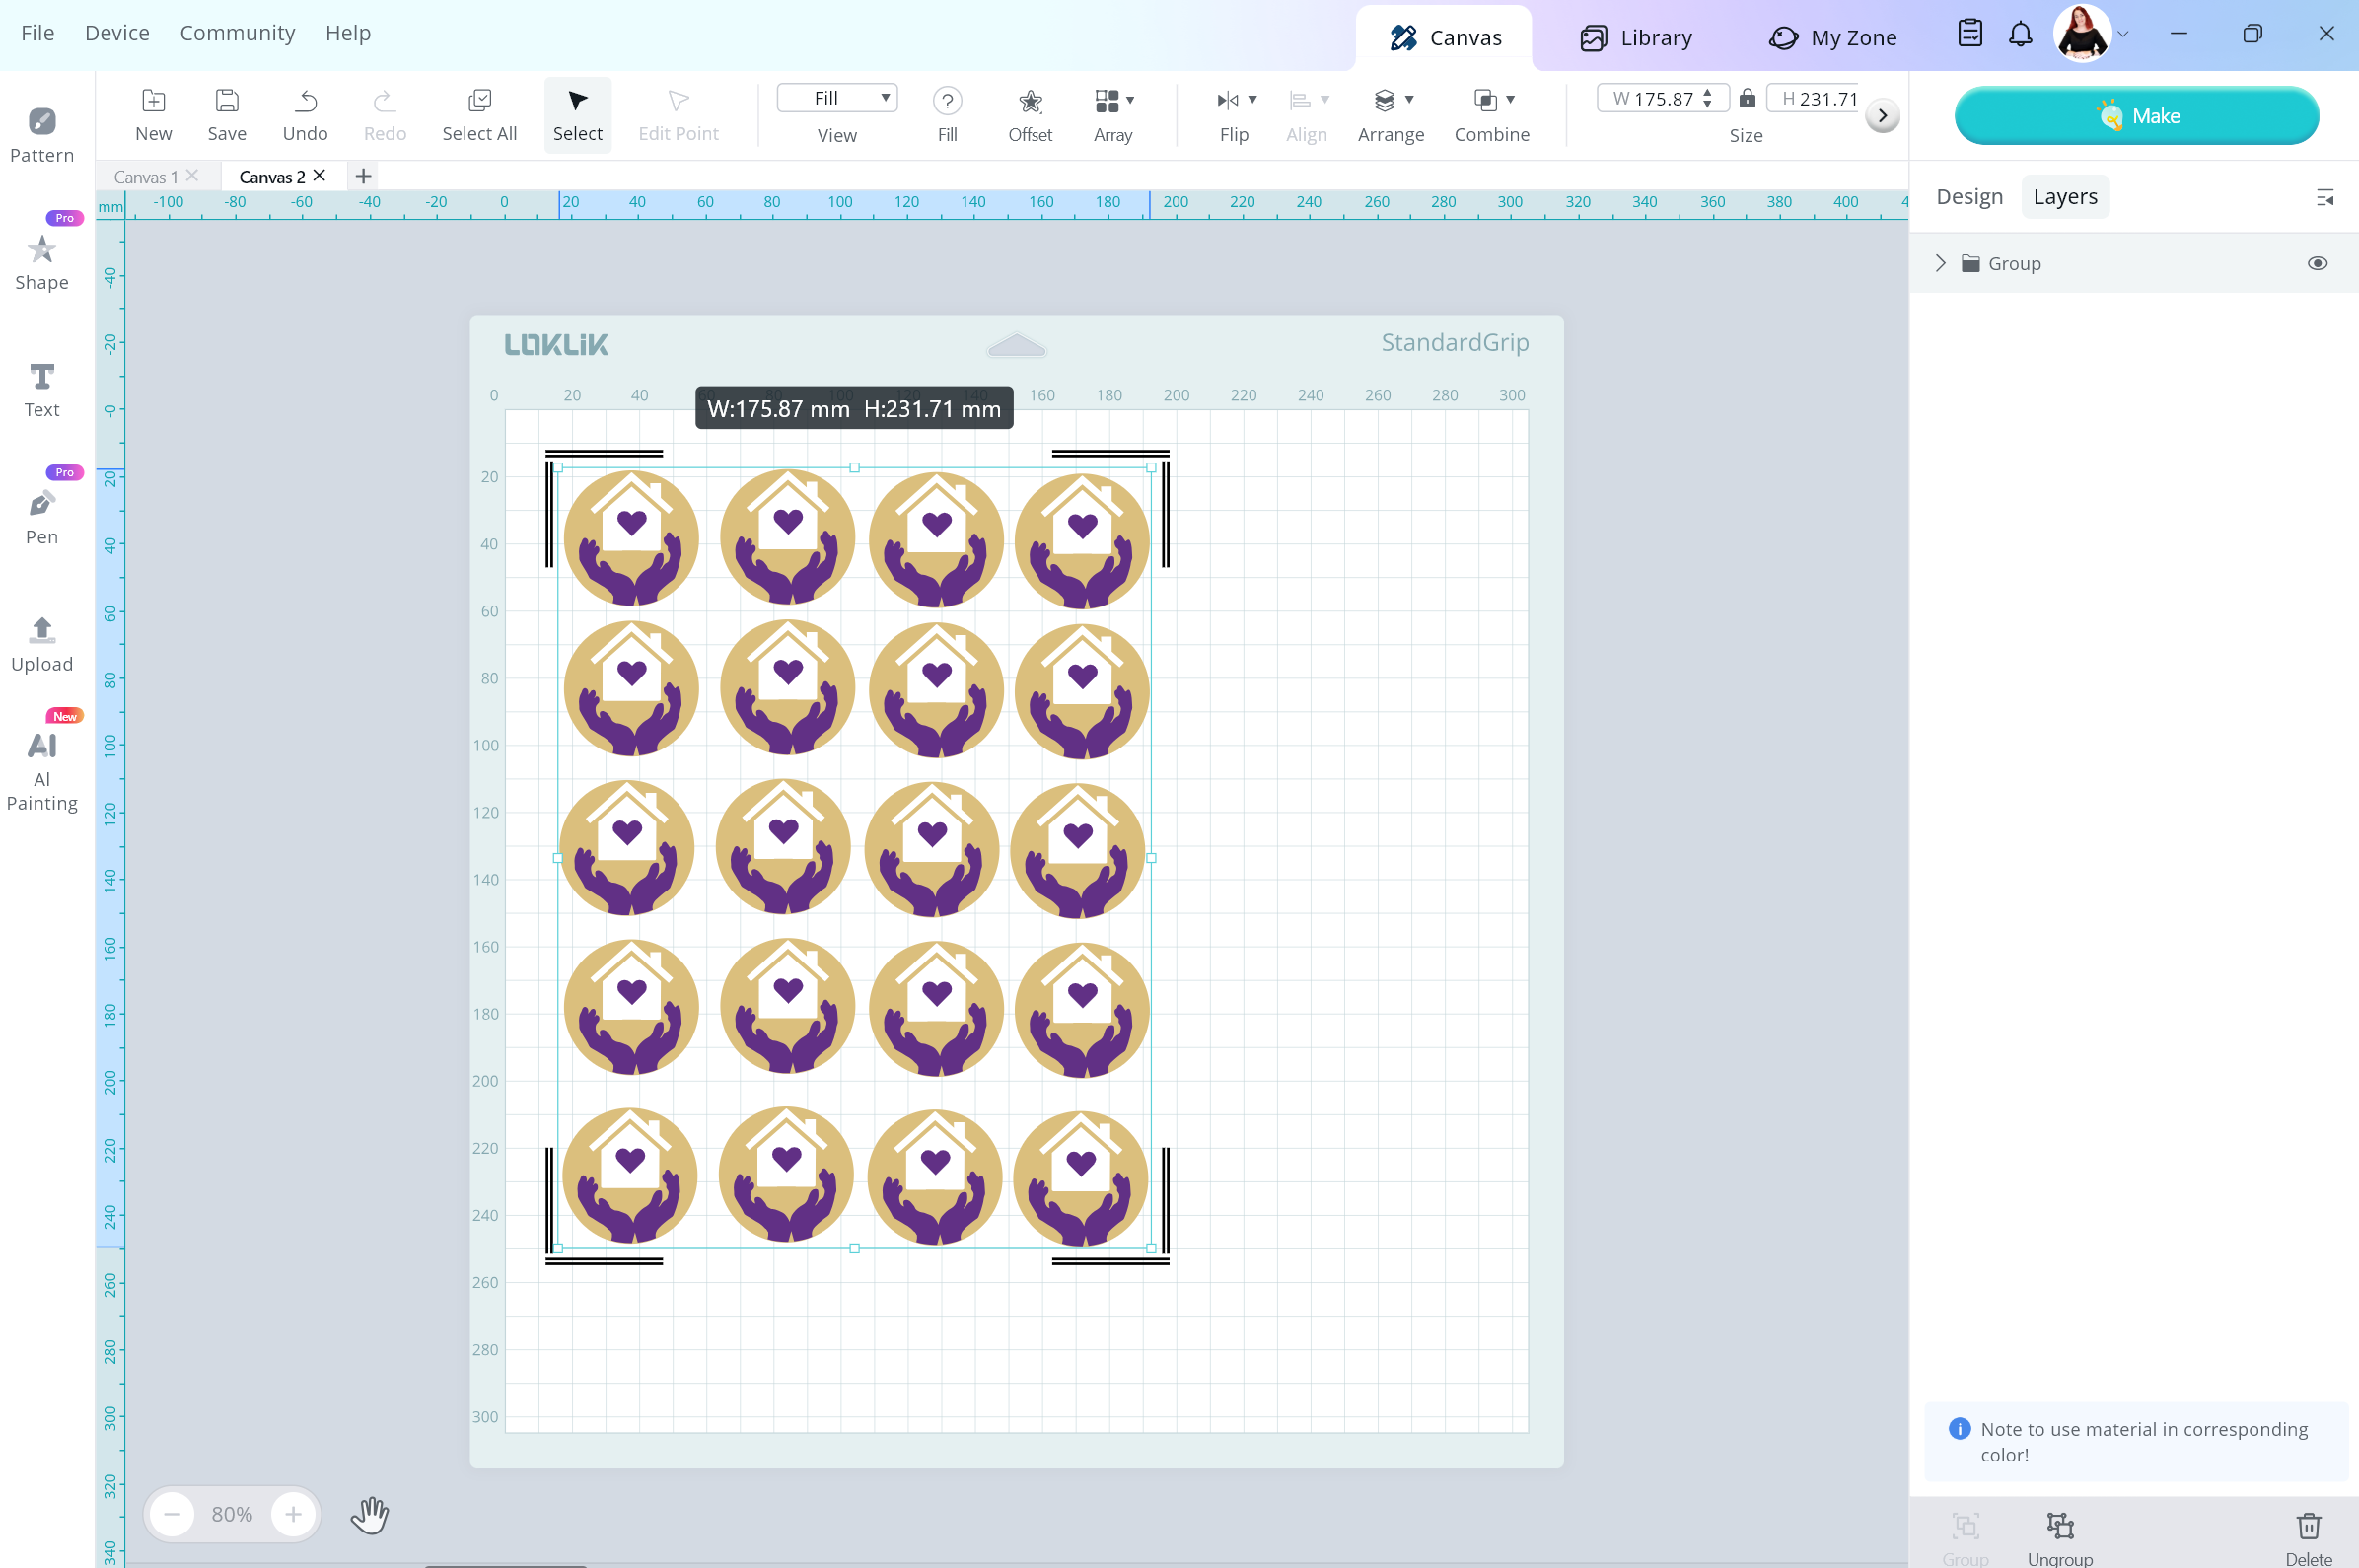
Step 1
Make sure all layers are selected then press make
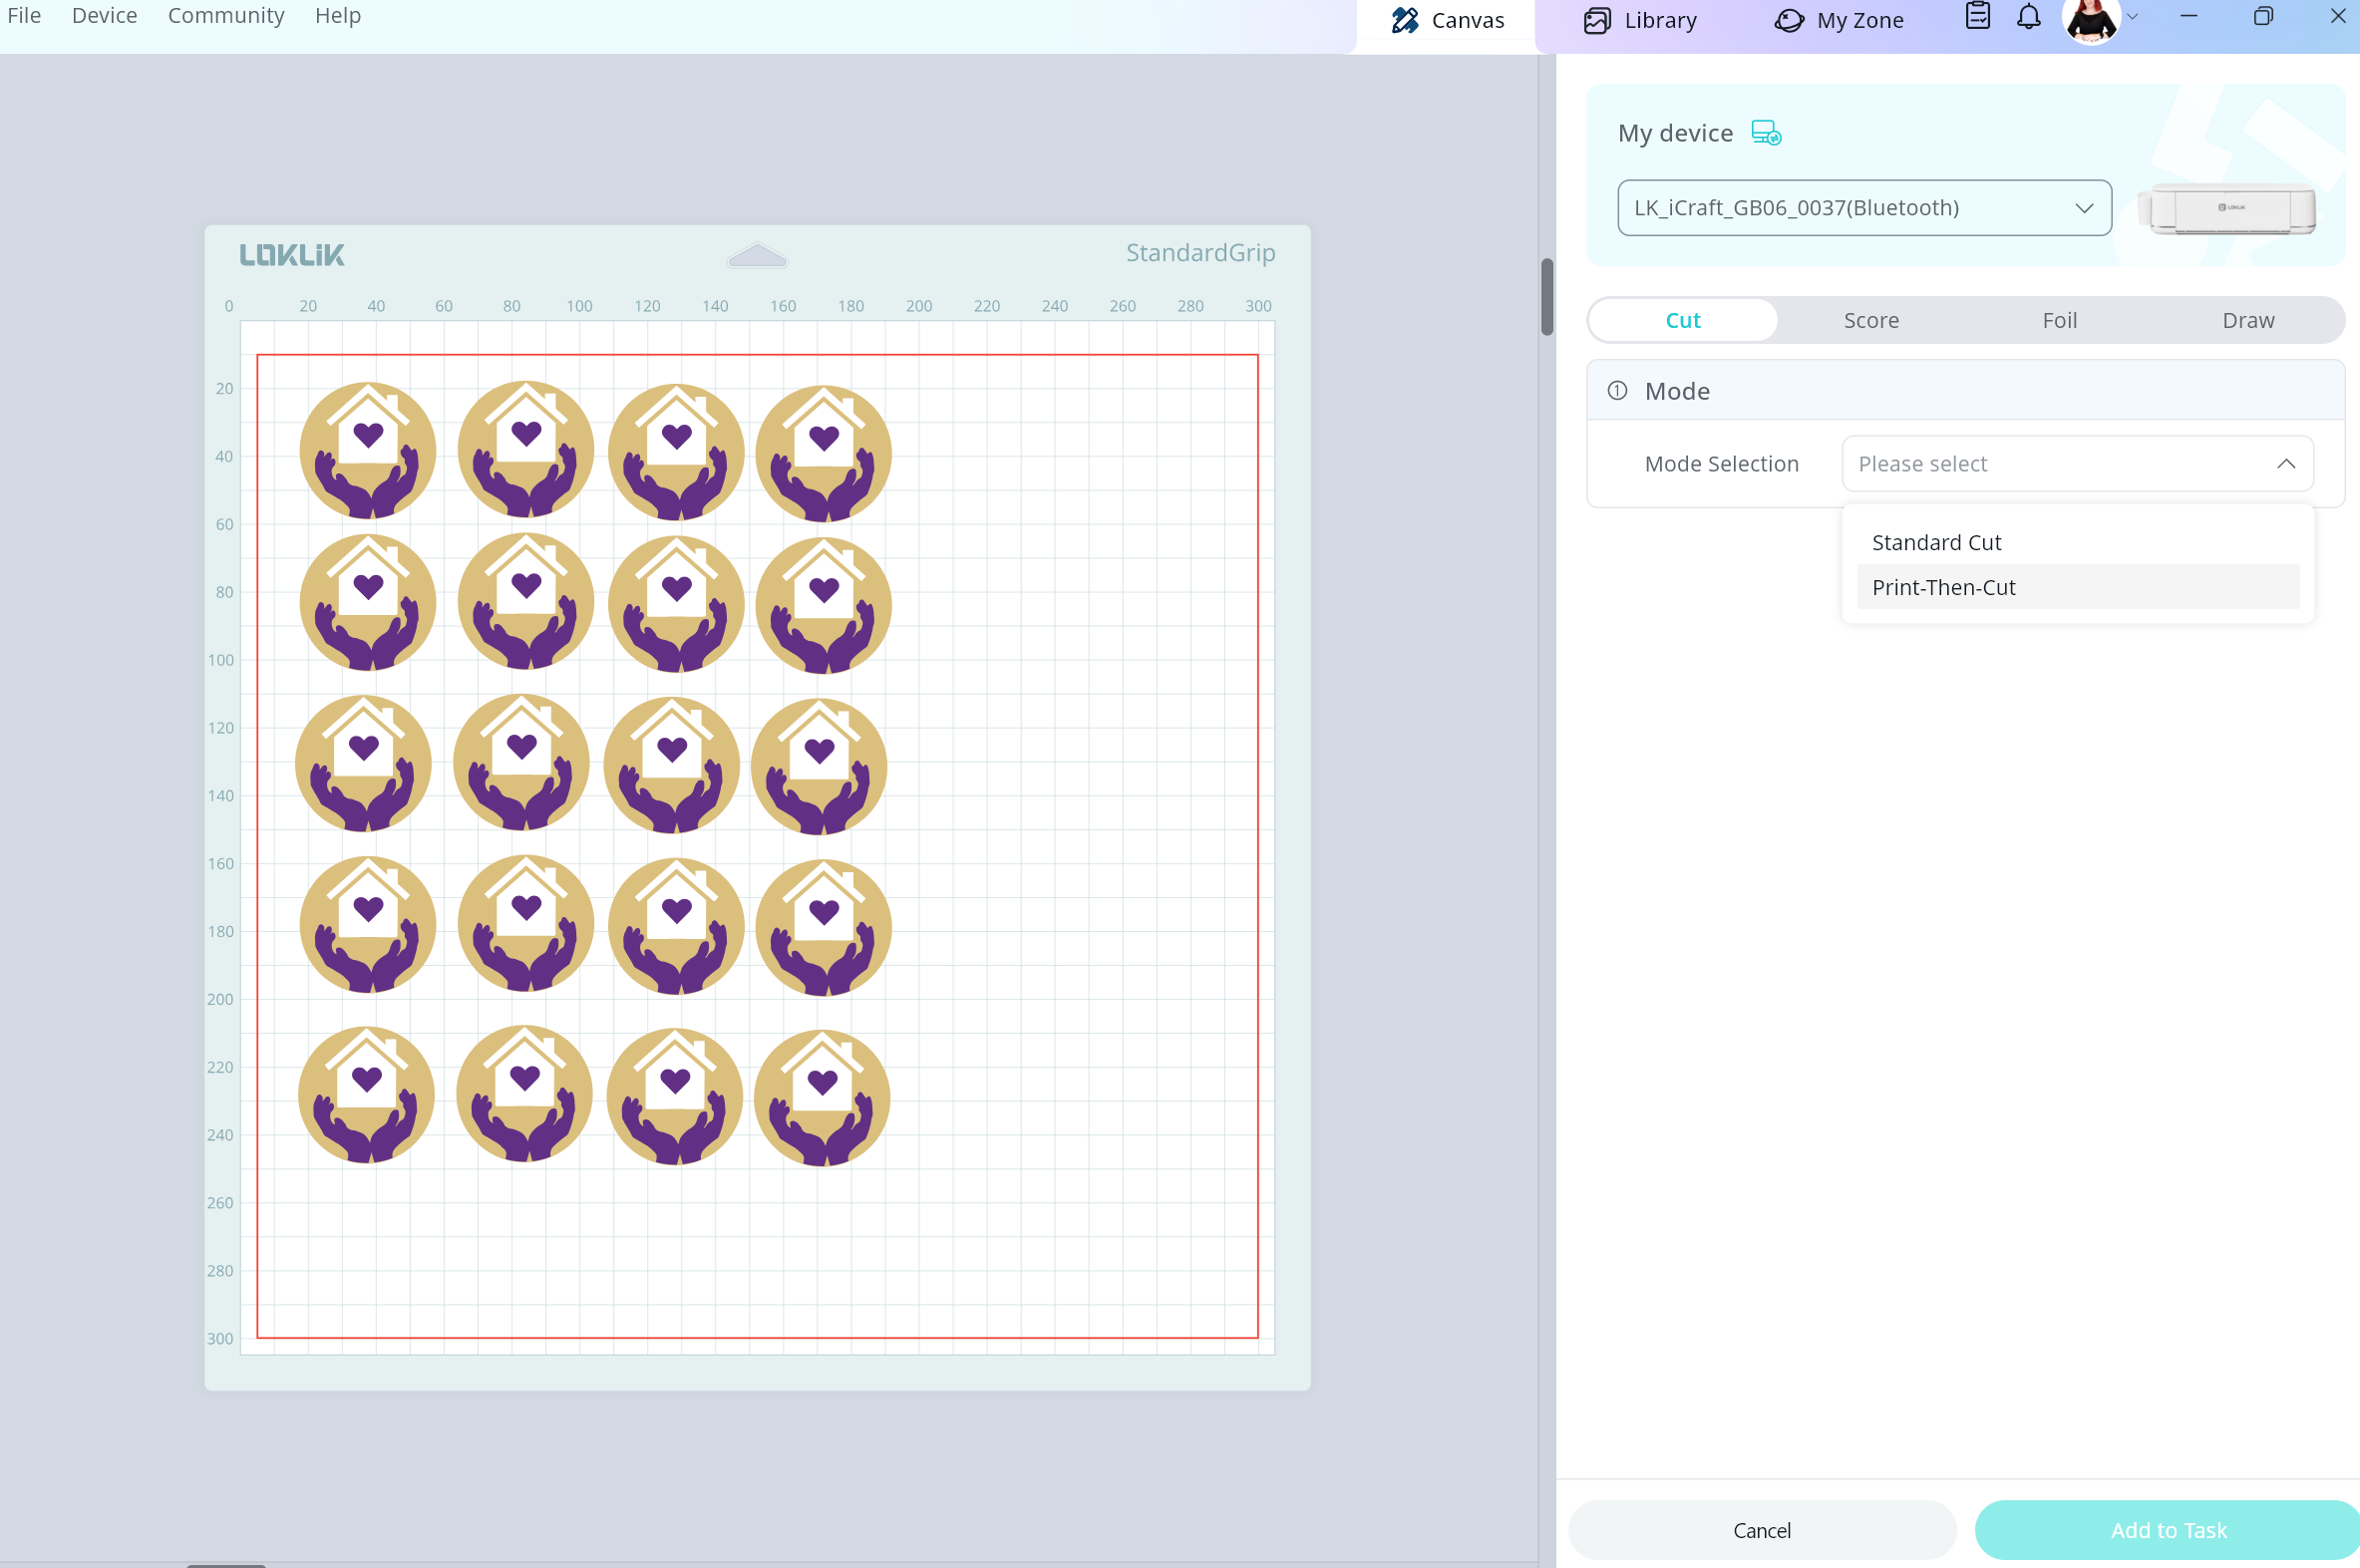
Step 2
Connect your machine, select print then cut
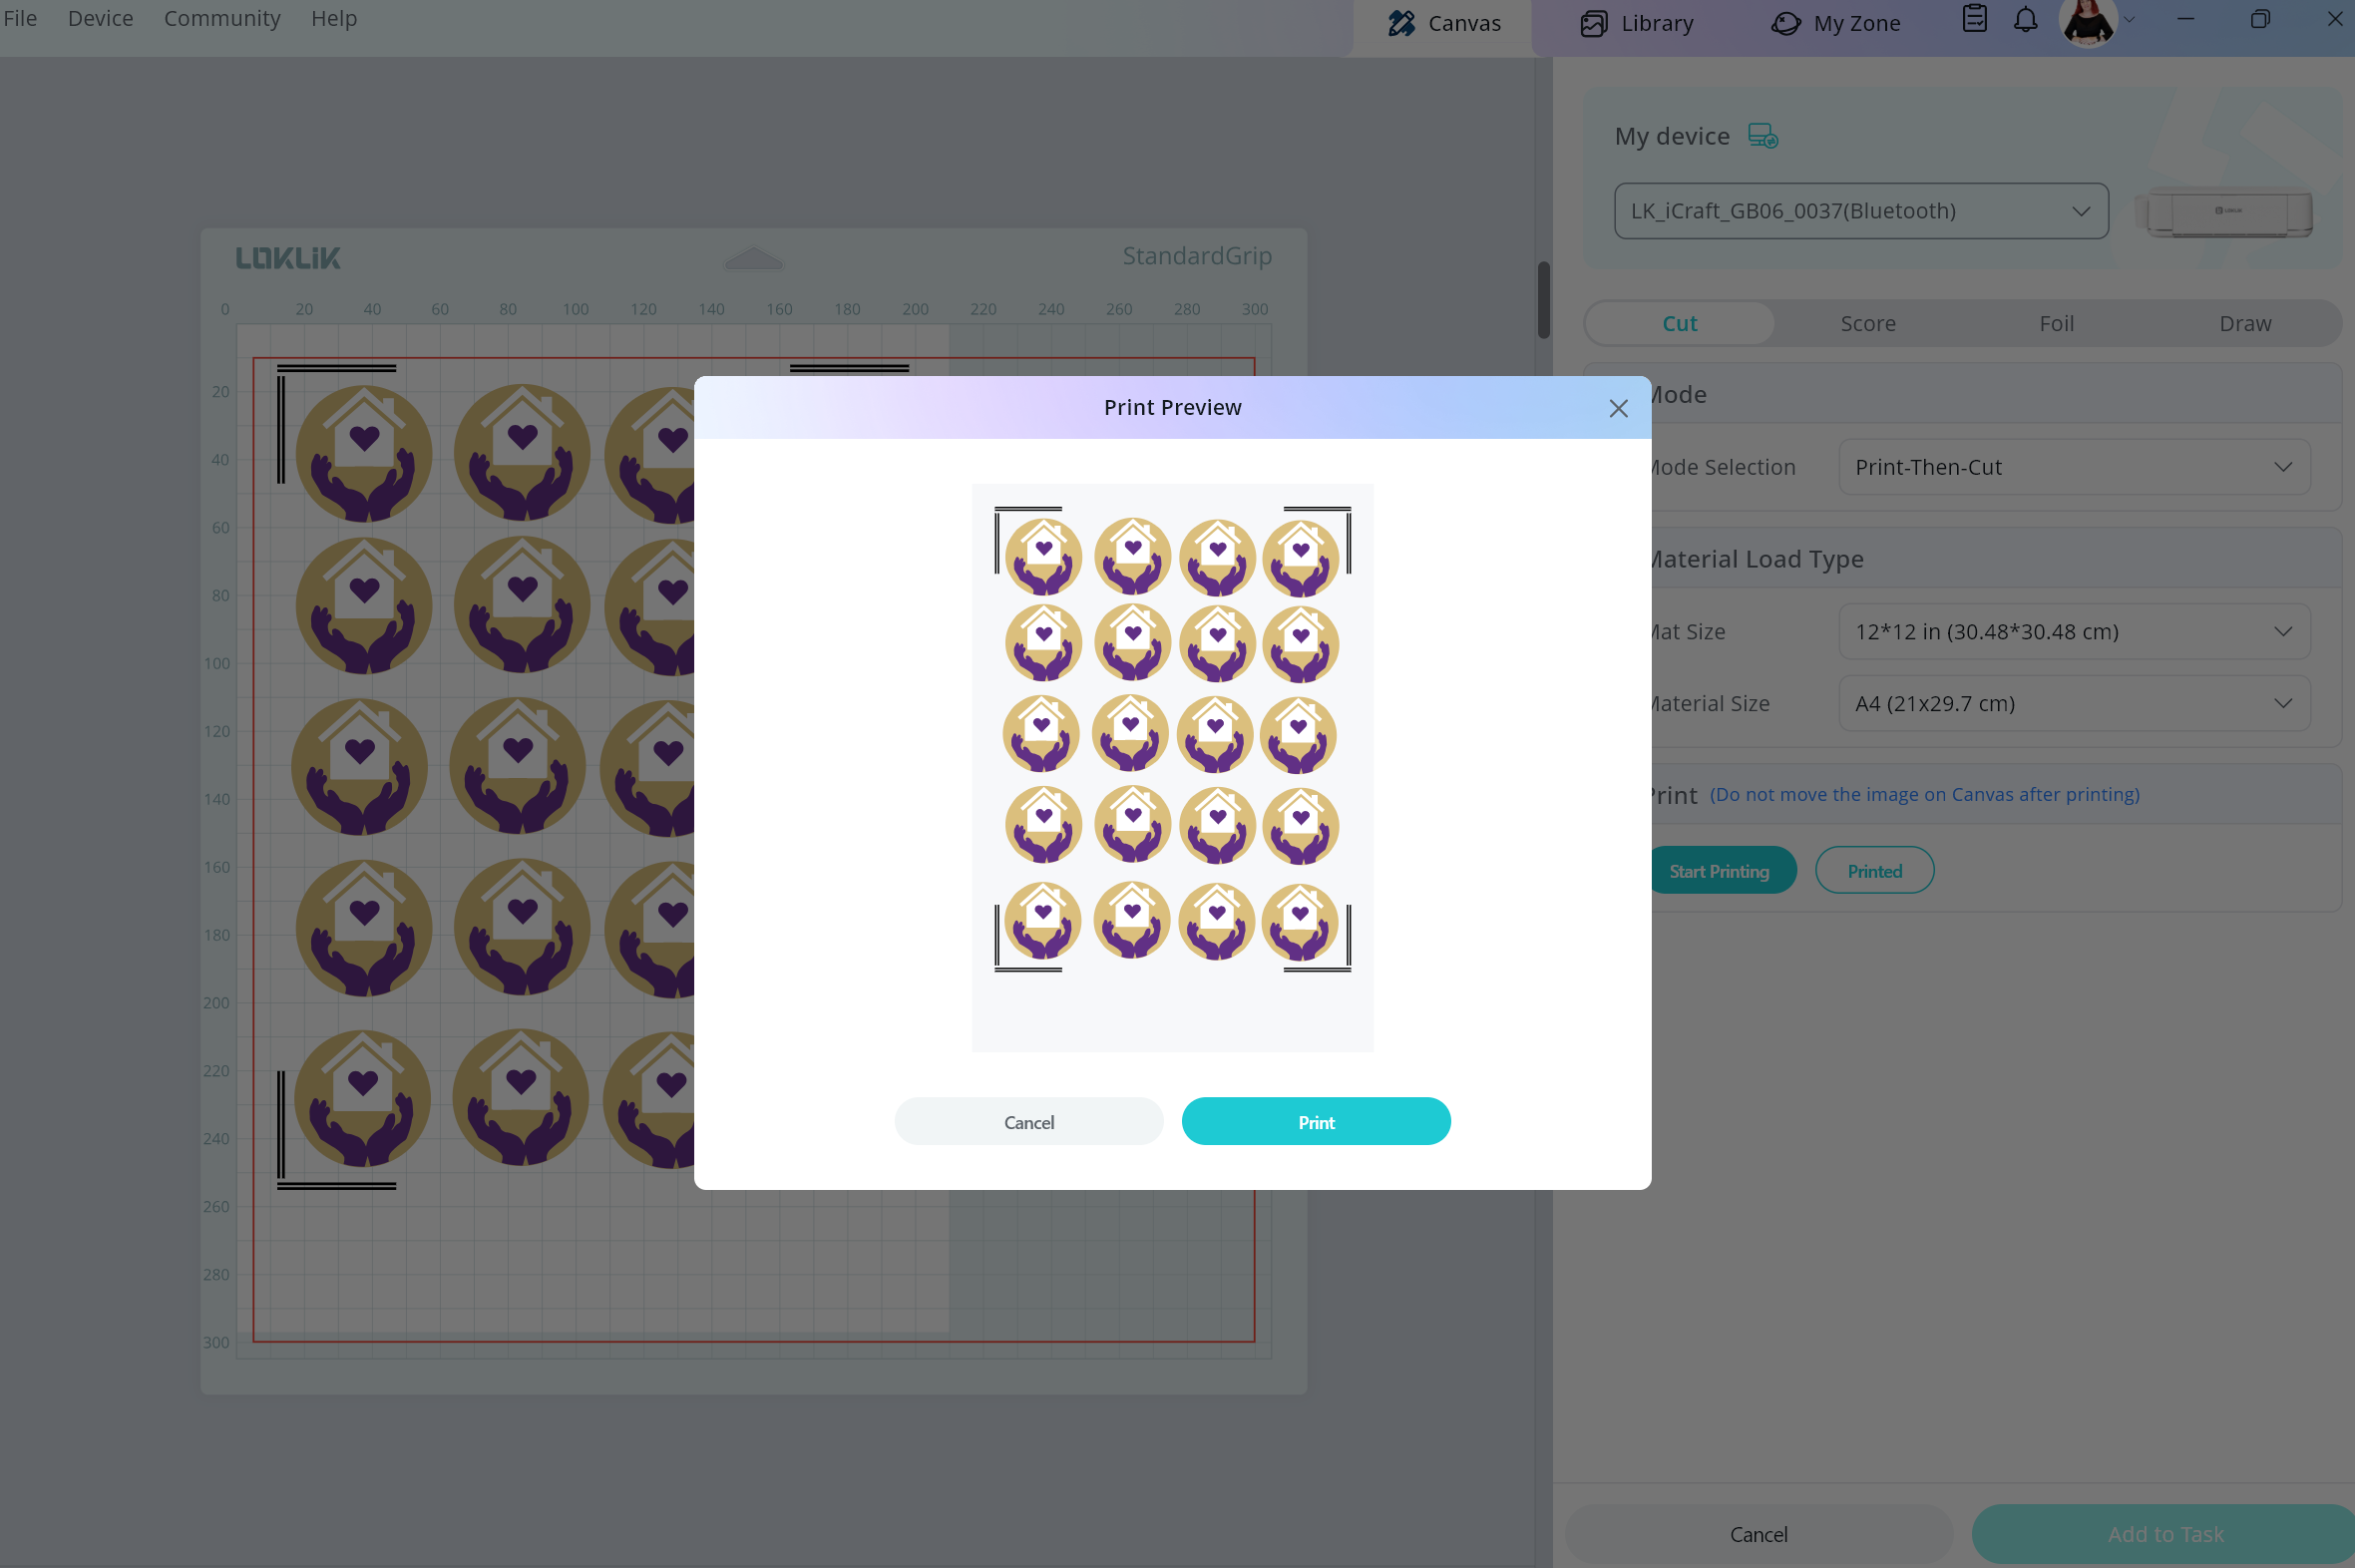
Step 3
Select print making sure you have the right paper size selected
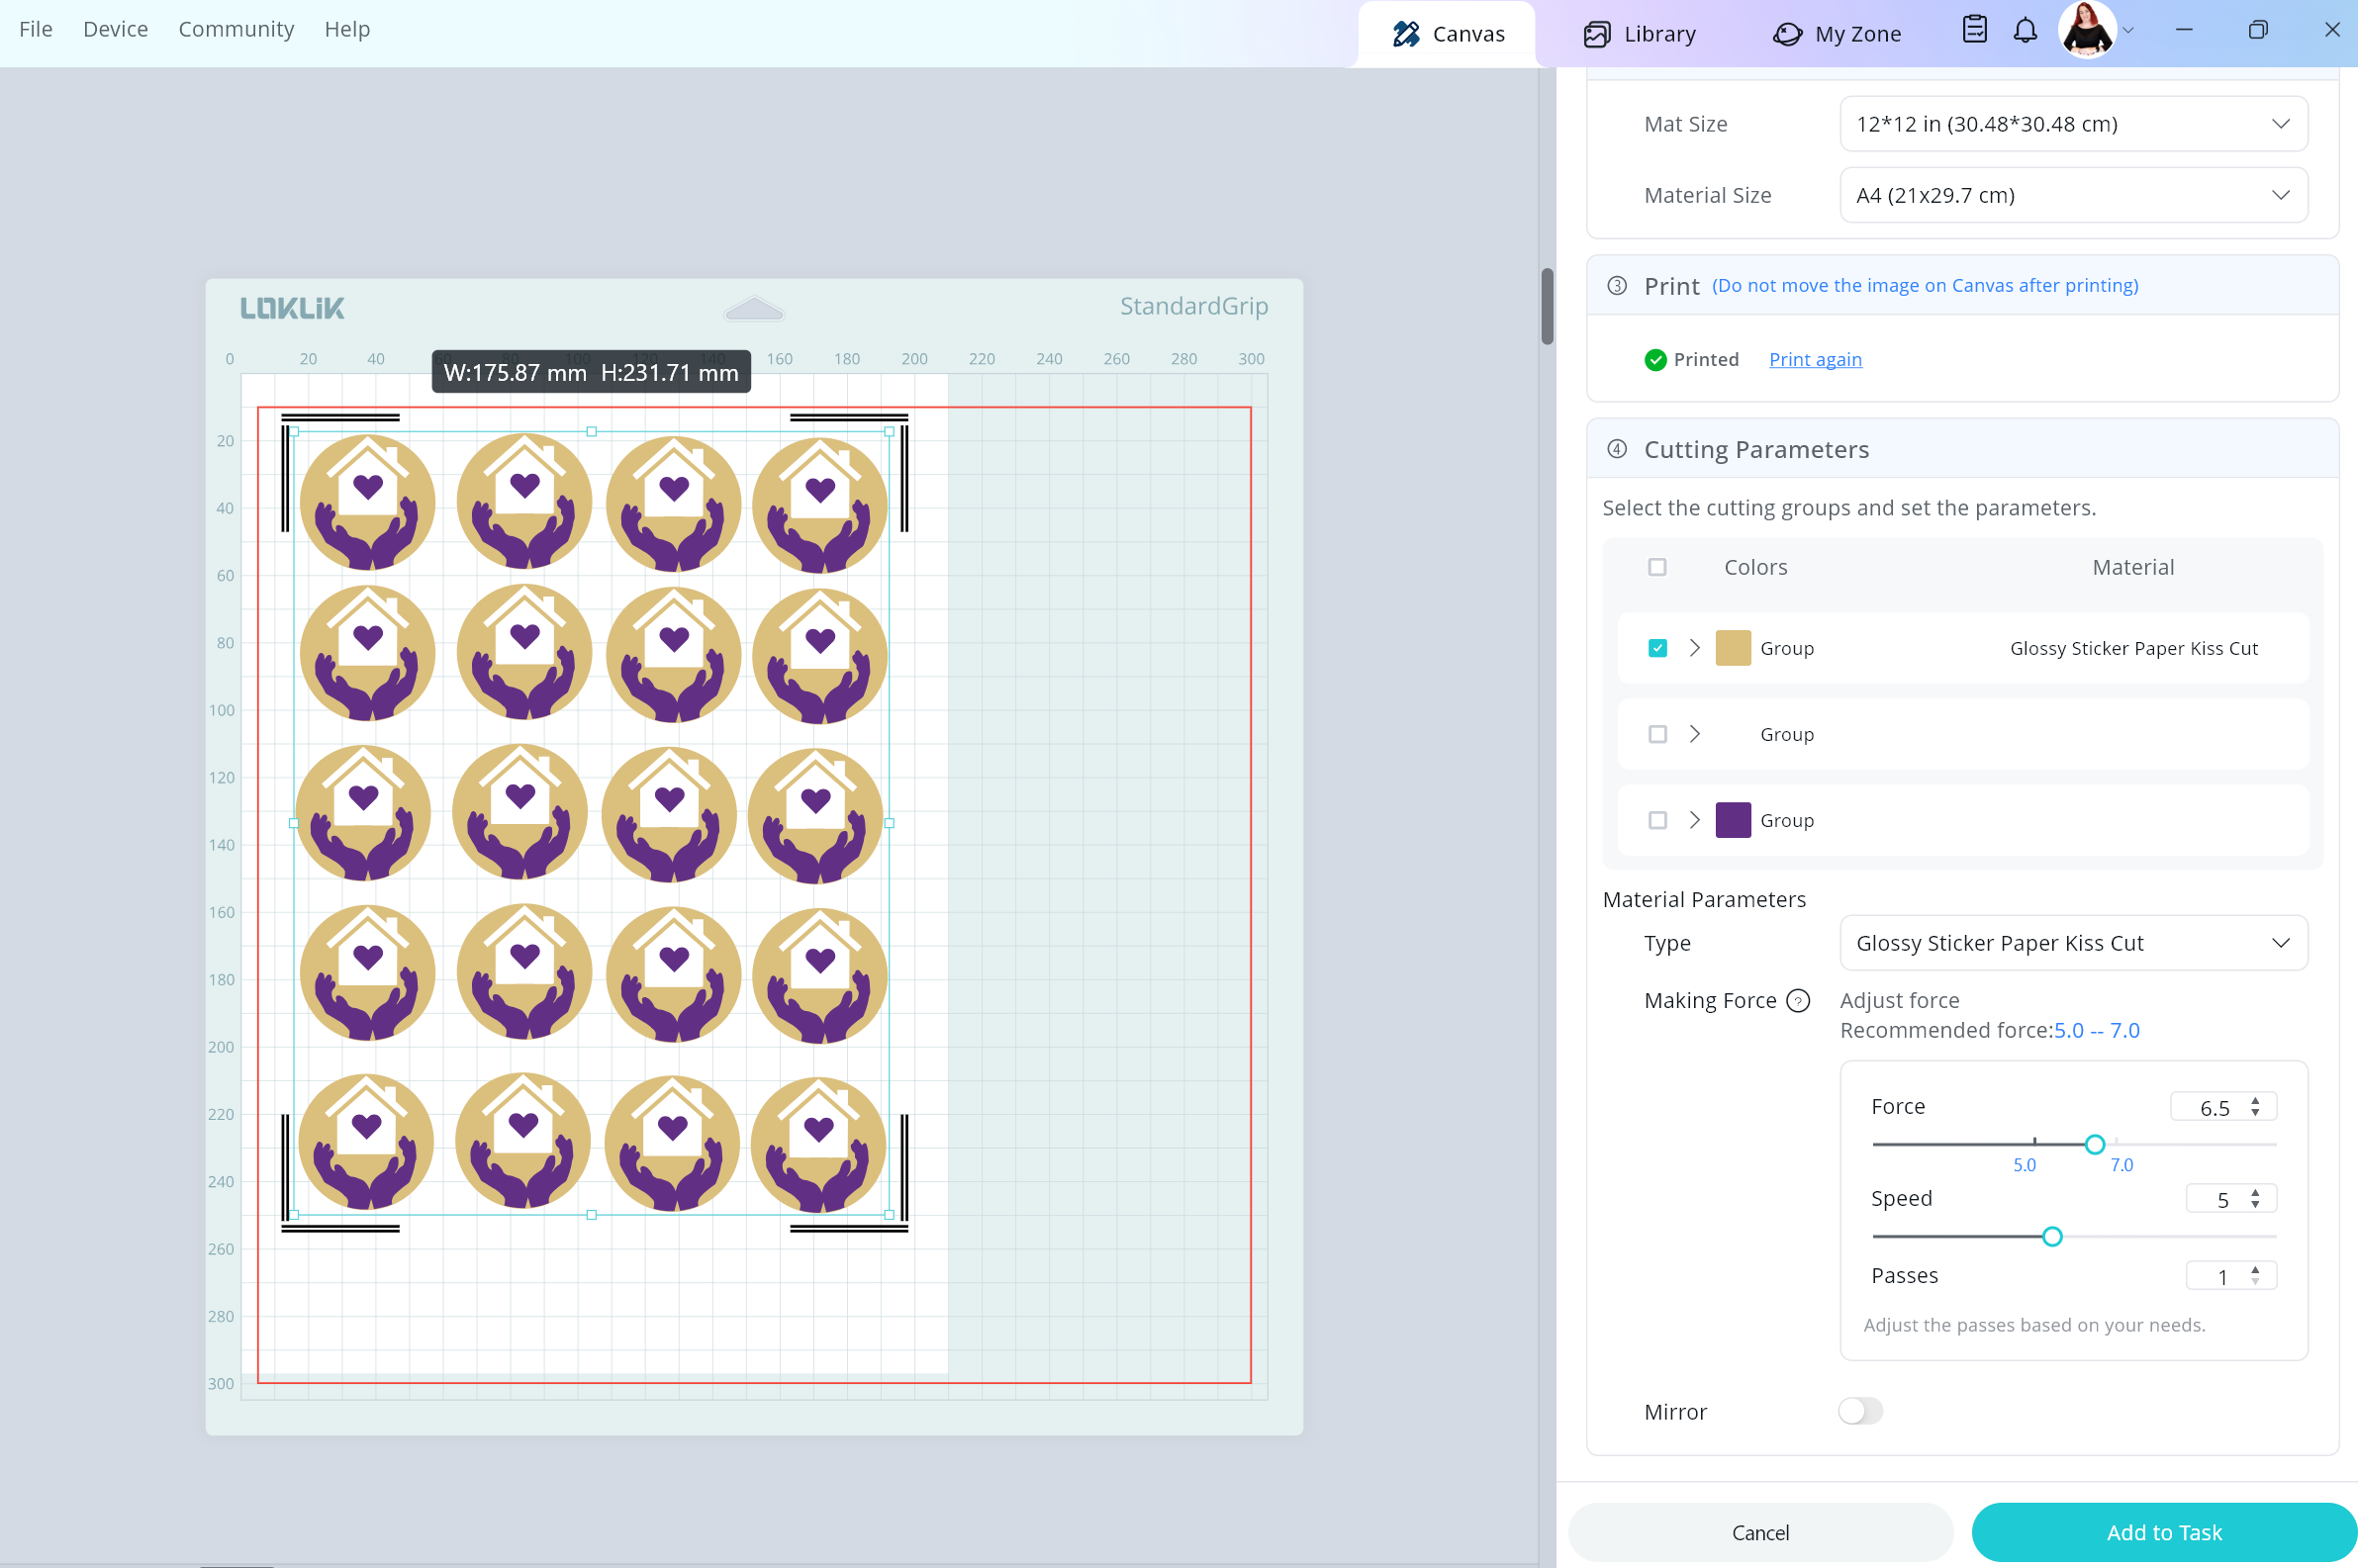
Step 4
Select the cream group in the group selection. This is the only group we want cut. Select your cutting parameters. Mine are Force 6.5, Speed 5, Passes 1. Your settings may vary. Then press add to task.
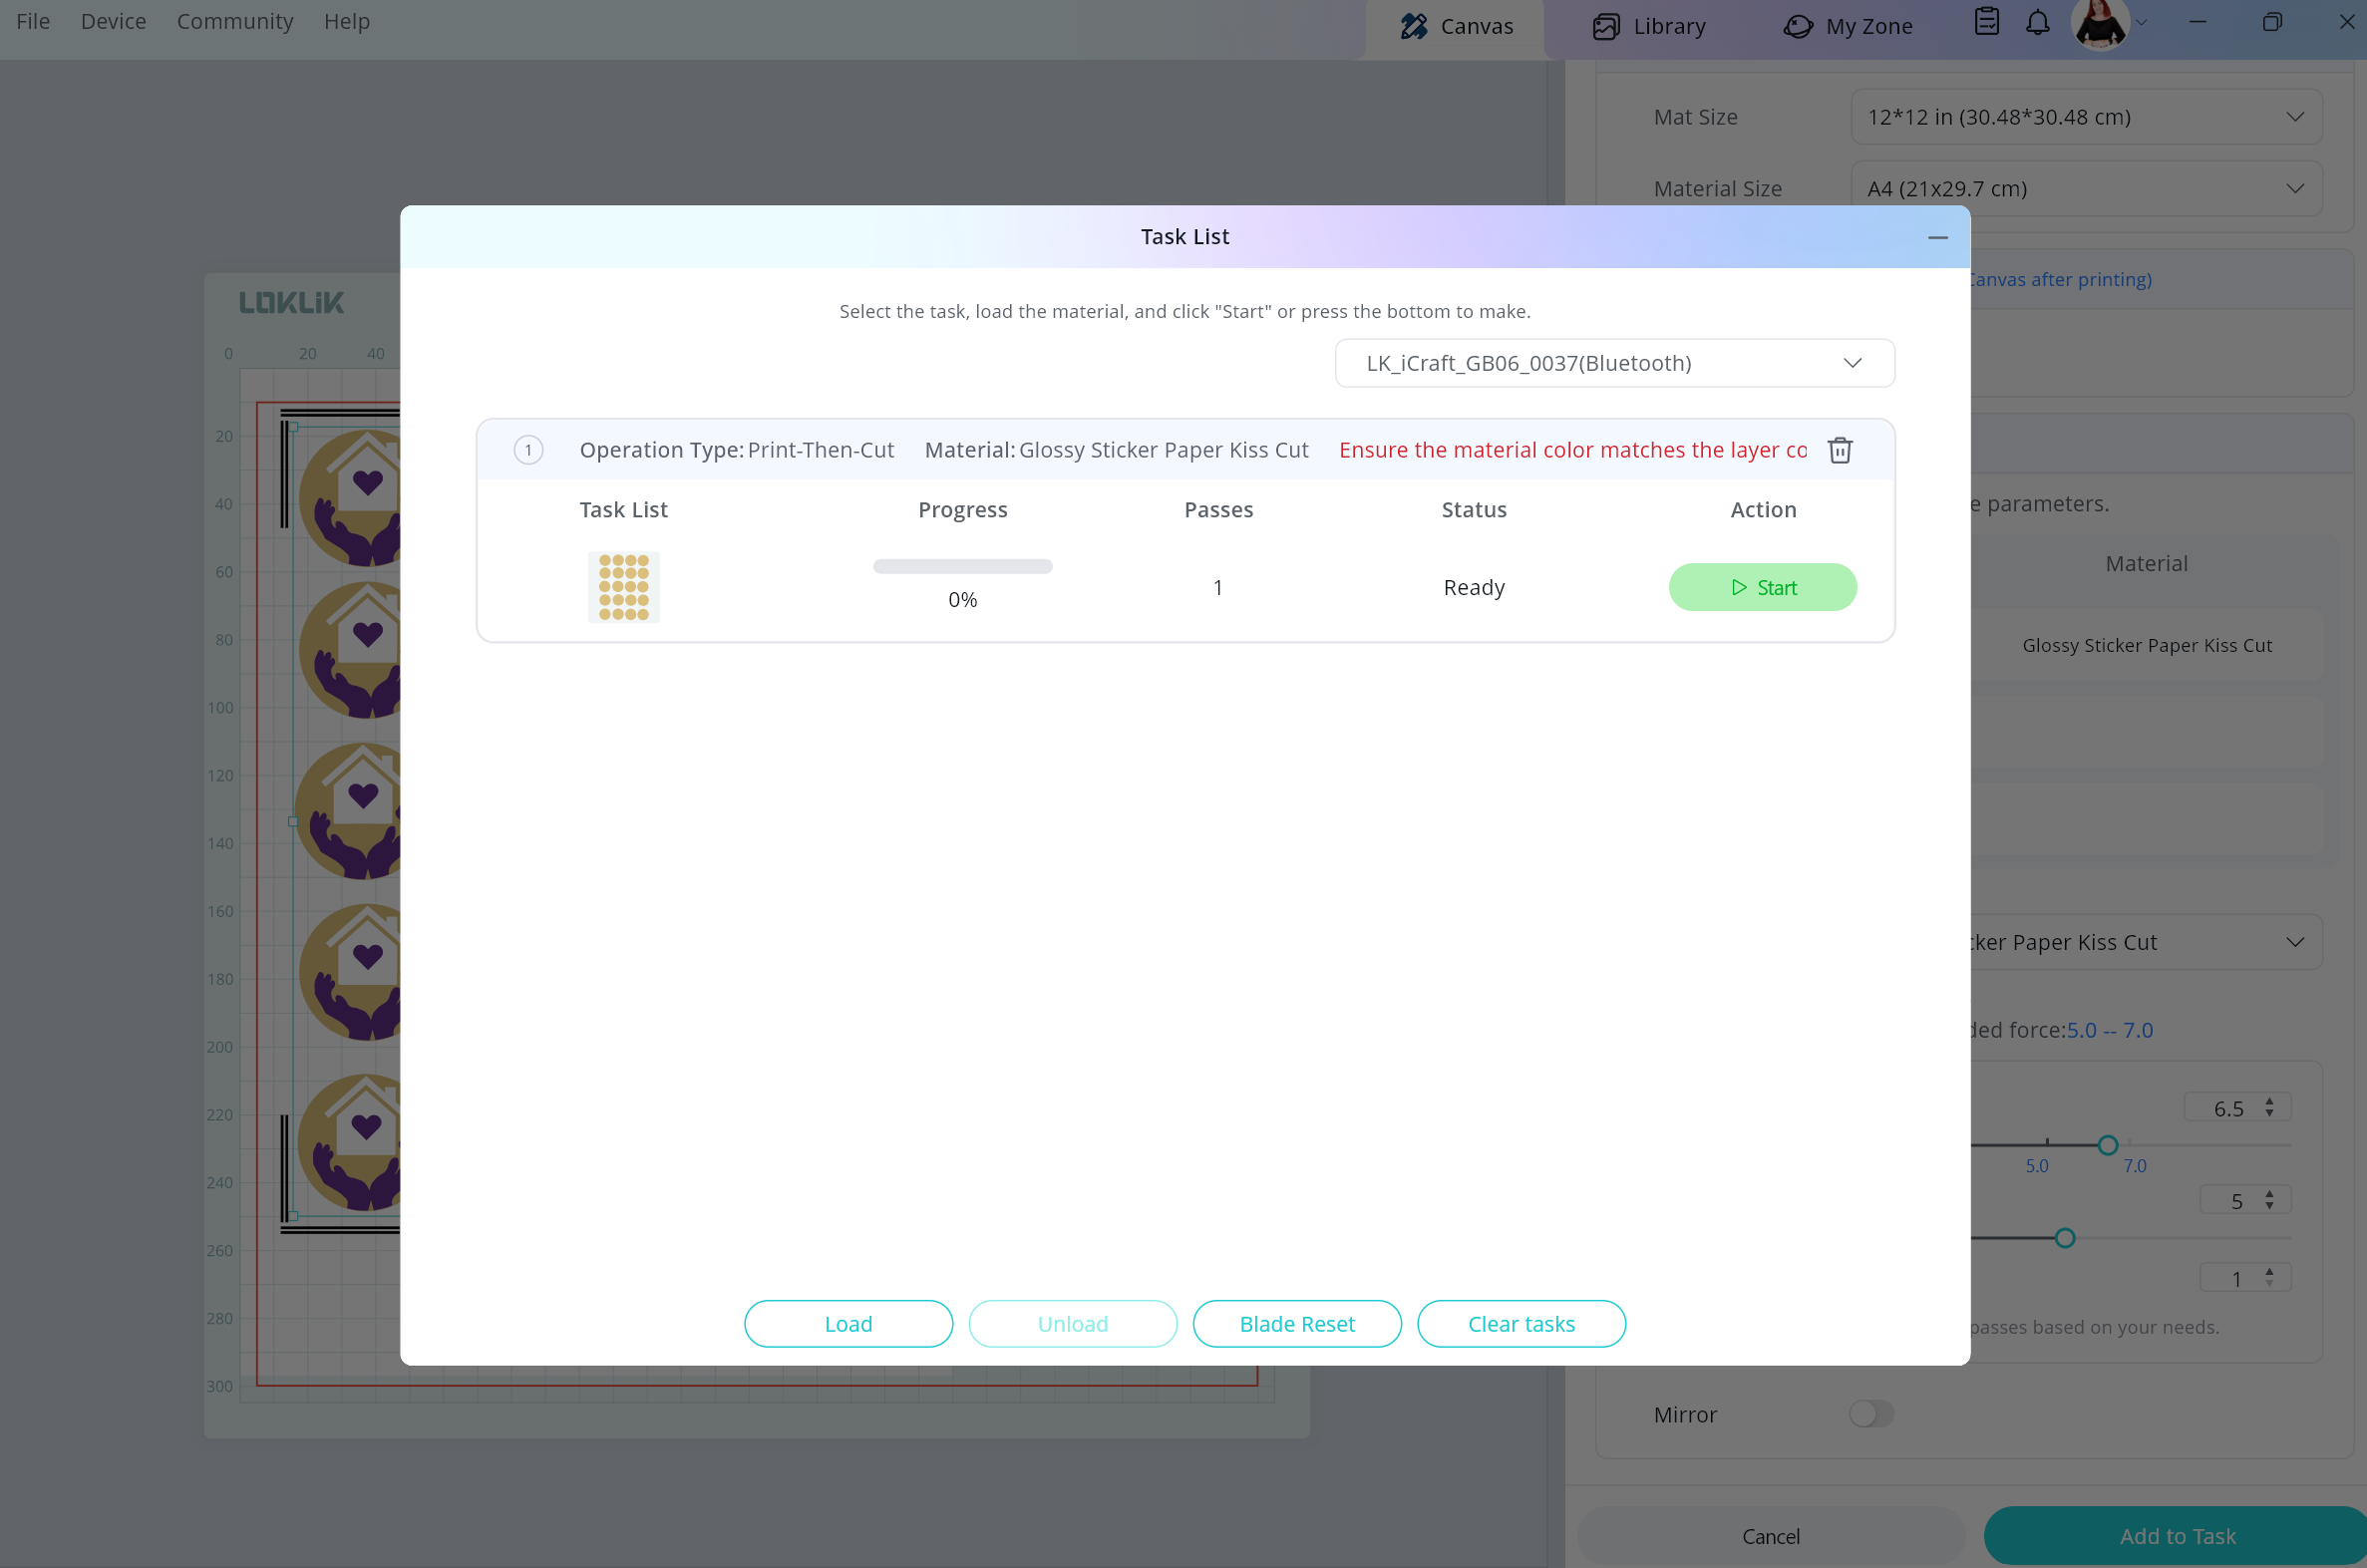
Step 5
After your job is printed place your print out in the top left corner of your mat. Then load your mat in to your machine. Then press start on your computer.
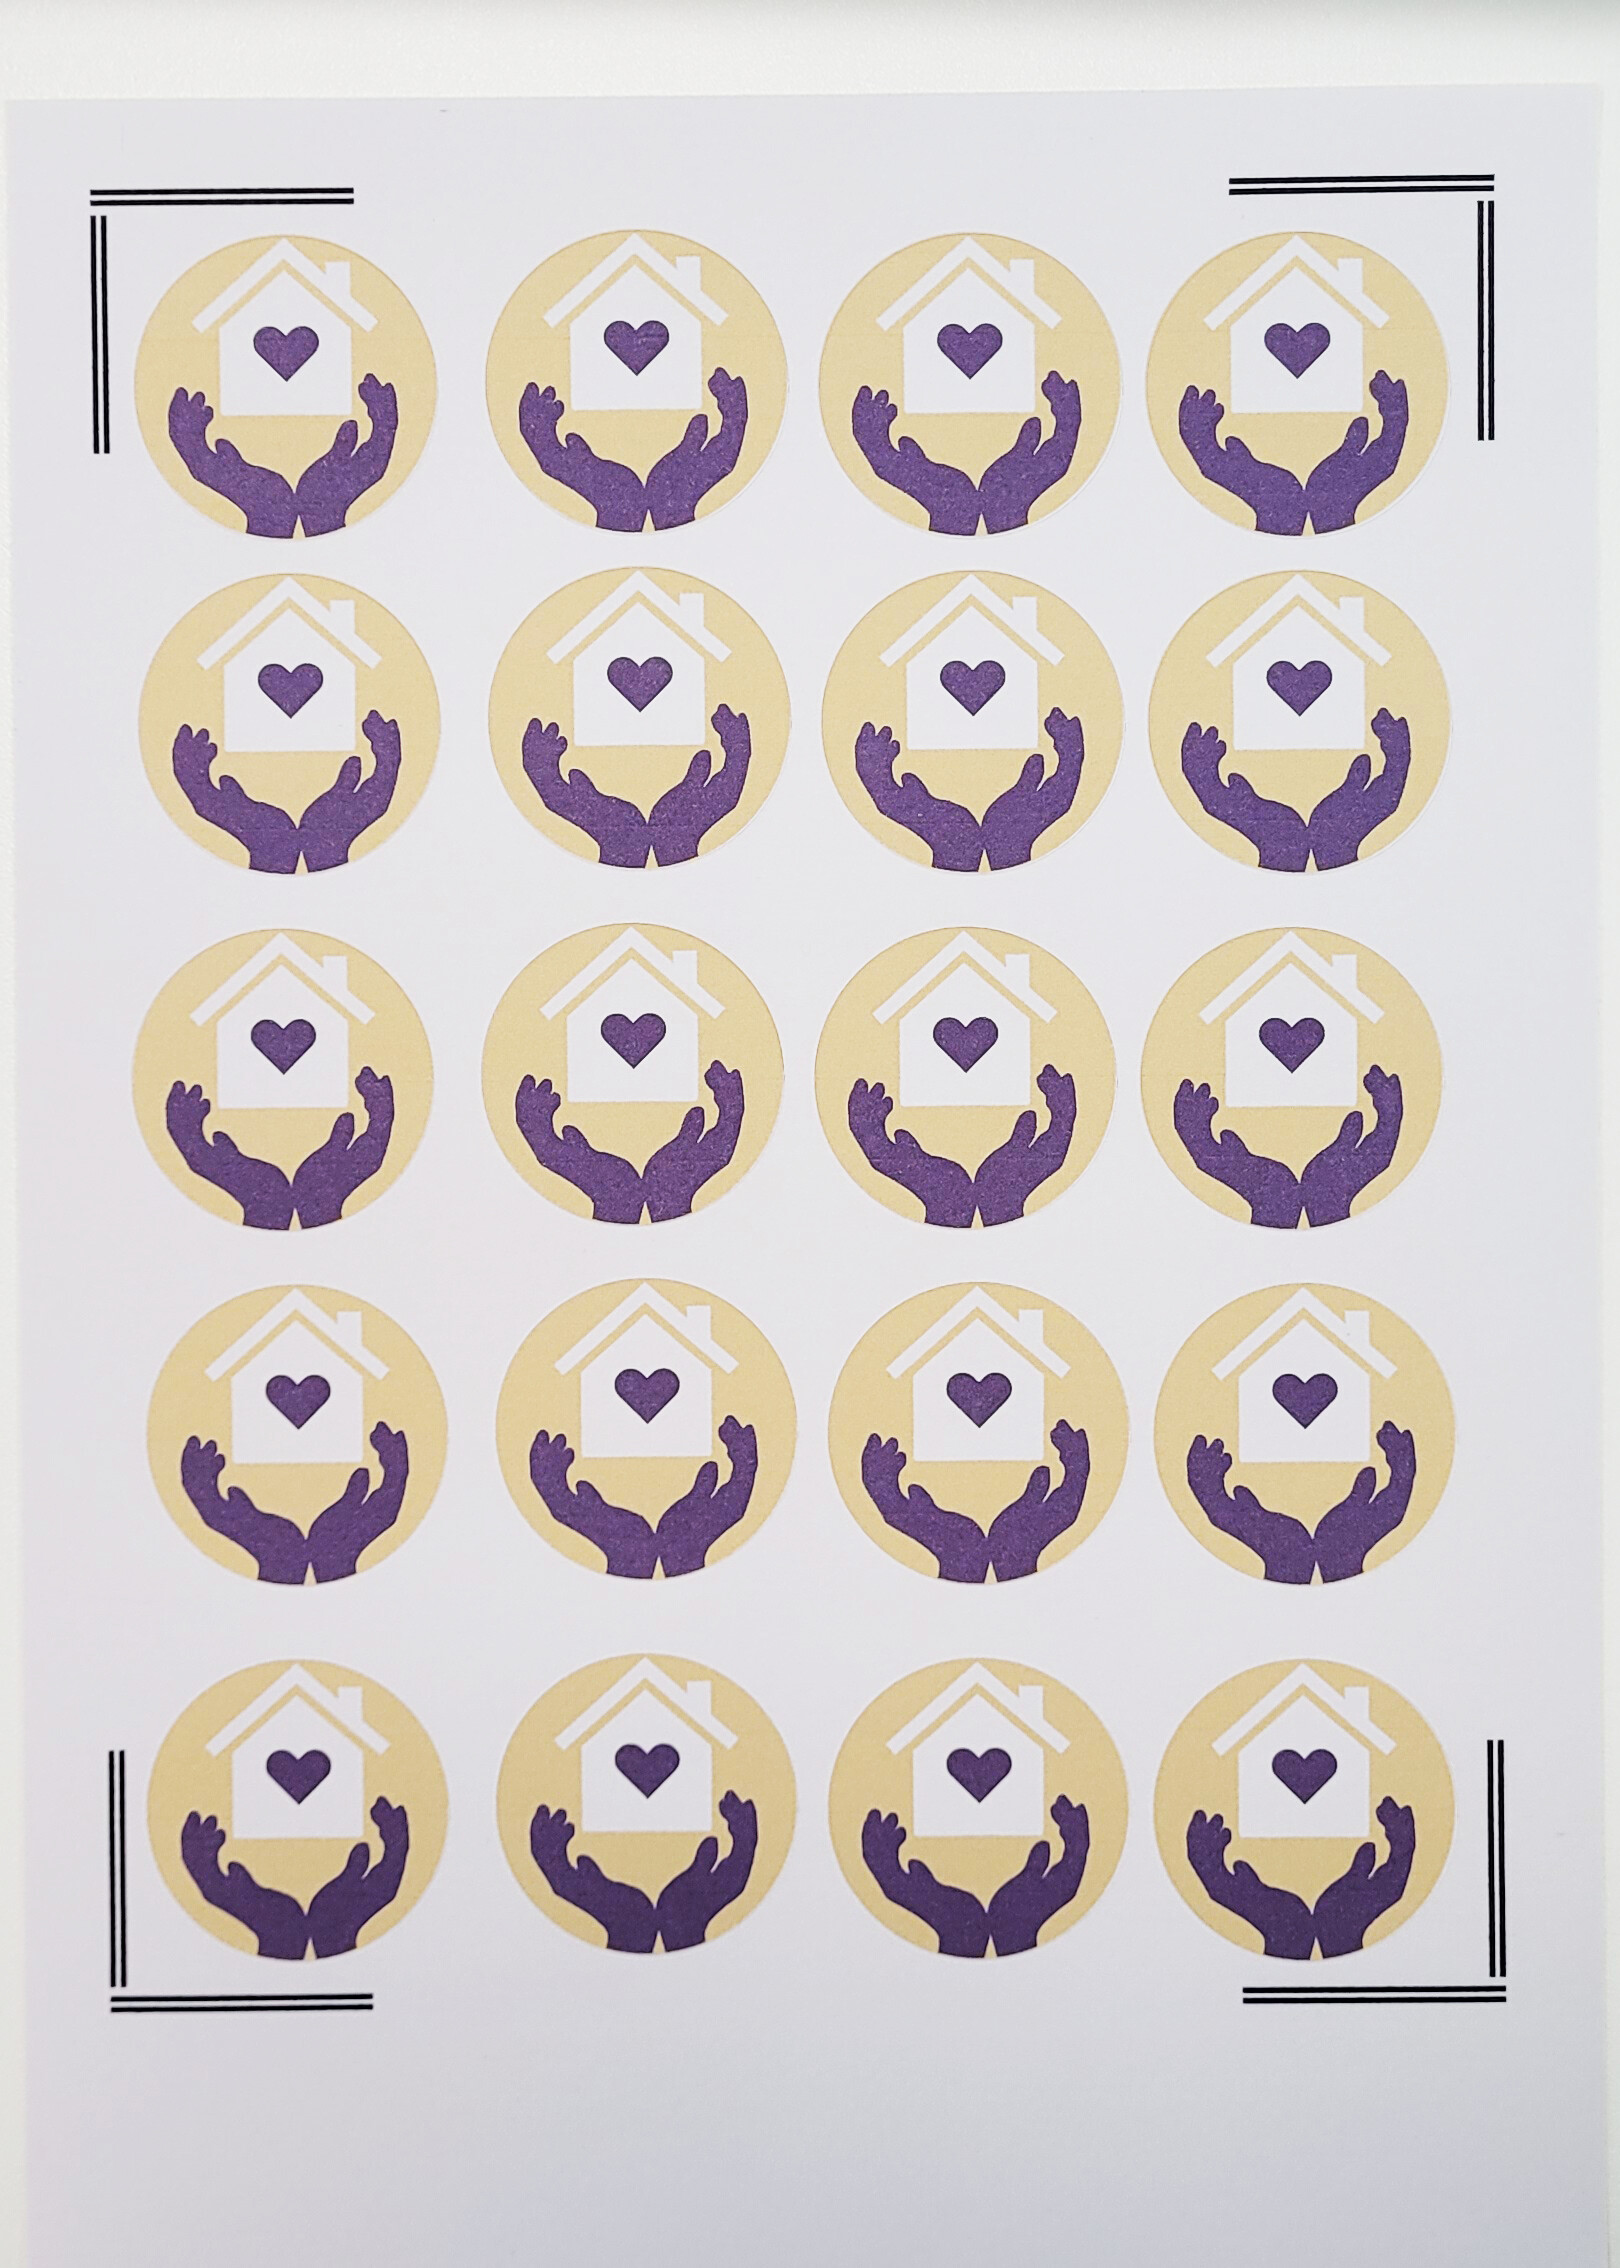
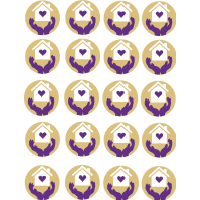
After it is done, you should have your stickers.