Hey heyyyy my beautiful community members ![]()
The tutorial you have been waiting for is finally here ![]()
![]()
![]()
![]()
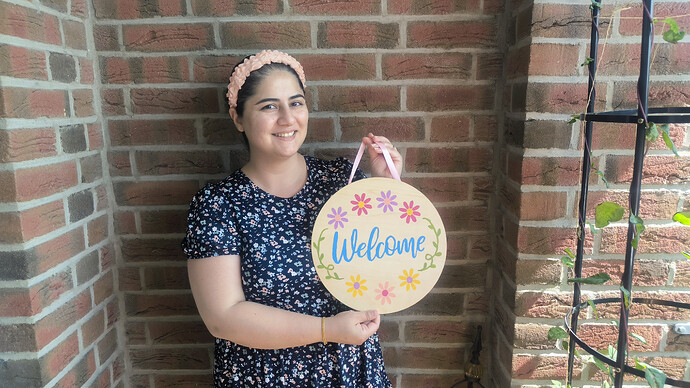
I decided to use my Ipaint and make a
WELCOME SIGN
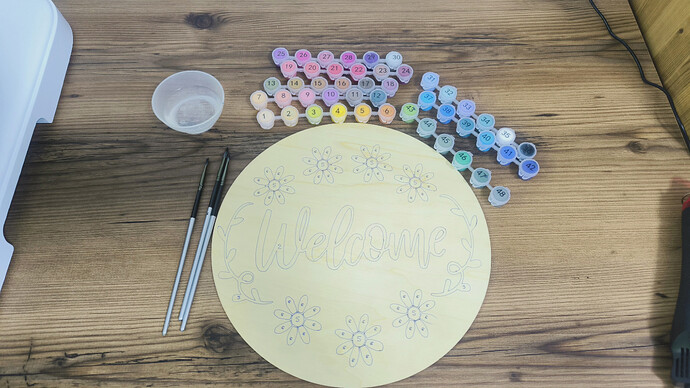
Let’s get started with our Materials
So in Ideastudio there are plenty of paintings (designs) to use for the Ipaint
But today I chose to make my design from Ideastudio too.
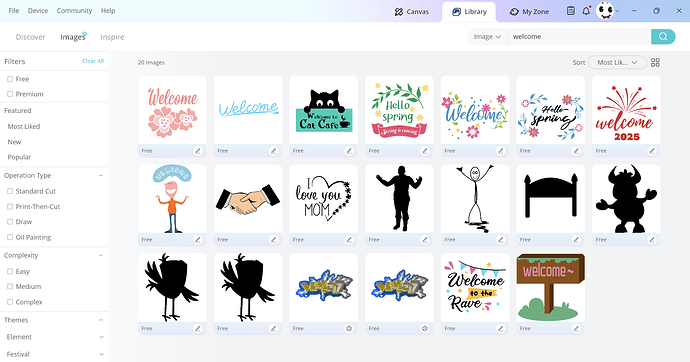
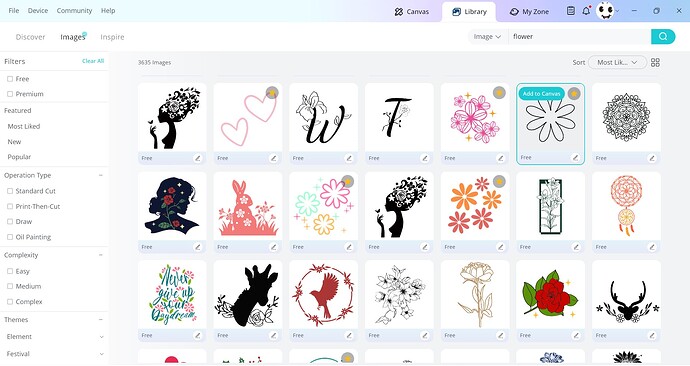
So let’s start by searching for flower svg and welcome
I chose these two.
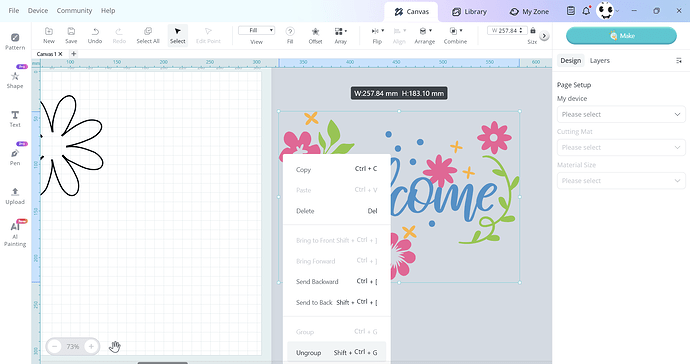
I needed to get some elements from The welcome design so first thing to do is ungroup and I took the welcome and the green vine
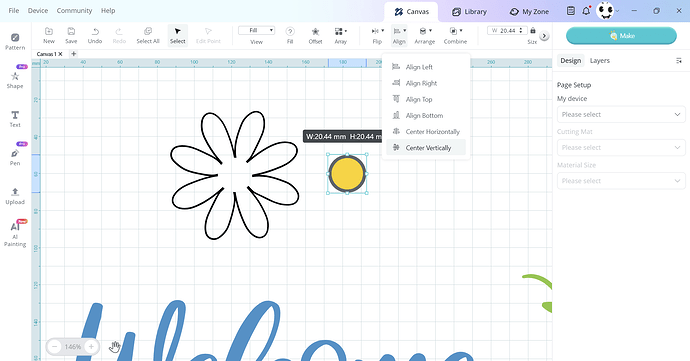
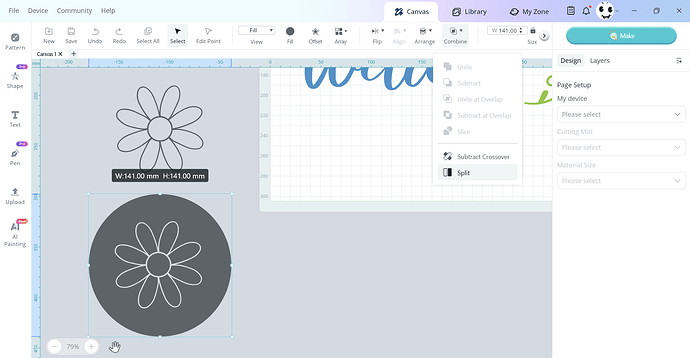
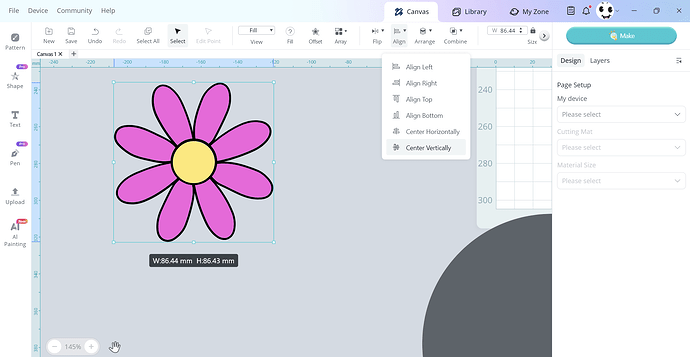
Now from the left bar from the shapes I added a circle, then duplicated it and made one smaller than the other, then aligned them in the centre
and lastly from the top menu
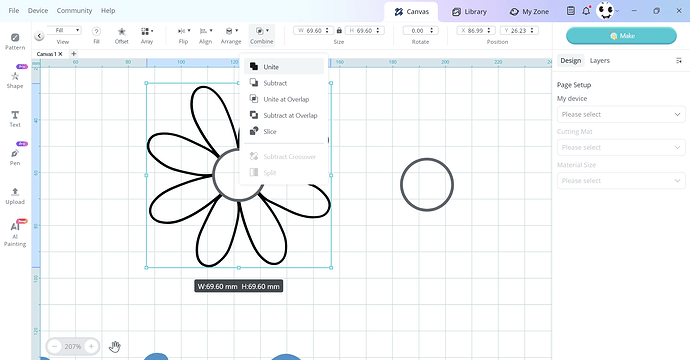
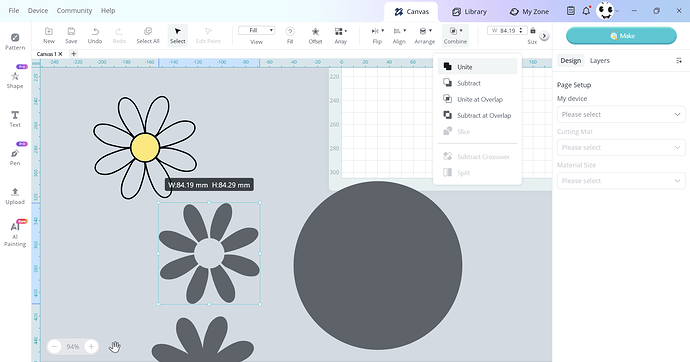
I deleted the center circle and took only the outer one, put it in the middle of the flower pattern, resized it and then united them together.
I wanted to make the design filled with colors so I hade to work more on the flower.
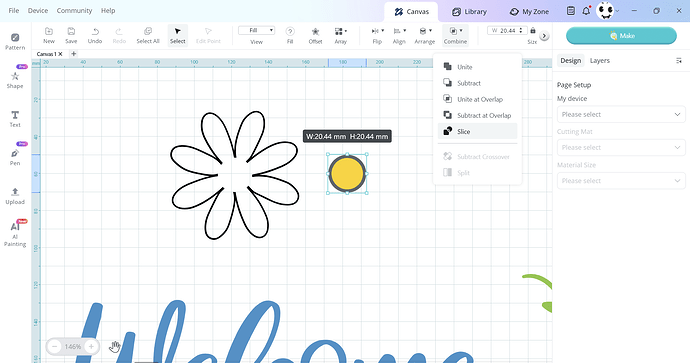
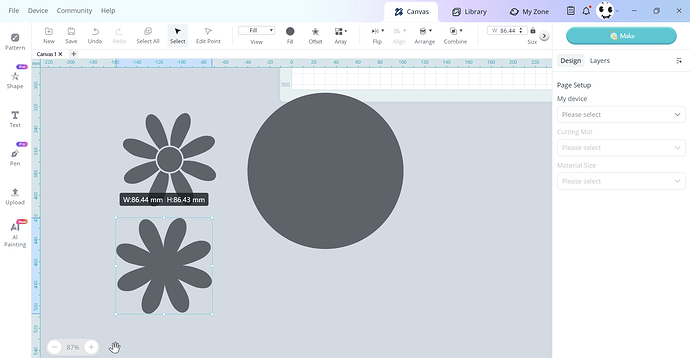
I added another circle, put it on top of the flower selected them both together and sliced.
Now by taking the circle away it will look like this so select it again and then click on split
After splitting I was left with 3 shapes like this
The flower on the top is what I need.
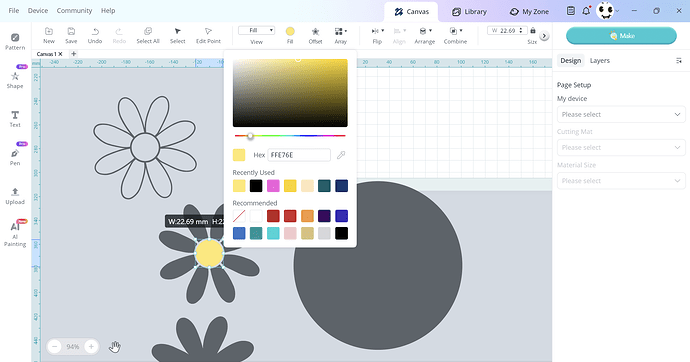
So I changed the middle circle color then I grouped the petals together and changed the colour too and aligned them all with the basic shape I created earlier.
I duplicated the flowers as many as I wanted.
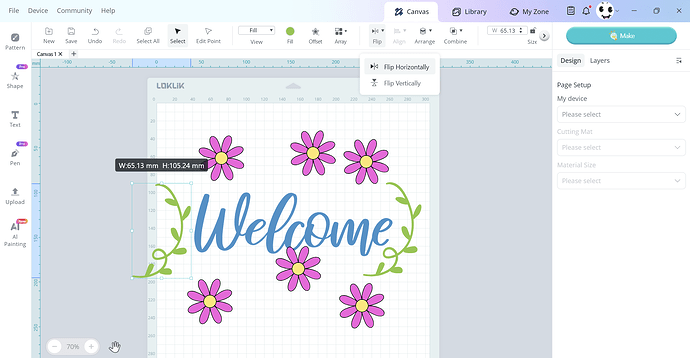
Remember the green vine I took earlier, I needed another one so I duplicated it and flipped it
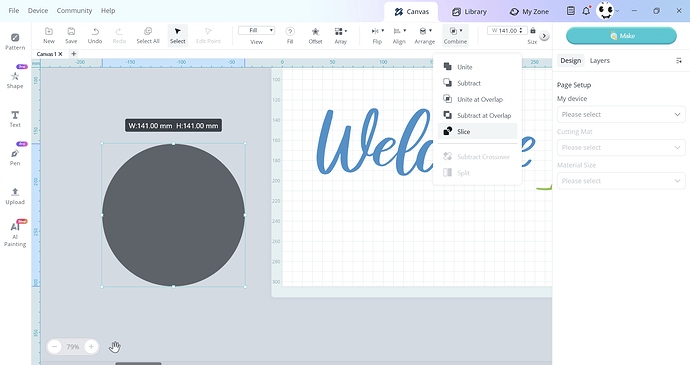
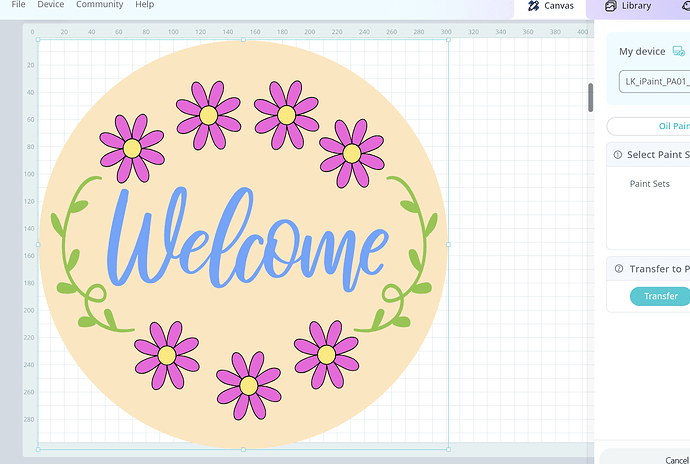
Now my elements are ready I put a circle under my design to place everything where it should be.
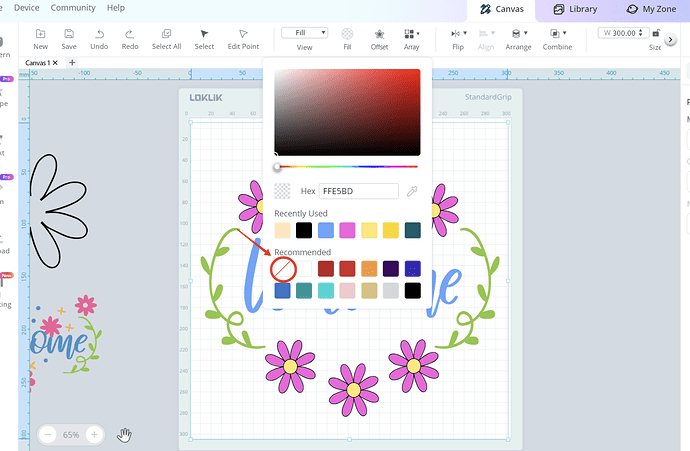
But I didn’t want the circle as an element to be painted so from the color menu I chose this.
This way I can place the design correctly on my wooden disc.
Now it’s time to connect via Bluetooth and choose the settings
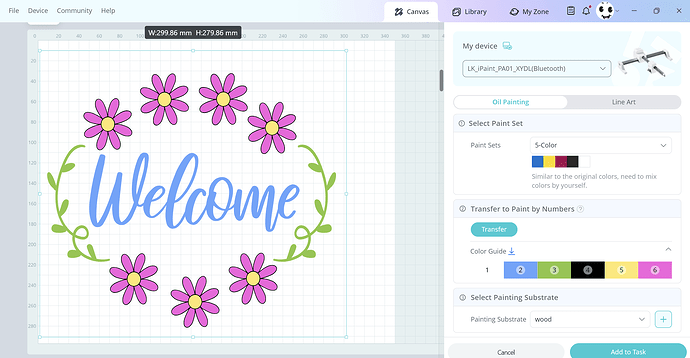
So I chose Oil painting then 5 colors (colour by number)
We have the choice to choose 48 colours too.
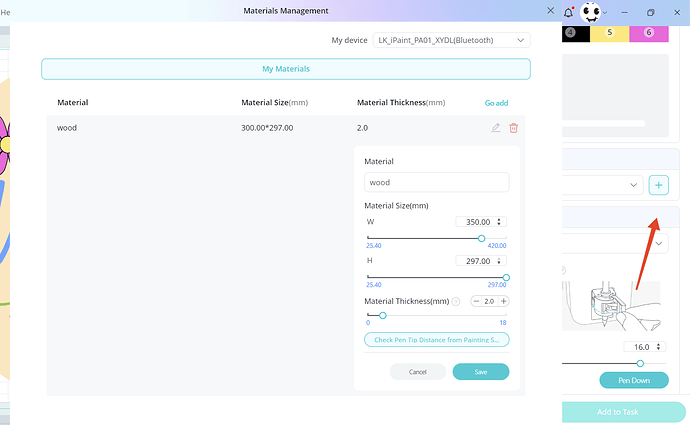
Now the impressing part was choosing the substrate which I didn’t find between the choices but I could add the settings my self
So I clicked on the + and added the settings as I need them to be.
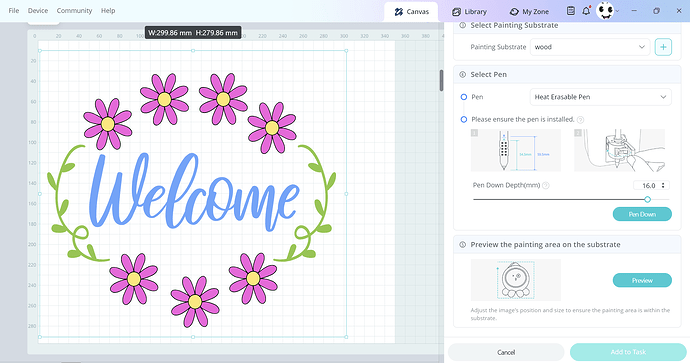
After that I selected the pen I was working with
We have two choices the gel pen and the one I chose heat eresable pen
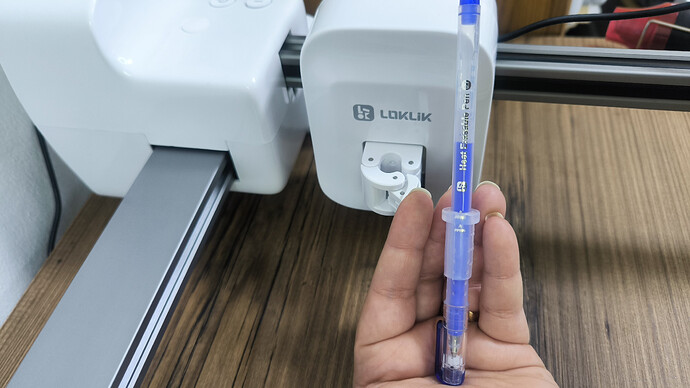
Then before I install the pen in the pen holder I adjusted the silicone cover on the B as shown in the picture
Before adding the project to the list we can test our pen and see if it is adjusted correctly or not.
Then we click on preview so the machine can preview the erea on the substrate, after that we are allowed to add the project to the list and start it
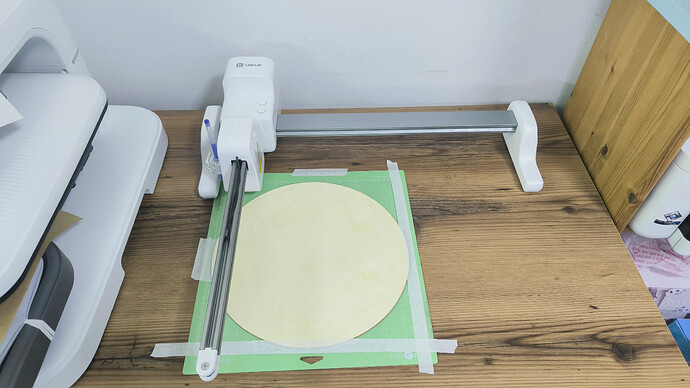
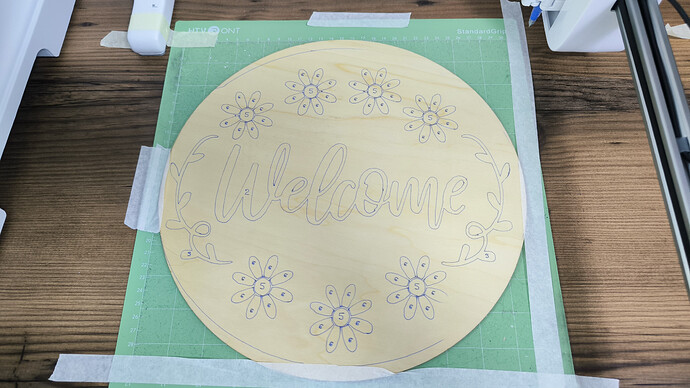
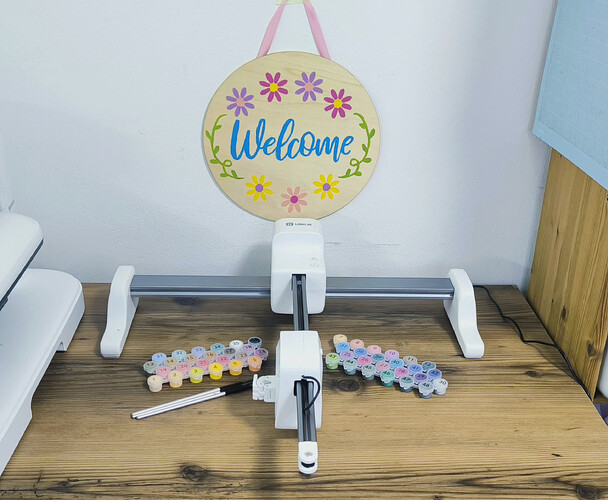
I placed my wooden disc on a sticky mat and placed the mat under the Ipaint like this
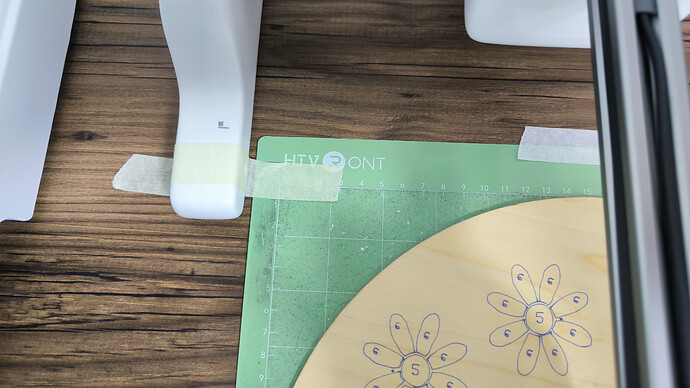
The first time I tried to do the project the machine moved because the pen hit the outer edge of the disc and everything was moved from its place, so the second time I taped my machine too
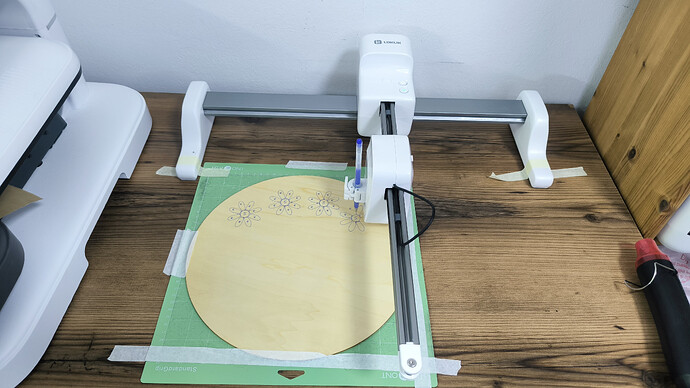
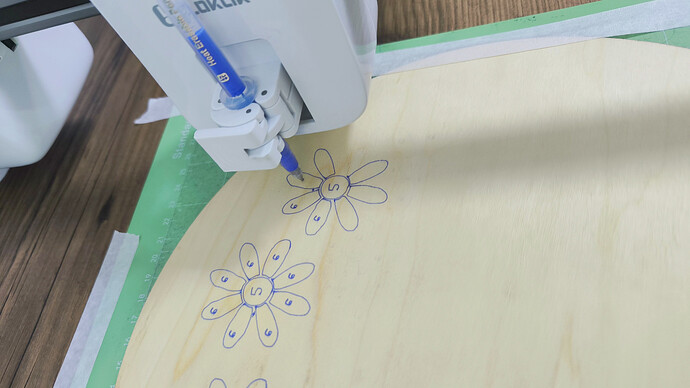
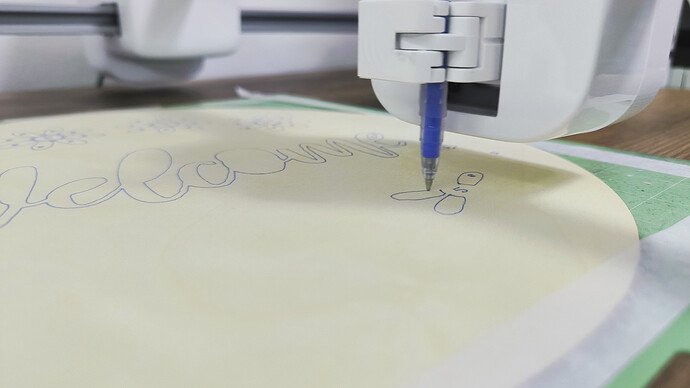
Now I clicked start and the magic began to happen,
I was so excited and happy that after 3 tries it’s finally working good
Yes I took so many pictures
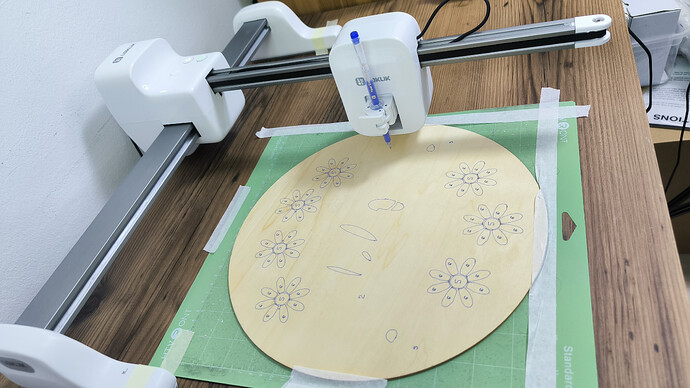
After a while the drawing process was finished
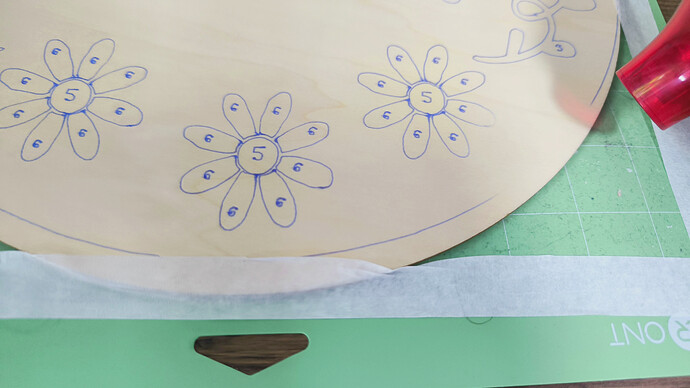
Here you can see the line around the design, this line is the circle I put under it so I didn’t need it actually and in just seconds I erased it with heat gun. (Be careful not to be close to the actual design as it can be erased easily)
Now the final step and the longest on lol
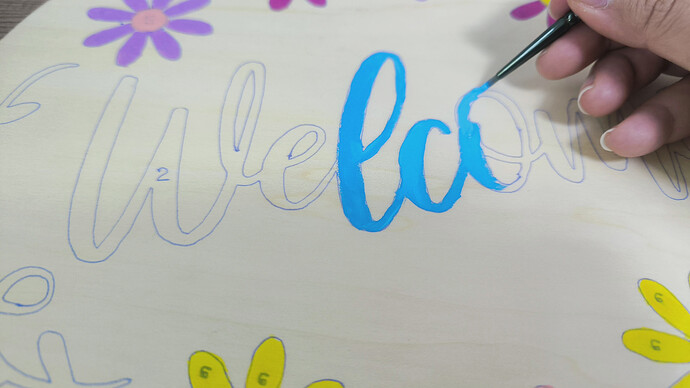
painting
We have 48 color paints.
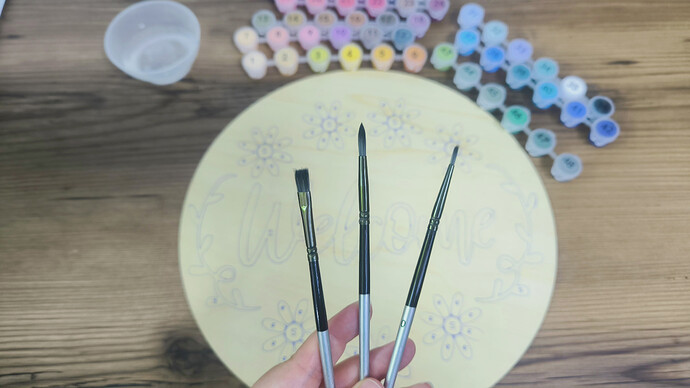
The package contains 3 sizes of the painting brushes
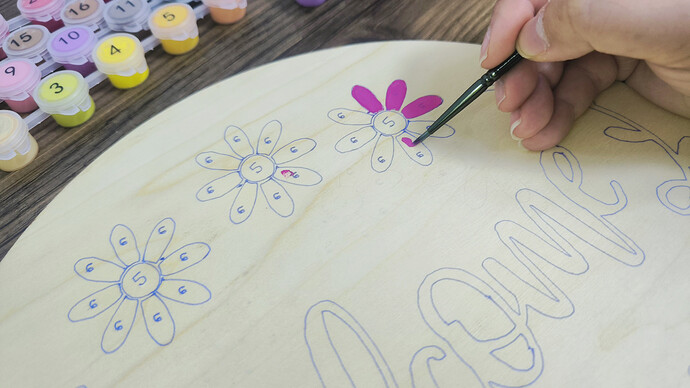
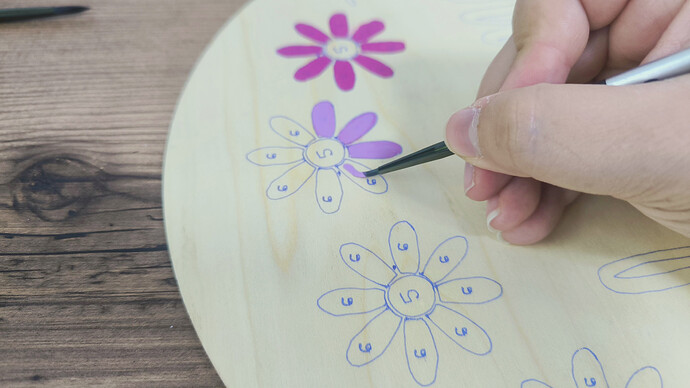
So I started painting
And painting
And painting
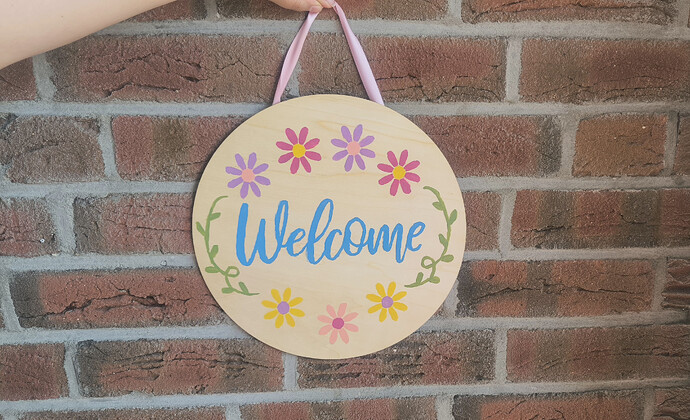
After the painting process was done, with the heat gun I removed all the trace (which I find a brilliant idea to be used in paintings)
And now my lovely community friends the project has successfully come to an end
Your creator Marin from marinos.creations
If you have any questions please write down in the comments
