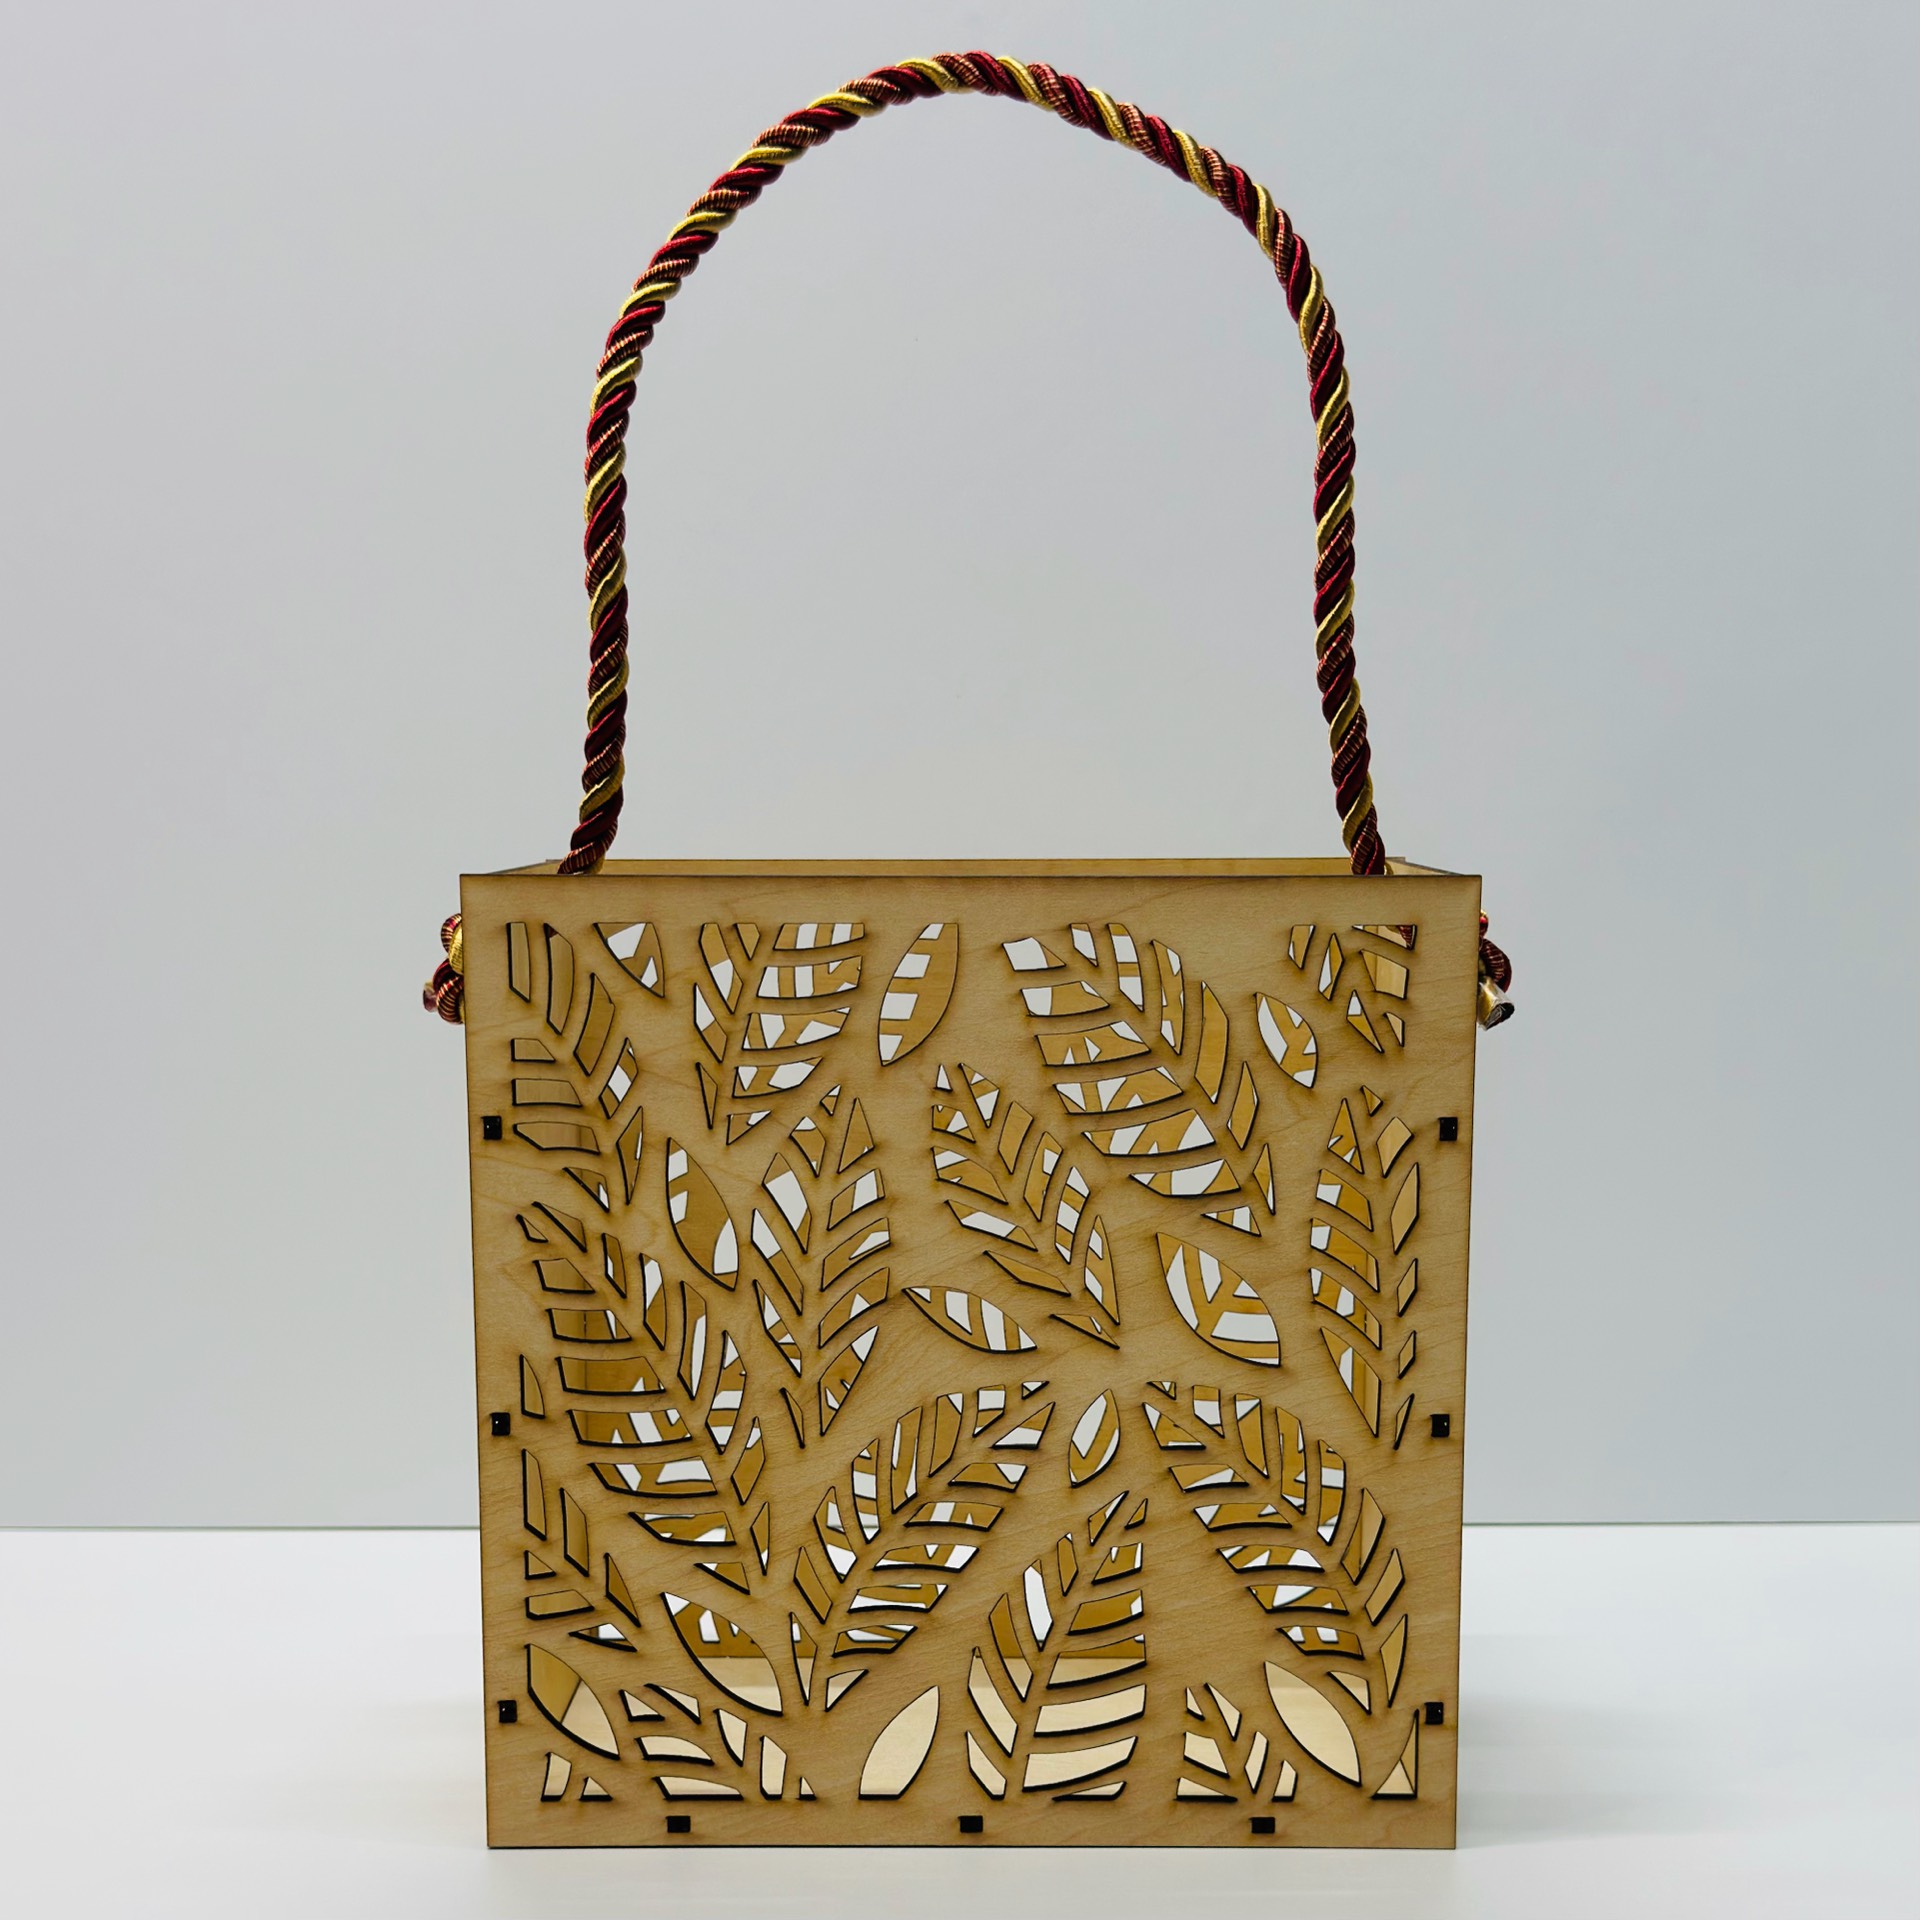
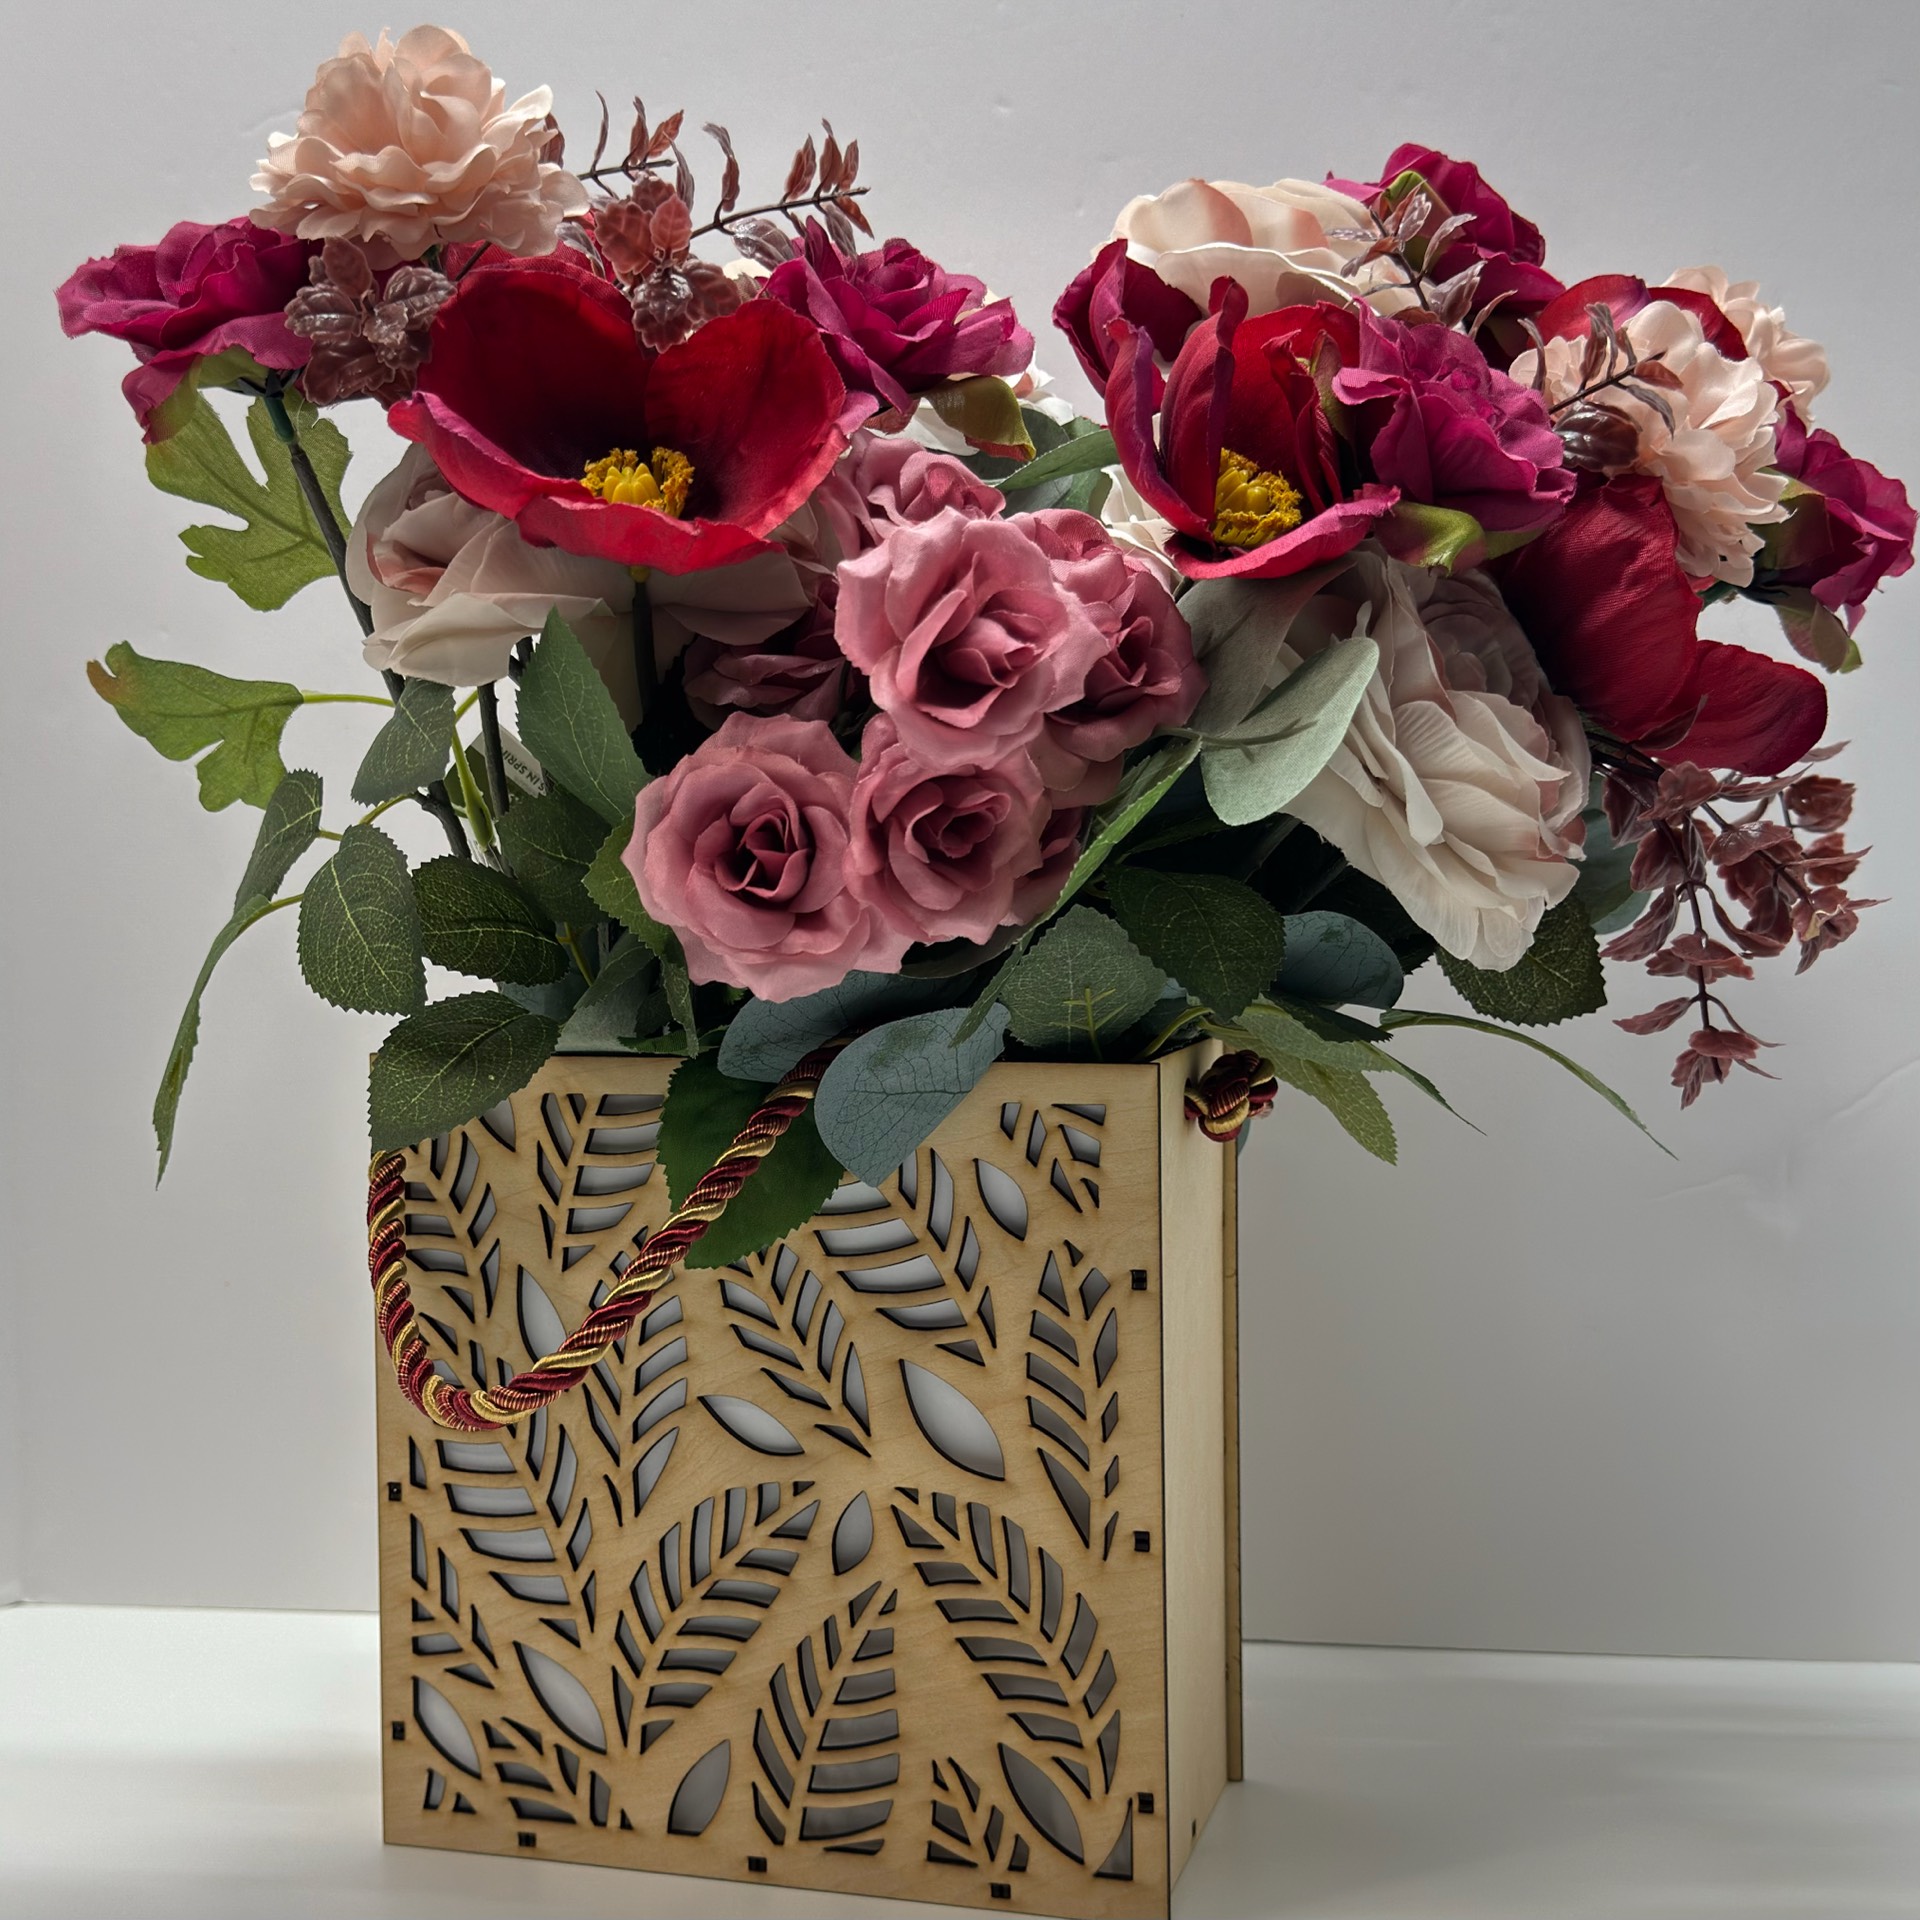
One of my favorite creations this week: this gorgeous laser-cut gift bag featuring delicate wooden leaves, crafted with my iEngrave! I had so much fun bringing this idea to life, and I’m thrilled with how it turned out.
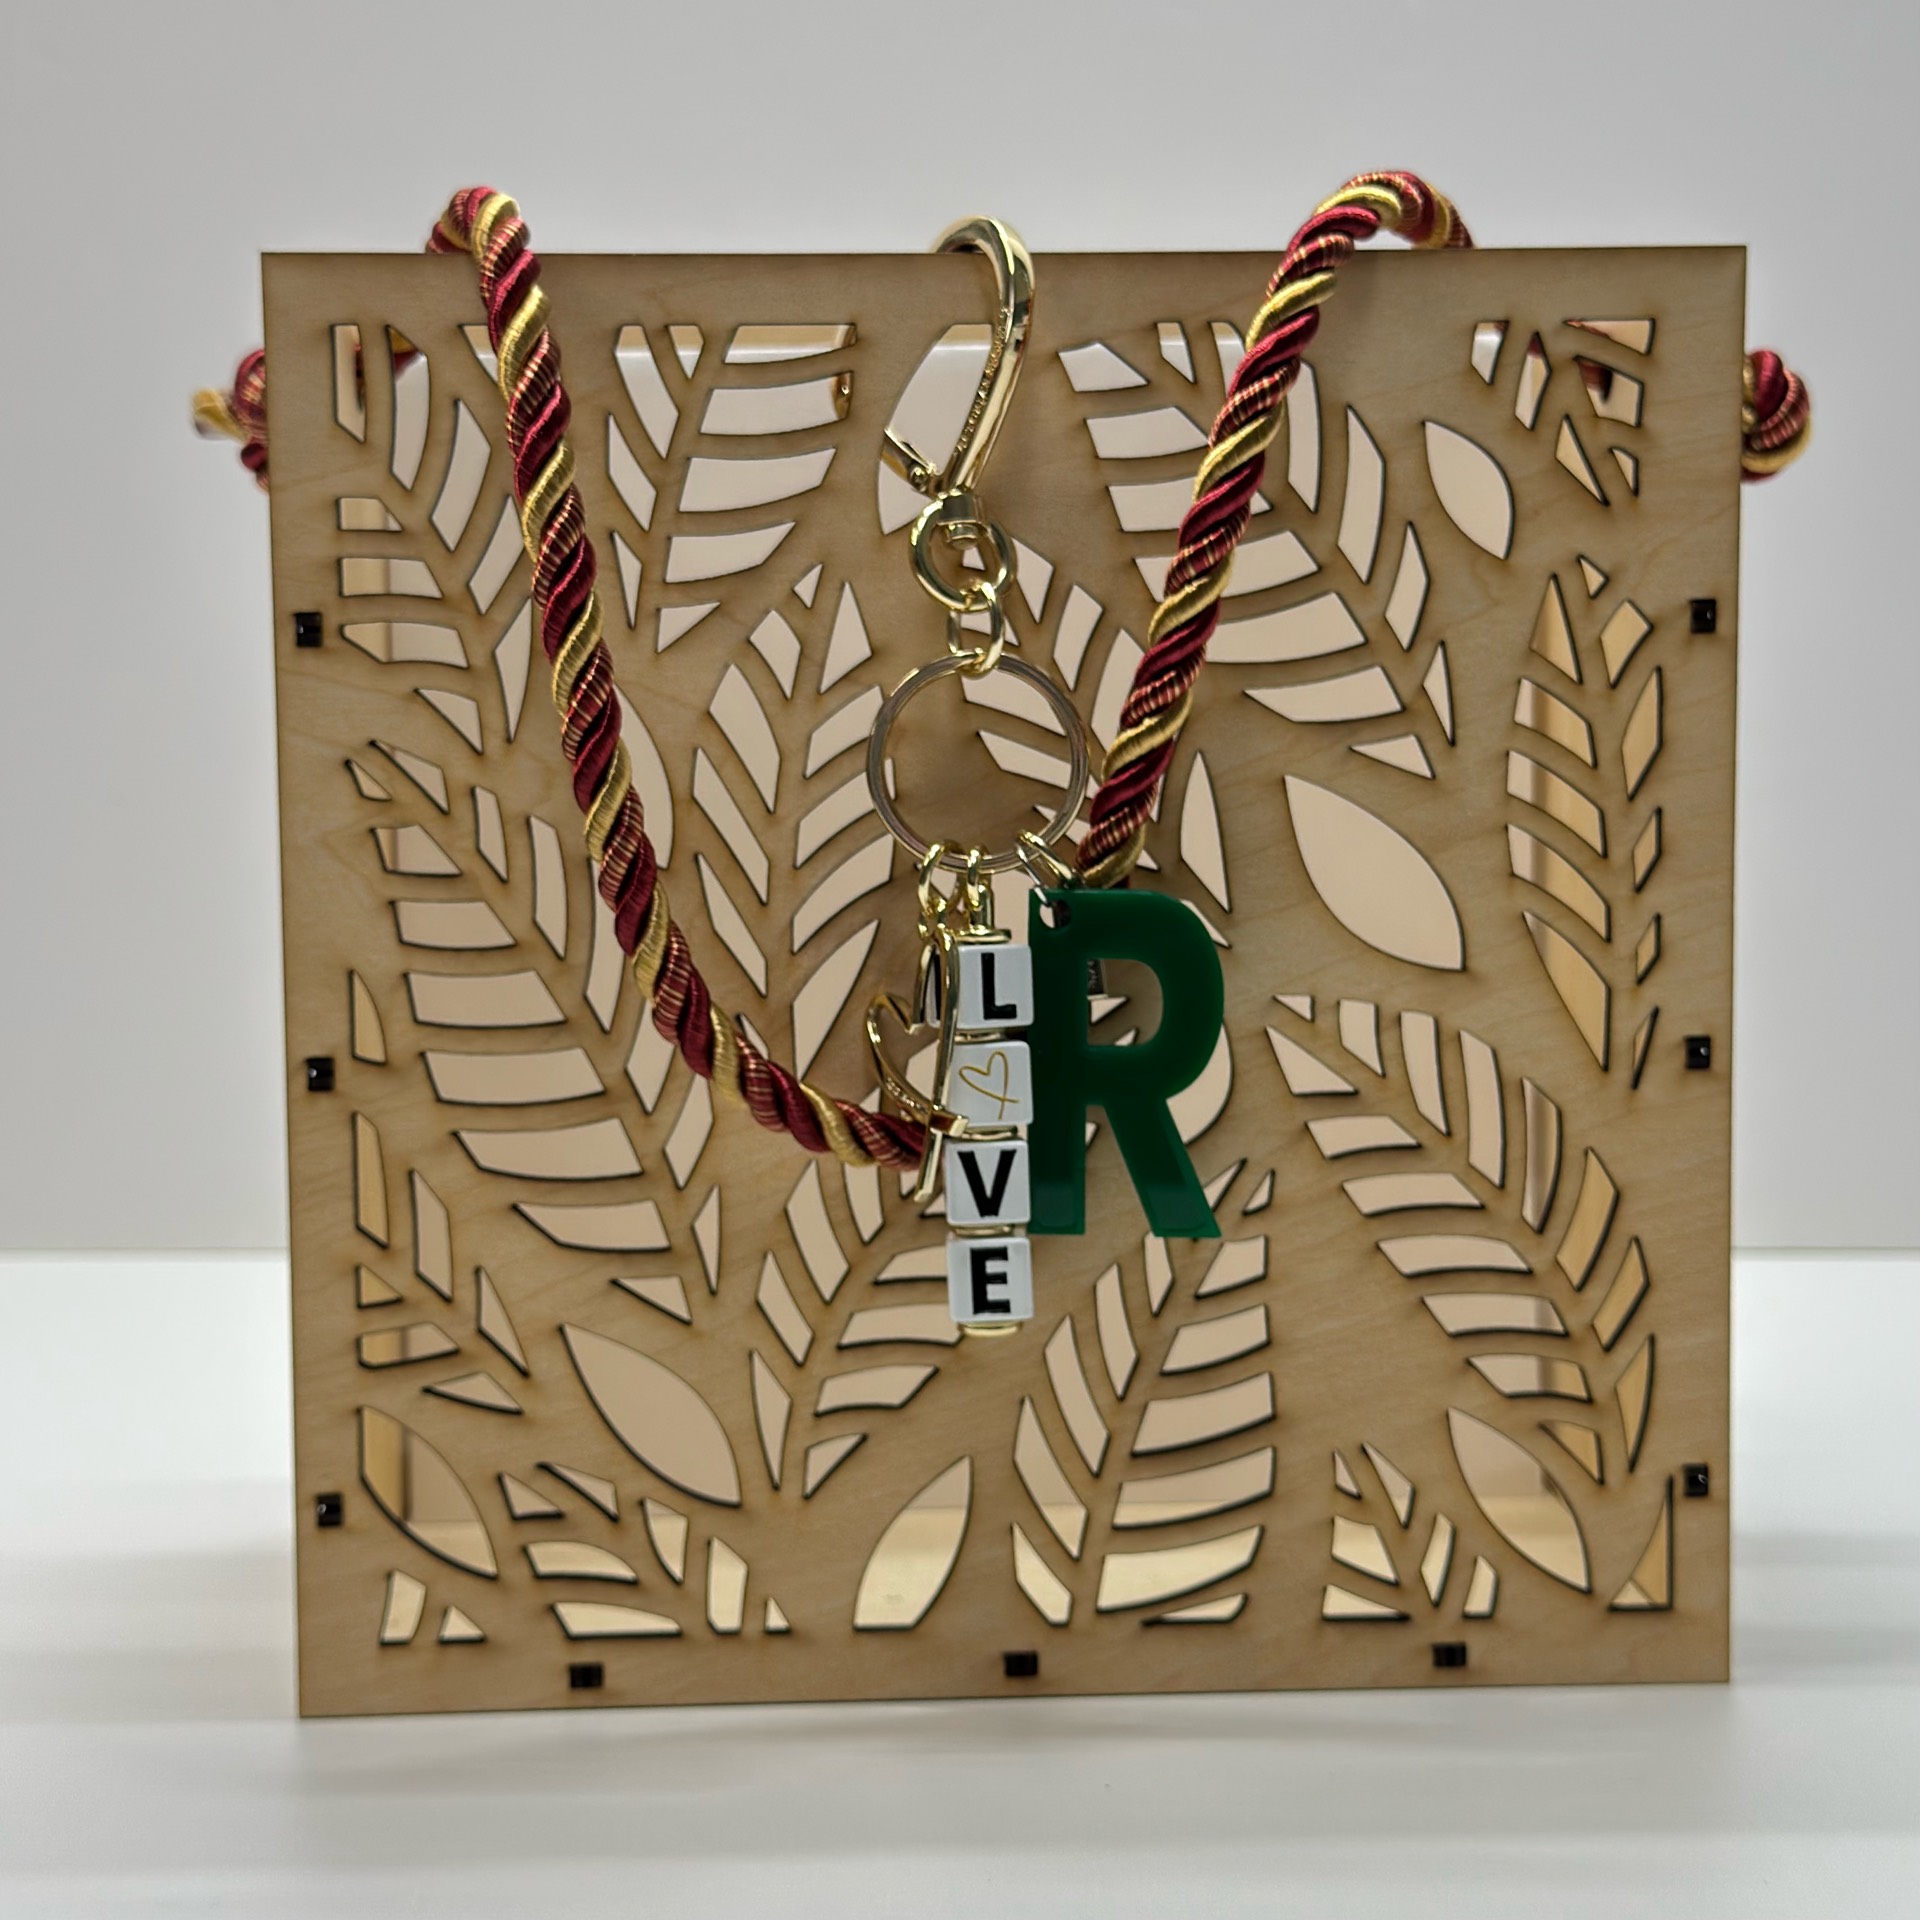
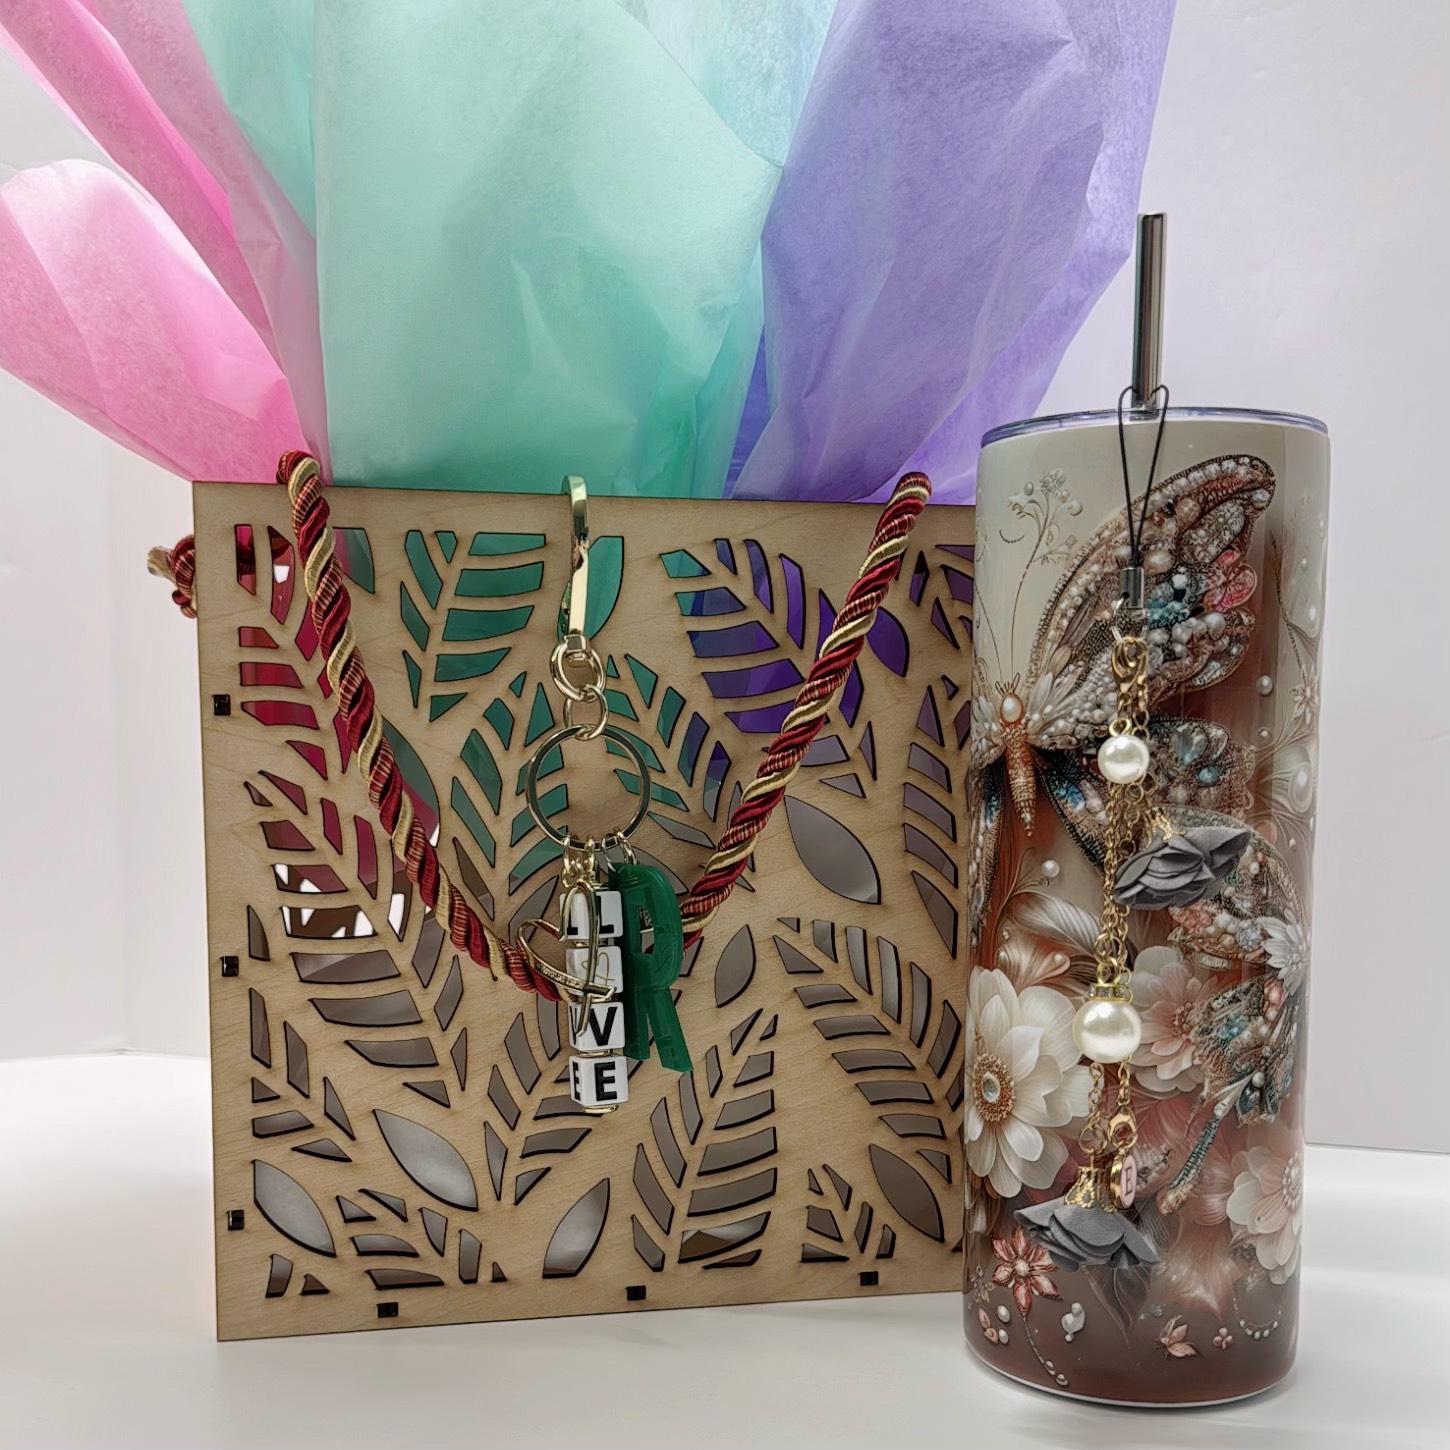
It makes a beautiful standalone gift or a charming way to present something special to someone you love. You can customize it with festive cord handles, add keychains, or personalize it for any occasion—birthdays, holidays, or just because.
This particular one has already found a happy home, but don’t worry—I’ll be making one for myself soon!
Wow - this is truly beautiful! The intricate detail on those wooden leaves is just breathtaking, and the versatility of the design makes it even more special. I would love to have one! I’m excited to see the version you make for yourself - you have such a gift for transforming simple ideas into standout pieces!
This is absolutely stunning! The detail on those wooden leaves is gorgeous, and I love how versatile the design is. It’s such a thoughtful way to elevate a gift—and I can totally see why it already found a new home! Can’t wait to see the one you make for yourself. You’ve got such a knack for turning simple ideas into something truly special!
@Alexandra_Torres, totally agree—there’s just something magical about watching those crisp, clean lines come to life! It never gets old, especially when the final piece fits together perfectly. What’s your favorite thing to laser cut?
@Judi_B, Thank you so much! I’m really glad you like it—it was such a fun project to work on! I’ve got a few more ideas brewing, so stay tuned for what’s next!
@DianeB, Thank you so much! That means a lot I really hope it brings them joy and finds a special spot in their home. It’s such a fun piece to personalize, and I love imagining all the creative ways they might display it!
Yay! How did you know I’m obsessed with every shade of pink—right alongside green? Did I summon “D” for defective… or “D” for diamonds? Crossing my fingers it’s the sparkly kind!
This is so delicately pretty. It’s a gift in itself. I so want to create these beautiful crafts.
Quick question - Do you have the air assist? If not, will it help with the darker marks around the cuts? I have seen some people also use masking tape which gets rid of the darker cut marks.
Thank you so much! That means a lot—this piece was such a joy to make, and I’m thrilled it resonated with you.
I didn’t use air assist for that piece. My original plan was to stain it, so I wasn’t too concerned about the char marks. But when I showed the final cut, she loved the natural look and asked to keep it as-is. Honestly, it turned out to be one of the cleanest cuts I’ve gotten without air assist or masking! I’ll be sharing some extra engraving tips soon.
One quick trick I love: mirror the design and use the “back” panel as the front-facing side. It gives you an impressively clean finish—definitely worth trying.