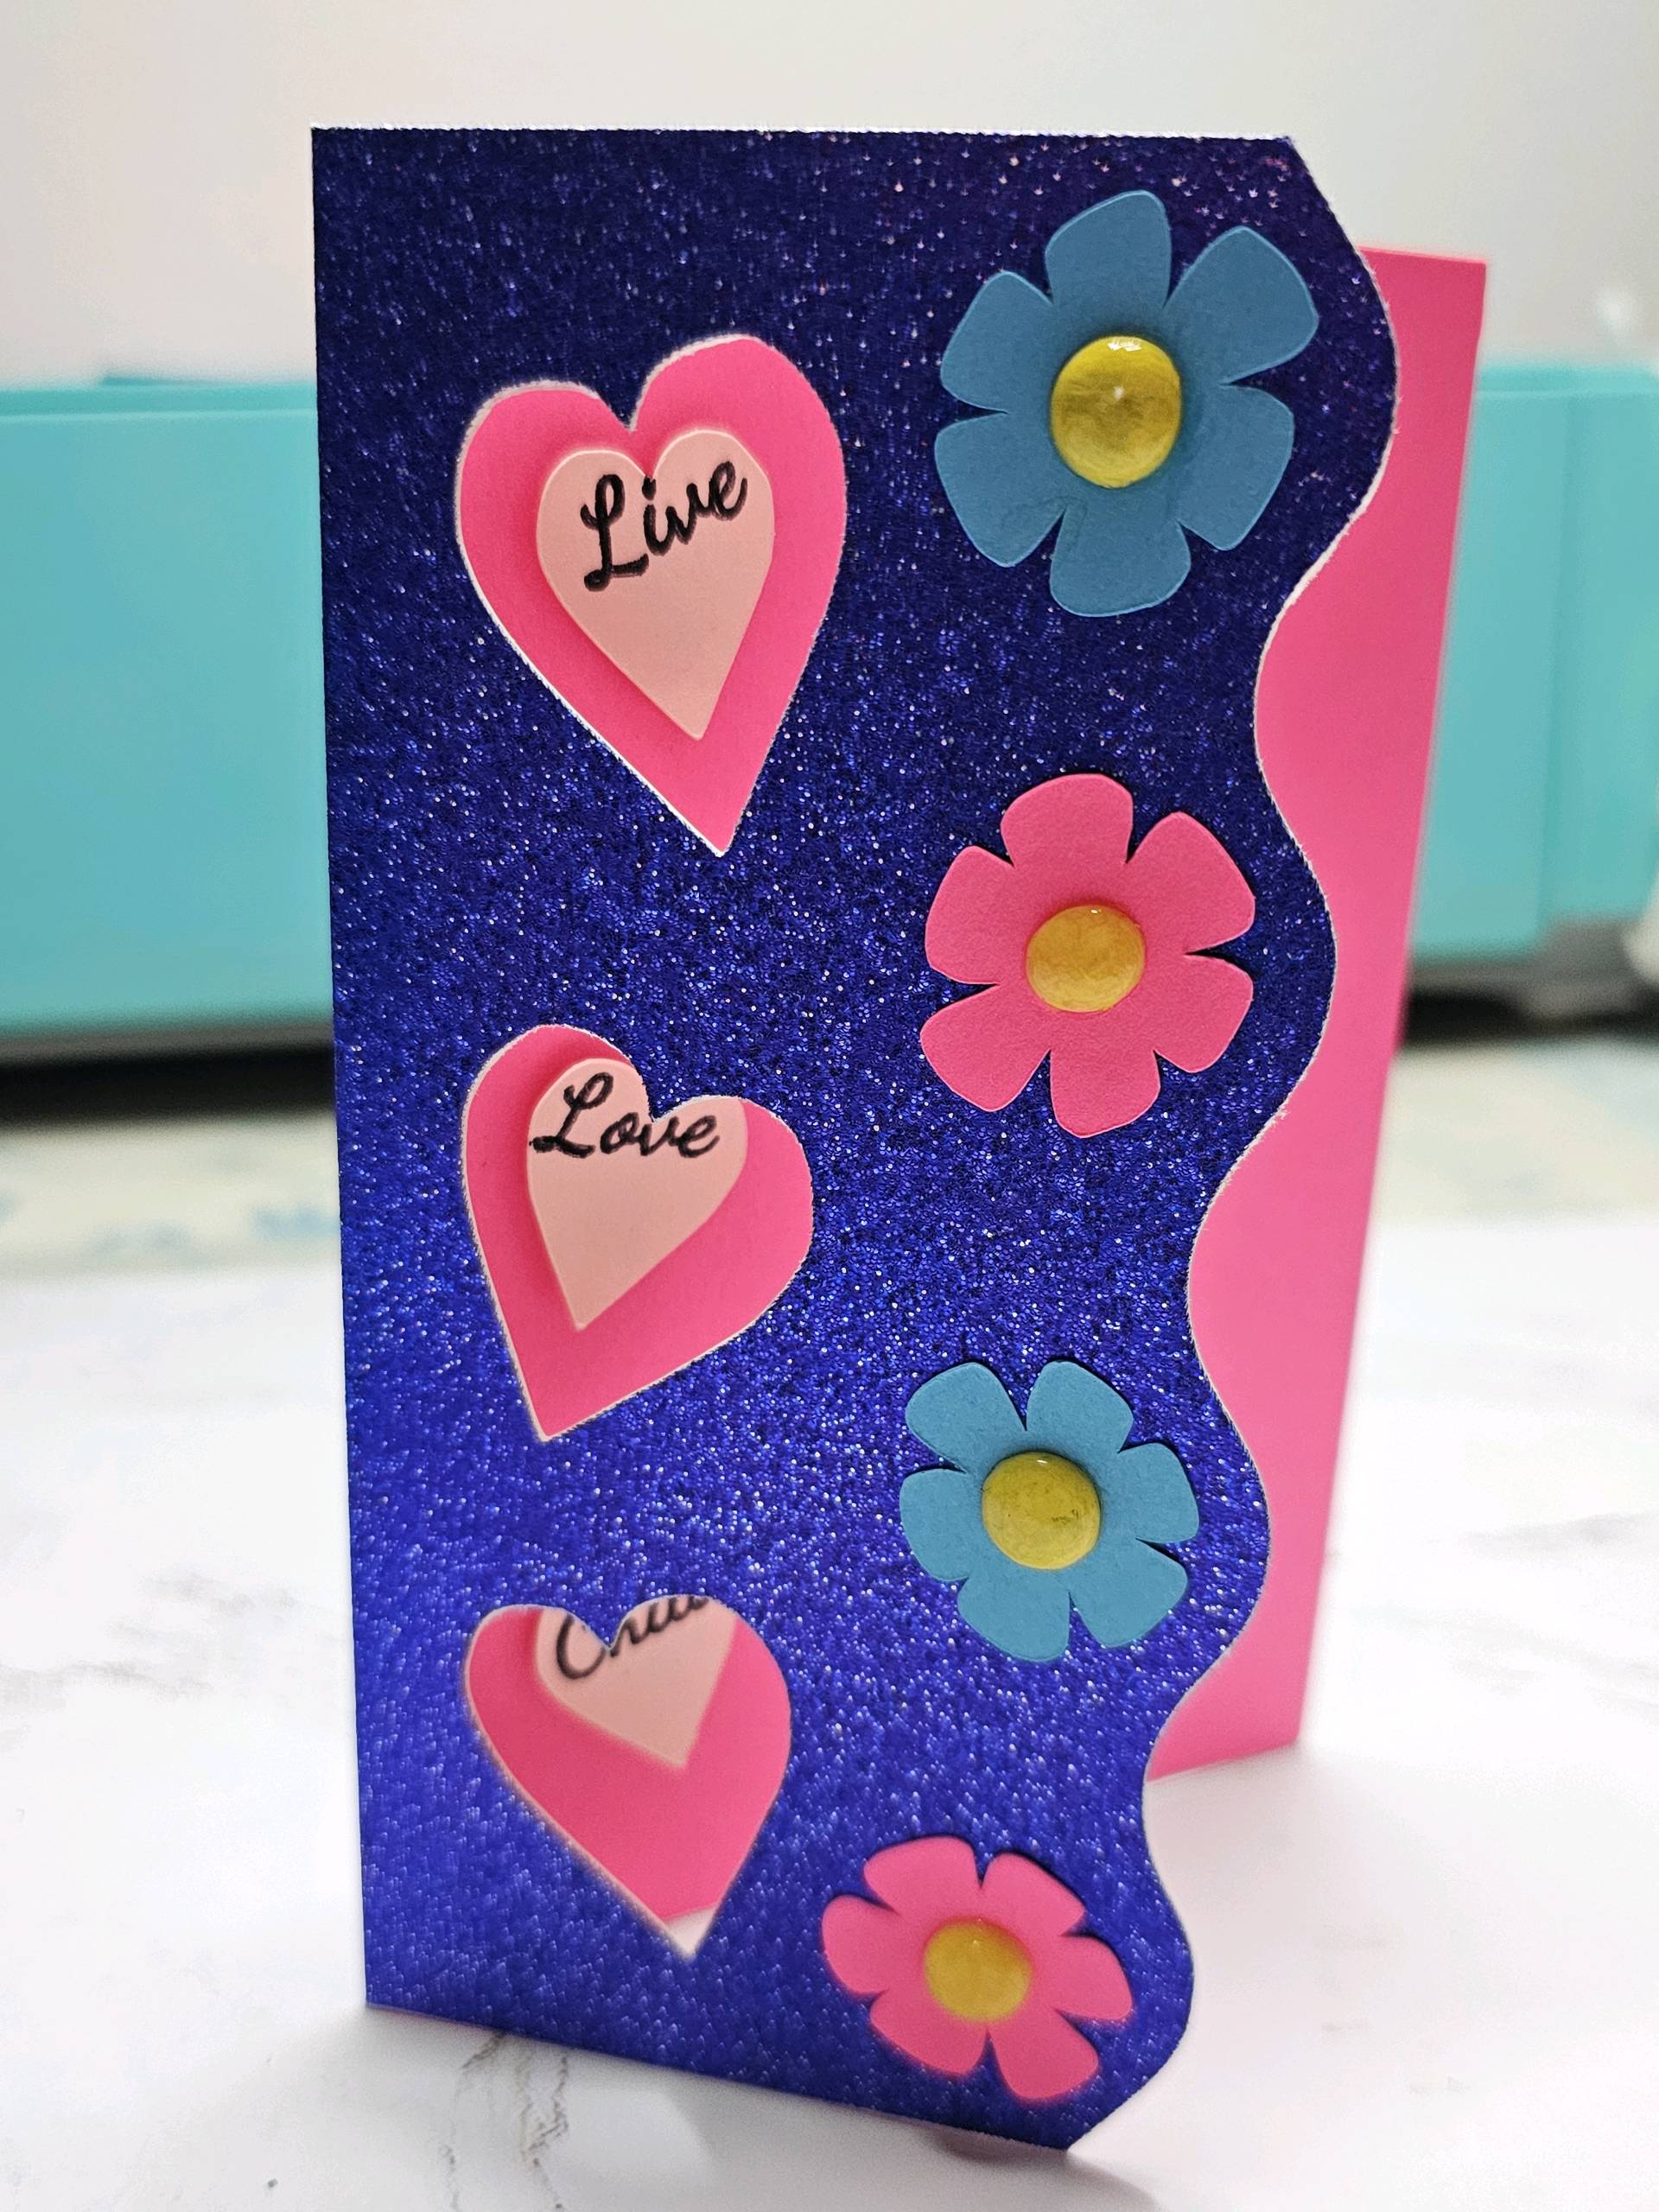
• 4-5 pieces of different colored cardstock (For a more 3-D effect, I made the yellow dots using UV resin and acrylic paint pens, and Mod Podge Gloss to seal paint. Just hide the yellow dots in the layers panel. You could also use hot glue instead of resin. Otherwise, cardstock works just as well.)
• Double-sided foam tape
• Loklik pen (for the words)
•Glue stick
• Scoring tool for the iCraft; or scoring board and bone folder (if you have the Crafter, hide the scoring lines, mark the center of the card at the top and bottom after it’s been cut, then, score with a scoring board; or fold in half. Scoring before folding makes for a cleaner fold.)
INSTRUCTIONS:
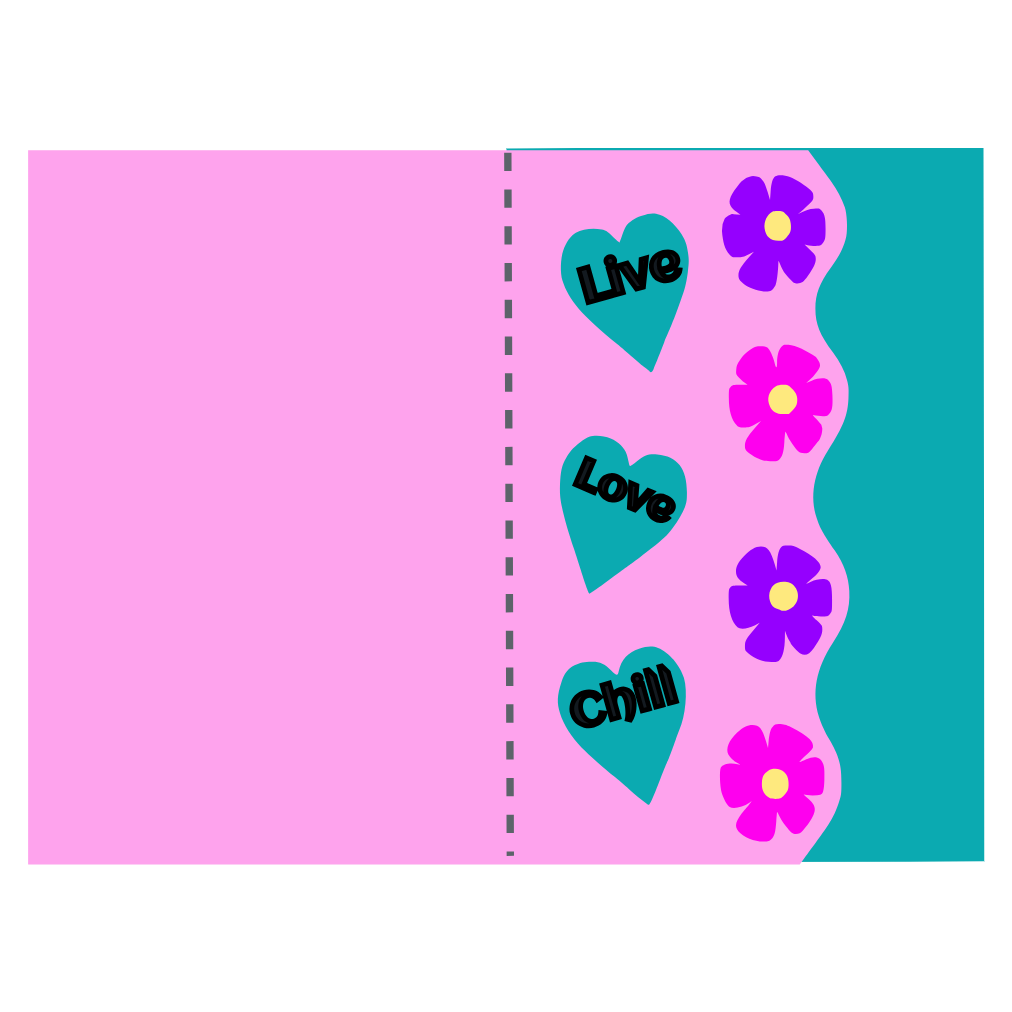
Cut out the base (wavy piece) and inside (rectangle piece)
Lay the base card flat, making sure the wavy side is on the left
Glue the inside piece (rectangle) to the right half of the base cardstock
Cut out the hearts and leave them on the mat
Choose the drawing function and allow the machine to write the words in the hearts on the piece you left on the mat
Cut out the flower pieces
Fold the card at the score line, and keep closed as you use the double-sided foam tape to tape the hearts with the words in the center of the cut-out hearts
Use glue to adhere the flowers to the front of the base card, glue the yellow dots to the center of the flowers
If using UV resin or hot glue, make a dot on a silicone mat, let dry or cure with UV light, then paint the dots yellow with acrylic paint. Seal the paint with Mod Podge Gloss, or other acrylic sealer. Glue dots onto the center of the flowers.
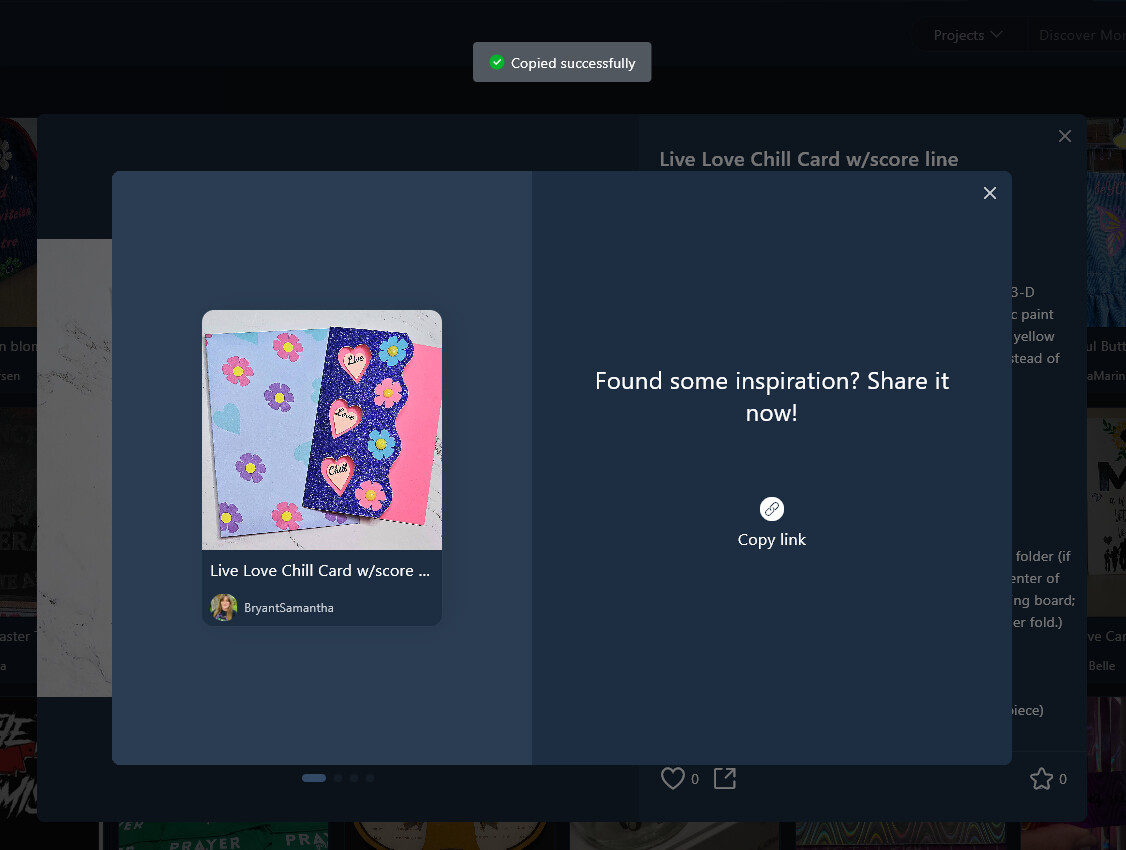
You’re very welcome. I’m happy to share it for all. If I just tag it will it automatically add it to the event? I don’t want to create a duplicate, as that happened with the last project I shared.
That’s only to help admins to find the projects joining the event. To actually join in, you just need to comment following this layout:
Read the beginning of that topic for further details or ask here or there
Don´t worry, I know it is a bit difficult managing the platform, but you’ll lose fear as you use it. If something like that happens, you can always ask an admin to merge or delete
The other one was duplicated because you shared it here, and after, you shared it on IS, and that creates an automatic post here. So if you just want it here, post here, if you want it both places, share it from IS. Please, you or any other member with any doubt, just ask