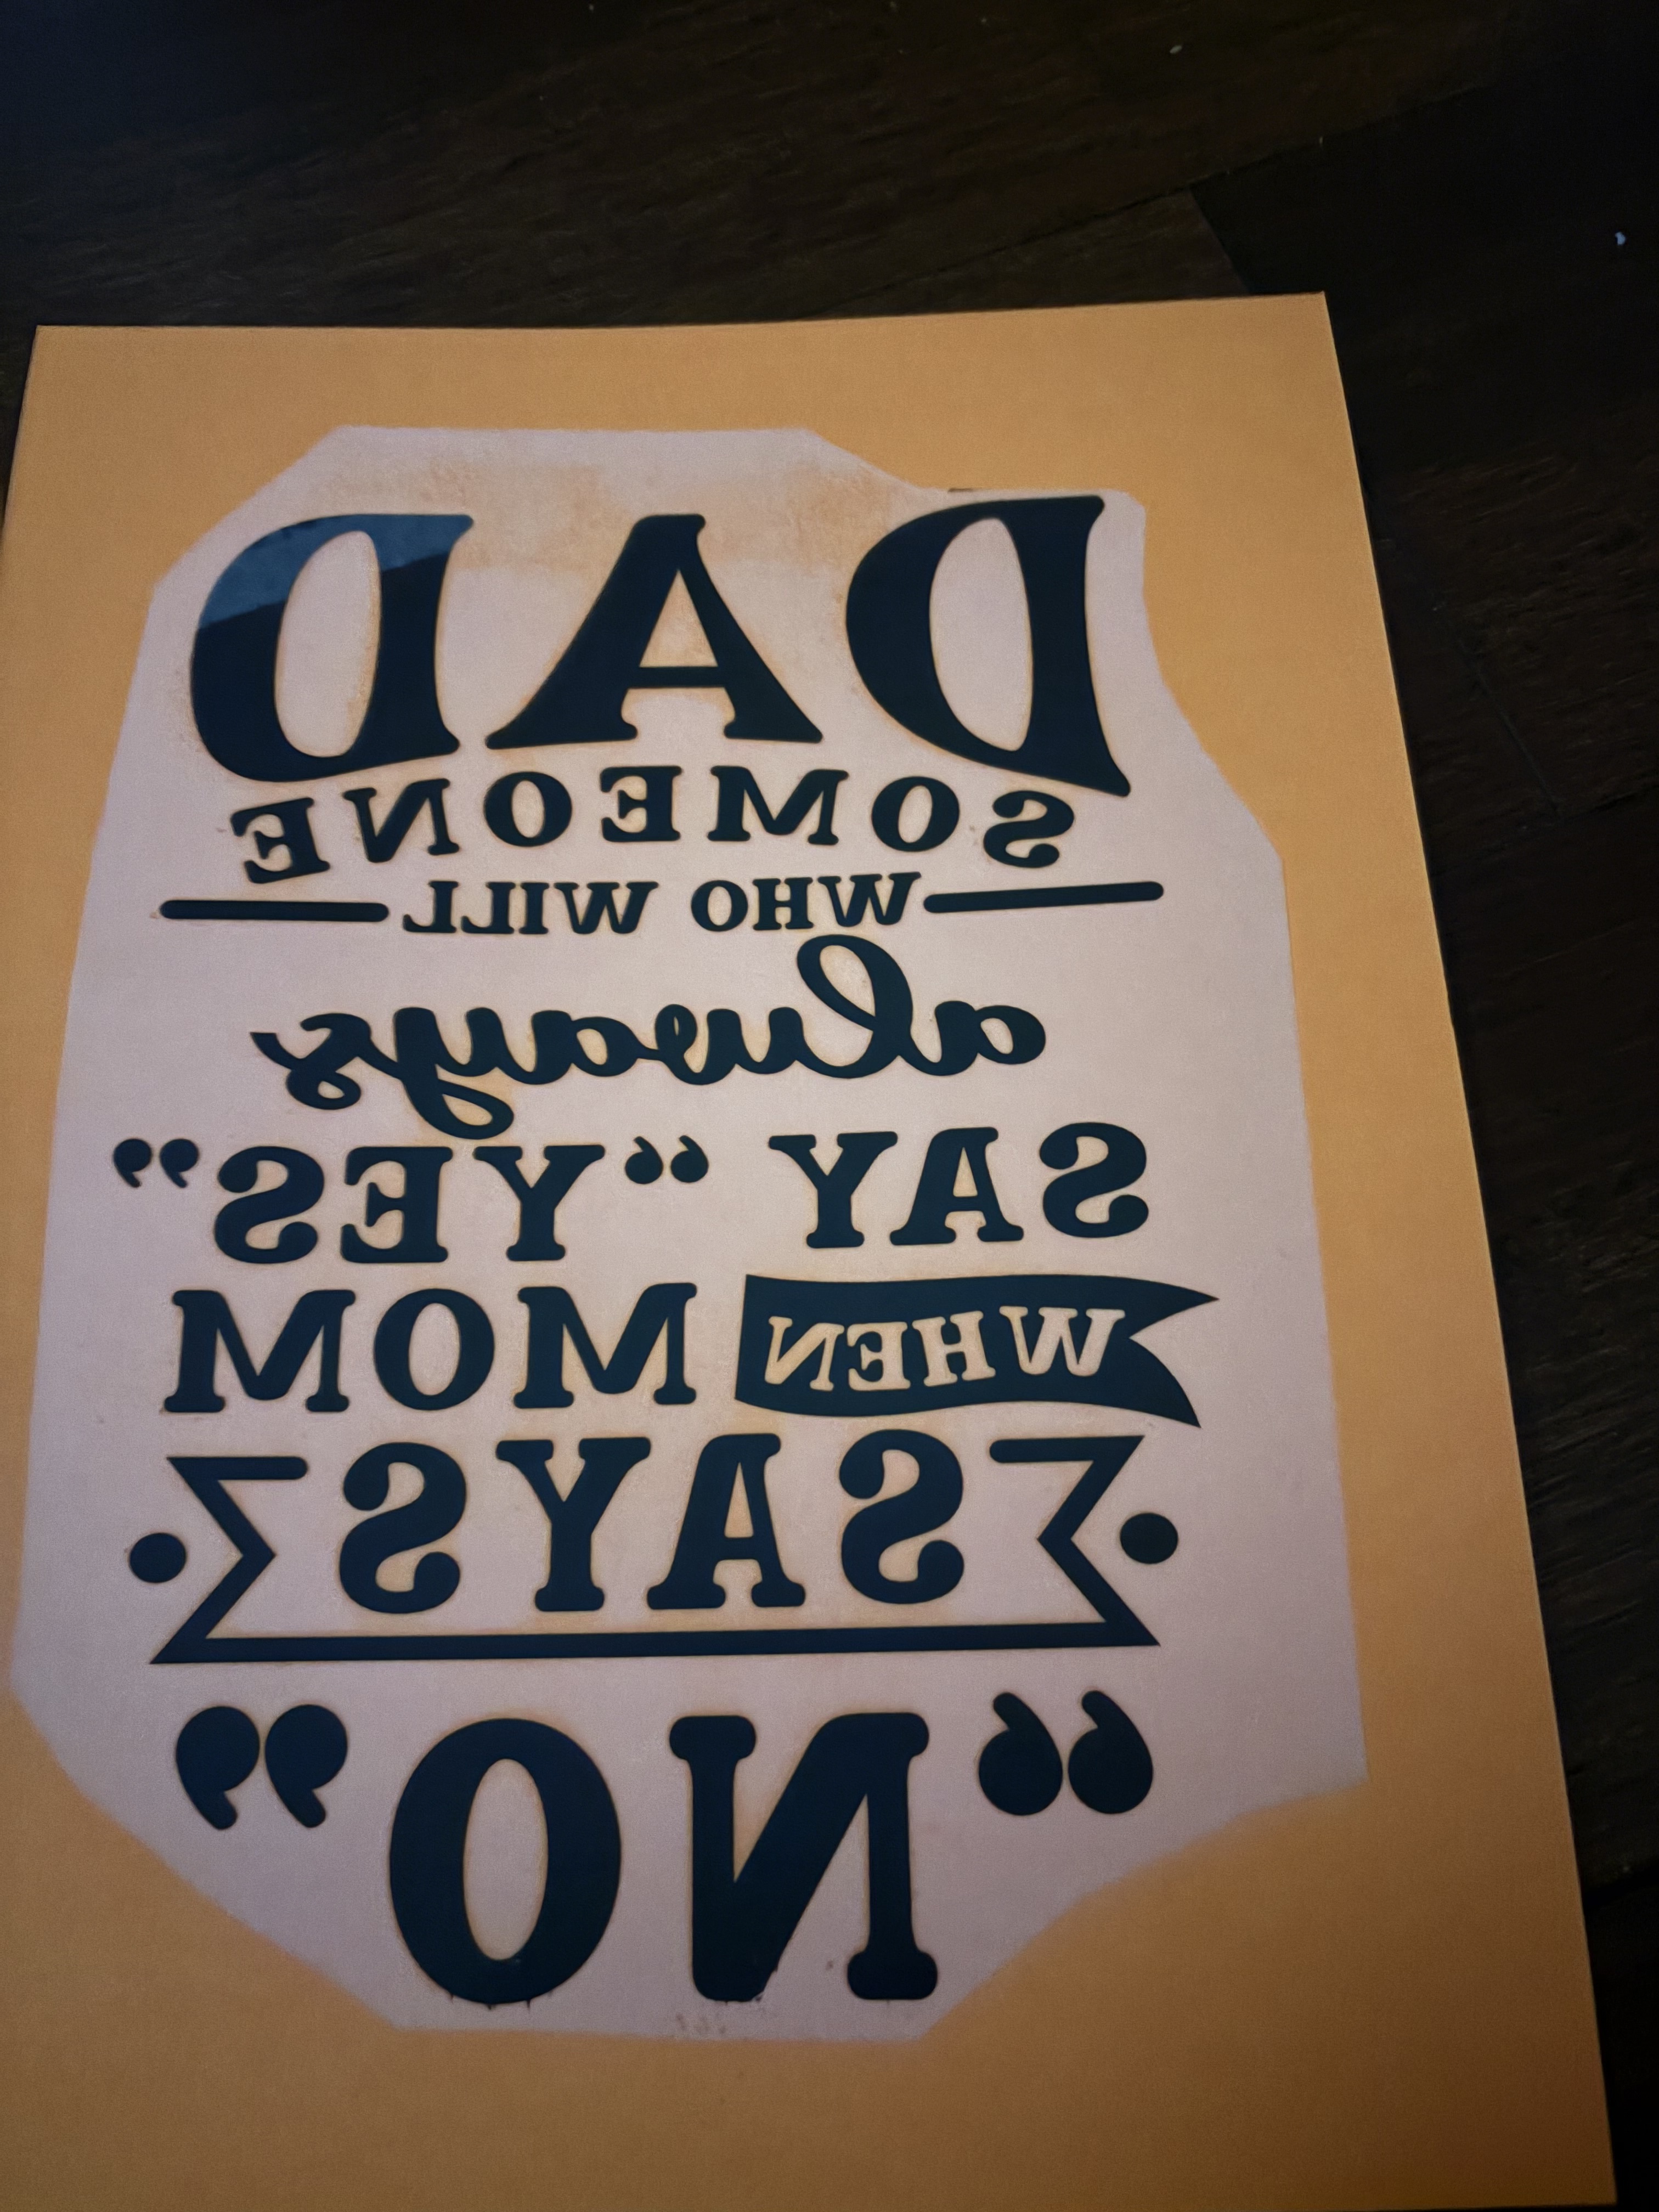
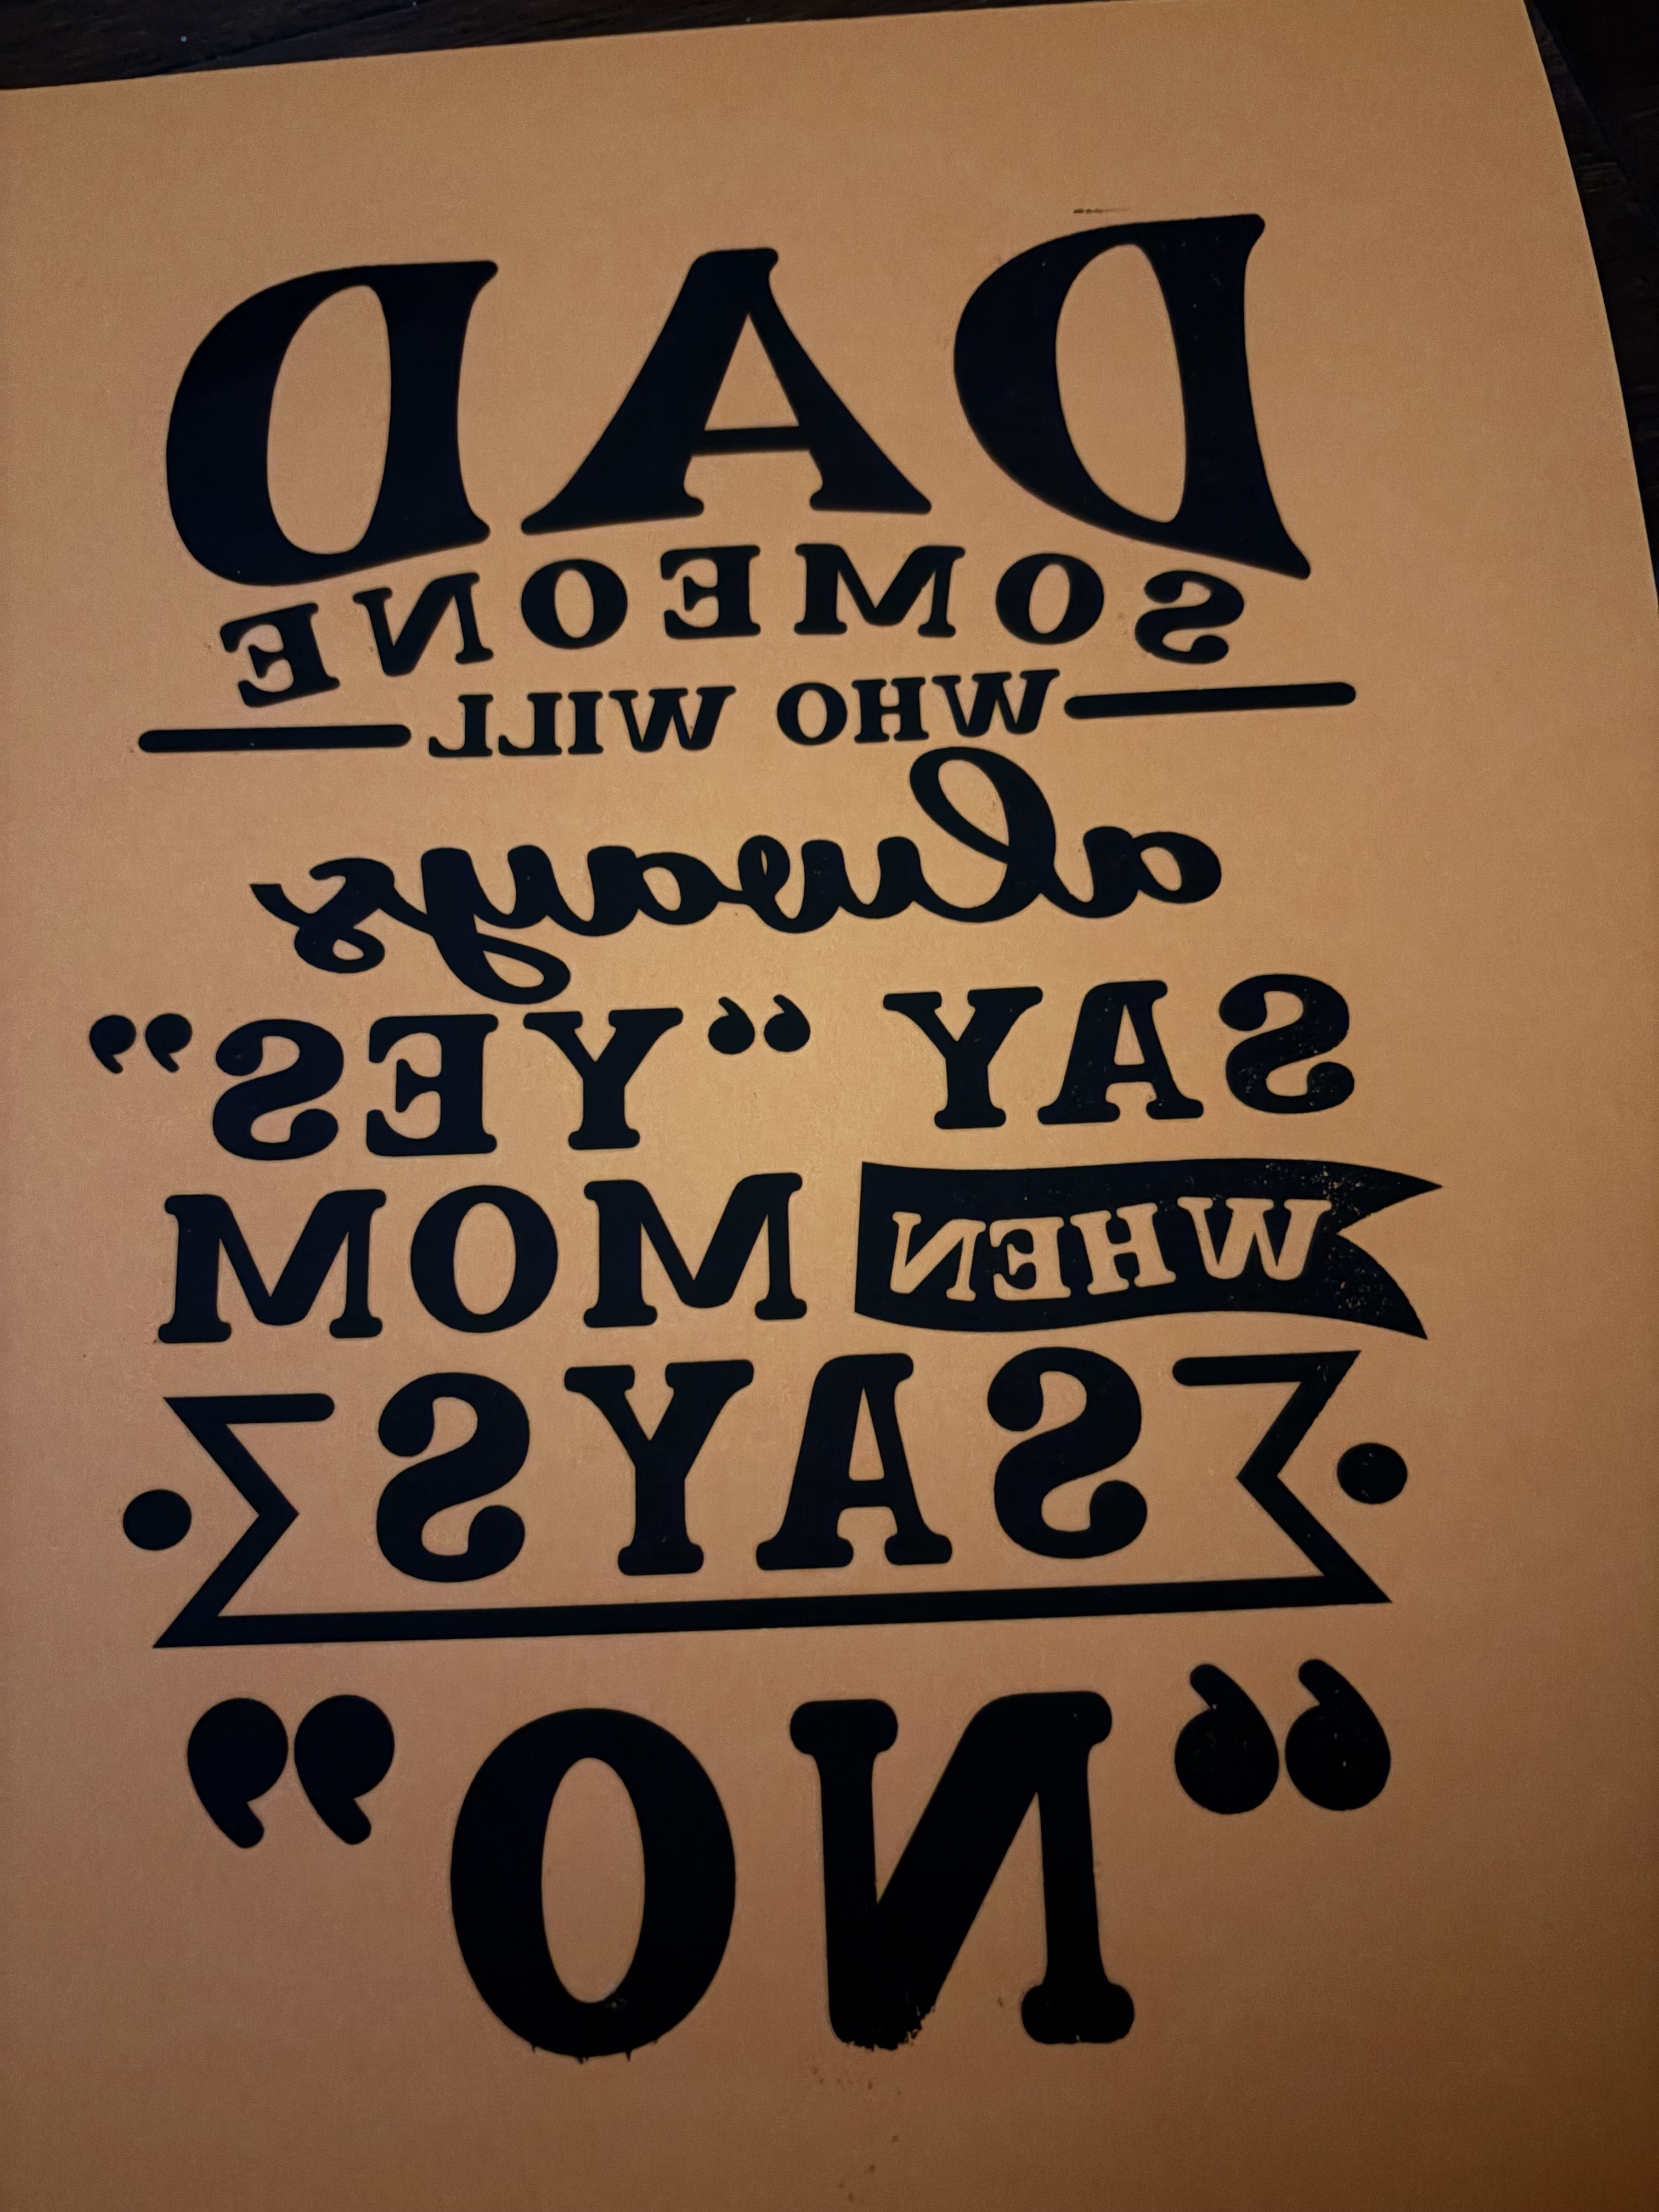
Experimental DTF Hack Using an 8-Jet Printer
Supplies Needed (make sure to mirror your image)
- 8-jet inkjet printer
- Regular inkjet ink (NOT DTF ink or sublimation ink — this is part of the experiment)
- DTF transfer film
- DTF powder adhesive
- Heat press
- Teflon sheet or parchment paper
- Lint roller
- Cotton or poly blend shirt
- LOKLiK IdeaStudio software for graphics and printing
Note: Sublimation ink or true DTF pigment ink would likely produce brighter colors and longer-lasting durability. This was done as an experimental DTF hack using standard inkjet ink to test what could be achieved with everyday crafting supplies.
Step 1: Create Your Graphic
- Design your image inside LOKLiK IdeaStudio.
- Use the Print Then Cut setup option for sizing and alignment purposes.
- Even though the Print Then Cut feature was selected, only the PRINT portion was actually used for this experiment.
- This allowed the graphic from LOKLiK IdeaStudio to print properly onto the DTF film while keeping sizing and image quality consistent.
Step 2: Prepare the Printer & Film
- Load the DTF transfer film printable side up.
- Run a nozzle check and cleaning if needed.
- Select the highest quality photo print setting for better color saturation.
Step 3: Print the Design
- Print the image directly onto the DTF film using regular inkjet ink.
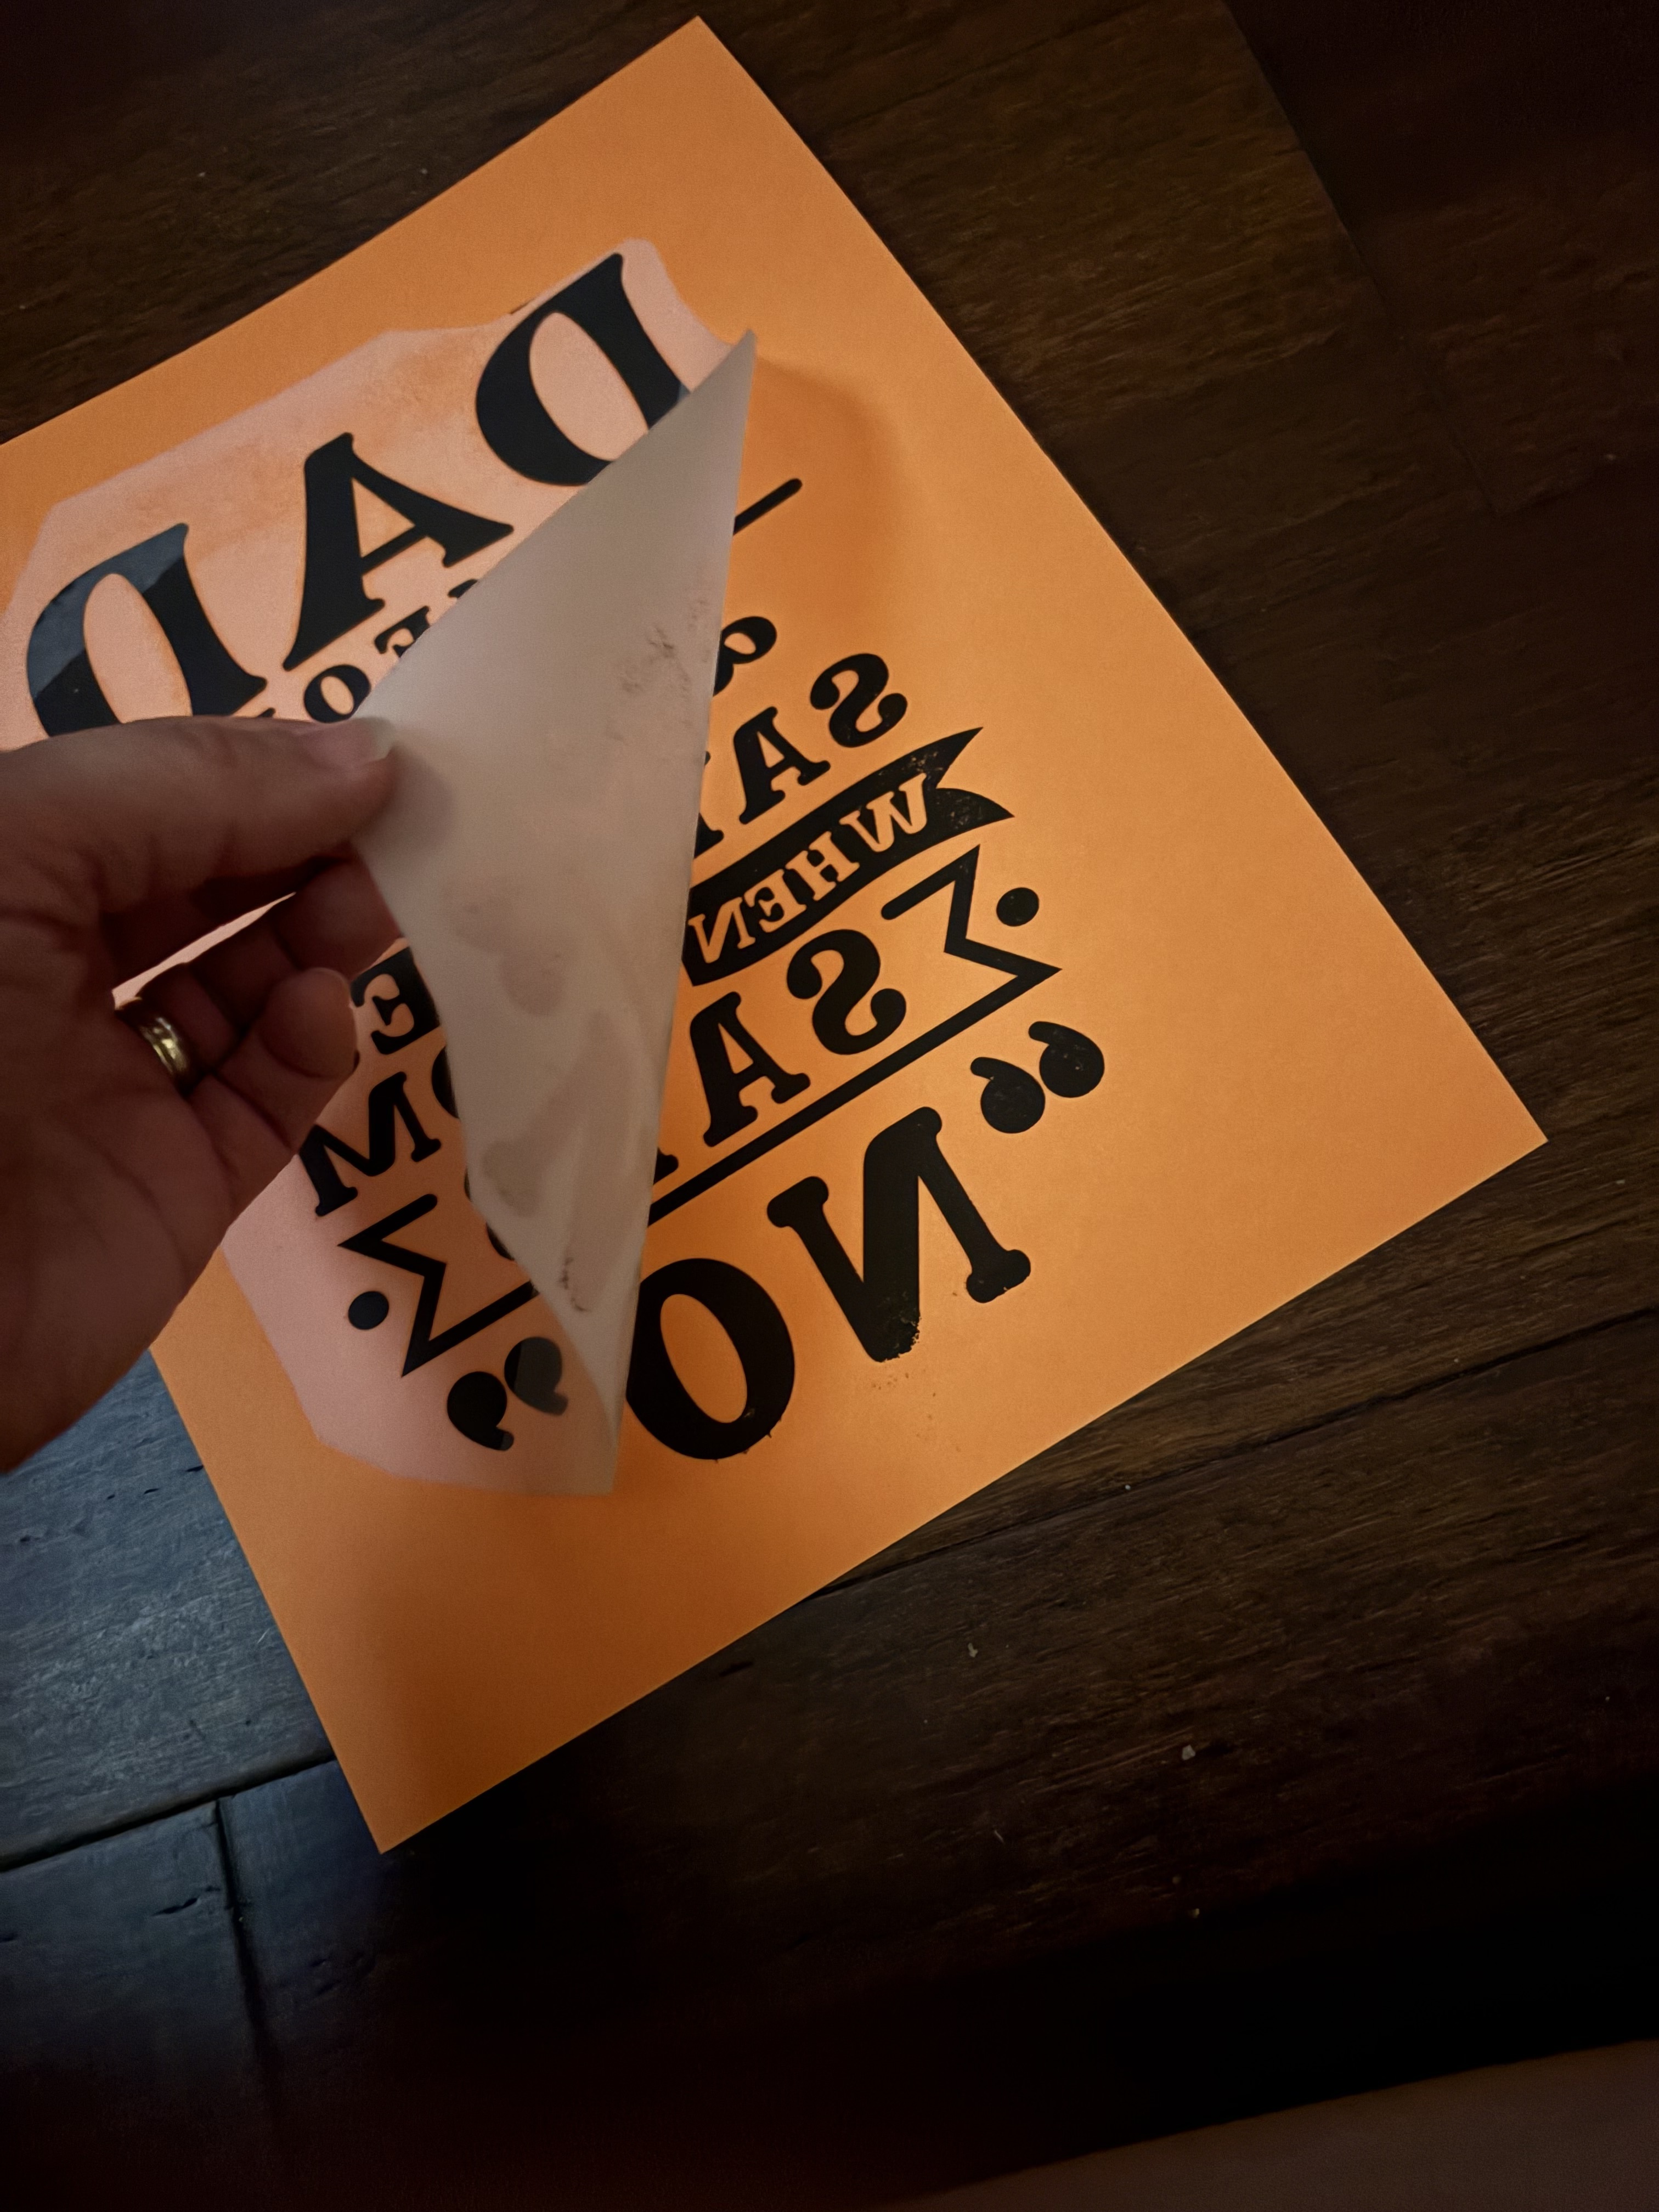
- Carefully remove the film without smearing the wet ink.
Step 4: Apply DTF Powder
- While the ink is still wet, pour DTF powder evenly over the design.
- Shake off all excess powder until only the printed areas remain coated.
Step 5: Cure the Powder
- Hover the heat press above the transfer or use a curing oven.
- Cure around 320°F for 2–3 minutes until the powder becomes glossy and melted.
Step 6: Prep the Shirt
- Lint roll the shirt well.
- Pre-press for 5–10 seconds to remove wrinkles and moisture.
Step 7: Press the Transfer
- Place the cured transfer onto the shirt.
- Press at 315–325°F for 15–20 seconds using medium pressure.
Step 8: Peel & Final Press
- Let the transfer cool if using cold peel film.
- Slowly peel away the film.
- Cover with parchment paper or a Teflon sheet.
- Final press for 5–10 seconds for a smoother and more durable finish.
Final Thoughts
This experimental method showed that even with a regular inkjet printer and standard ink, it is possible to create surprisingly good DTF-style transfers. Using true DTF ink or sublimation pigment ink would likely improve brightness, color payoff, and longevity — but experimenting and learning new crafting techniques is part of the creative process!