Hello everyone I am new to loklik. I use the lokliks idea studio. I am having issues with it not aligning when i engrave and cut. Does anyone know how to fix that
issue?
Hello everyone I am new to loklik. I use the lokliks idea studio. I am having issues with it not aligning when i engrave and cut. Does anyone know how to fix that
Hi, @Denisse_Medina! Welcome to the community. We’re happy you’re here!
The best way to get good alignment when engraving, is to create a jig.
How to Create a Jig for Perfect Alignment on the iEngrave
A jig is just a reusable guide that holds your blank in the exact same position every time so the machine knows exactly where to engrave.
Here’s the simplest way to make one.
![]() 1. Start With a Piece of Scrap Material
1. Start With a Piece of Scrap Material
Use anything flat and sturdy:
Tape it down securely so it doesn’t shift.
![]() 2. Position the Scrap on the Engraving Bed
2. Position the Scrap on the Engraving Bed
Place it in the top-left corner (or whichever corner you plan to use consistently).
This becomes your “home base” for all future engravings.
![]() 3. Bring the Blank’s Shape Into IdeaStudio
3. Bring the Blank’s Shape Into IdeaStudio
Import the exact outline of the blank you’re engraving:
If you don’t have the outline, measure the blank and draw the shape manually.
Place that outline on the canvas exactly where you want the blank to sit.
![]() 4. Engrave the Outline Into the Scrap
4. Engrave the Outline Into the Scrap
Lower the engraving power so it only marks the surface.
Run the job.
This will burn a shallow outline of your blank into the scrap material.
That outline becomes the “pocket” where your real blank will sit.
![]() 5. Do a Test Run With the Jig
5. Do a Test Run With the Jig
Before engraving your real blank, do a quick alignment test.
This shows you exactly where the design would land without risking the blank.
If it’s centered and aligned, your jig is perfect.
If it’s off, adjust the design in IdeaStudio and test again.
![]() 6. Engrave the Real Blank
6. Engrave the Real Blank
Once the test looks good:
Now every blank you place in that jig will engrave in the exact same spot.
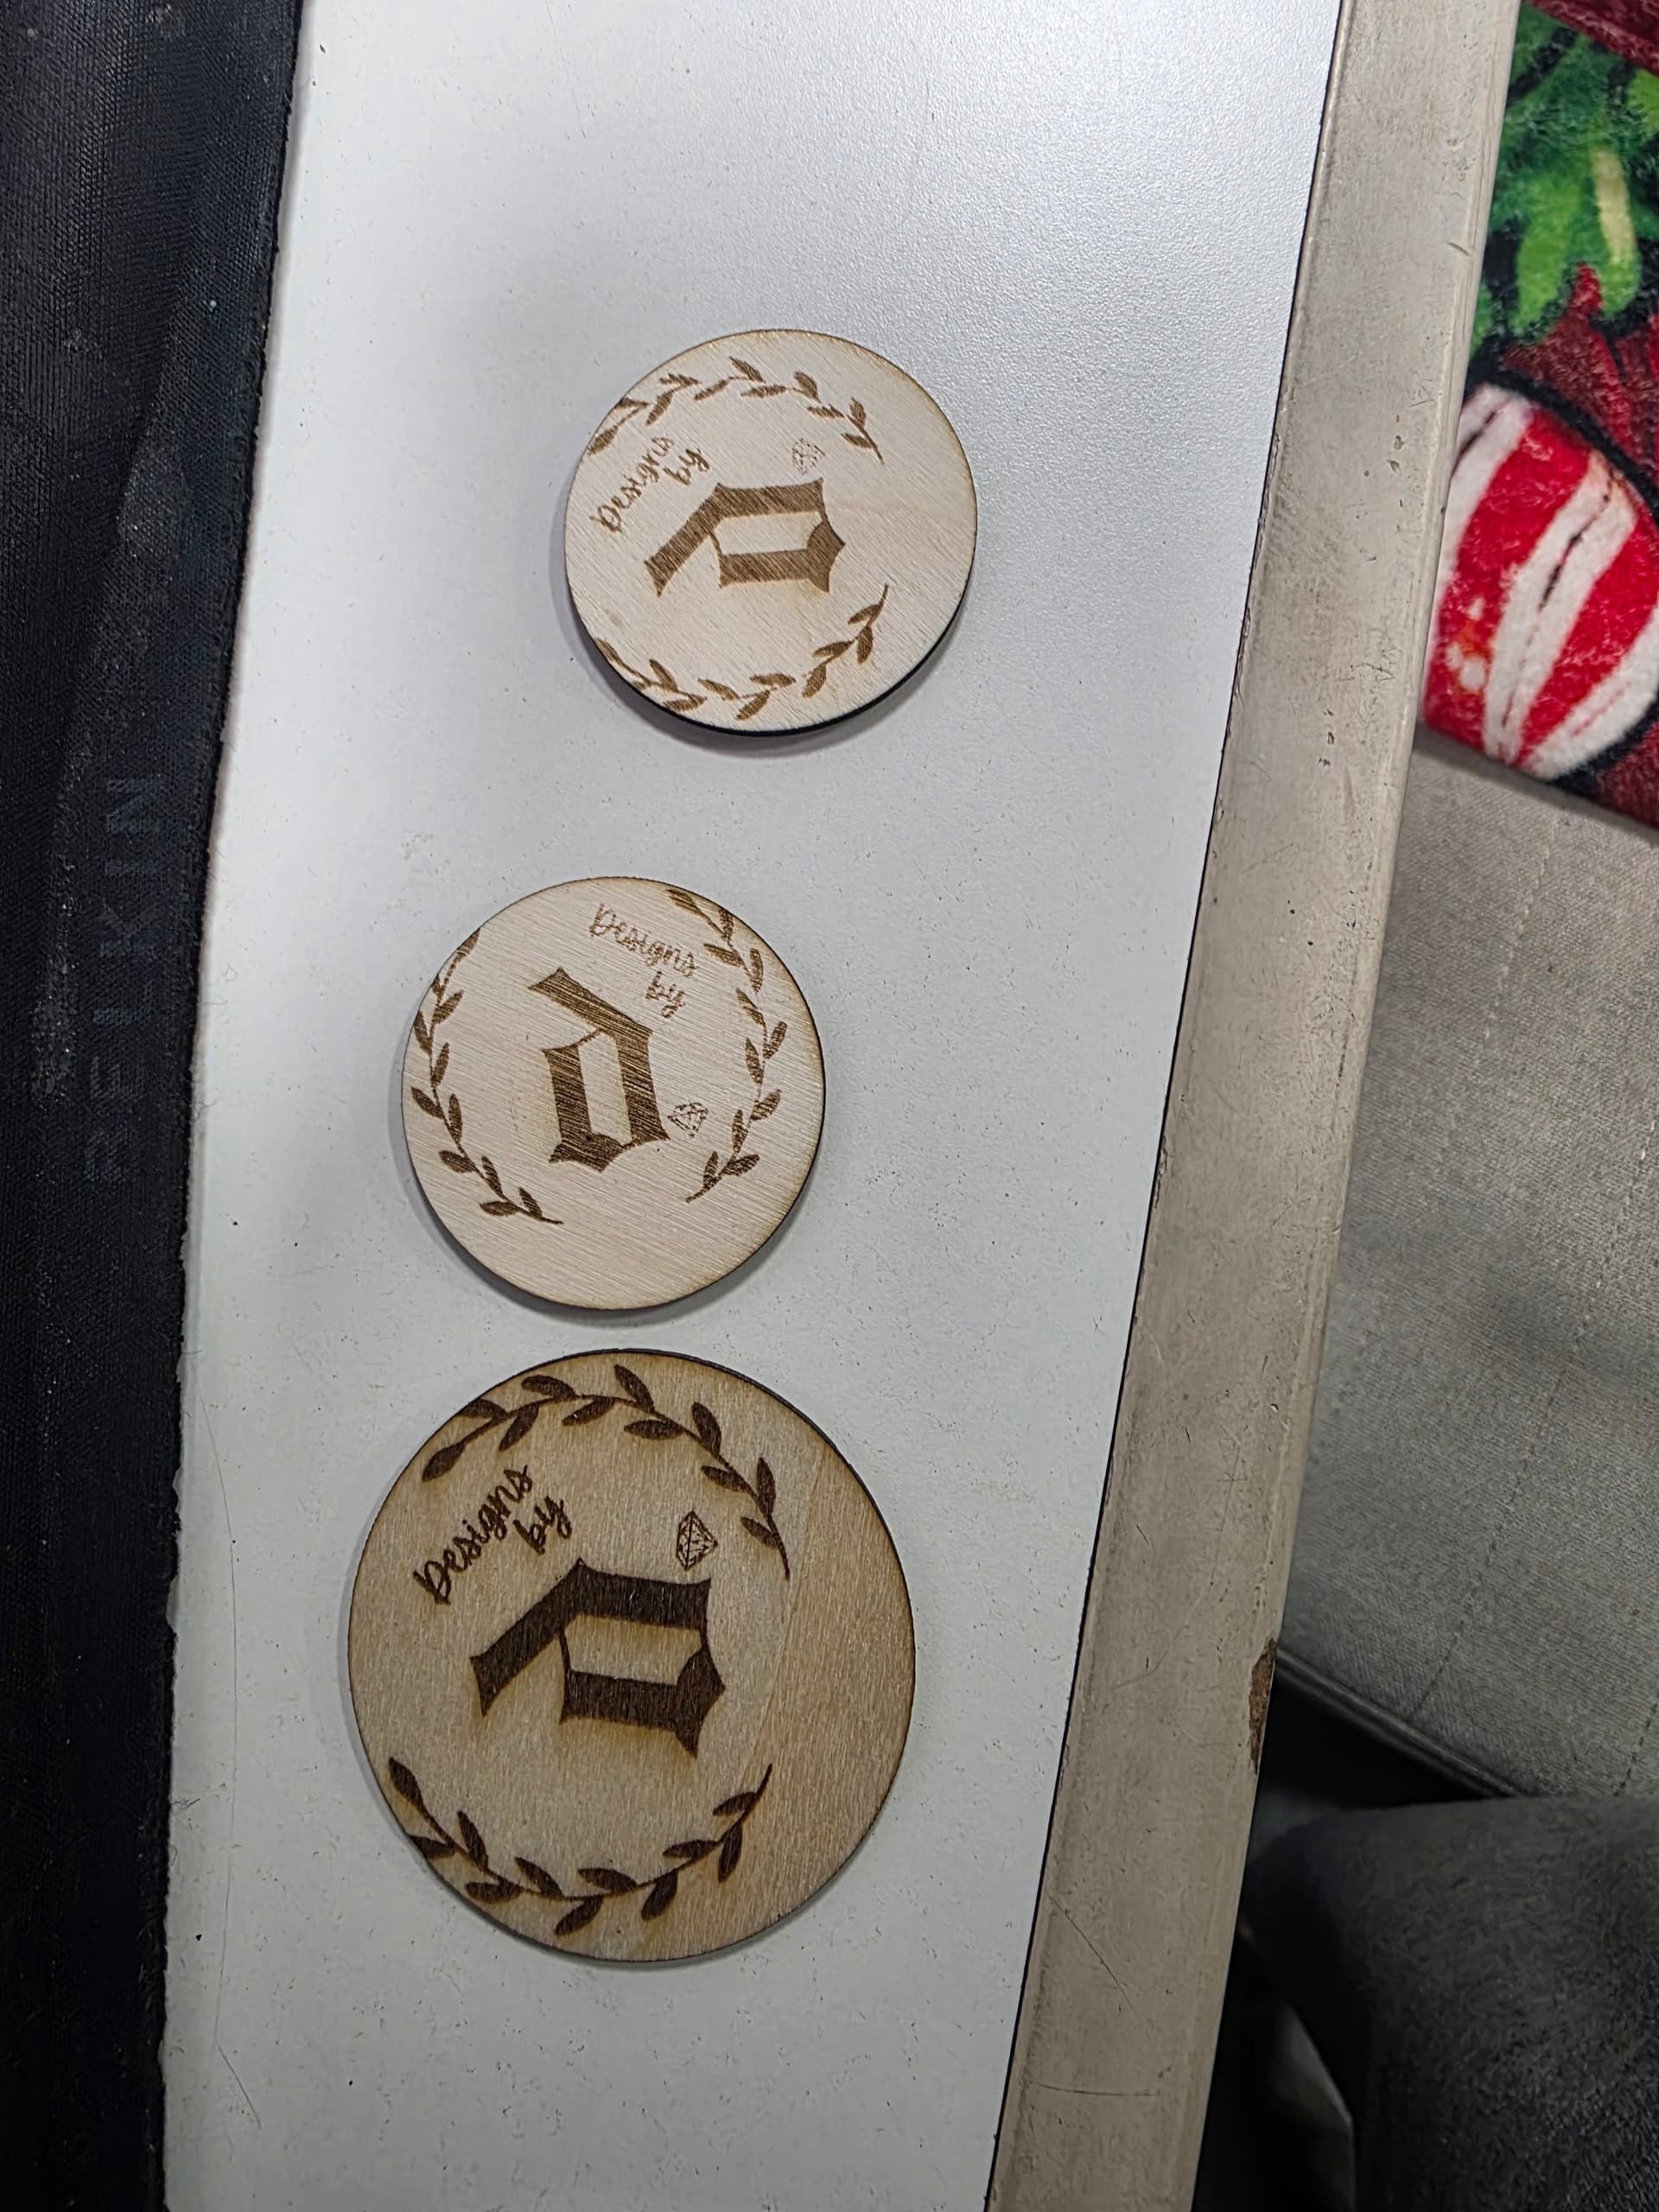
Hi and welcome, @Denisse_Medina! We’re delighted to have you here! Engraving inside a circle can be quite challenging, especially if you want your design to be centered. However, as @Samantha_Bryant mentioned, making jigs or practicing framing and creating templates can make the process easier.
Based on my experience, I engrave and cut the designs in one whole sheet of basswood (12”x12”) without moving them from the honeycomb. Alternatively, if I already have circle wood, I measure the circle wood and use the same size to create a circle template on my canvas. I then insert my design inside and center it.
Next, I grab a cardstock and run a cut or score line of the circle (this time, your design should be hidden). Then, I place the circle wood blank on top of the cardstock where I cut or scored the circle template. Finally, I hide the circle template and unhide my design and proceed with engraving. Do not forget magnets to secure your cardstock and or your wood blank in place.
I hope this helps!

