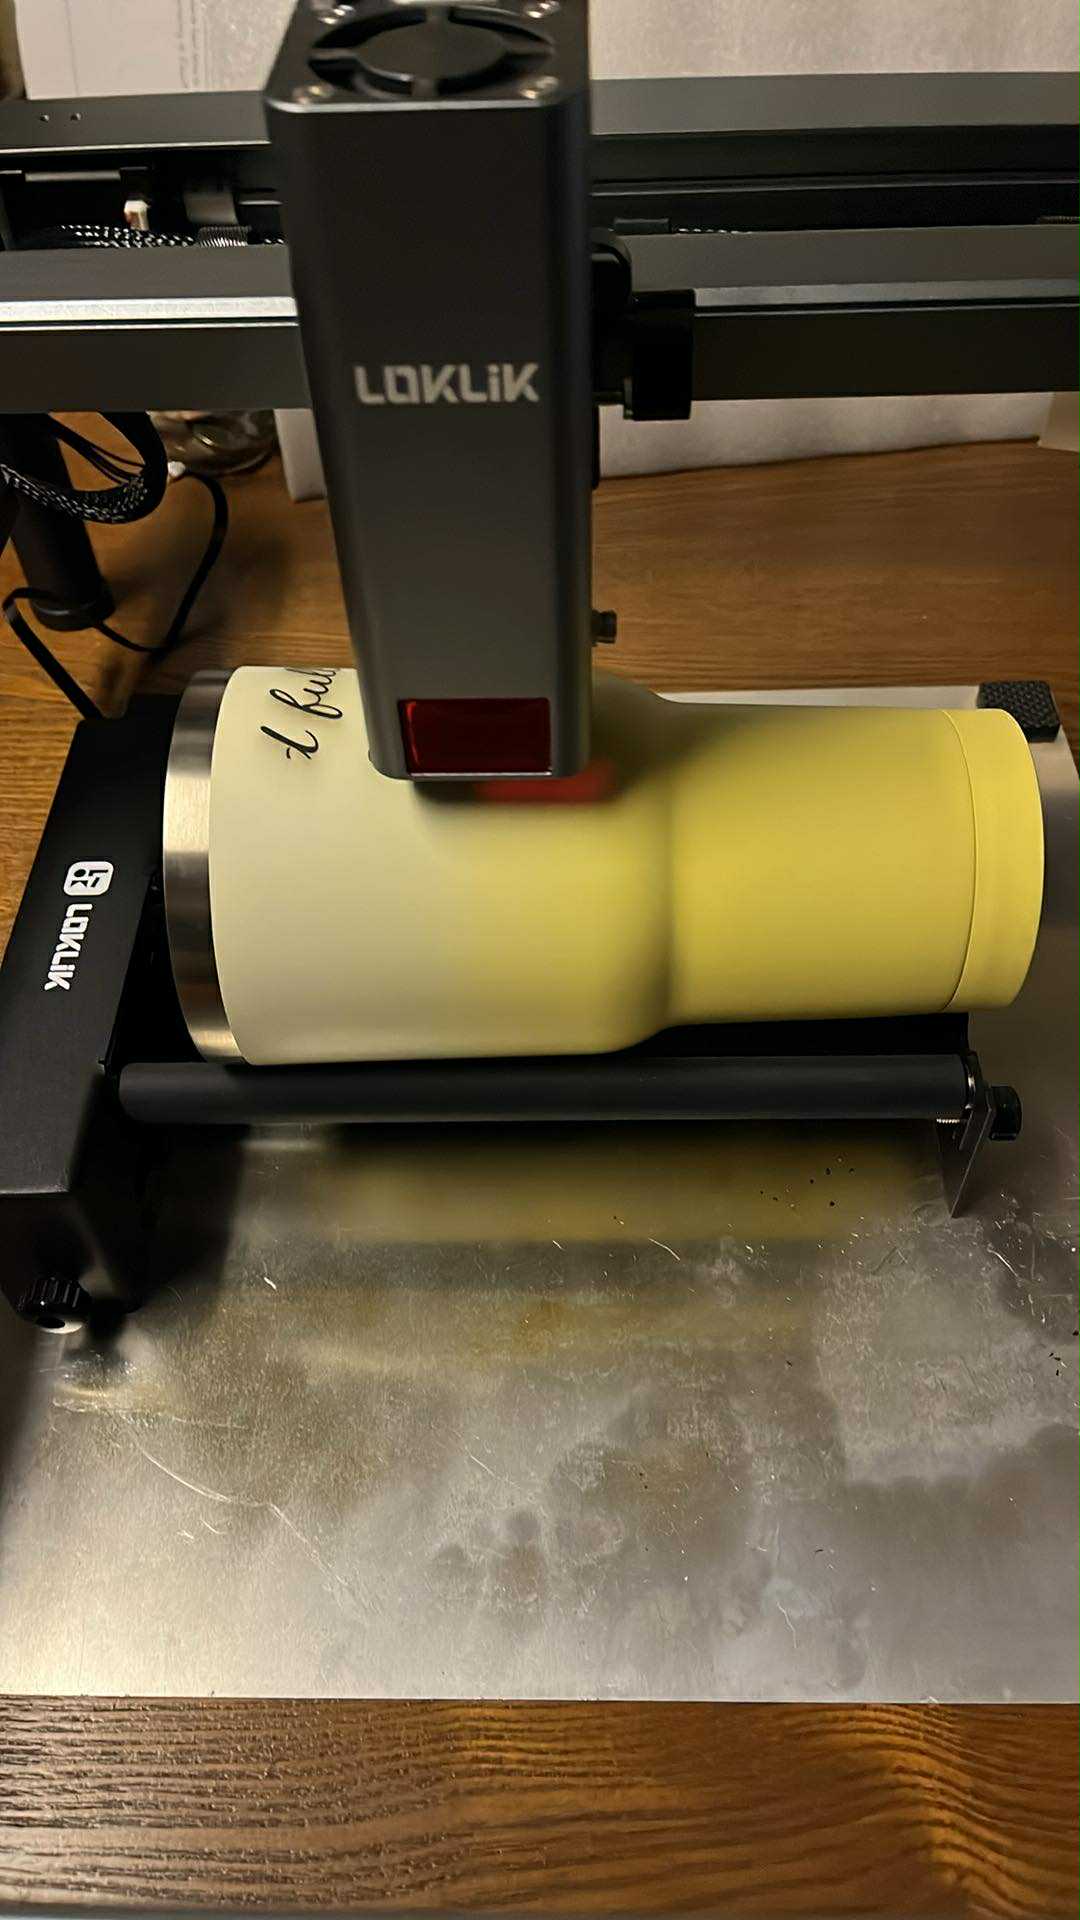
Hello my fellow iEngrave crafters! I know a lot of people had asked about engraving larger tumblers so I tried it out. My tumbler engraving journey started with what would have been a simple tumbler but I made a mistake the image I used has a white backing and I wanted to see if it was doing a solid image on the engraving and moved the tumbler when checking messing up the design even more
You can see the line from me moving the tumbler. From this i learned how to make sure this did not happen again. I made sure to remove the backing and also made sure I welded the image to make sure it was just what I wanted. Then had words placement how I wanted and welded the full design. Measure your tumbler so you know the area and size you are putting the design in! I recommend making it a little smaller then area you want design in. Now I tried a handle tumbler this did not work even with having it for minimum movements when engraving. I even made the mistake of moving the tumbler holder so it was vertical this resulting in just a line being engraved. The tumbler holder needs to be parallel to the bar holding your laser. Even with handle tabs bent down I could not get a good engraving because it had movements when it would hit the tabs causing an uneven design. I did get a 30 Oz non handle tumbler engraved on. When roaming the tumbler there was extra movements because it’s not strait so I had the end of it on the end of the tumbler holder. It worked out just took some moving it in the right spot and making sure it would be engraved in the area I wanted.
I do not recommend using tumblers with handle tabs using the tumbler attachment for safety and your own frustration. The one I did a friend made with me for herself and didn’t take a photo I asked her to send me one that I can add if and when she does.
Thank you for sharing this and for the tips too. We learn from our mistakes and no matter how good we know the thing sometimes I still mess up
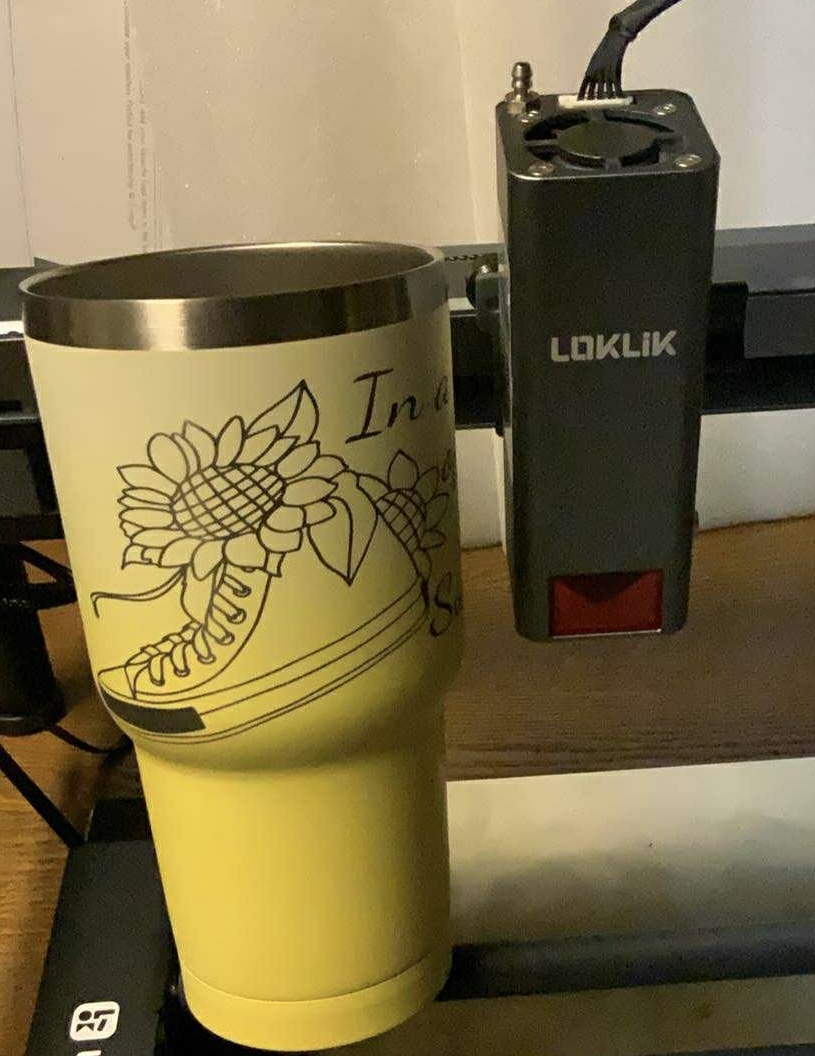
Eventually it looks so pretty but I have one question Why is the flower in the boot
That was a pre done image in LOKLiK it looks like a converse shoe so I went with it I thought it was cute… I am not a big slower person haha I just wanted a sunflower image that could be engraved and look good
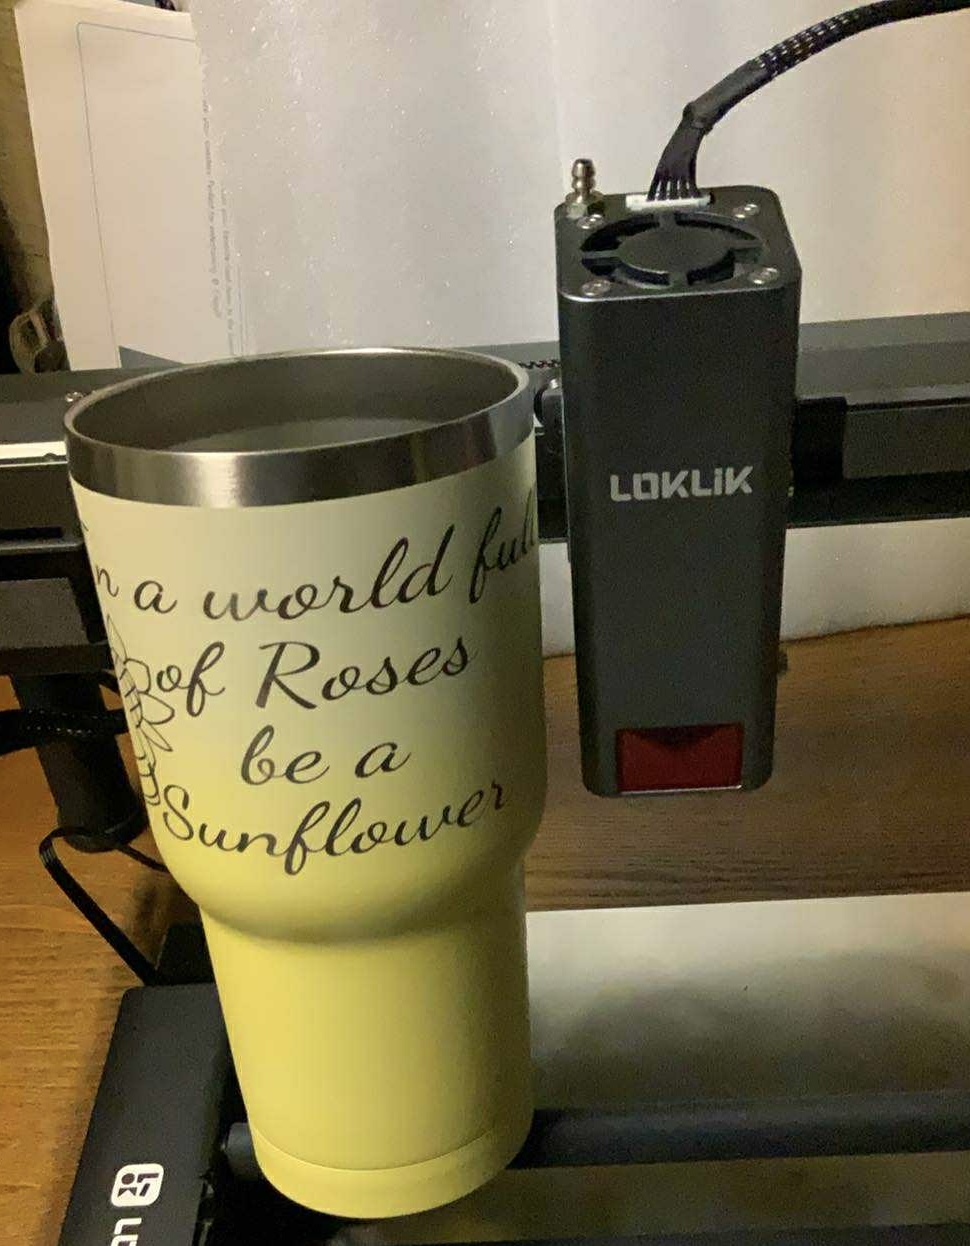
So I measured the tumbler with a soft ruler I could put around it. Then from the area I wanted to engage in I chose to take .5 in off so error wise. But because your Tim let is horizontal your image in idea studio will need to be rotated to its sideways so it will go on the tumbler how you want it. After it’s facing the proper direction make sure it’s in the size area your engraving on the tumbler.
Thanks I have other ones I want to try that I got some tumblers to make just need to get motivated I guess lol it’s so cold it’s hard to want anything open to help with ventilation for a long time.
I have older push up windows, so I used some of the cardboard and foam from the box and made an insulated board to go in the window. It worked well, and my granddaughter was impressed.