One of the most common questions across sublimation, DTF, HTV or iron on, and leatherette patches is some version of “What time, temperature, and pressure should I use?” The most important place to start is always the manufacturer’s recommendations. Those settings are not random. They are tested baselines designed to give you a strong starting point for success. Think of them as your foundation, not your final answer.
It is also critical to understand something up front. Not everyone’s machine will behave the same way. Even two identical models can perform slightly differently. If every press, cutter, and heater came off the line with zero variation, one universal setting would work for everyone. That simply is not reality. Manufacturing tolerances, heating elements, pressure mechanisms, and sensors all introduce small differences that add up. Because of this, settings that work perfectly for one person may produce under cured transfers or scorched materials for another.
External factors matter more than many people realize. Humidity can affect paper moisture and adhesive activation. Altitude can impact heat transfer and dwell time. Room temperature, airflow, and even how long your machine has been powered on can influence results. This is why learning how to test and adjust is far more valuable than memorizing numbers.
The Testing Mindset
Before committing to a full production run, always test. Use scrap material whenever possible. Label your test pieces with time, temperature, and pressure so you can track what worked and what did not. Change only one variable at a time. If you adjust temperature and pressure together, you will never know which change made the difference.
Sublimation
For sublimation, pressure is typically light to medium. Too much pressure can cause blowout or color distortion. Start with the recommended temperature and time for your substrate and ink. If colors look faded, increase time slightly before raising temperature. If you see scorching or yellowing, reduce temperature first. Always allow the piece to cool before evaluating final color, as sublimation often deepens after cooling.
DTF Transfers
DTF relies heavily on correct temperature and pressure. Too little pressure can prevent proper adhesion while too much pressure can push adhesive too deeply into the fabric. Start with firm, even pressure. If edges lift, increase pressure slightly or extend dwell time. If transfers feel stiff or glossy, reduce pressure or temperature. Always perform a stretch test after cooling to confirm adhesion.
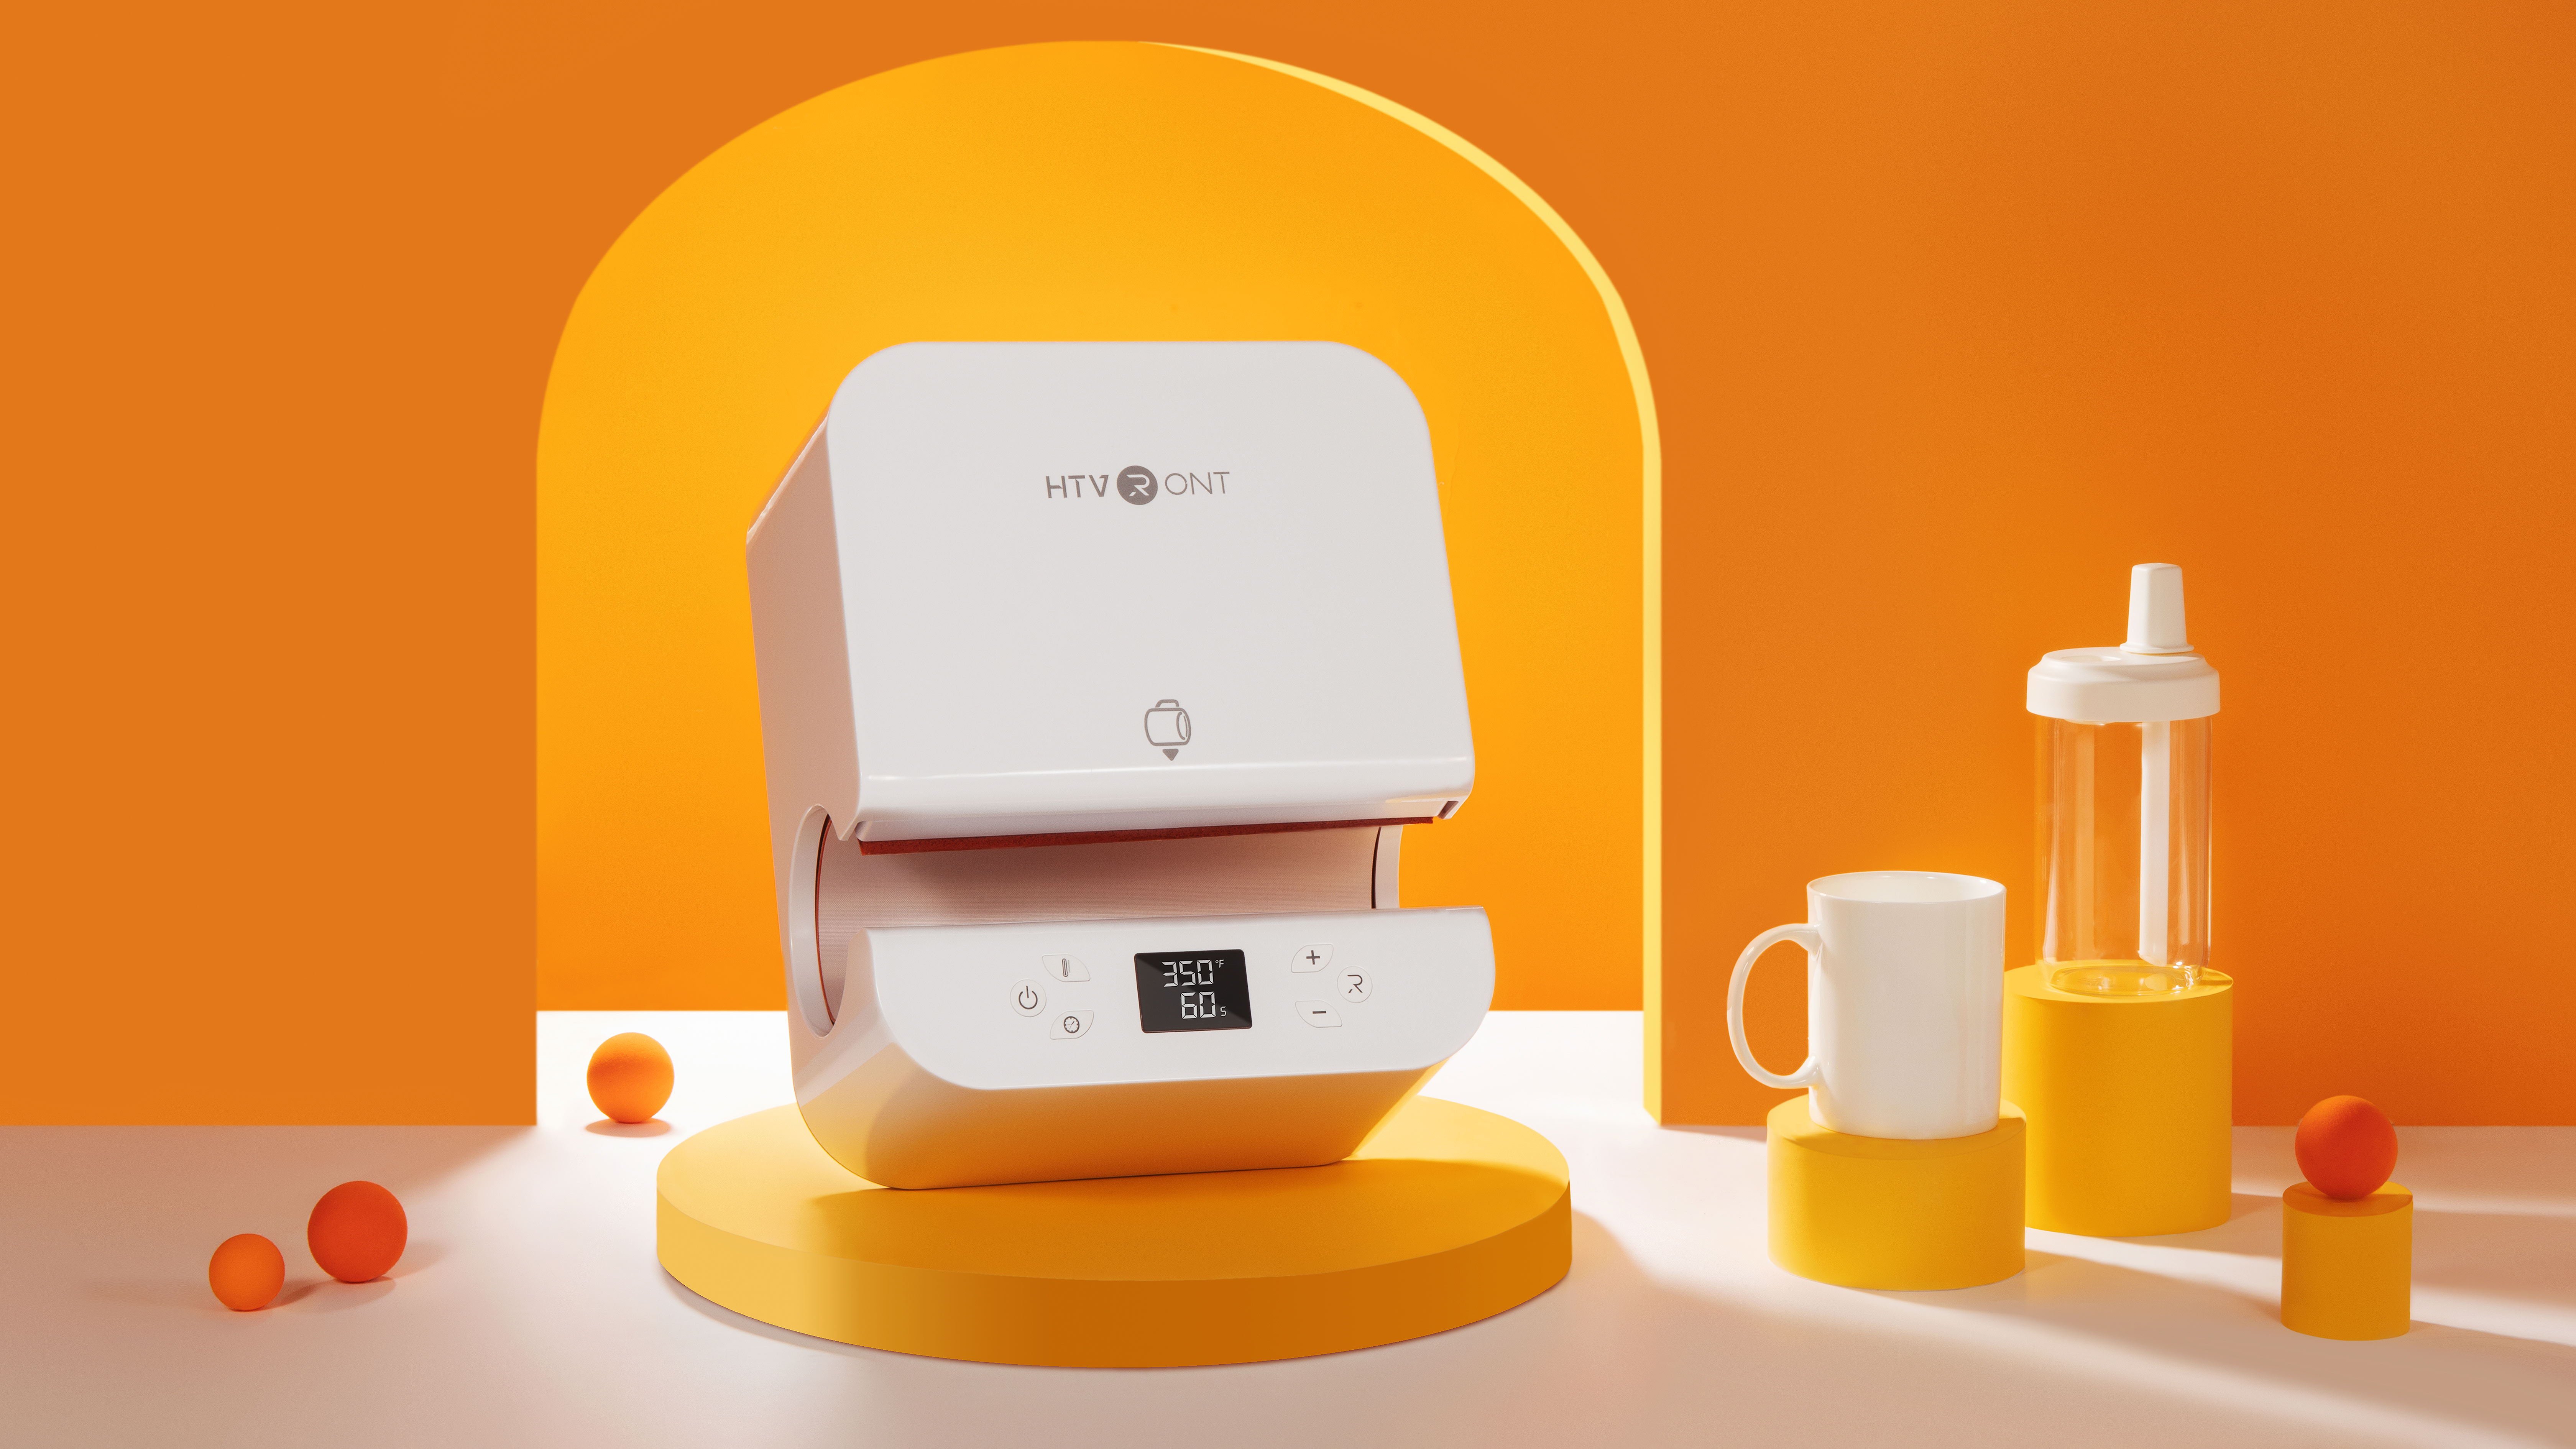
HTV and Iron On
HTV is very sensitive to pressure consistency. Make sure your press is level and applying even pressure across the platen. Start with the recommended settings and do a peel test according to the vinyl type. If vinyl lifts, repress with slightly more pressure or a few extra seconds. If vinyl looks melted or warped, reduce temperature immediately. A cover sheet or parchment can help prevent overheating delicate finishes.
Leatherette Patches
Leatherette requires a careful balance. Too much heat or pressure can cause texture flattening or discoloration. Start at the low end of recommended temperatures with medium pressure. Increase time gradually rather than temperature when adhesion is weak. Always test placement areas, as seams and thickness changes can affect results.
Best Practices That Apply to Everything
Preheat your press fully before starting. Cold presses produce inconsistent results. Use consistent materials from the same batch when possible. Keep notes. What you learn from testing today becomes your personal settings guide tomorrow. Do not chase someone else’s numbers. Build your own reliable process.
The goal is not perfection on the first press. The goal is repeatable success over time. When you understand how time, temperature, and pressure work together and how your environment and machine influence them, you gain control. That is when crafting becomes less frustrating and far more rewarding.
Testing is not failure. Testing is how mastery begins.