First Project Test / Results & Thoughts
For my first project I sublimated an iPhone 16 phone case with a picture of my family, as a gift to my mom. I chose this picture because it is a recent picture of her with all her children, and we do not all live in the same area. My mom loves personalized items, and I wanted to do something special for her just because.
My biggest tip is that if your printer does not have a back feeder, to be sure to attach the sublimation film to a piece of printer paper because the printer may not recognize the film alone. When I tried without attaching a paper, my Epson F170 did not recognize the film. HTVRONT included stickers to make this process easier. Here is a short tutorial that HTVRONT has provided for us.

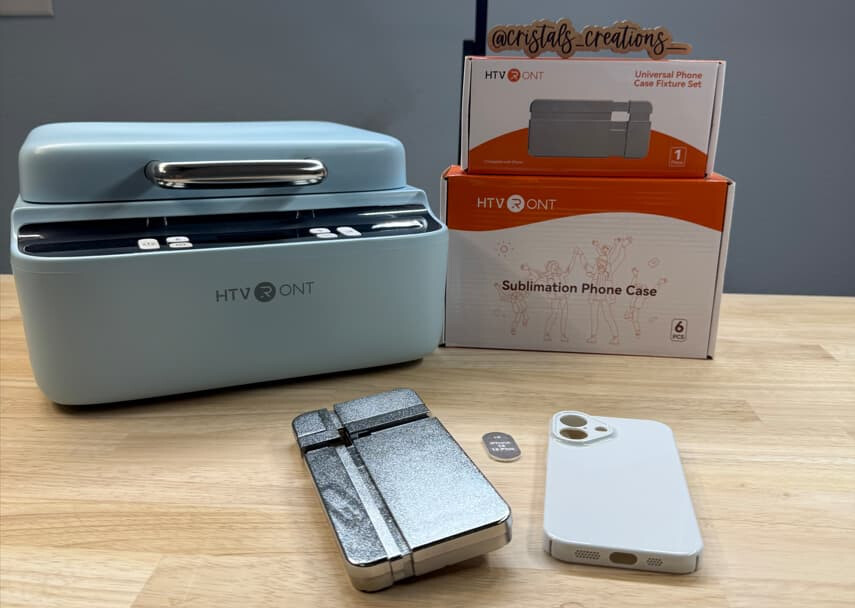
Prior to completing my first project, I watched a video released by HTVRONT on how to use the machine. Once I had the film printed, I went to the machine and retrieved the fixture set and lens pad that matched the phone case I was planning to sublimate. I then opened the machine and placed the fixture set into the machine for preheating. I followed the instructions on the box for the phone case and set the temperature to the upper plate to 275F, the lower plate to 260F, and the preheat time to 5 seconds. I allowed the machine to heat for about 5 minutes. Once the green light came on and remained on for about ten minutes, I placed the printed sublimation film matte side up on top of the device cover for drying.
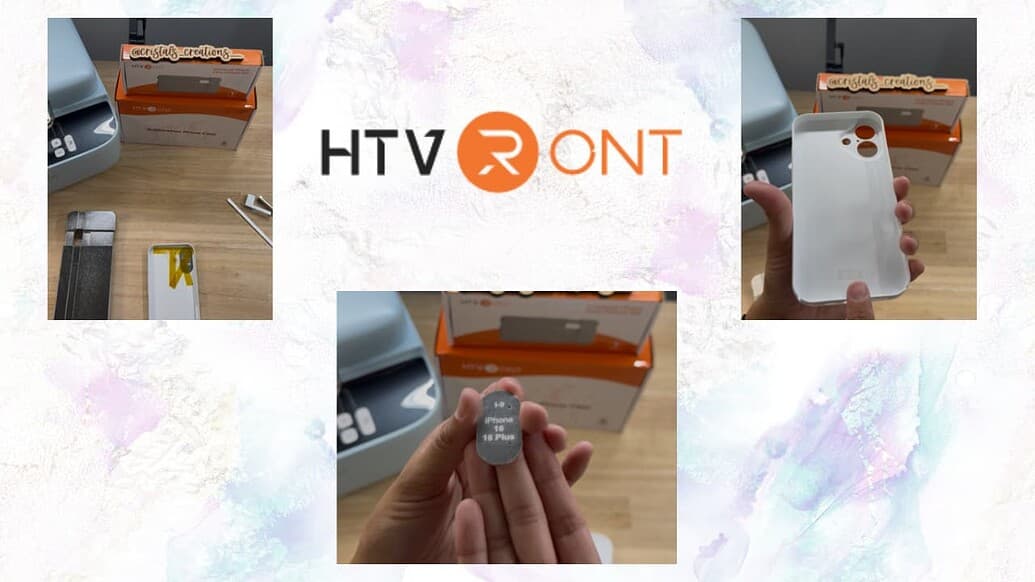

While the machine was preheating and the film drying, I attached the lens pad to the inside of the phone case using heat tape. I attached the case to the fixture and then lay the film on top of the phone, matte side down. I made sure that the film covers the entire black rubber part to ensure that it can suction properly. I closed the machine and hit the R button. It beeped once ready. I opened it and using heat gloves, immediately removed the film.

Overall, I think the performance of the HTVRONT phone case heat press was great. I did have some issues attempted to import a file into LOKLiK from another platform because it exceeded the MG but I fixed it and made it worked. I really like that the phone fixture sets fit into the holes of the machine and there was no guesswork on where the center is, and it was kept perfectly in place for the duration of the process. The heat settings also stayed steady once it reached temperature. The opening and closing of the machine are smooth and easy to use. It is the smoothest to open and close of all my sublimation machines.
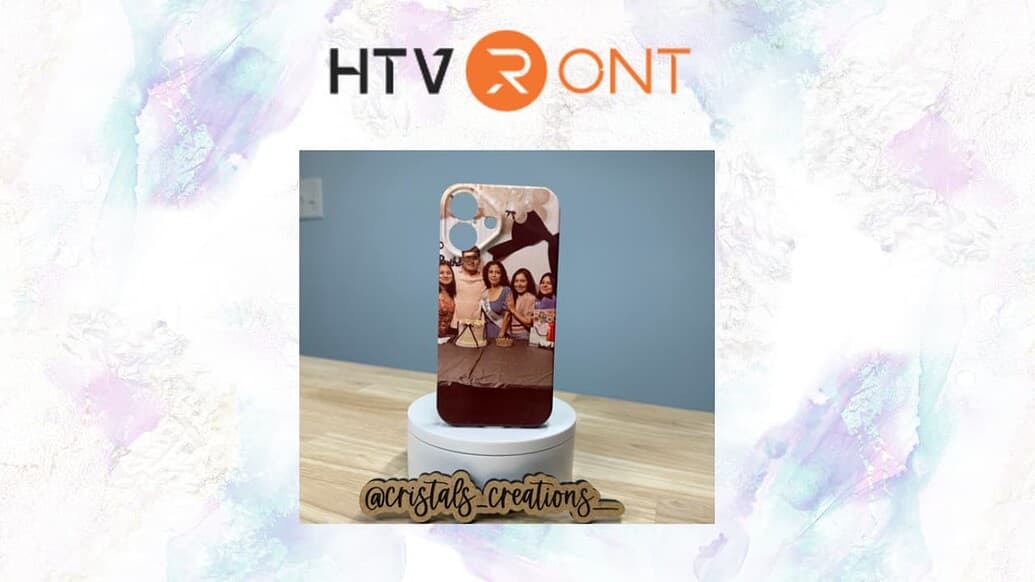
My only other tip is that if you plan on using a photograph, to try to put it lower or go with a collage of pictures so you don’t end up with white sections or someone’s head being cut out of the frame.
If you would like to see the full video, I will add a link below to my YouTube Channel!
Be sure to check out my other video where I make a SPOOKY Phone case!