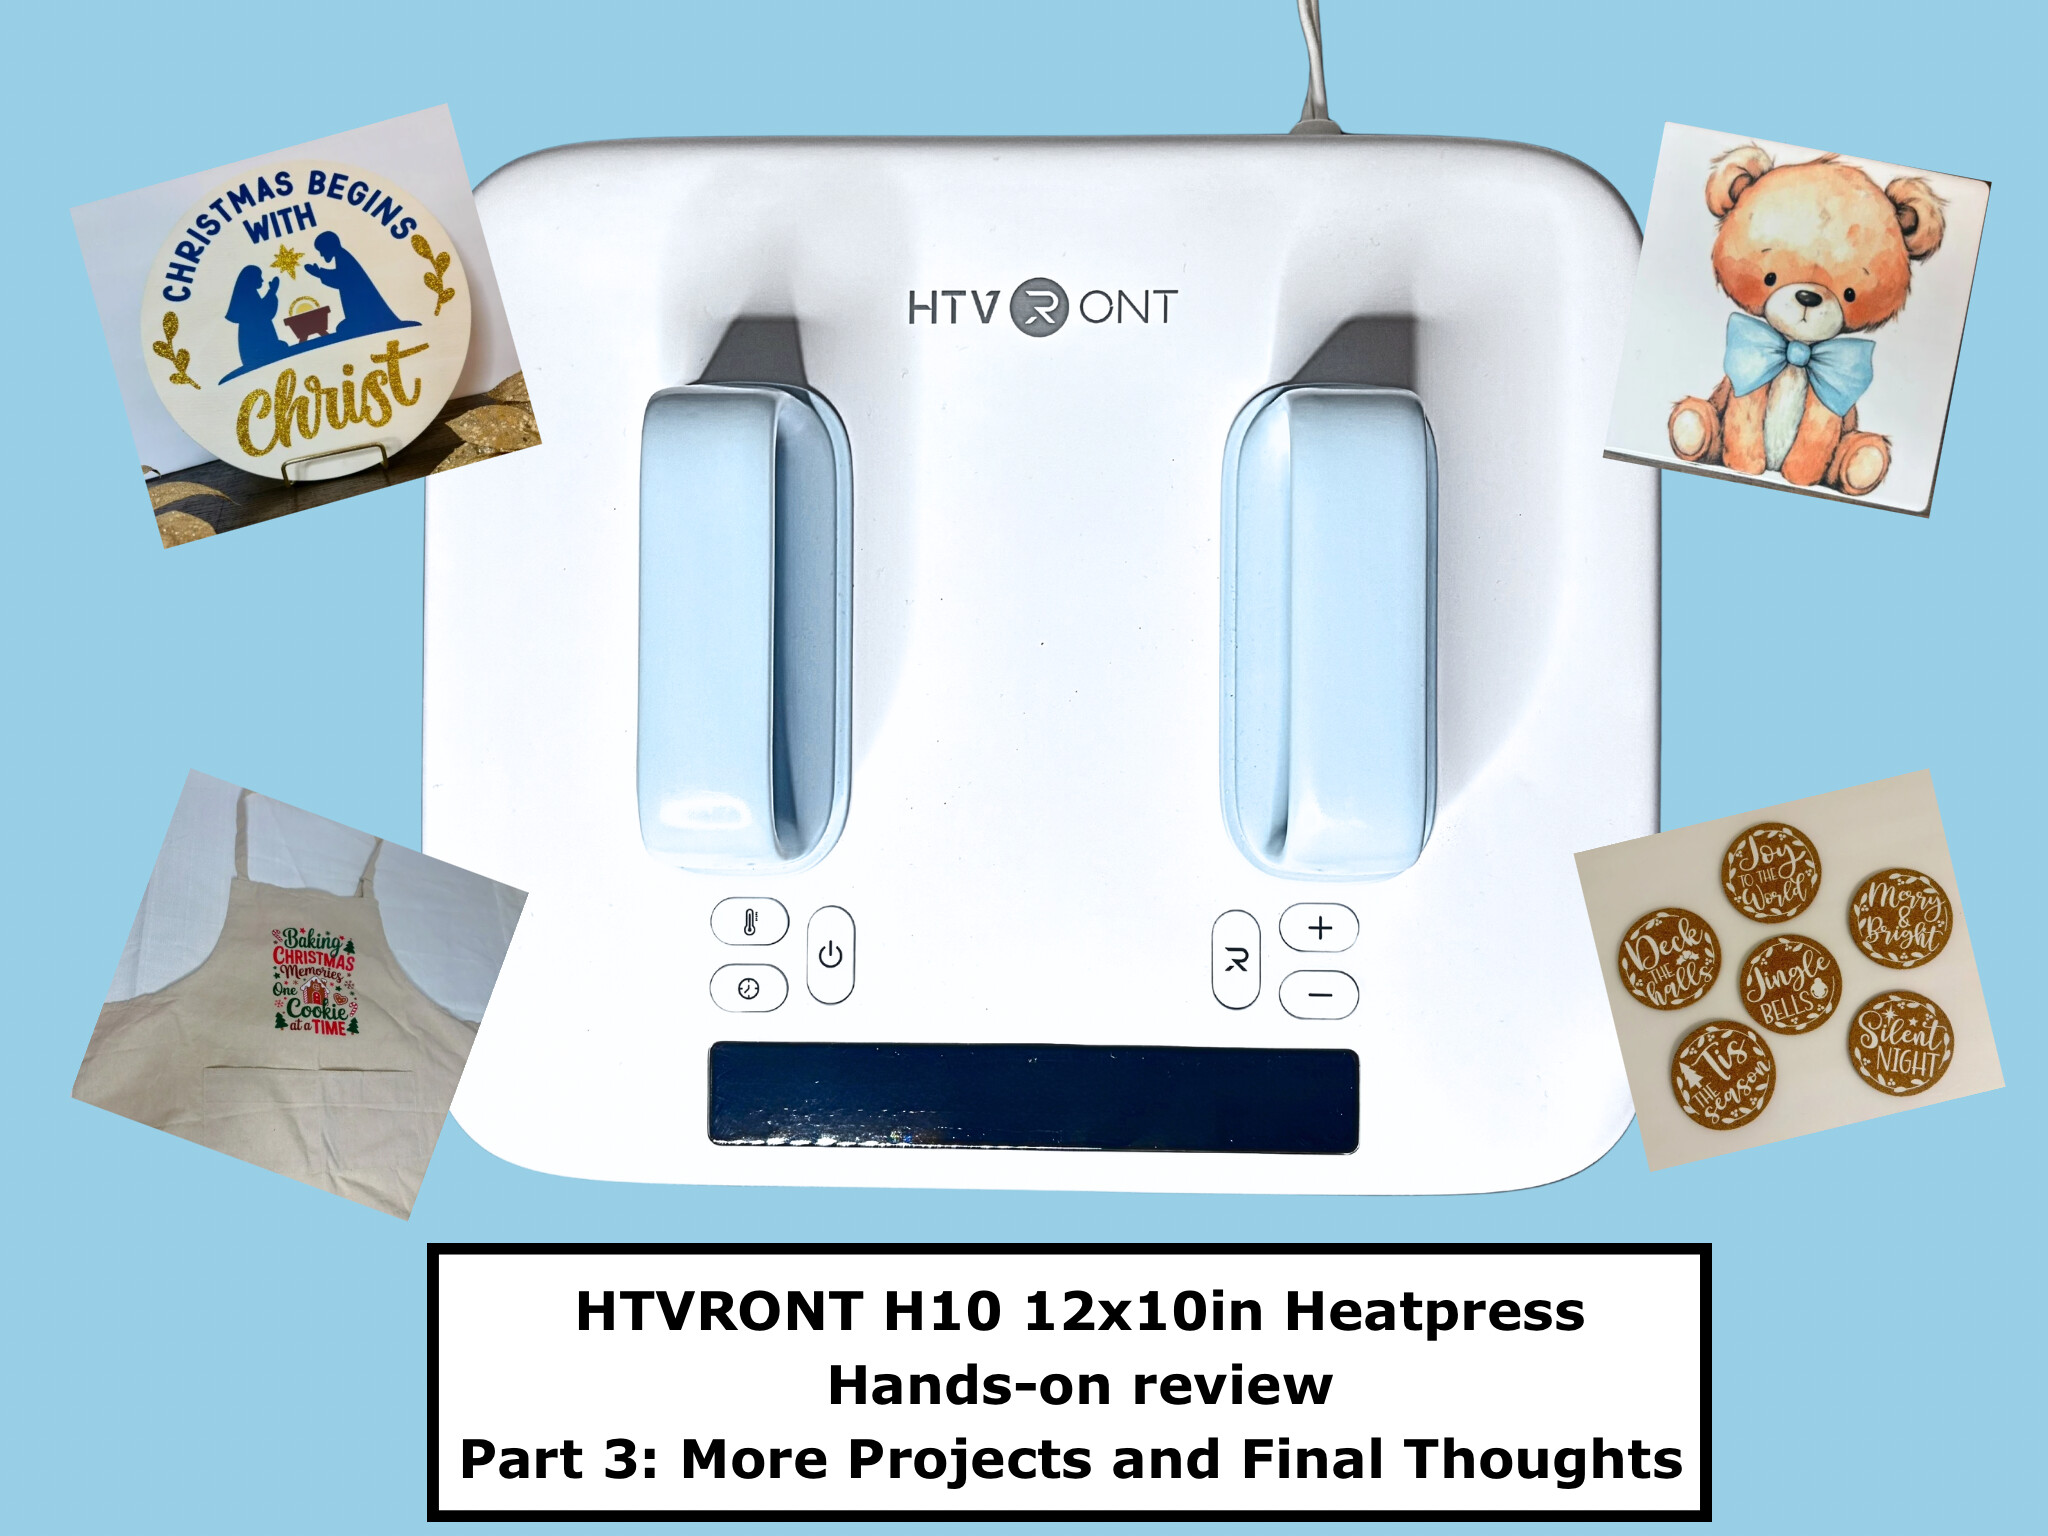
Hi everyone! I’m back with the third and final part of my H10 Heat Press review. For this last section, I wanted to include a few projects I didn’t get to share previously so the entire review feels complete. From the beginning, I was hopeful about the H10 and really wanted to put it through a proper test with a wide range of materials. In the last part, I tested glitter HTV, printable HTV, holographic HTV, patterned HTV, 3D puff HTV, sublimation, and DTF. Here are a few more projects I hadn’t shared yet.
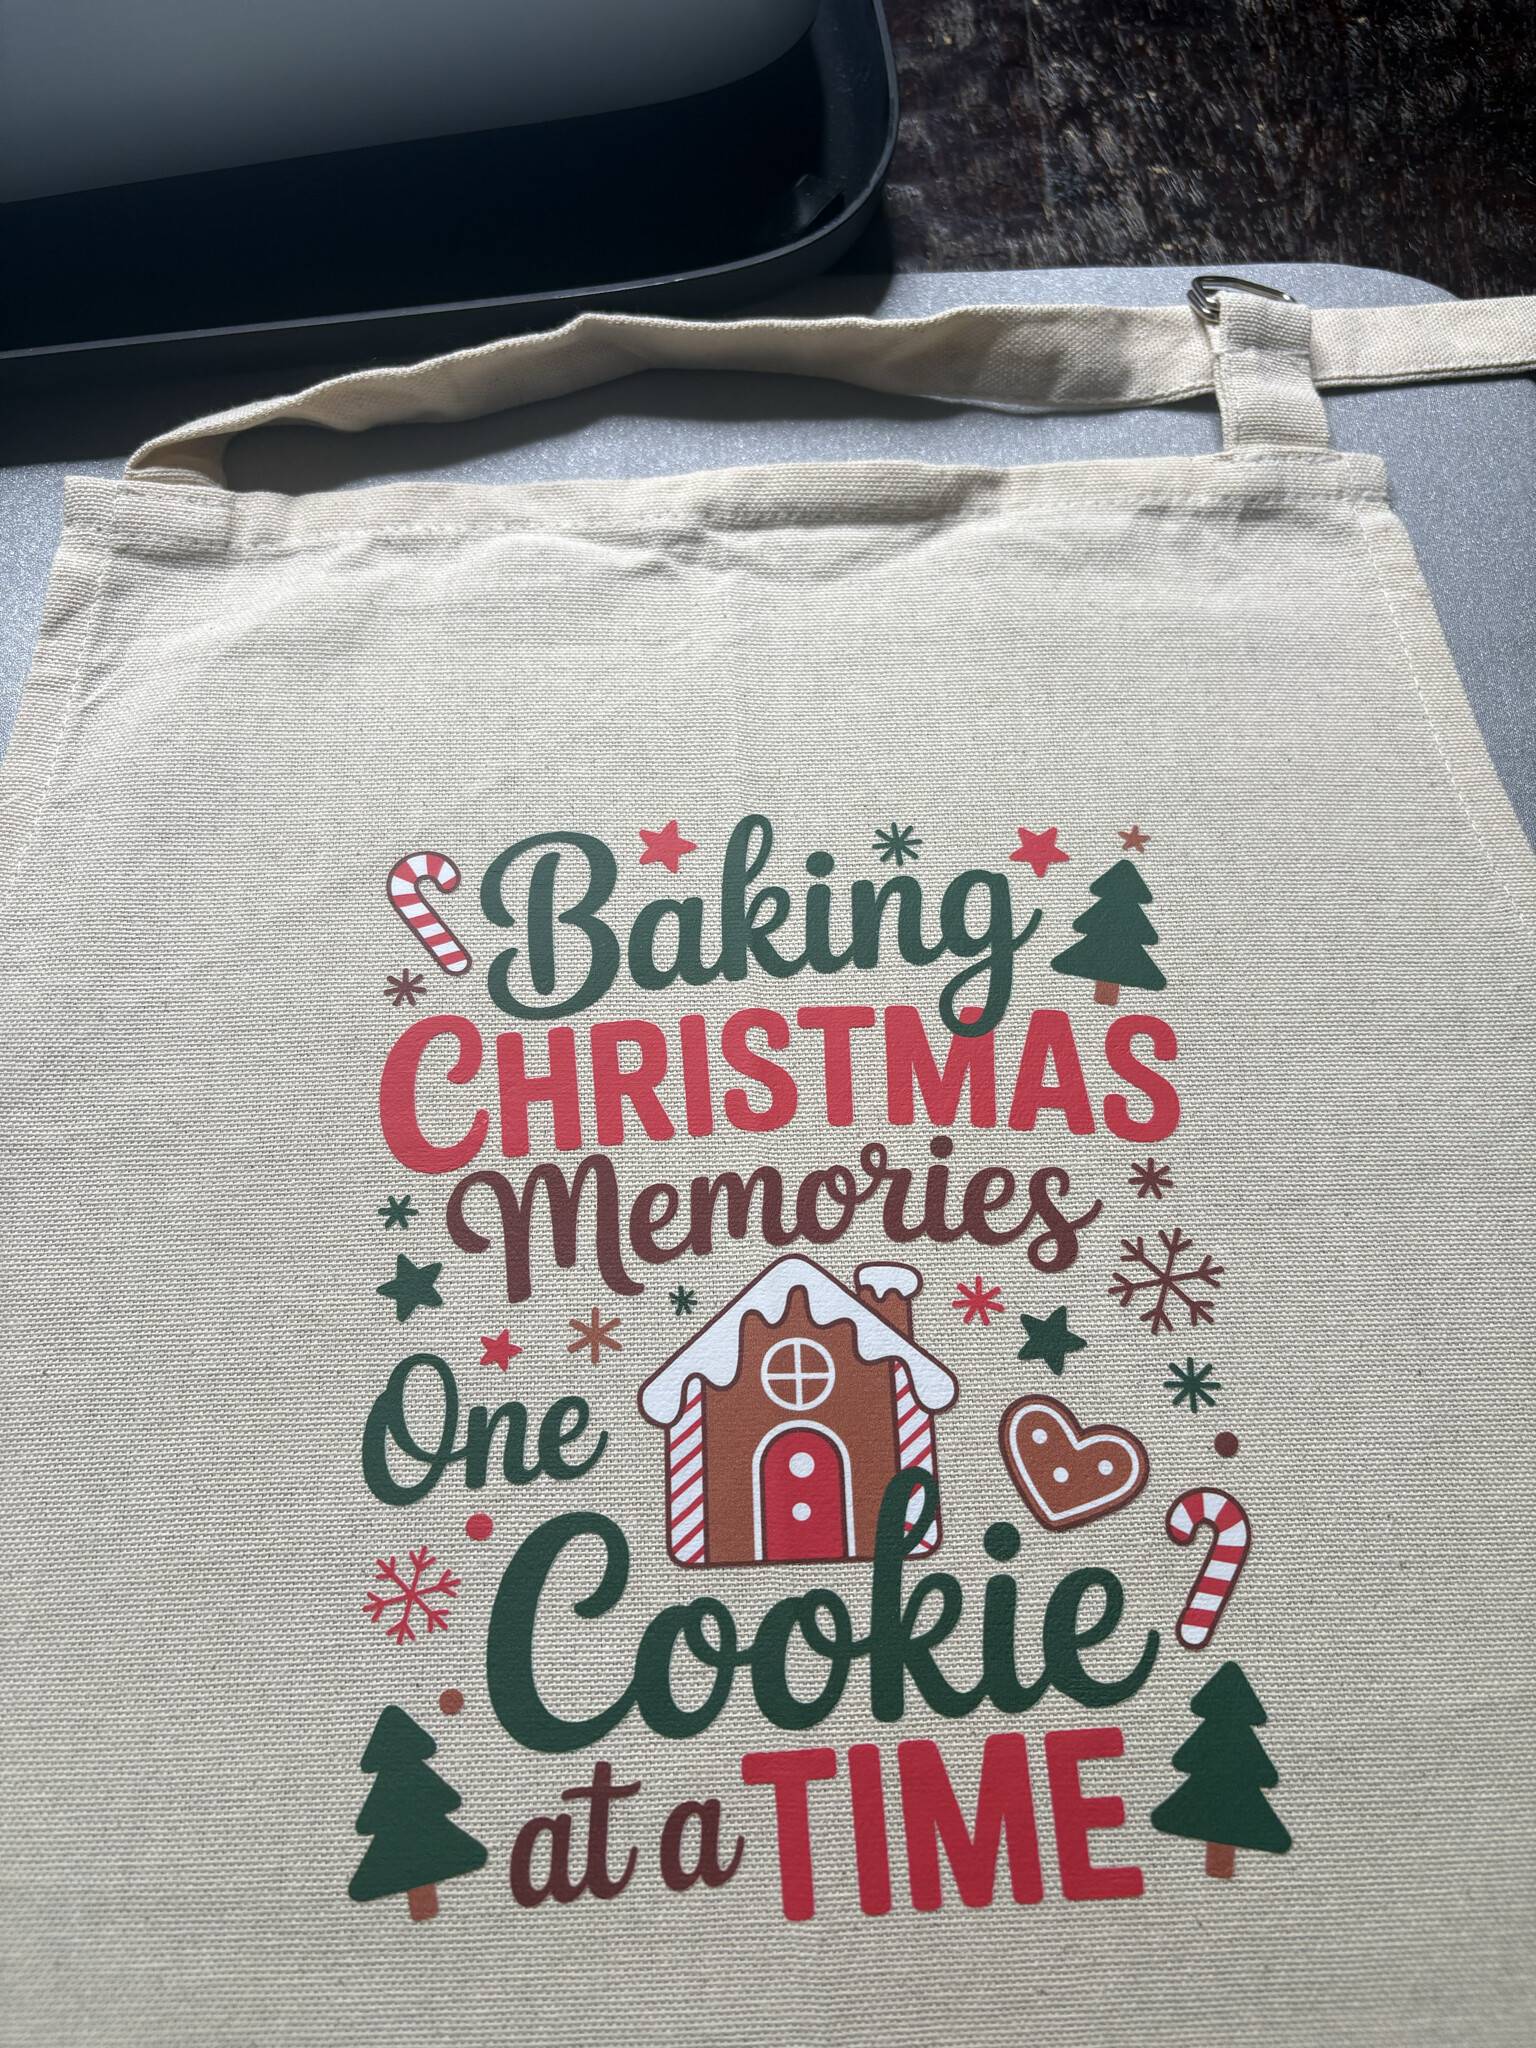
DTF
I pre-pressed the shirt for 10 seconds, placed the transfer, and pressed for 15 seconds at 300 to 320°F. I personally used 320°F with firm pressure at around 60–70 pounds. I waited at least 10 seconds before peeling the carrier sheet, peeling it back over itself starting at the boldest area of the design. After that, I did a final 10-second press with a Teflon sheet. The results were clean and vibrant. I did the same for the other shirt and the apron.


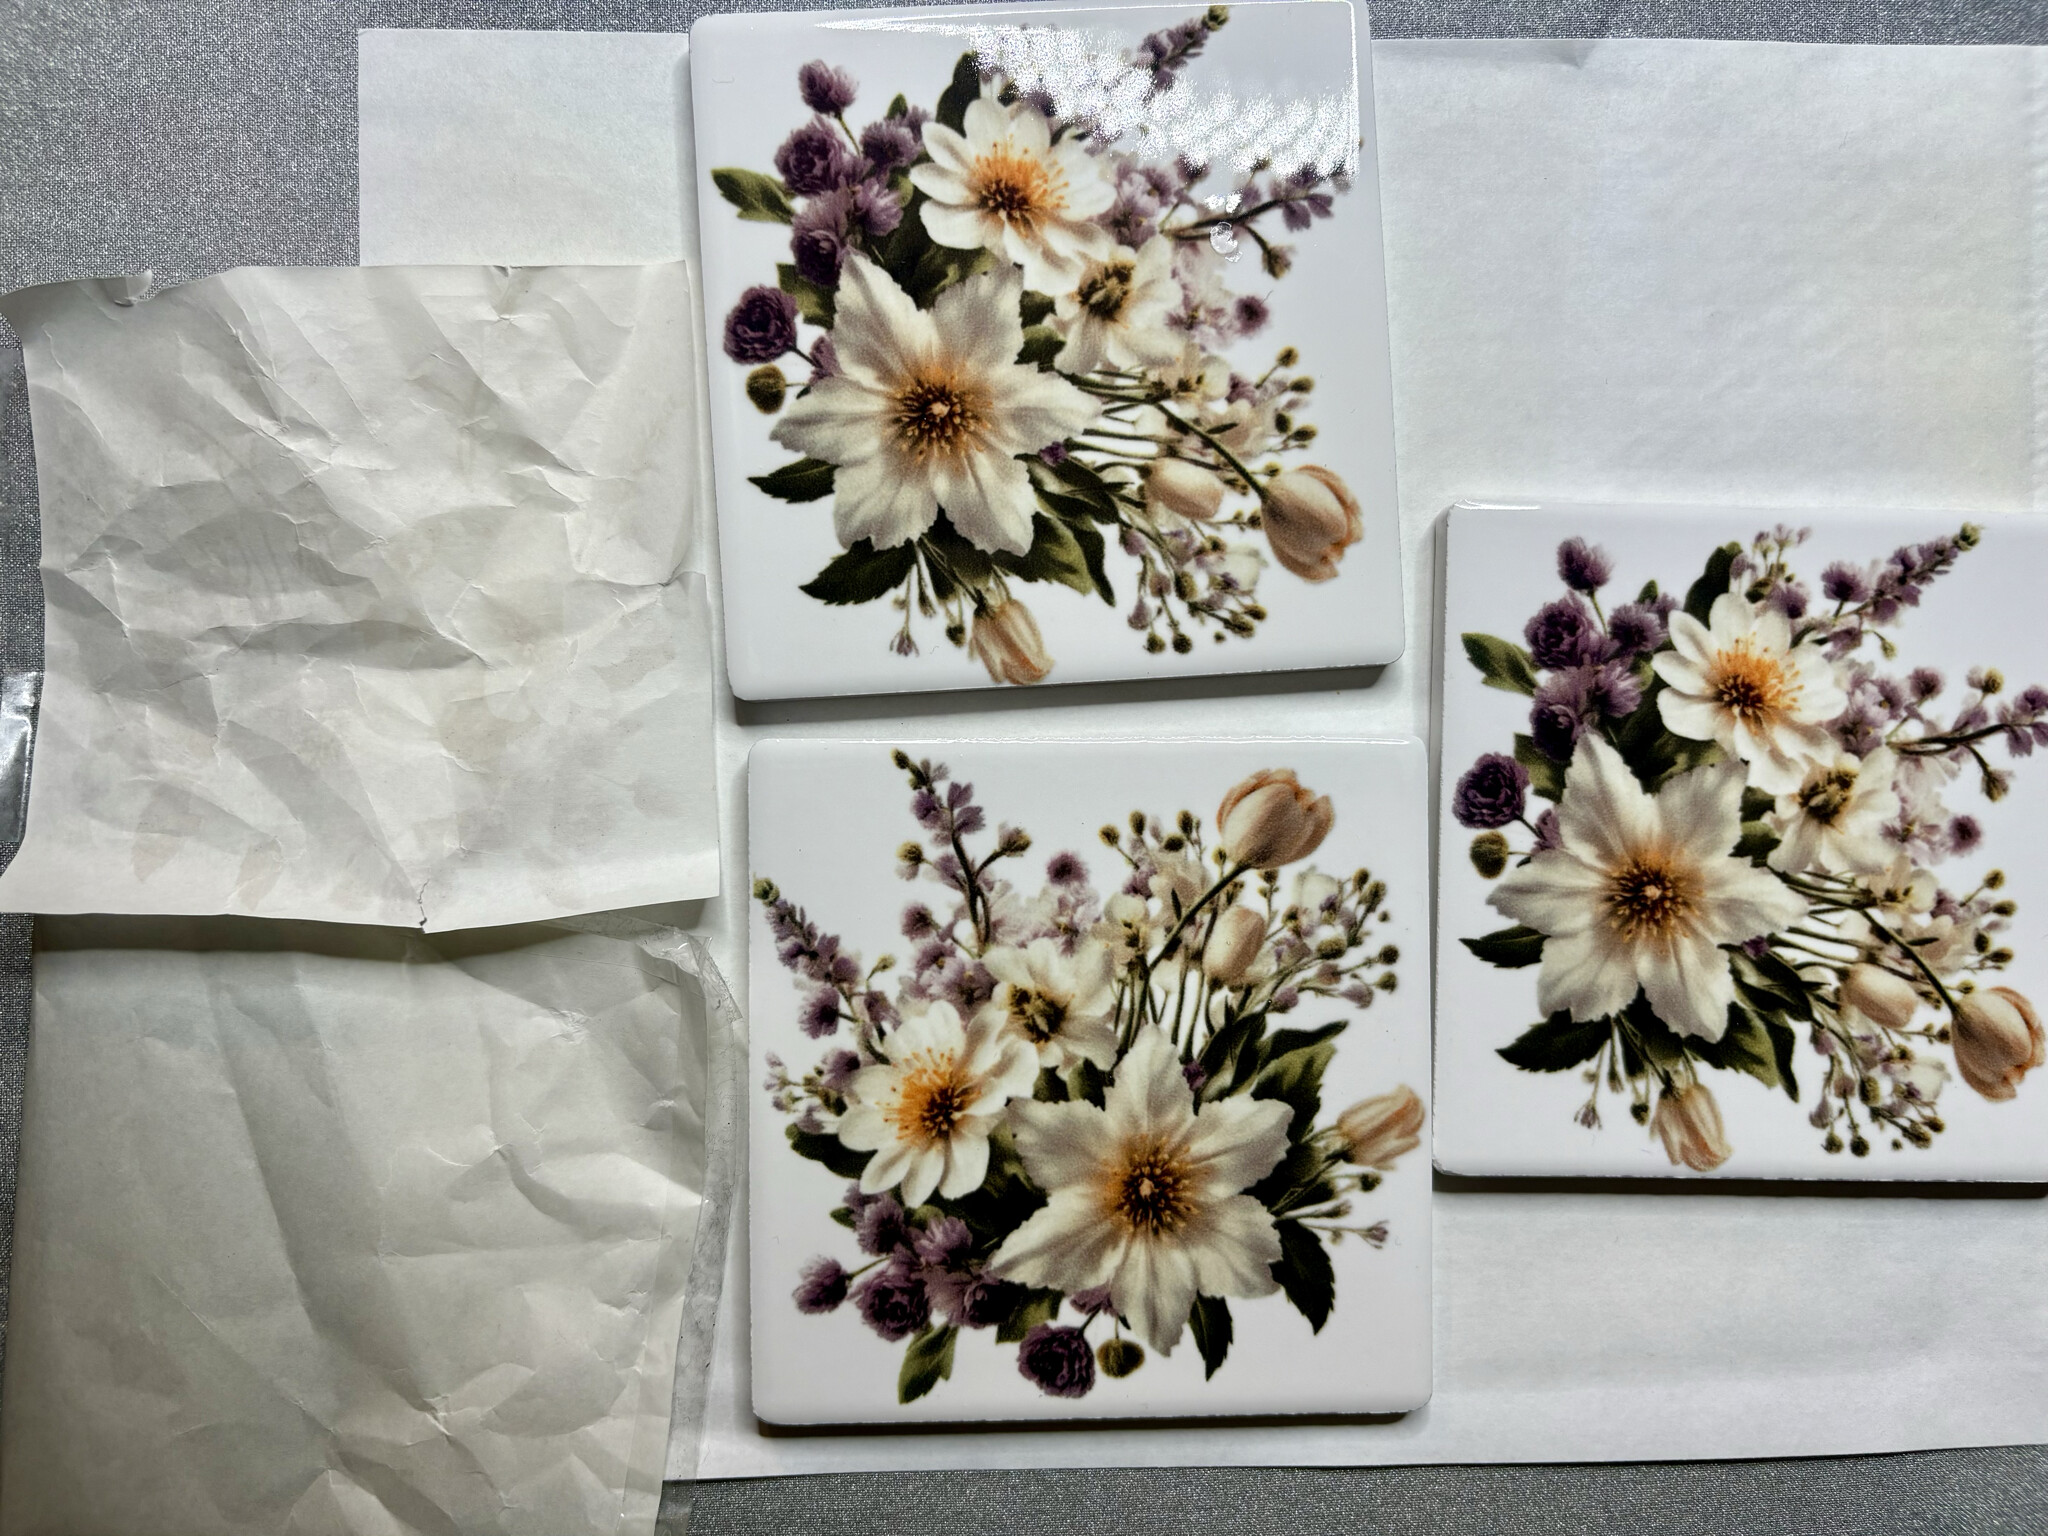
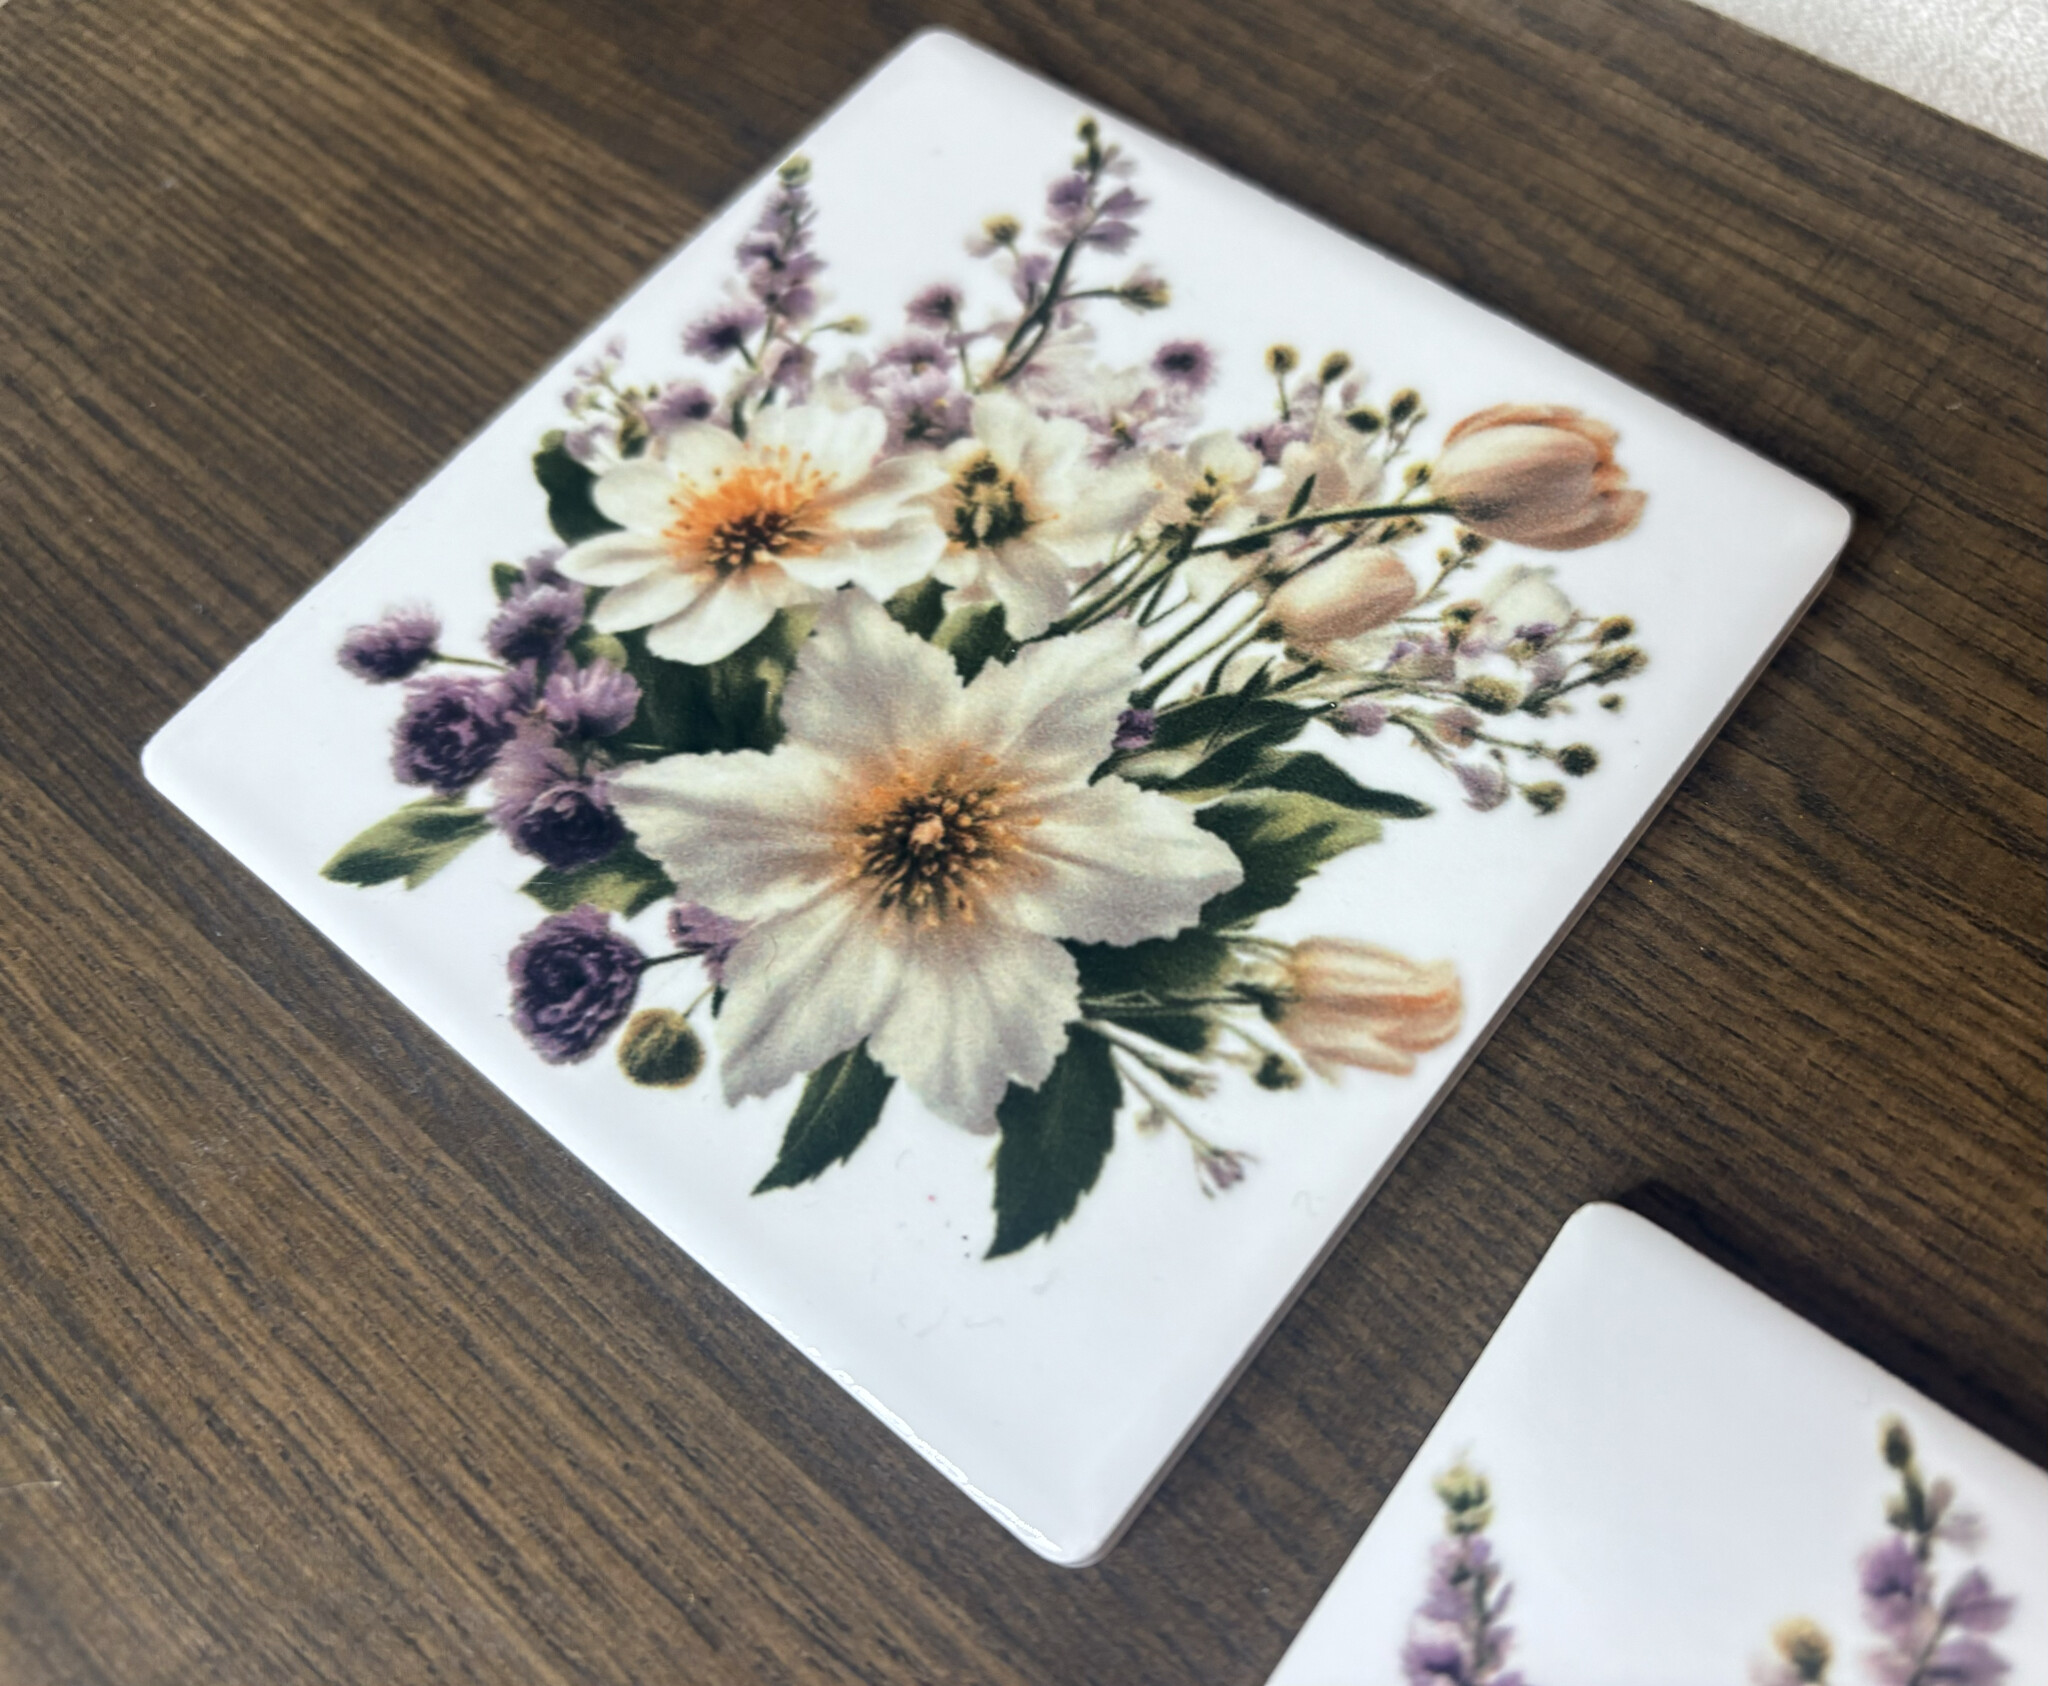
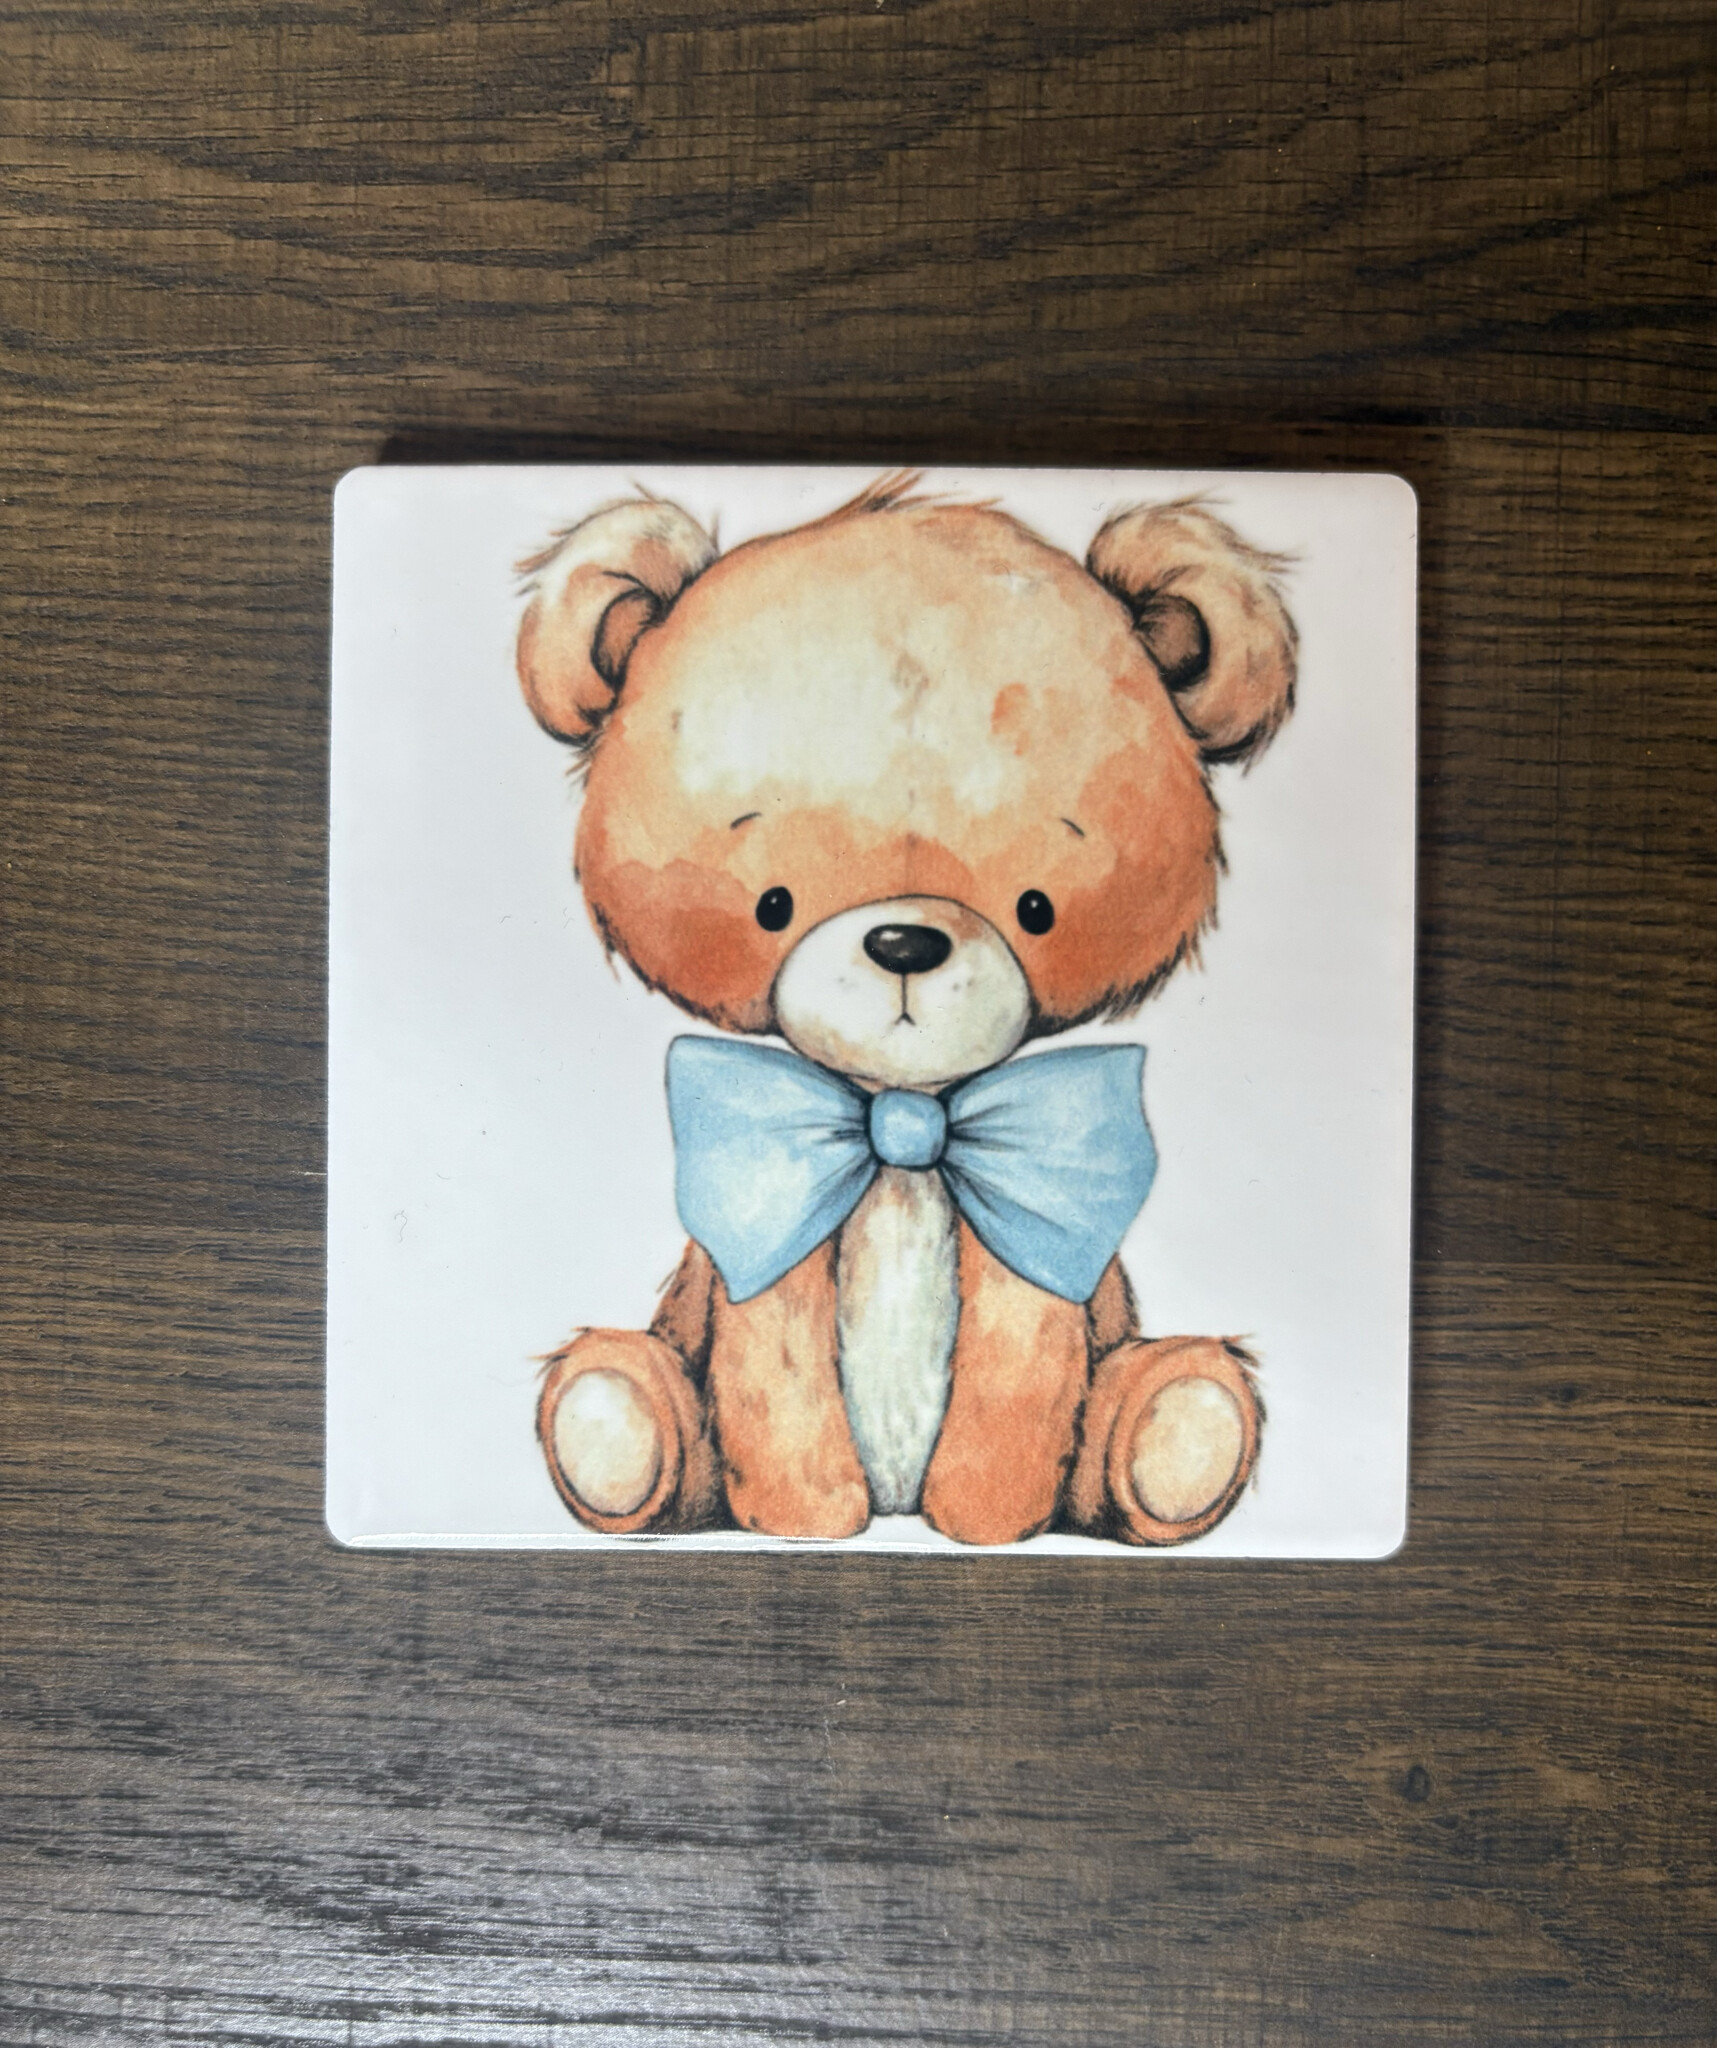
Sublimation on Ceramic Coasters
I picked up the coasters from Hobby Lobby. I followed their recommended time and pressure but set my temperature to 390°F. I taped the transfer face-down on the tiles, placed butcher paper on top of my heat mat, flipped the tile face-down onto the butcher paper, and added a Teflon sheet over all three tiles. I pressed for 260 seconds with about 60 pounds of firm pressure. They turned out really cool. I even made one using the bear design from the last part.

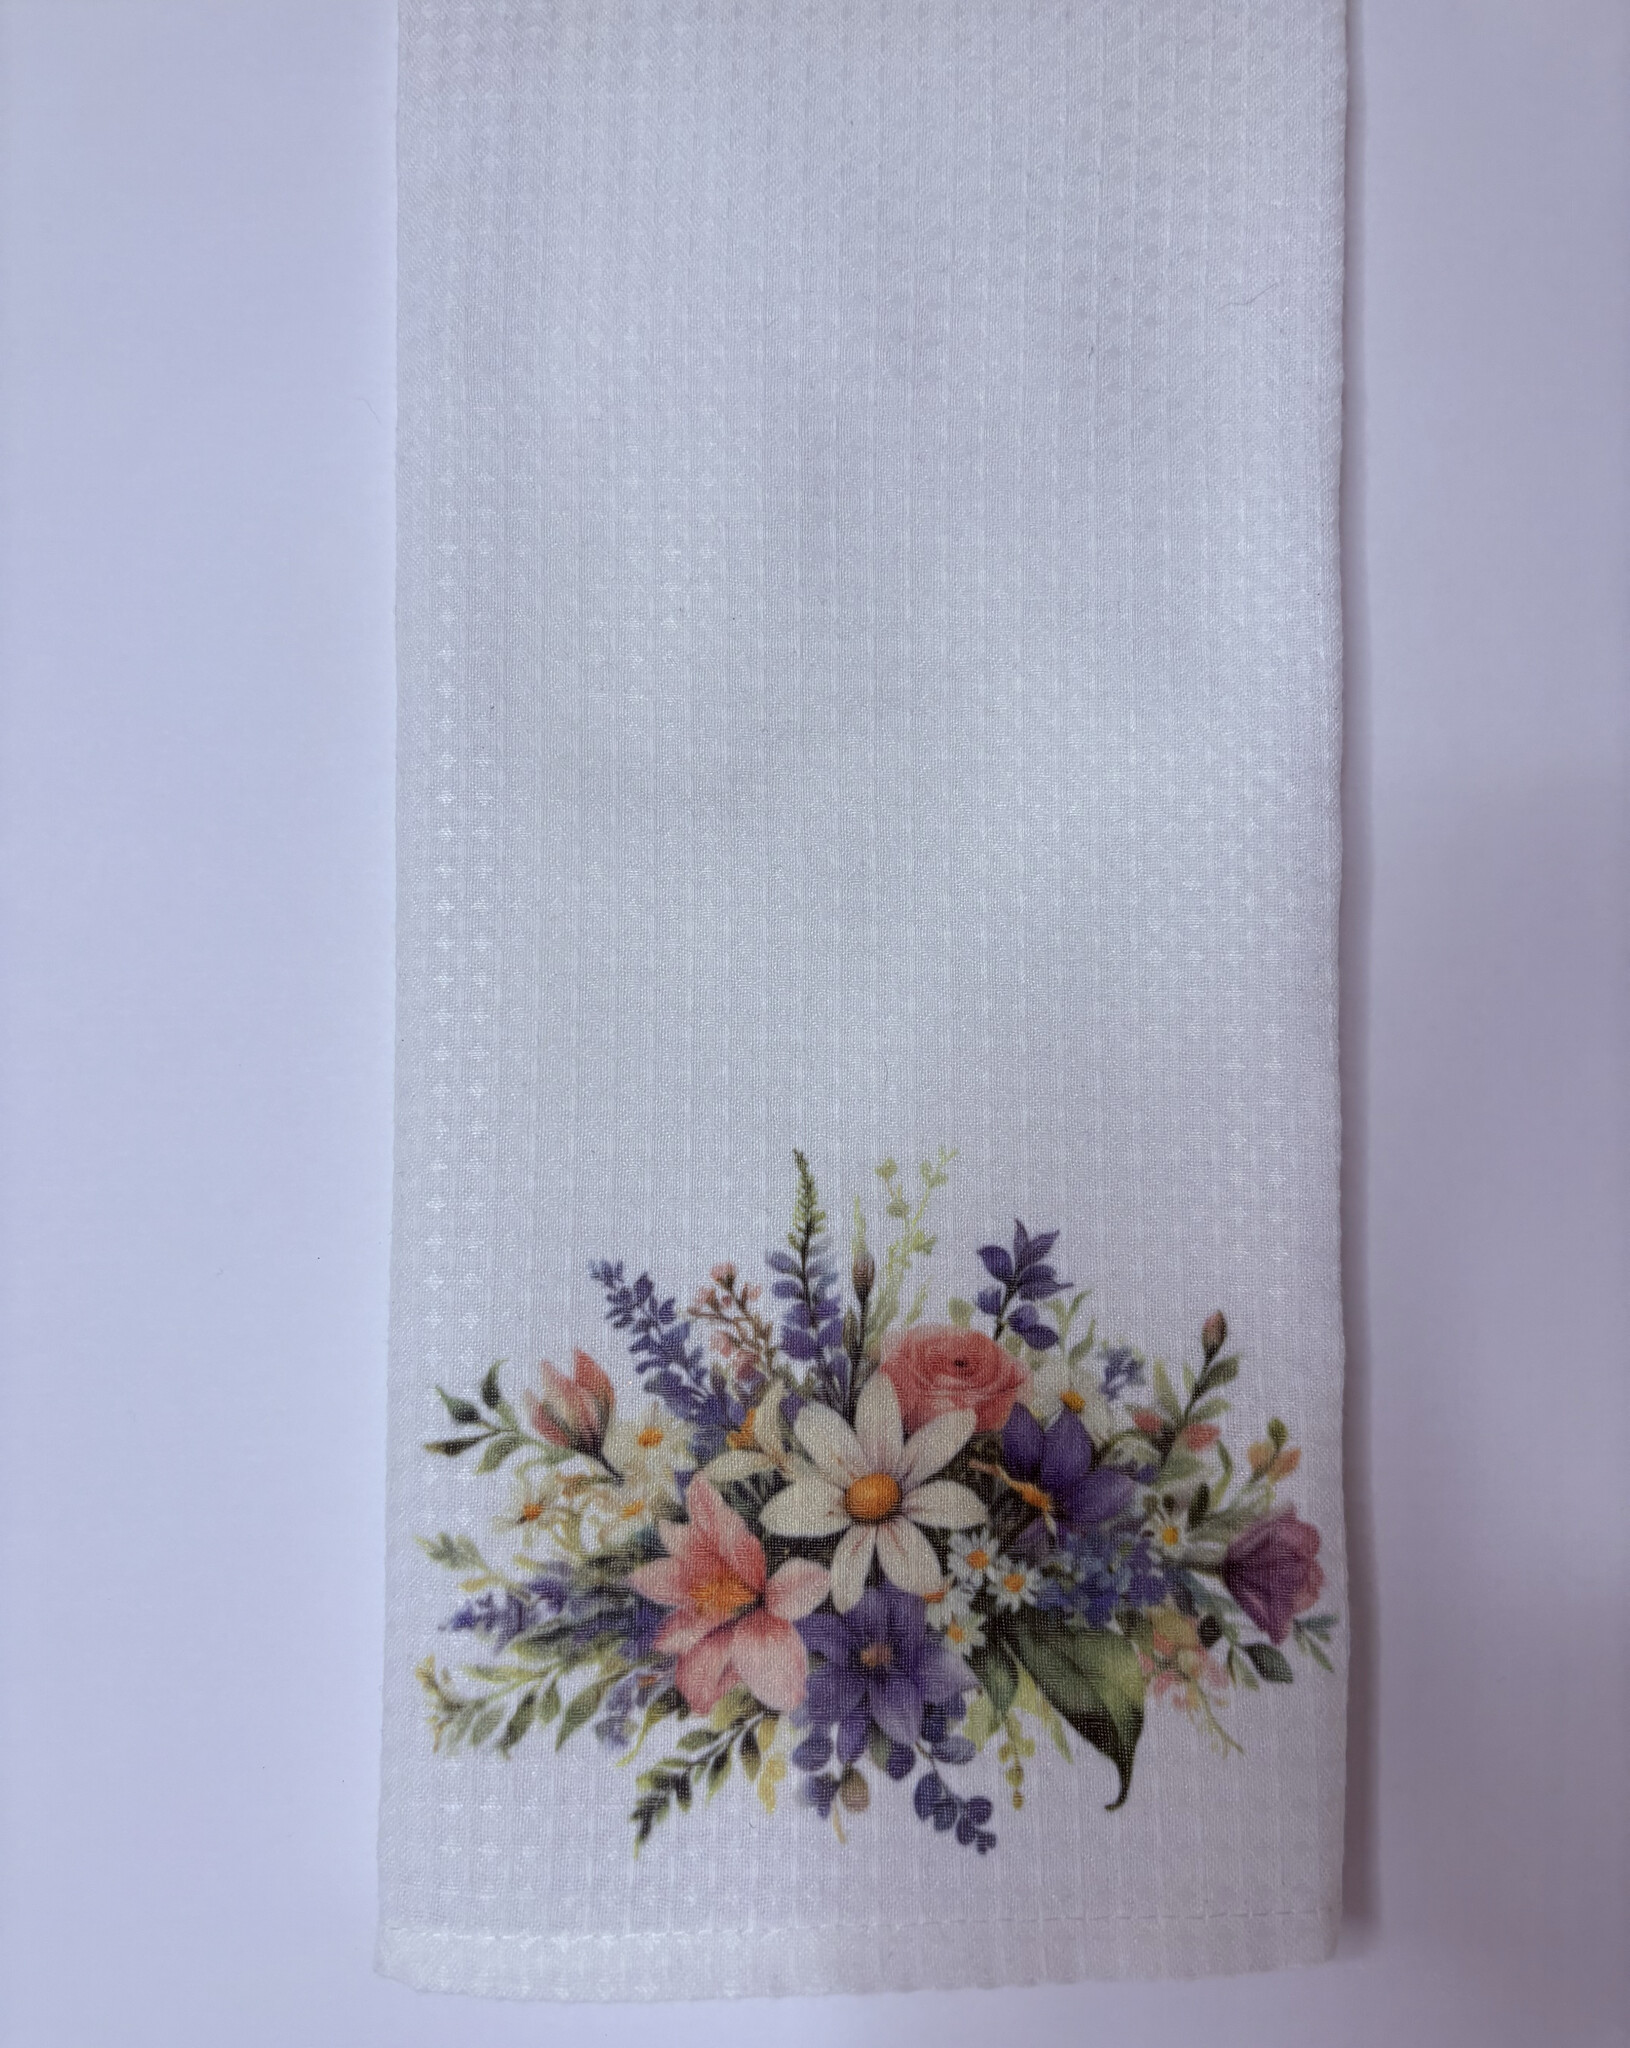
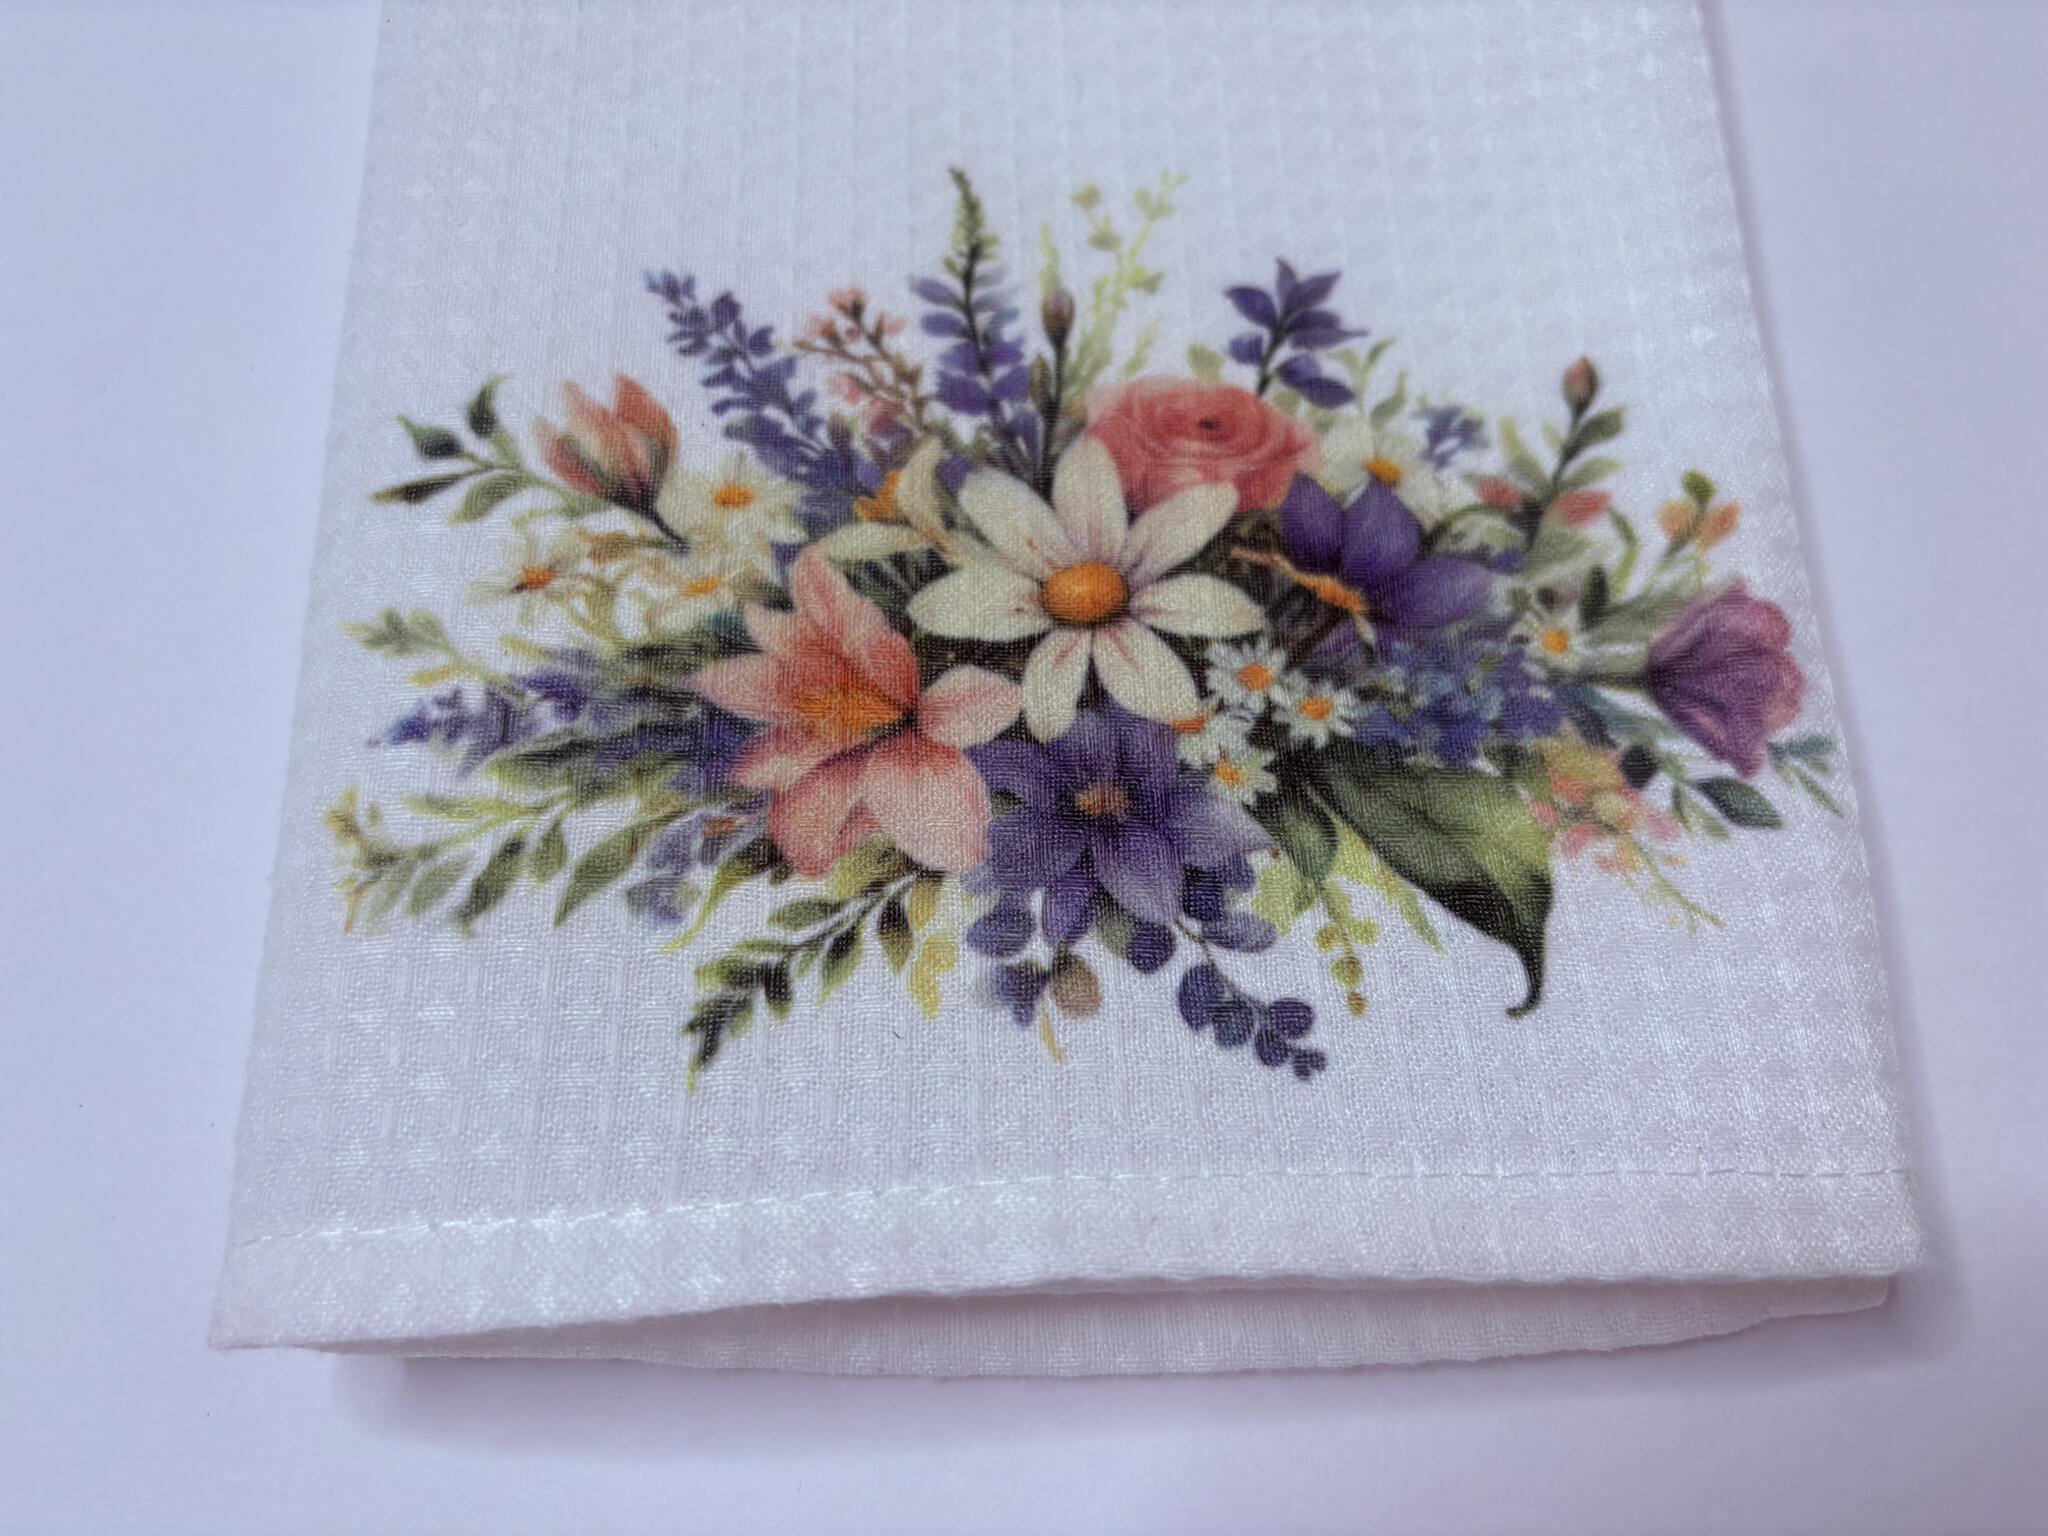
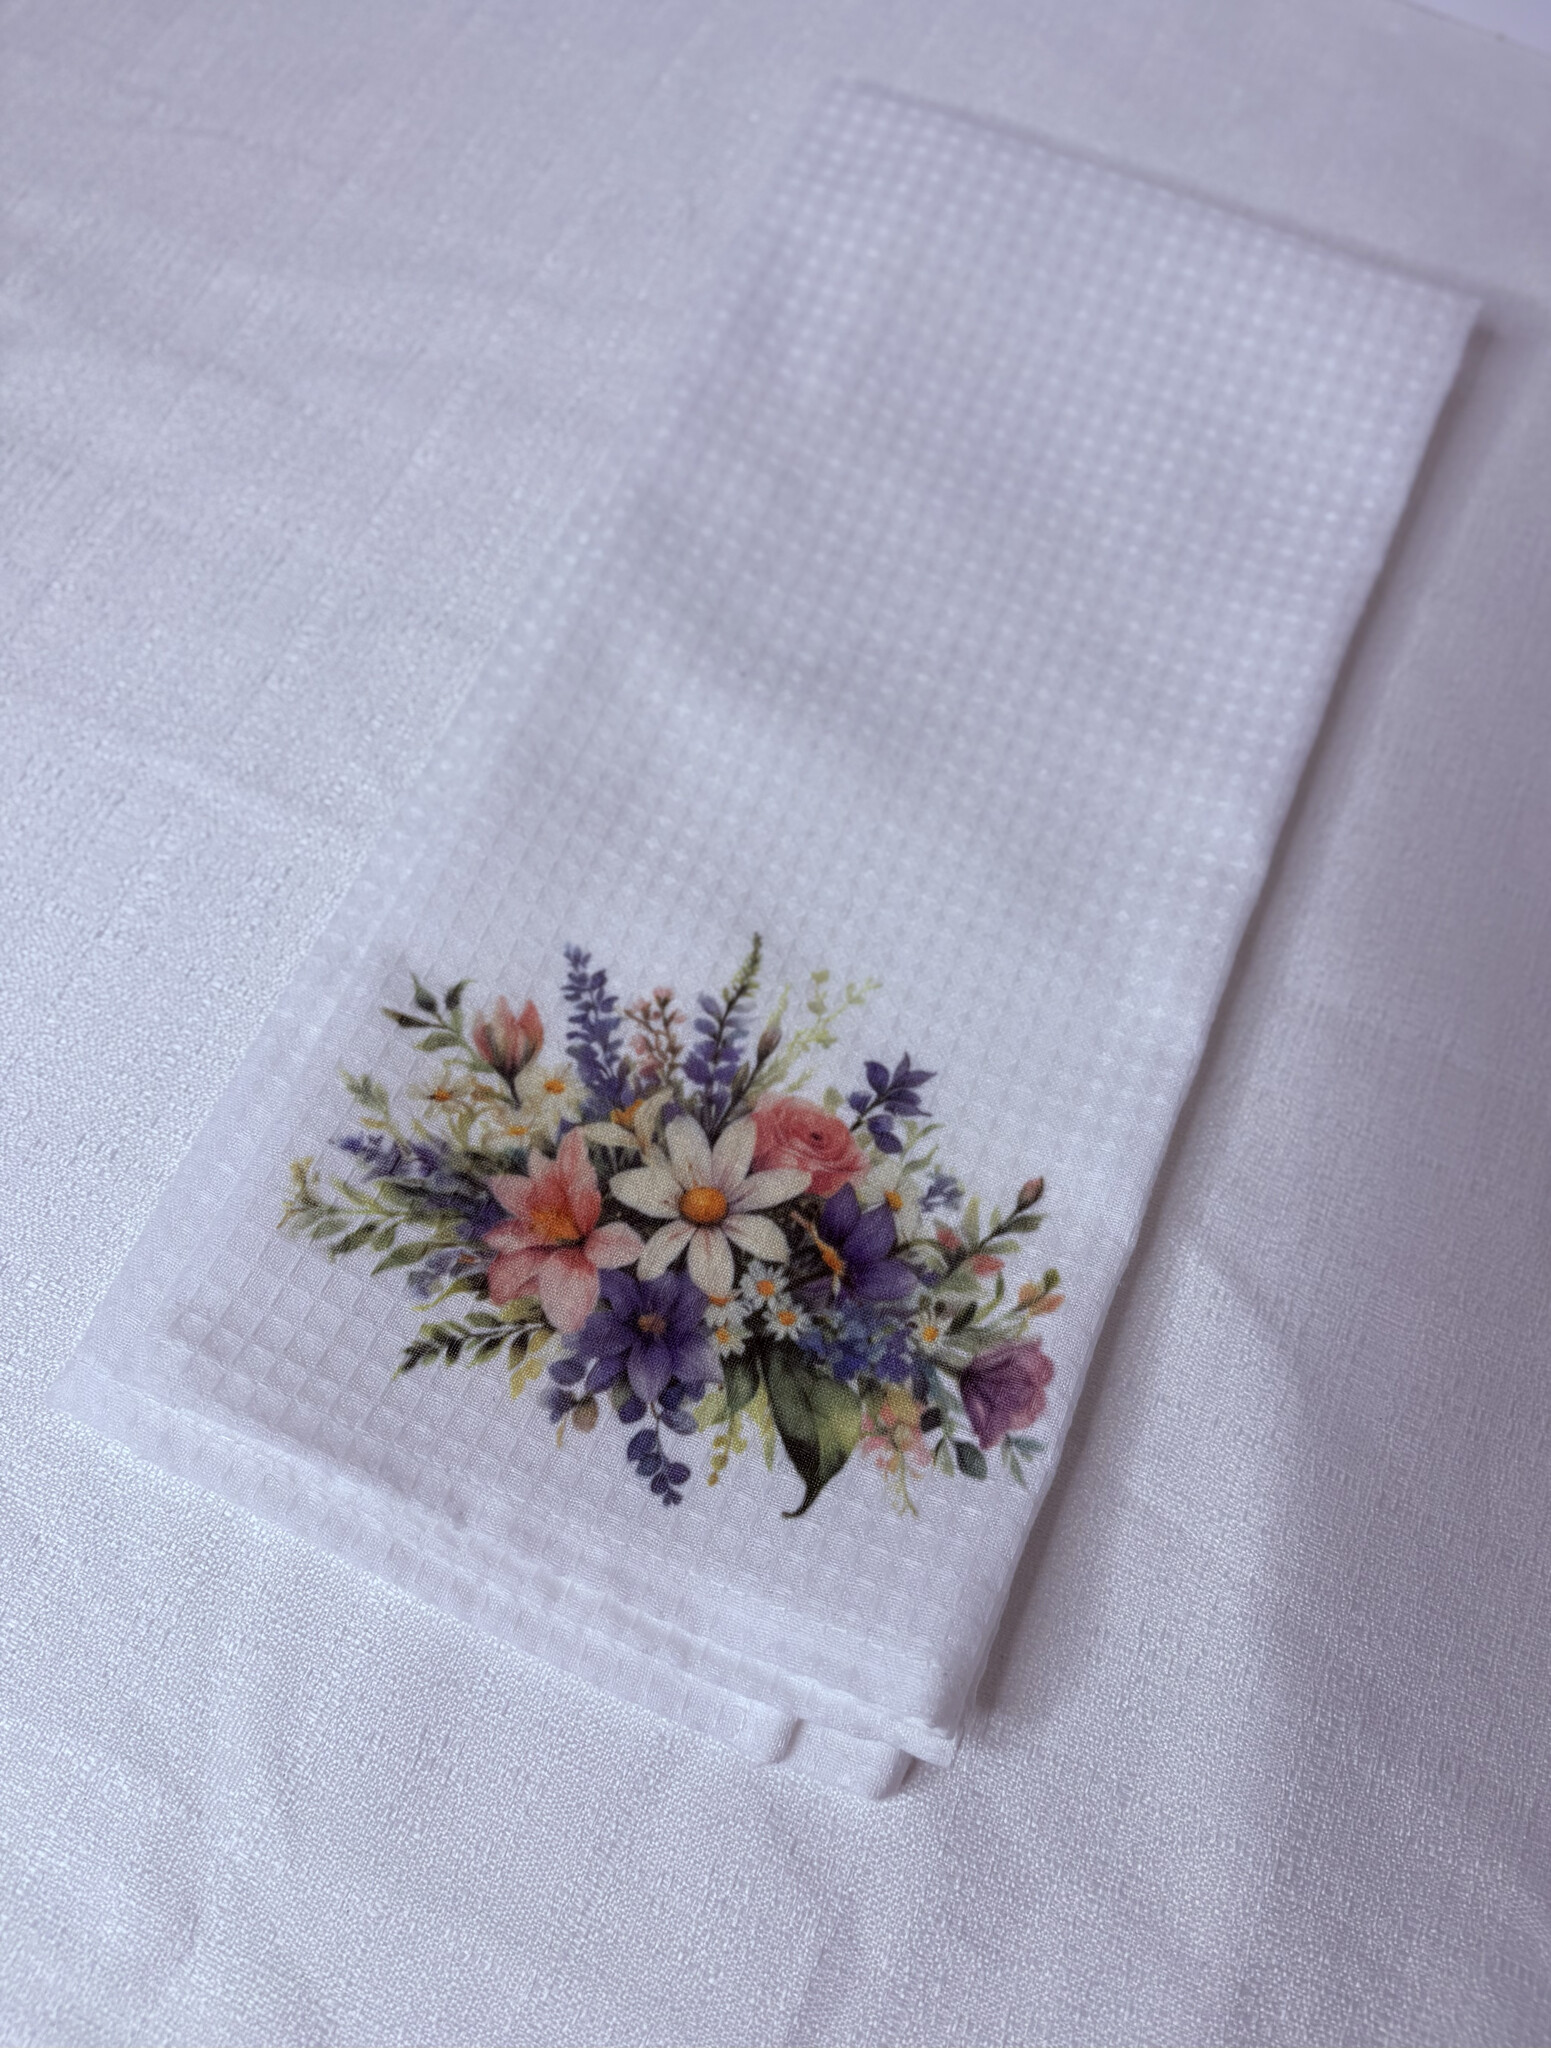
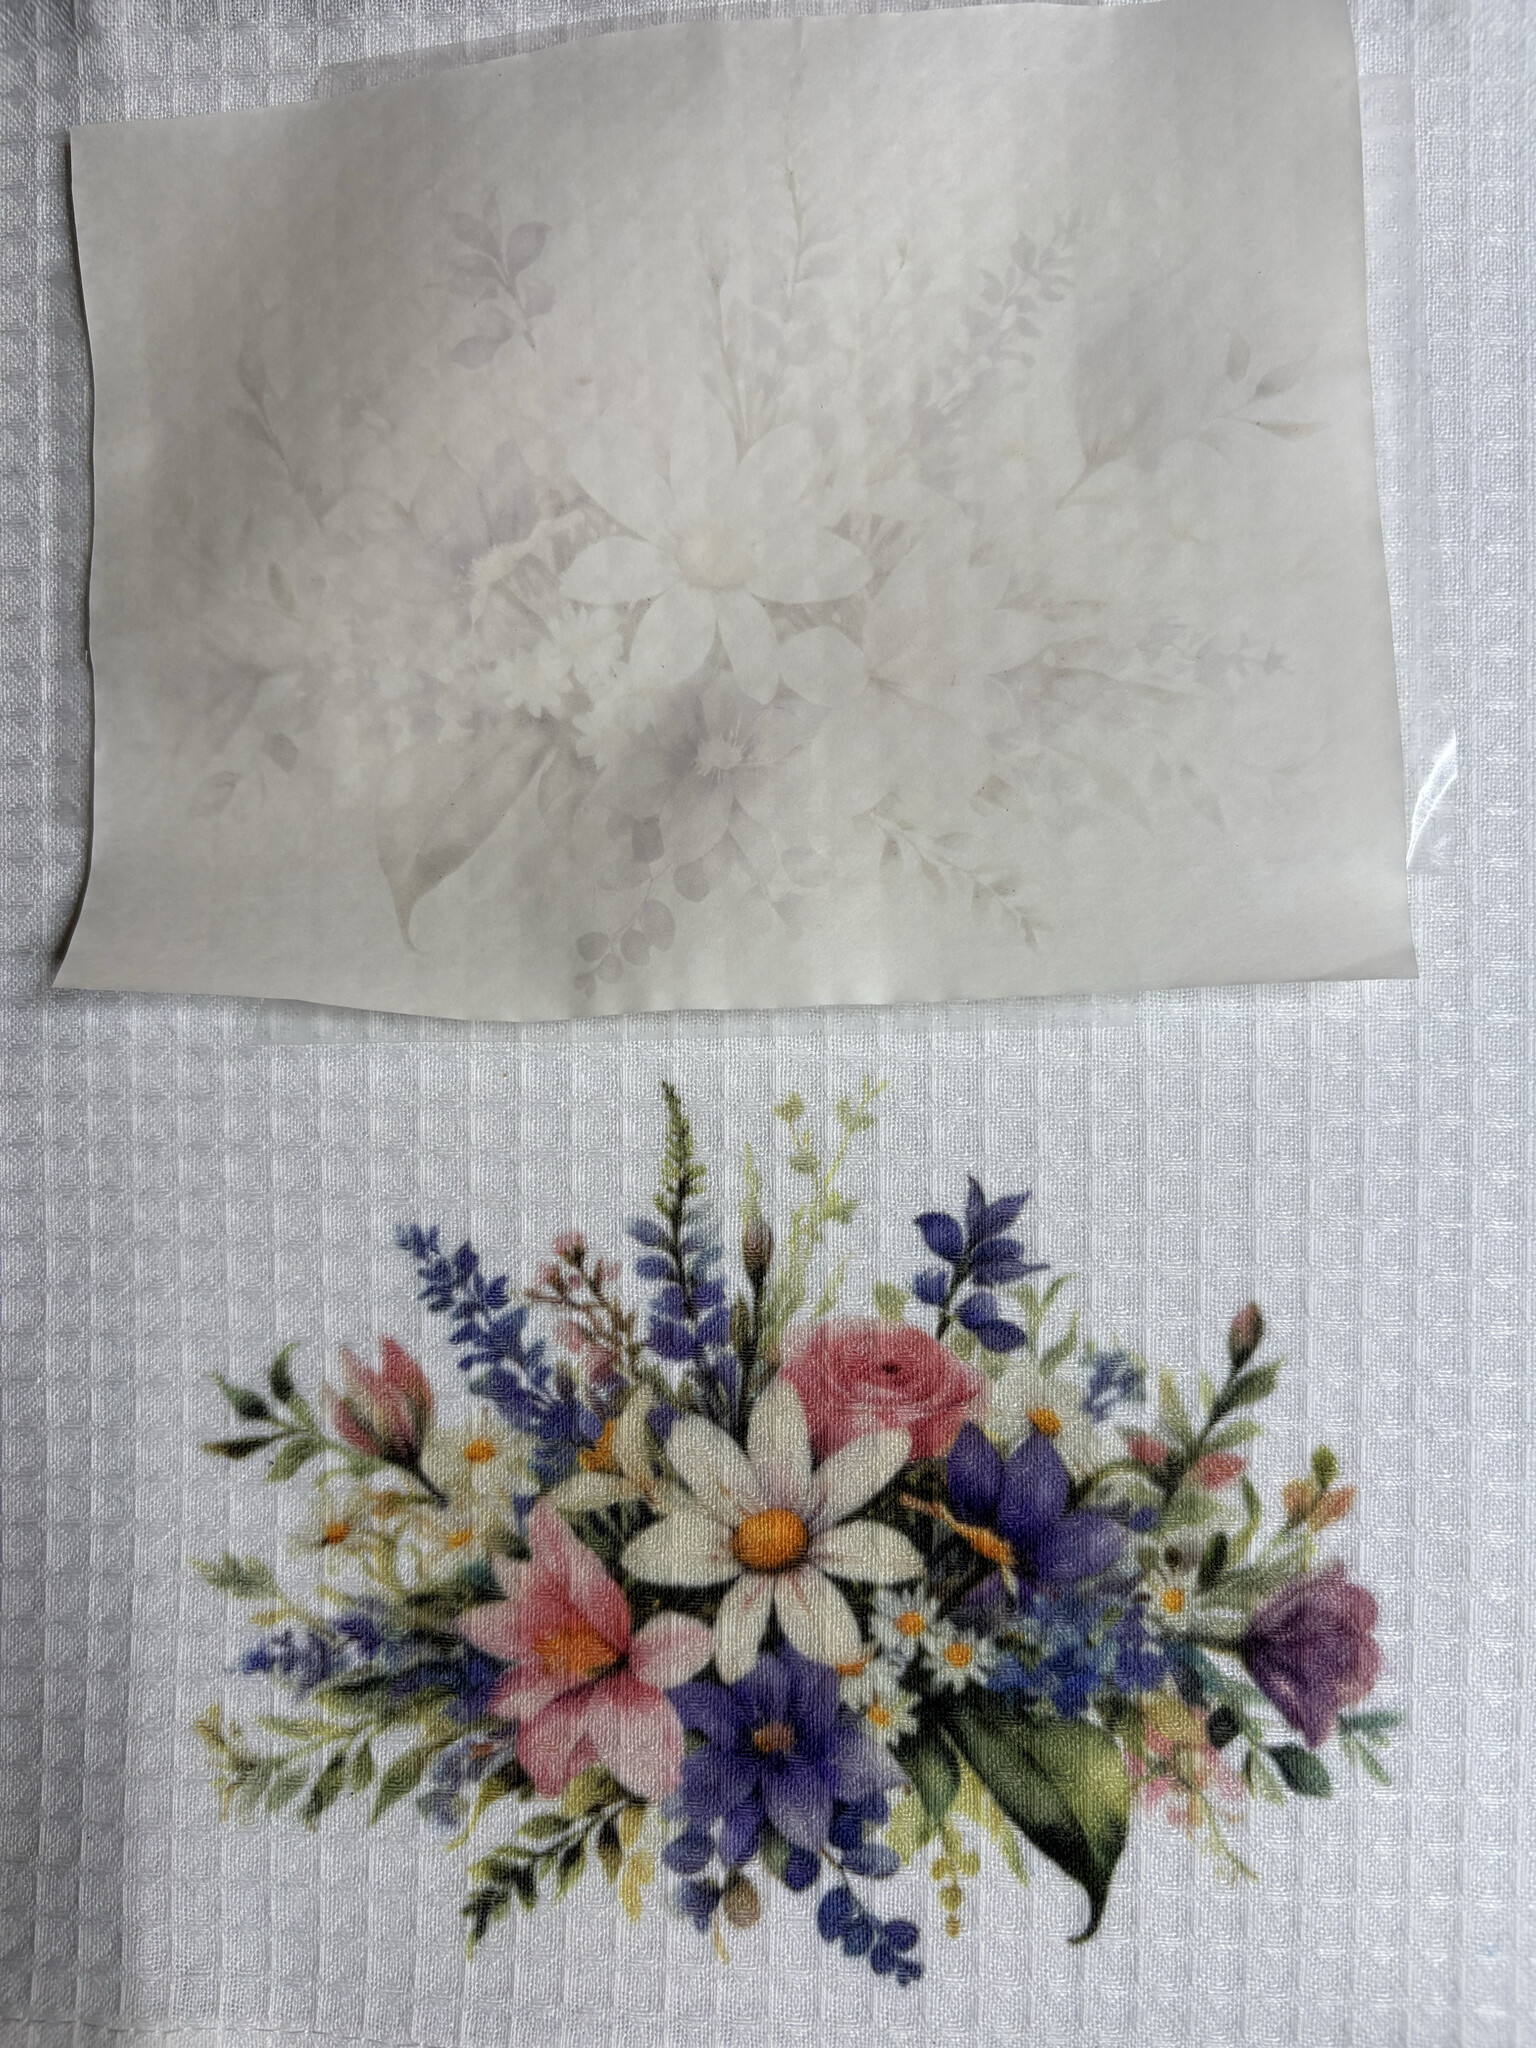
Sublimation on a Kitchen Towel
Also got this towel from hobby lobby from the sublimation blanks section. I pre-pressed the towel for 10 seconds and pressed at 390°F for 50 seconds. I taped the design then placed it face-down, put butcher paper underneath to protect the mat, and added another sheet on top to protect the press. I used medium pressure (around 50 pounds) and did an immediate peel. The colors came out bright and beautiful. The only issue was that a bit of ink stayed on the paper afterward, but the finished towel still looked stunning.
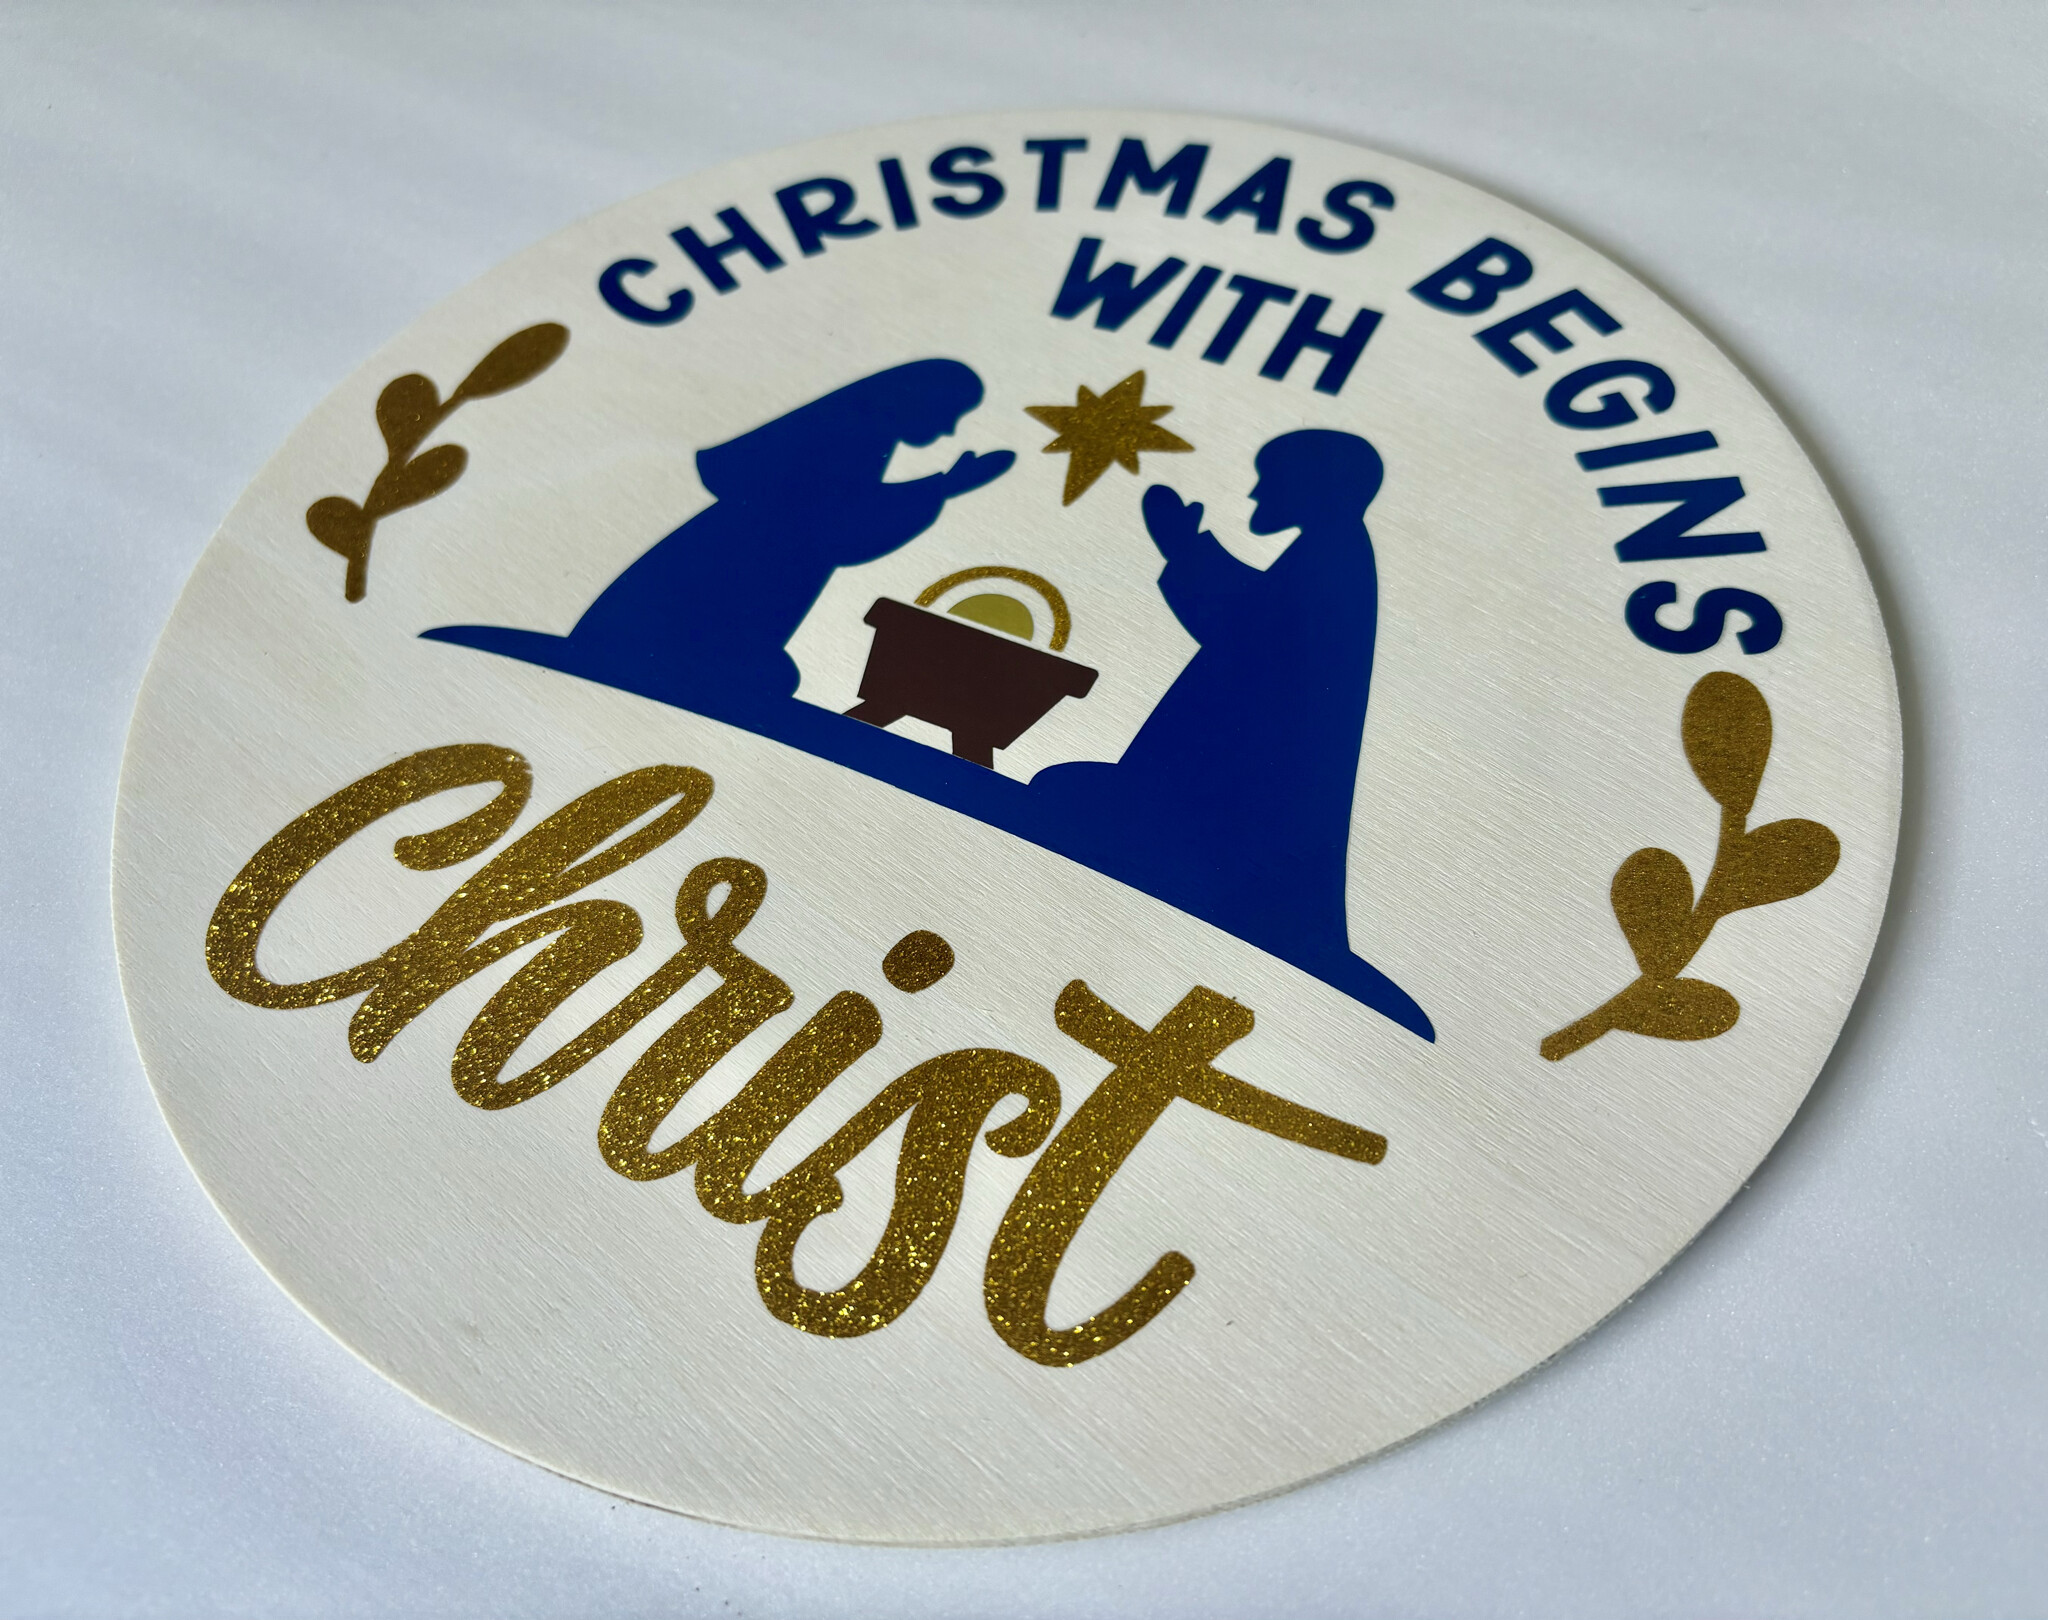
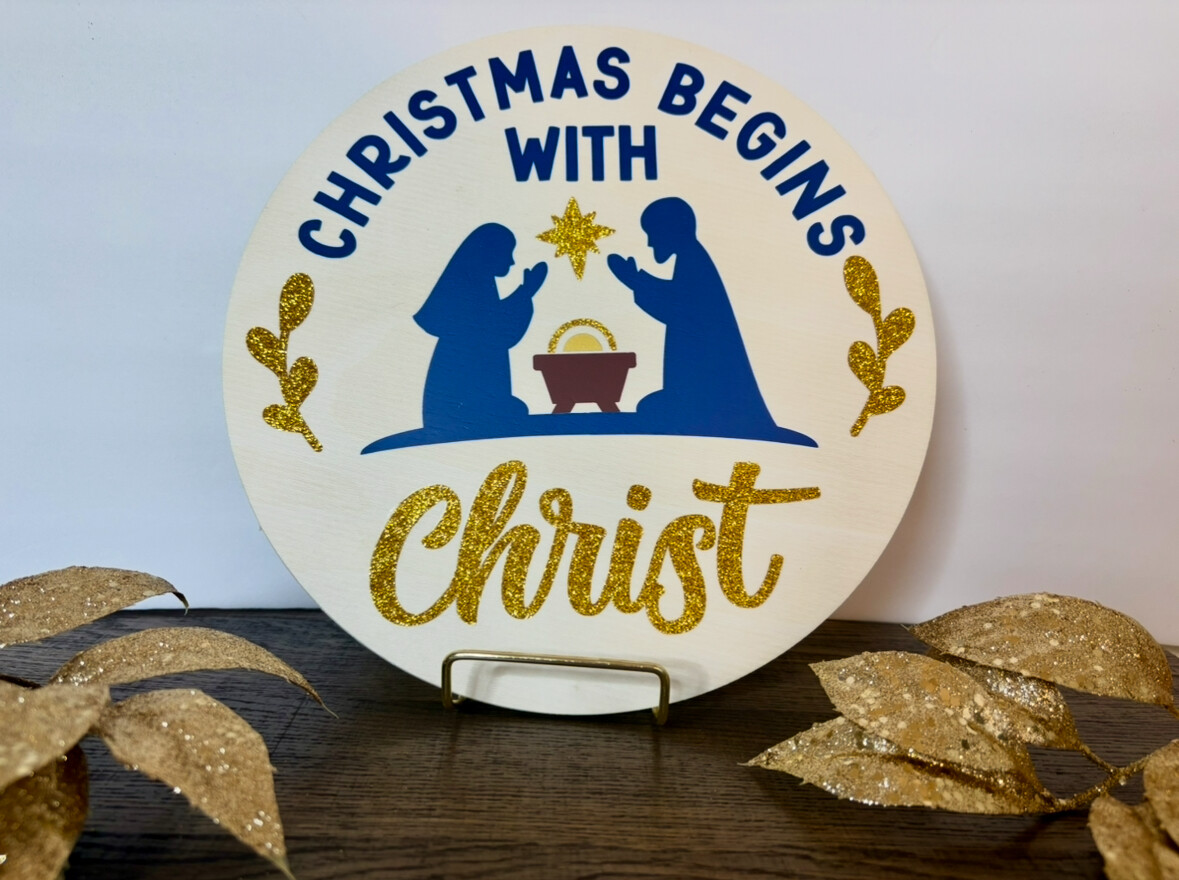
Glitter HTV on wood
I also wanted to see how the H10 handled wood. I used a wooden piece from Hobby Lobby and yellow glitter HTV. The design was from Idea Studio, and it pressed beautifully. I used about 50-60 pounds of pressure at 300°F for 40 seconds. I did one press for the regular HTV layers, then one press for the glitter HTV at the same temperature but with slightly more pressure. I finished with a quick pass using a Teflon sheet.
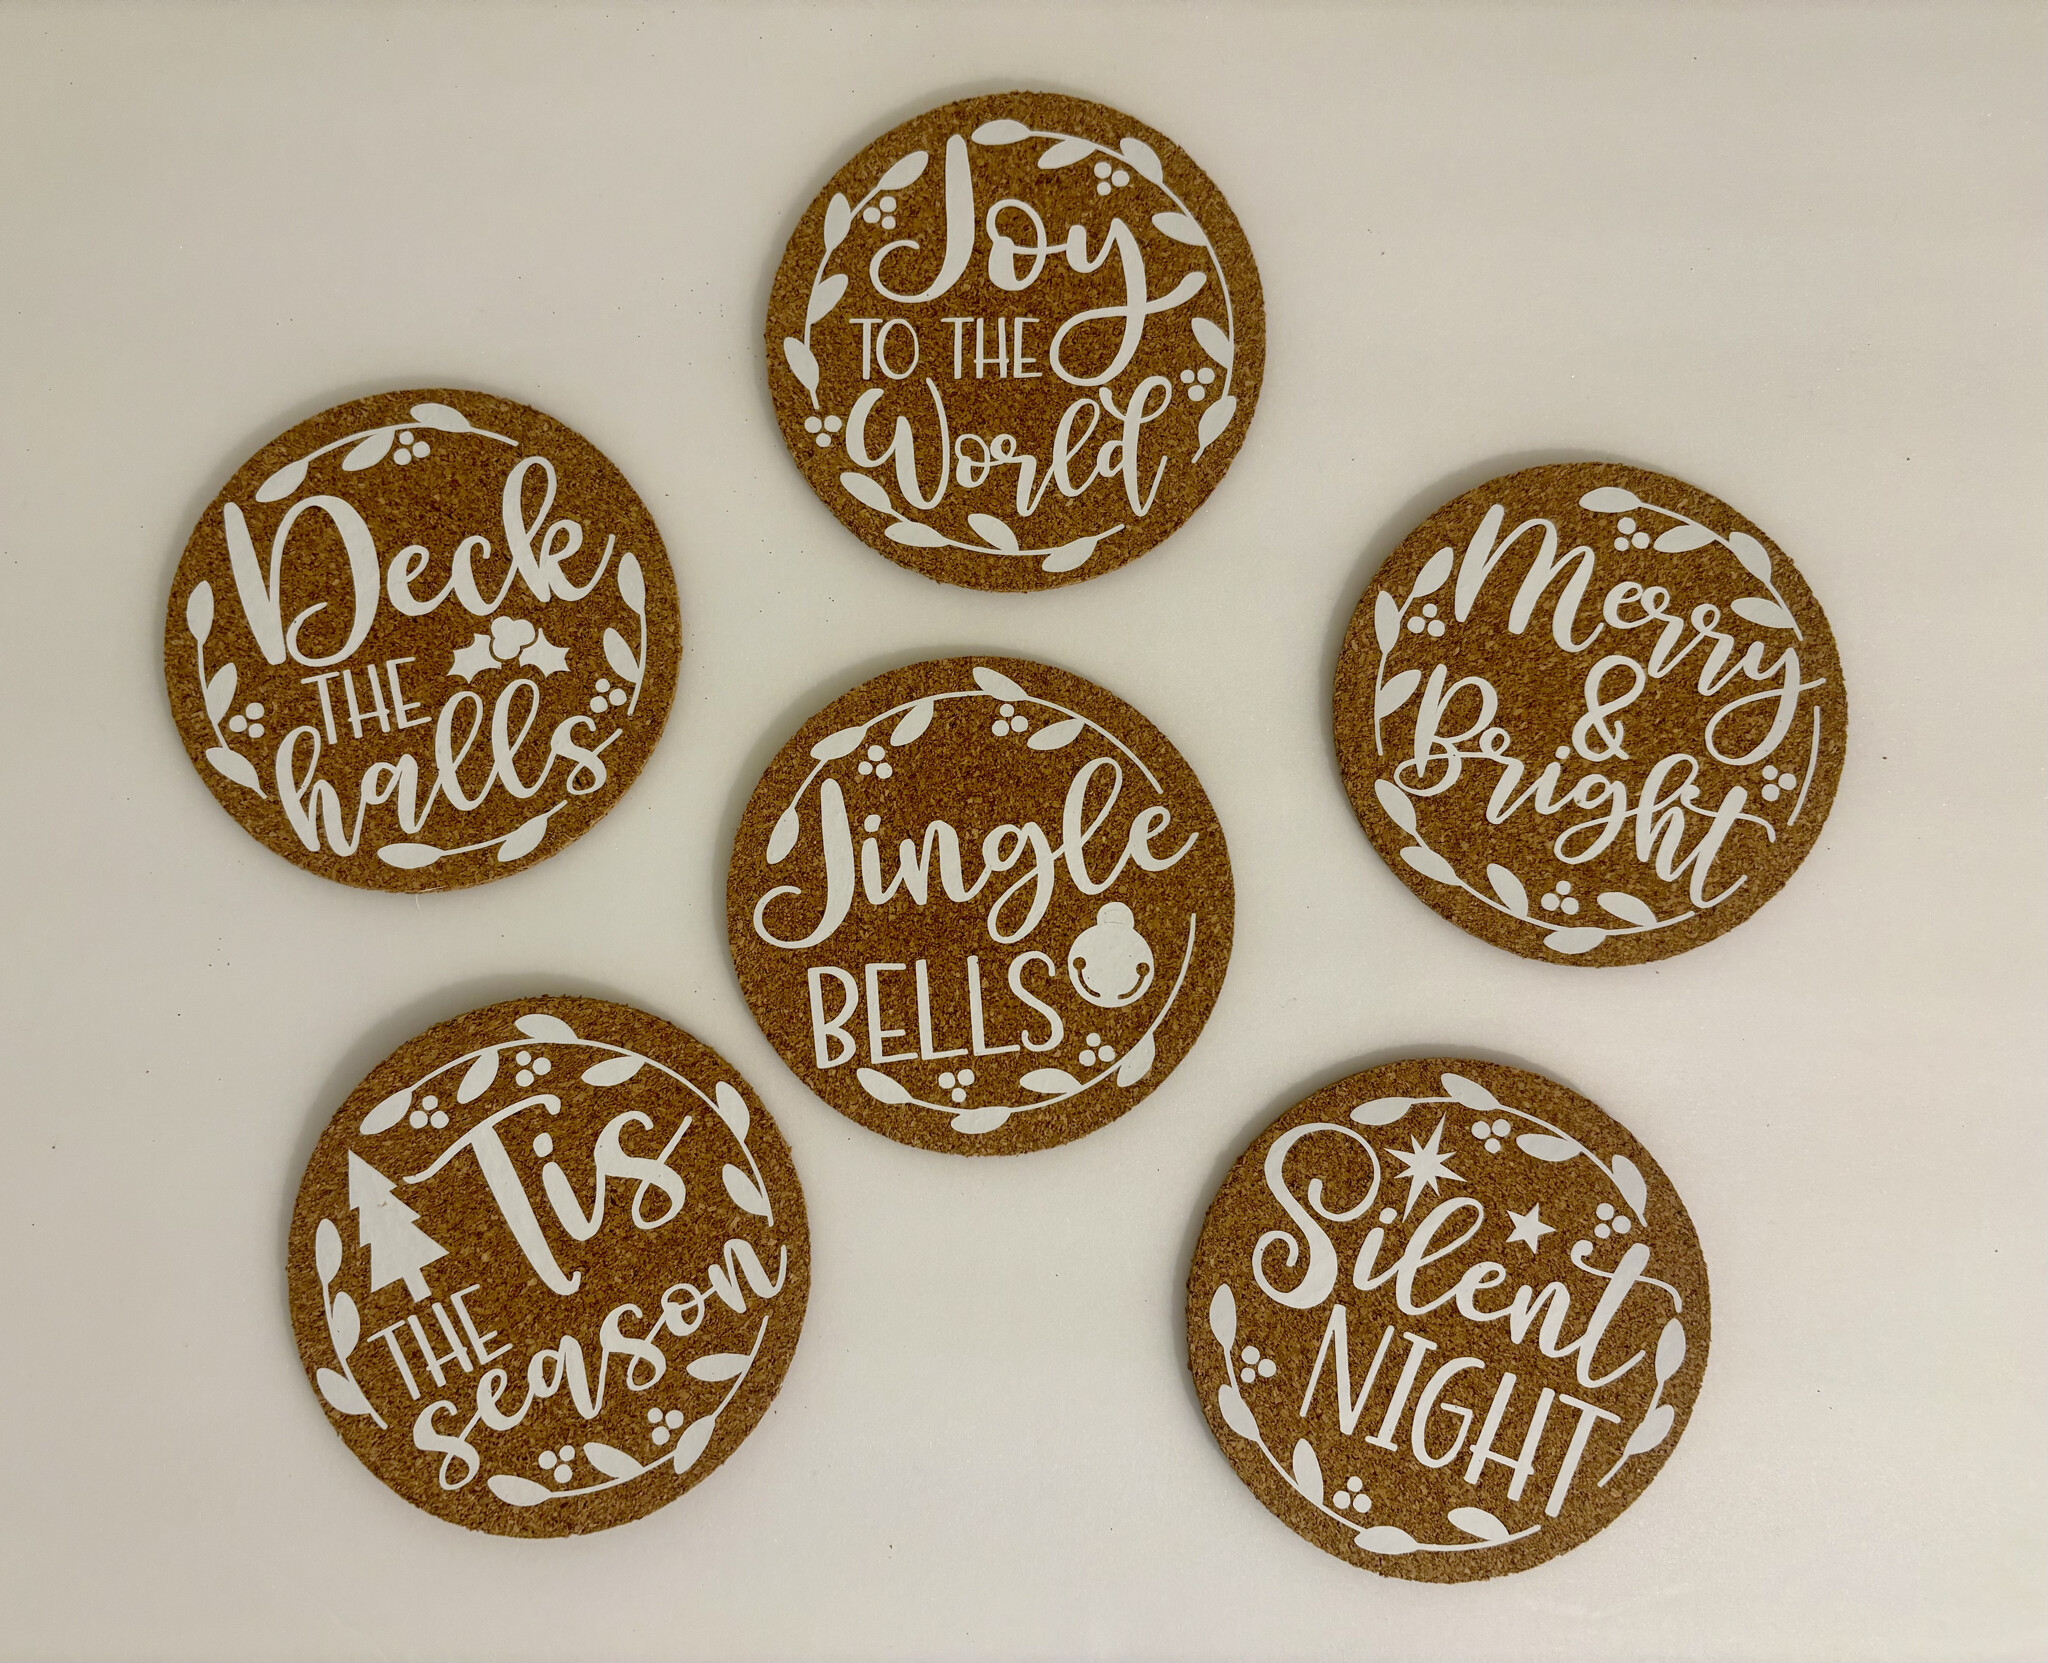
Regular HTV on cork
For this project, I wanted to try pressing HTV on cork coasters. It was simple and smooth process. I pressed for 15 seconds at 315°F with around 50 pounds of pressure. I pressed the first four coasters and then the last two, and finished with a quick pass on all the coasters with a teflon sheet over the design

Final thoughts
To wrap everything up, I think this machine is great for both beginners and experienced crafters. Some HTV types came with a slight learning curve, but everything turned out beautifully, and I genuinely enjoyed every project. The H10 offers consistent heat, reliable results, and a price point that’s hard to beat. At $129.99 for the starter kit, it’s definitely worth considering.
Thank you for joining me through all three parts of this review. This whole process was such an important opportunity for me, and I’m really honored to have been trusted with it. I tried to include as many examples as possible to show what the H10 can do, and I hope these reviews gave you a detailed and honest look at the machine. I’ll definitely be keeping the H10 in regular rotation in my craft space.