
Hello to all my crafty friends! I’m Diane B, an active member of this community for about four months. I’m a mom of two toddlers and I squeeze in crafting whenever I get a little free time. I mostly craft as a hobby since my hands are pretty full right now, but I do take the occasional order from family and friends.
I was given the wonderful privilege of reviewing HTVRont’s H10 12x10 inch heat press, and from the moment I knew it was on the way, I was full of excitement. It happened to be raining on the day it was scheduled to arrive, so I kept checking the window again and again, probably more than twenty times, just to make sure I could bring it inside the moment it was delivered. When the truck finally pulled up, I rushed out to grab it and was relieved to see that it was wrapped very thoughtfully with weather changes in mind.

I brought it inside right away and felt that burst of energy you get when you’re about to open something you’ve been eagerly waiting for. It was finally time to start exploring this cool new machine.
Unboxing Experience
Right away I noticed that the HTVRont team included several thoughtful supplies to help me get started with the H10. Included in the package were sheets of Christmas patterned HTV, Teflon sheets, 3 rolls of heat tape and a 15x15 inch heat press mat.
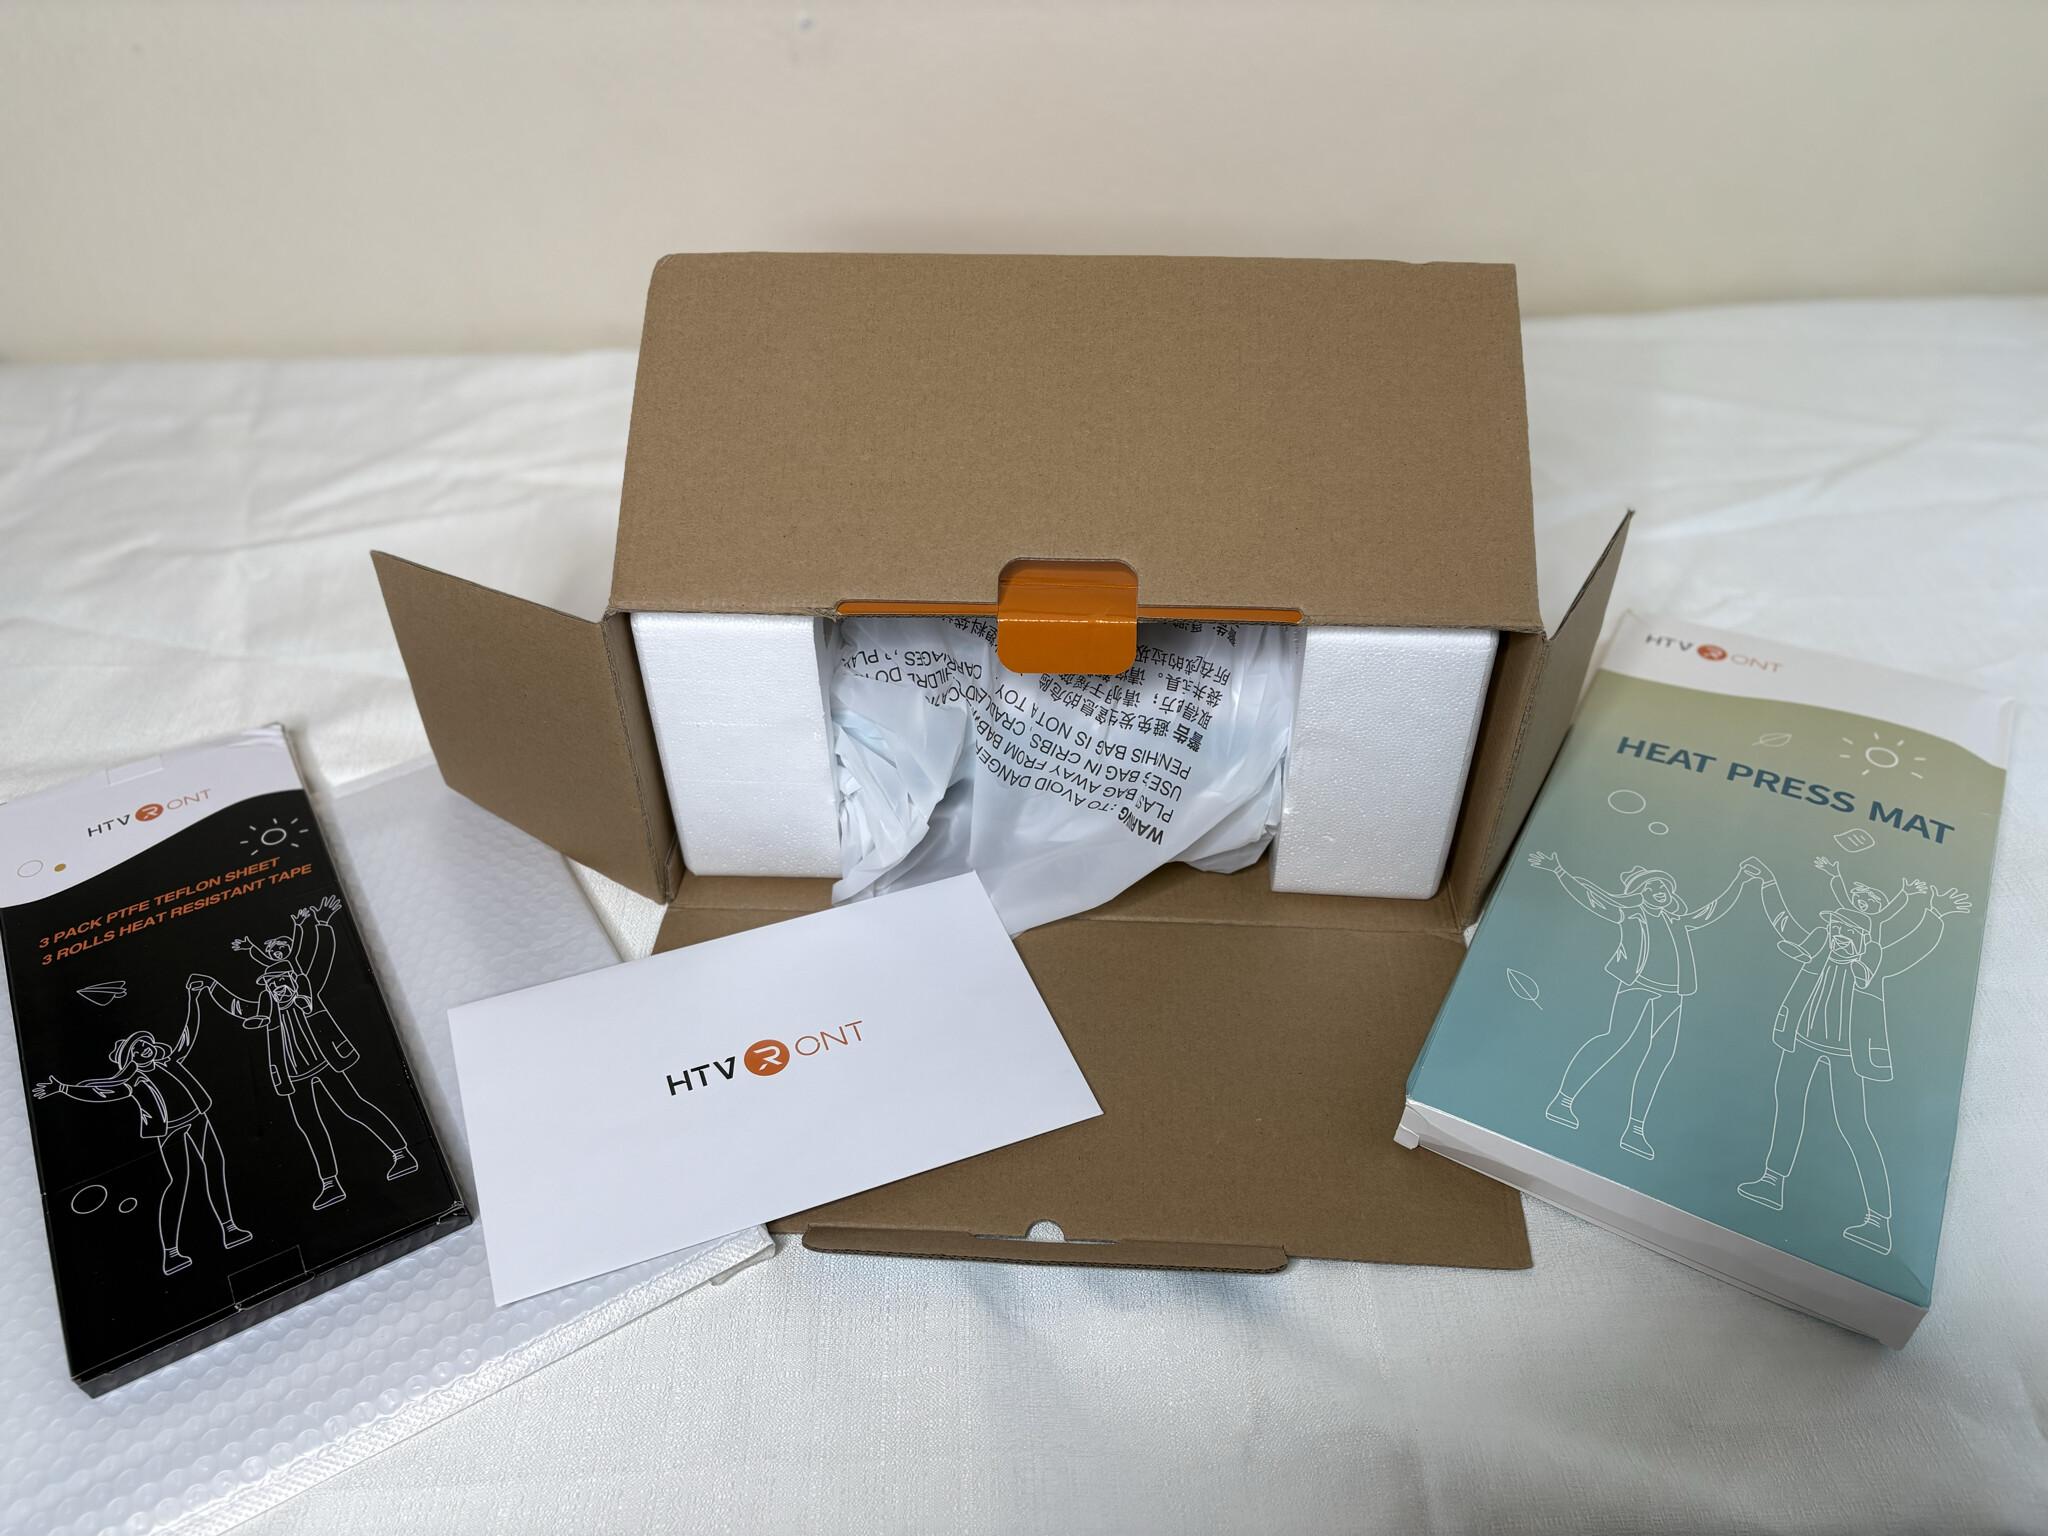
The mat is the perfect size for the machine’s 12x10 inch heat plate. I definitely appreciated receiving these extra materials to help me get started and to give me the chance to try out some fun patterned HTV. It truly made the unboxing experience even more exciting. I had to take a quick moment to admire the adorable patterns and the eye-catching glitter HTV. I’m really excited to try them out!

As I opened the box, I felt like I was unwrapping an early Christmas present. It was wrapped neatly and securely. there was an envelope that included a precaution note, warranty information and brand details. I took the machine out of the box and set the styrofoam cushioning aside while also taking the machine itself out of its plastic sleeve. As I placed it down, I noticed its sleek design. It had a clean and modern look that fits beautifully into any craft room. Its design blends well into any craft space, and since it’s not too bulky, it looks great no matter where it goes.
Build and First Impressions
The handles were comfortable and thoughtfully positioned. The machine felt sturdy and solid without being too heavy,This immediately gave me confidence that it would be easy to work with and not a chore to move around. I will be honest, I have another 12x10 heat press that feels a bit bulkier and heavier, and because of that I rarely find the desire to use it. I feel like I have less control with it. The H10 already felt like a refreshing change.
Features That Stand Out
The machine offers pressure control, a generous pressing area, a fifteen minute automatic shut off, dual handles for more evenly distributed pressure and easy portability. The feature that caught my attention the most was the pressure gauge. One of the things that always discouraged me with my other press was never knowing whether I was applying the right pressure. I often had my husband press shirts for me just to make sure enough pressure was used. But of course, that is not always convenient when I want to finish a project on my own. Being able to measure and mark the pressure for future reference is a huge selling point for me because it helps guarantee consistent results. And if you’re pressing multiple shirts at once, it’s nice to have that function. The dual handles also gave it a nice feel. They felt comfortably positioned to where your hands could have a good grip to help with distributing pressure to all sides
Controls and Interface
Once I turned the machine on, I explored the controls to understand what each button did. The display is simple to read and easy to use. The overall design feels clear, organized and friendly for beginners and experienced crafters alike. I included an image to show what I found while testing the controls.


To set temperature to Celsius, hold down on the temperature button for a couple of seconds and then it will switch to Celsius. To adjust the pressure from lbs to kgs, you press down on the time button for a couple of seconds. To adjust temperature, press the temperature button, then press the + or - button to your desired temperature. To adjust time, press the time button, then press + or - to adjust it to the desired amount of seconds you press your garment for. You can also hold down on the + or - button to increase or decrease faster but it can pass by the temperature you want quickly so be careful as you do so. The R button is to start the timer when you are ready to press. Pretty straightforward after that, with the display showing the information as follows: temperature, pressure being pressed and seconds it’s counting down from.

The machine will beep once the timer ends. It’s not a loud beep, just the right amount to get your attention.
Final Thoughts

All in all, the H10 offers a user-friendly control panel, a beautiful aesthetic design, and a larger press surface than its predecessor, along with a very helpful pressure sensor. I’m excited to see how this machine improves the quality and consistency of my projects. I’ll be following up with Part 2 in a few days, where I’ll be testing the H10 with different materials. I’m very grateful for the opportunity to try out the H10, and I hope Part 1 has been helpful so far.