With the Christmas themed community comes a Christmas tutorial
And as I have received my H17 recently I decided to make a tutorial on how to
Print a phone case with h17
 Materials
 Laptop / Tablet / phone
Ideastudio
Loklik/HTVRONT H17 phone case press
Sublimation printer / ink / films
Heat resistant gloves /tape
Fixture sets
Sublimation 3d phone case cover
Now let’s get started 
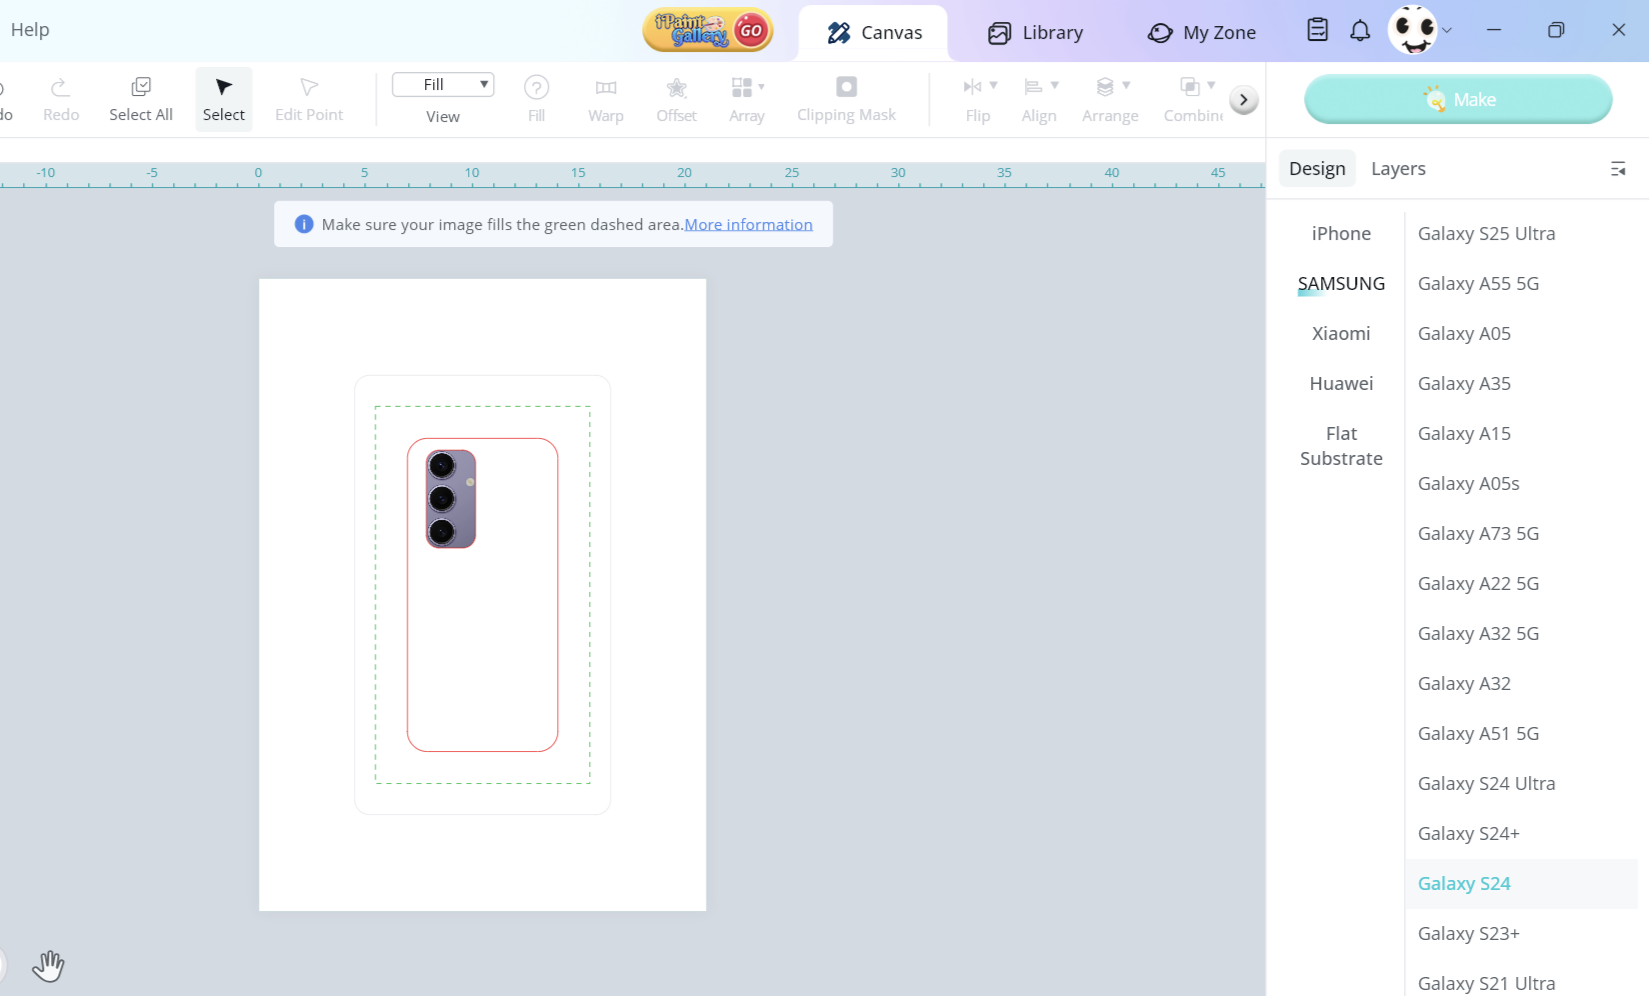
 Open Ideastudio and from the right panel choose your machine which is
H17 phone case heat press
Now choose the material you want to print on, As I said before I am printing a phone case in this case we have to choose which phone it is.

Now you may not find your phone model so you can measure it and choose the most relevant model or measurements that could fit yours.
On the screen you’ll get two lines defining the work space you need to put your design in.
Now the instructions says to make the design fill to the green border.
From Ideastudio type
Christmas or
Winter
And you’ll get plenty of beautiful cozy designs to choose from.
I found some elements that fits my taste so I chose them.
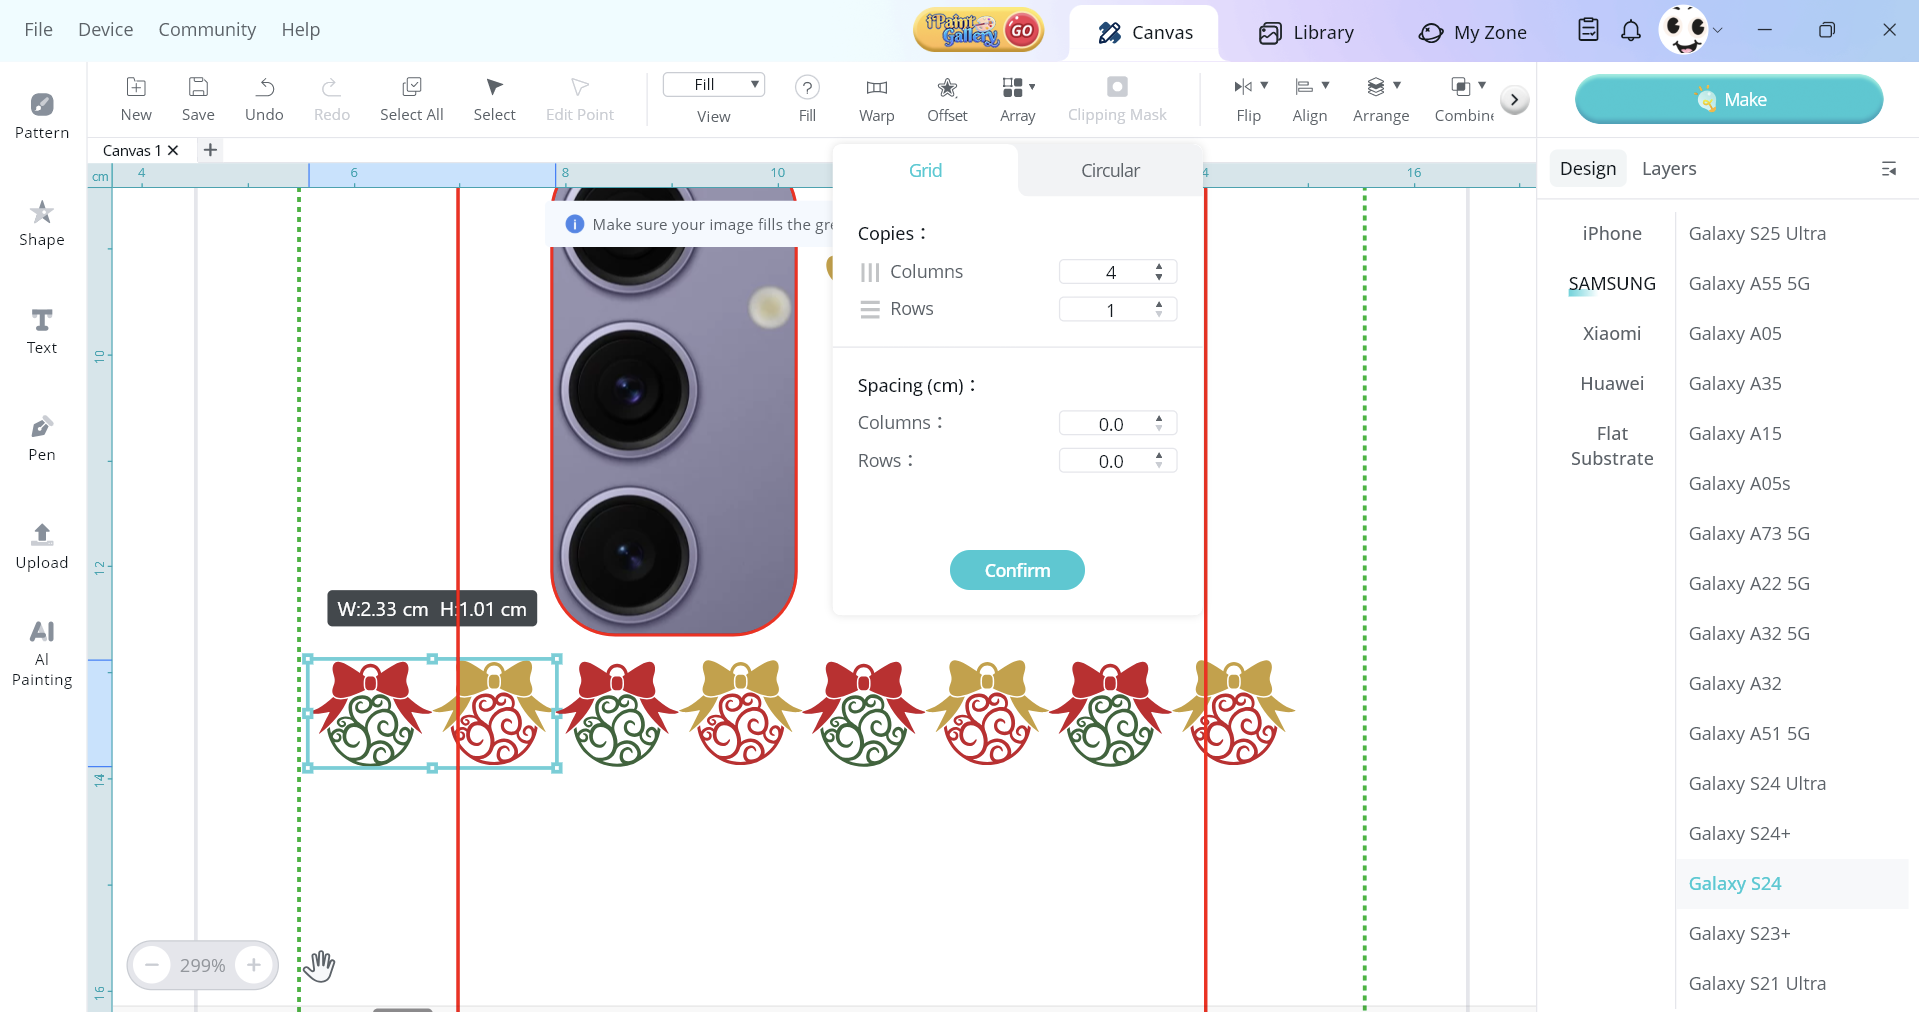
You can edit the colours, shapes or whatever you want. For example I changed the colours after I selected the part I want to change , from the top panel I clicked on the the fill and chose the colours.
Place the element and if you want to repeat it, easily from the top panel choose
array and make the changes you need ( how many columns and raws and spacing)
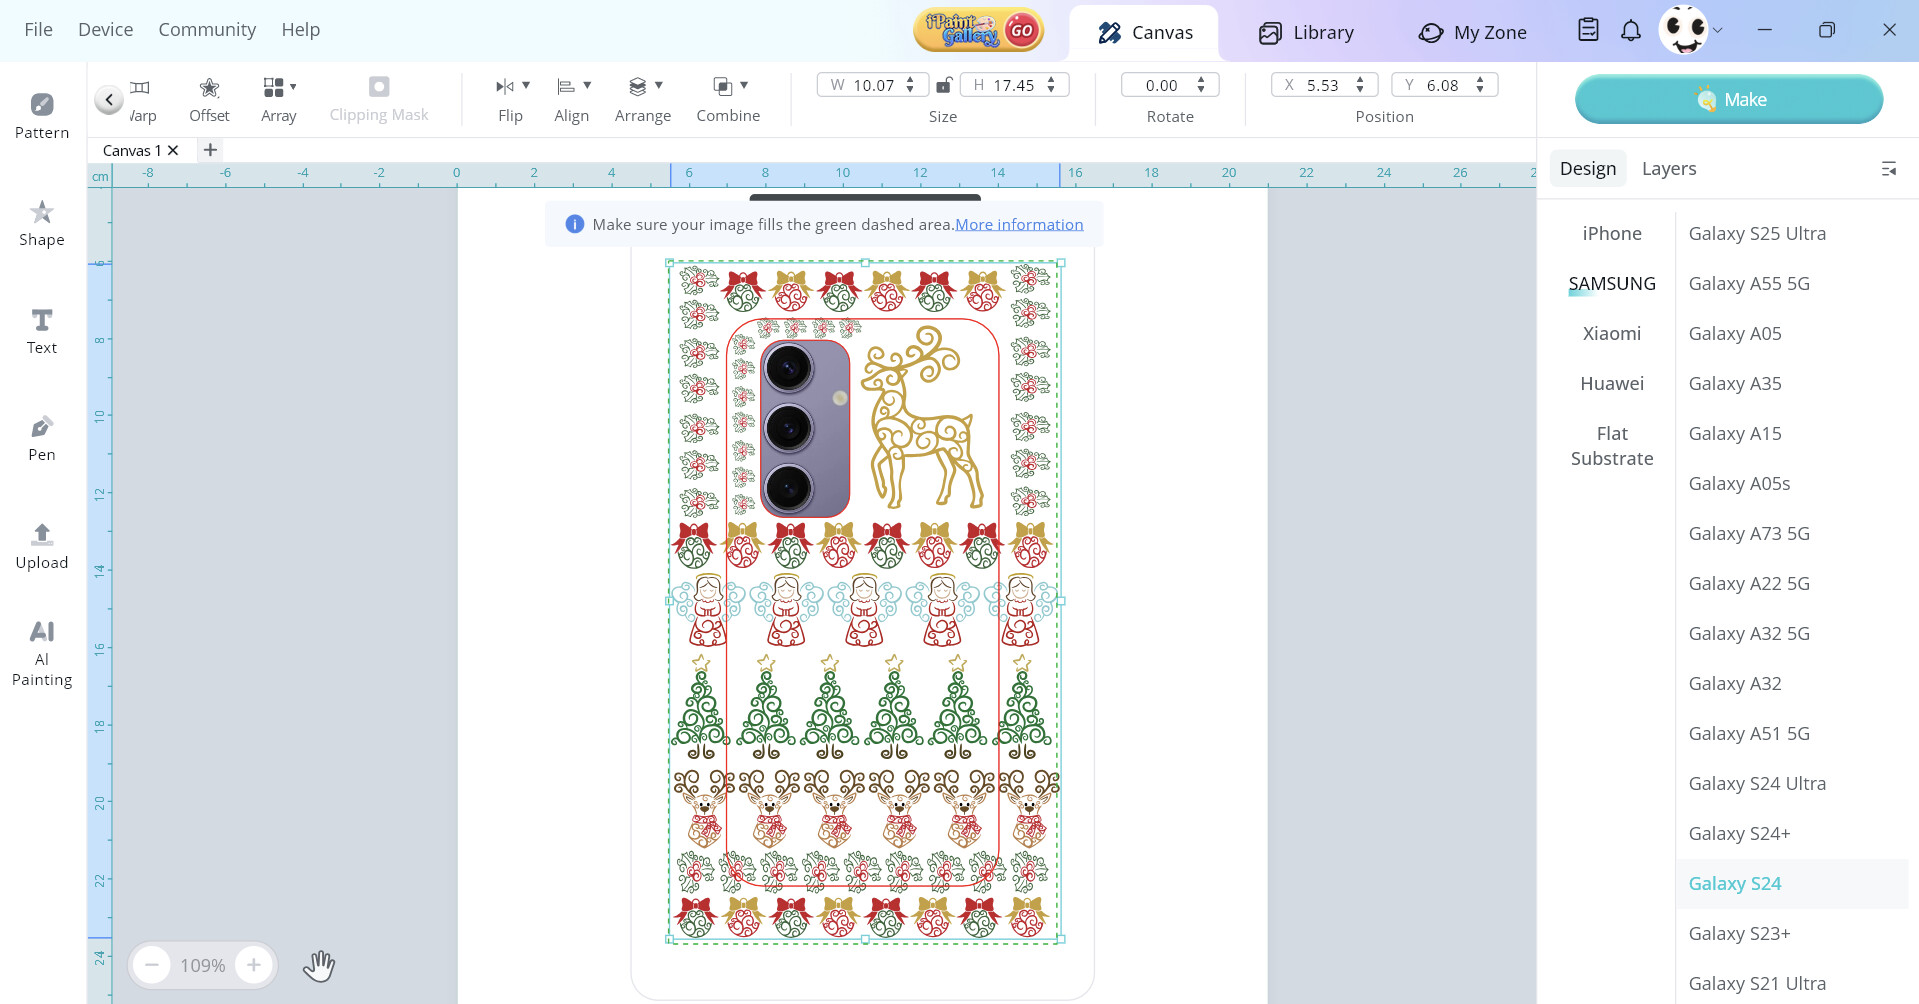
I repeated the step for all the designs I chose
At this point my design was ready

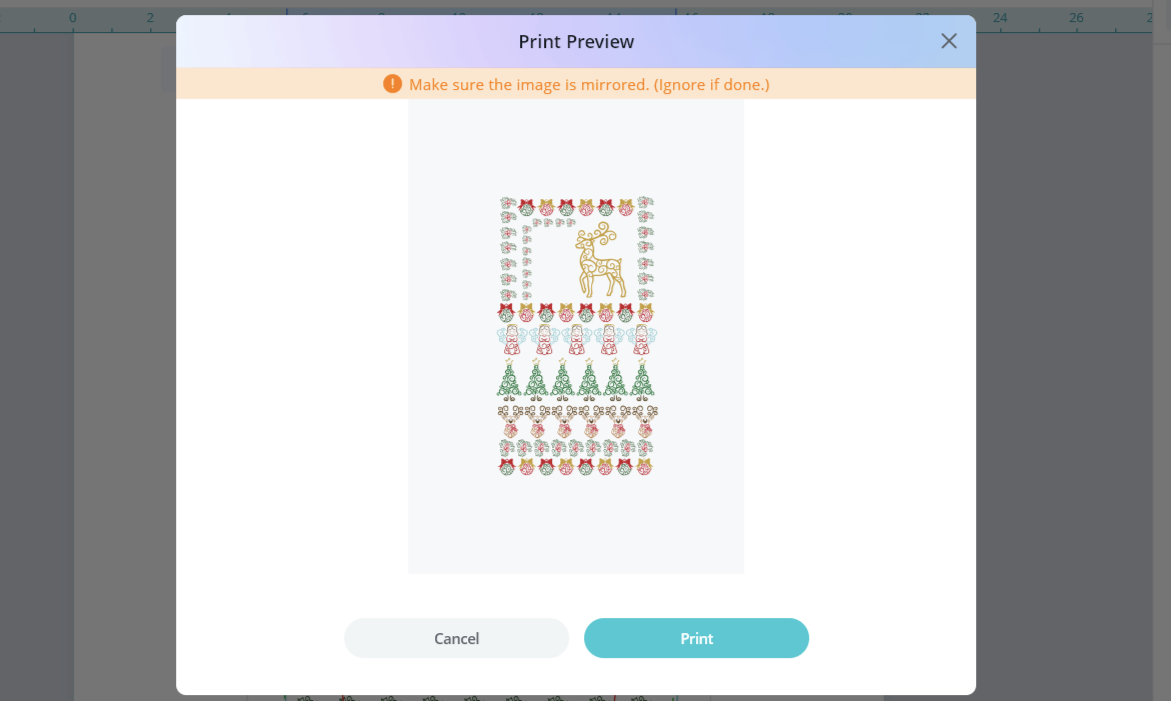
Press on
make it and it will remind you to
mirror your design, it is very important to mirror like any other sublimation project.
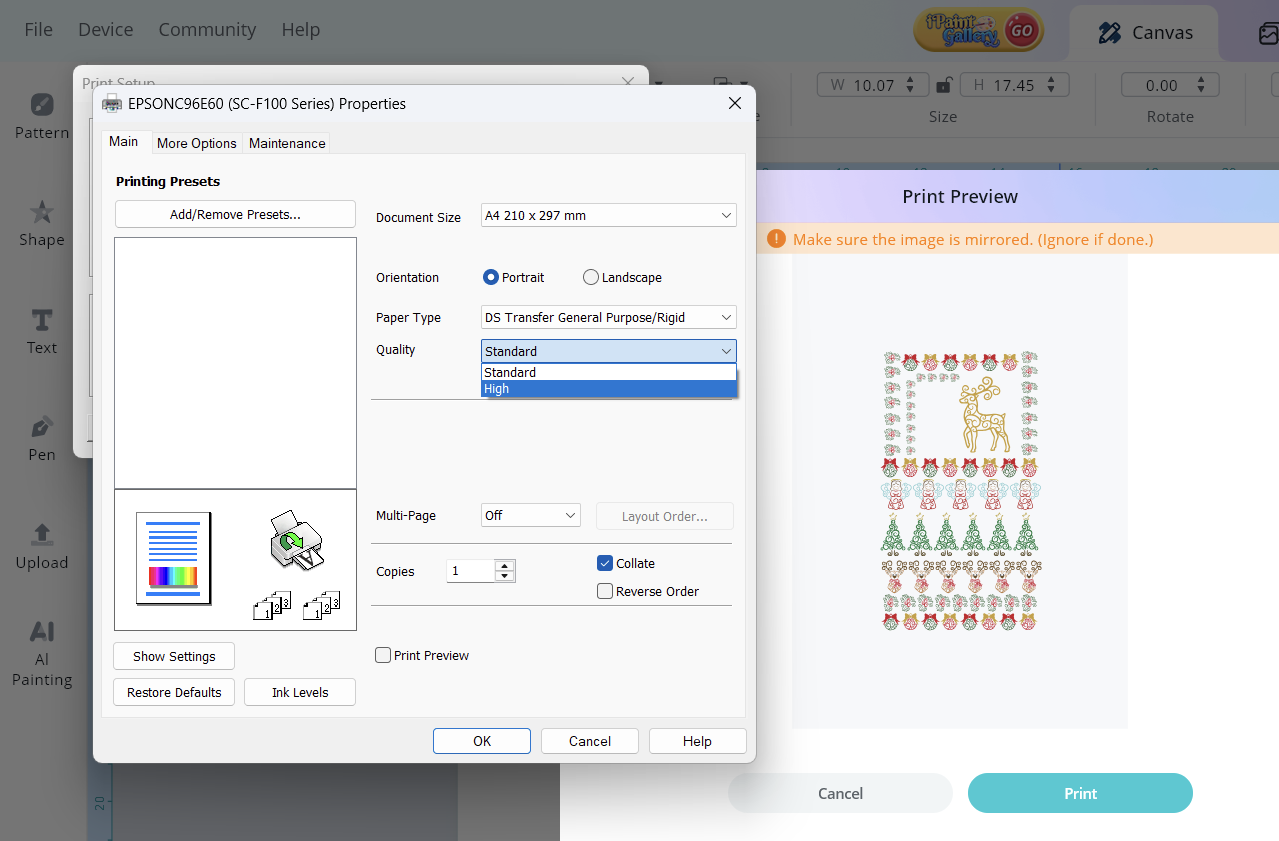
As my printer
Epson scf100 mirrors designs automatically from the properties, I only had to choose the high quality and rigid paper type.
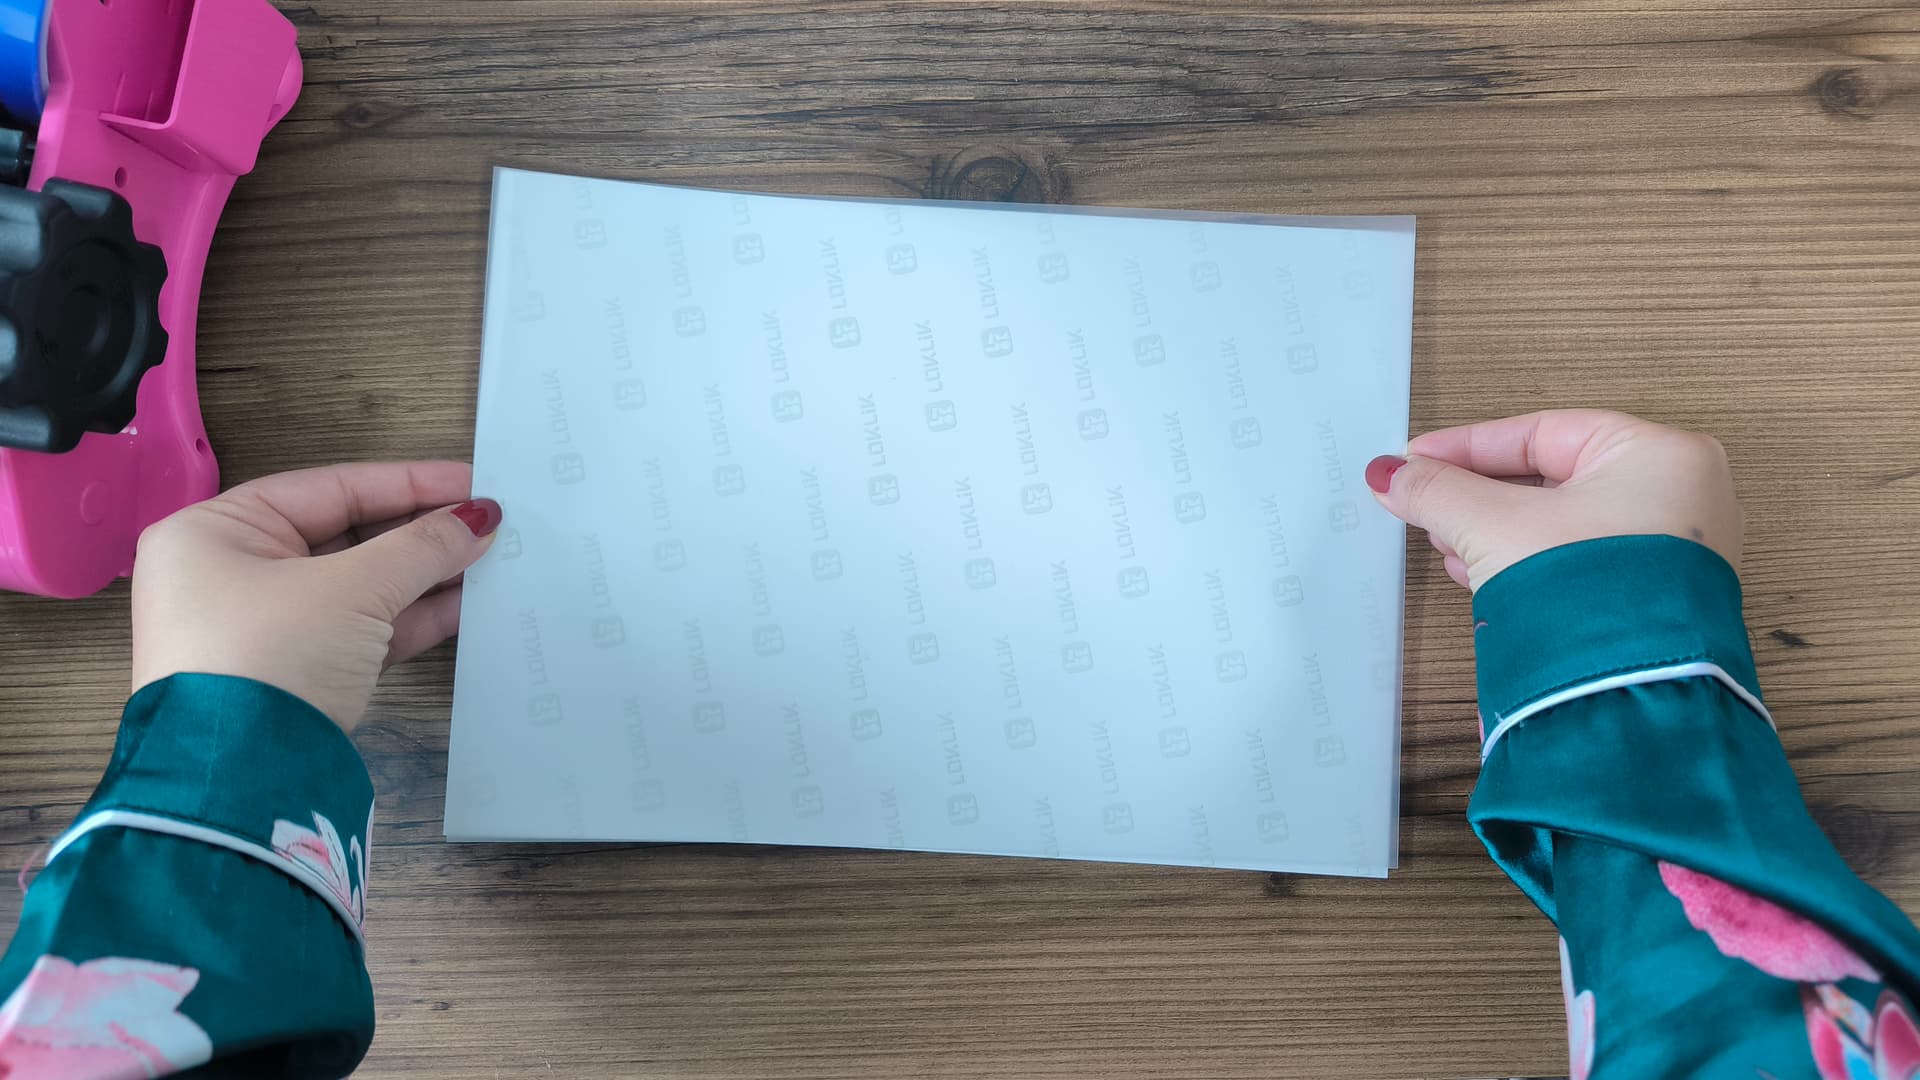
the sublimation film has two sides
Shiny side and matte side, the printing is going to be on the
matte side
Most printers may not recognise the sublimation film so what we need to do is to tape a paper or a sublimation paper as I did on the back of the film that means on the
shiny side
Place the sublimation film in your printer
(paper facing up, matte side of the film facing down)
Start printing and it should print easily.
preparation and application
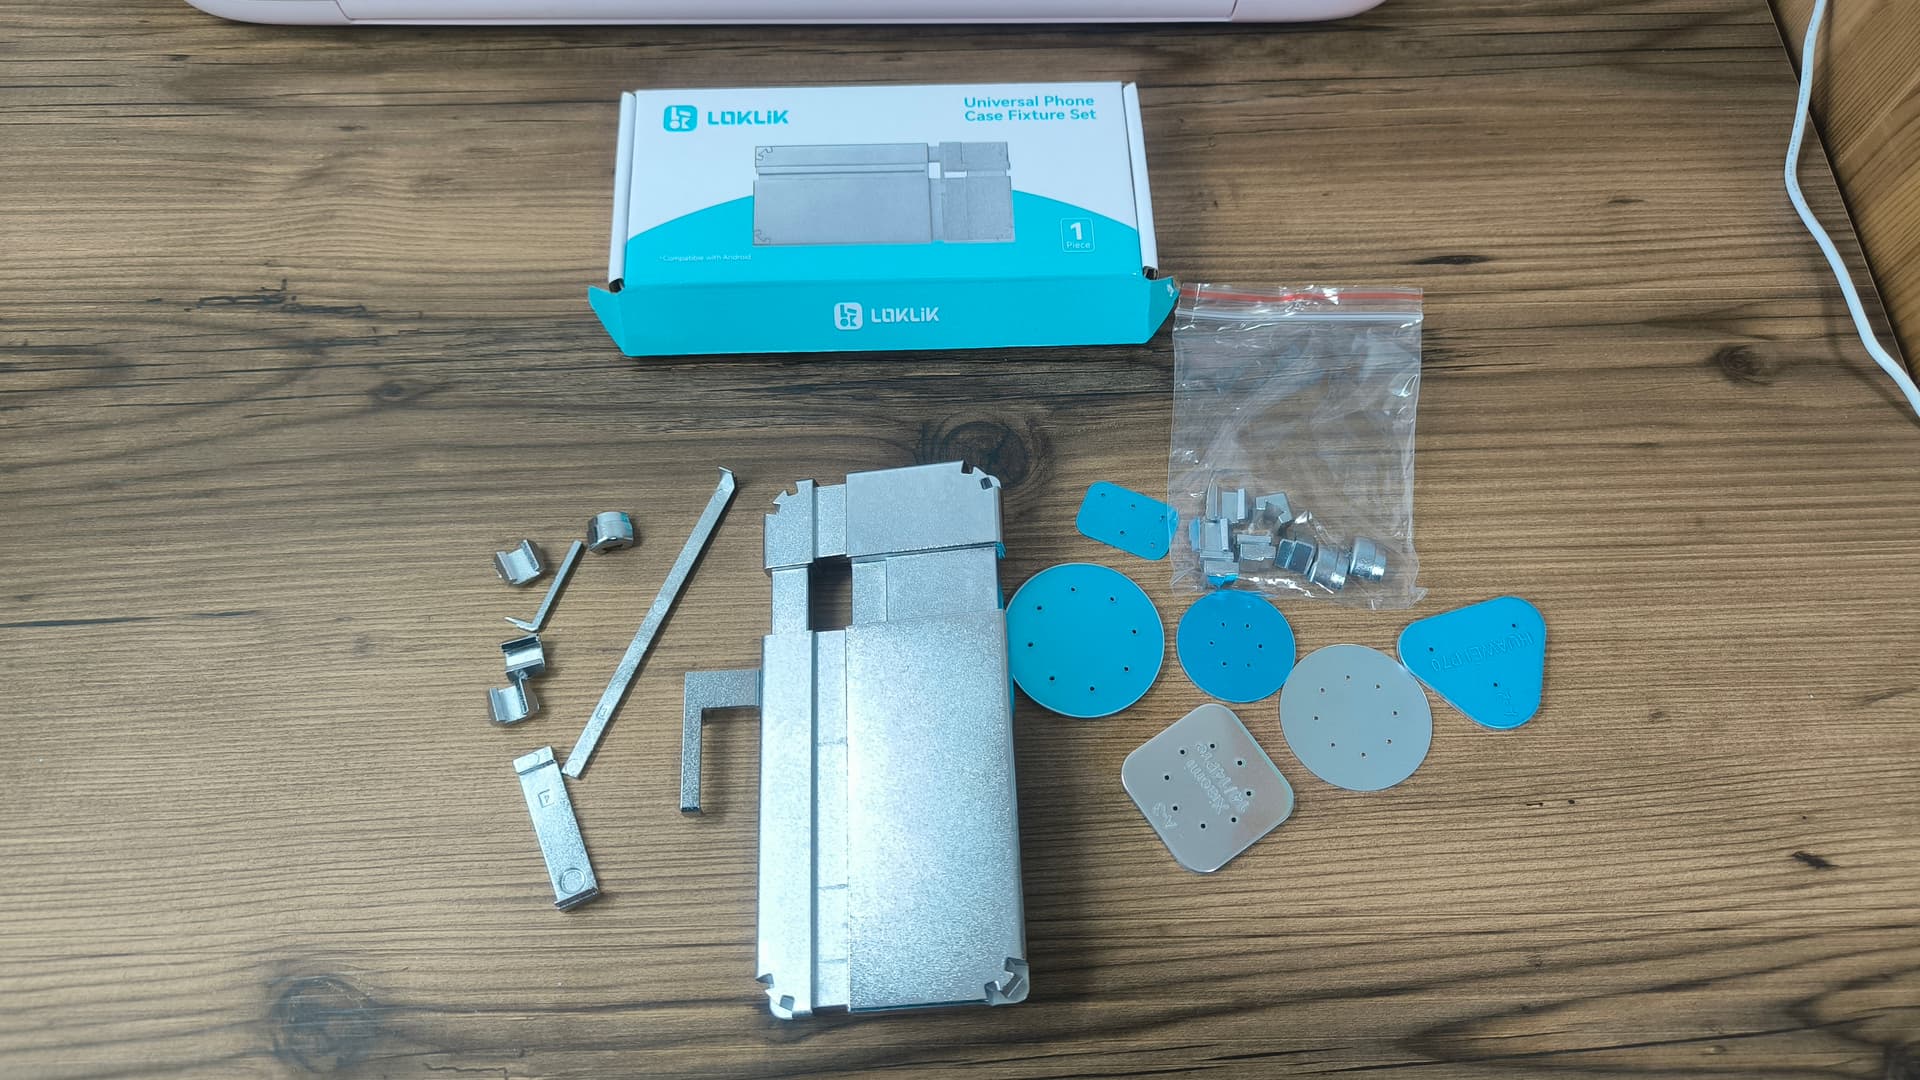
I am printing on a Samsung phone case so I chose the Android fixture set
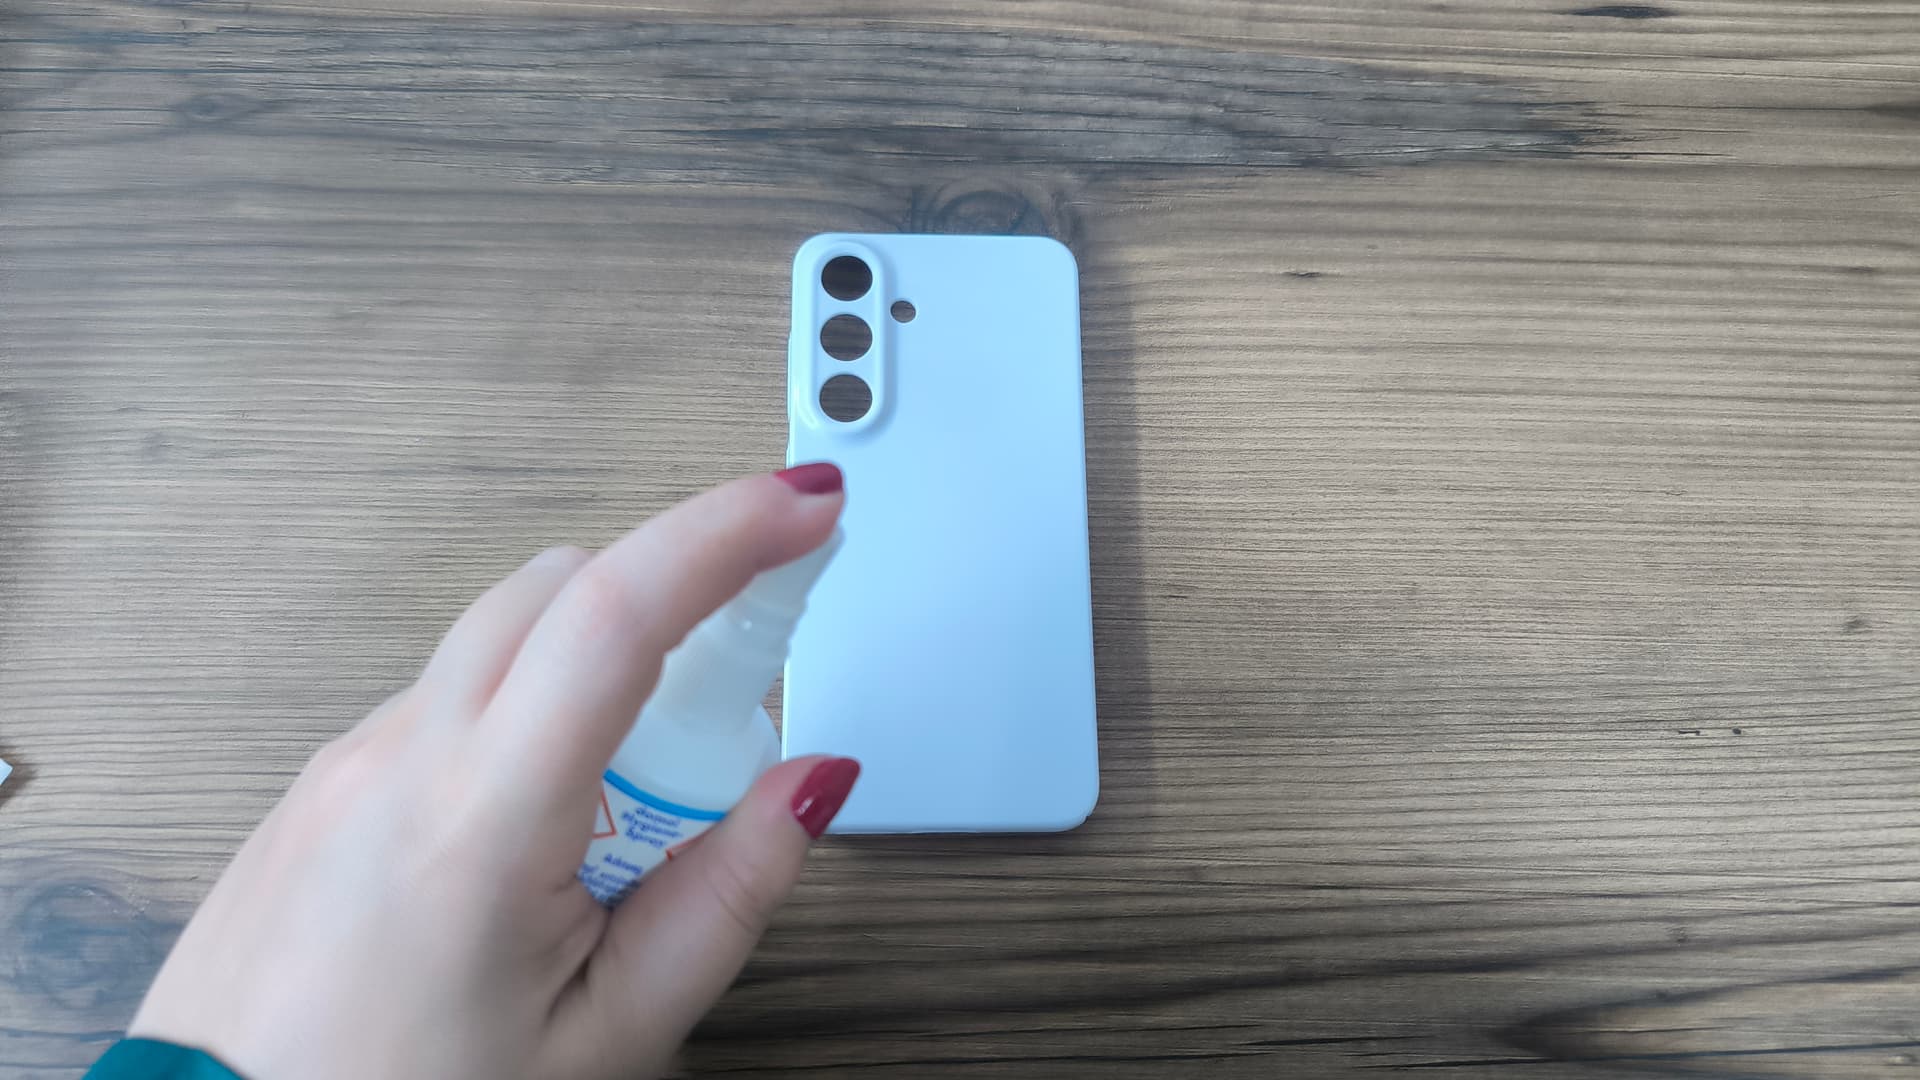
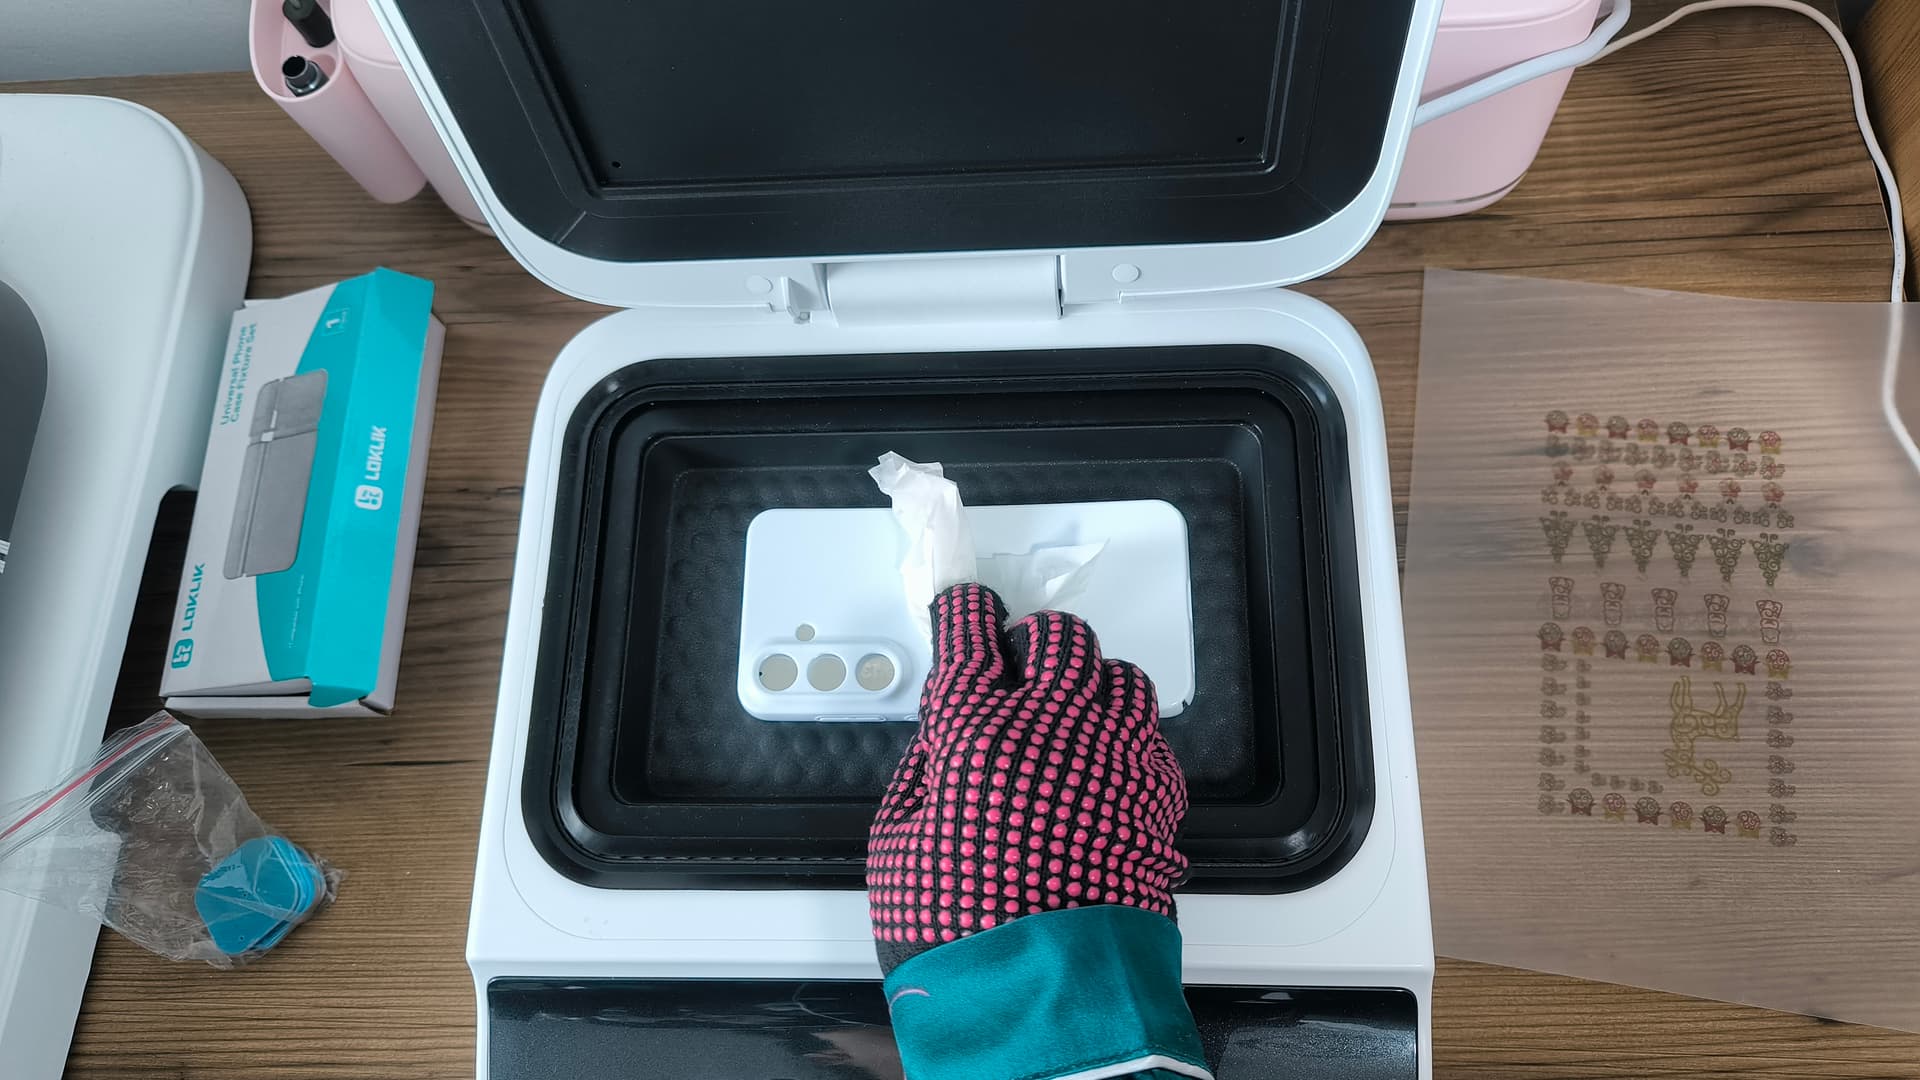
Clean the phone case with alcohol to remove any oils or stains or fingerprints
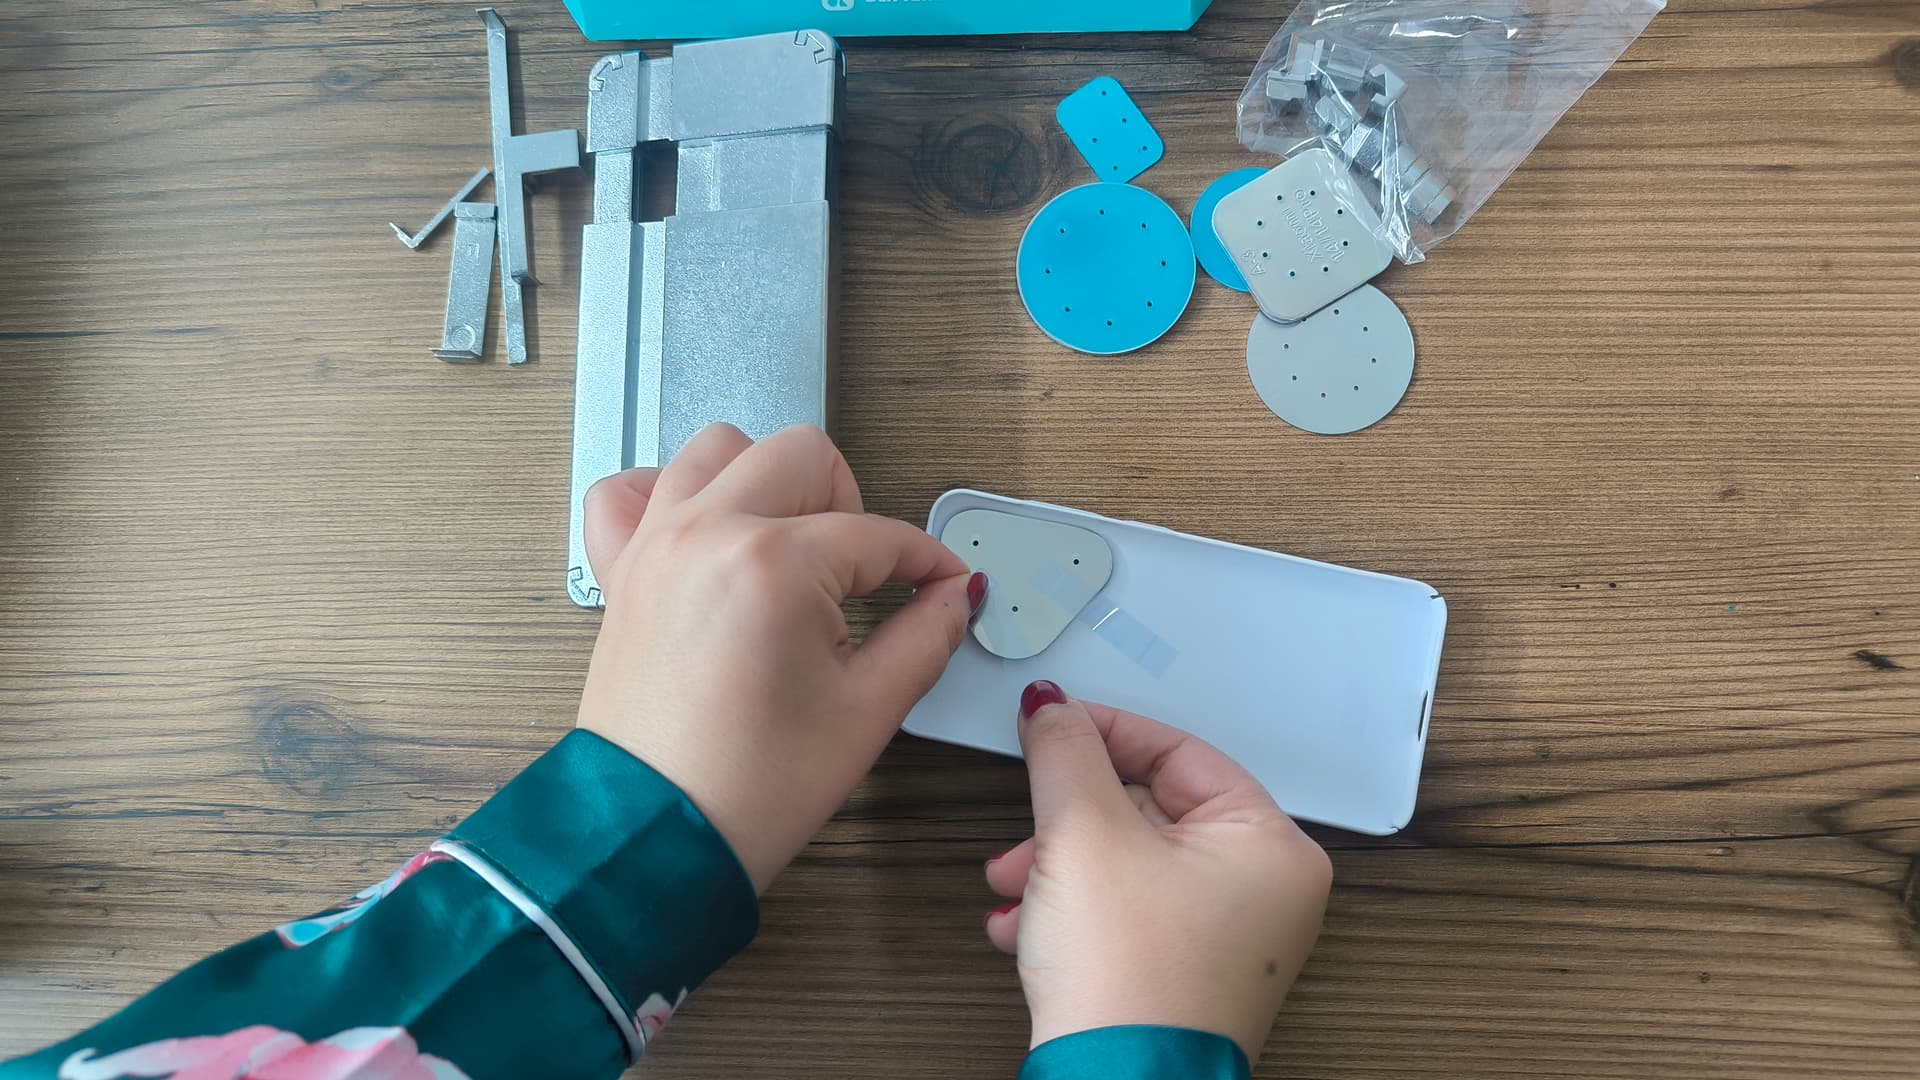
With Android fixture sets comes 3 kinds of corners so make sure to choose the right one that fits your cover.
It also comes with different types of lens pads, choose the one that can cover the lenses and tape it with heat resistant tape.
As my phone case was the smallest one it fit the fixture without any extenders.
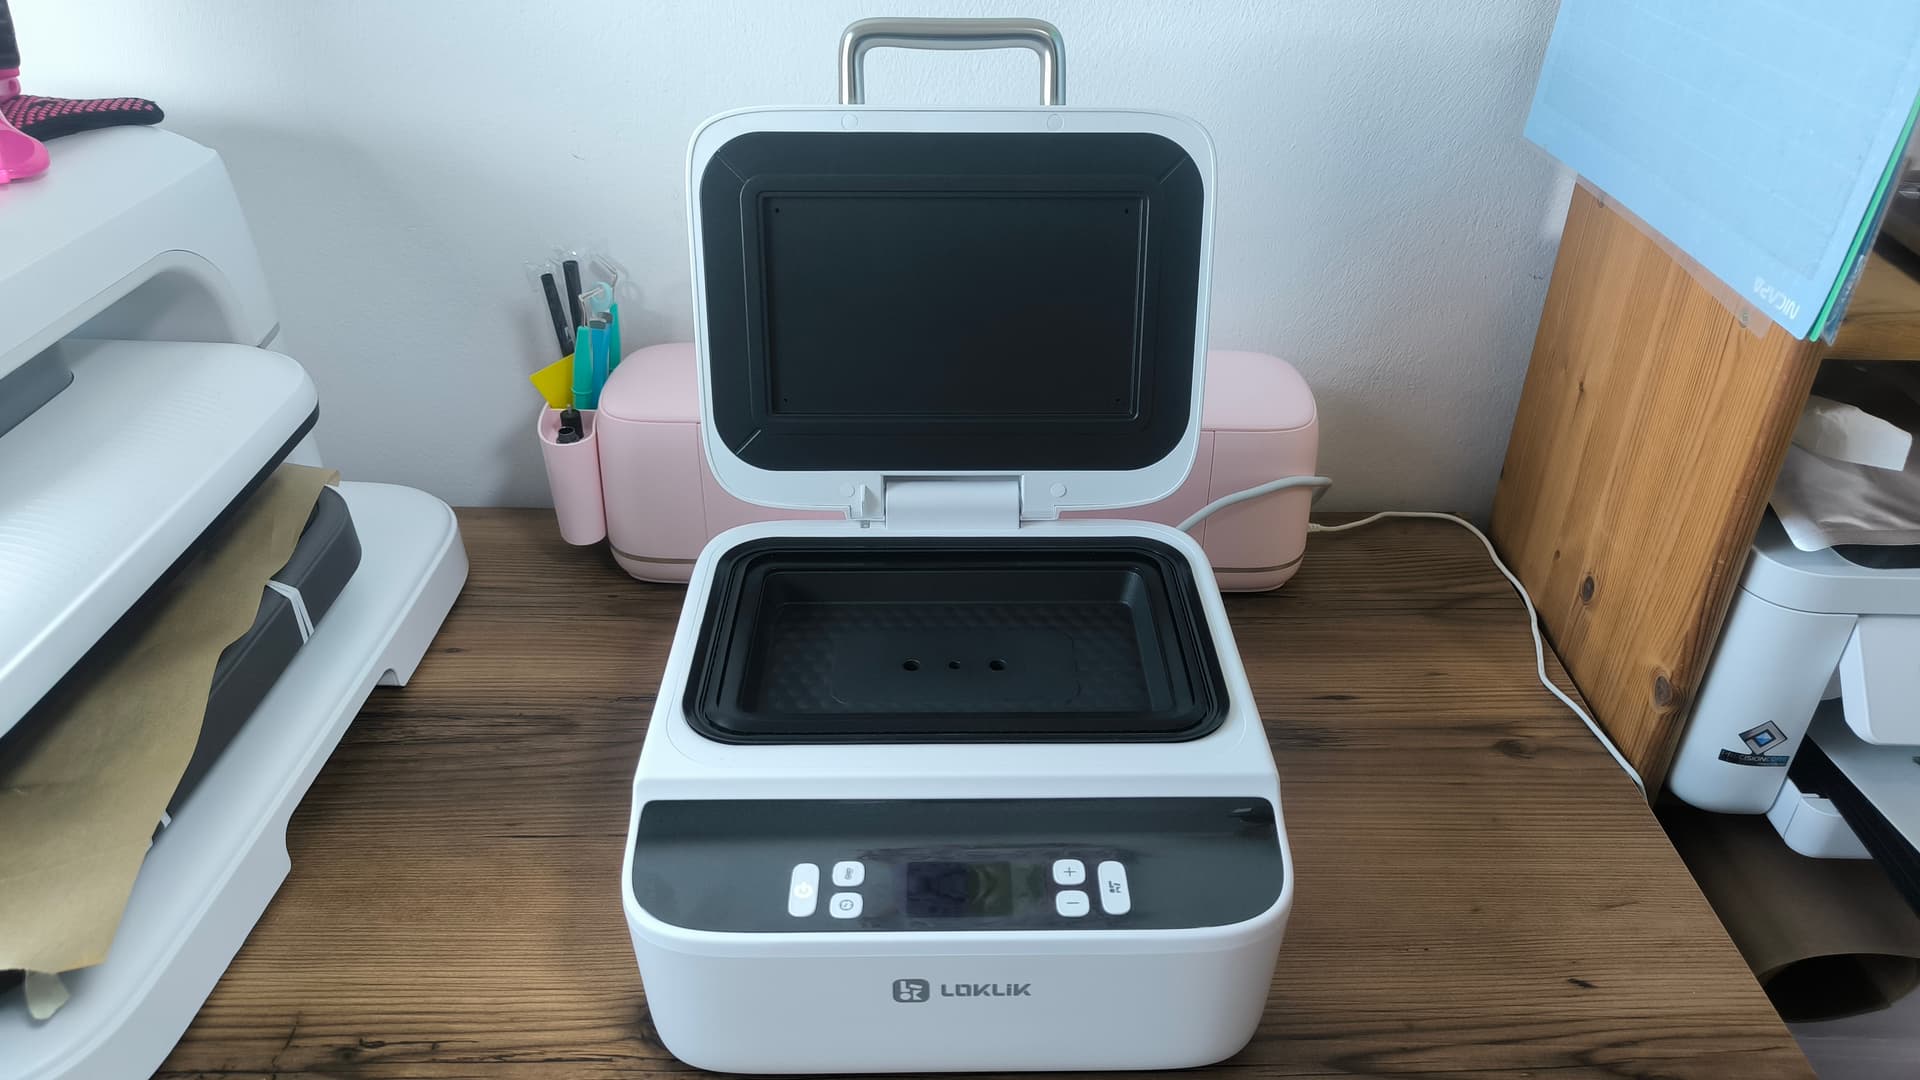
Preparing the heat press
Plug in the phone case heat press and the power button will light up.
The heat button has 2 settings when you press it, the yellow light is for the upper plate and the red one is for the down one.
The time button is also the same, when it is yellow it refers to the preheat time and when it is red to the vacuum pressing time.
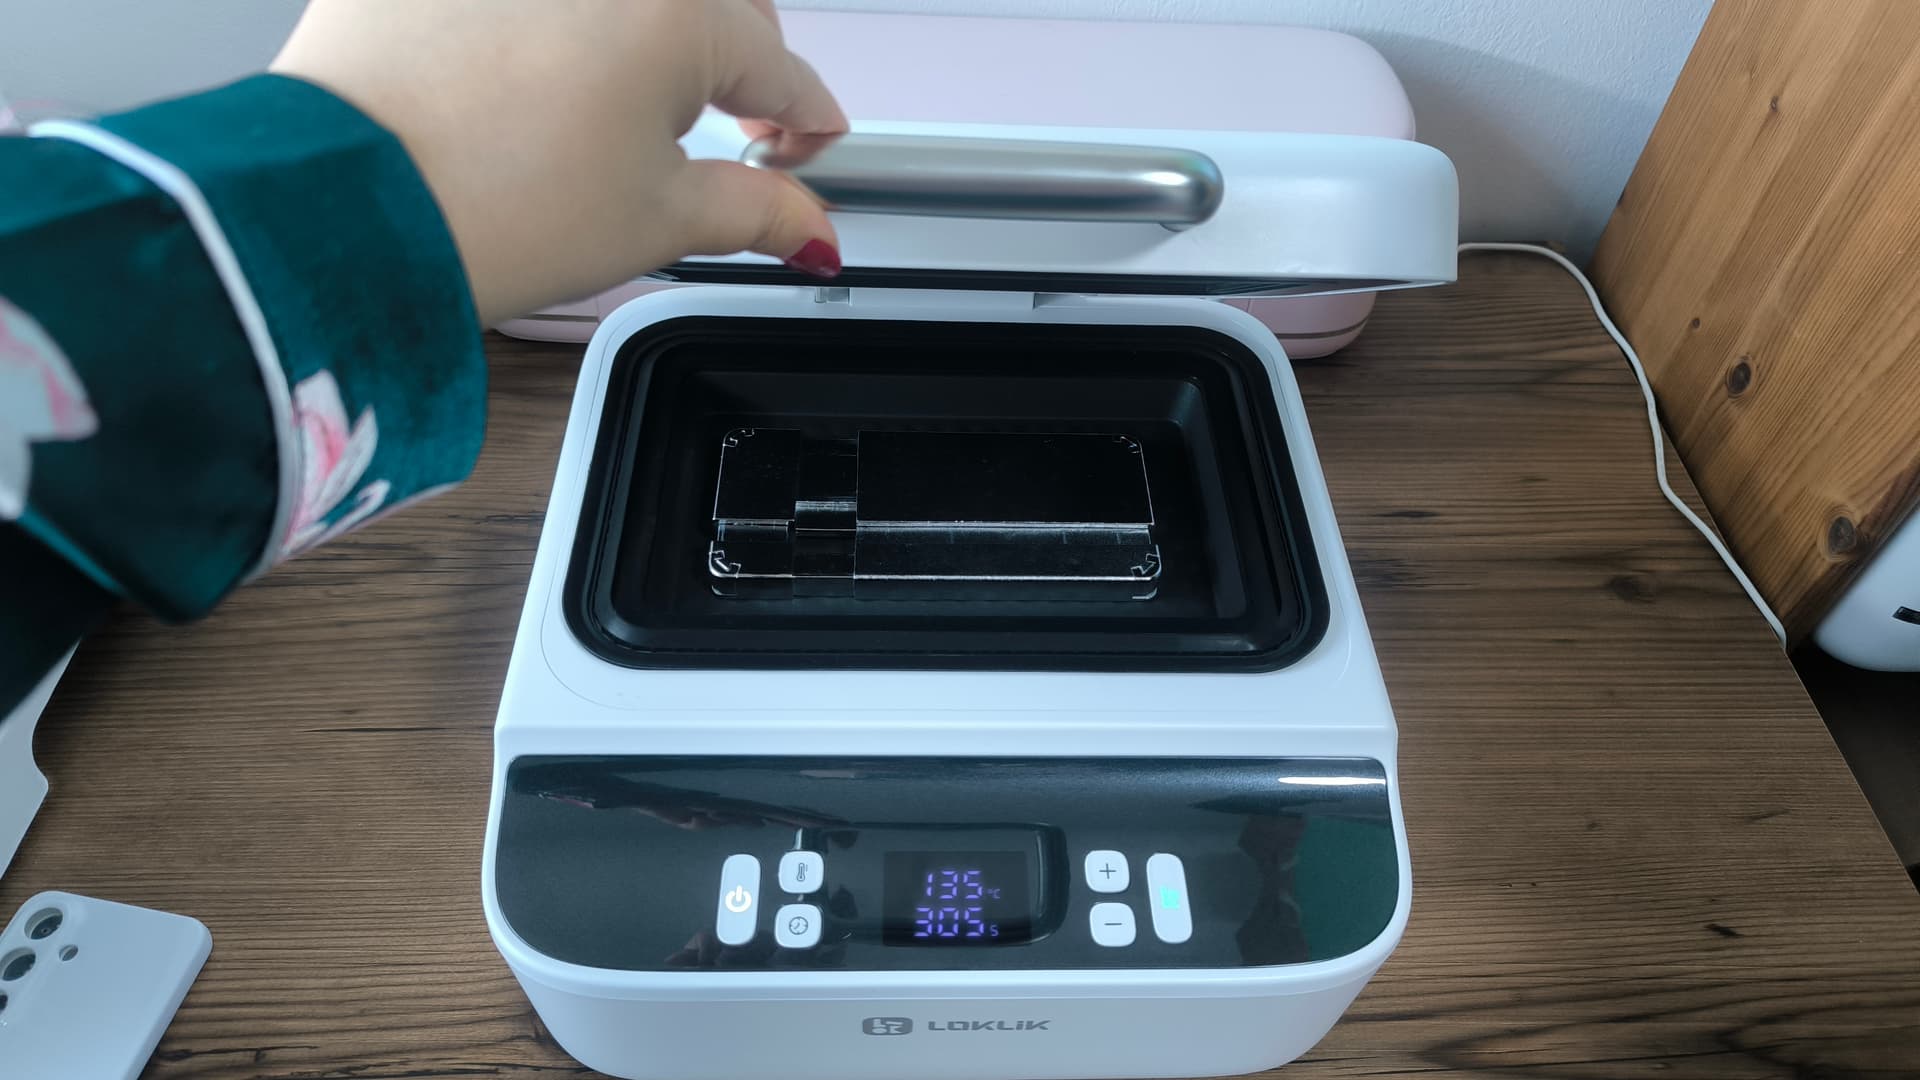
settings
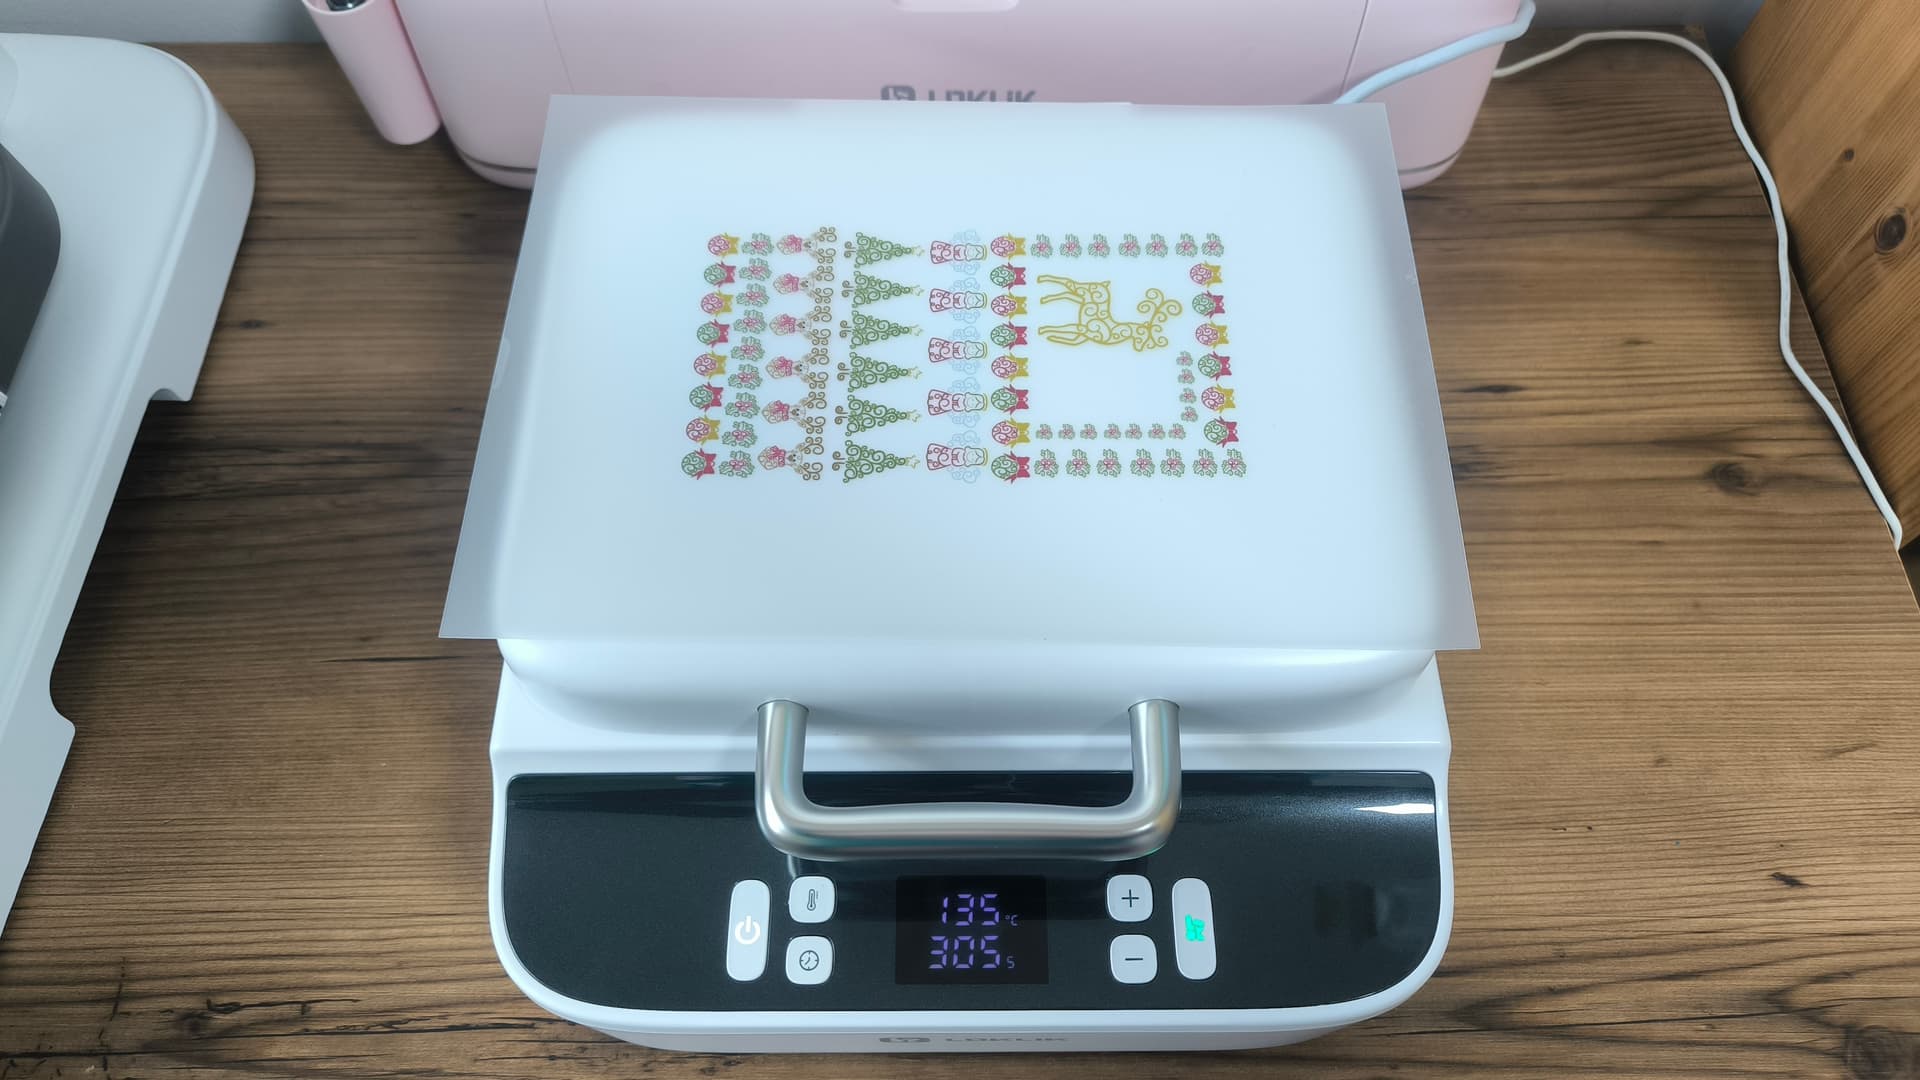
Upper and down plates 135° Celsius
Preheat time 5-10 seconds
Pressing time 300 seconds
Place the fixture inside the press and let it warm for about 10 minutes
Be careful it will be hot.
Also you can place the sublimation film on top of the press to let the ink dry ( matte side up)
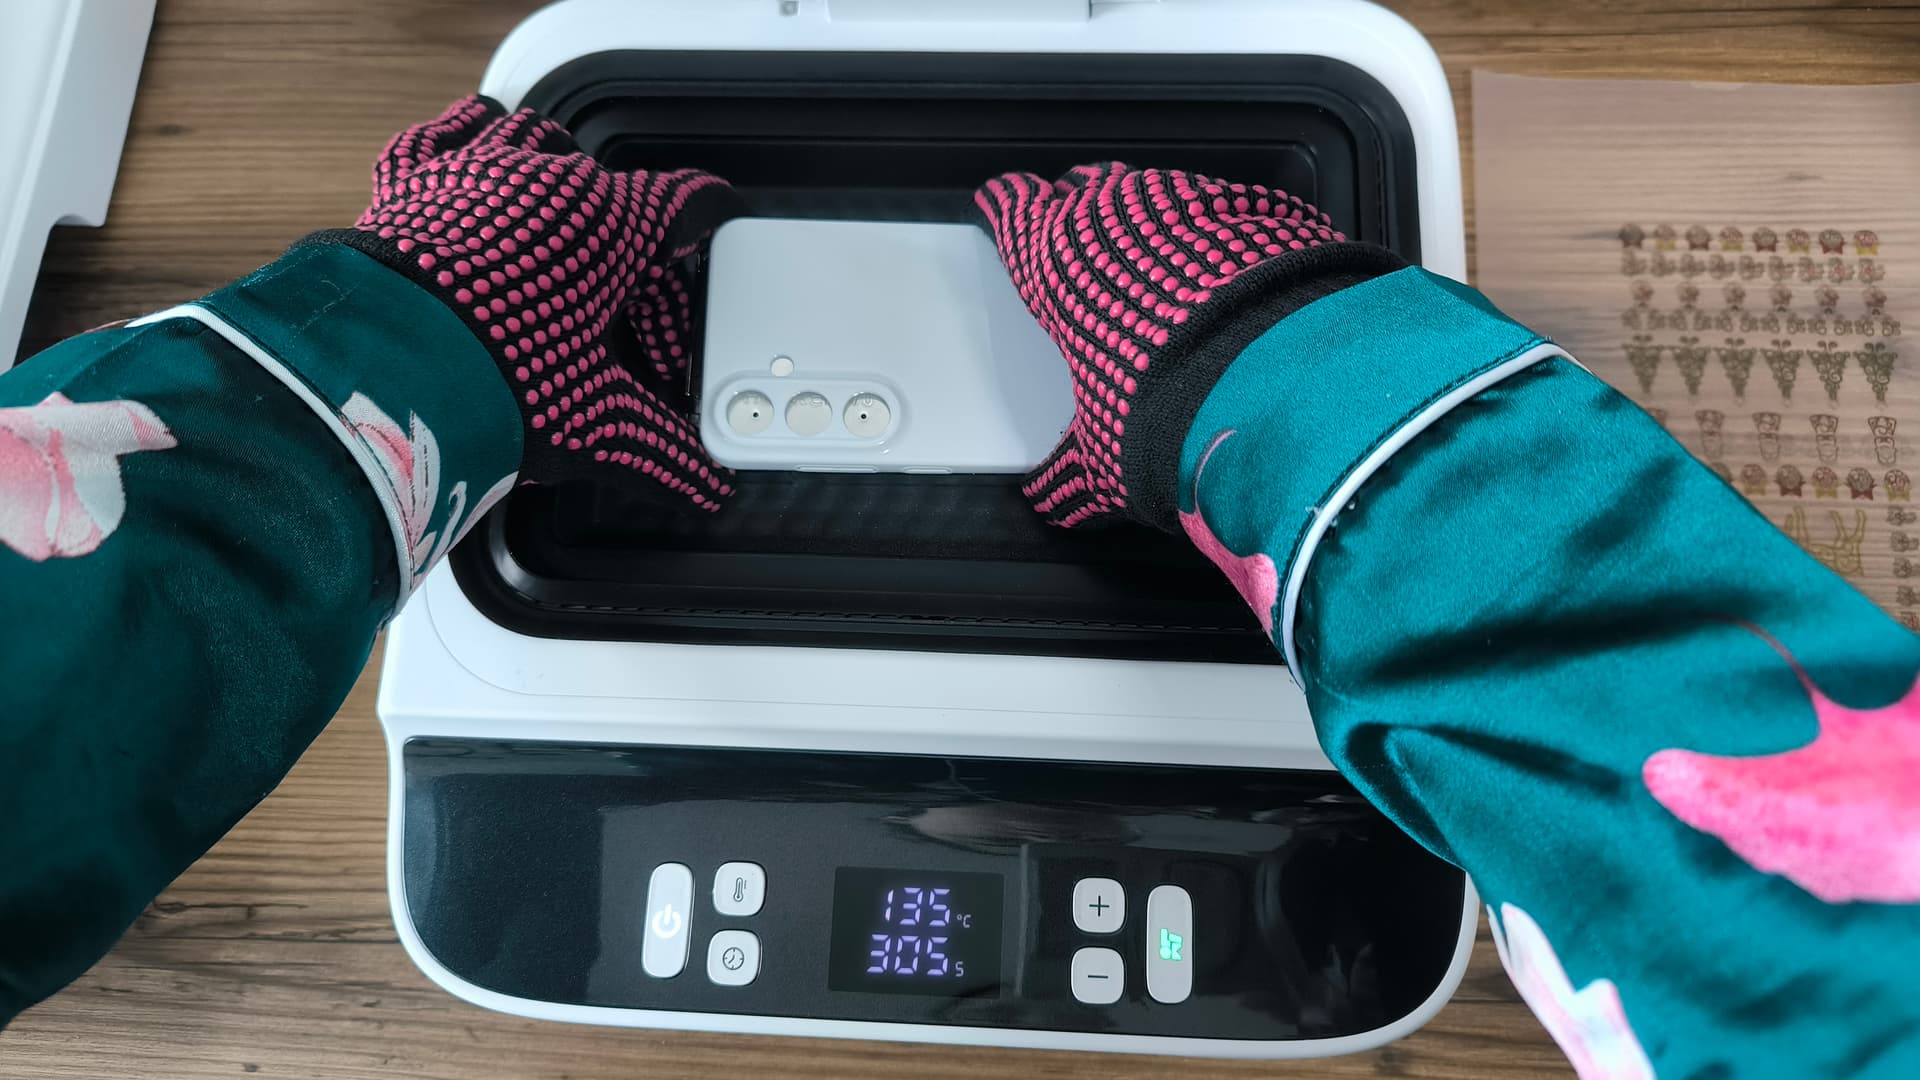
Wear your heat resistant gloves and place your phone case in the fixture.
small tip: try not to leave the phone case sitting on the mold for too long before pressing. If it stays there too long, the case can soften, which can increase the chance of it popping up.

If you have a Samsung phone you may not need to use a lens pad as I learned after I contacted the team that A71 can still use lens pads, but Galaxy A series and S series generally don’t need lens pads.
So I did use one that was from the IPhone fixture set, but now I know I don’t need to I will not use one in the next print and I will keep you updated.
You may have to clean the surface again as it will have some dust from the gloves.
last but not least
Place the sublimation film, matte side down and make sure the film reaches all the black edges of the machine.
Close the lid and start pressing
After the time is up, here is how it looks like
Be ready to remove the film quickly as it gets really hardened.
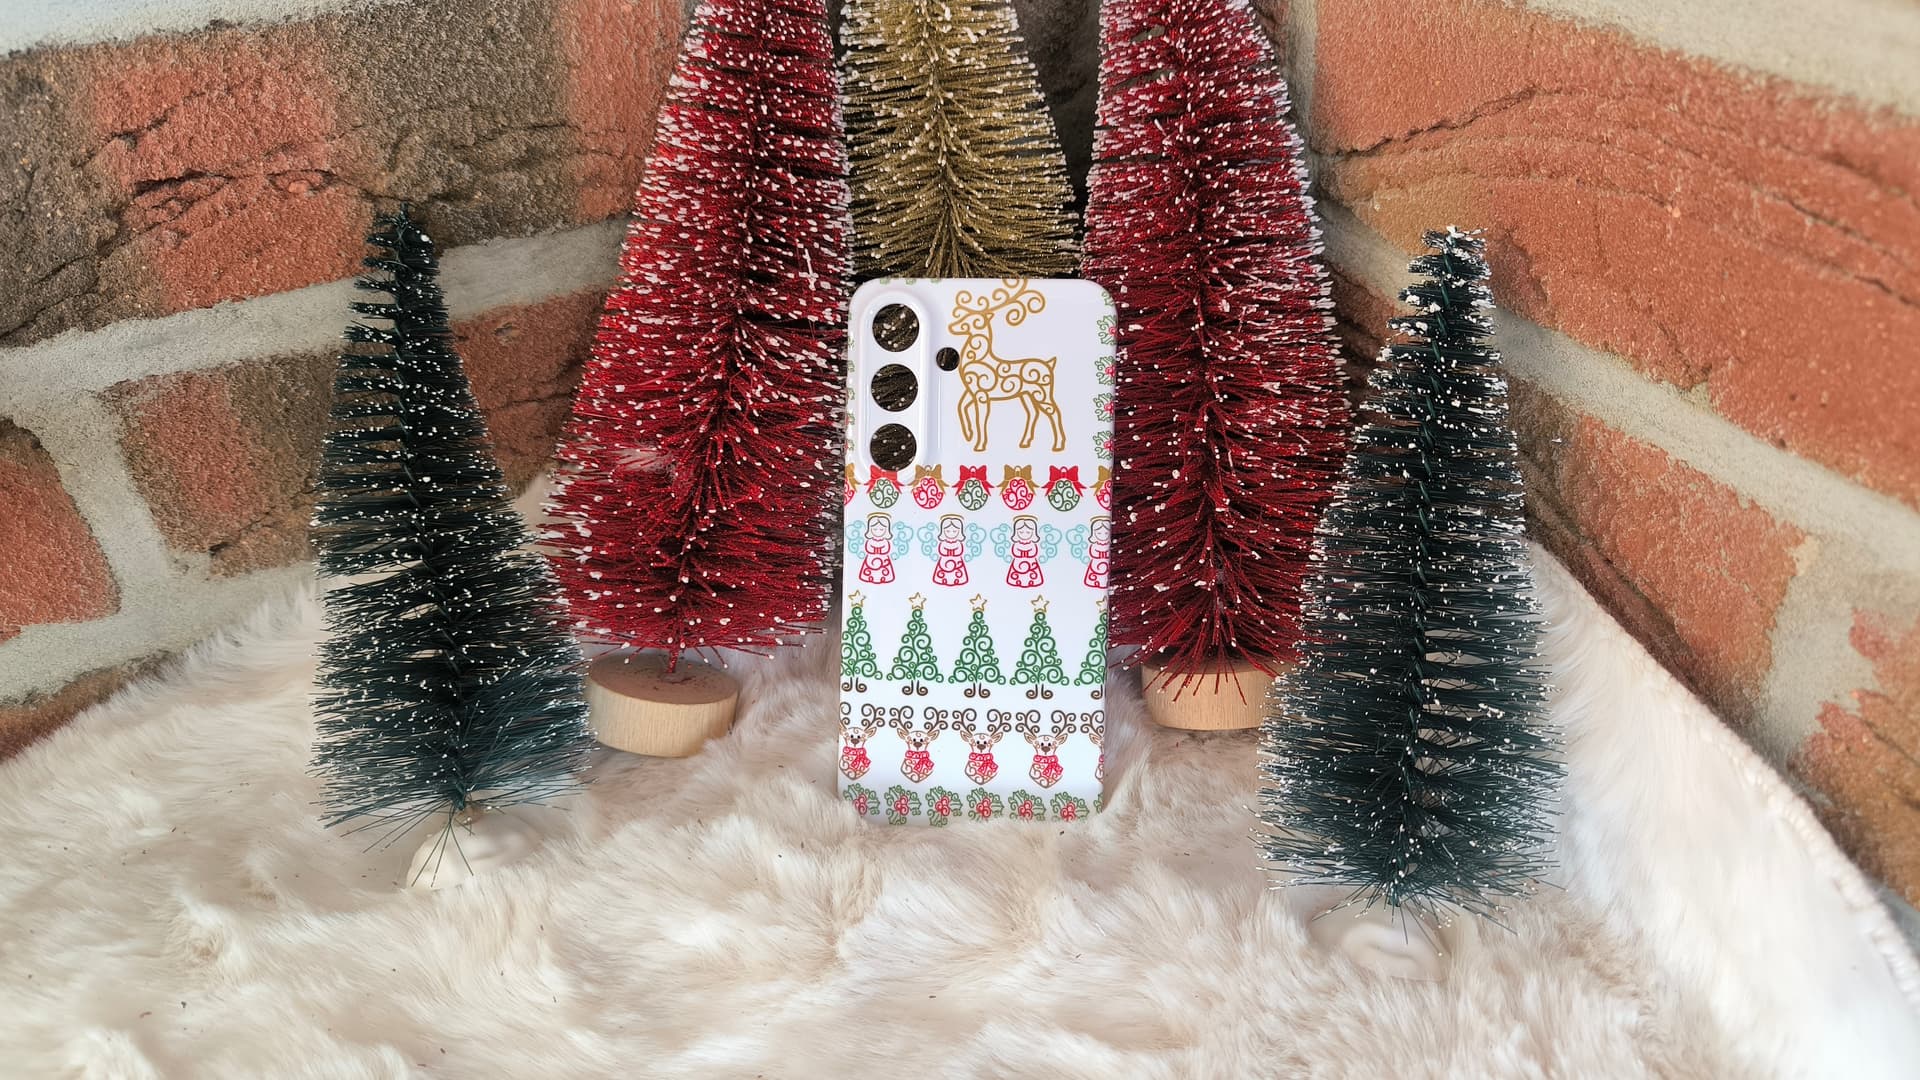
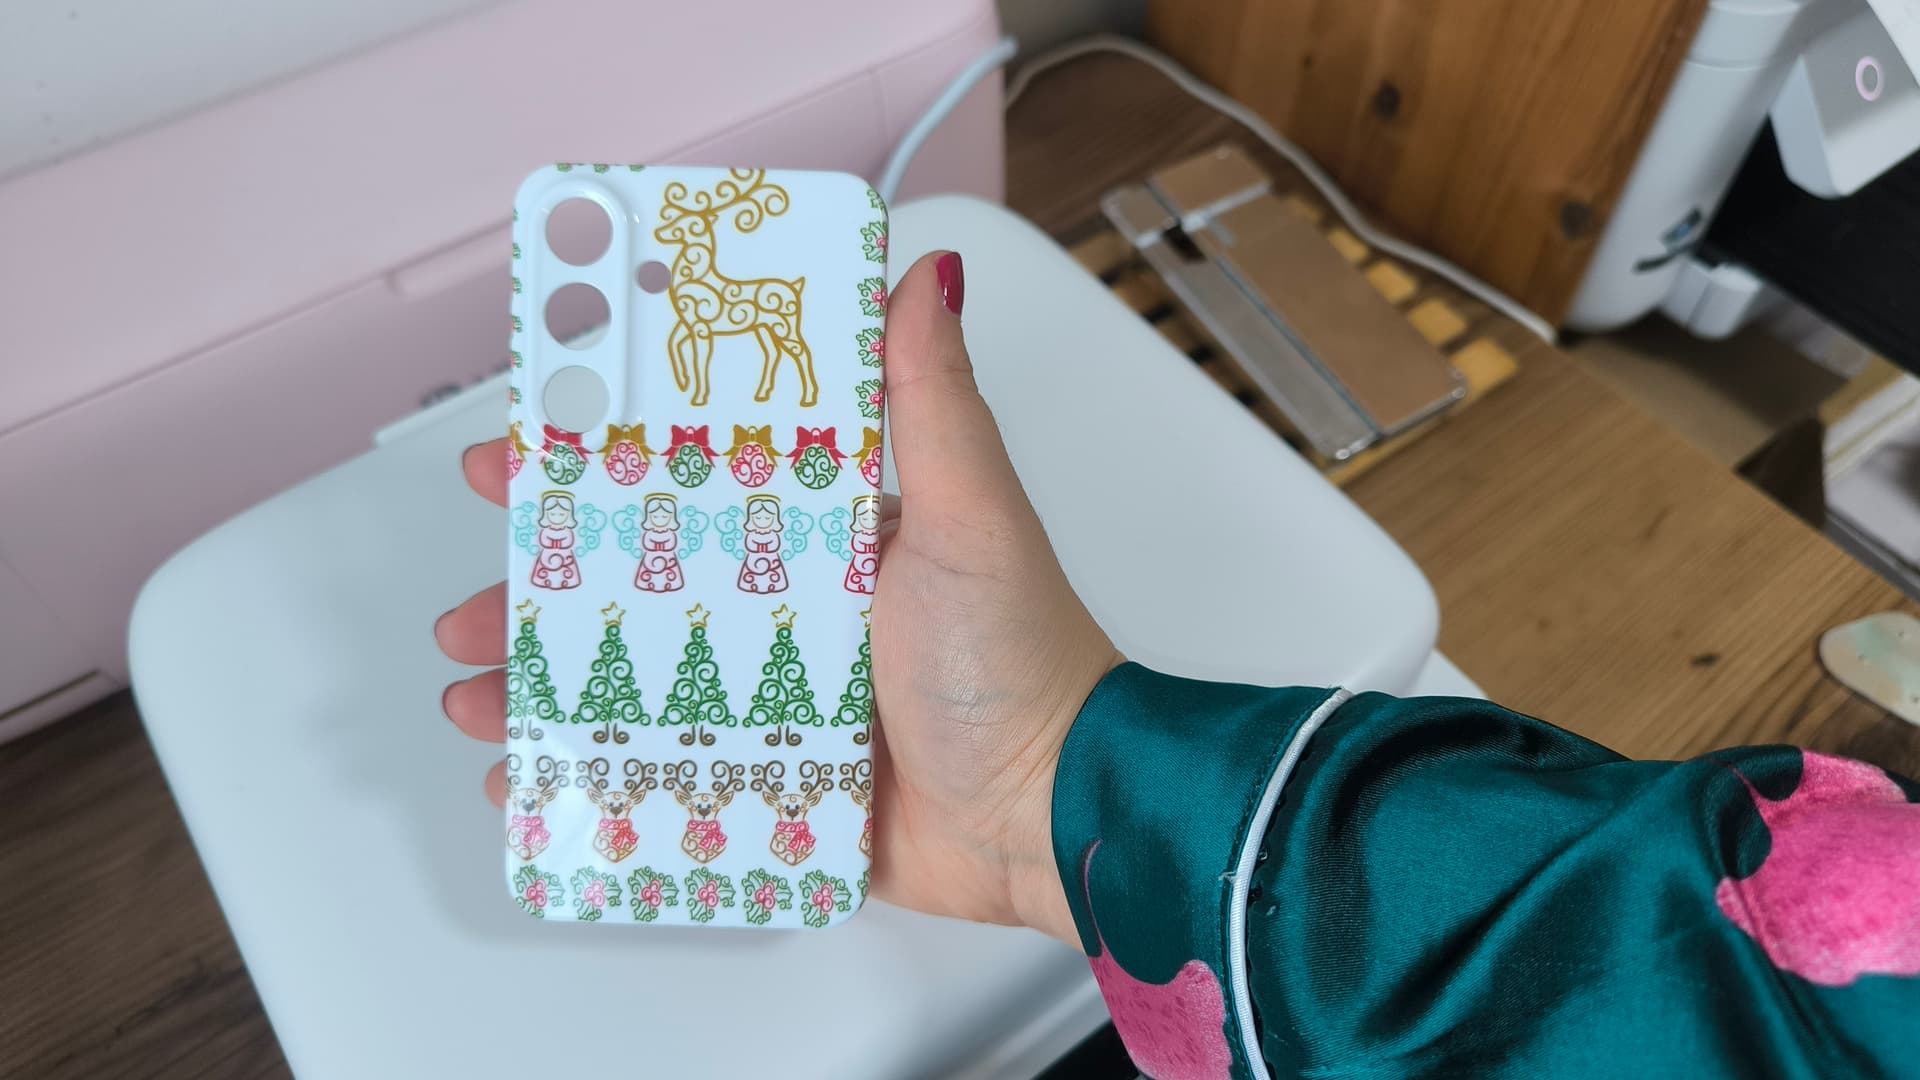
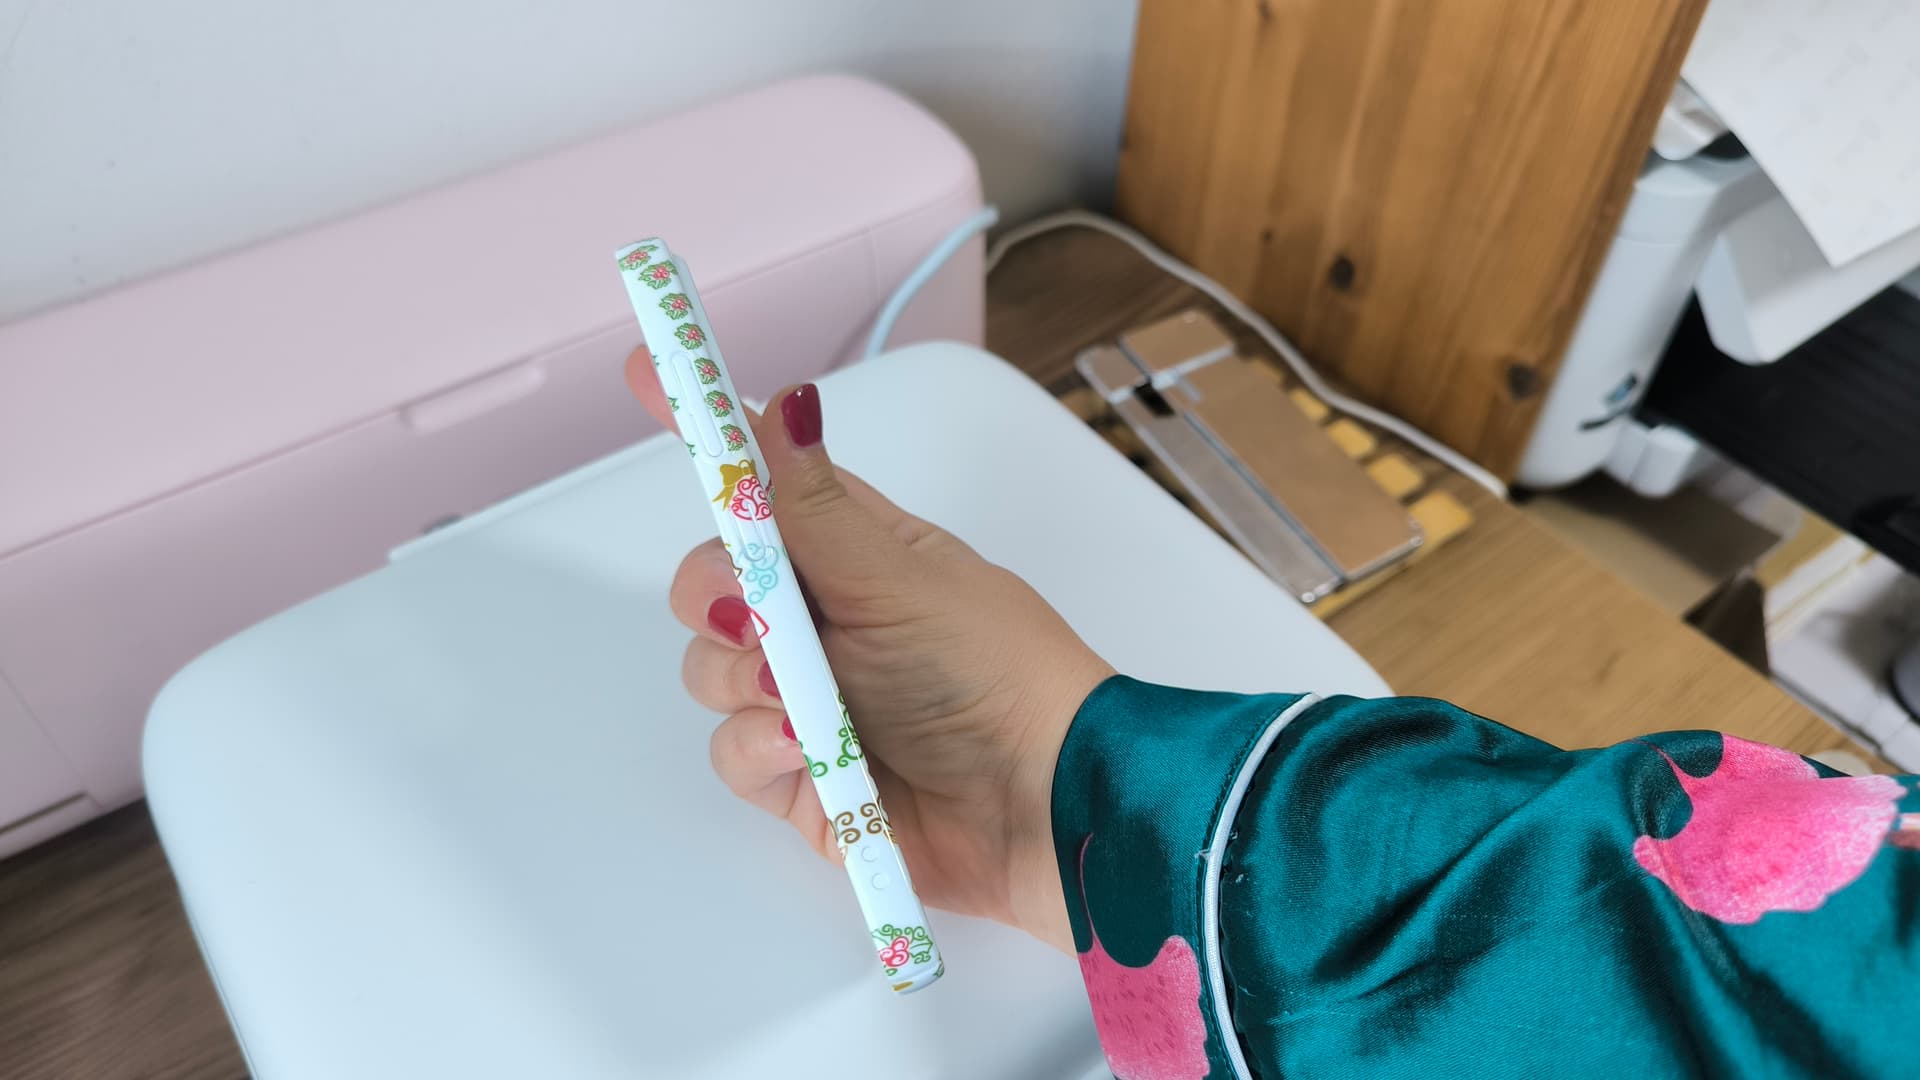
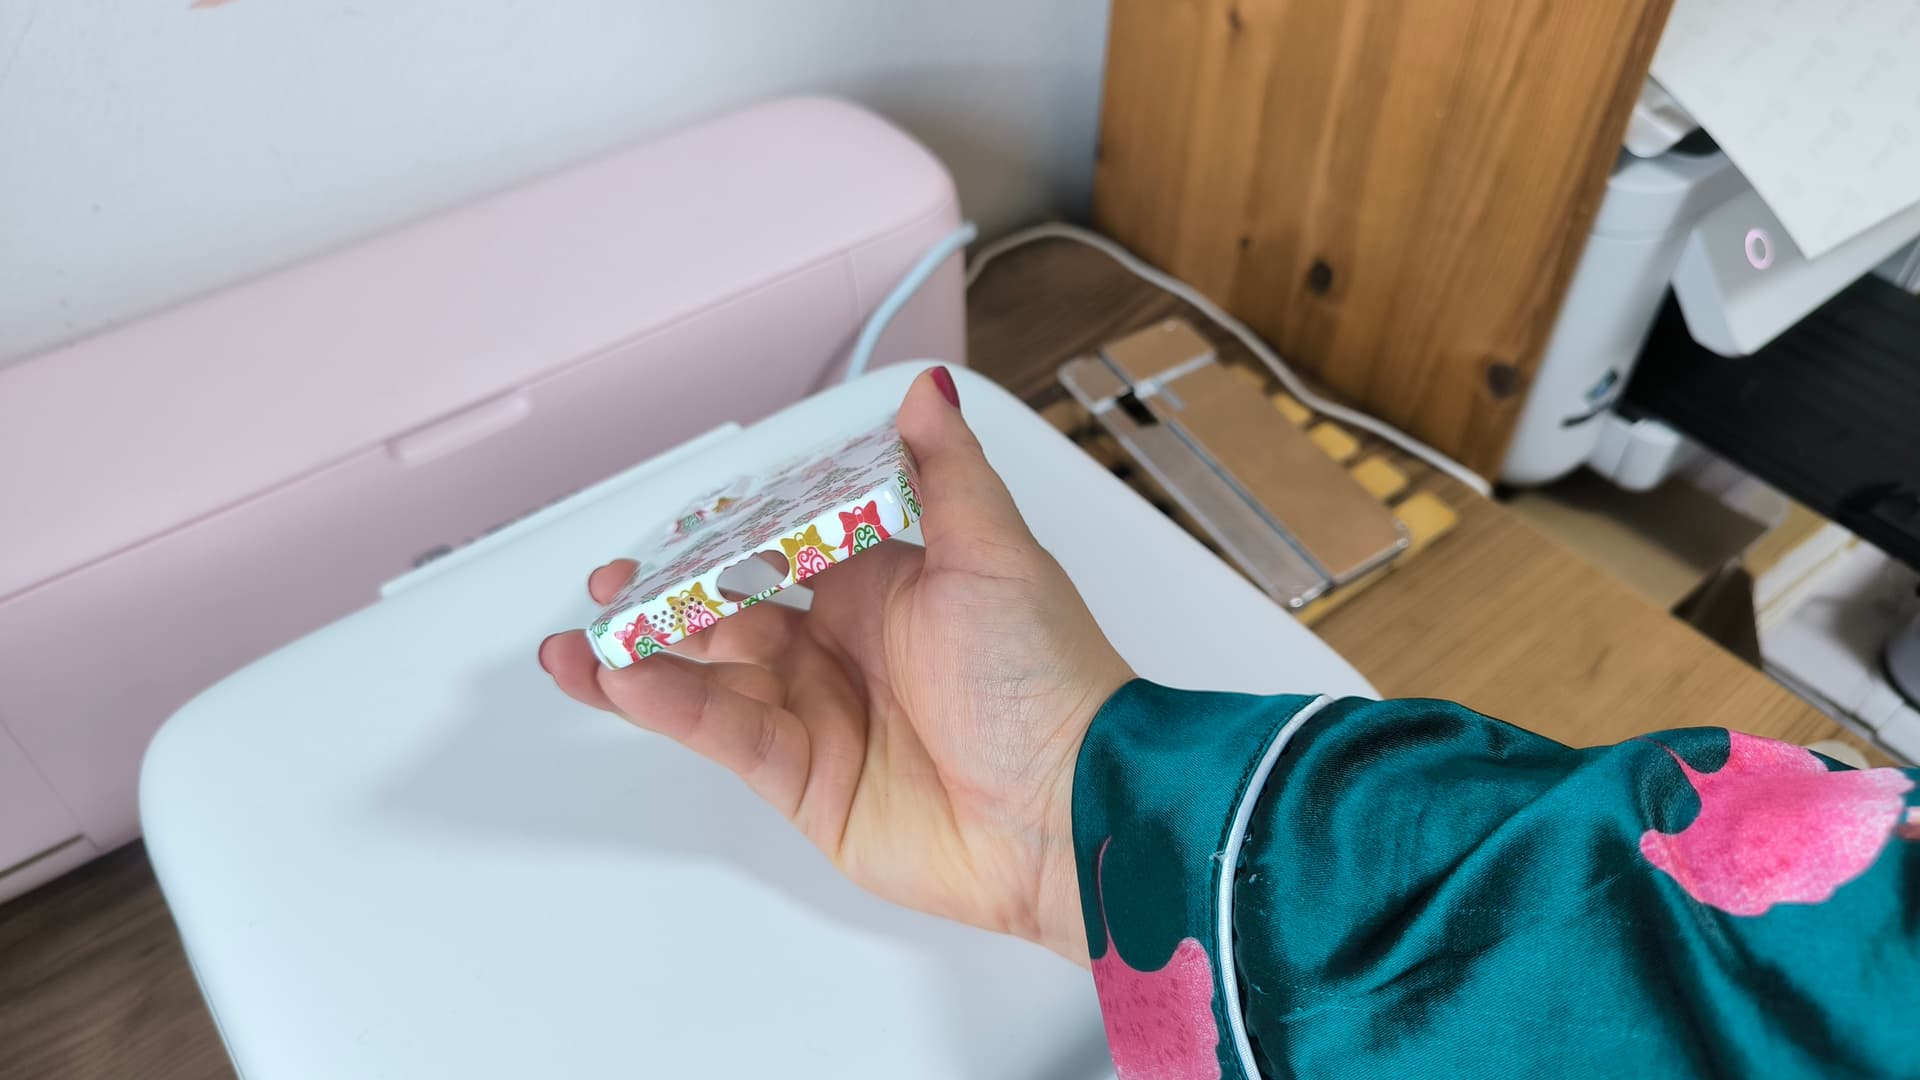
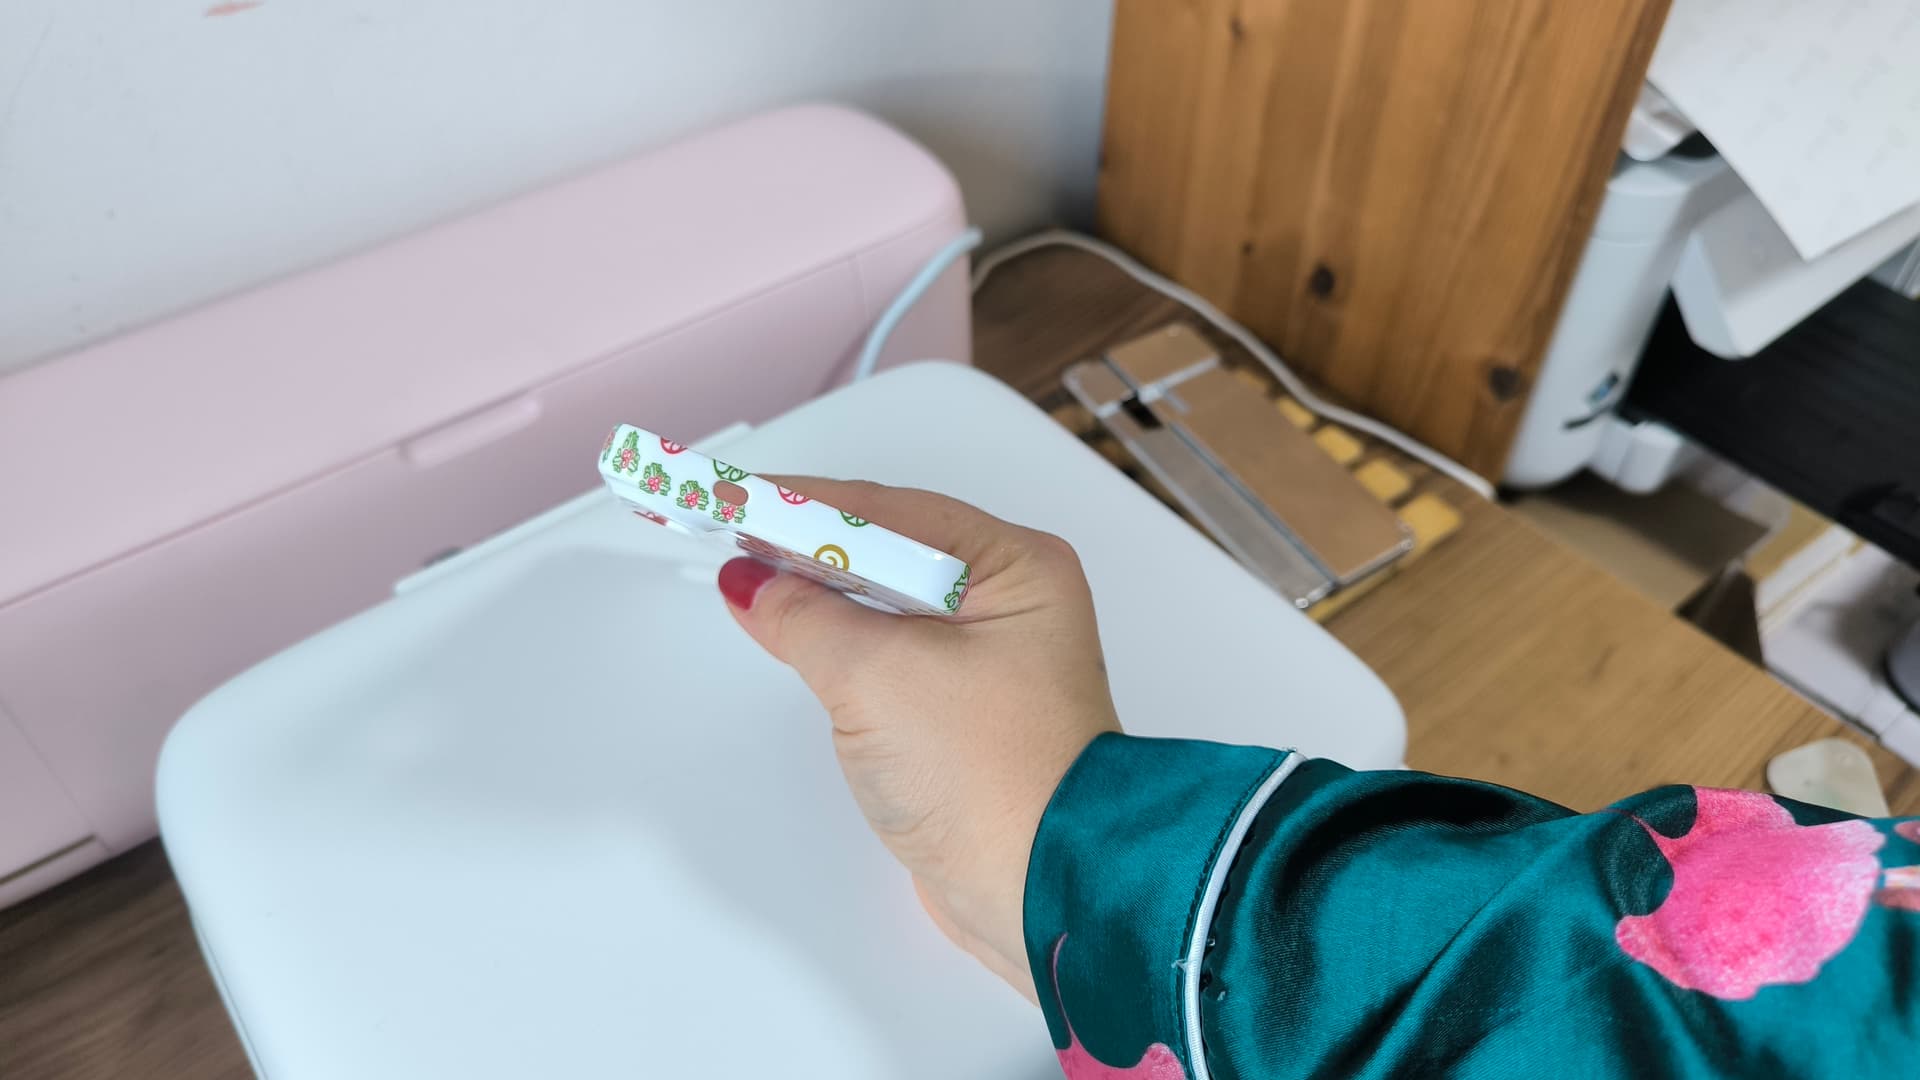
Now check your final results

from all the sides lol

I hope you enjoyed the tutorial and if you have any questions please feel free to write in the comments

Your creator
Marin from
marinos.creations