Weeding can be one of the most satisfying parts of vinyl crafting… or the part that makes you want to walk away from your mat. Over the years, I’ve learned that the secret isn’t brute force — it’s technique. Small adjustments make a huge difference, especially with finicky vinyls like holographic, glitter, metallic, or anything with a strong adhesive.
These are the tips I rely on for crisp, frustration‑free weeding every time.
1. Weed the Inside Pieces First
One of the biggest game‑changers: start by lifting the inner cuts of your letters and shapes.
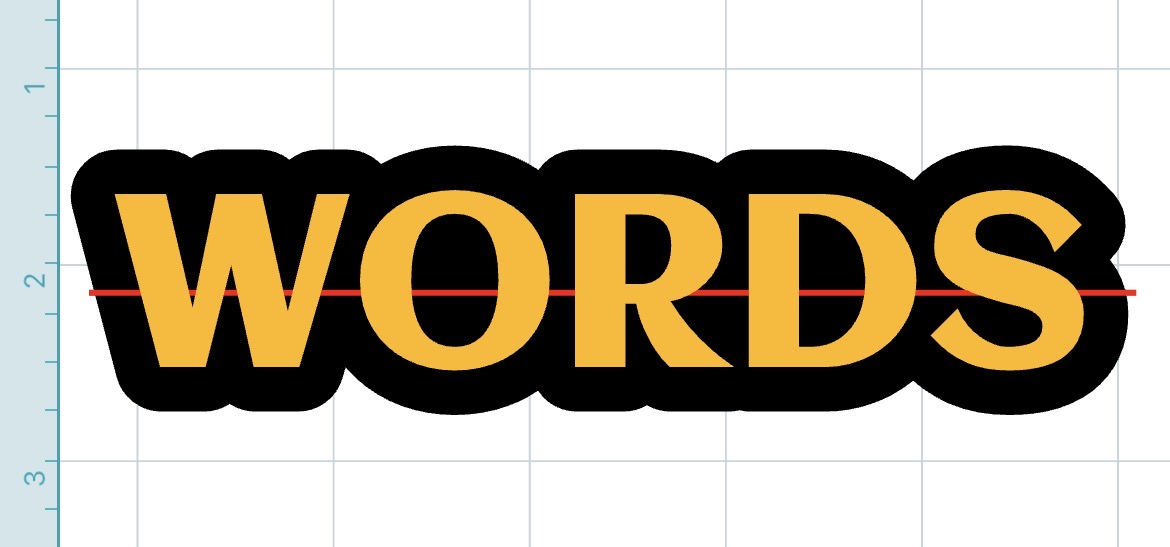
When you peel the large outer piece first, stubborn vinyl can catch in the corners — especially inside letters like A, R, O, P, B, or angled shapes like V, W, Y, M, N. That’s when the vinyl tries to lift your actual letter instead of releasing the scrap.
By weeding the insides first, you:
- Release the tension around those tight corners
- Prevent the vinyl from snagging or tearing
- Make the final peel smooth and predictable
It’s a tiny step that saves a ton of frustration.
2. Lift the Inside Corners of Each Letter or Element
This is one of my personal go‑to tricks.
Before I peel the big outer piece, I use my weeding tool to catch the inside corner of each letter or element — especially the point of a V or the inner angle of a W. Those corners are where vinyl likes to cling the hardest.
Once each corner is lifted, the vinyl has nowhere to grab when you pull the main piece back. You get a clean peel instead of a letter trying to come up with the scrap.
3. Add a Little Warmth
Not heat — just warmth.
A slightly warm vinyl sheet weeds like butter. Try:
- Hovering your heat press for a second
- Using a warm (not hot) heating pad
- Rubbing the vinyl between your hands
This softens the adhesive just enough to help the vinyl release cleanly.
4. Weed at a Low, Slow Angle
Instead of pulling straight up, pull the vinyl low and back toward itself.
This reduces tearing and keeps small details anchored where they belong.
5. Use the “Tension Trick”
Hold the vinyl taut with one hand while you weed with the other.
That tension helps the cut lines separate more cleanly and keeps delicate areas from lifting.
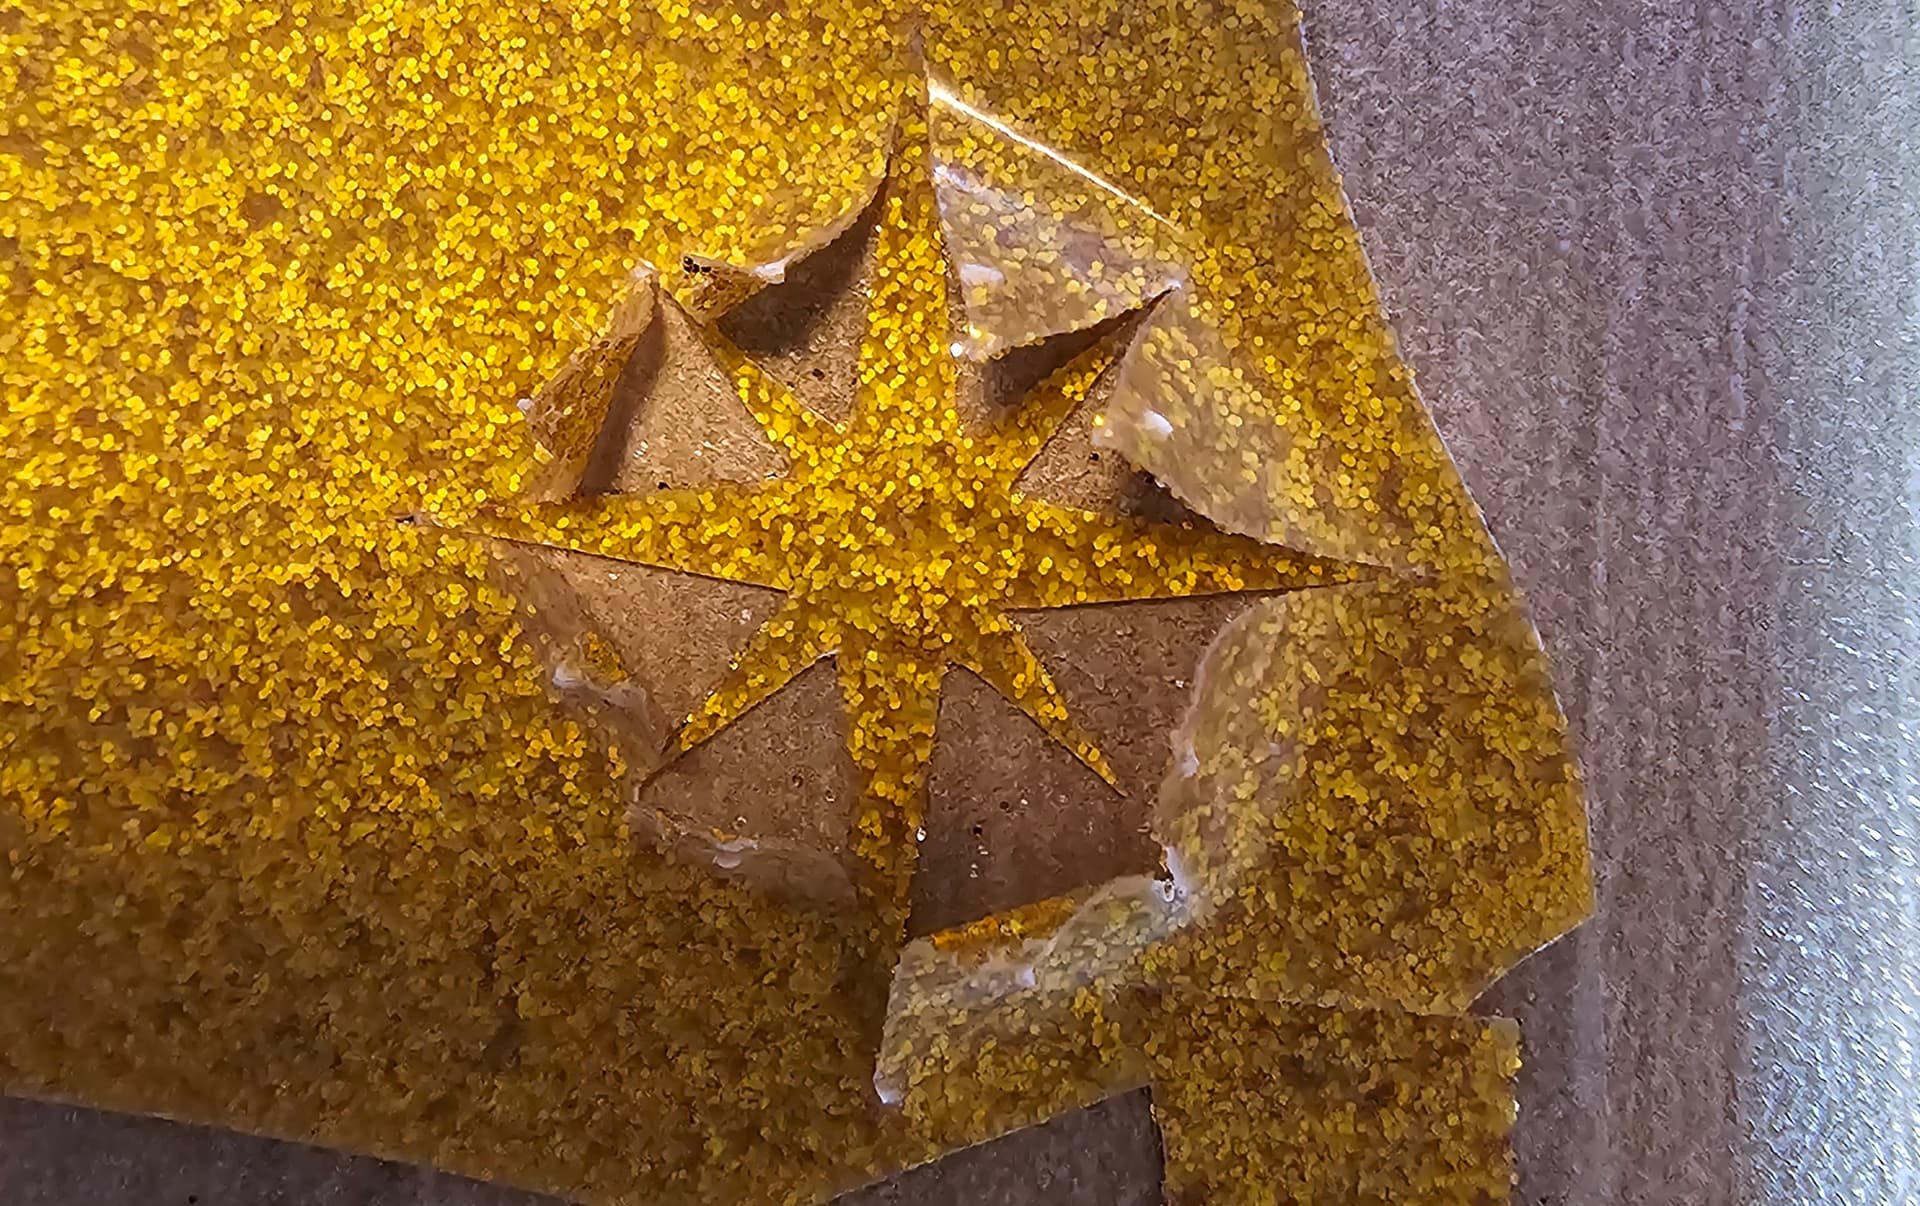
6. Light Is Your Best Friend
A bright light — especially a light pad — makes cut lines pop.
This is essential for:
- Matte vinyl
- Black vinyl
- Holographic or glitter finishes
- Intricate designs
Sometimes just tilting your vinyl in the light reveals every cut.
7. Reverse Weed for Tiny Text
If you’re working with very small lettering, stick the vinyl to transfer tape first, then weed on top of the tape.
The tape holds everything in place so nothing lifts.
8. Keep a Sharp Tool
A dull weeding tool slips, snags, and slows you down.
If you feel resistance, switch to a sharper tip — it makes a world of difference.
9. Save the Good Scraps
If you’re using hollow or outline fonts, the inner pieces you weed out are perfect, solid letters.
I save them by placing each one onto an old carrier sheet, so I can reuse them in future designs. I stick them inside a binder pocket until ready to use. It’s a great way to stretch your vinyl and avoid waste.
10. Don’t Rush the First Lift
The very first pull sets the tone for the whole weed.
Find the cleanest corner, take your time, and start slow.
Final Thoughts
Weeding doesn’t have to be the part of the project you dread. With a little intention, the right angles, and a few small habits — like lifting those inside corners before the big peel — you can turn it into one of the most satisfying steps in your whole process. Every project teaches you something new, and the more you practice these techniques, the cleaner and more confident your results will be.
If you’ve been struggling with stubborn corners or letters that want to come up with the scrap, I hope these tips give you that “ohhh, that’s why!” moment and make your next project smoother from start to finish. Happy crafting, and may every peel be a clean one.