Difficulty Level: Intermediate
(Perfect for crafters comfortable with layering, shaping, and assembling 3D paper structures.)
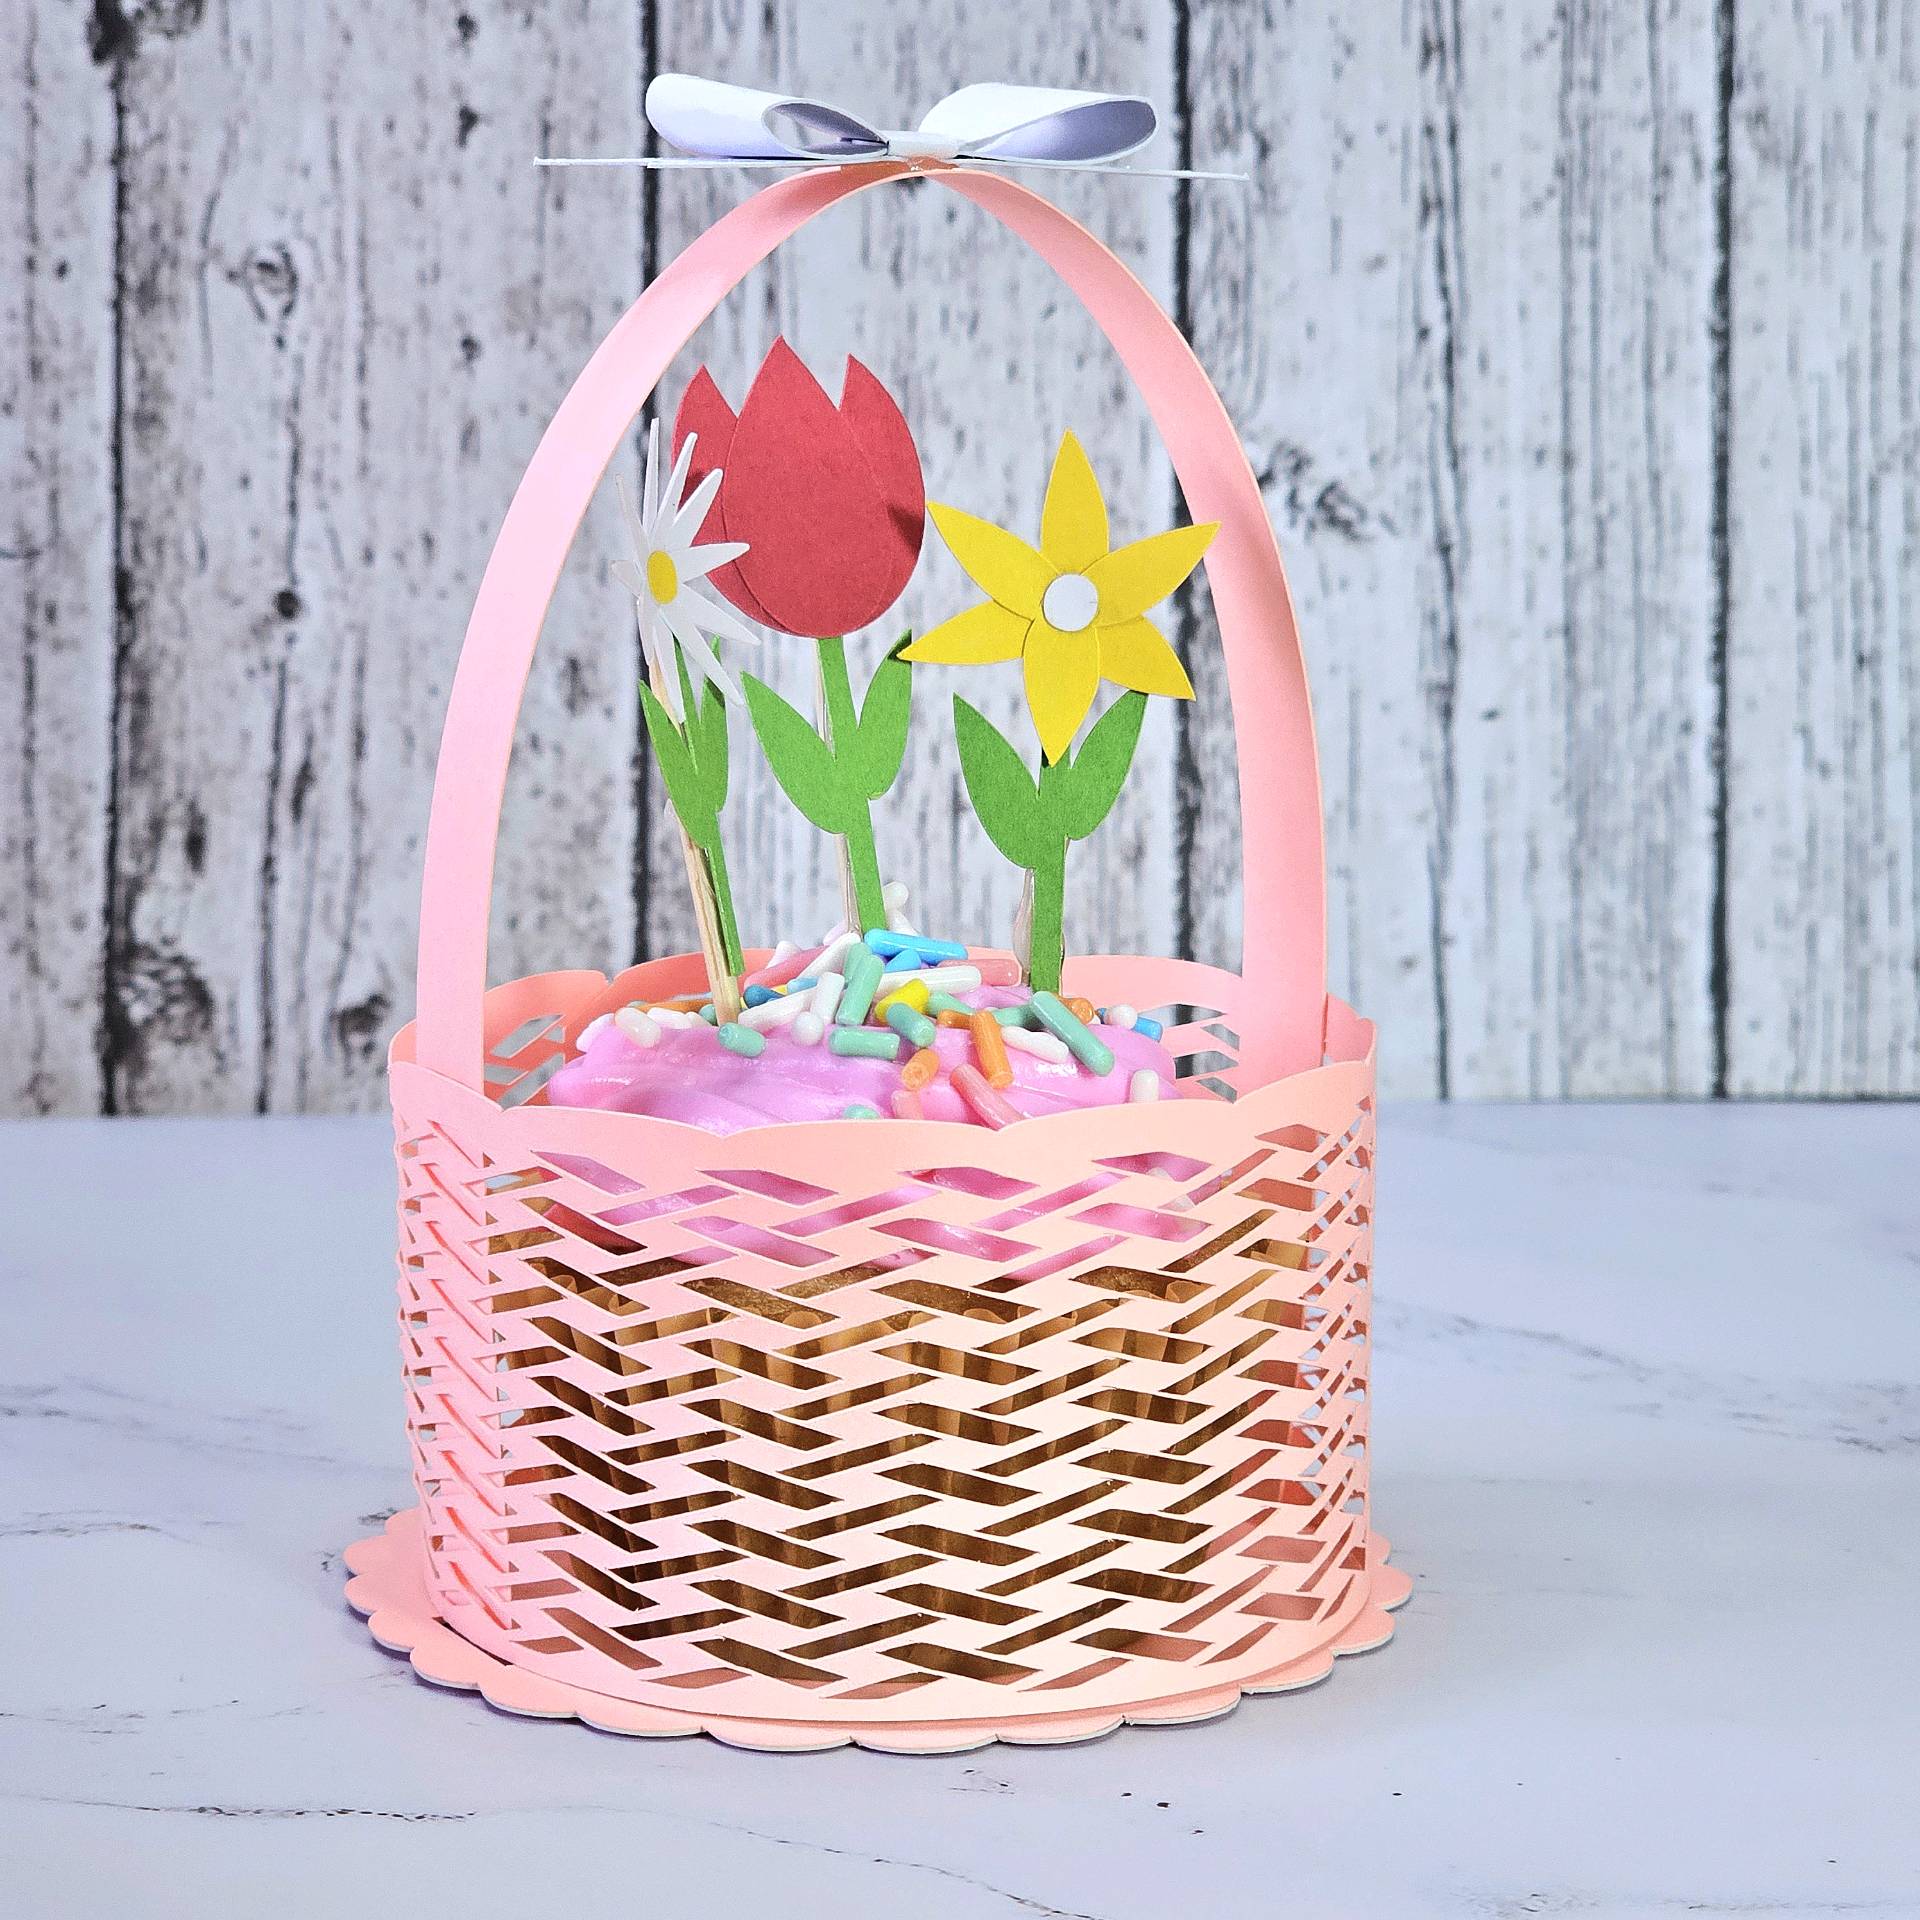
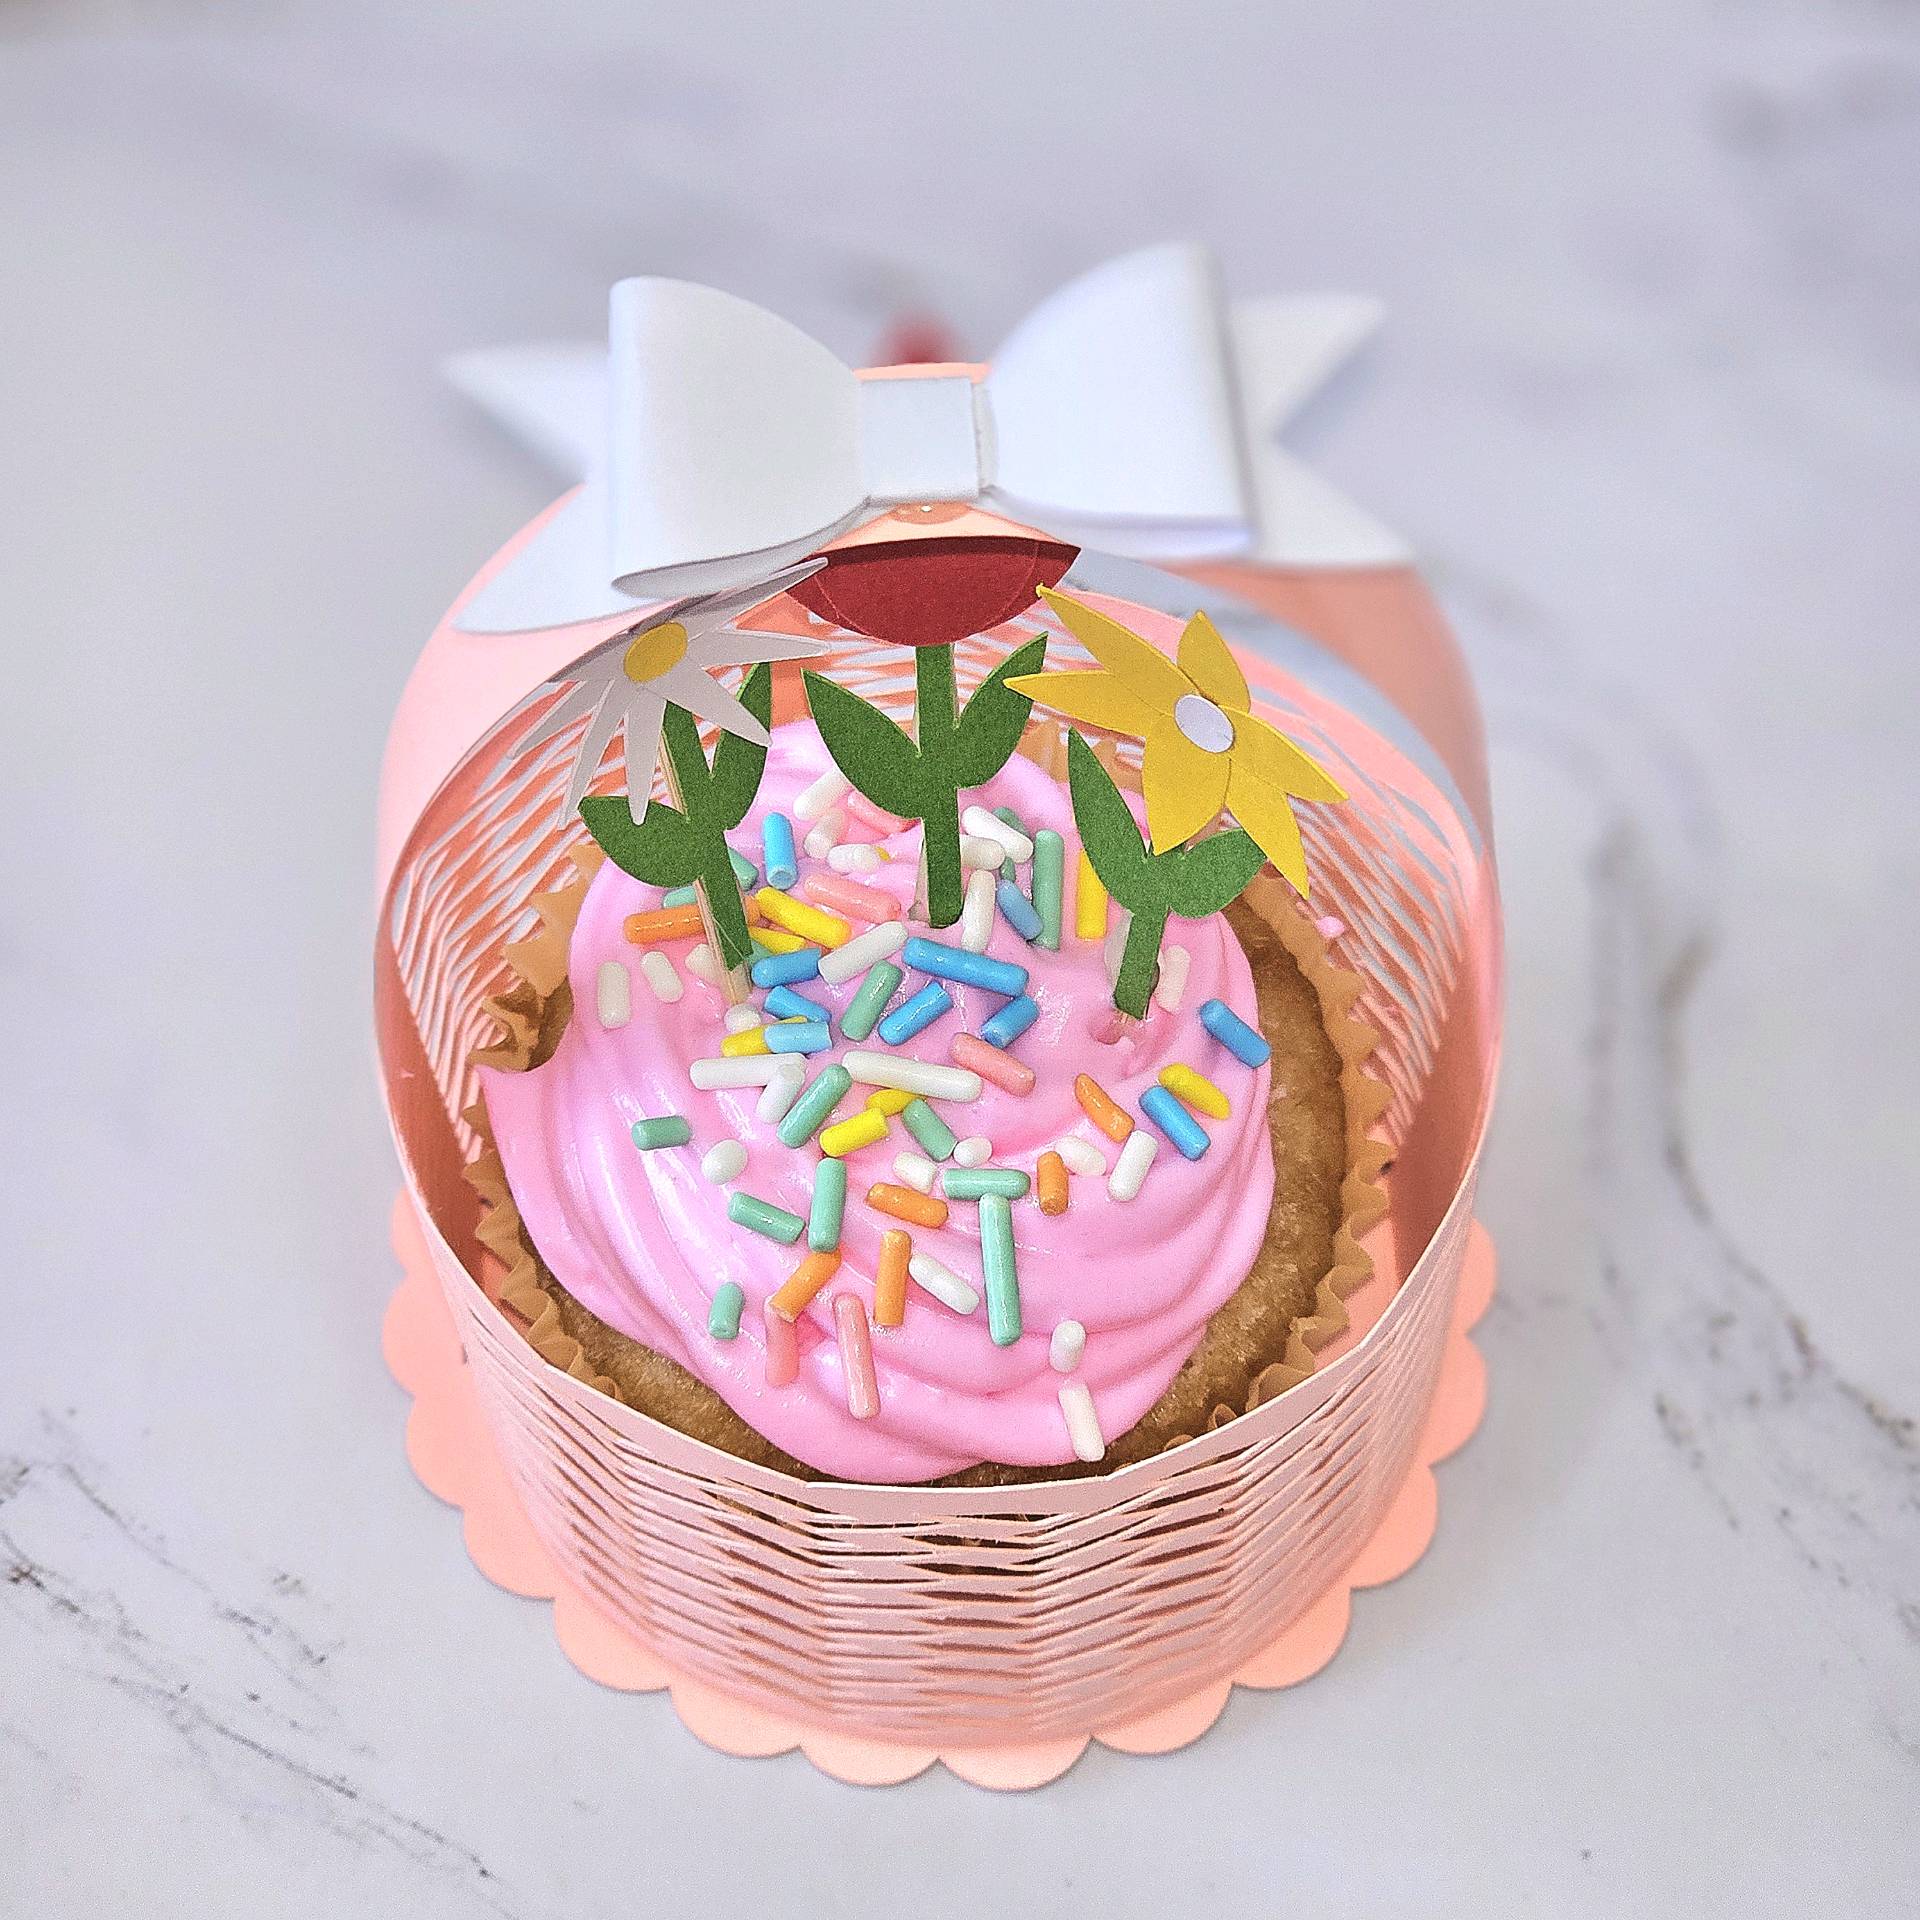
Bring a little spring magic to your table with this adorable 3D cupcake Easter basket. This project combines layered cardstock, simple assembly techniques, and sweet seasonal details to create a sturdy, freestanding basket that holds a real cupcake. The woven basket walls, scalloped base, paper bow, and handmade flowers come together beautifully to create a charming Easter display piece. It’s a fun build that looks intricate but comes together with just a bit of patience and layering.
Materials Used:
- 176 GSM cardstock (basket walls, base top, handle, flowers)
- 270 GSM cardstock (base reinforcement)
- 199 GSM cardstock (white bow — 176 GSM also works)
- Ball stylus (for shaping the flowers)
- School glue stick (for attaching layers, assembling basket, bow, and flowers)
- Toothpicks (flower stems)
- Hot glue (to secure flowers to toothpicks, and to adhere bow to handle)
- Cupcake (for display inside the basket)
How It Was Made:
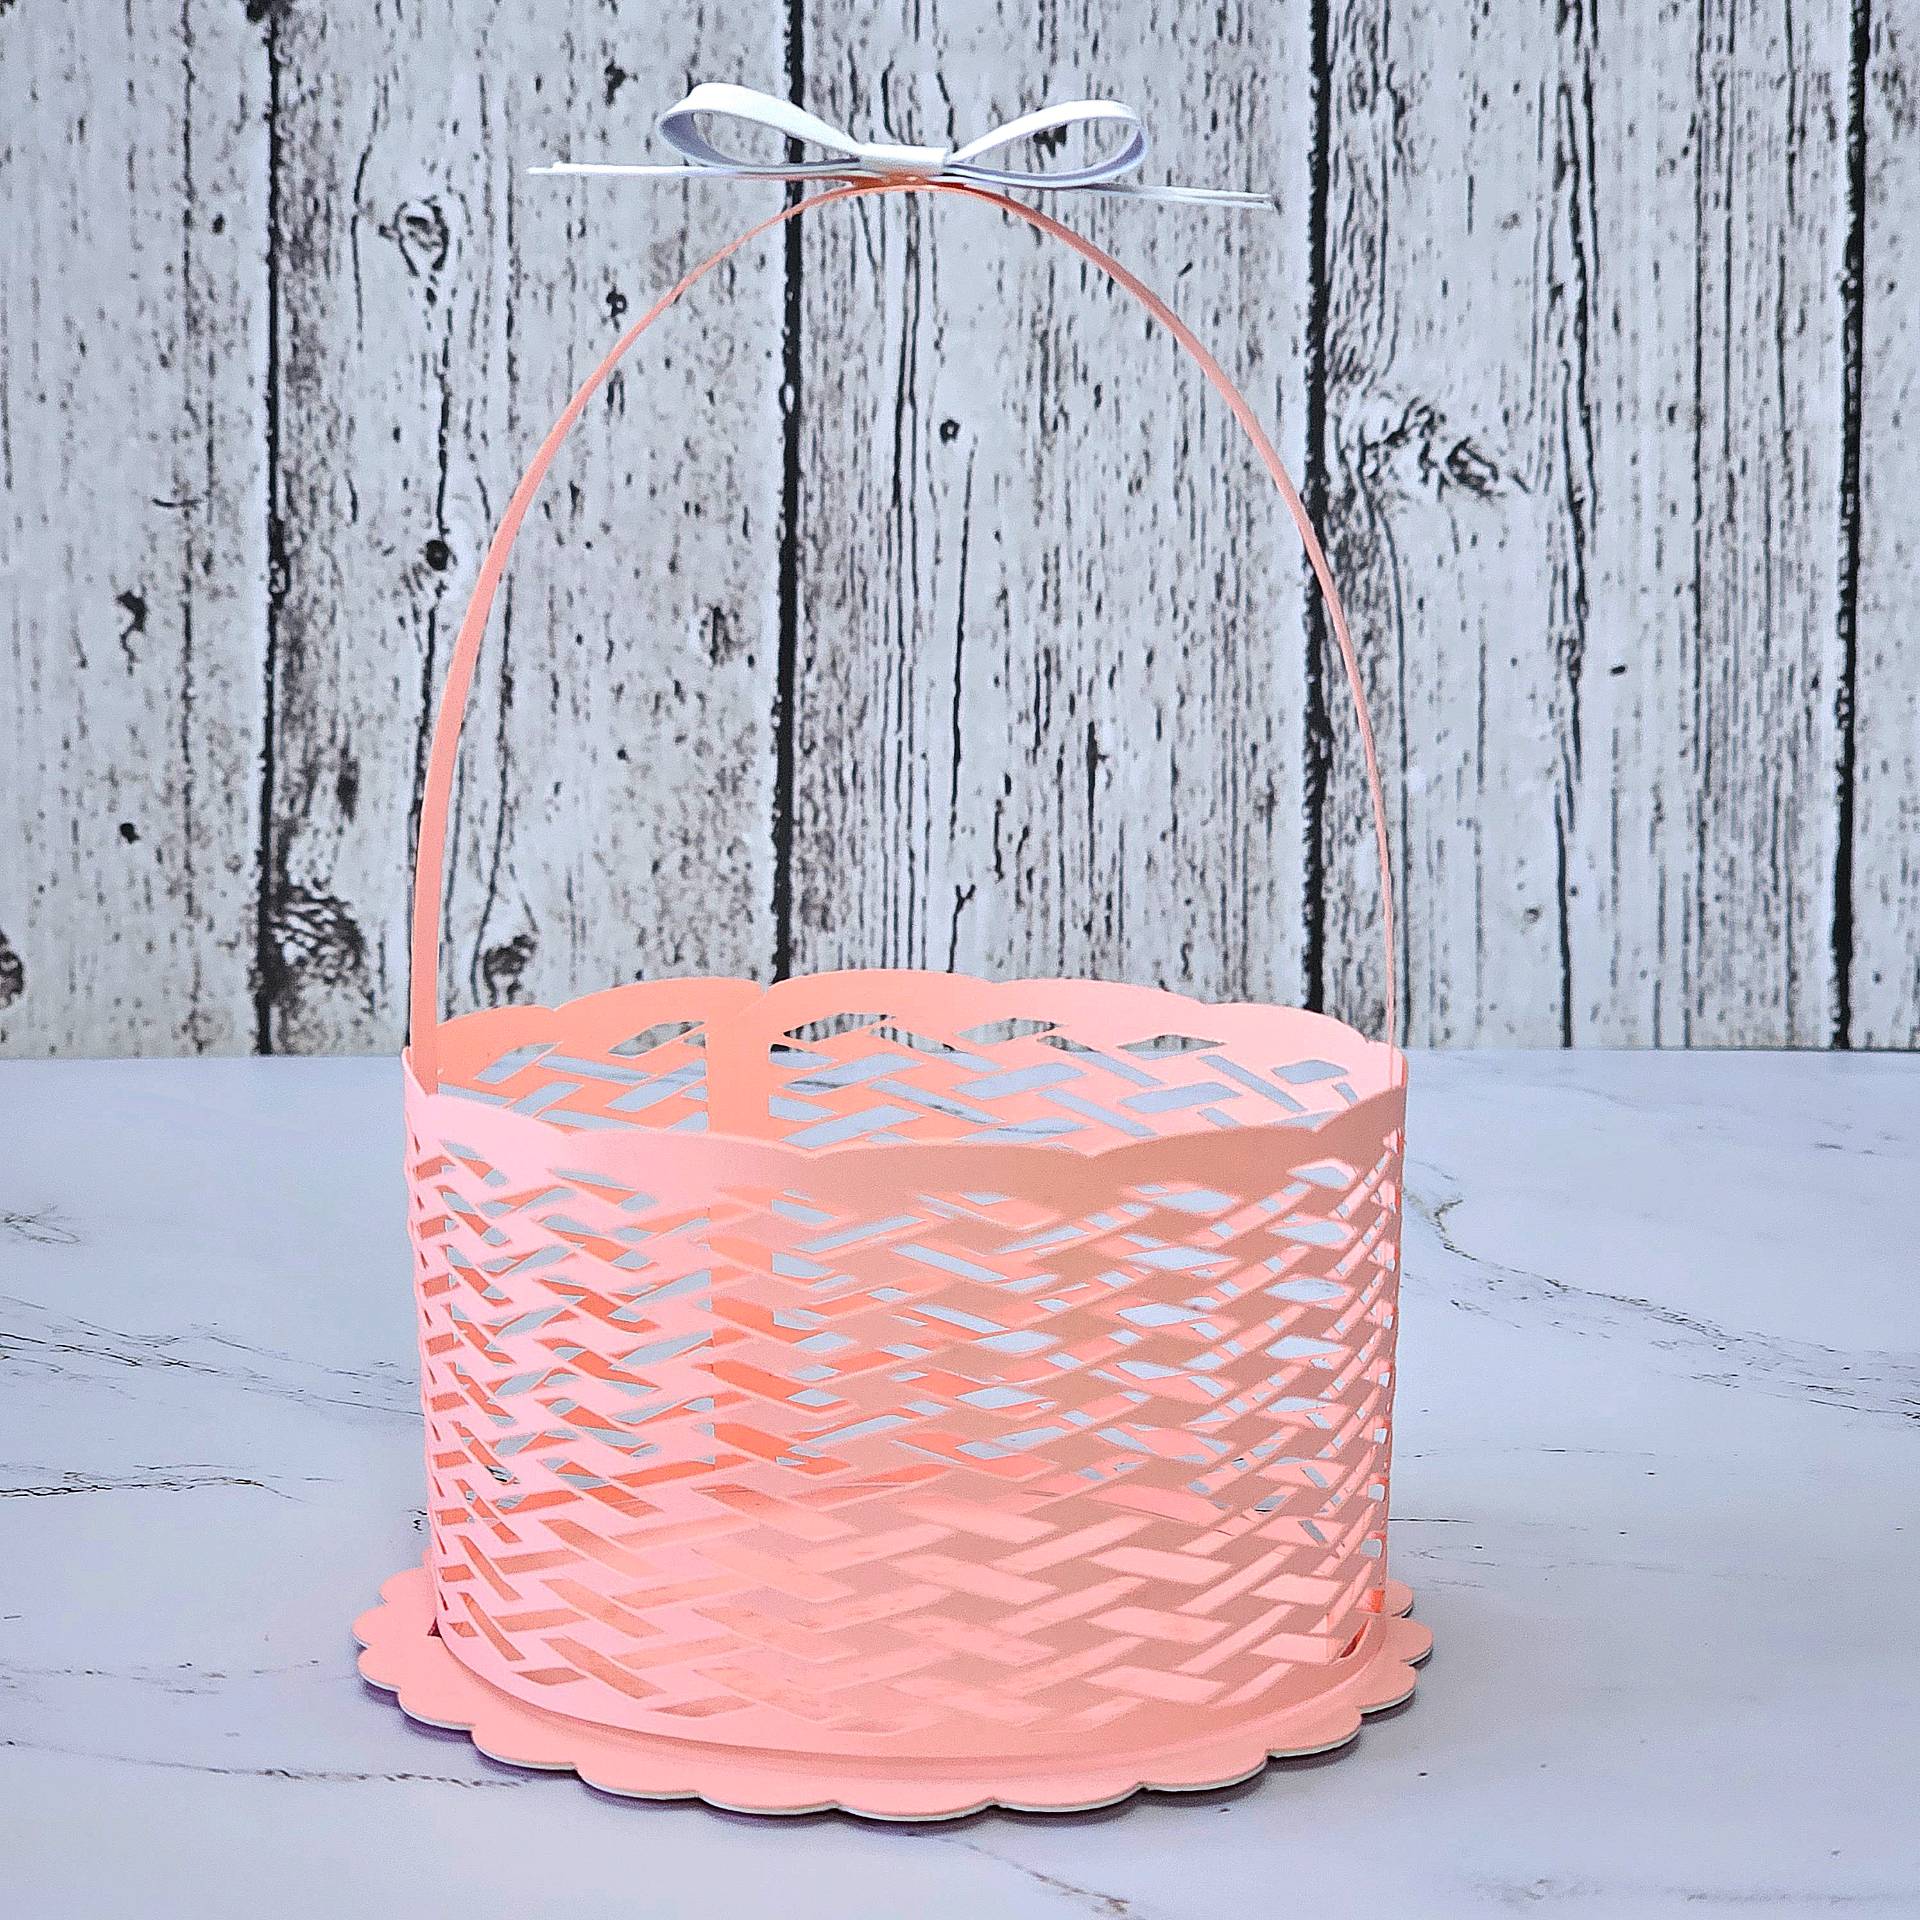
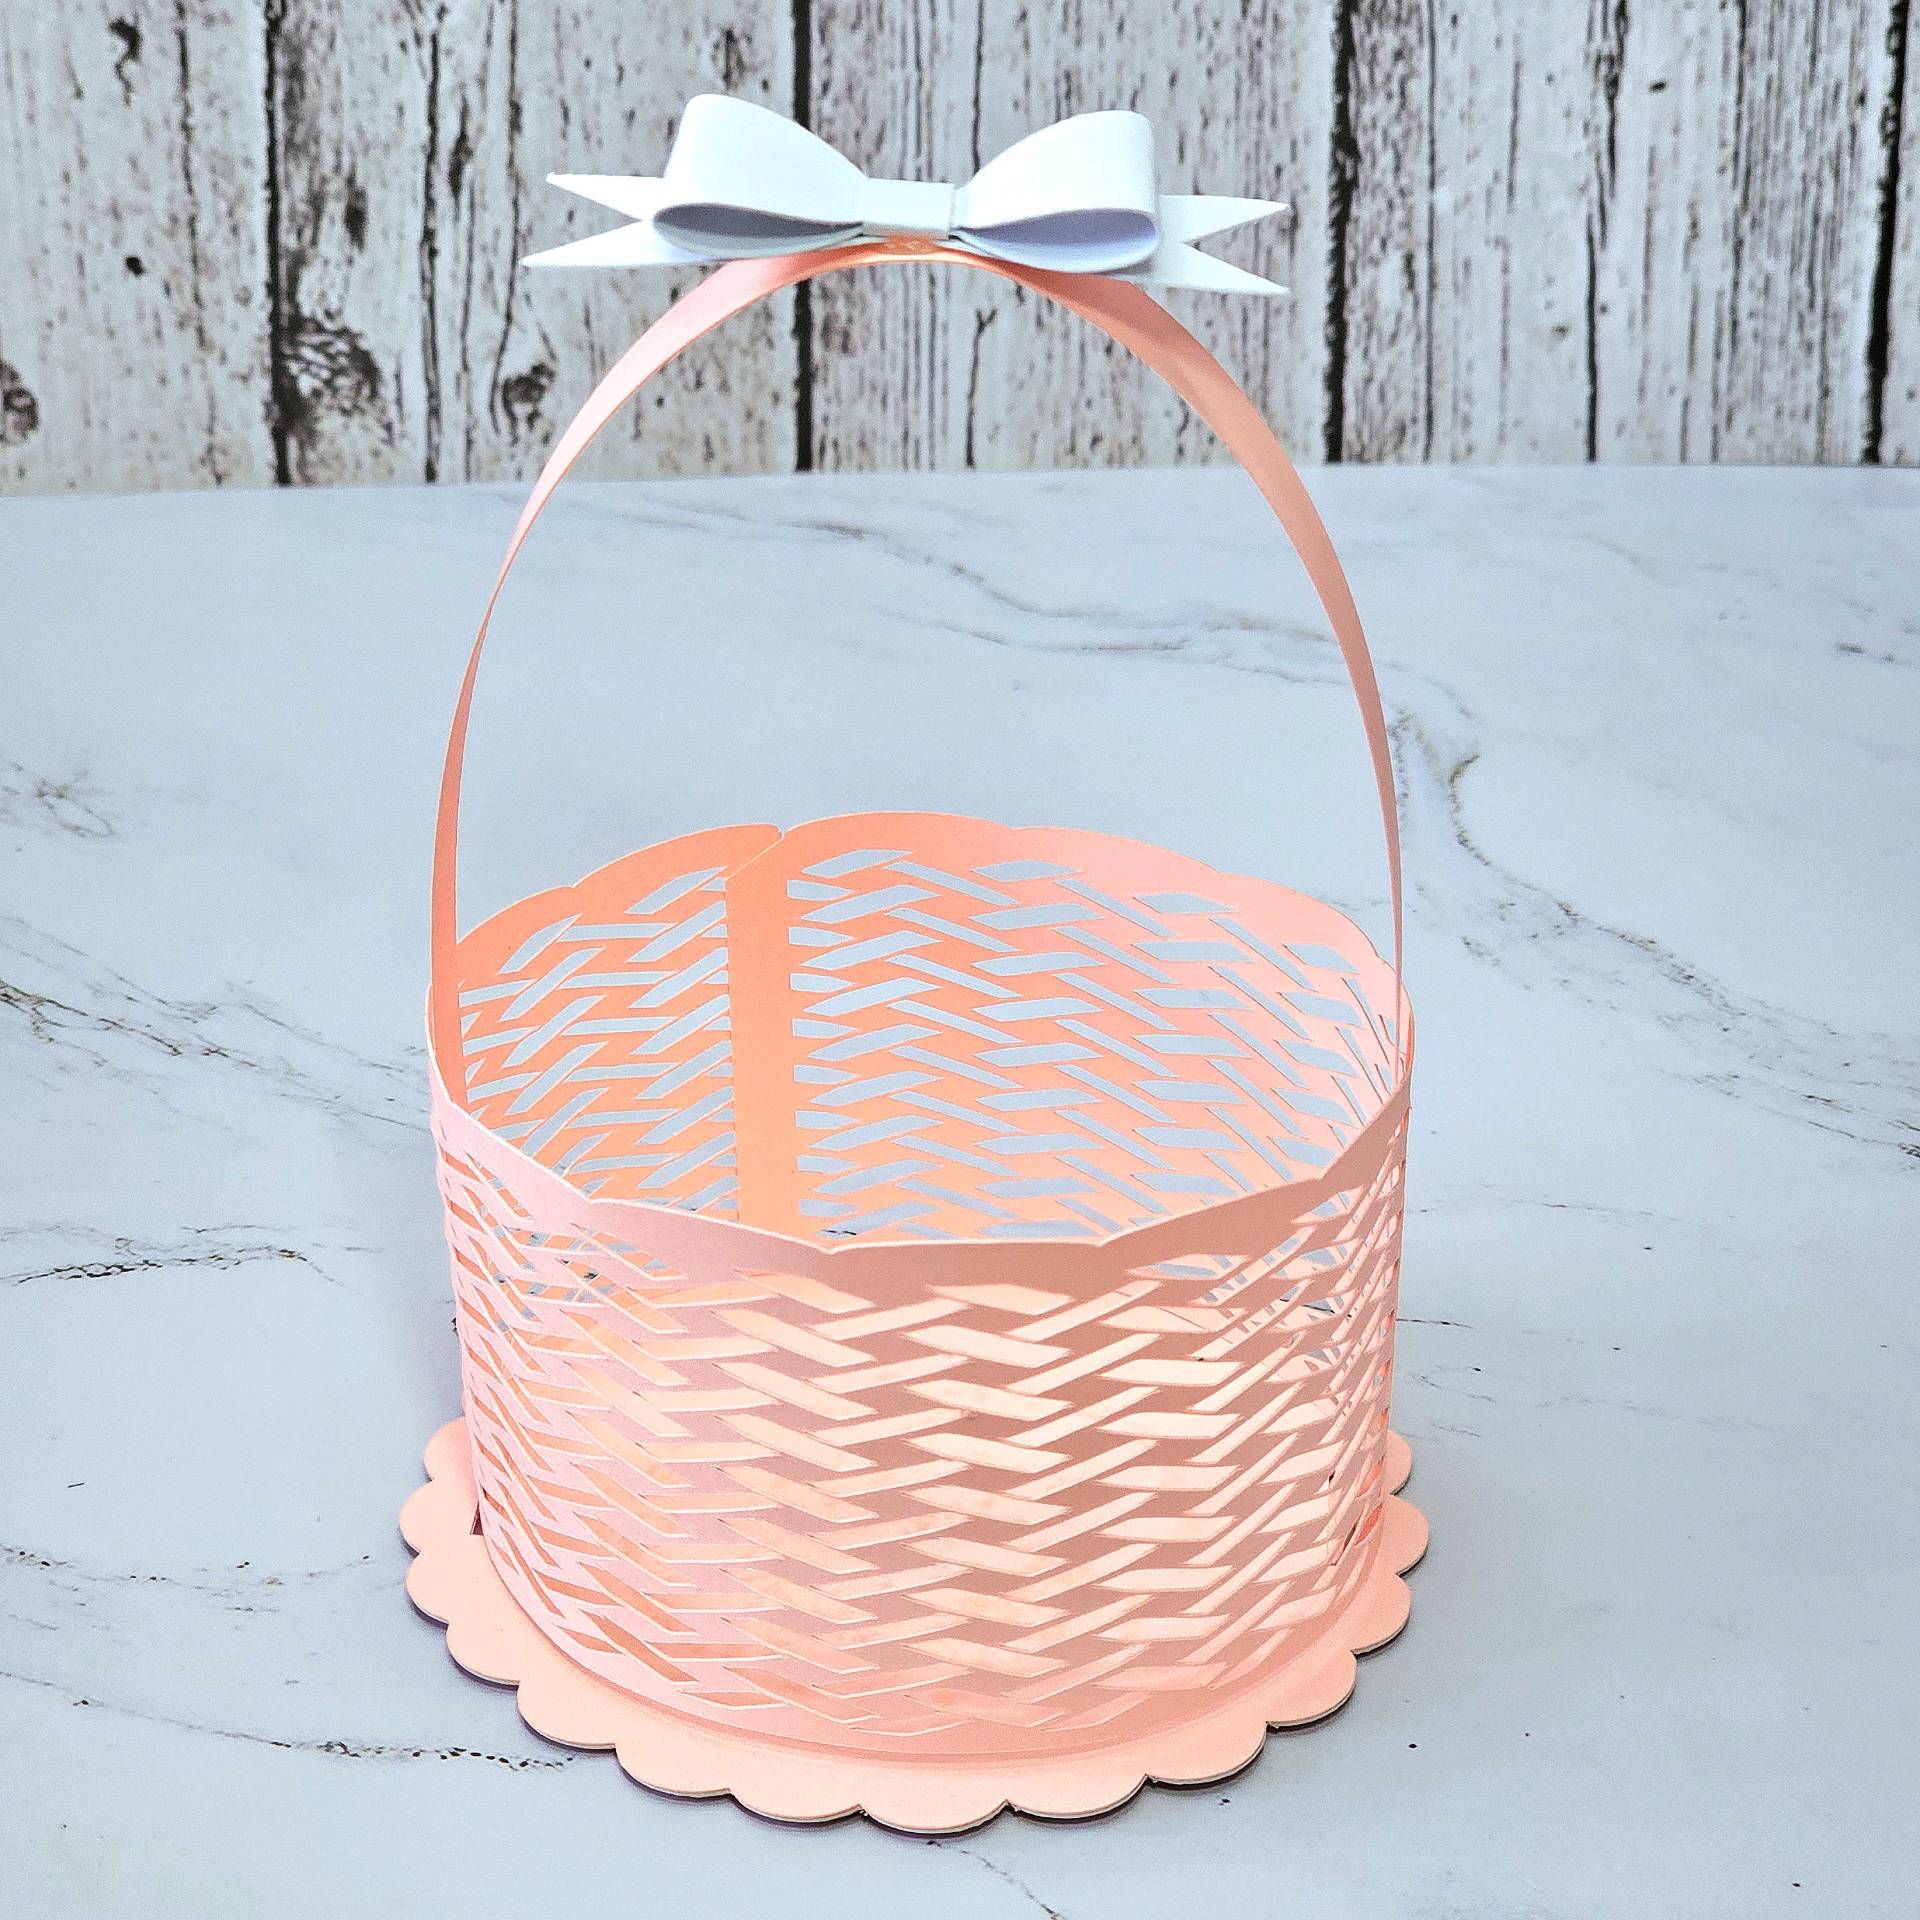
The base is reinforced with a layer of 270 GSM cardstock topped with 176 GSM cardstock for stability. The basket walls are formed from 176 GSM pink cardstock, glued at the ends to create the woven wrap, then attached to the base. The handle is glued securely to the basket base using school glue. The bow is assembled from white cardstock and attached to the handle. Each flower is cut from 176 GSM cardstock, assembled with school glue, and hot‑glued onto toothpicks to create decorative cupcake toppers.
To shape the flowers and give them a more realistic 3D curve, I used a ball stylus tool on top of a soft surface (a mouse pad works perfectly). Pressing the metal ball gently into the center of each flower allowed the petals to lift and dome naturally, adding dimension and a more lifelike look to the finished piece.