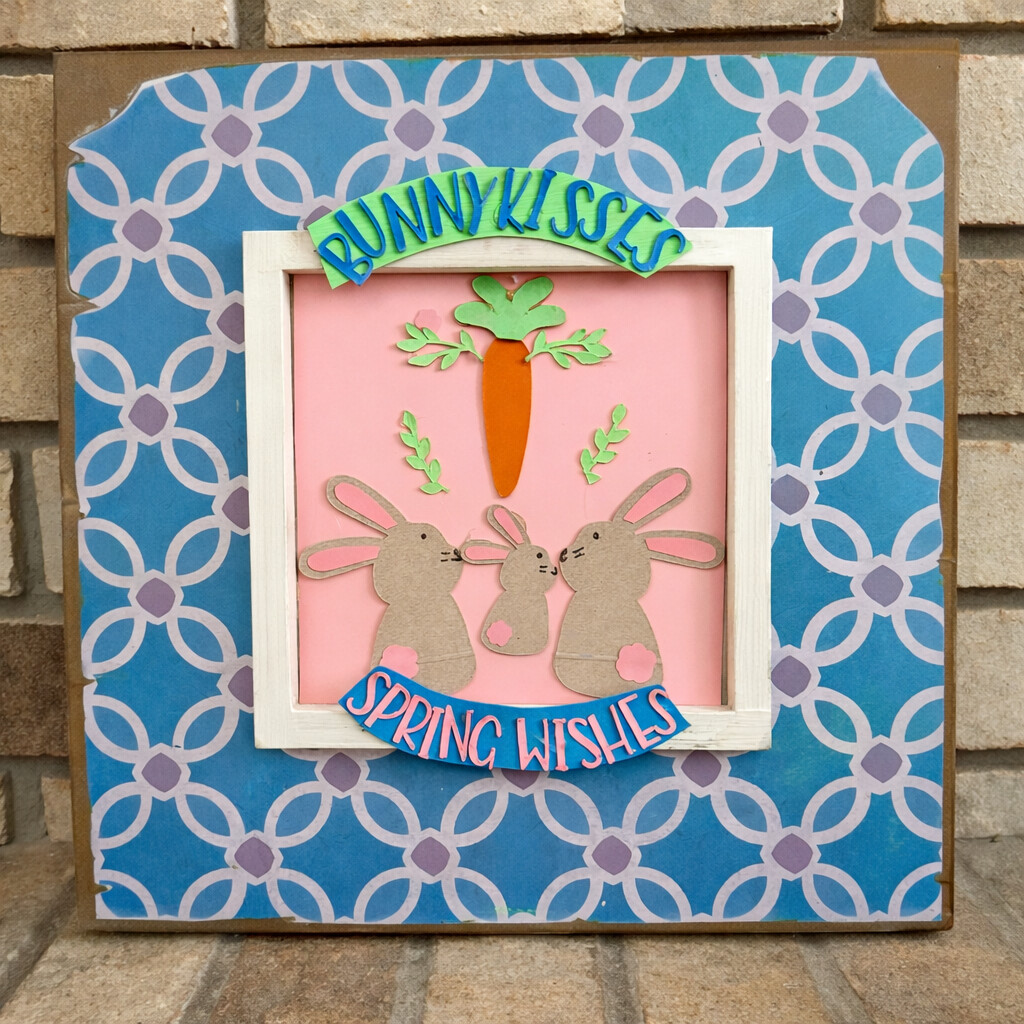
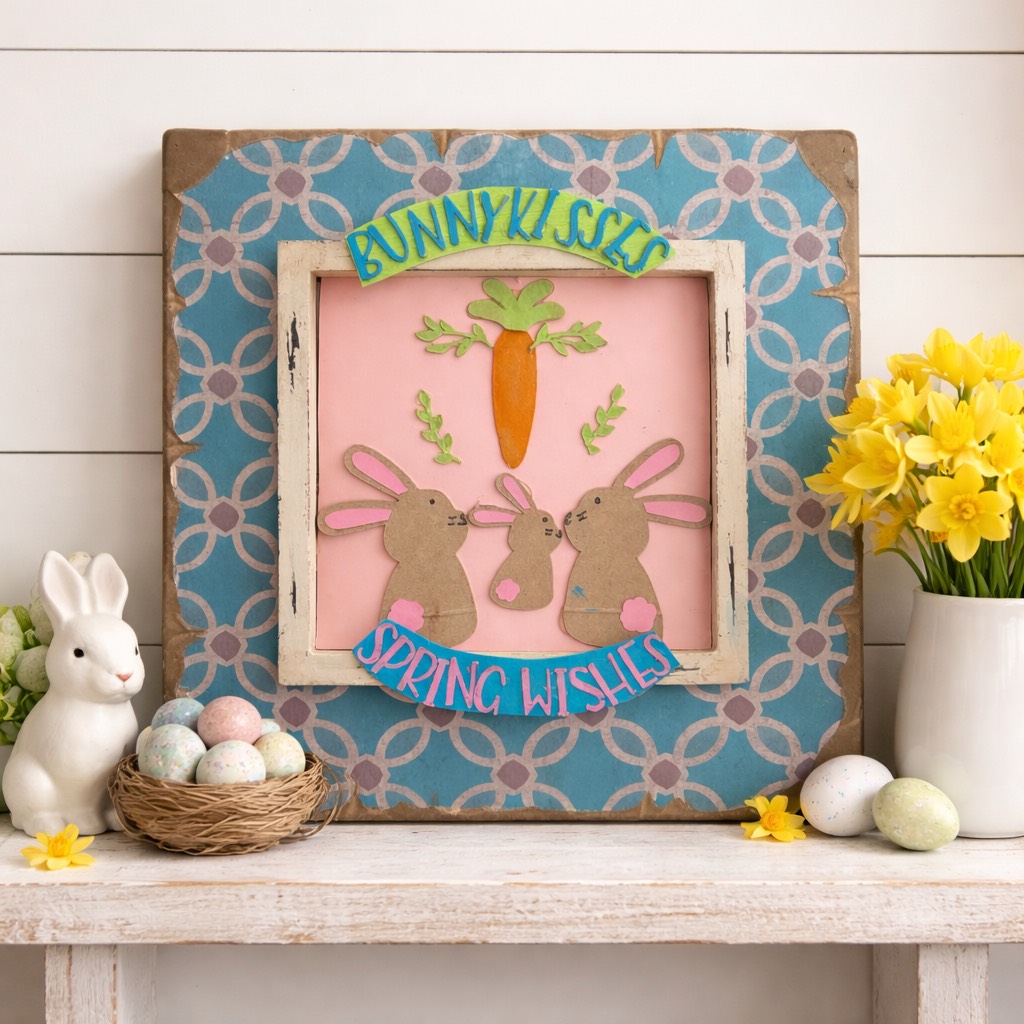
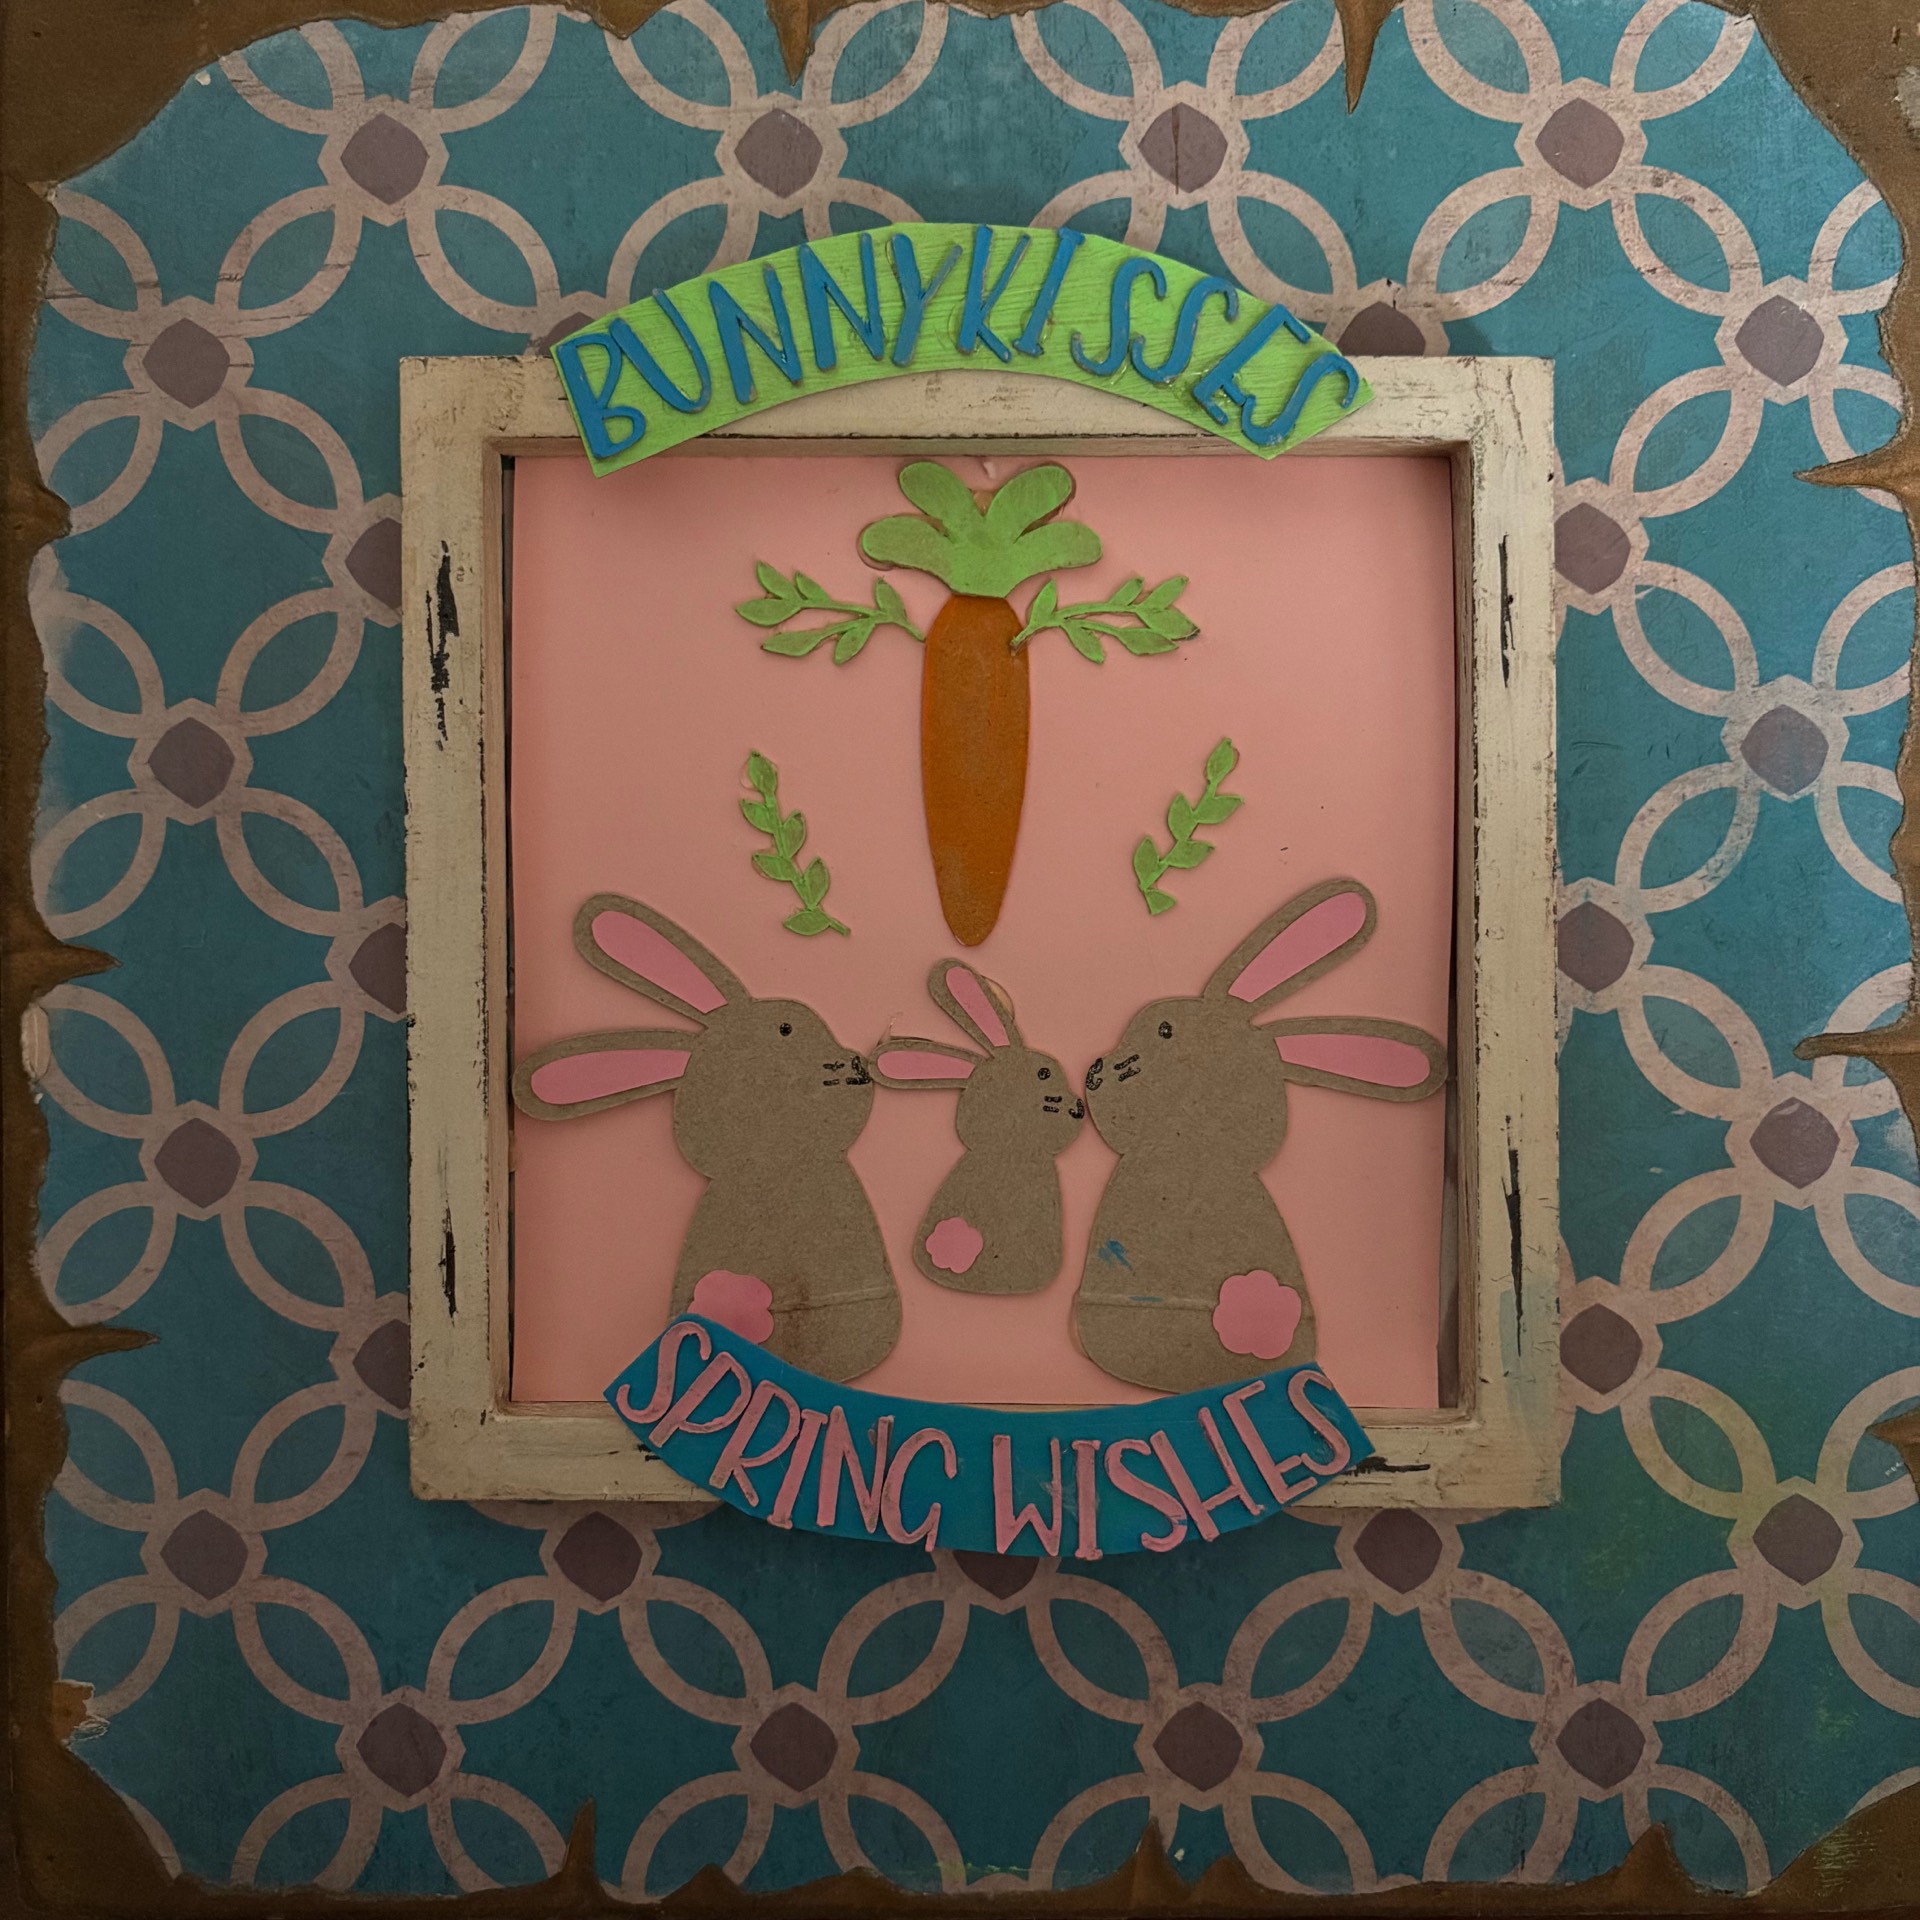
This adorable spring shadow box design brings sweet seasonal charm to life with a handmade, rustic touch. Featuring three bunny silhouettes sharing a “kiss” beneath a bright carrot and leafy accents, the piece is framed with a distressed window-style border. The soft pink background paired with teal and patterned backing creates a cheerful contrast, while the curved “Bunny Kisses” and “Spring Wishes” banners add a playful, heartfelt finish. Using recycled cereal box cardstock and hand-painted acrylic colors gives it a warm, crafty, eco-friendly feel—perfect for Easter or spring décor.
Step-by-Step Instructions (LoKLik iCraft + Idea Studio):
1. Design in Idea Studio
Open LoKLik Idea Studio and create your design: 3 bunny silhouettes, carrot, leaves, and curved text banners. Size to fit your frame (approx. 8x8 in or desired size).
2. Prepare Materials
Cut apart a cereal box and flatten. This will be your cardstock base. Lightly sand if needed for smoother painting.
3. Paint Your Cardstock
Use acrylic paint to color each section:
• Bunnies: neutral/tan
• Carrot: orange & green
• Background: pink
Let dry completely.
4. Load Mat & Cut
Place painted cereal box pieces onto your cutting mat. Load into LoKLik iCraft.
Select appropriate settings for medium cardstock and begin cutting.
5. Assemble Pieces
Carefully remove cuts. Layer pieces using glue:
• Attach bunnies to background
• Add carrot and leaves above
• Glue small details (tails, ears)
6. Create Frame & Backing
Use patterned paper or painted board as backing. Attach your design inside a rustic or painted frame.
7. Add Lettering
Cut “Bunny Kisses” and “Spring Wishes” from colored cardstock. Glue in curved placement at top and bottom.
8. Final Touches
Lightly distress edges or add shading for depth. Let dry fully.
Now you have a charming, handmade spring décor piece using your LoKLik iCraft