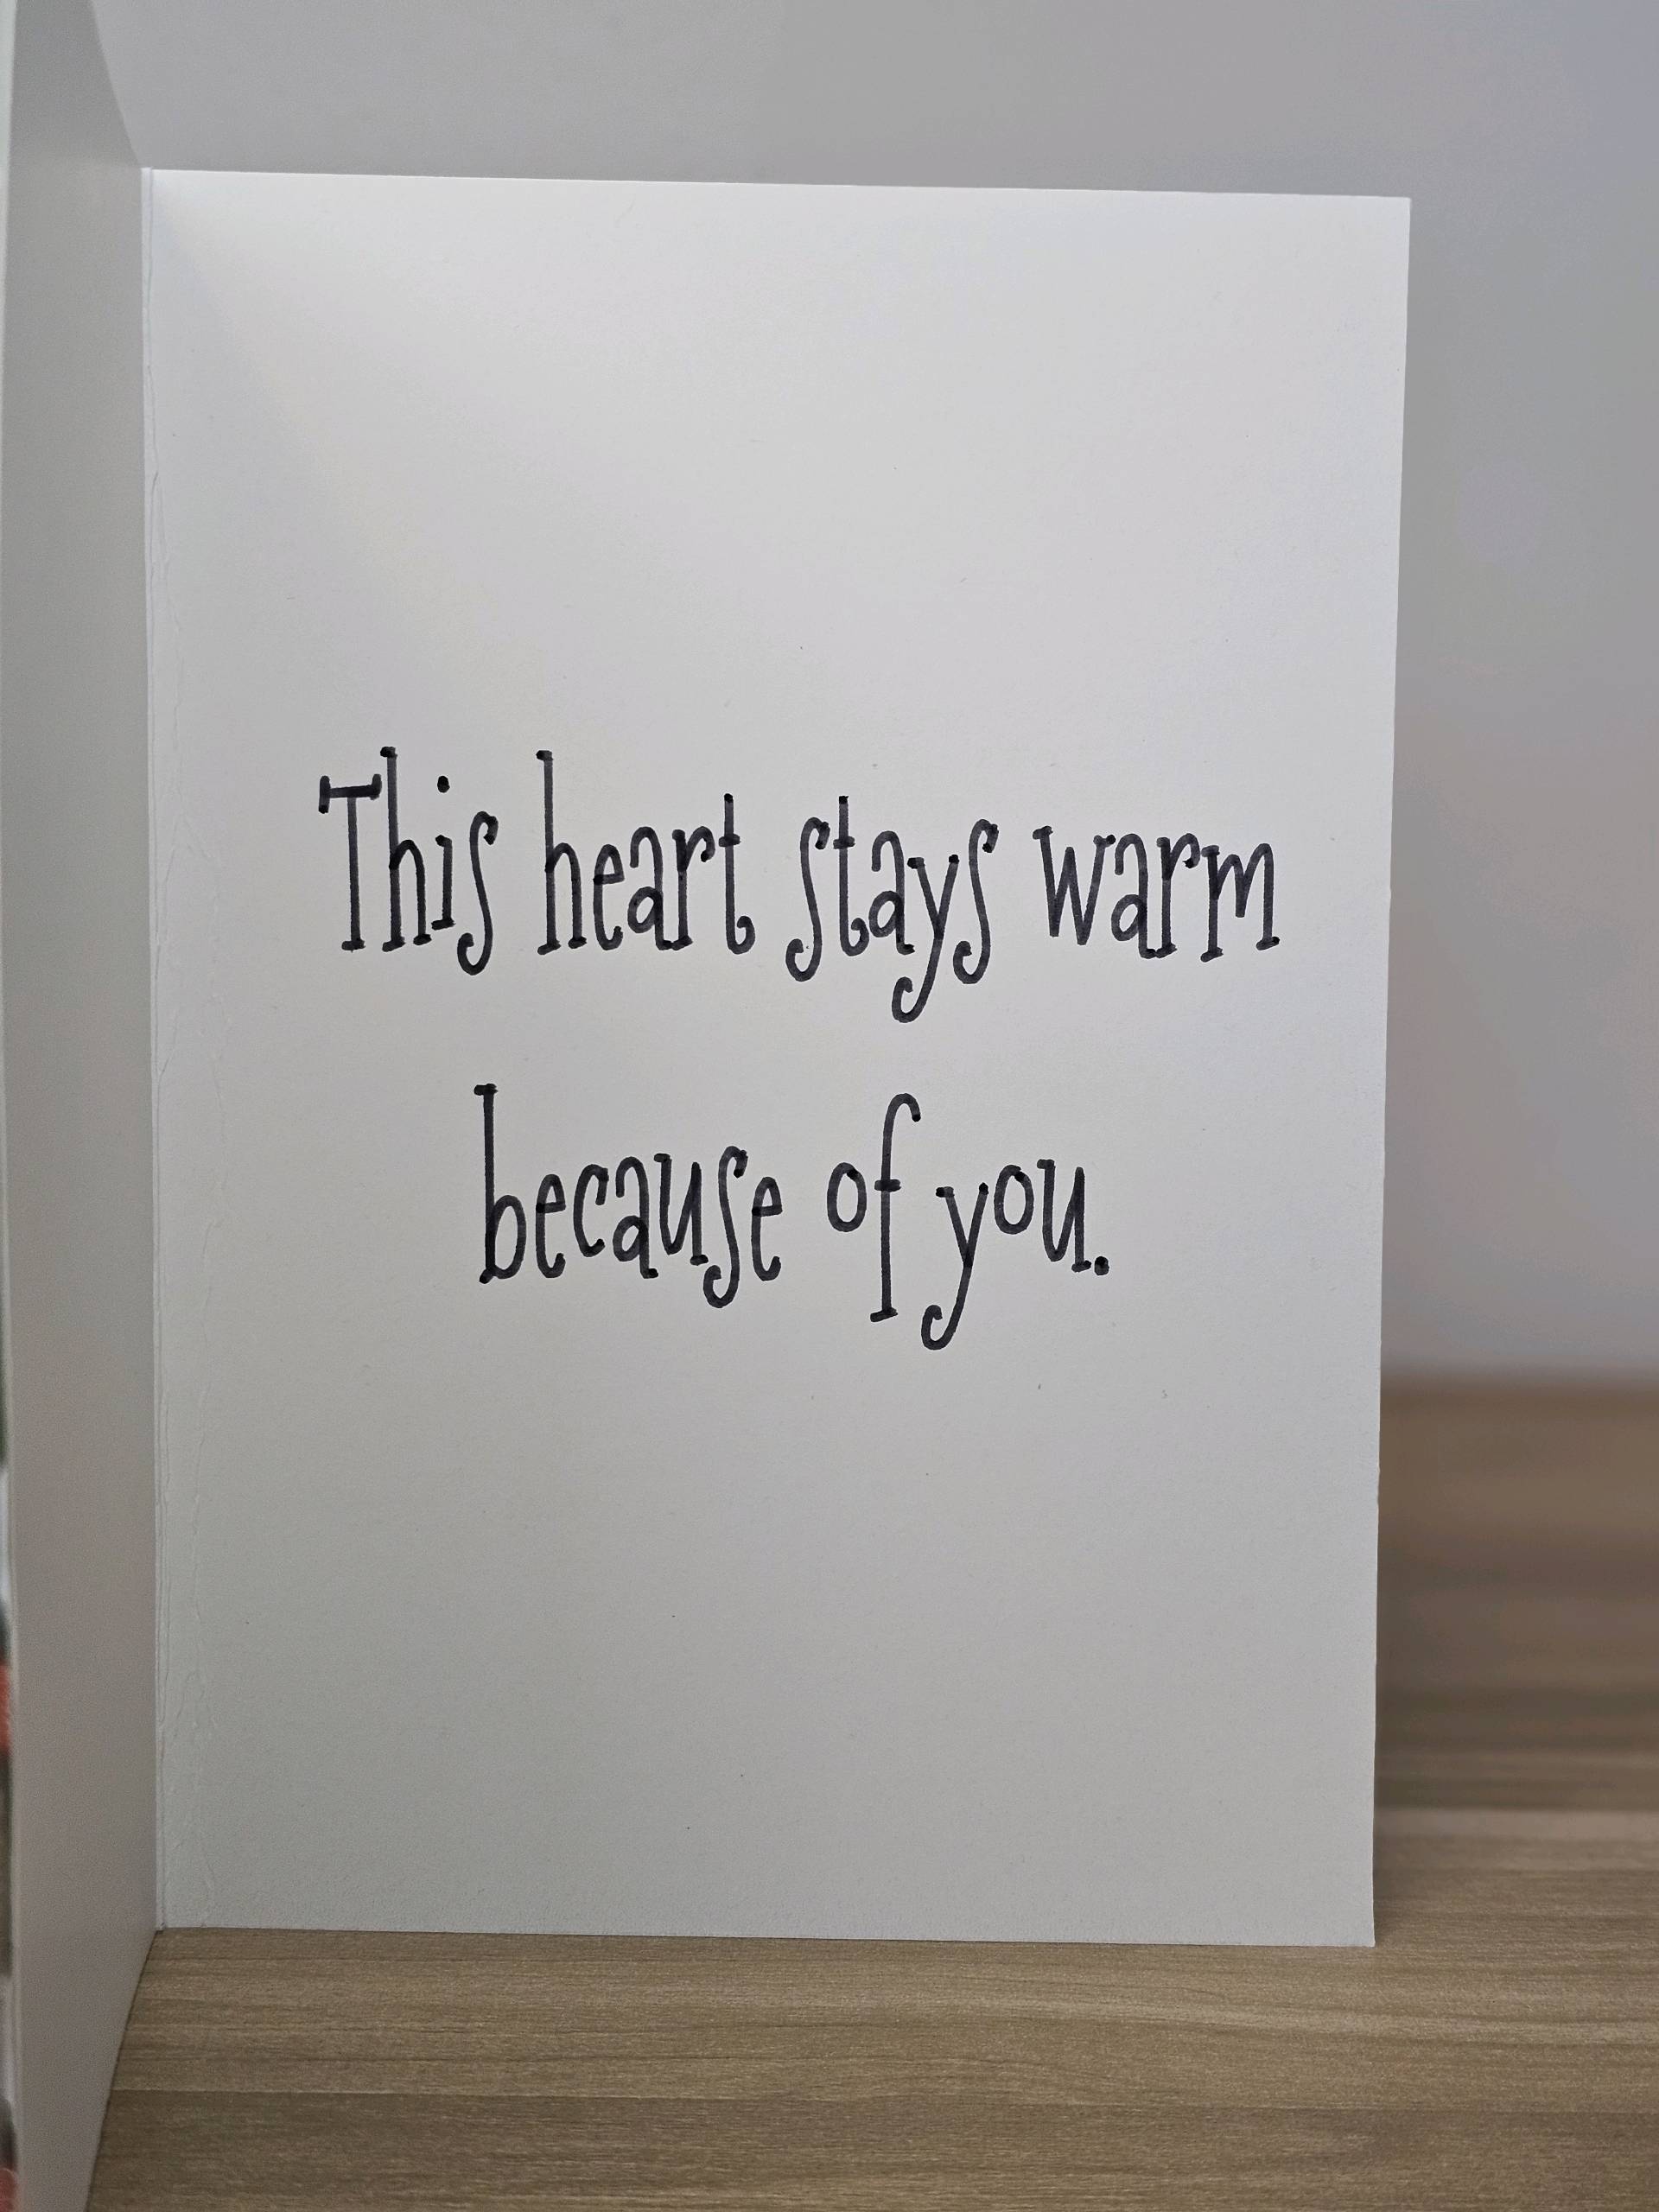
For this cozy winter card, I started by cutting the card base to 10 inches wide by 7 inches long. Once the base was ready, I used the Loklik draw function and pen to write the greeting on the inside so it would be clean and centered before adding any layers to the front.
Then, I scored the card and folded it in half.
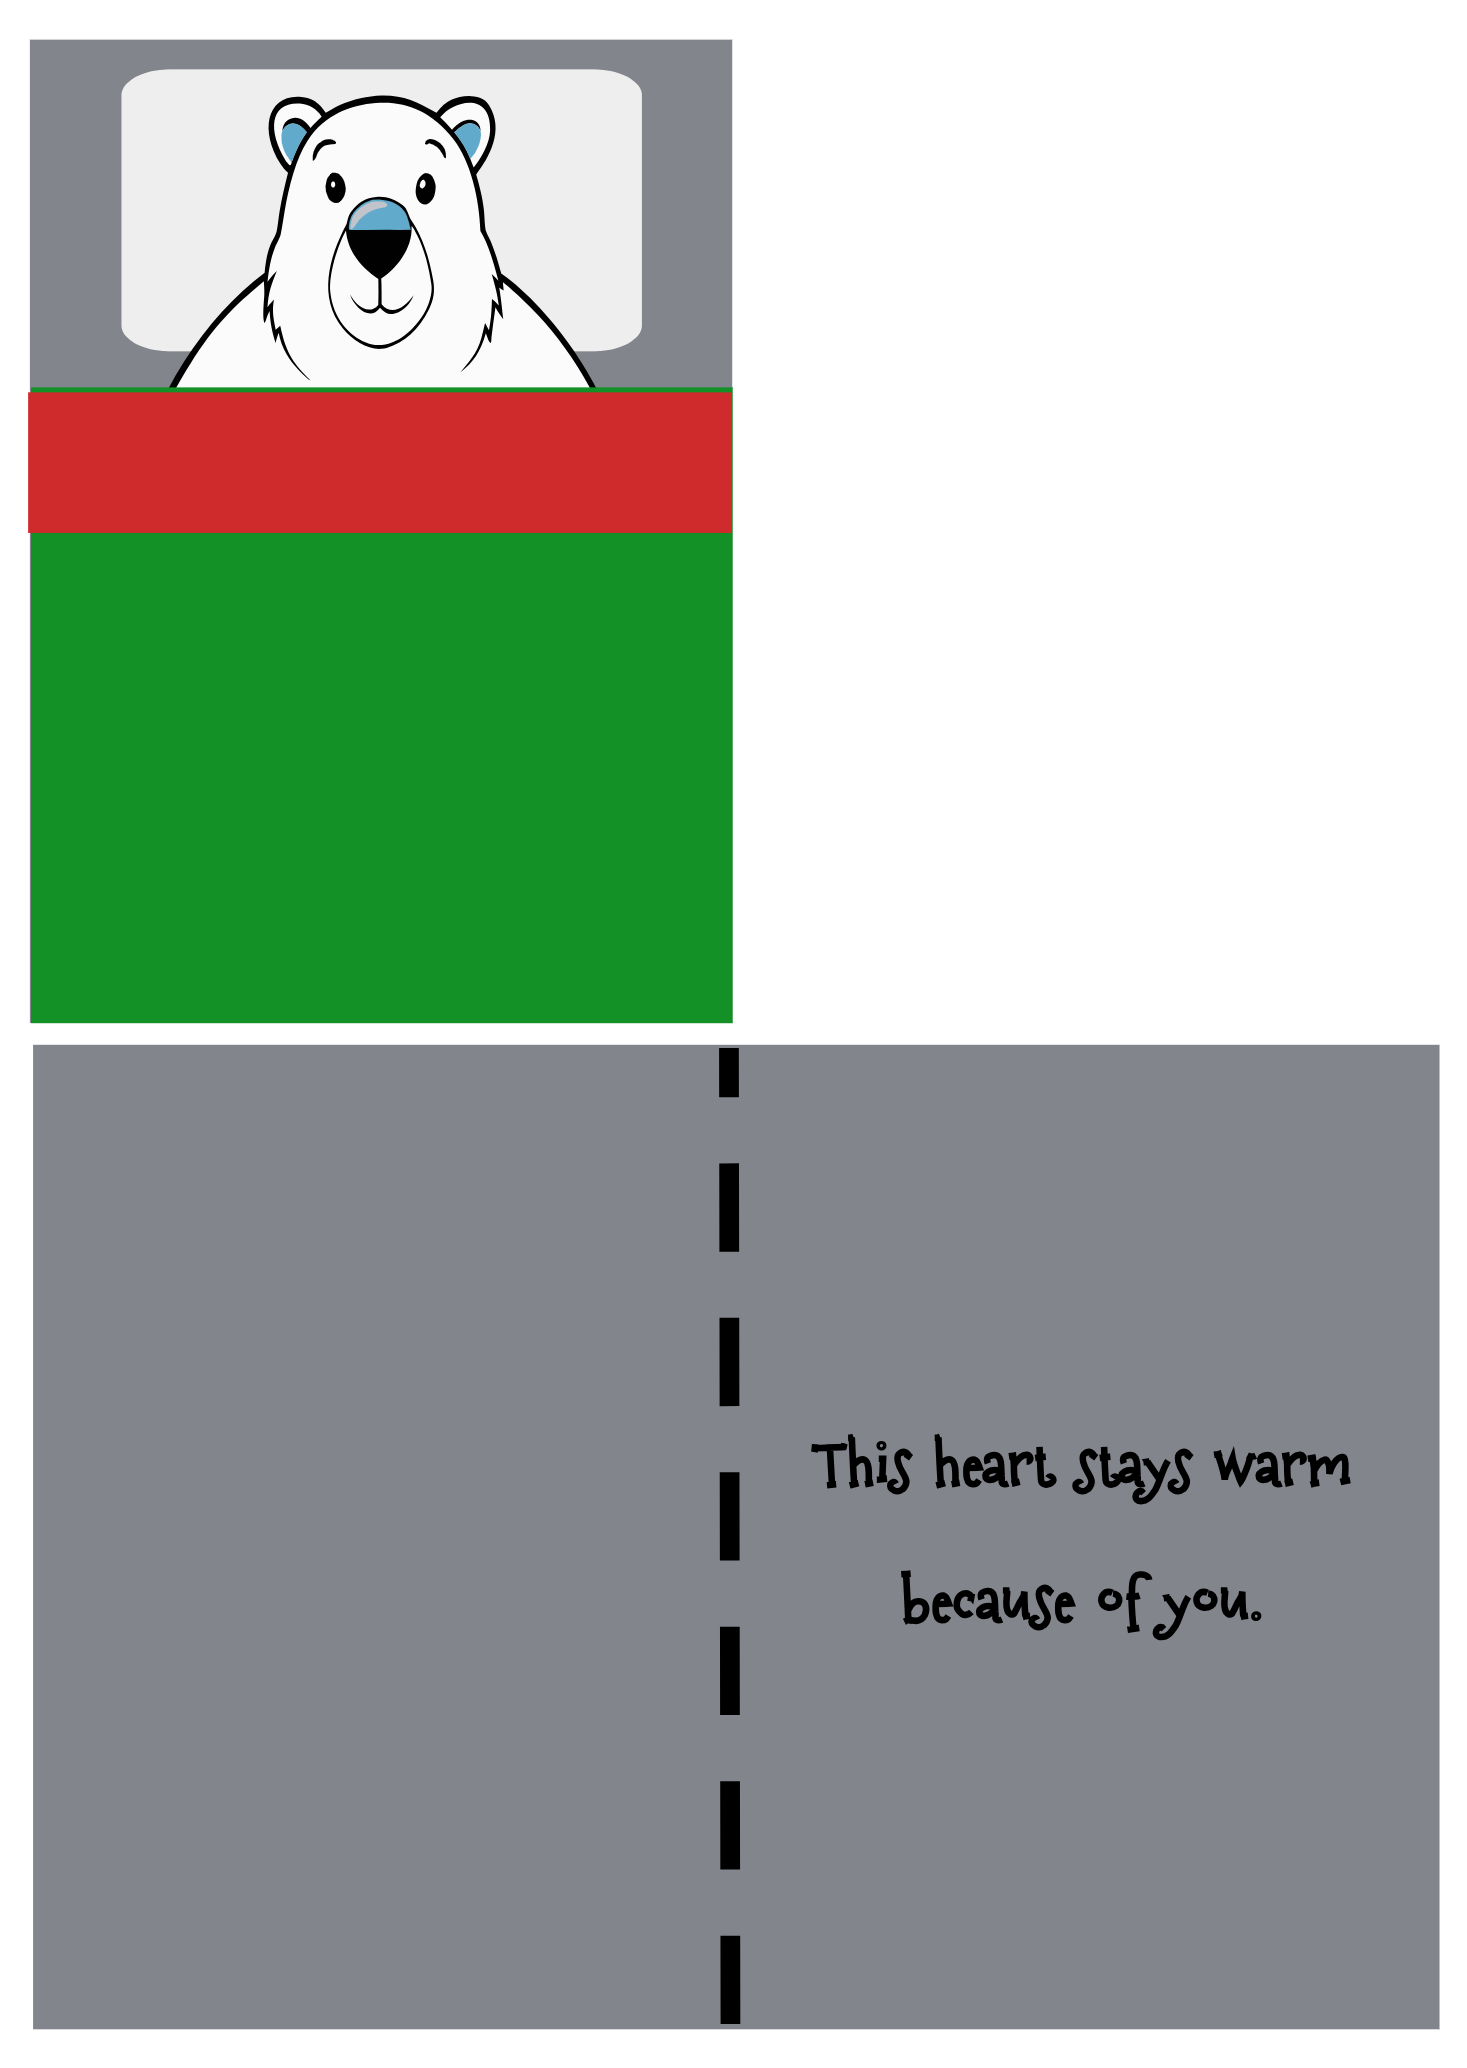
Next, I pressed the HTVRONT puff vinyl onto the front of the card to create the soft, raised pillow. After that, I added the polar bear. I generated the bear image using IdeaStudio’s AI feature, printed it onto HTVRONT 230 GSM cardstock, cut it out, and attached a half inch wide by 3 inch long ribbon to the back. I placed double sided tape on the top (front side) of one end of the ribbon and attached it to the back of the bear near his bottom. I taped the other end of the ribbon (back side) to the card so the bear could lift like a little character tucked into bed.
Then I created the blanket by heat pressing the patterned HTV and the green glitter HTV onto a separate piece of cardstock. Once that panel was finished, I used double‑sided tape to place it over the bear, completing the tucked‑in look.
The finished card is full of texture, warmth, and charm—like a tiny winter bedtime scene brought to life.
Materials & Process:
- HTVRONT glitter cardstock (card front)
- HTVRONT white 230 GSM cardstock (pattern backing + printed bear)
- Patterned HTV (blanket pattern)
- HTVRONT green glitter HTV (blanket)
- HTVRONT puff vinyl (pillow)
- Ribbon (to attach the bear)
- Double‑sided tape (assembly)
- Loklik pen + draw function (interior greeting)
- Cutting machine
- Heat press