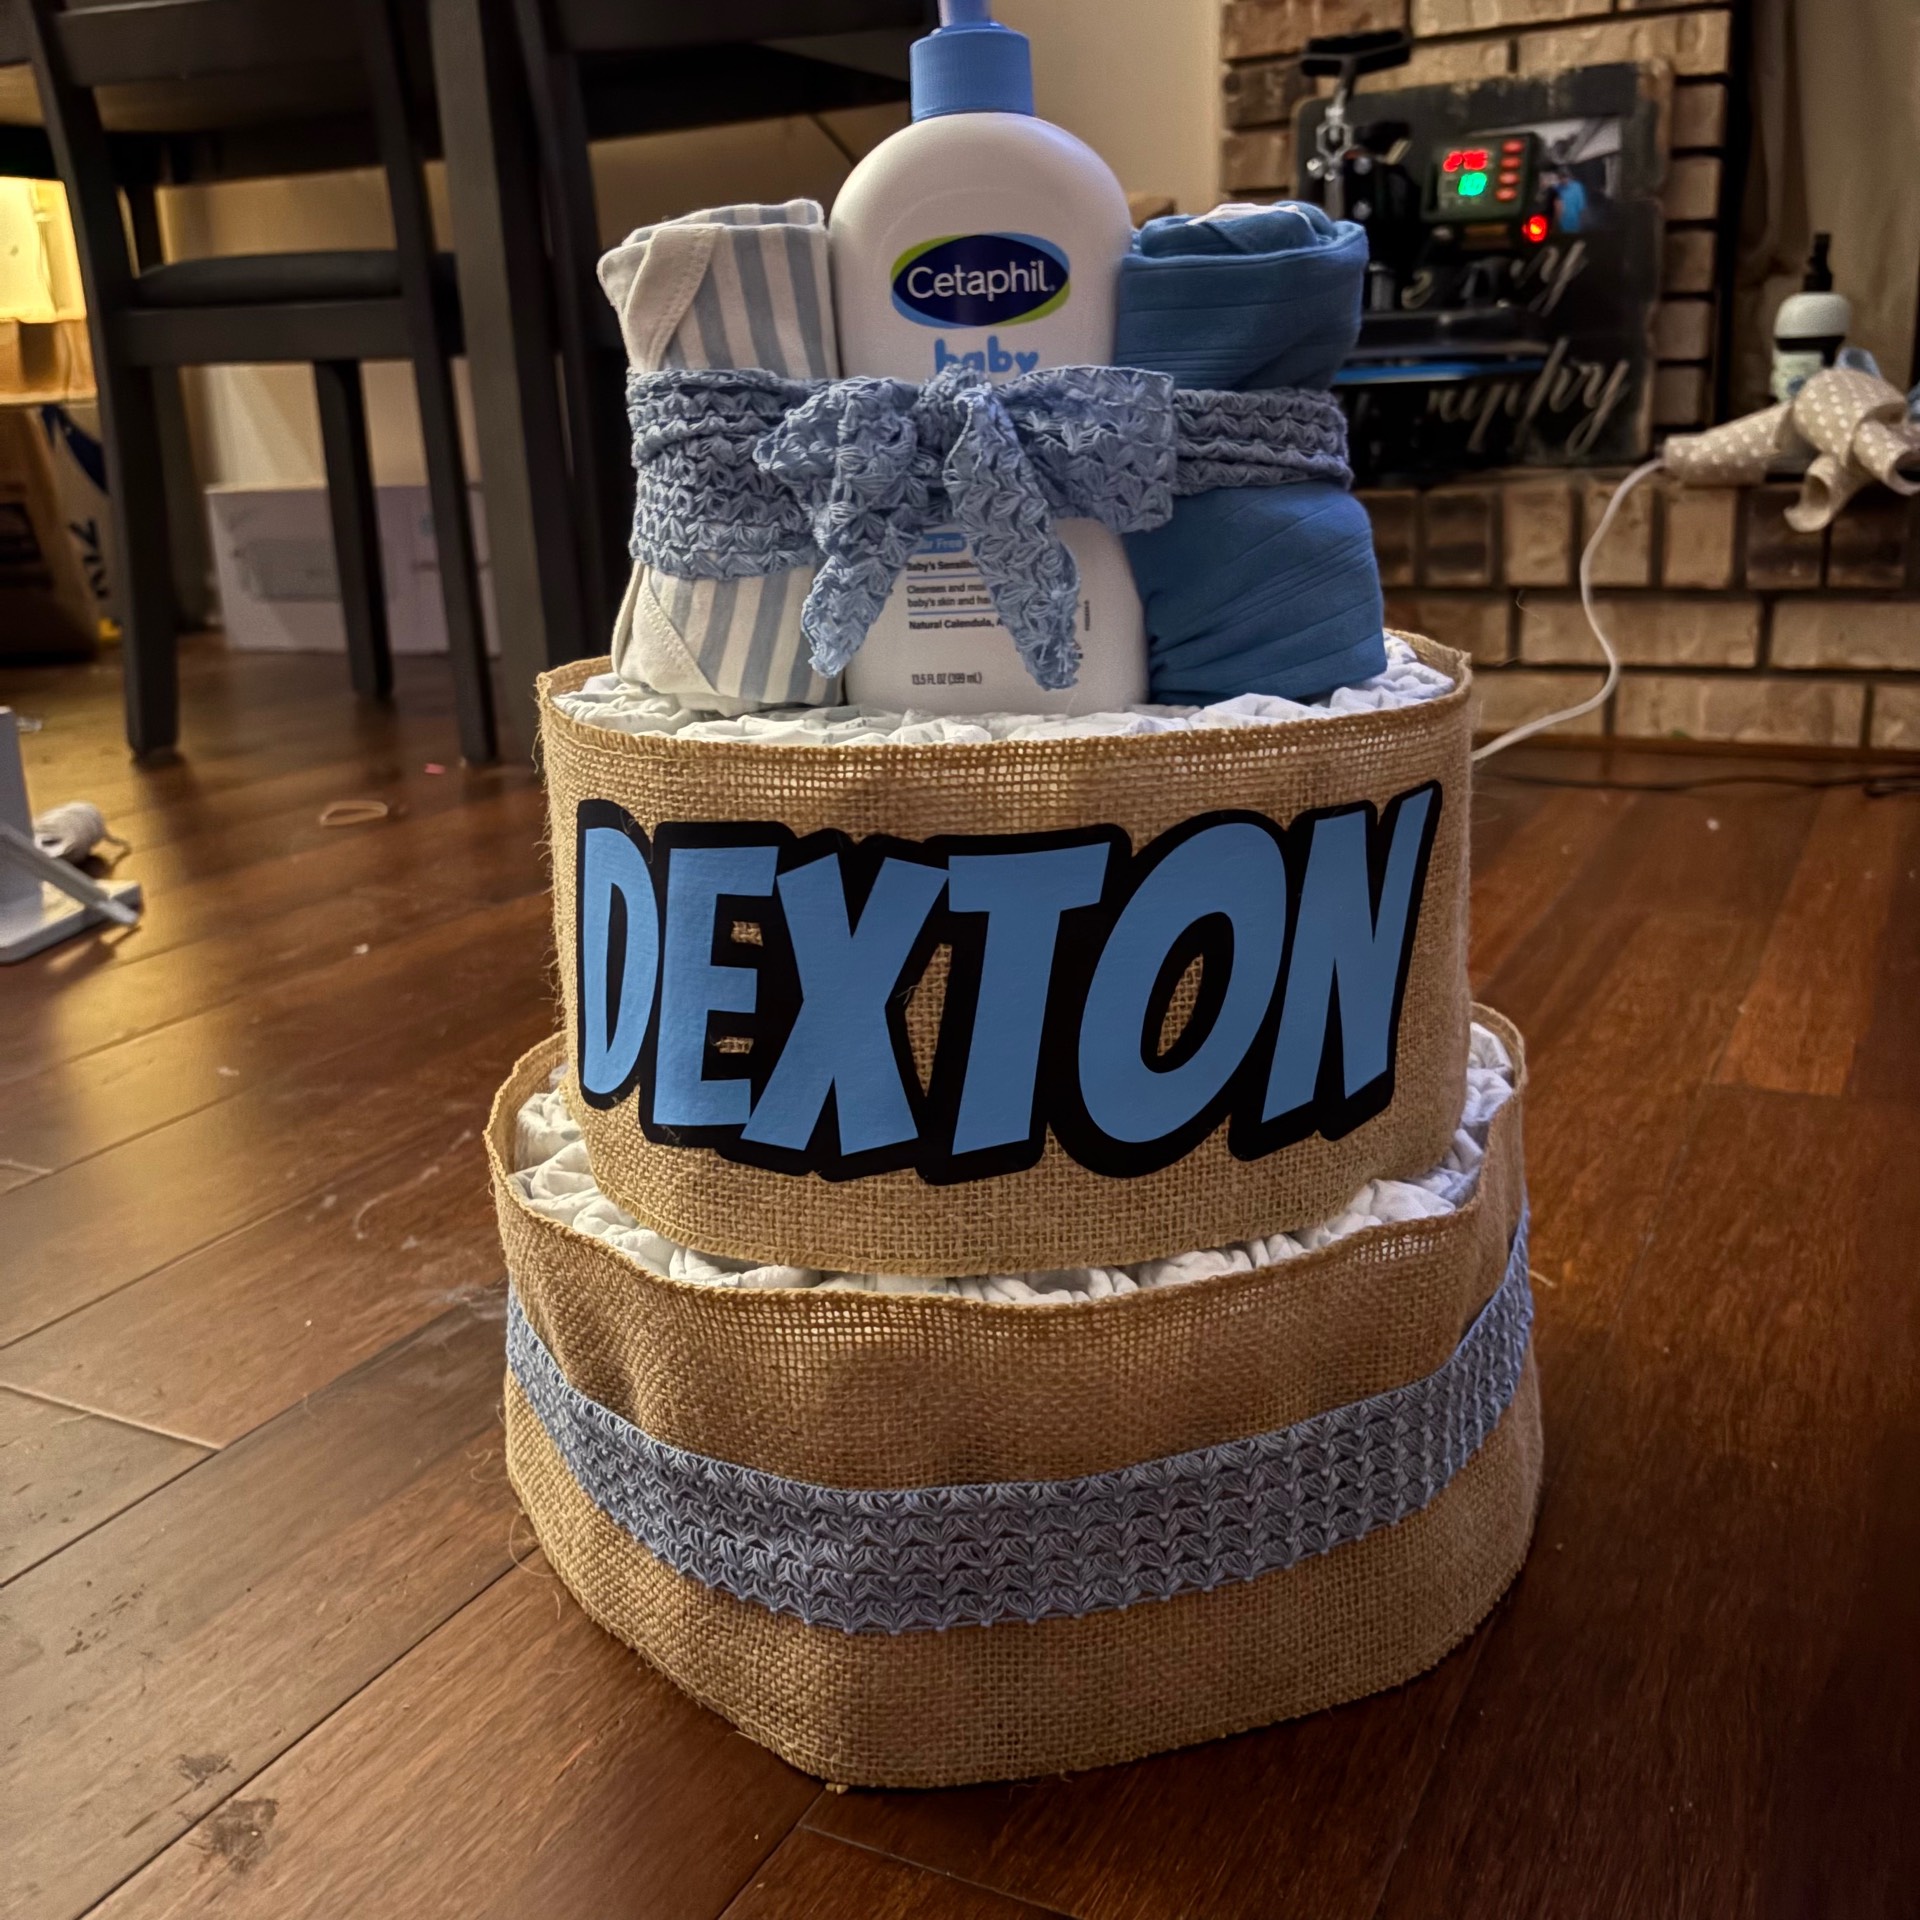
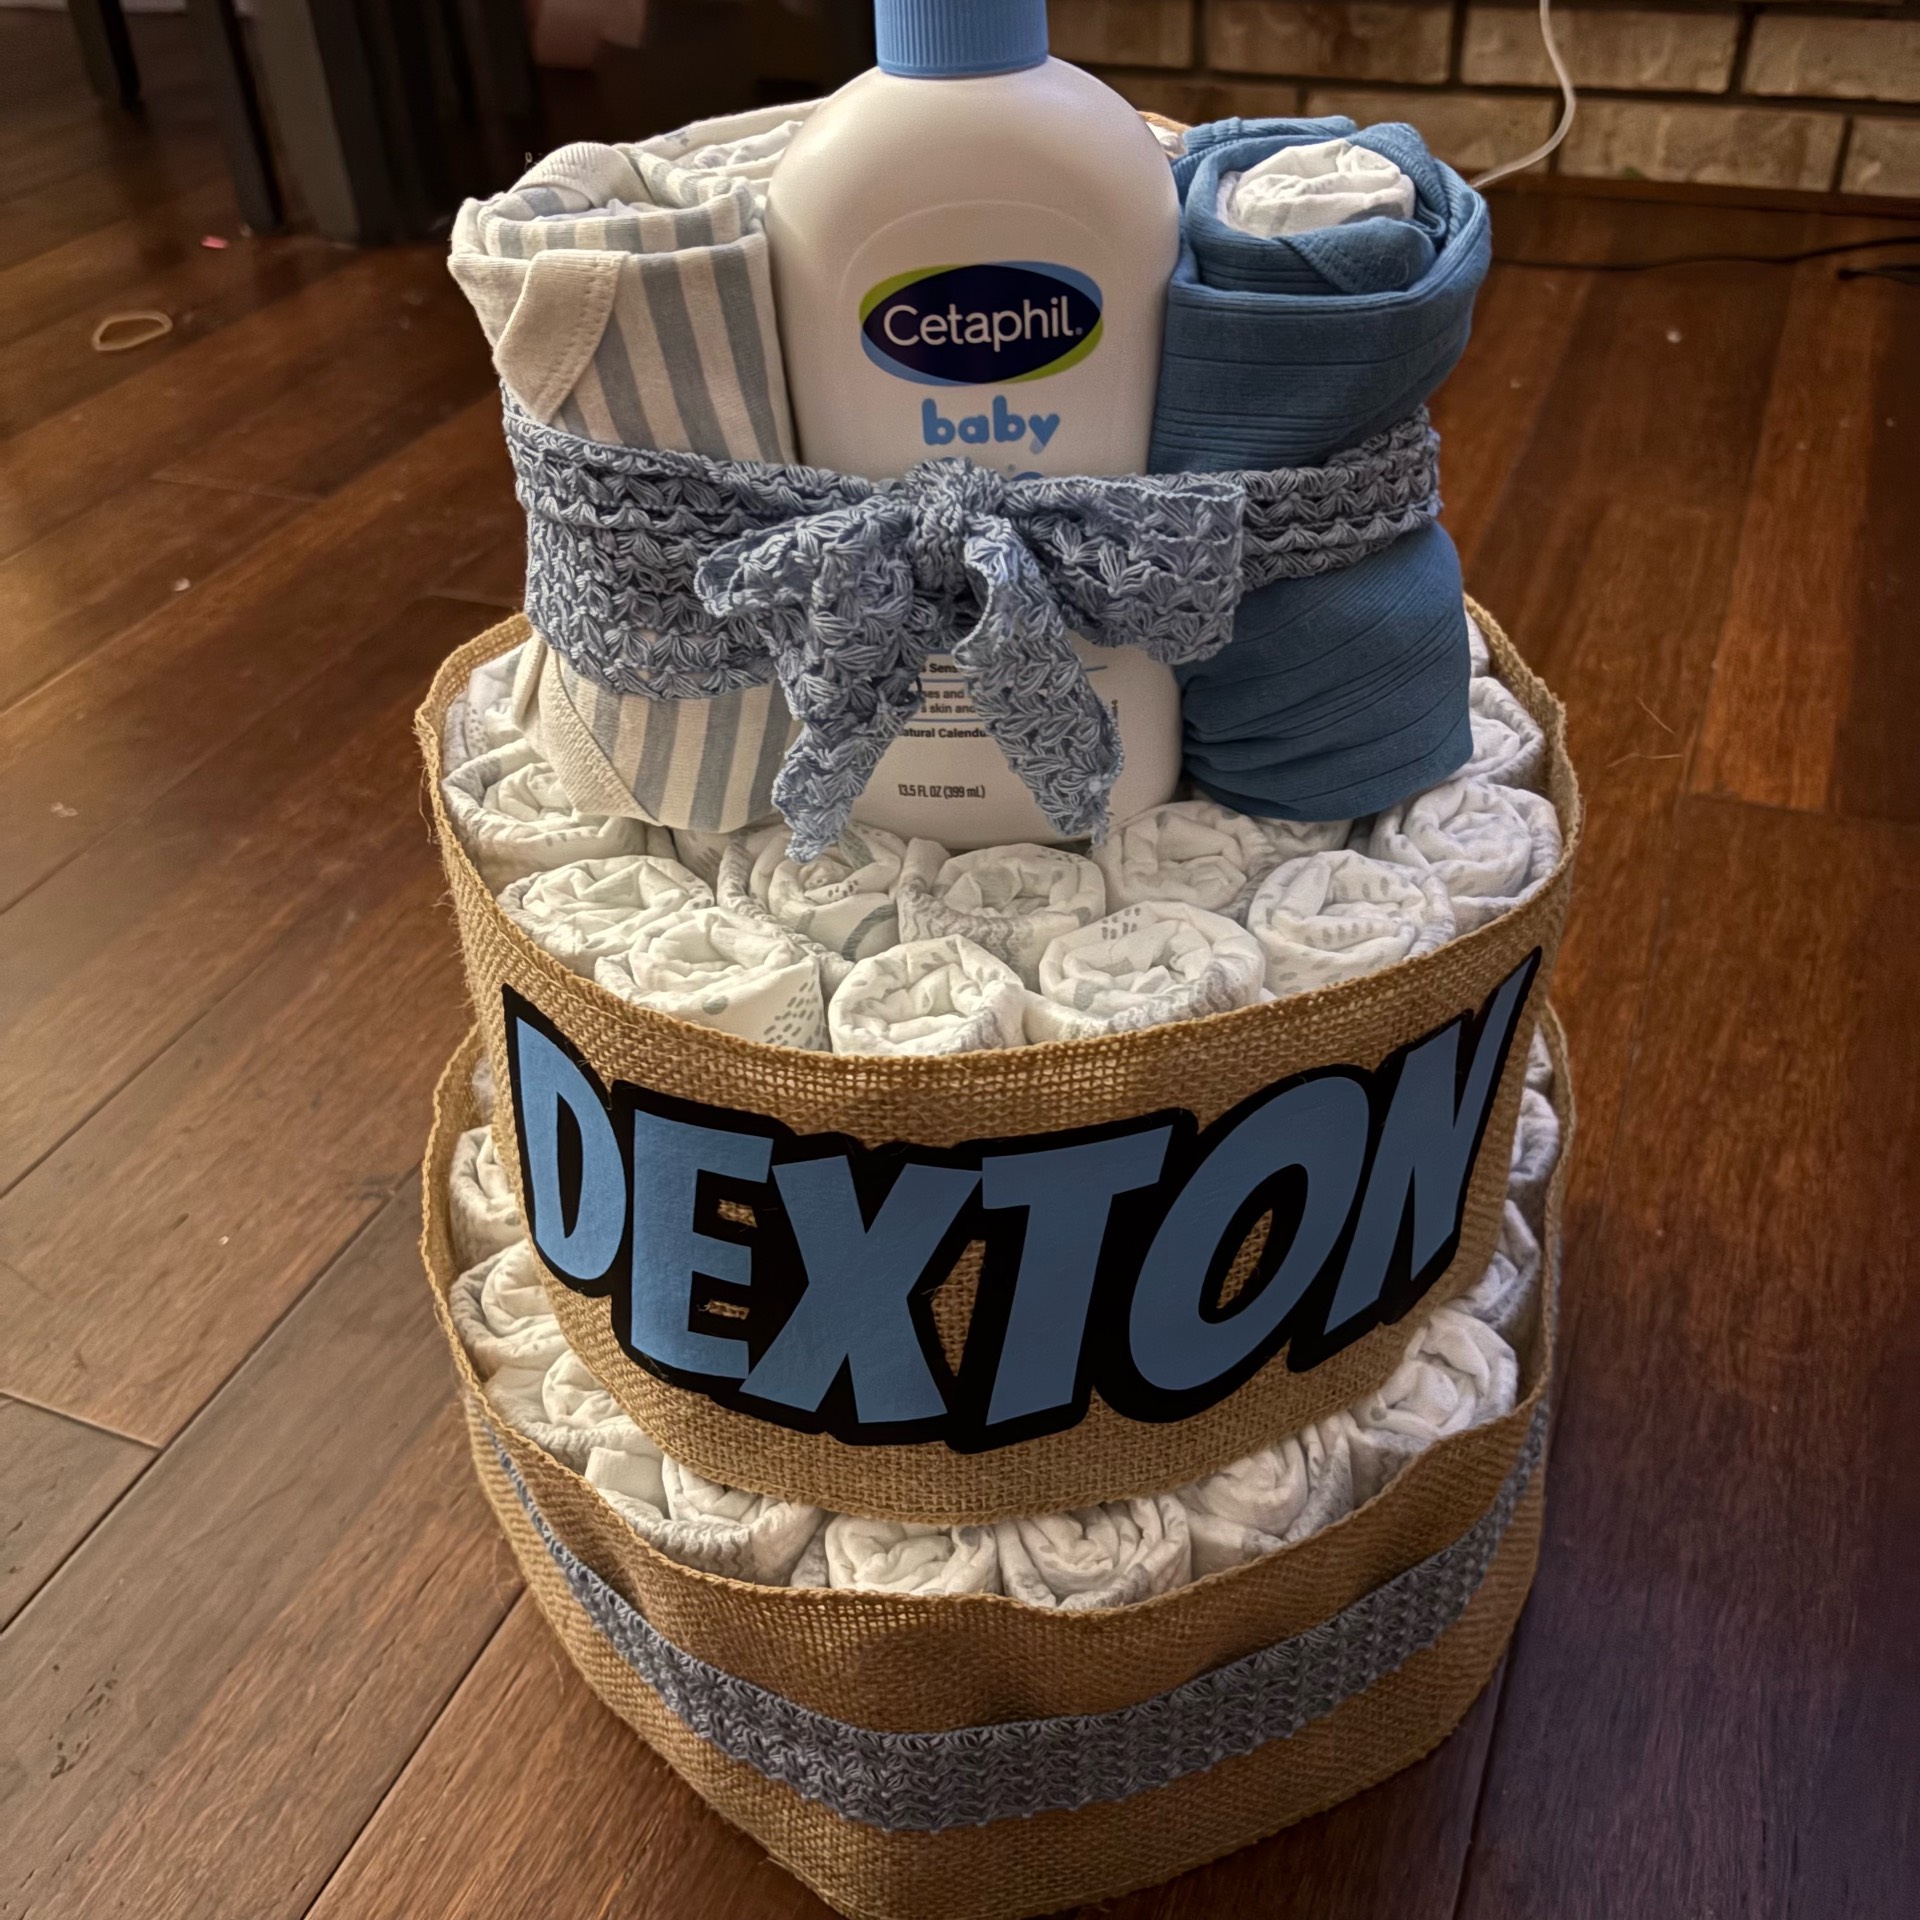
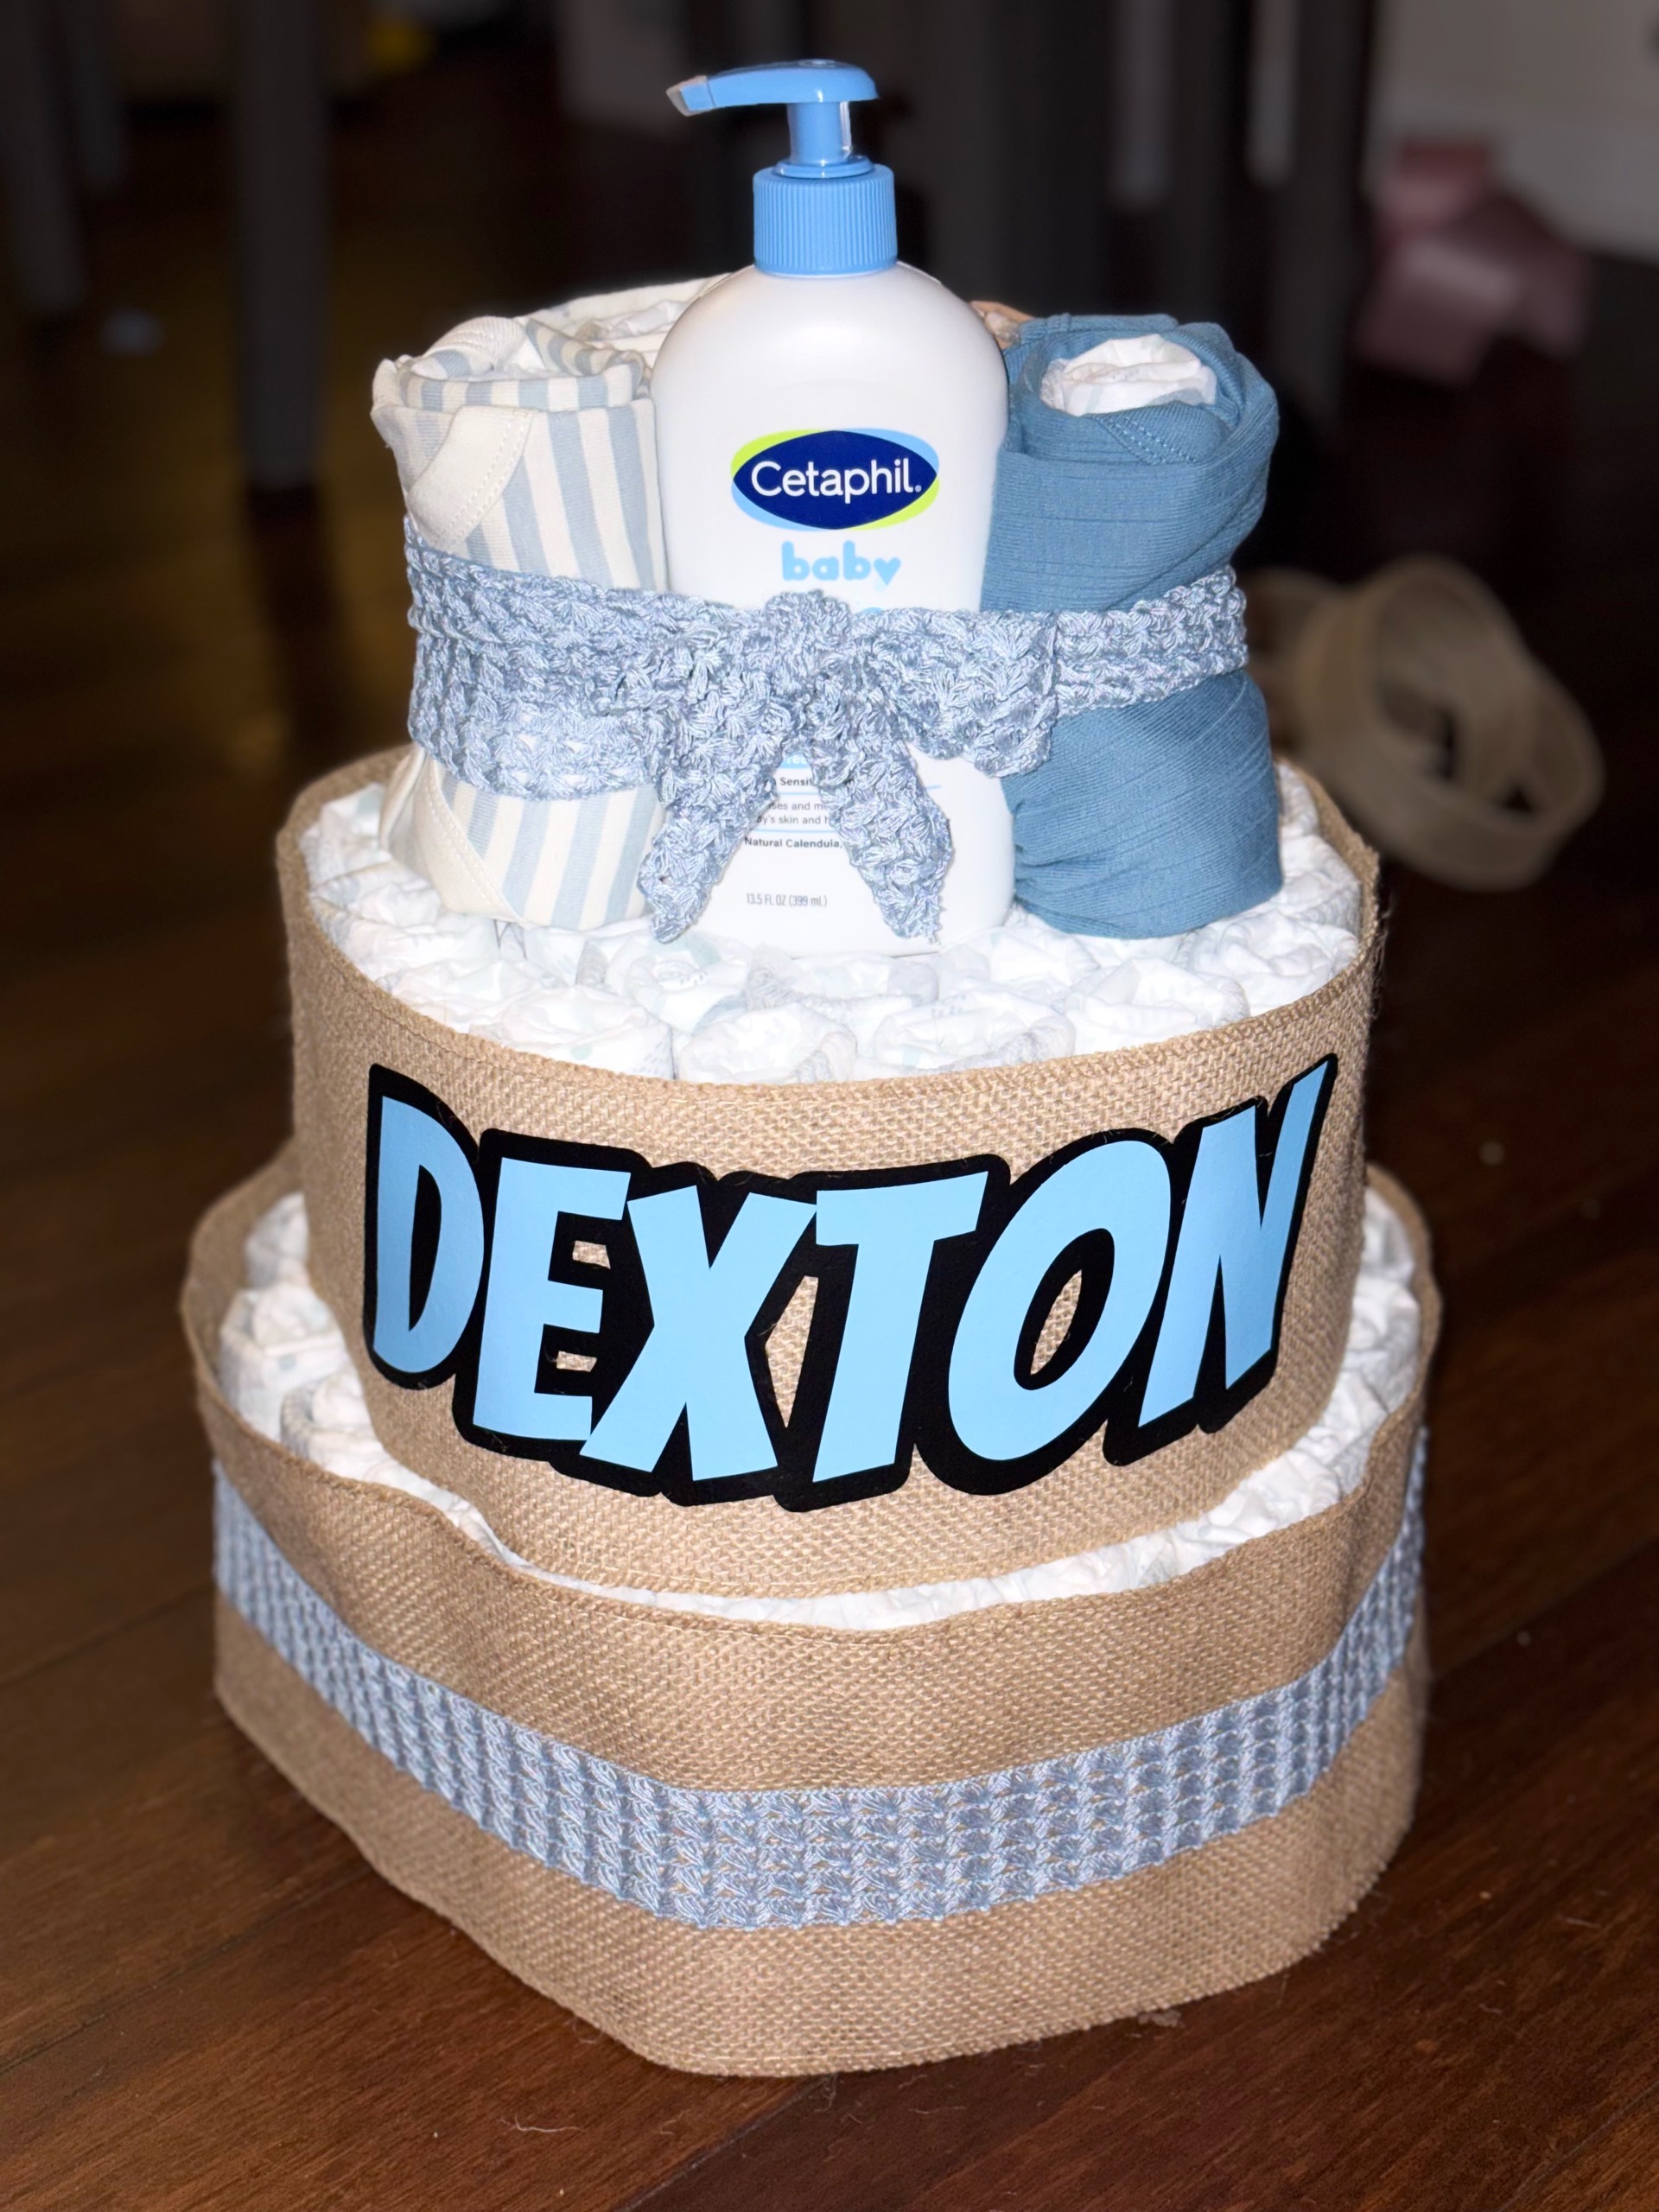
Description (Designing in Ideal Studio for LOKLiK iCrafter + HTV):
This diaper cake is a soft, storybook stack in powder blue, burlap tan, and cozy textures, crowned with baby essentials. In Ideal Studio, design a bold, playful name decal (“DEXTON”) using a chunky, rounded font with a slight tilt for energy. Add a black offset/shadow layer to make the blue lettering pop like it’s bouncing off the burlap. Size the design to fit the middle tier band, then mirror it for HTV cutting. Cut with your LOKLiK iCrafter on heat transfer vinyl, weed the excess, and get ready to press onto a ribbon or fabric strip that wraps the cake like a little billboard of joy.
⸻
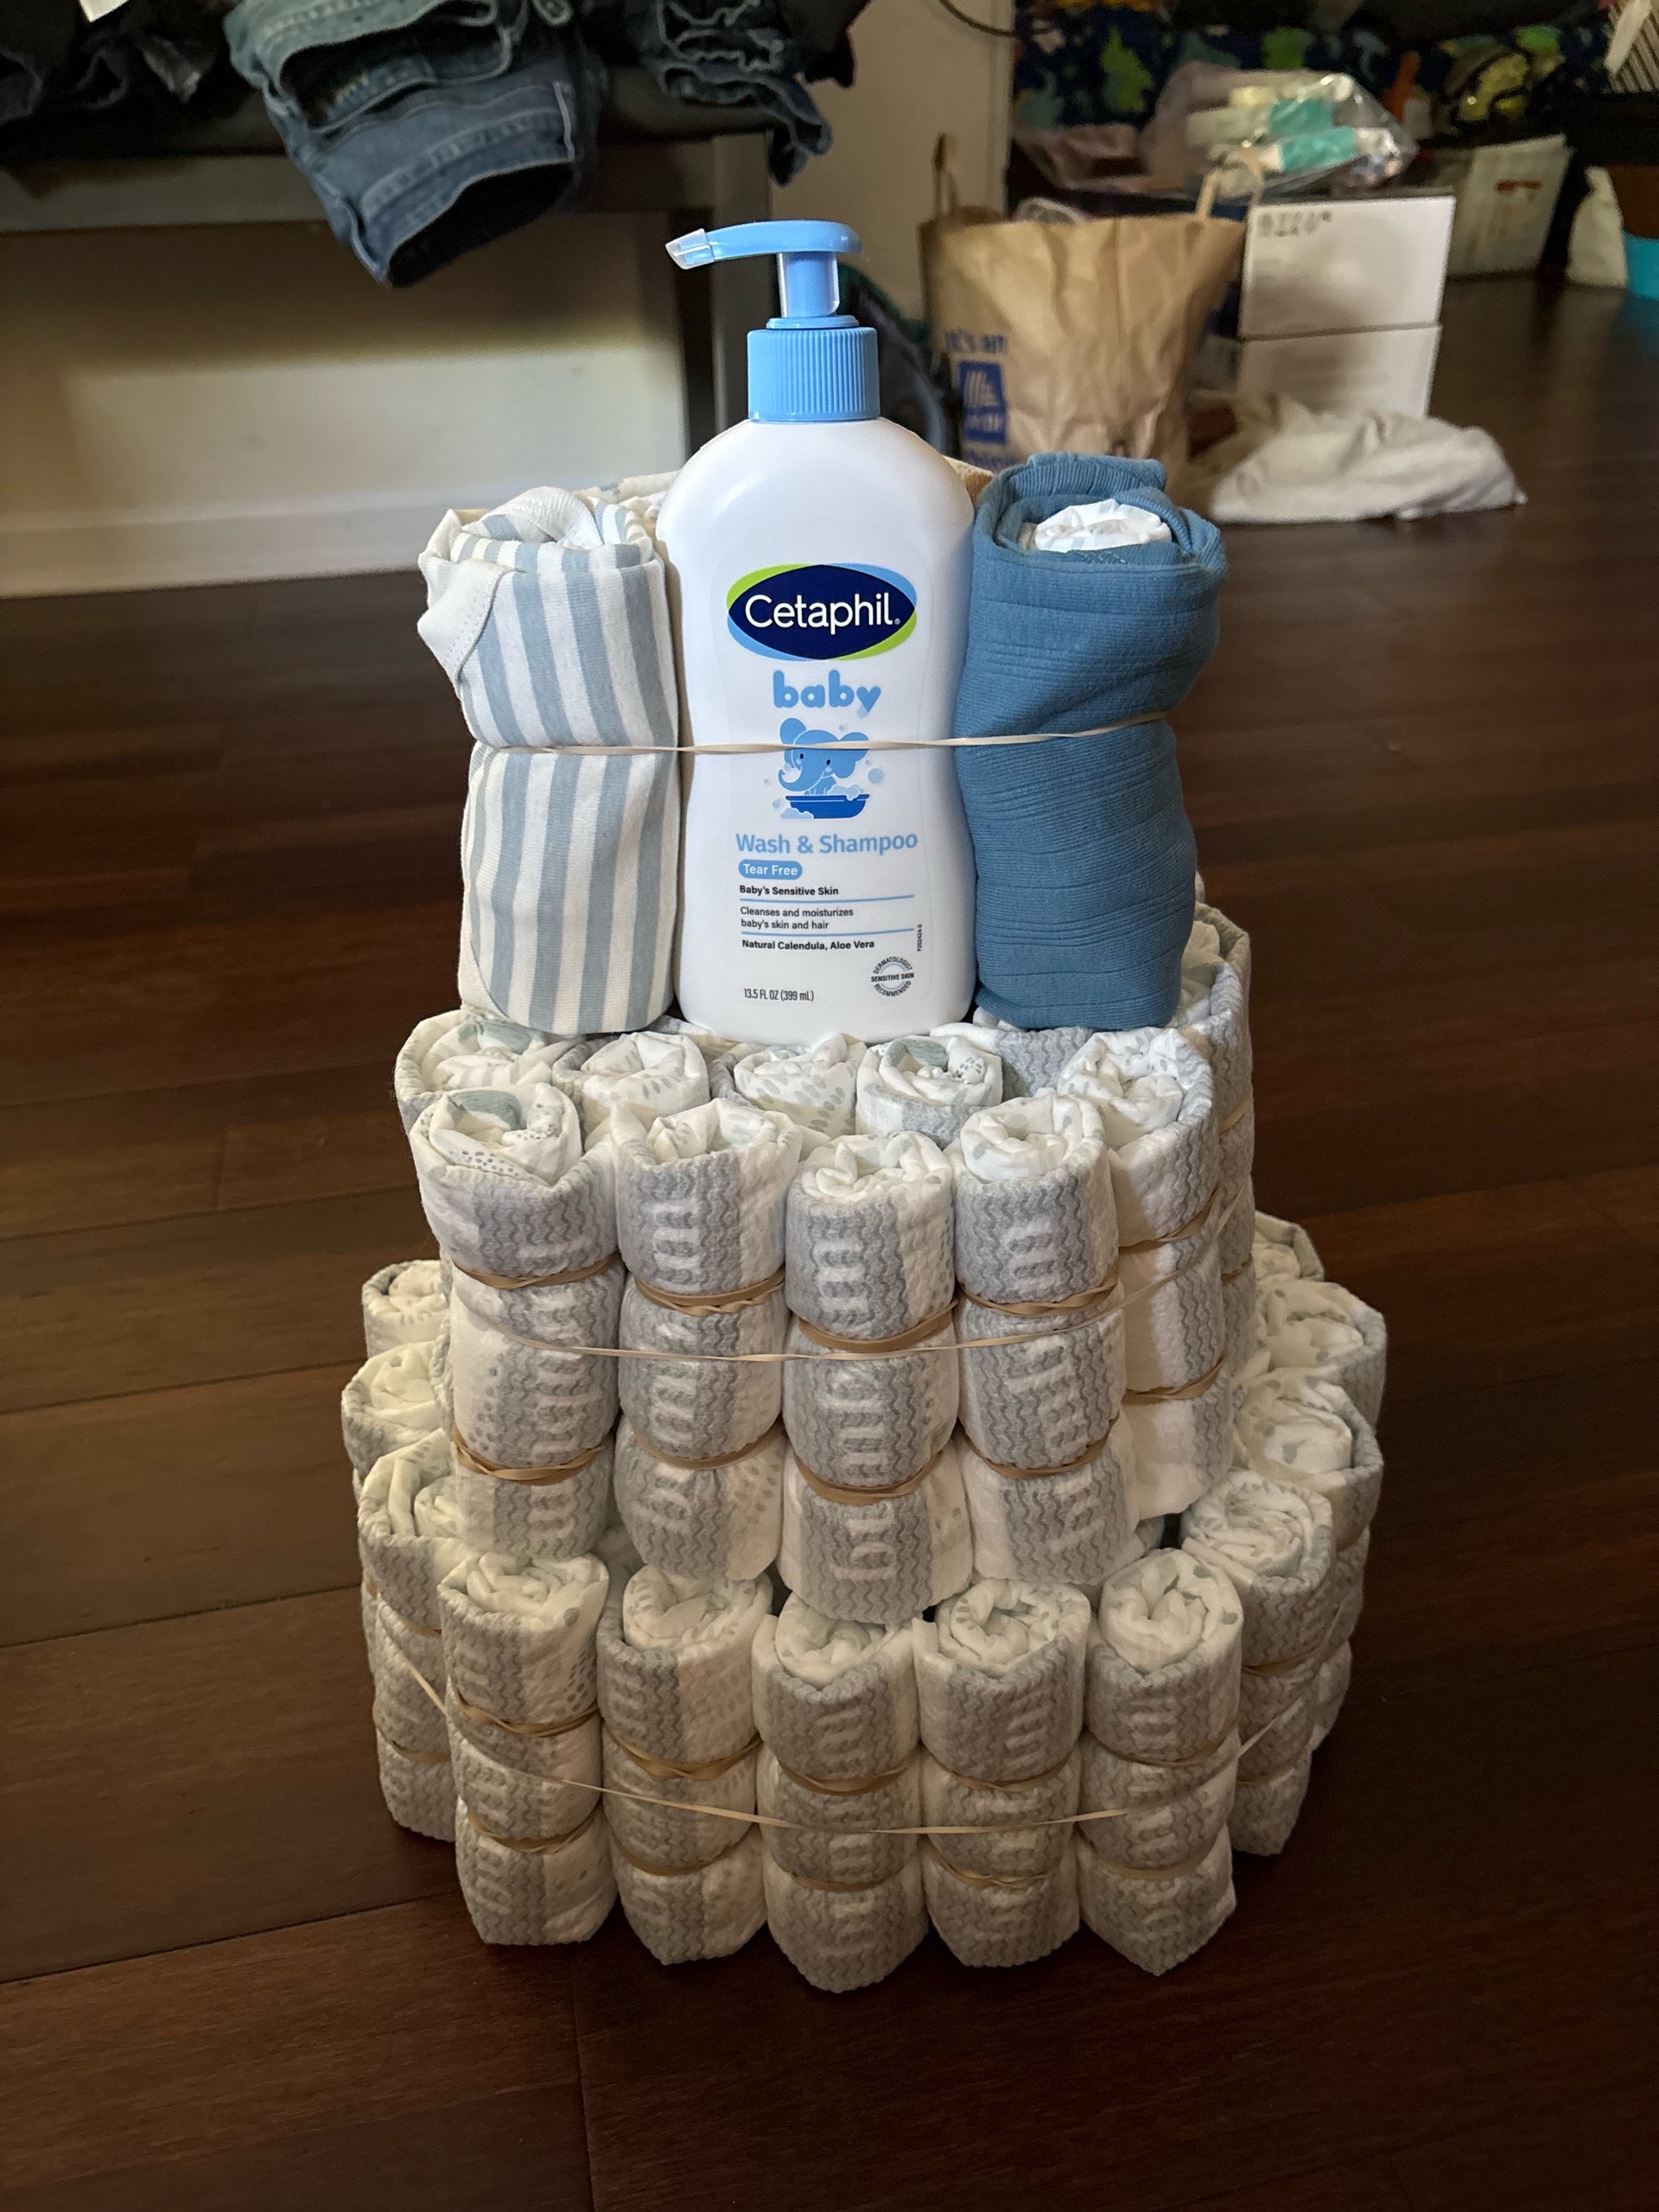
Diaper Cake Assembly (2-tier):
- Roll diapers: Roll 20–30 diapers tightly and secure each with a small rubber band.
- Build base tier: Stand diapers in a circle around a center core (can be a bottle or more diapers). Secure with a large rubber band.
- Second tier: Repeat with fewer diapers for the top tier; stack on base.
- Wrap tiers: Cover rubber bands with burlap ribbon and a soft blue textured ribbon.
- Apply HTV name: Heat press your HTV decal onto a ribbon strip first (easier), then wrap and secure it around the middle tier.
- Top it off: Add a lotion bottle and rolled baby items (onesies/socks) in the center.
⸻
Hand-Tied Bow (simple + full):
- Cut ~24–30 inches of ribbon.
- Make two loops (like bunny ears), cross one over the other.
- Pull tight to form a bow; adjust loops evenly.
- Wrap a thin strip or twine around the center knot for a polished look.
- Fluff loops and trim tails at an angle.
- Attach to the front of the cake with hot glue or a small pin.
A tiny tower of tenderness, tied together with texture and a name that steals the spotlight.