Supplies
- HTVRONT color-changing permanent vinyl (heat or UV reactive)
- White permanent vinyl (for layered text, optional)
- Transfer tape
- Loklik/iCraft machine + Idea Studio
- Weeding tools
- Rubbing alcohol + lint-free cloth
- Scraper/card
⸻
Step 1: Design (Idea Studio)
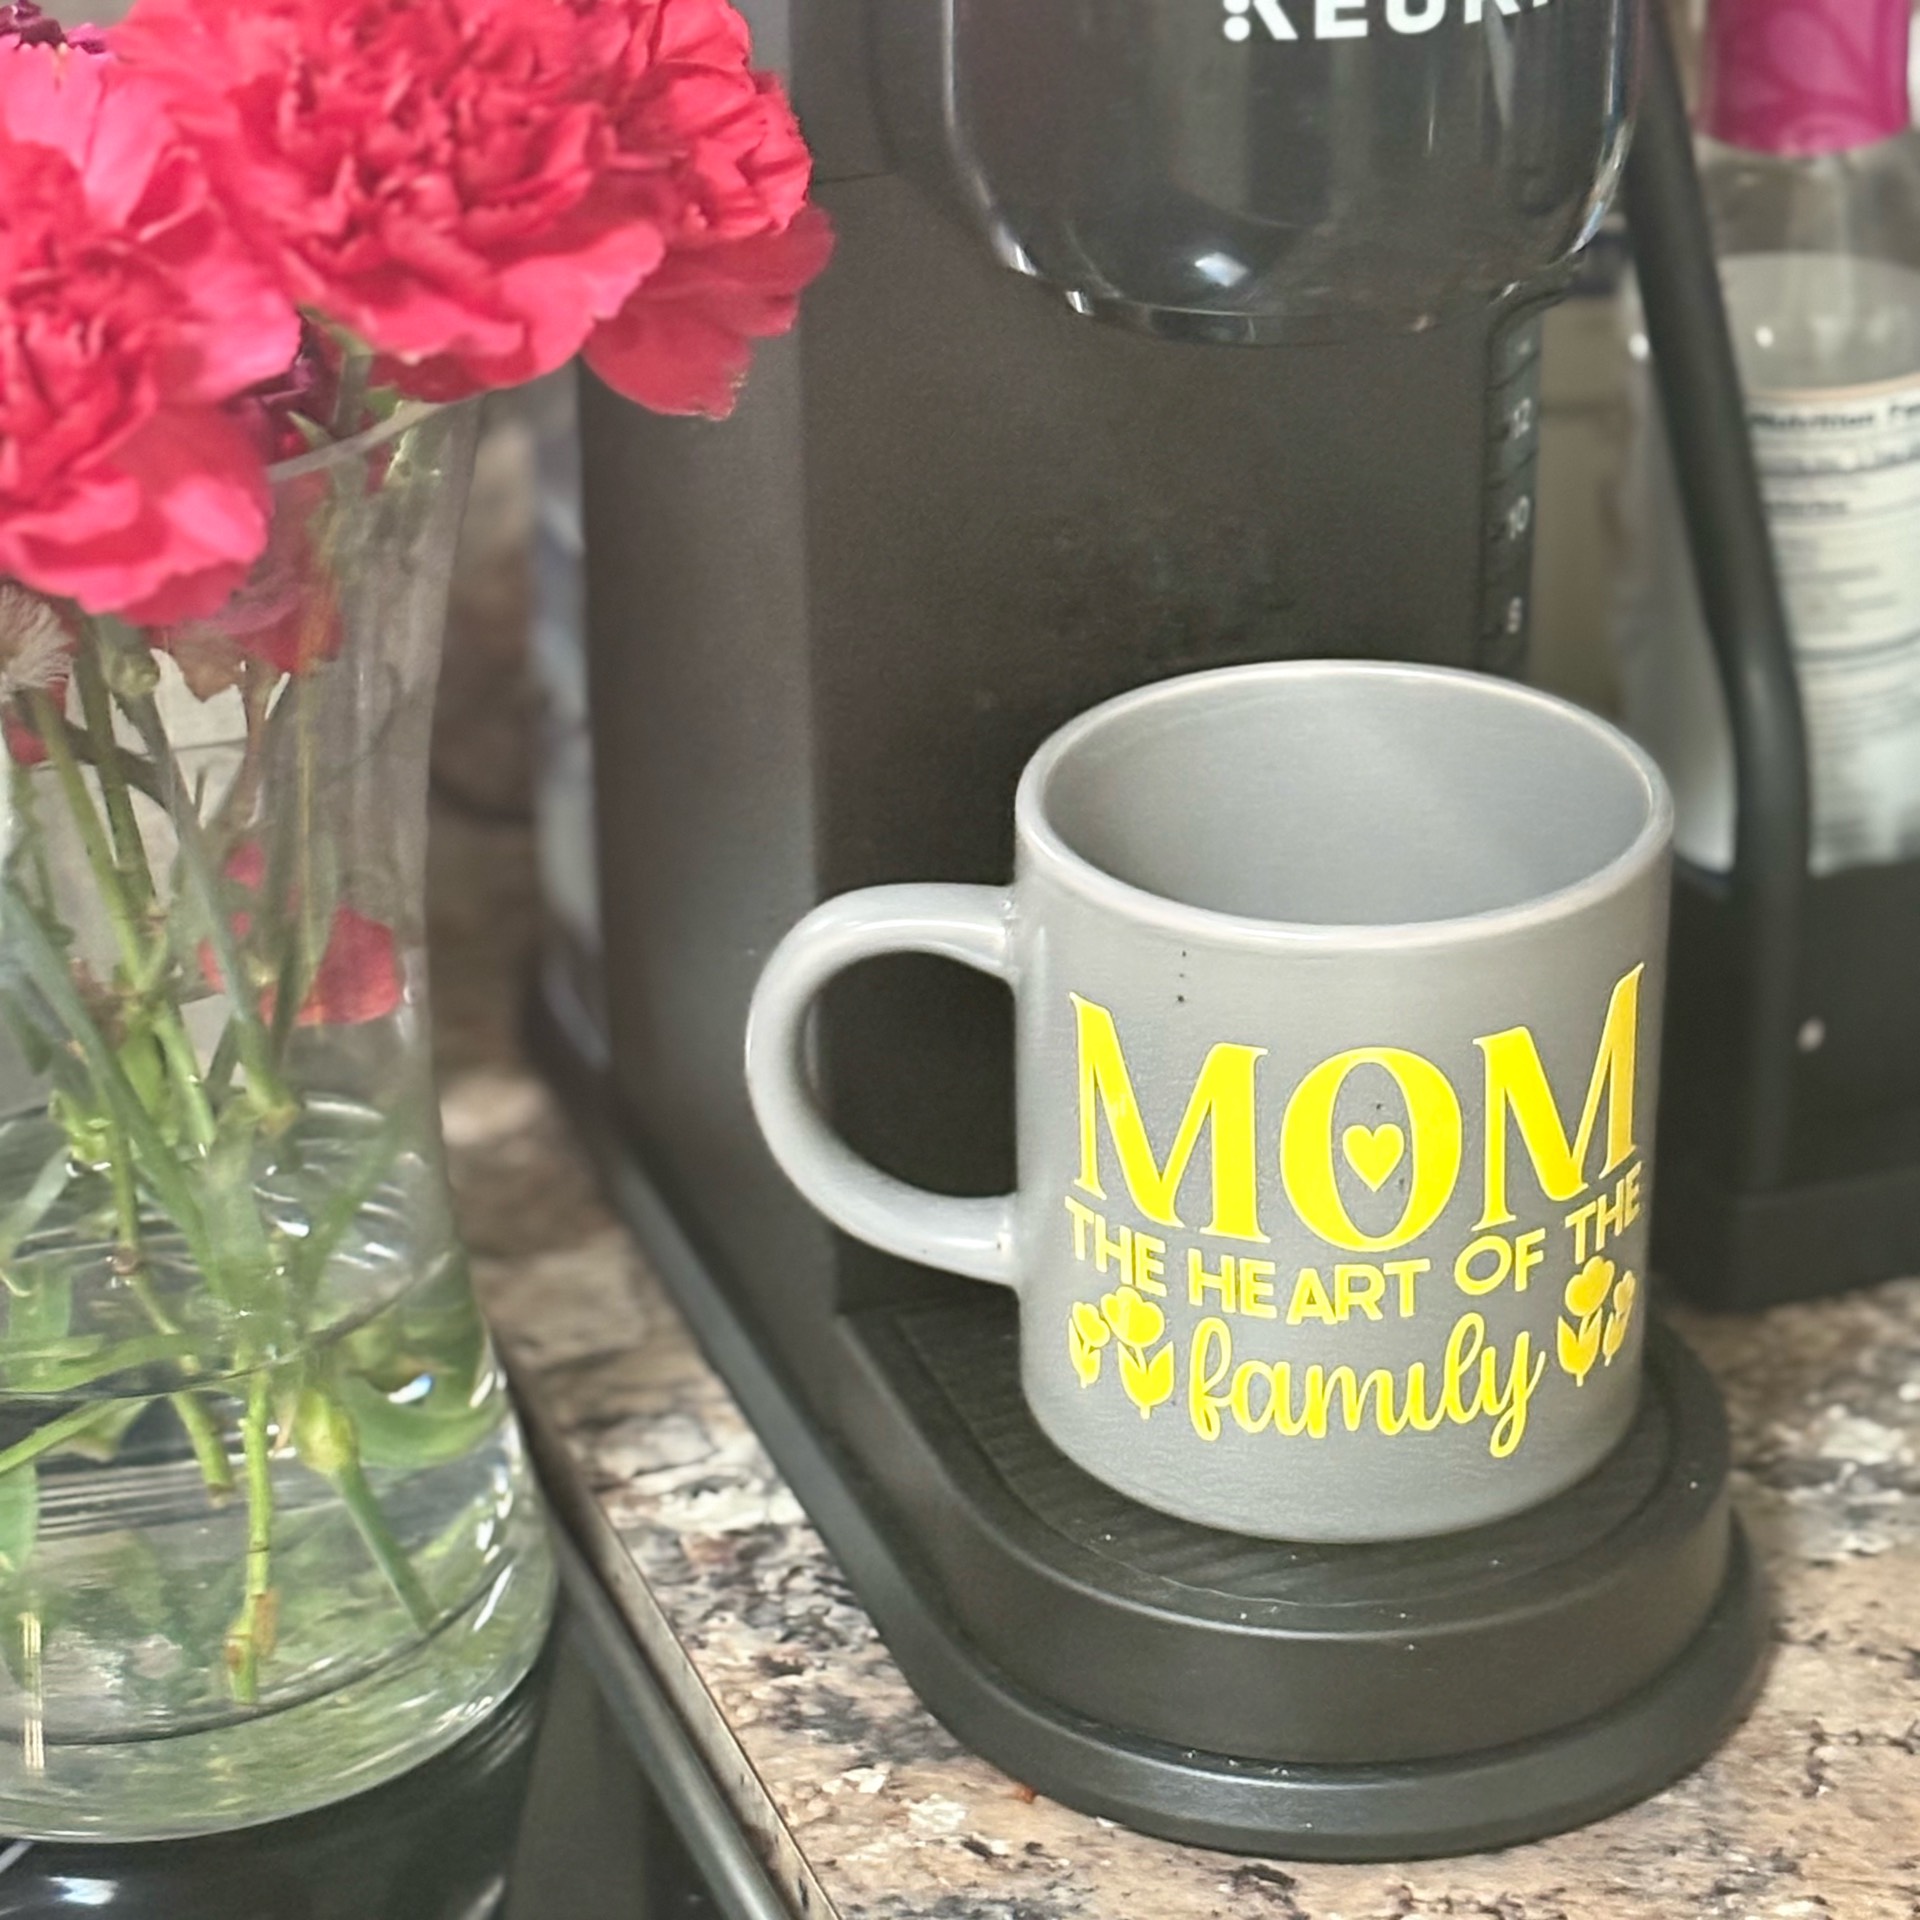
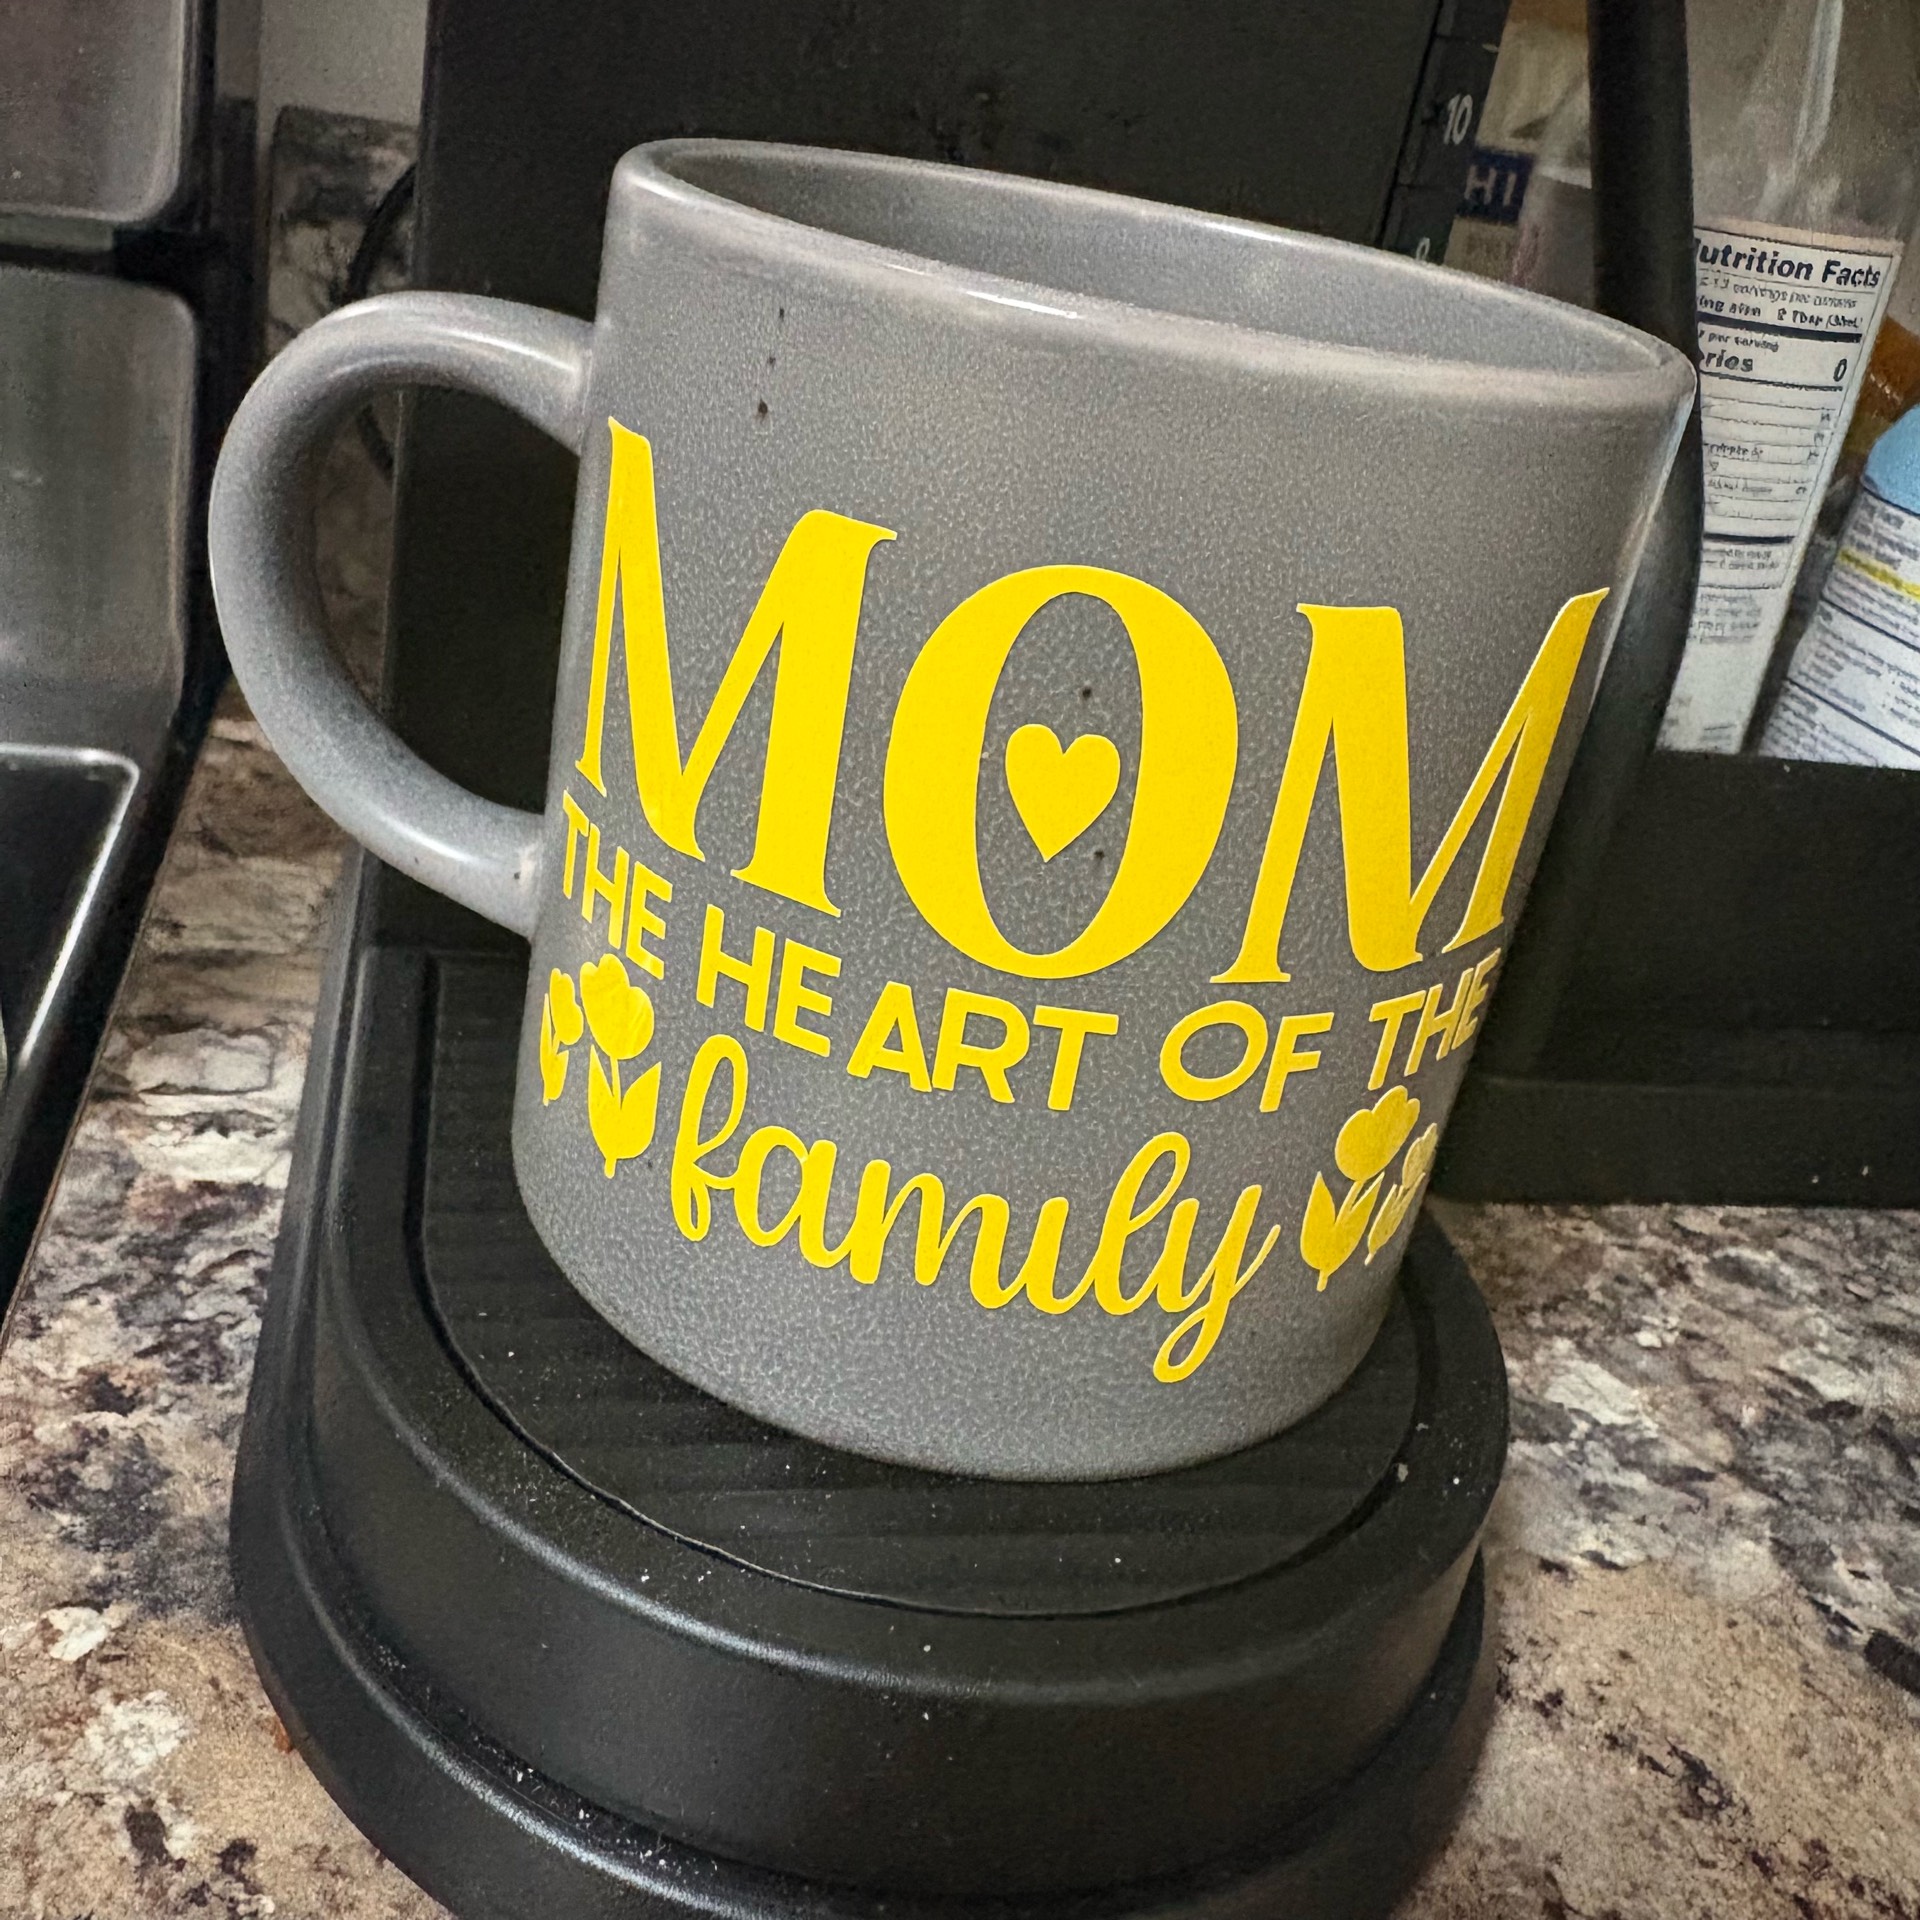
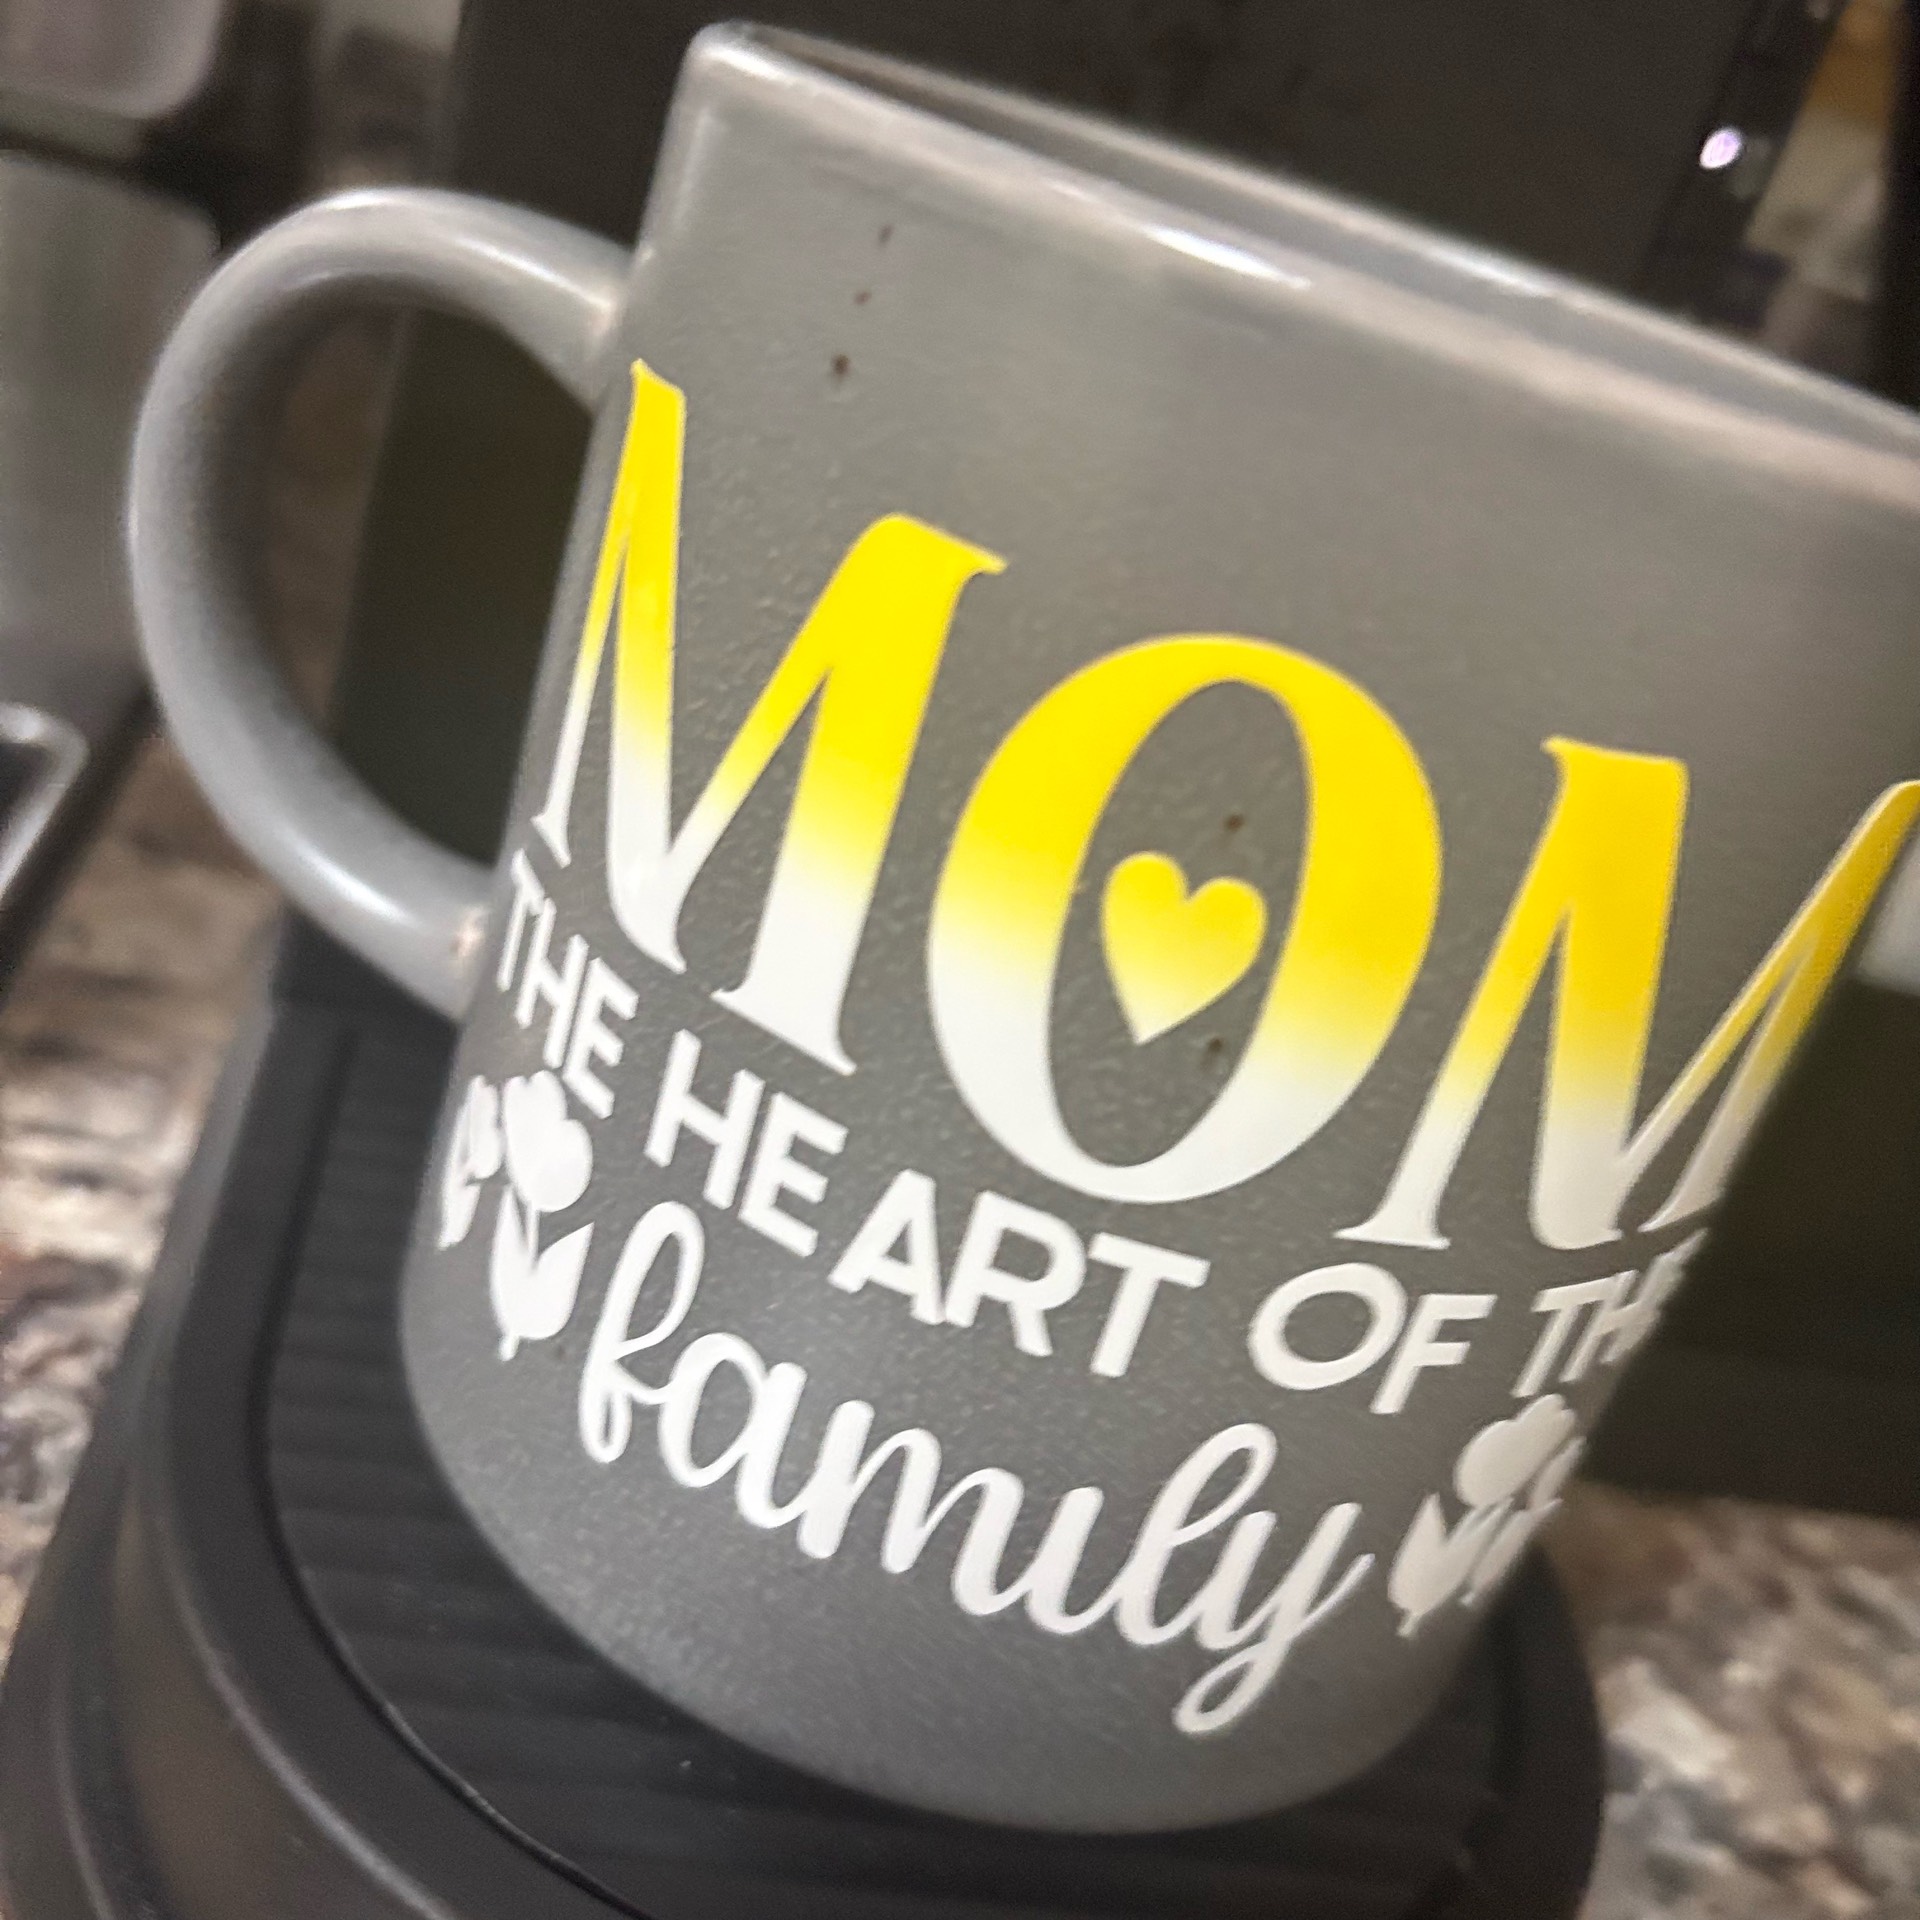
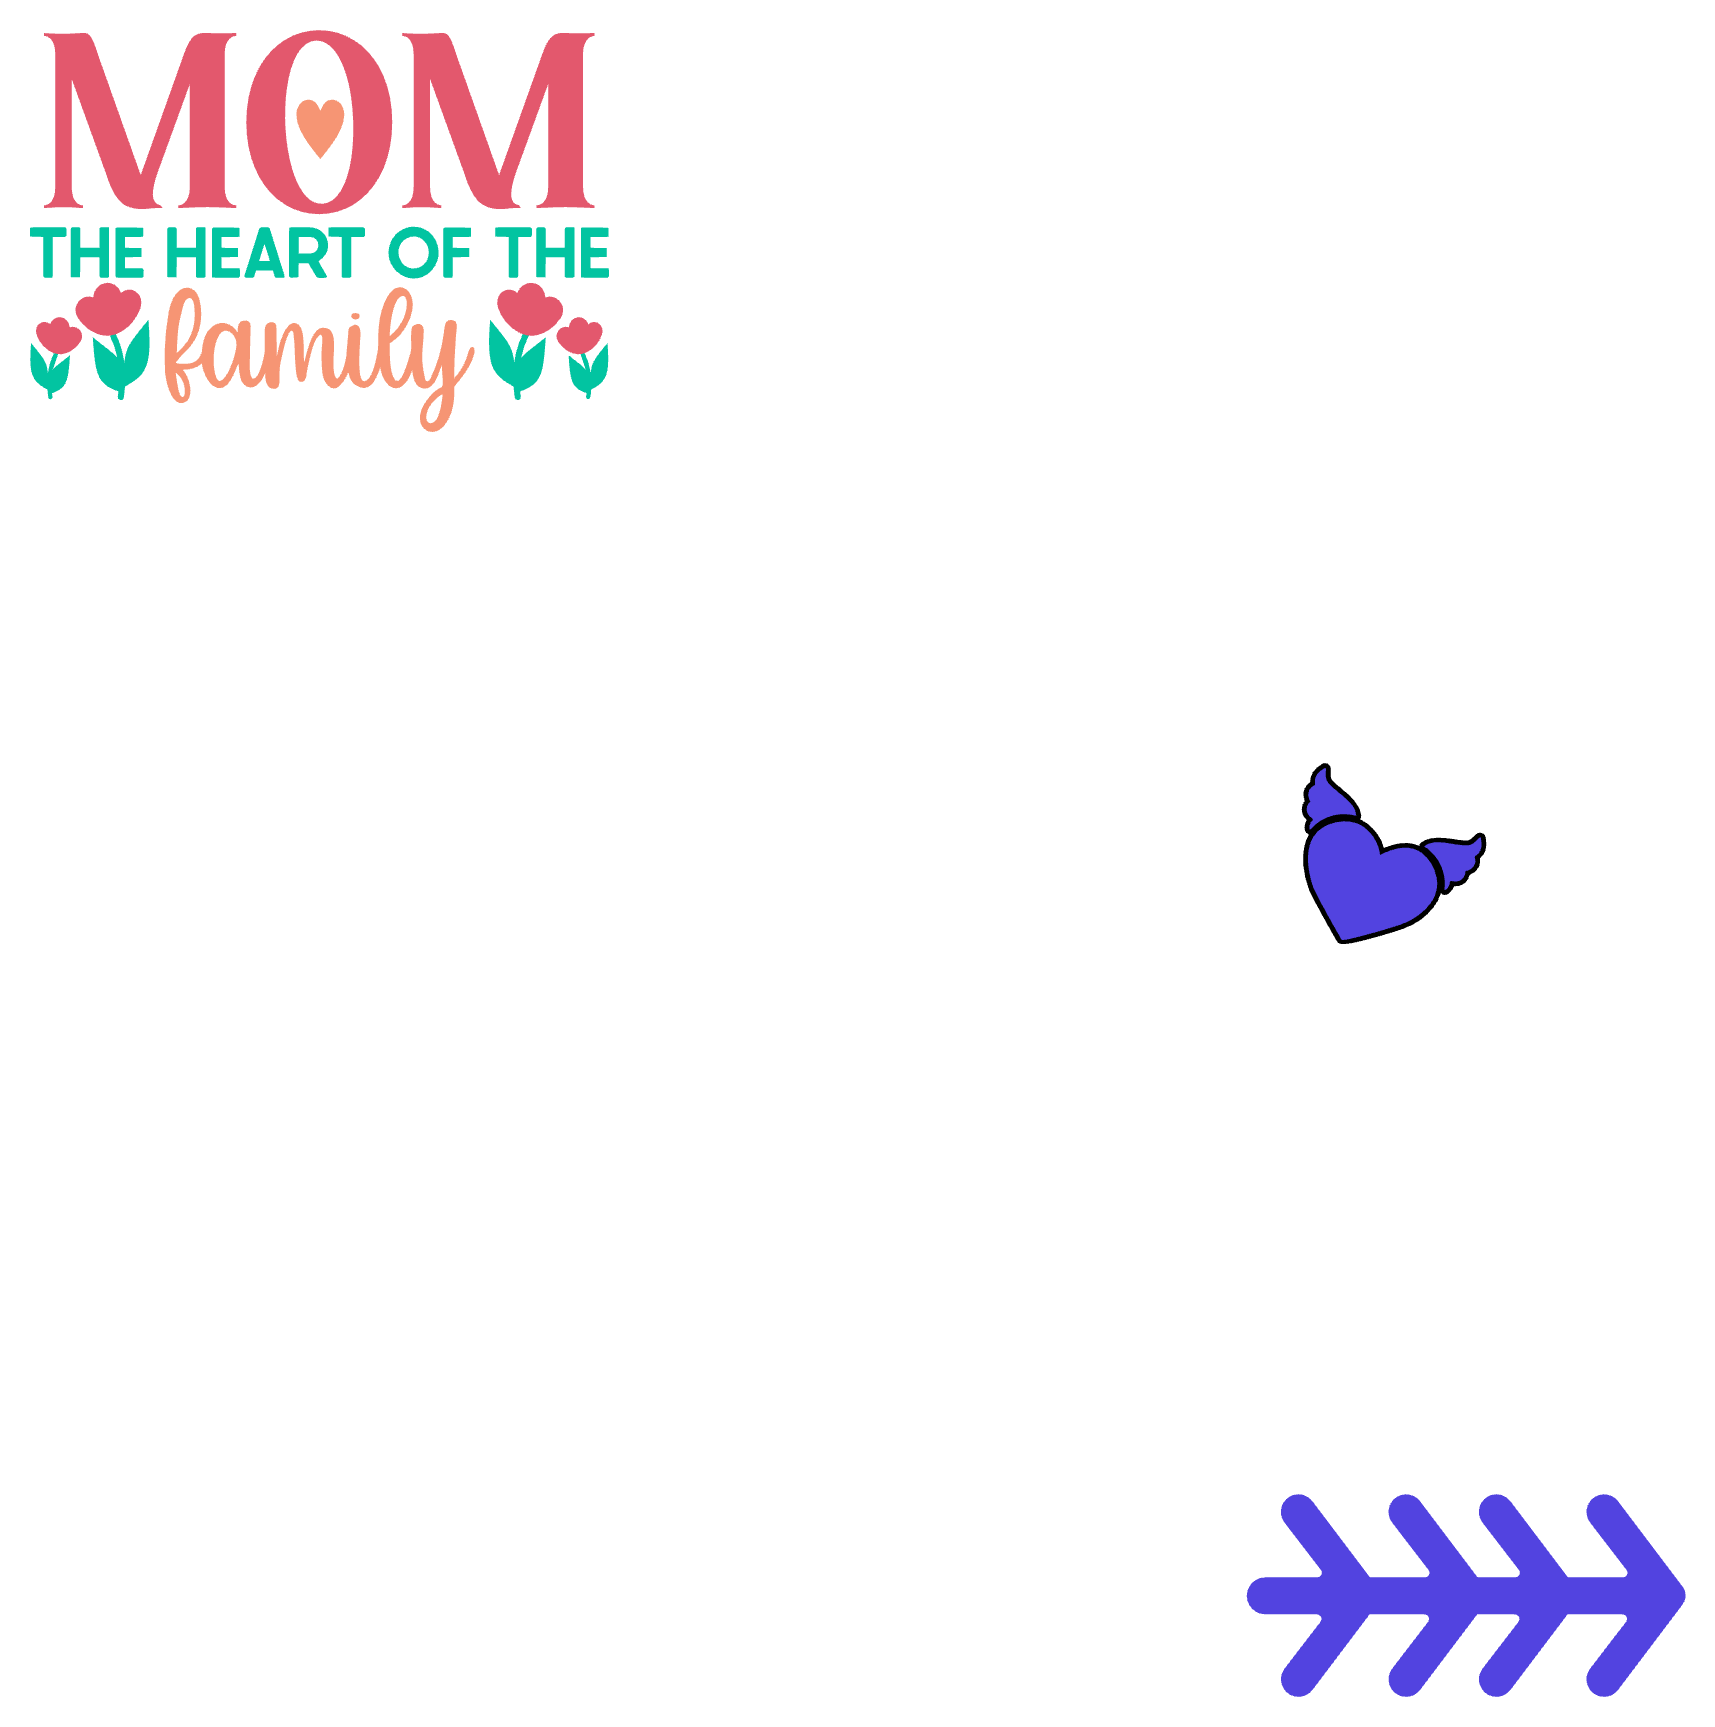
- Open Idea Studio and type your design (“MOM – the heart of the family”).
- Use:
- Bold font for MOM
- Script font for family
- Add icons (heart/clover).
- Size to fit mug (3–4 inches wide).
- Do NOT mirror (adhesive vinyl only cuts normal).
⸻
Step 2: Cut
- Place vinyl color side up on mat.
- Select “Permanent Vinyl” setting.
- Cut design.
⸻
Step 3: Weed
- Remove all excess vinyl carefully.
- Leave only your design on backing.
⸻
Step 4: Transfer Tape
- Apply transfer tape over design.
- Burnish well so everything sticks evenly.
- Peel backing off—design stays on tape.
⸻
Step 5: Prep Mug
- Clean with rubbing alcohol (this matters a lot for adhesion).
- Let dry fully—no fingerprints or dust.
⸻
Step 6: Apply Design
- Line up your design.
- Apply from center outward to avoid bubbles.
- Burnish firmly with scraper.
⸻
Step 7: Peel Tape
- Slowly peel transfer tape at an angle.
- If lifting happens, press back down and re-burnish.
⸻
Step 8: Cure Time
- Let sit 24–48 hours before use.
⸻
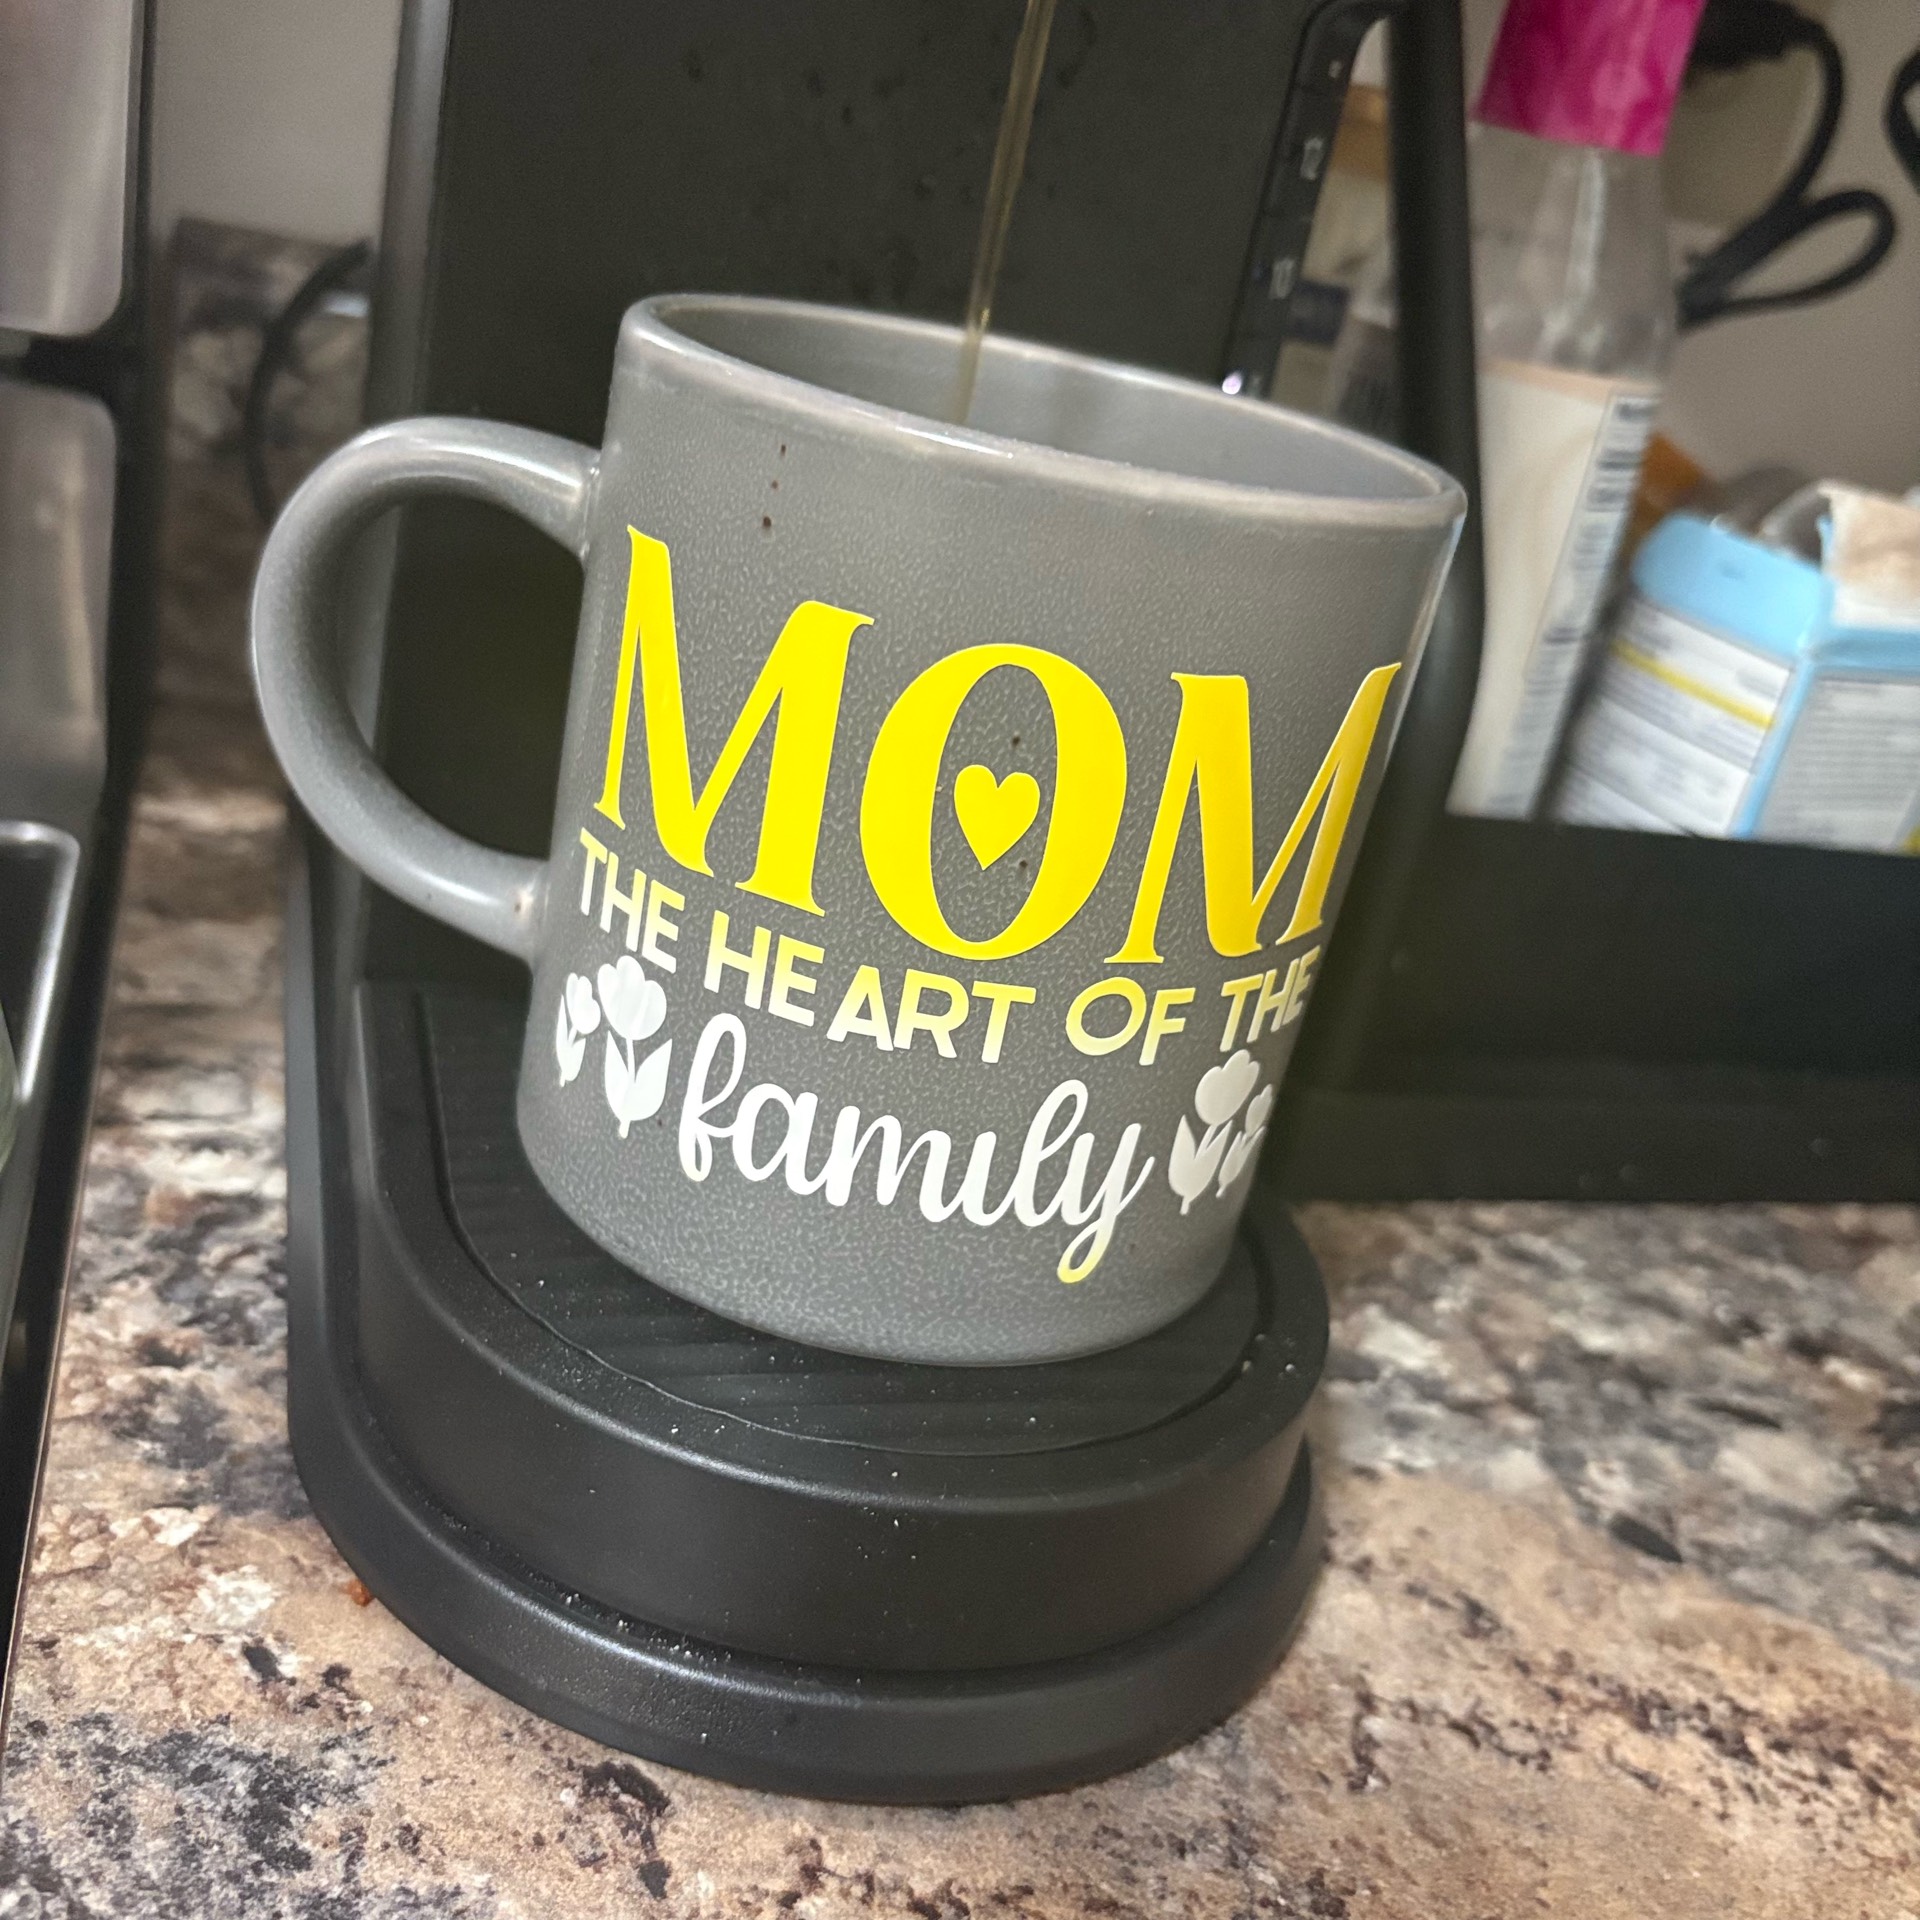
Tips for Color-Changing Vinyl
- The color effect shows best with:
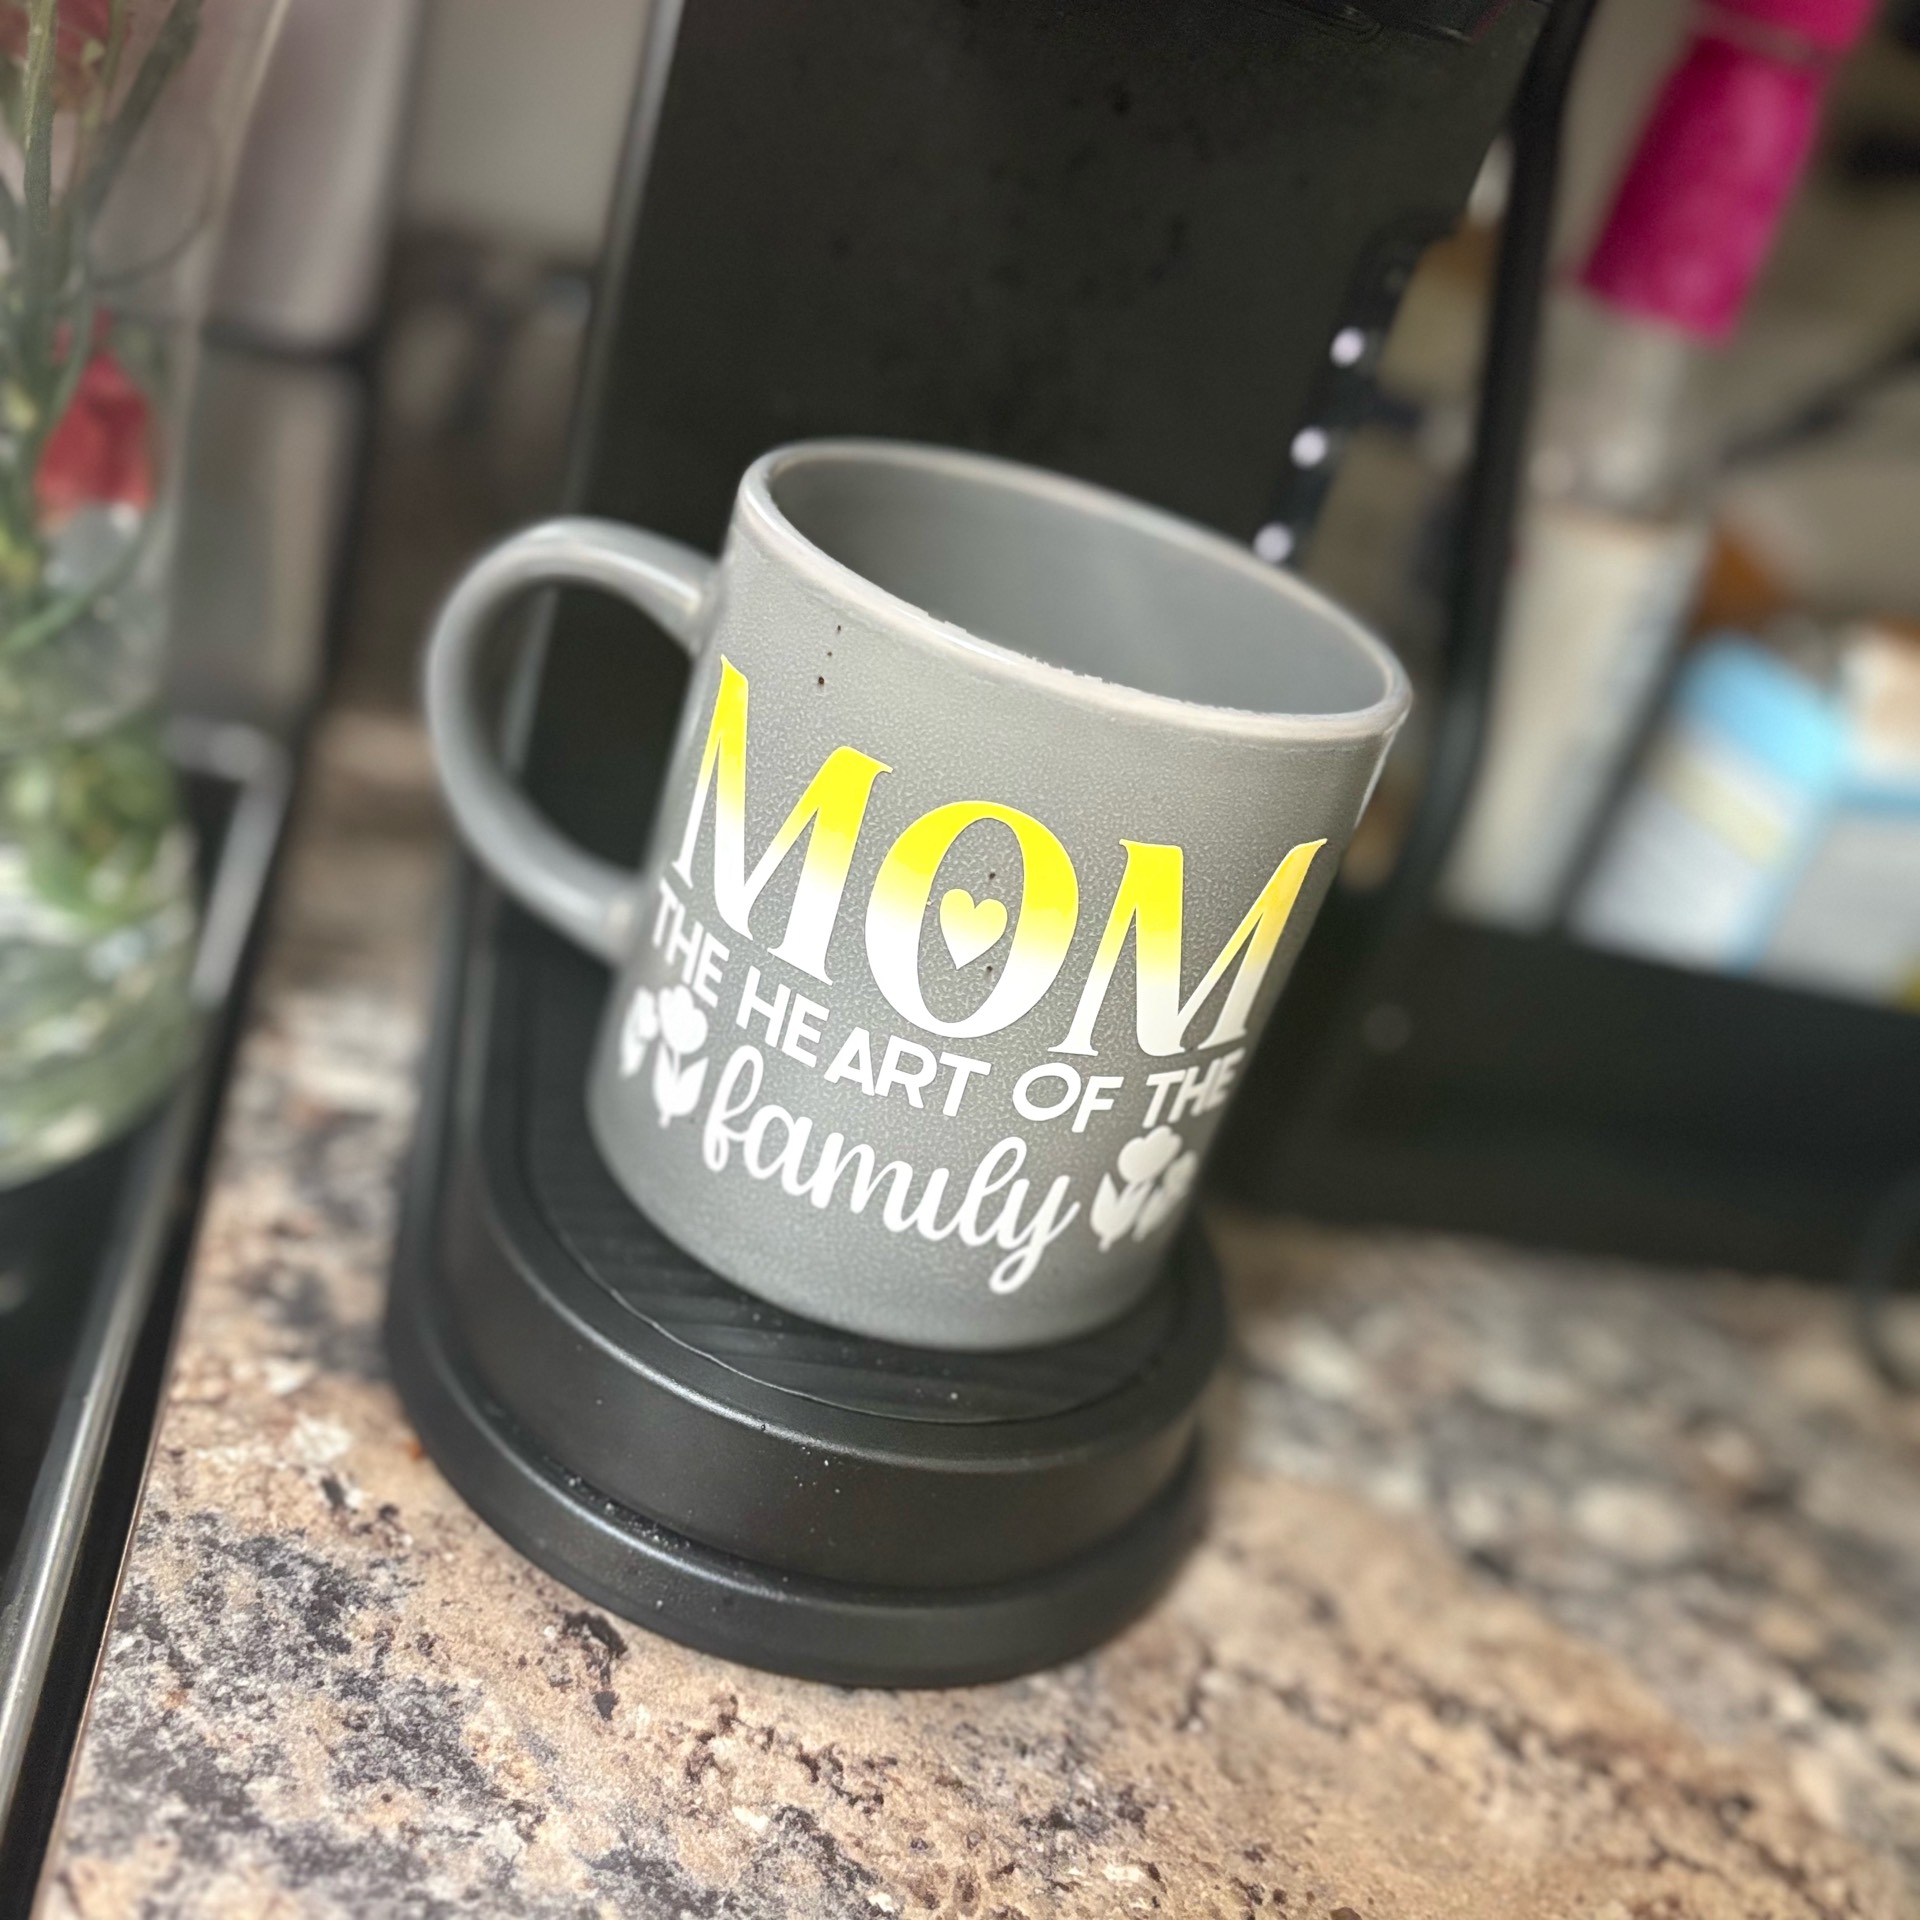
- Heat (hot drinks) or sunlight (UV vinyl) depending on type
- Avoid stretching vinyl during application (can weaken effect).
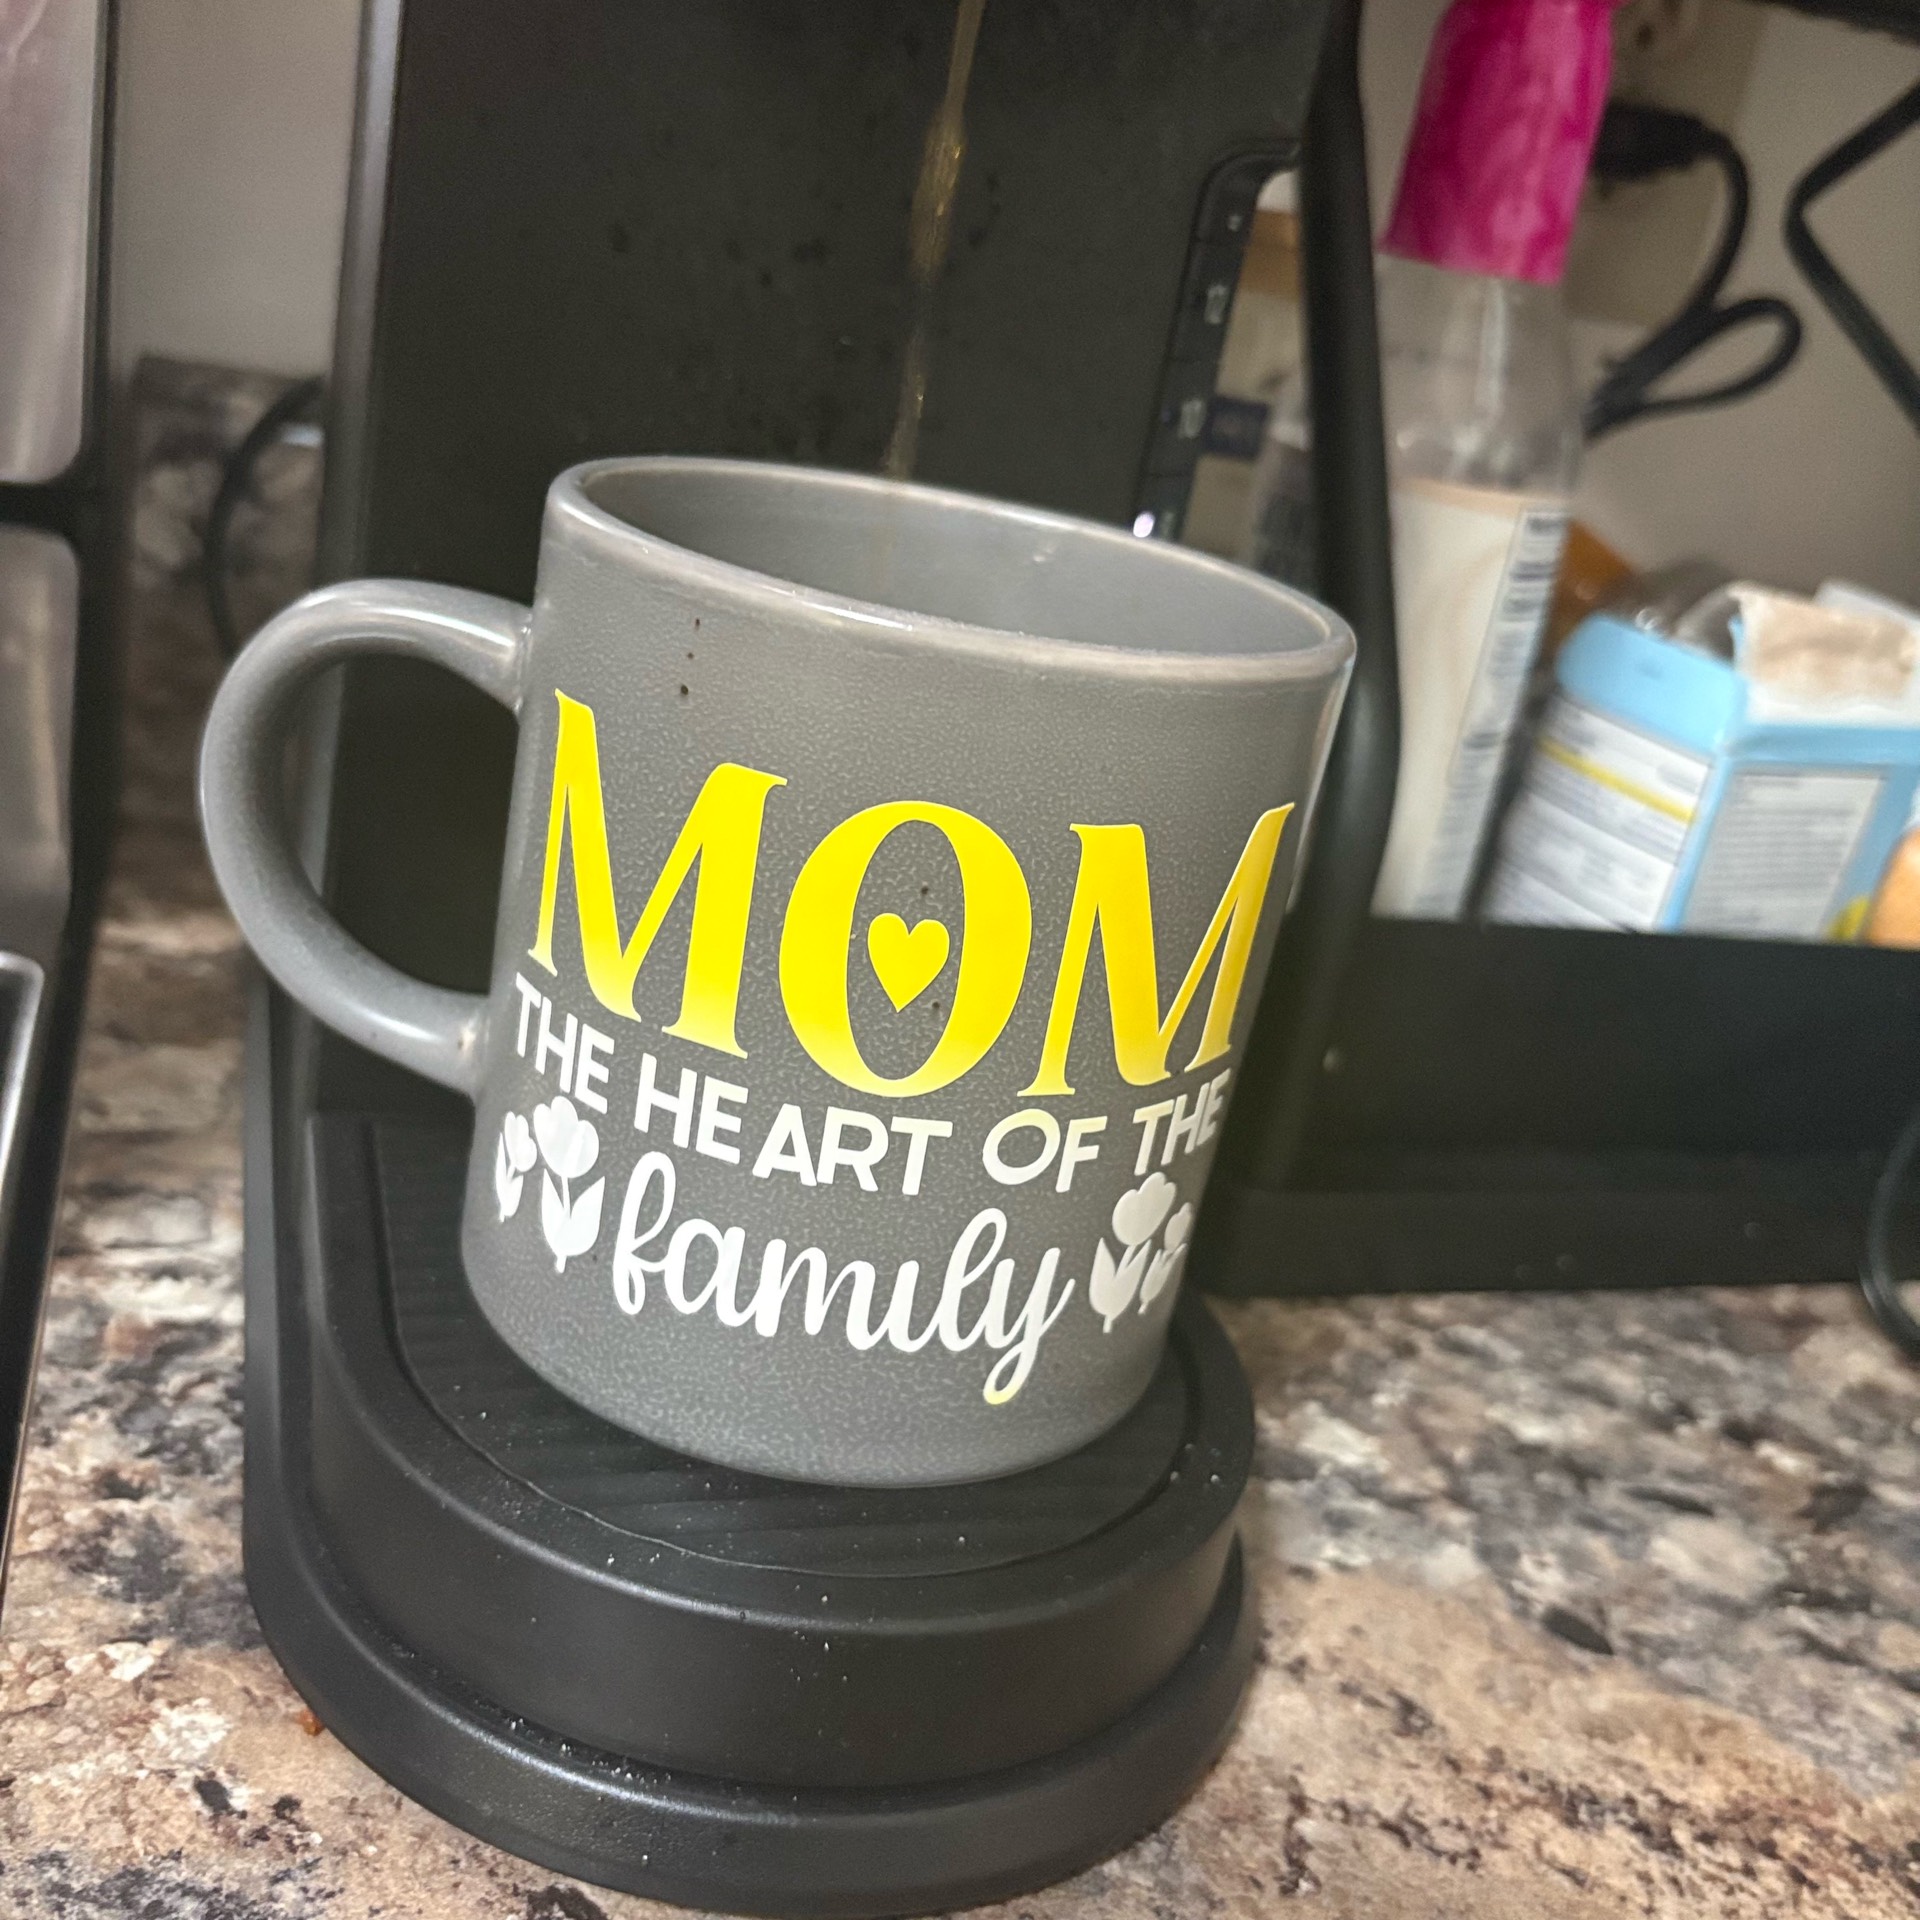
- Works best on light-colored mugs like your gray one.
- Hand wash only—no dishwasher.
⸻
How to Get That Yellow Fade Look
- Use color-changing yellow vinyl for “MOM”
- Layer white vinyl underneath slightly offset or
- Use a printed gradient vinyl if you want that exact fade