Here’s a clean, creative walkthrough you can follow like a well-threaded needle
Design Description (using Ideal Studio):
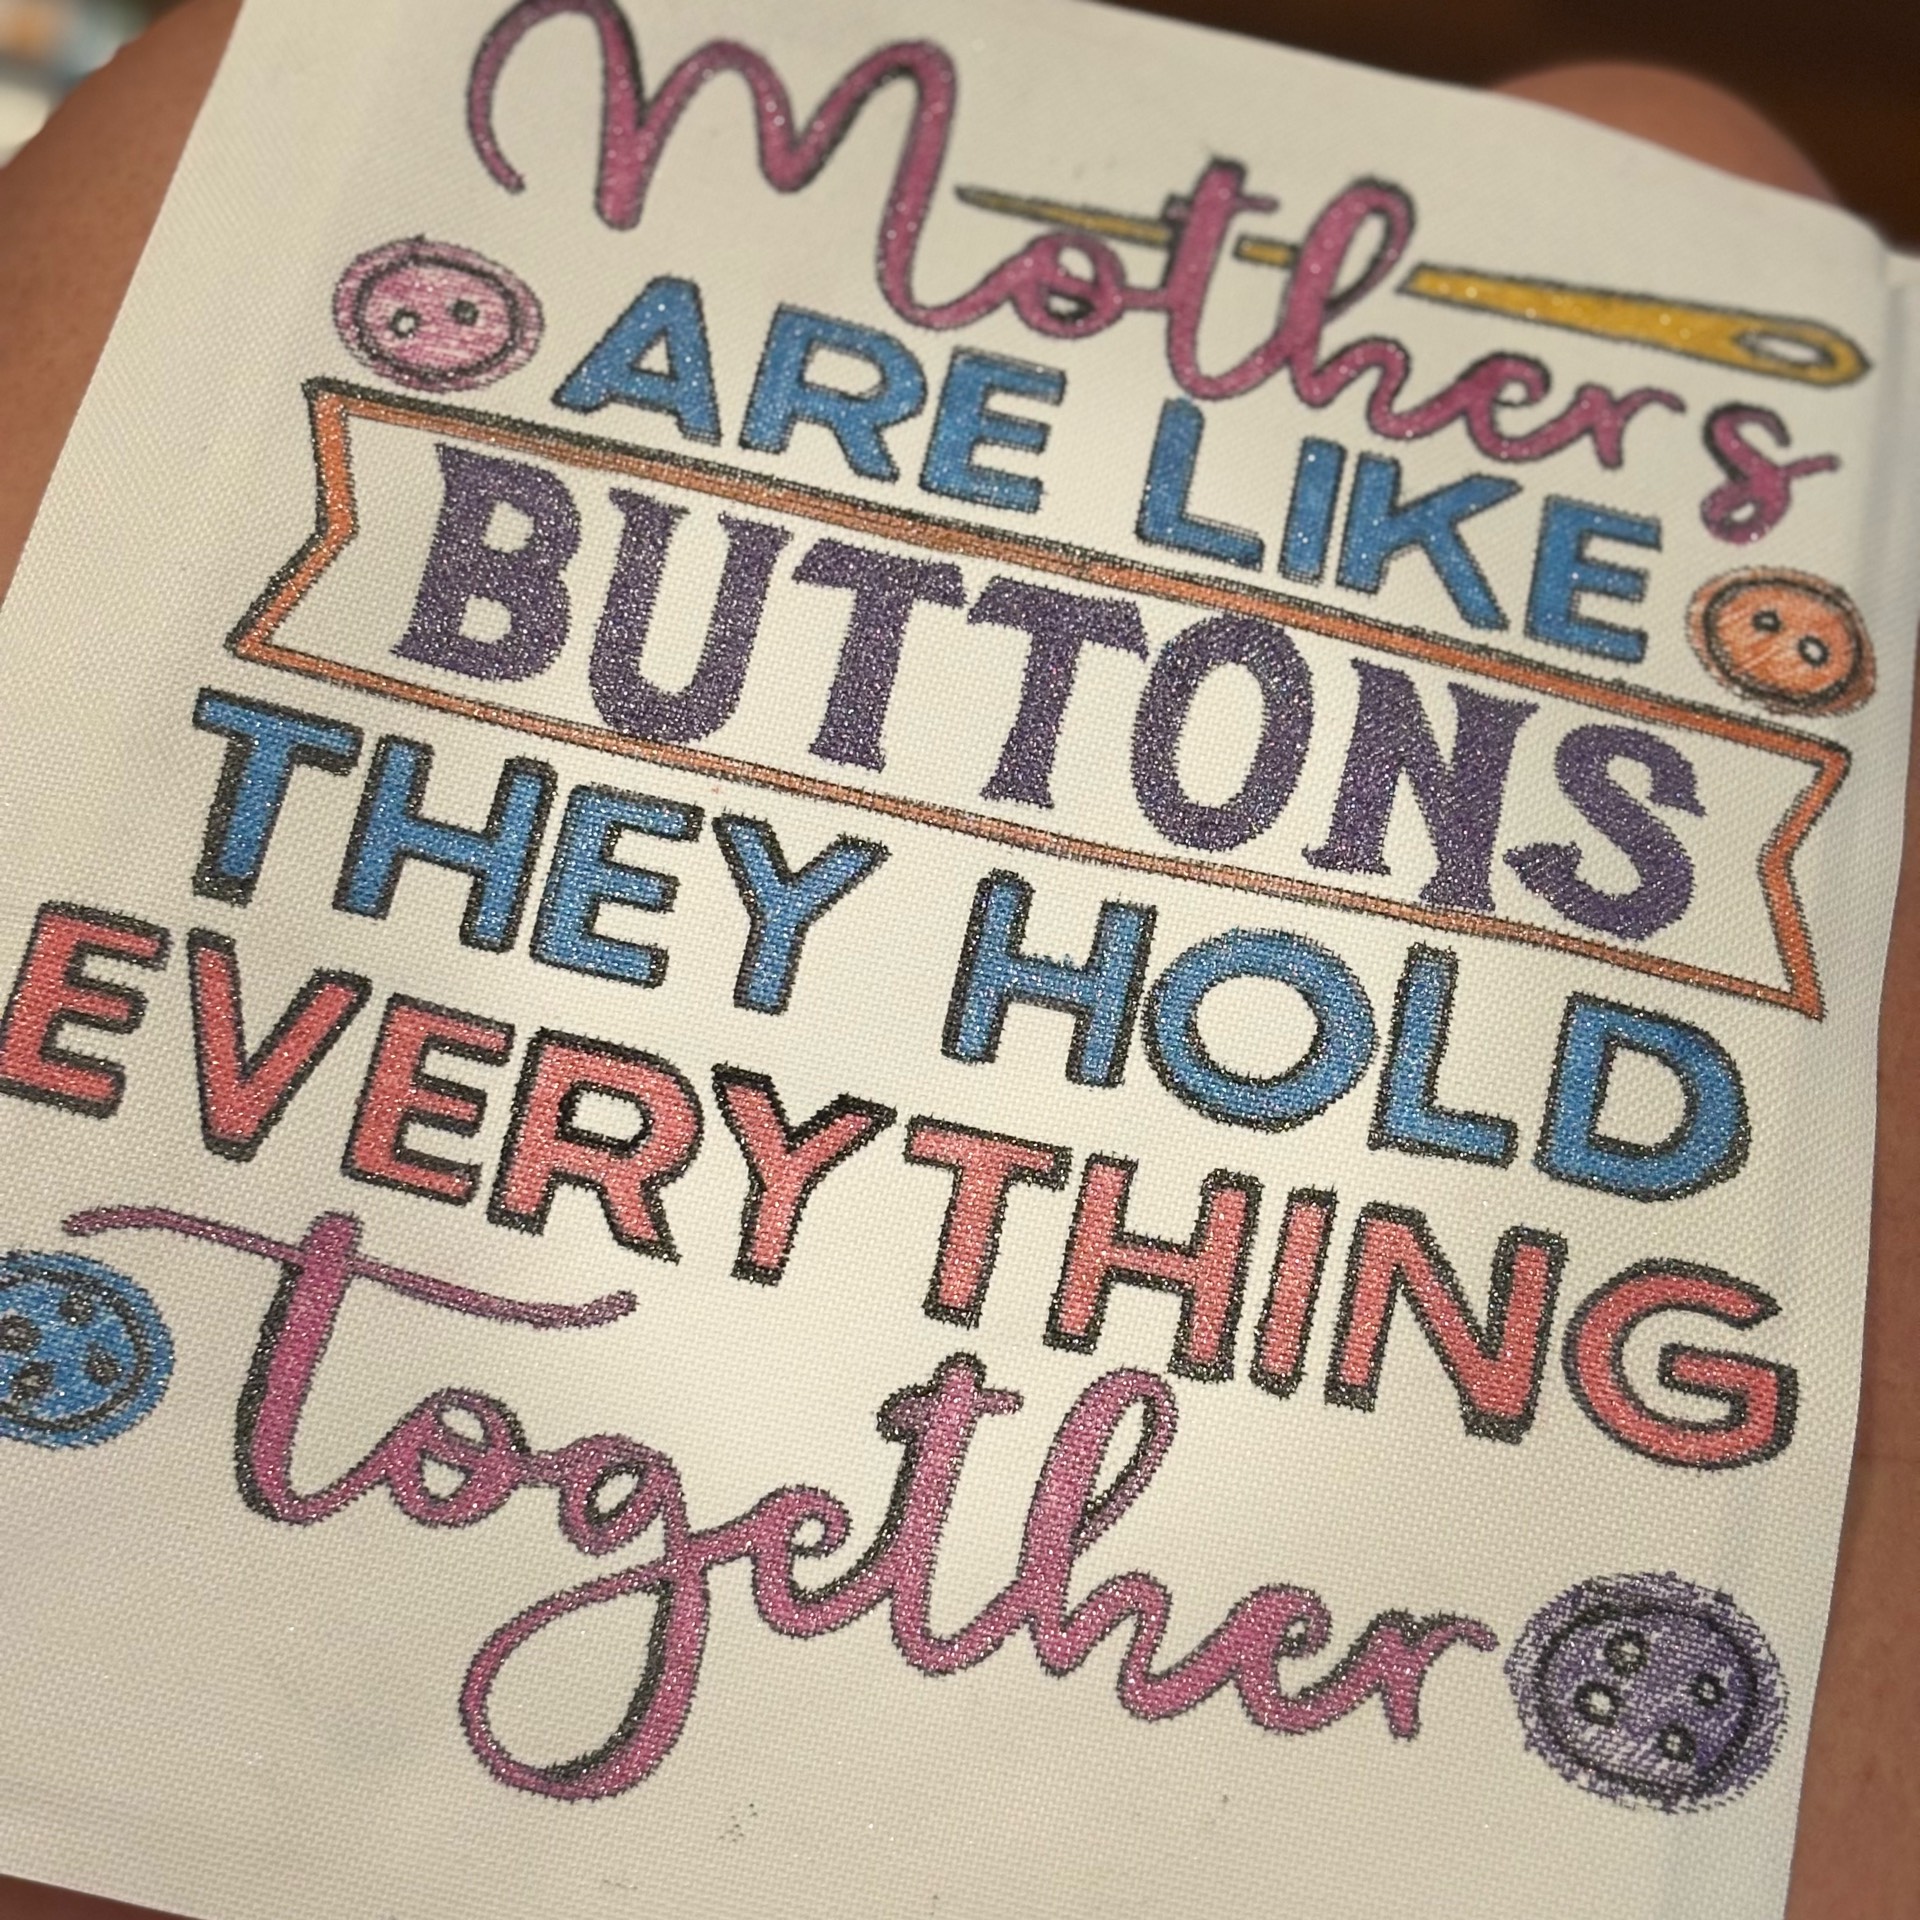
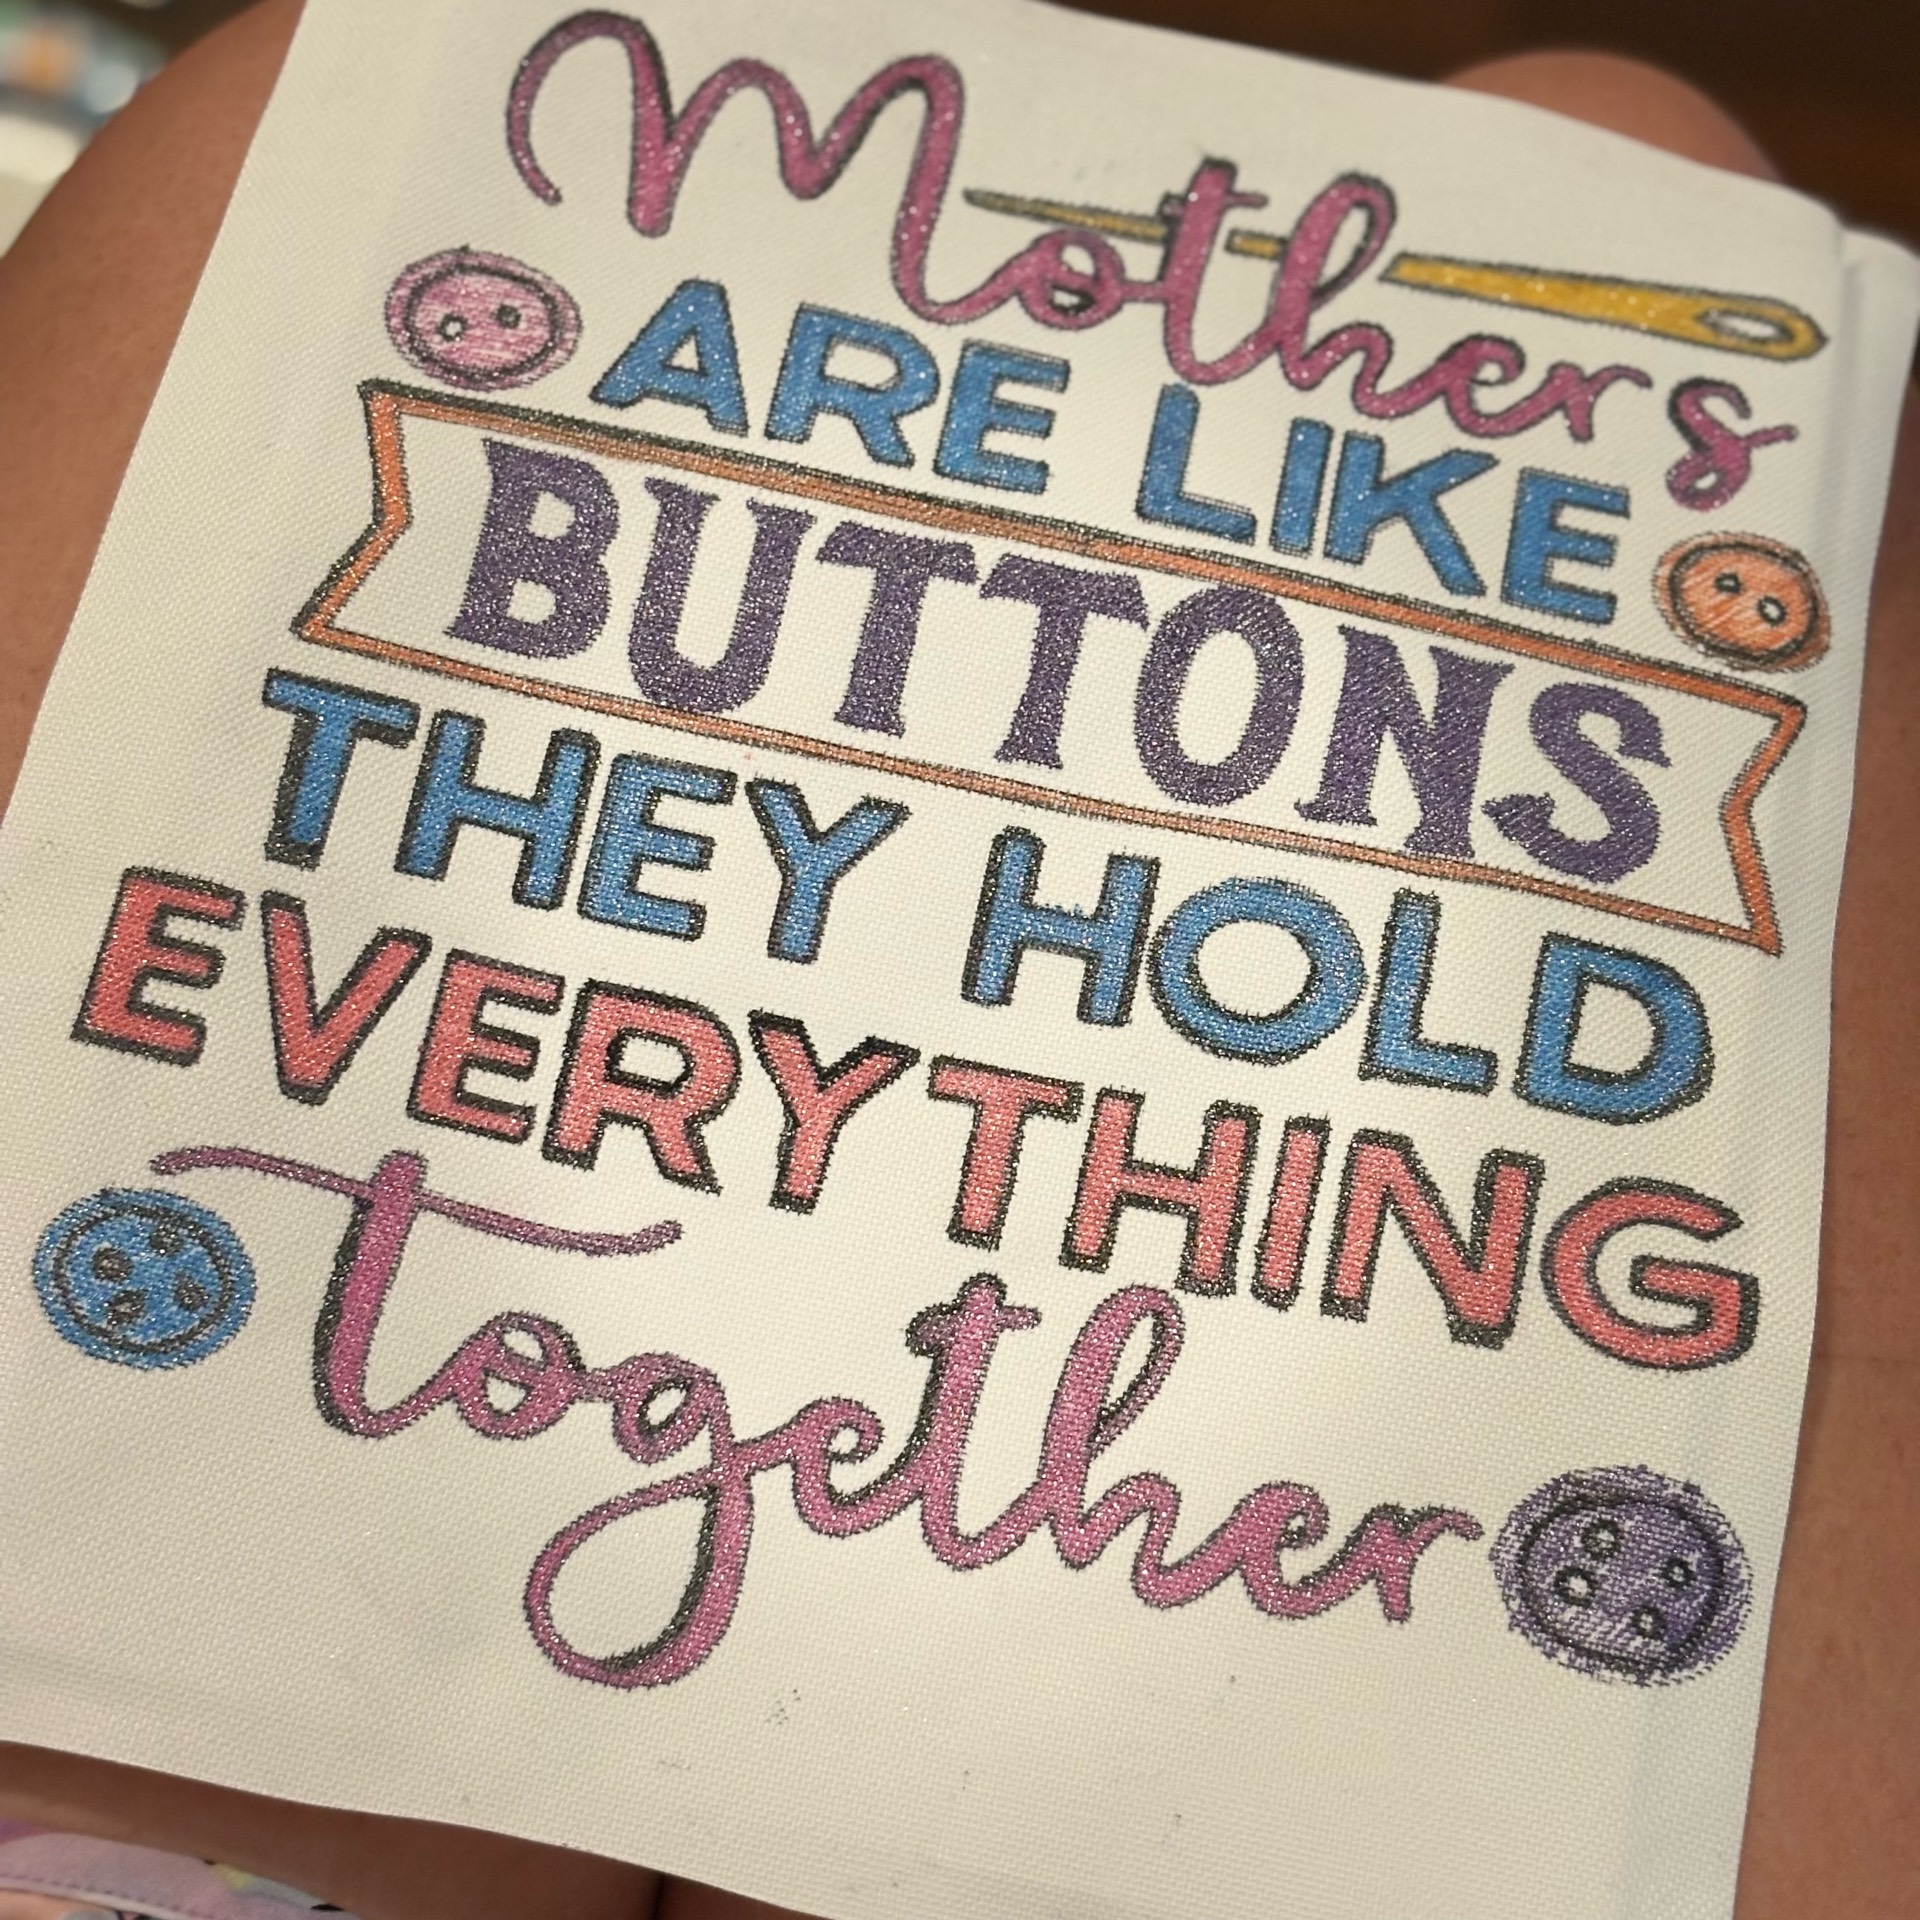
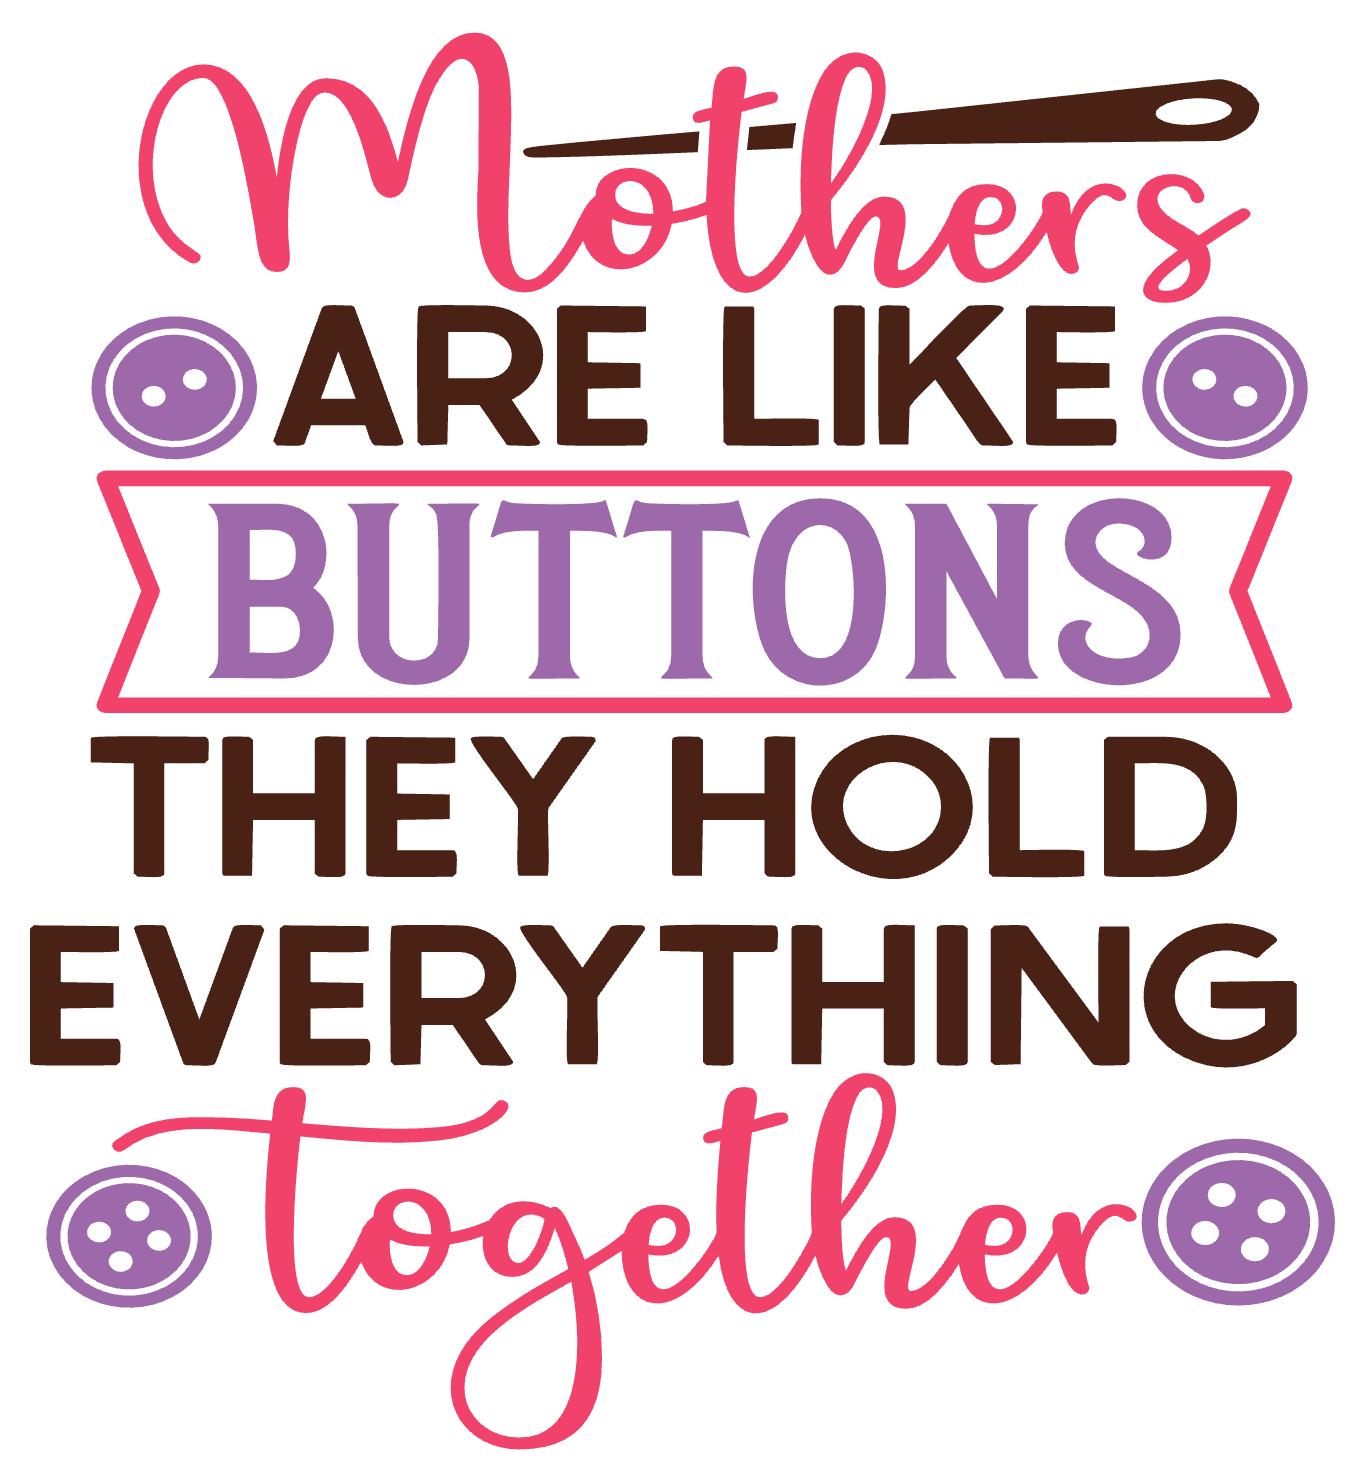
Create a square (1:1) layout in LOKLiK IdeaStudio with playful typography. Mix script and bold block fonts to highlight key words: “Mothers,” “Buttons,” and “Everything.” Add small sewing elements like buttons and a needle for charm. Use bright, cheerful colors (pink, purple, teal, orange) and outline each letter for a hand-drawn stitched effect. Keep spacing balanced so the design fits centered on your canvas.
Materials:
- HTVRONT Stretch Canvas
- LOKLiK I-Craft Cutter (drawing function)
- Glitter Paint Pens
- Fine tip black pen (optional for outline)
Step-by-Step Instructions:
- Design Setup:
Open your design in IdeaStudio. Resize to fit your canvas (example: 8x8 or 10x10). Convert text to “draw” lines instead of cut lines. - Load Machine:
Place paper or directly position your canvas securely on the mat. Load into the I-Craft cutter. - Drawing Function:
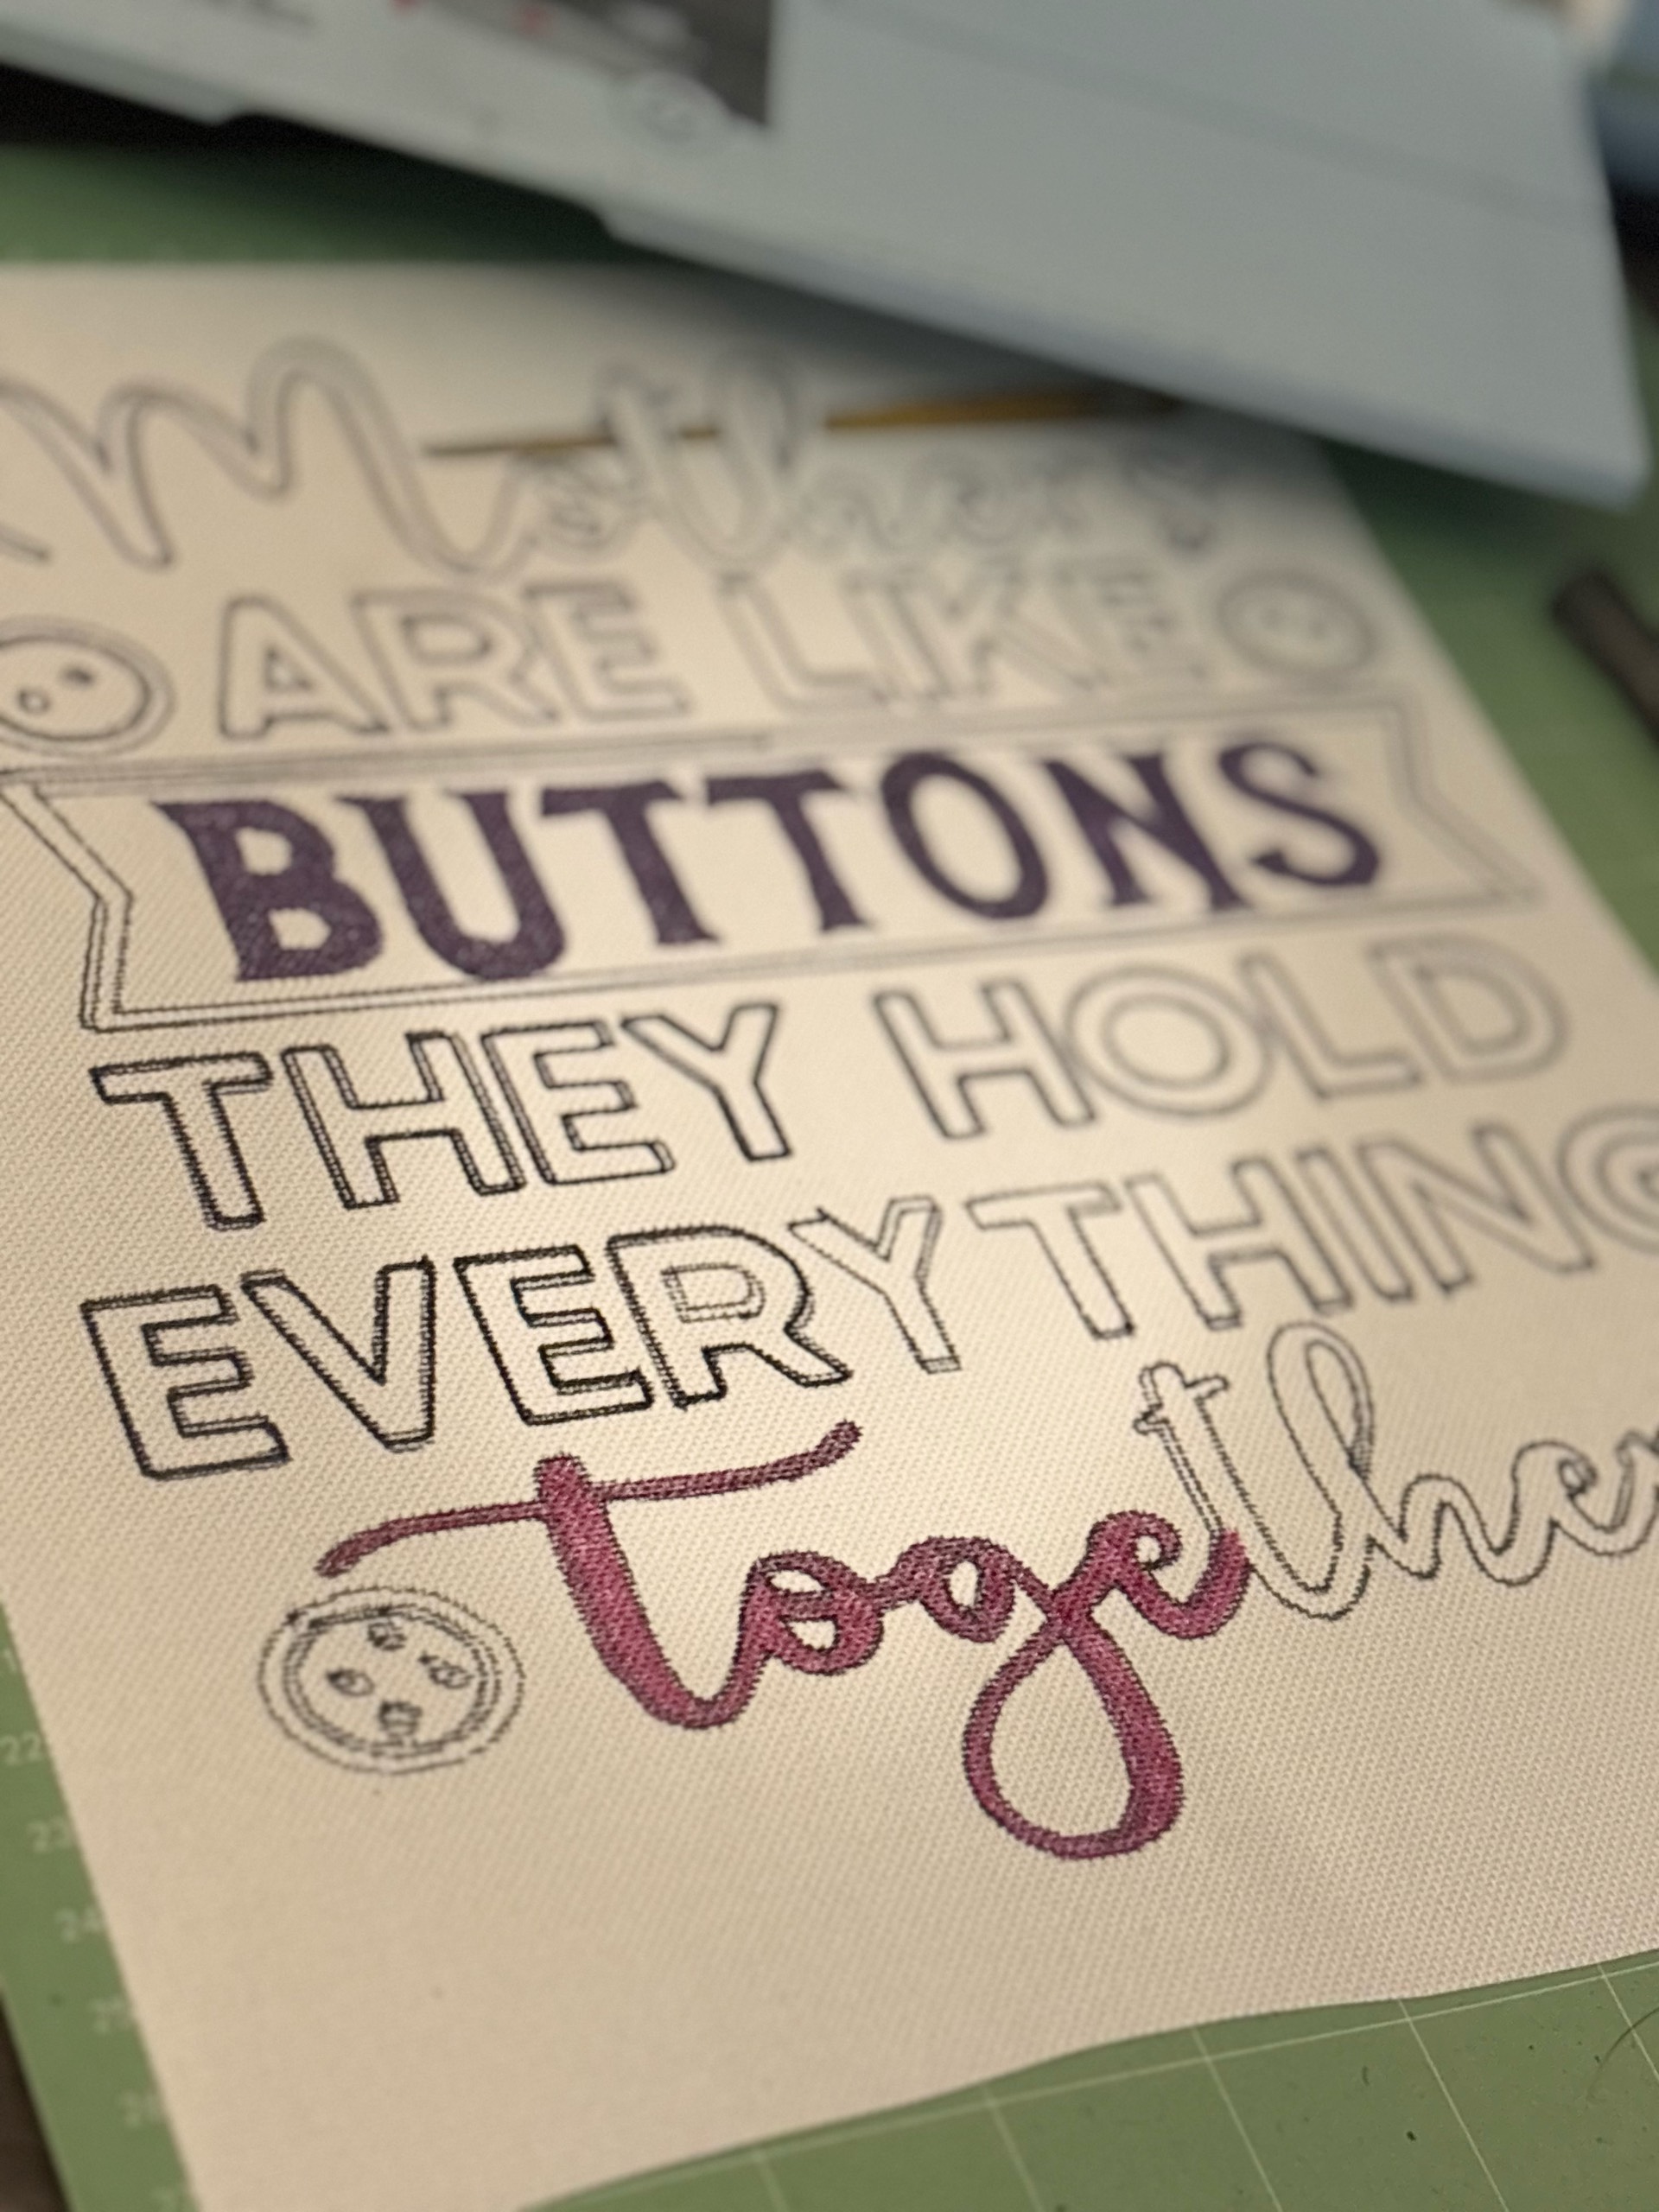
Insert a standard pen into the machine. Run the design so it lightly sketches the full layout onto the canvas. - Detail Pass:
Remove canvas. Use a fine black pen to sharpen outlines if needed, like tracing embroidery paths. - Color Magic:
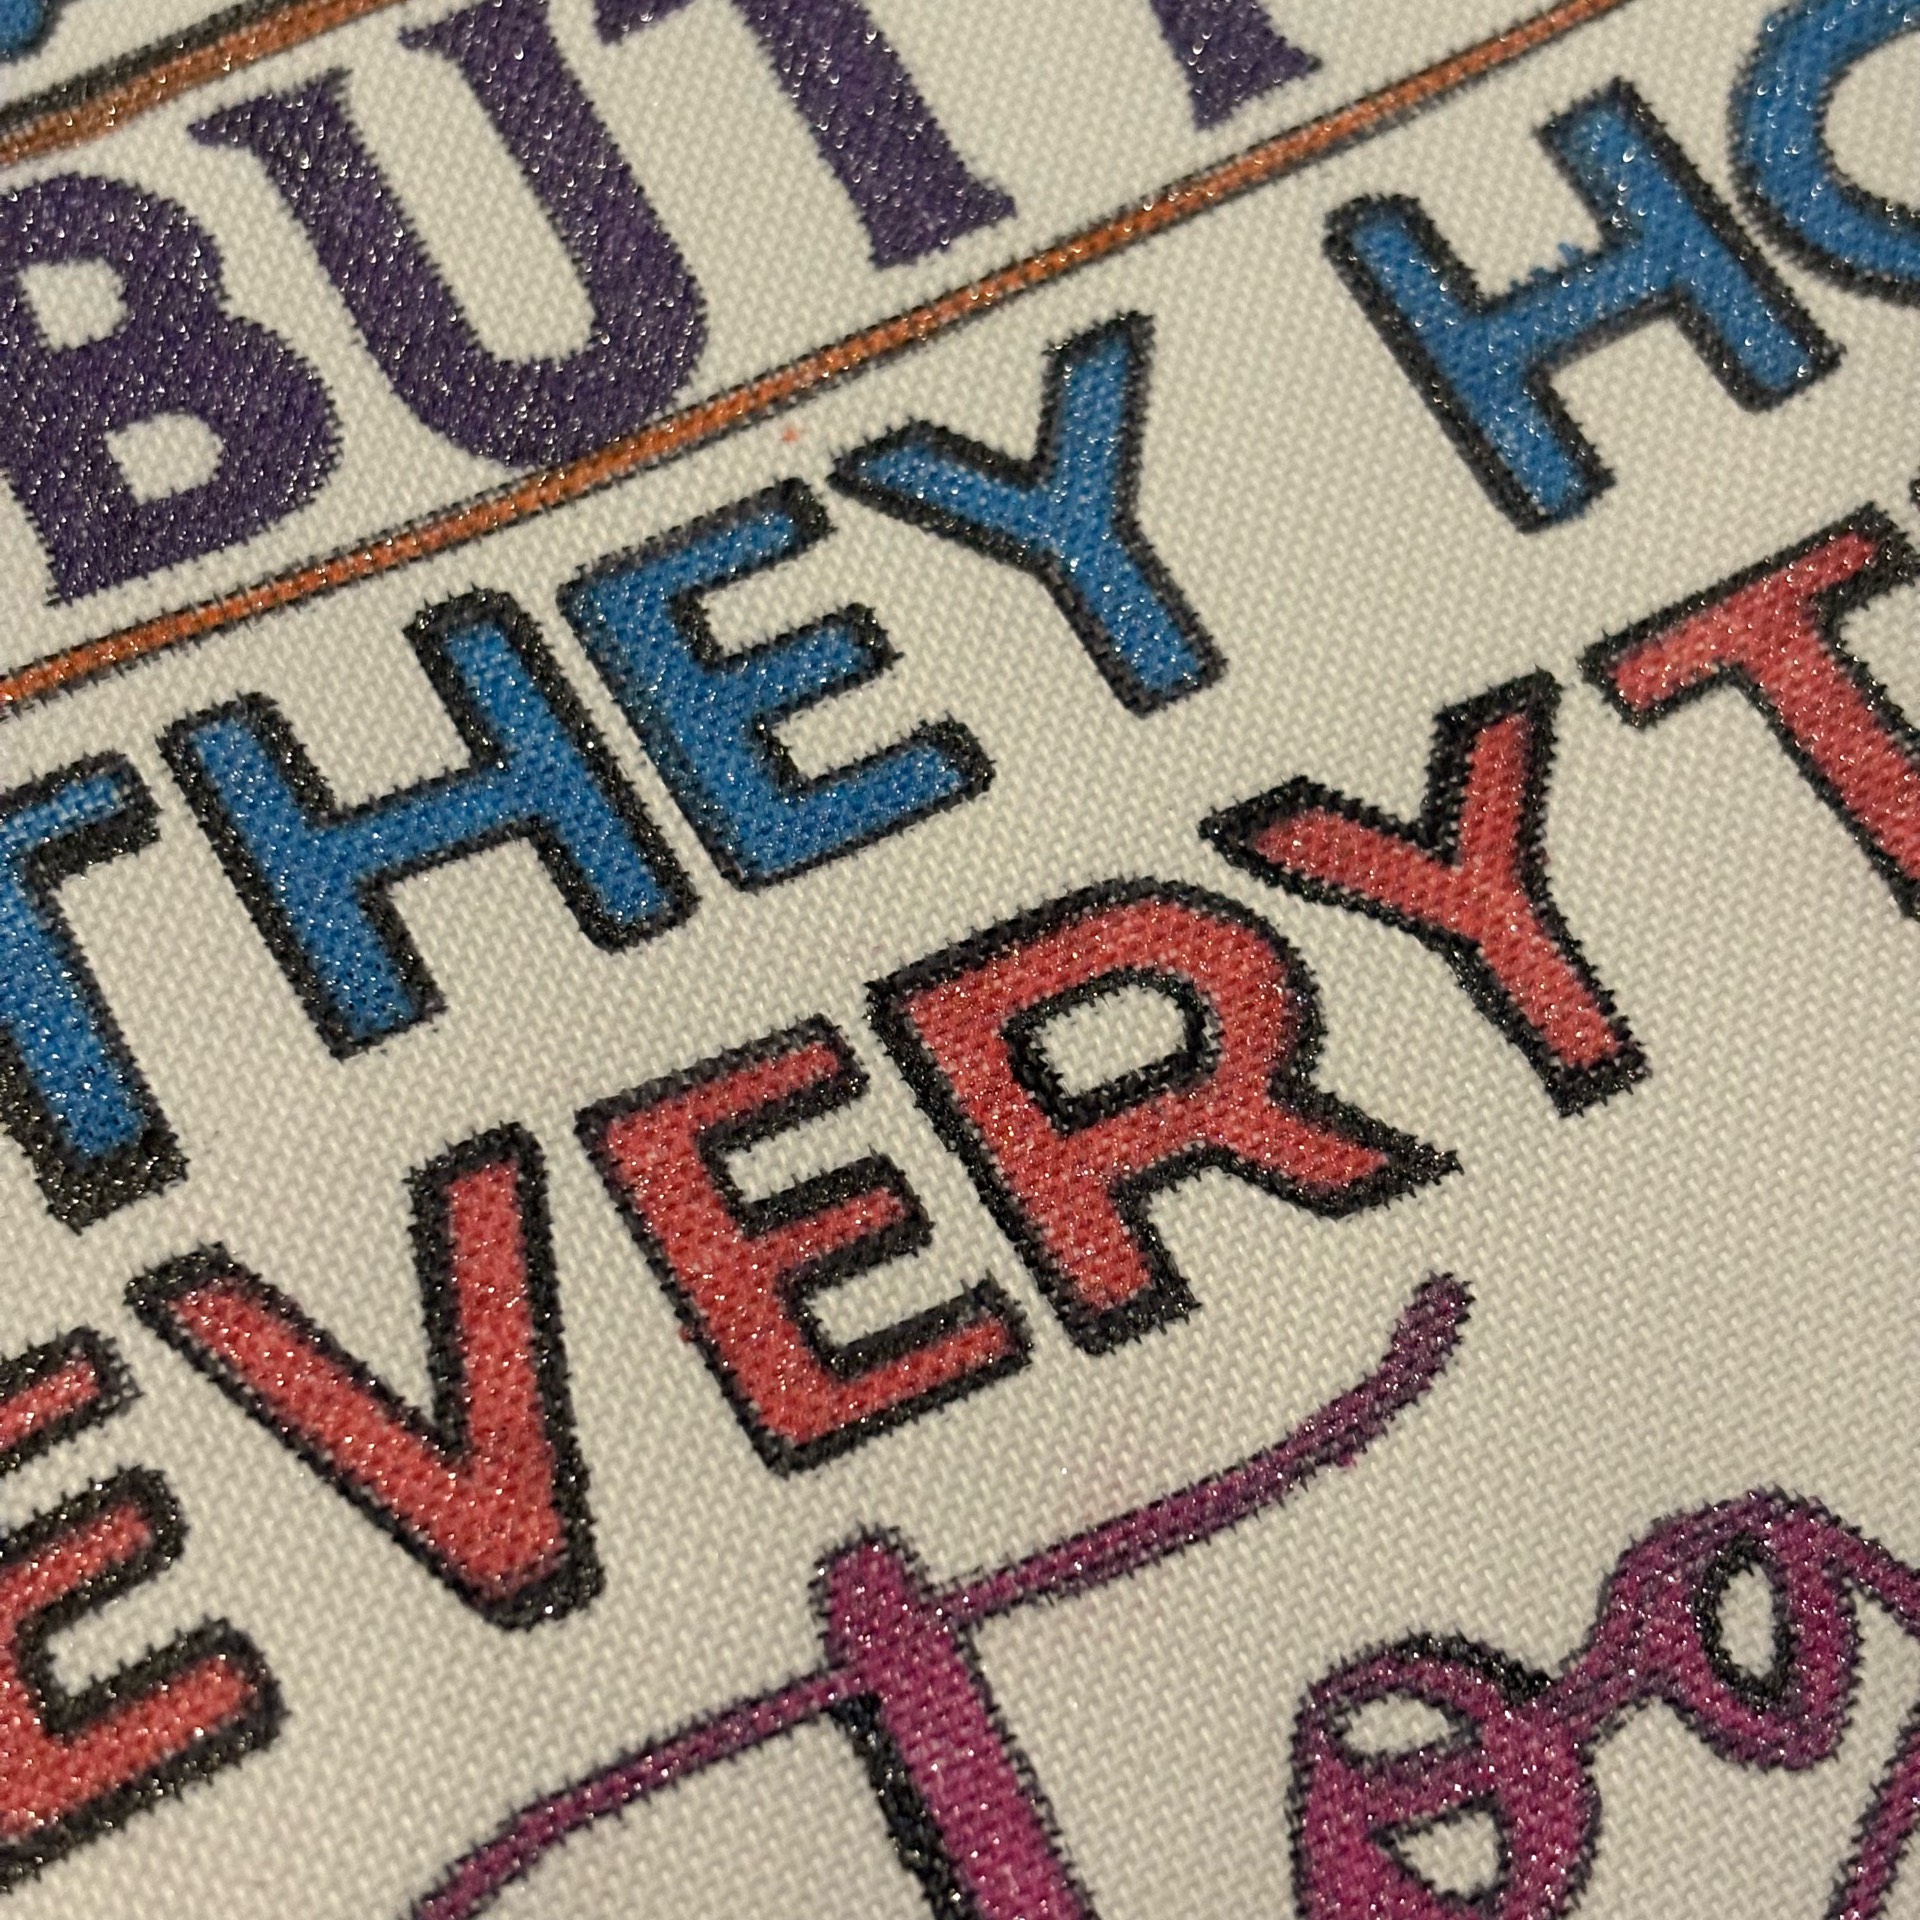
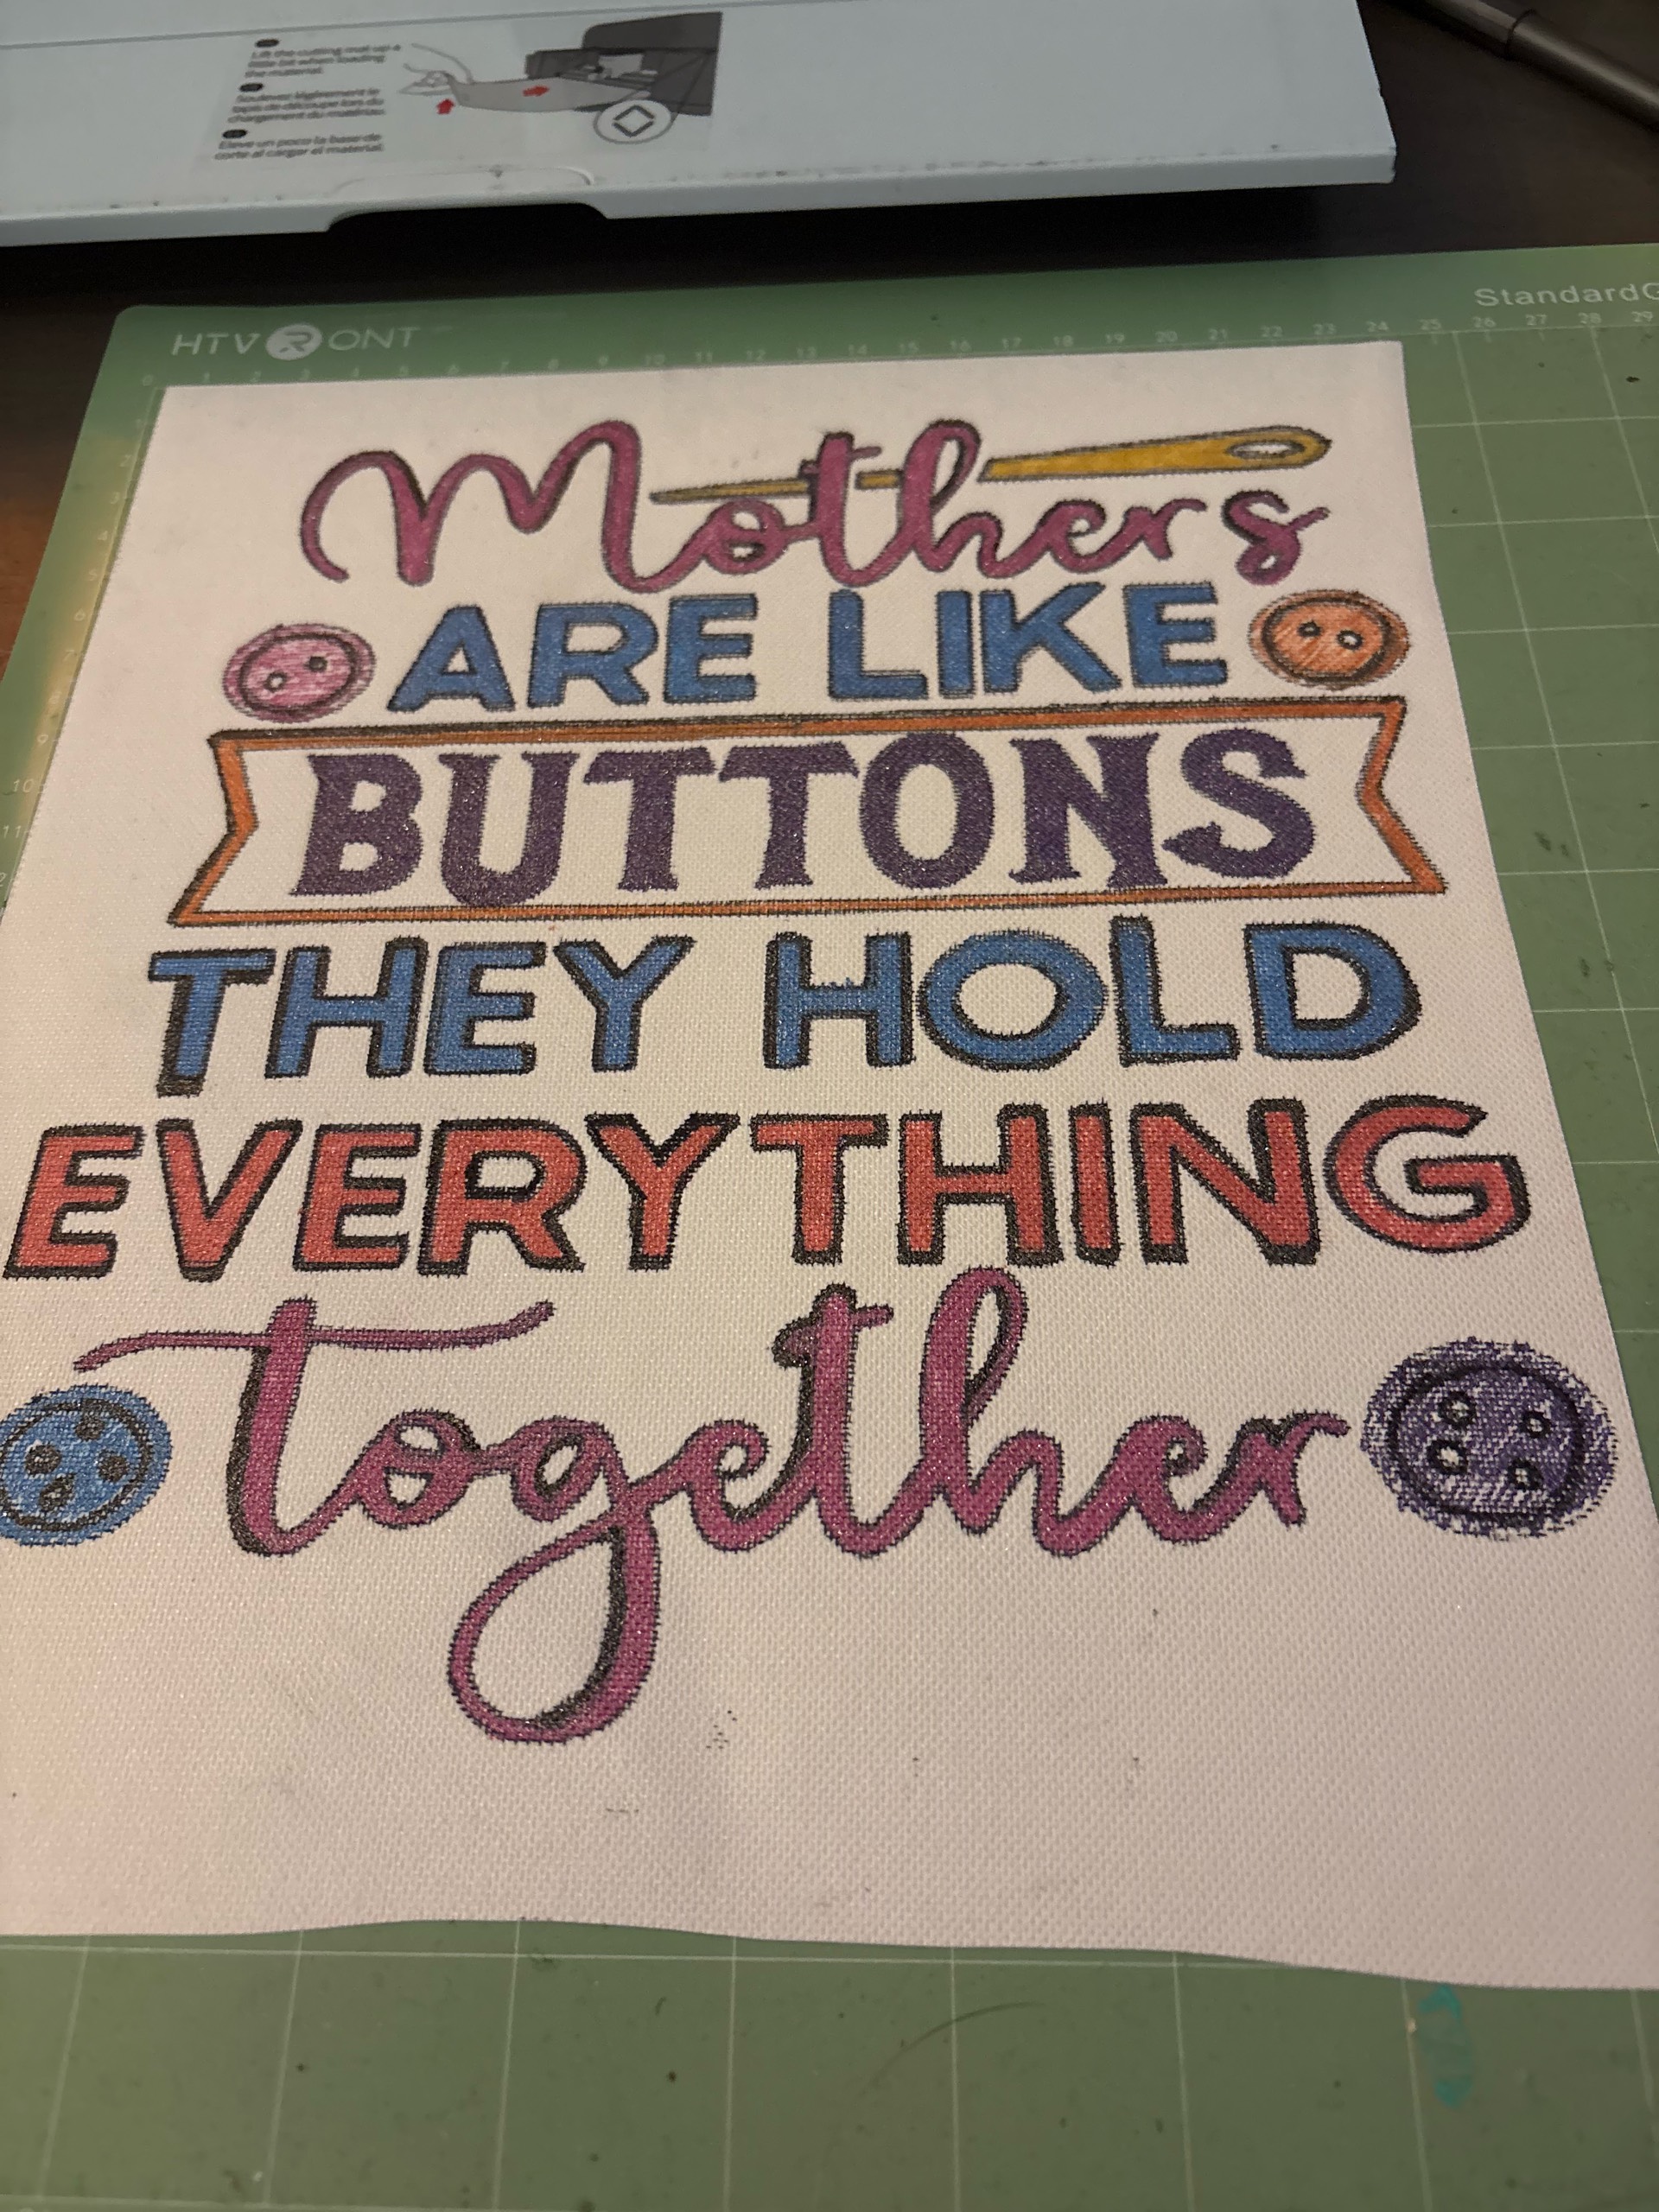
Fill in letters and icons using glitter paint pens. Work in layers for sparkle depth. Let each color dry before touching nearby sections to avoid smudging. - Texture Effect:
Add small dotted or dashed lines around letters to mimic stitched thread detail. - Dry & Finish:
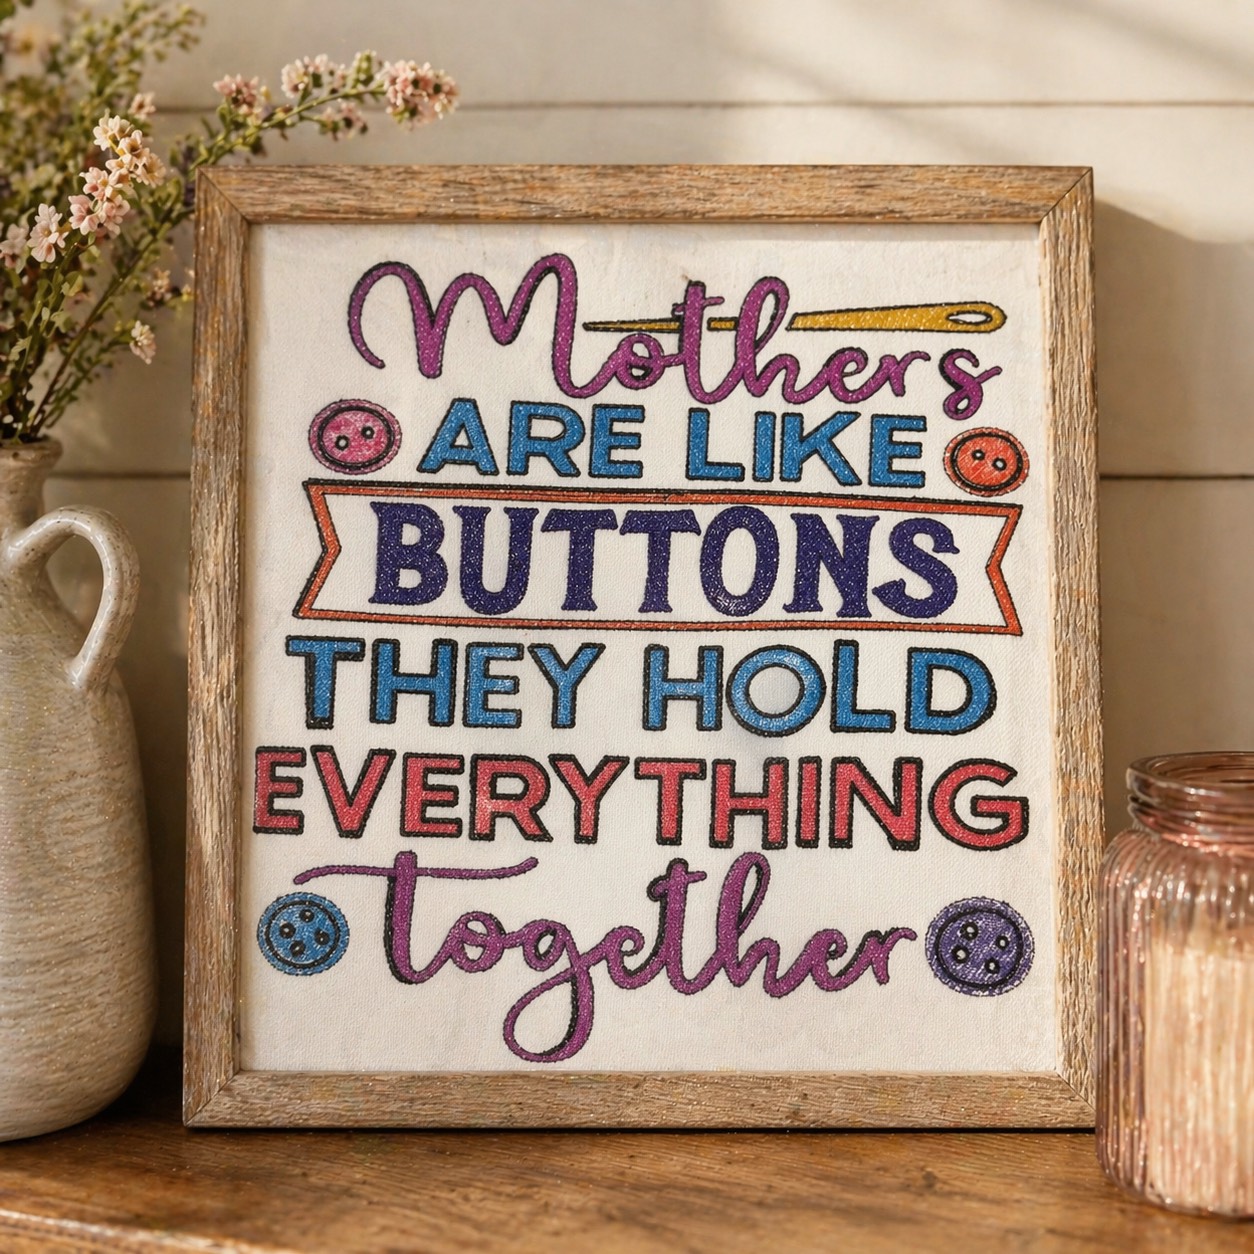
Allow to dry fully (about 1–2 hours). Optional: seal lightly with a fabric-safe clear coat for durability.
Now you’ve got a cozy, handmade decor piece that looks like it walked straight out of a craft fair and into someone’s heart