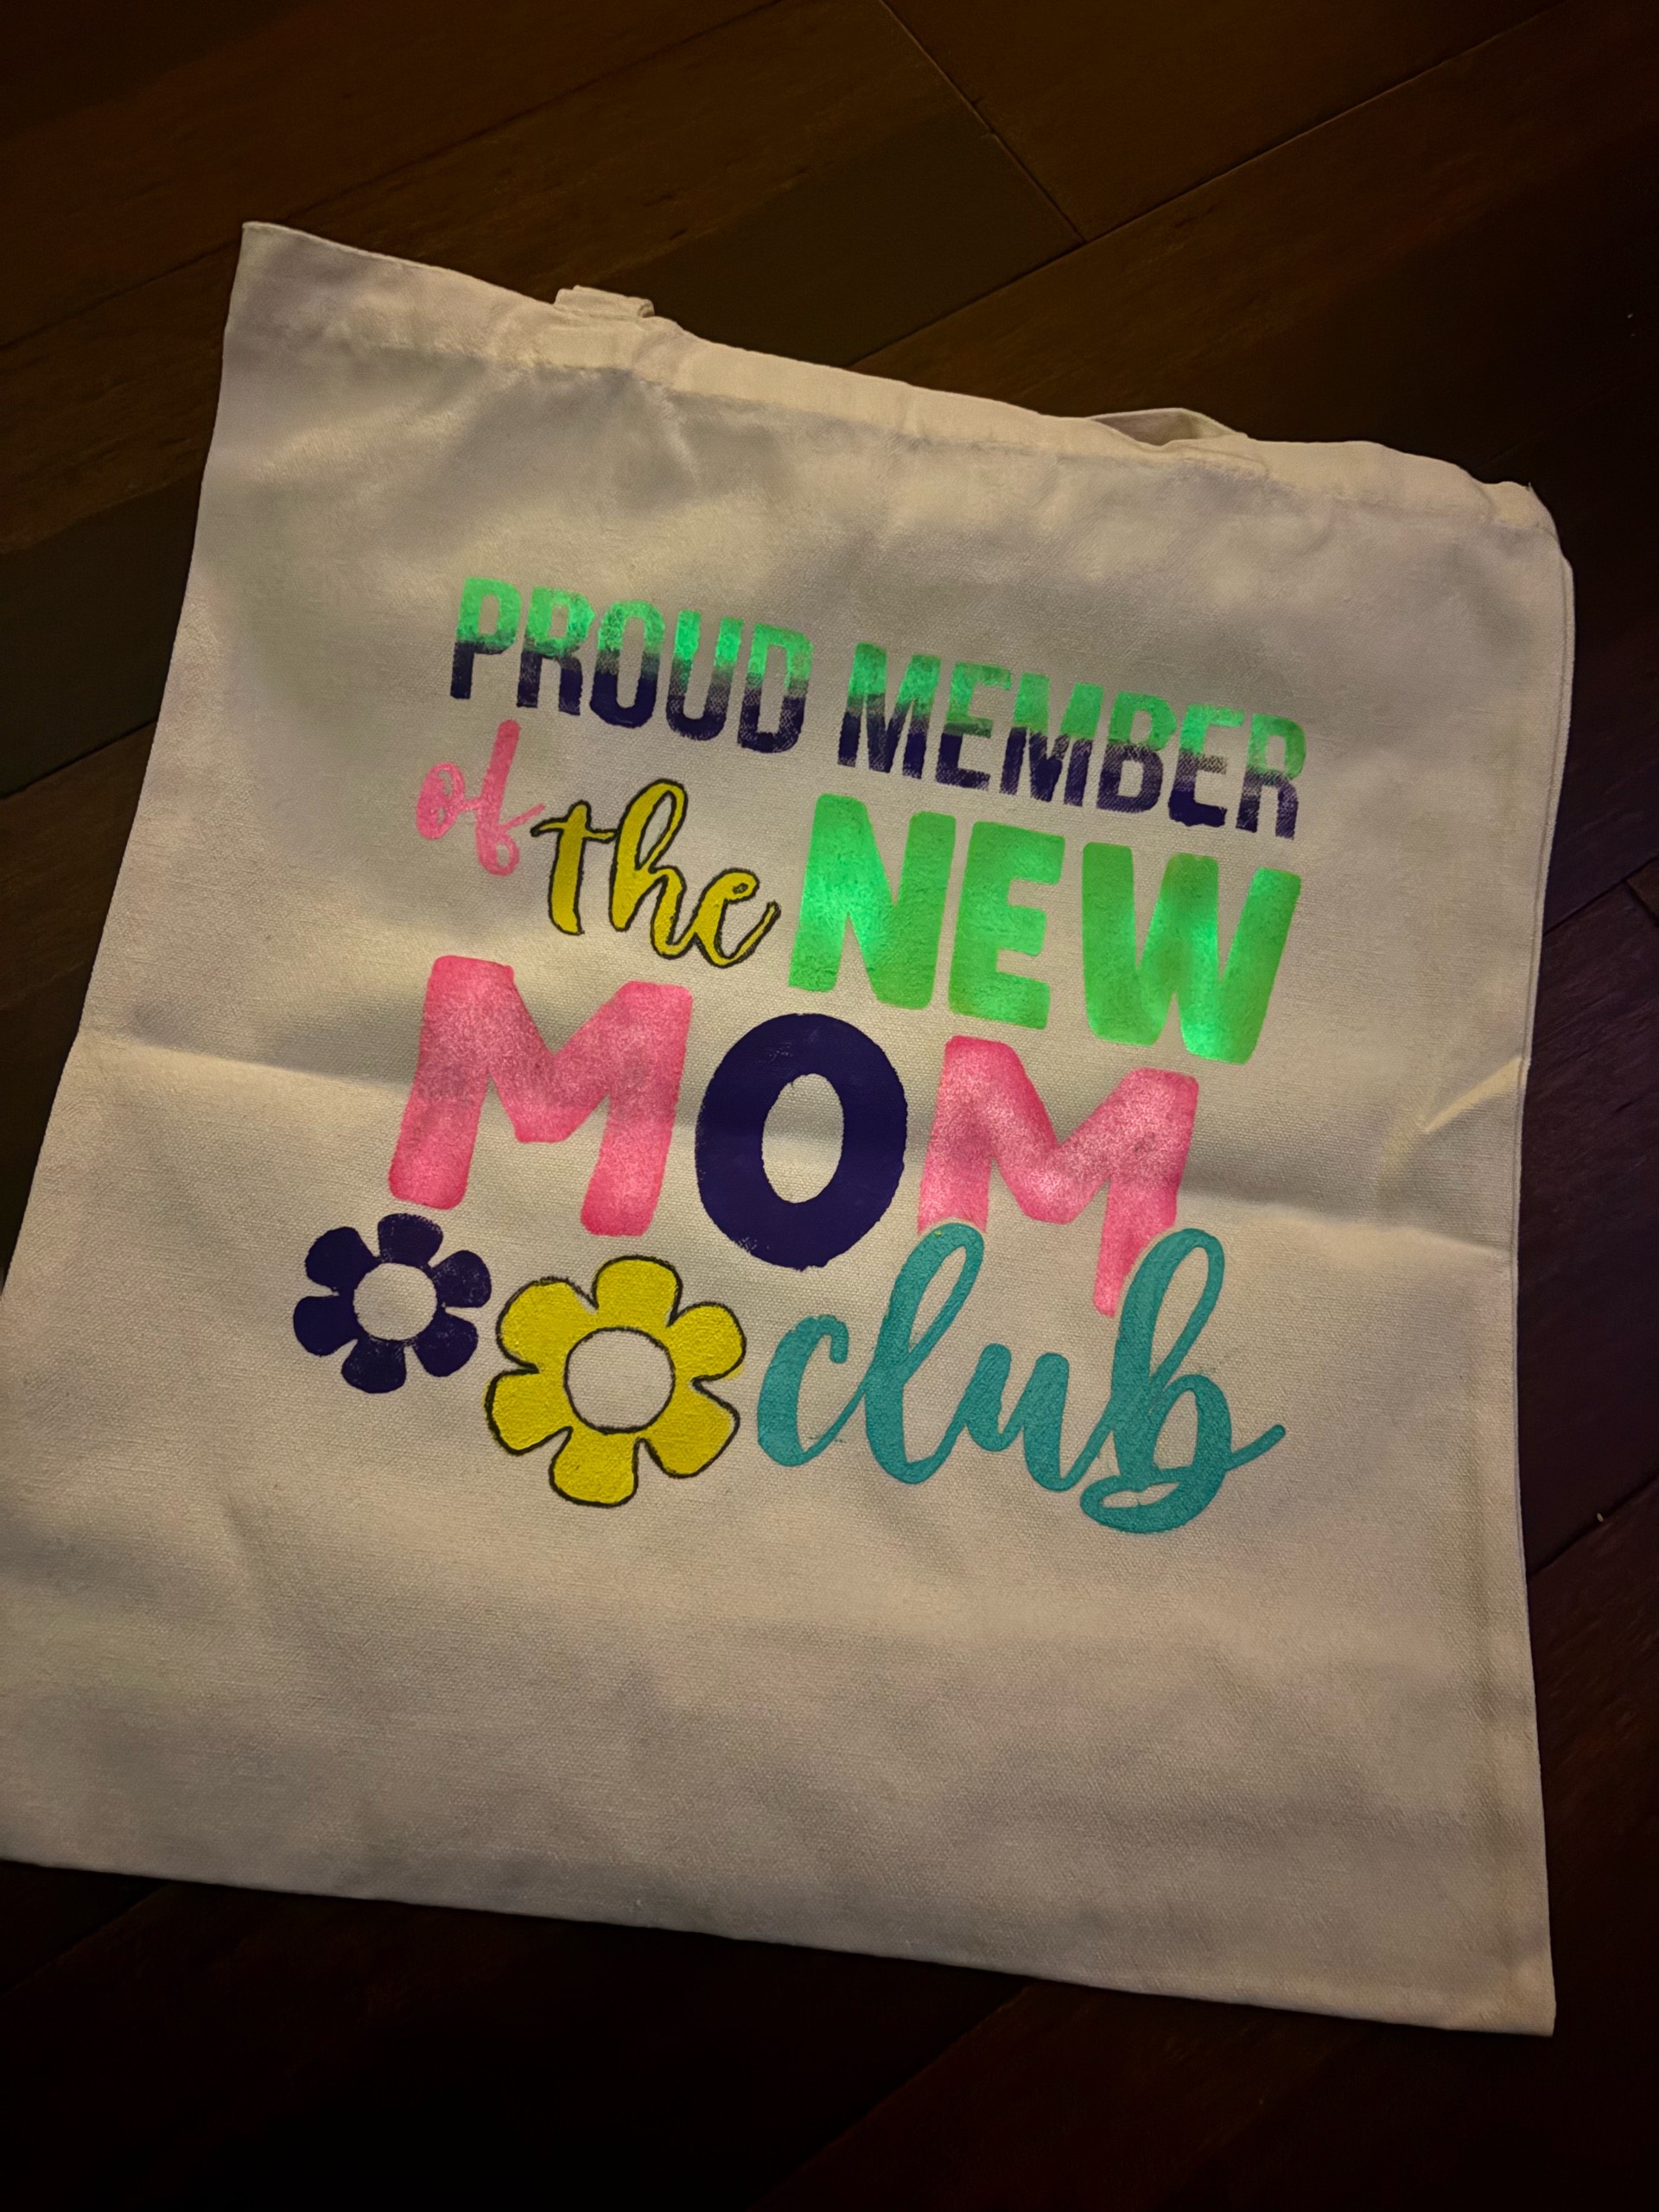
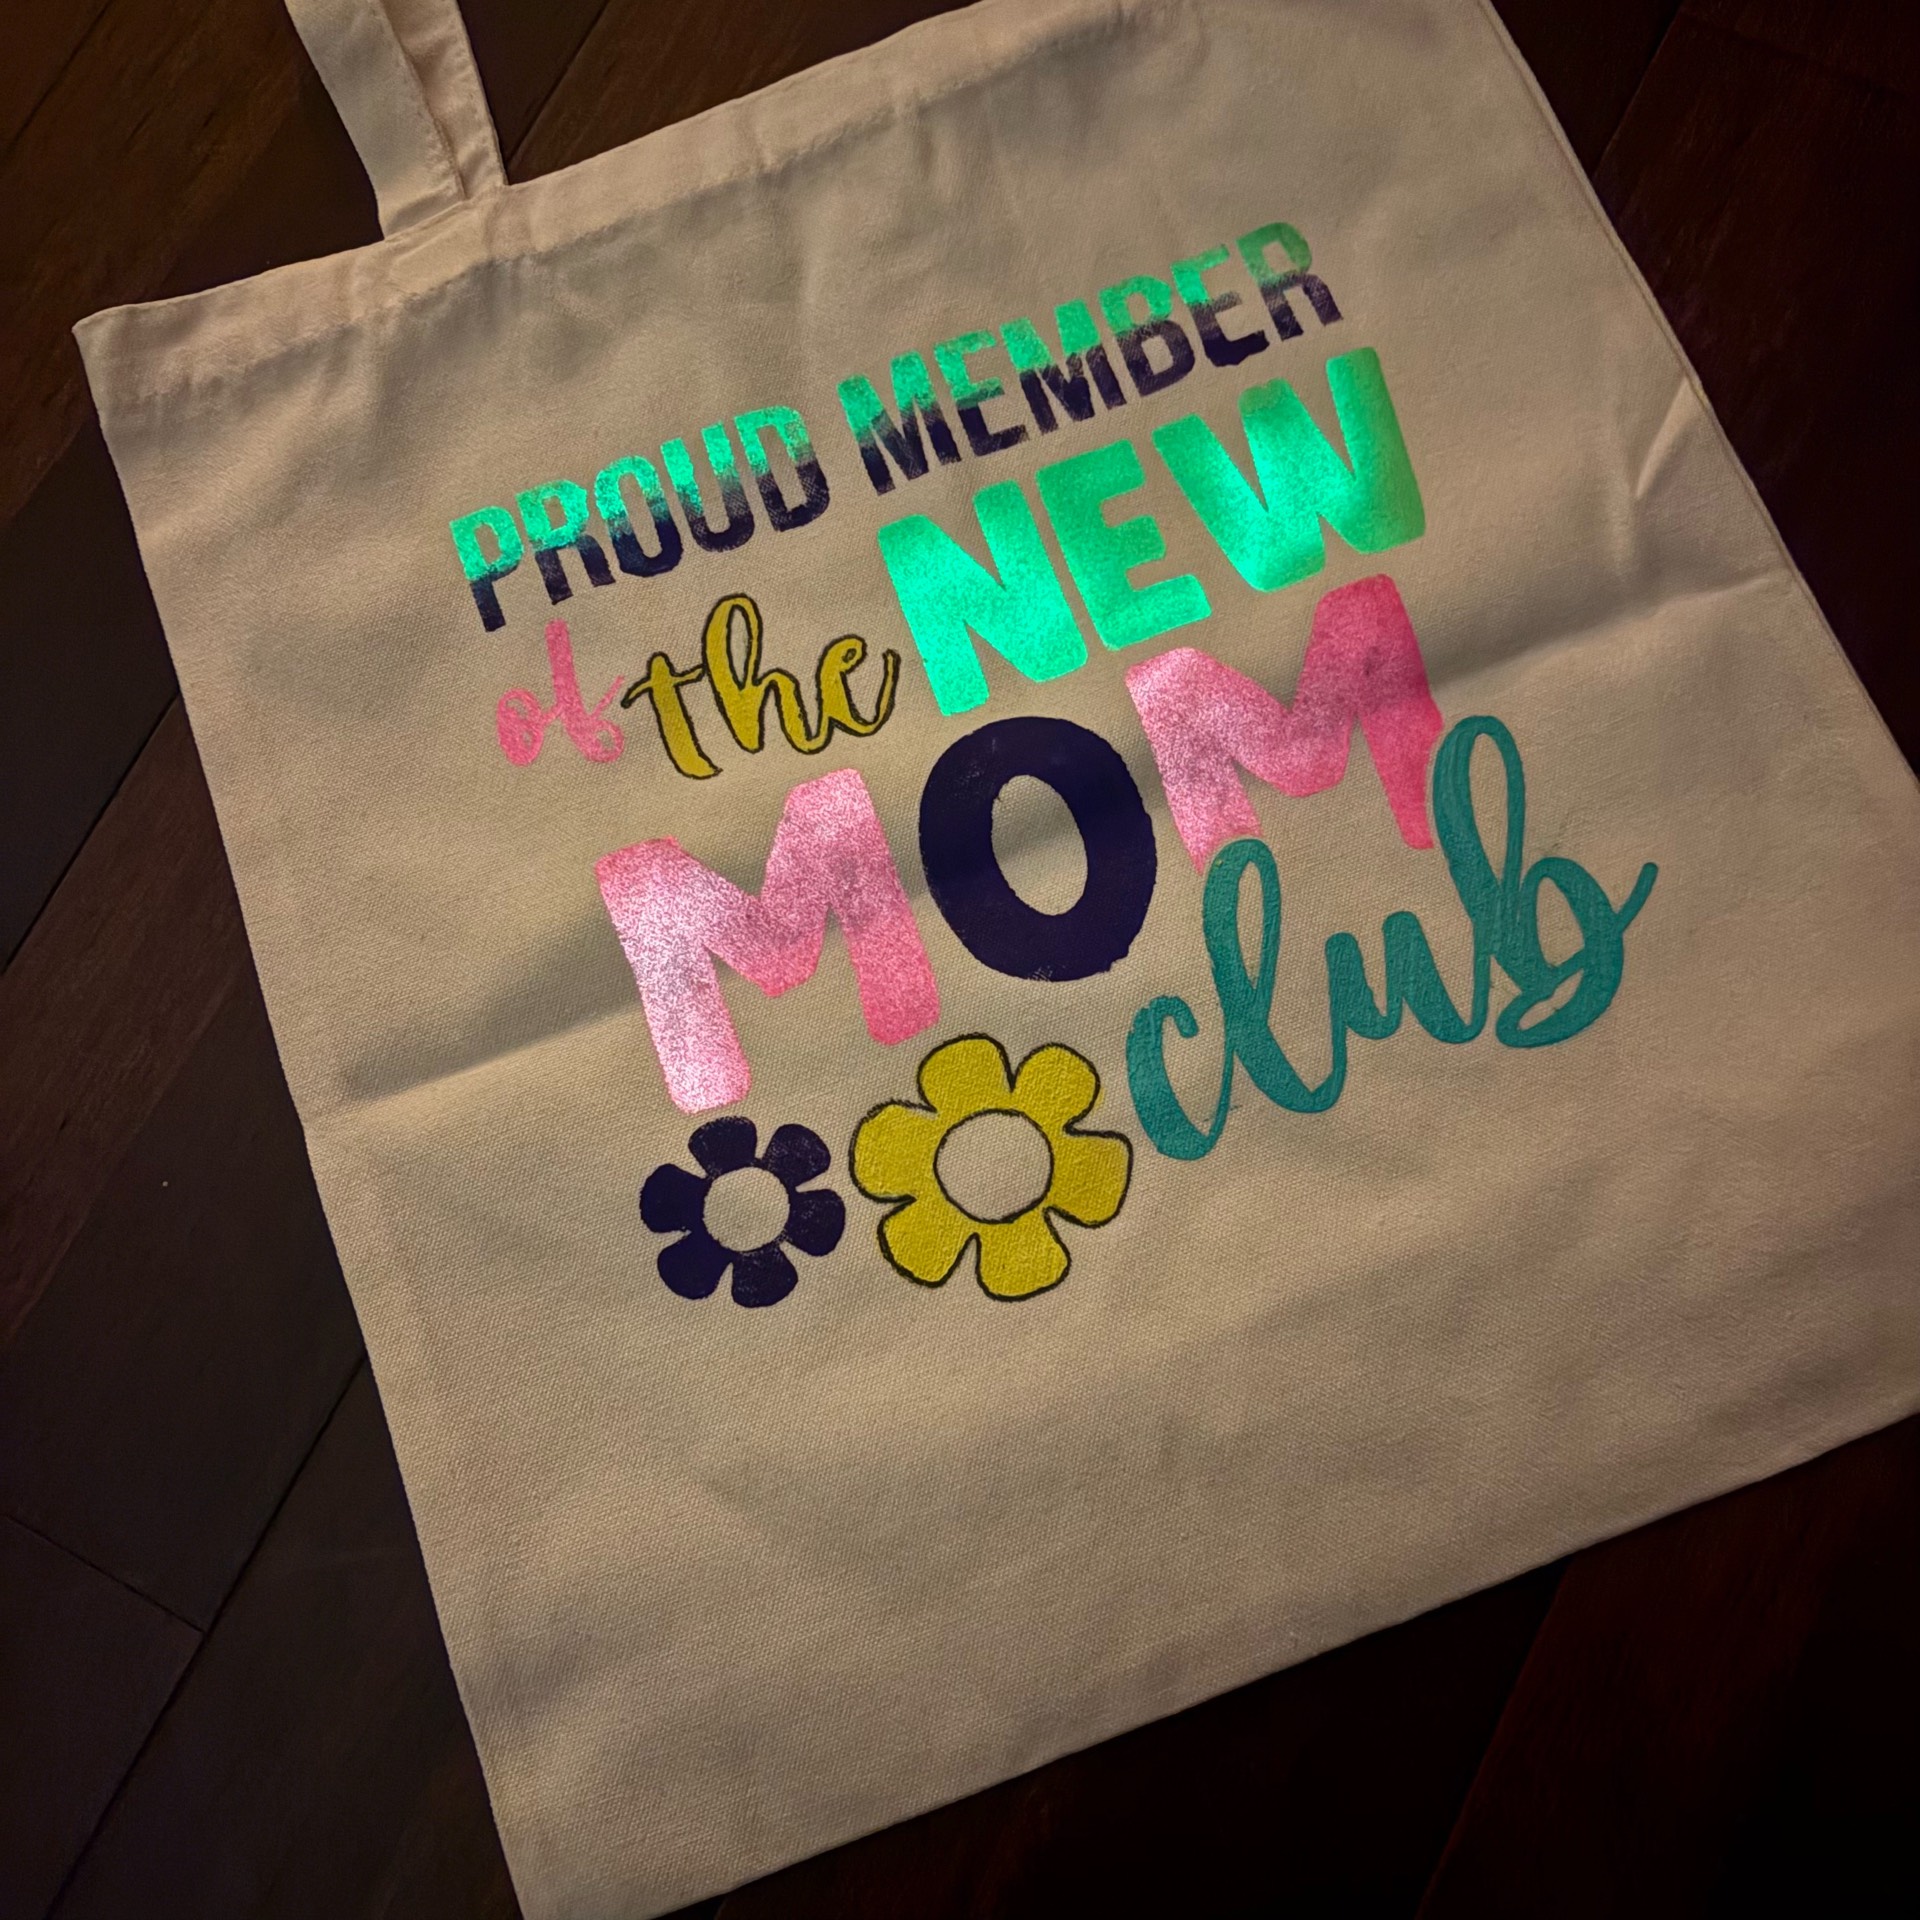
Glow Tote Bag Tutorial Using HTVRONT Vinyl + iCraft Machine
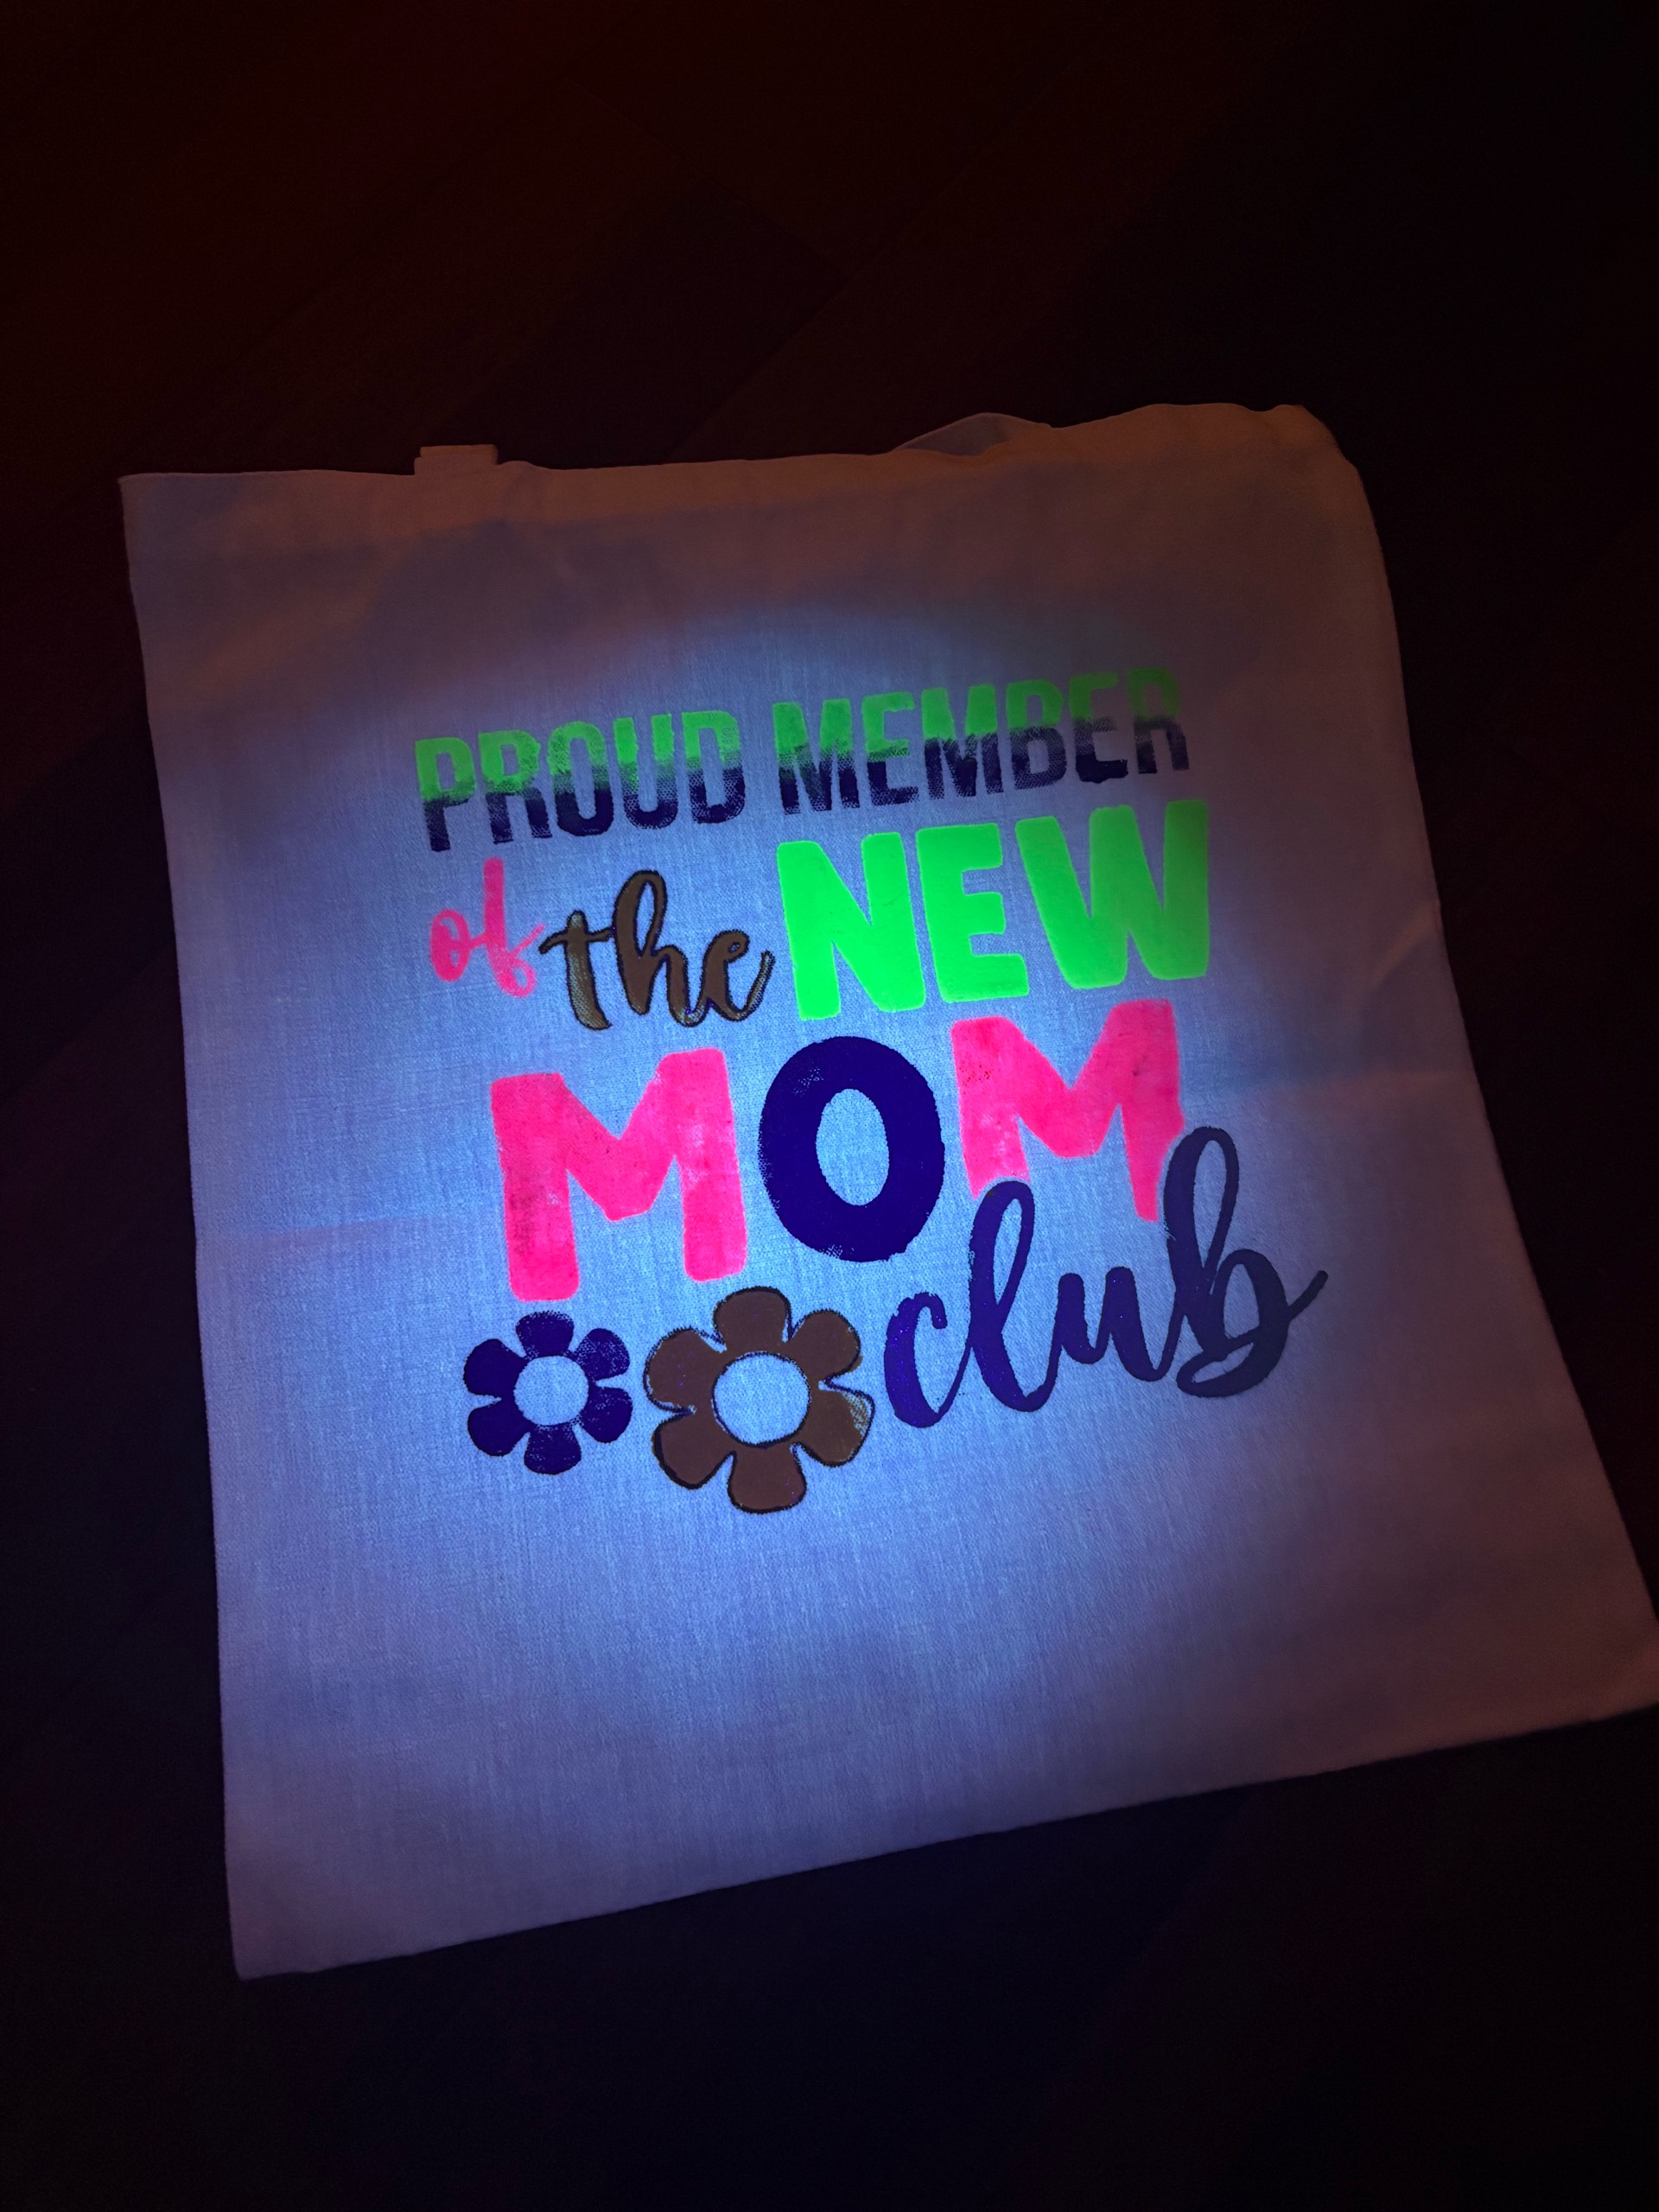
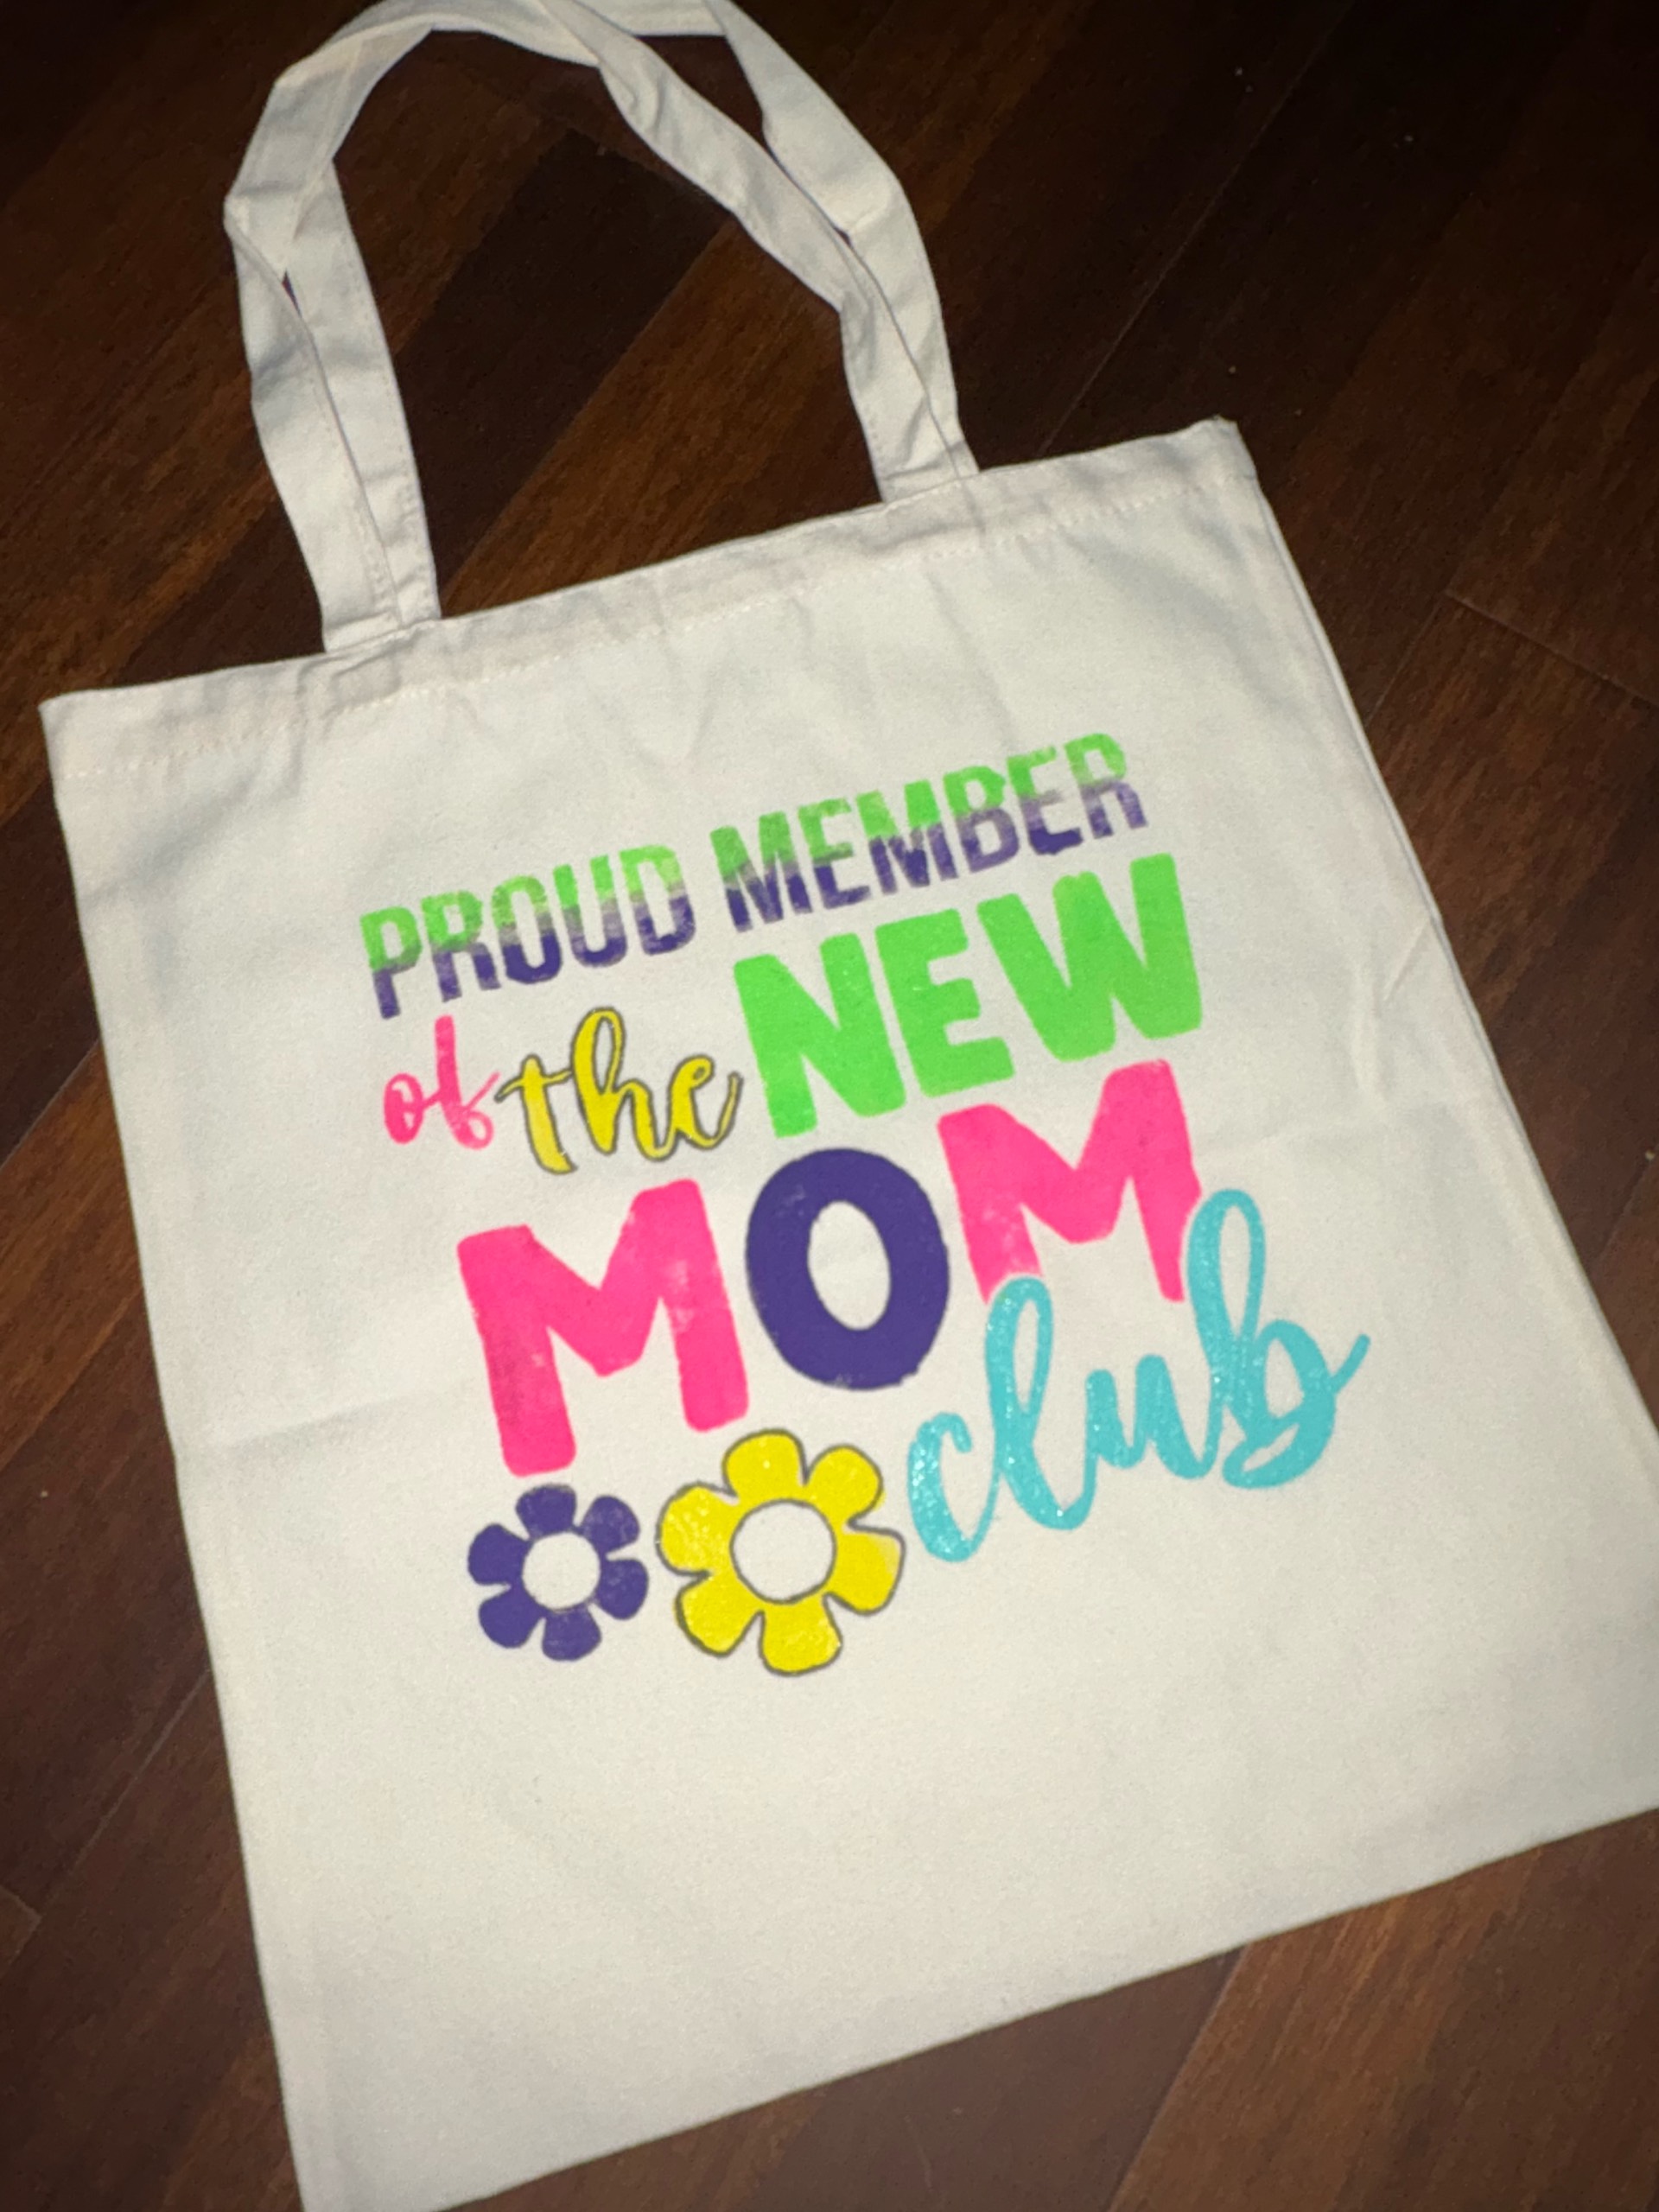
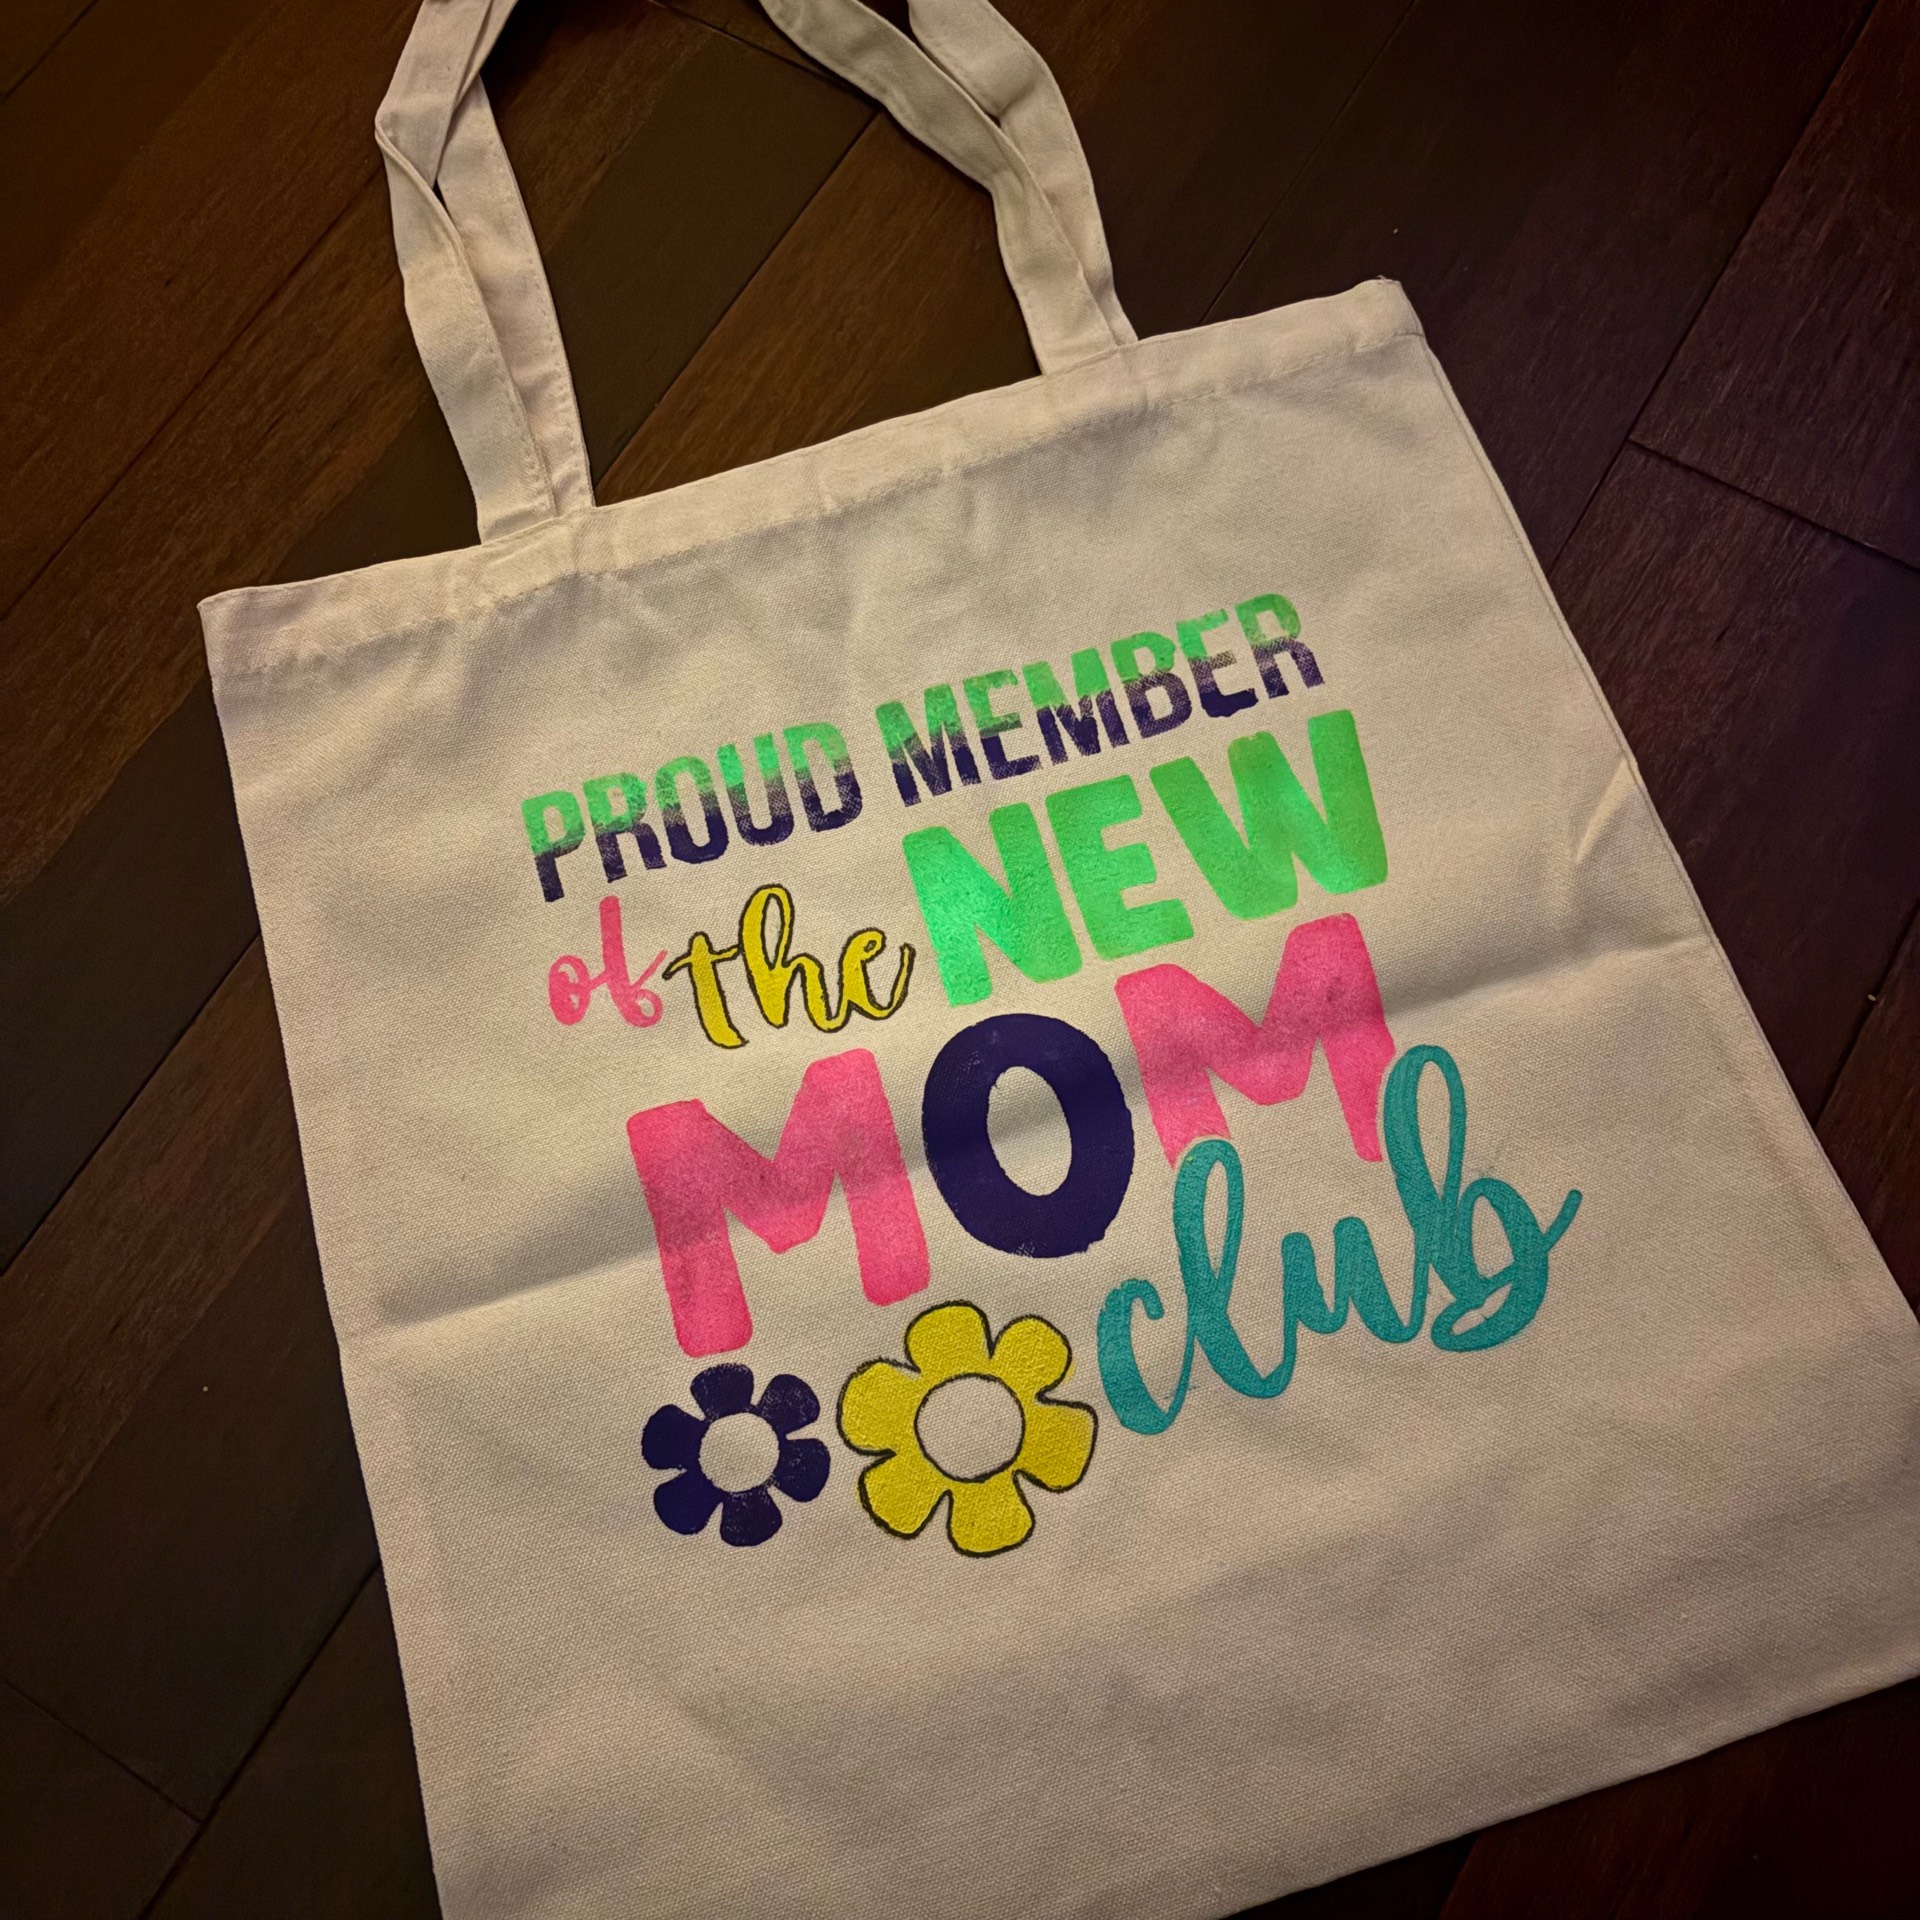
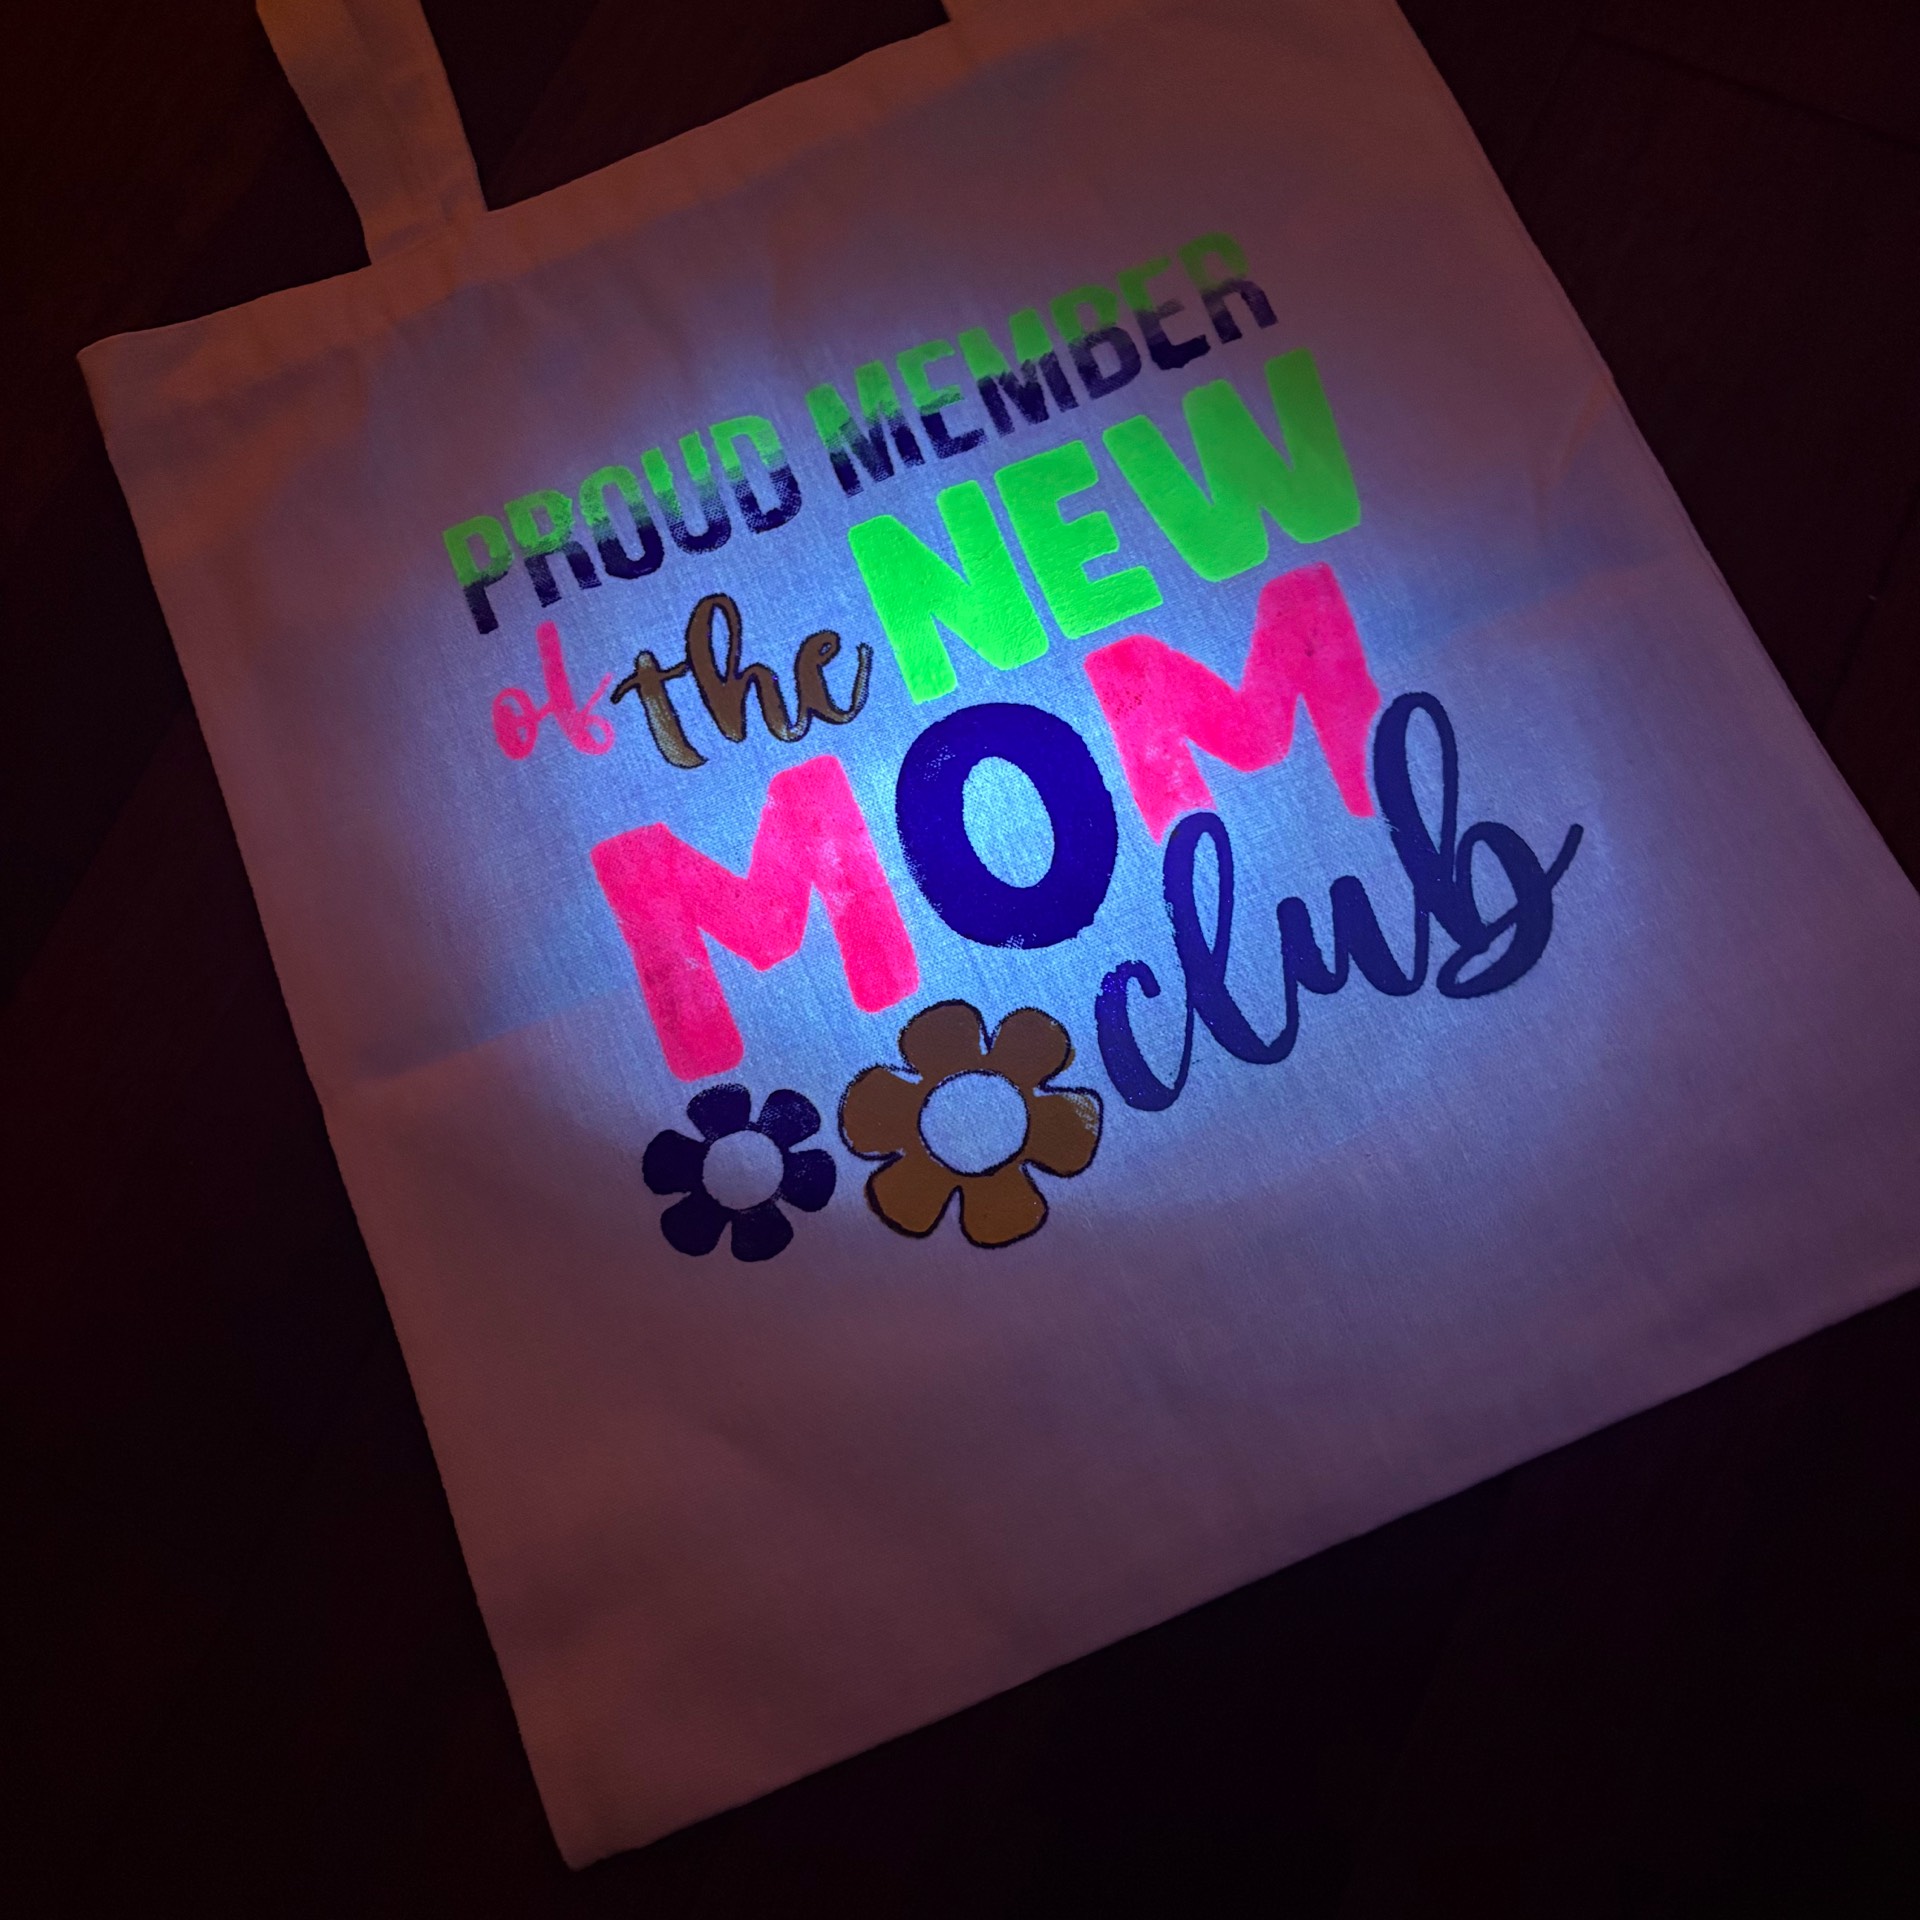
Make your own neon glow canvas bag just like this using a stencil method!
Supplies Needed:
- HTVRONT permanent vinyl
- HTVRONT canvas tote bag
- iCraft cutting machine
- Standard grip mat
- Transfer tape
- Glow-in-the-dark acrylic paint
- Neon acrylic paint
- Foam brush or sponge dabber
- Weeding tools
- Heat gun or hair dryer (optional)
⸻
Step-by-Step Instructions
1⃣ Create Your Design
Open your iCraft design software and create your quote/design.
Use bold fonts for easier painting. Mirror is NOT needed since this is a stencil.
⸻
2⃣ Cut the Stencil
Place HTVRONT permanent vinyl on the cutting mat shiny side up.
Load into the iCraft machine and cut your design.
⸻
3⃣ Weed the Design
Remove the letters/images you want painted.
The remaining vinyl becomes your stencil.
⸻
4⃣ Apply Transfer Tape
Place transfer tape over the stencil and smooth with a scraper.
Lift carefully.
⸻
5⃣ Place on Canvas Bag
Center the stencil on your HTVRONT canvas tote bag.
Press firmly to prevent paint bleed around edges.
Put cardboard inside the bag so paint does not soak through.
⸻
6⃣ Paint Your Design
Use a sponge dabber or foam brush.
Lightly dab neon acrylic paint first.
Do NOT overload paint.
Add glow-in-the-dark acrylic paint over selected areas for the glowing effect.
Neon pink, green, blue, and orange work AMAZING under blacklight!
⸻
7⃣ Dry the Paint
Allow to air dry 20–30 minutes or use a heat gun/hair dryer on low.
⸻
8⃣ Peel the Stencil
Slowly remove the vinyl stencil while paint is slightly tacky for crisp lines.
⸻
9⃣ Cure the Paint
Let dry 24 hours fully before using.
Optional: Heat set lightly with parchment paper and low heat for extra durability.
⸻
Pro Tip:
Layer white glow paint underneath neon colors to make the glow POP brighter at night or under UV light!