So I try the Loklik IdeaStudio for the first time and yes this is not my first time using a cutter plotter software, somehow I find it weird that you can’t do anything about the registration marks like adjust its width or height, thickness, and etc. in short there are no settings to make this happen. So I was searching for info’s about this but found nothing or maybe the software is still upgrading.
6 Likes
Hi Albert welcome to this wonderful community! I know what you mean about the software resricting us to the registration corners.
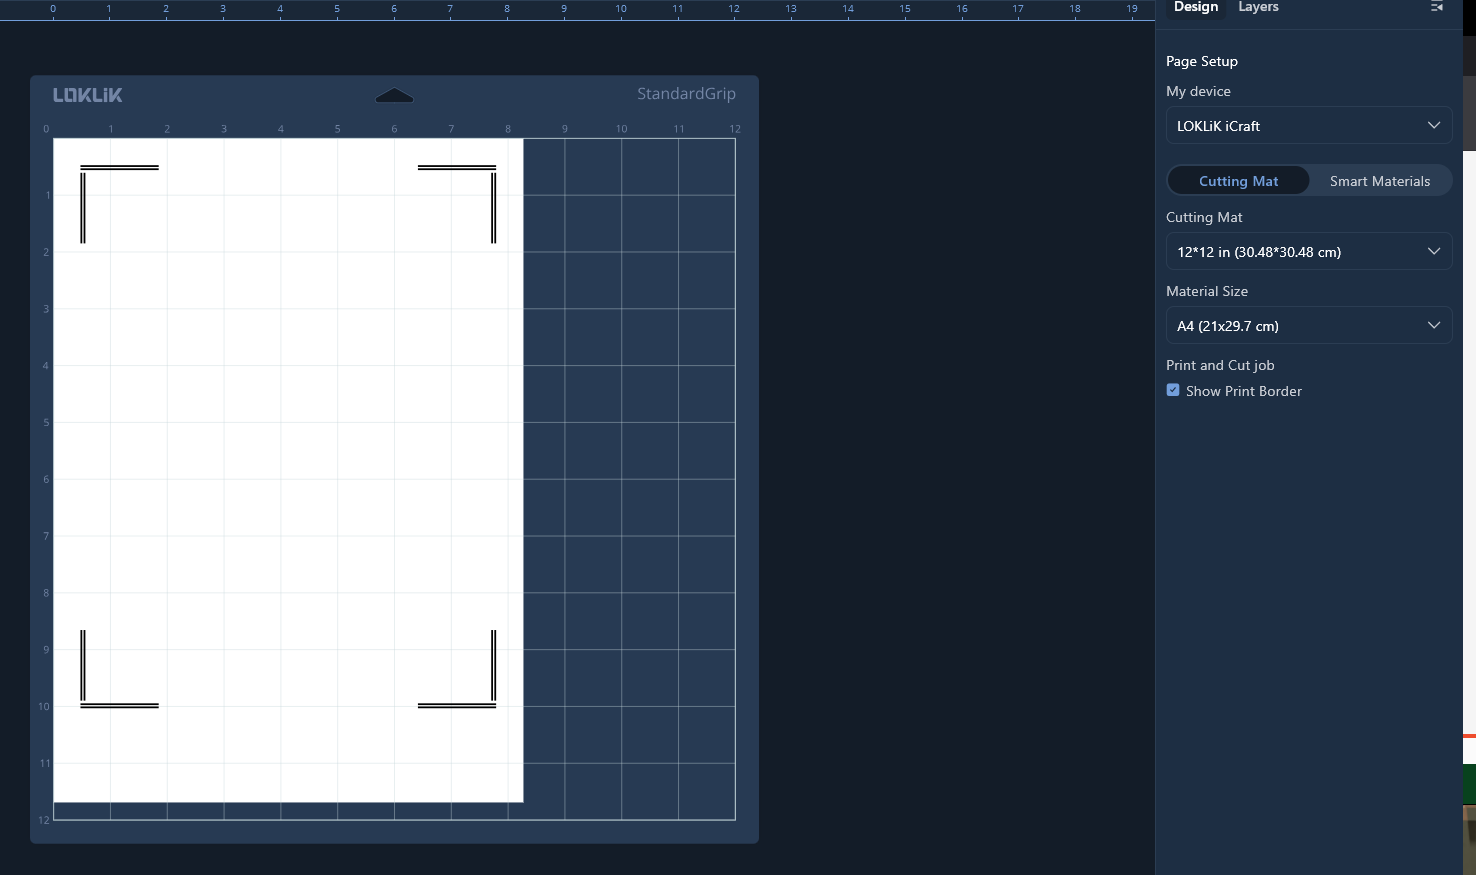
I have learnt that you can go lower than the bottom marks like this.
but it stops us from using the full bottom area for example, layout stickers to utilise the full sticker sheets, they arent cheep, i hate to waste the bottoms.
6 Likes
I Mean the software is still in its v2.0 a lot has change from the previews one like importing images I saw how the v1.0 does it and it was super manual. So for now I only hope they will give as this feature sooner. But thank you for the info on this one it really helps.
5 Likes
Yes I agree, the machine doesn’t even use some of the registration marks as well. I do believe they are working on this as other machines I have used have a greater print then cut area so I’m hoping they will to. Unfortunately, we just have to wait for updates. I’m hoping they open it up to A3 size as well.
5 Likes
or even 12x12 would be good Belle ![]()
4 Likes
agree, i have seen some great improvements and new functions, since i have been using it.
4 Likes
This is the trick I use to get rid of the bottom right mark, just avoid it being printed, as it is not read by the machine, in the mid time we have a better solution:
I use my own marks. You can get them very easily, just printing as pdf. That way it exports the marks too, so you can print outside Idea Studio, which for me is better as I design in CMYK and Idea Studio only prints SVG RGB (and loses colour info, more dull and plain).
I also include an A4 shape, so that I can be shure everything is 100% and fitting the scale of the machine’s reading mark. That way you can have the reading mark and the A4 template as an asset to place in any project, print outside and tell Idea Studio you already printed.
It works like a charm, I never use original reading marks, so I use the 3 IS is using now (there’s been some changes across versions, there’ve been a time when it only used the two marks to the left). I don´t have any reading problem (beyond the regular of the light and the print in the different papers). So at least I gain all that area.
You don´t need to do what I do, just print as pdf, delete that 4th mark with any editor, print from any means you get control of your printer and then tell IS you already printed and then cut.
Hope it helps!
5 Likes
I do hope this will be fixed in future upgrades. Or at least I hope they remove the bottom right regmarks that’s not read by the machine
4 Likes
It is a problem that I reported to support a month ago and it is that I use the 11 x17 format for my boxes and there is no way to do it with the registration marks that only come for 8.5x11 is desperate the truth, the answer of the support team is that they have it like this to avoid problems by reading the registration marks
4 Likes
in my case it is impossible because I use the 11x 17 format and there are no registration marks for that format or for any other, the support team told me that they have it like that to avoid conflicts with the reading of marks faith registration
5 Likes
Oh yes, I’m talking about using almost all the A4 format, which is the only one now. We all want bigger formats, of course.
Anyways, A4 is where the marks are, I don’t know what happens if you try to cut to the right. I mean I could try, buit I don’t have a A3 printer, so it could be jus cutting to the right.
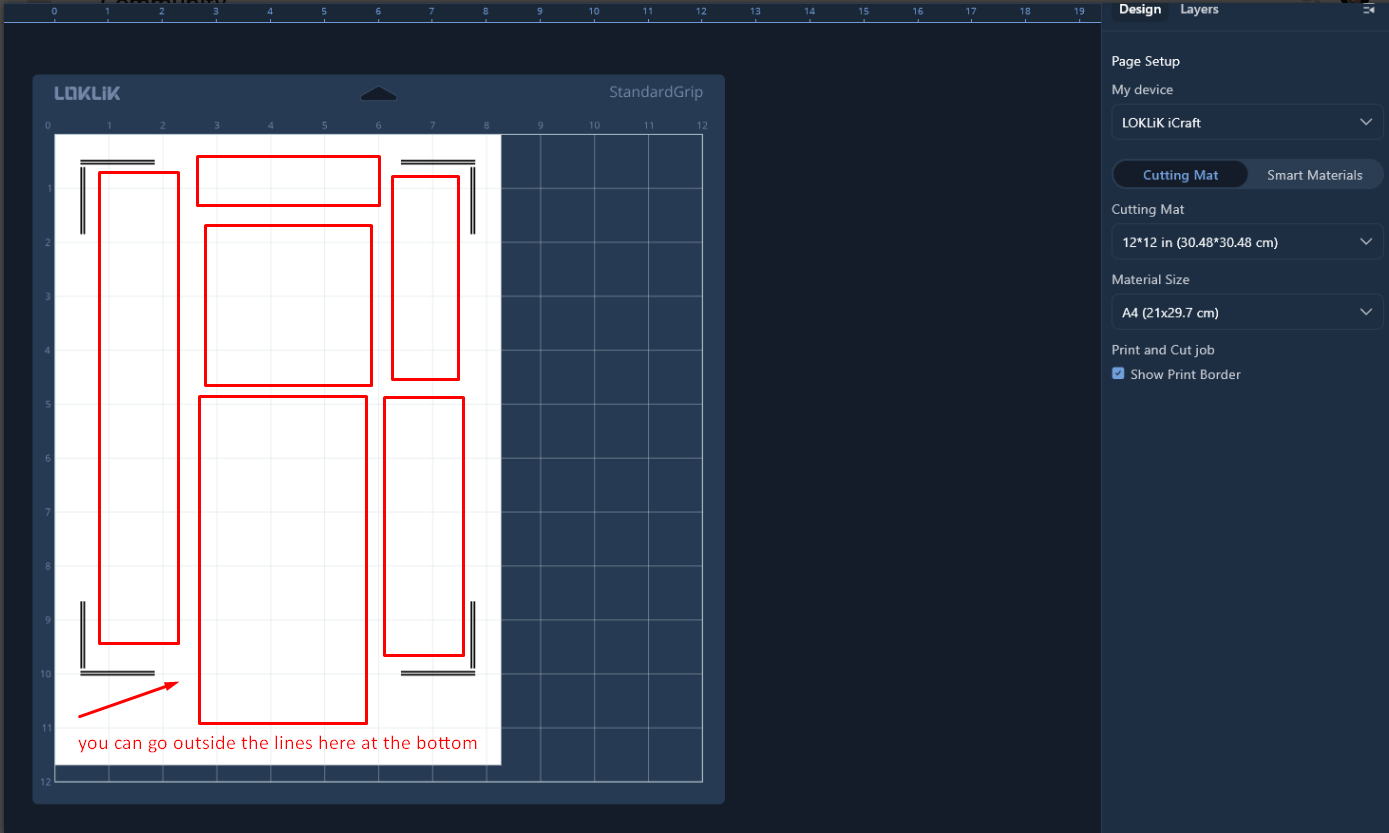
I mean, what happens if you do this?
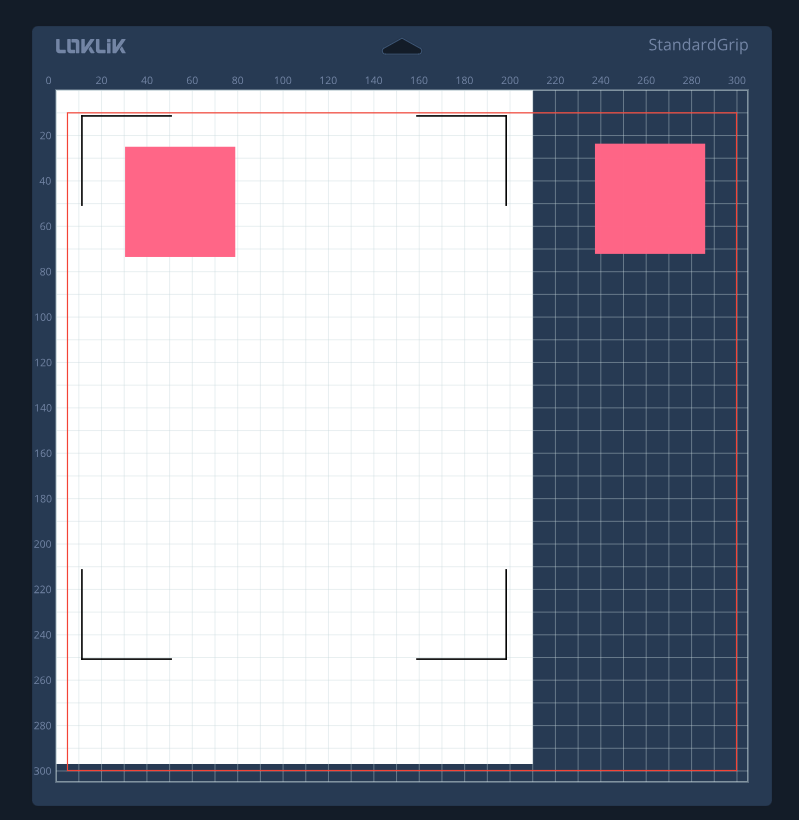
does it cut beyond the A4 till the red margin? that’s a good test.
5 Likes
I tested this last week when i created my stickers, when you get to go to cut it says no can do, you have images outside the lines
4 Likes
Ohh I see, now that you say it was something to expect. Thank you so much to solve the doubt @InkiteeWorkshop !!
5 Likes

I haven’t tried logging in today, when I do I’ll let you know
3 Likes
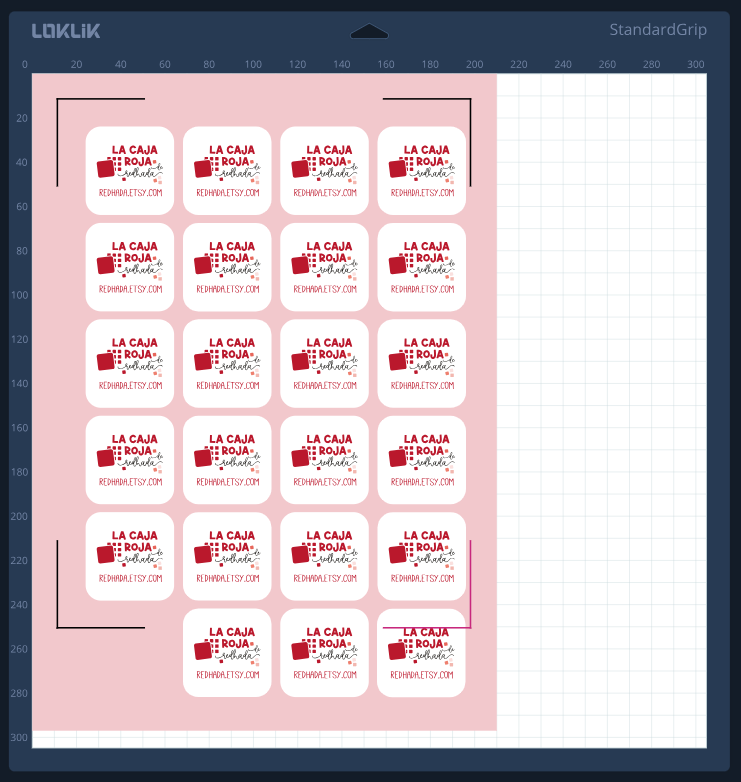
I printed my first stickers yesterday.
First attempt I forgot the marks.
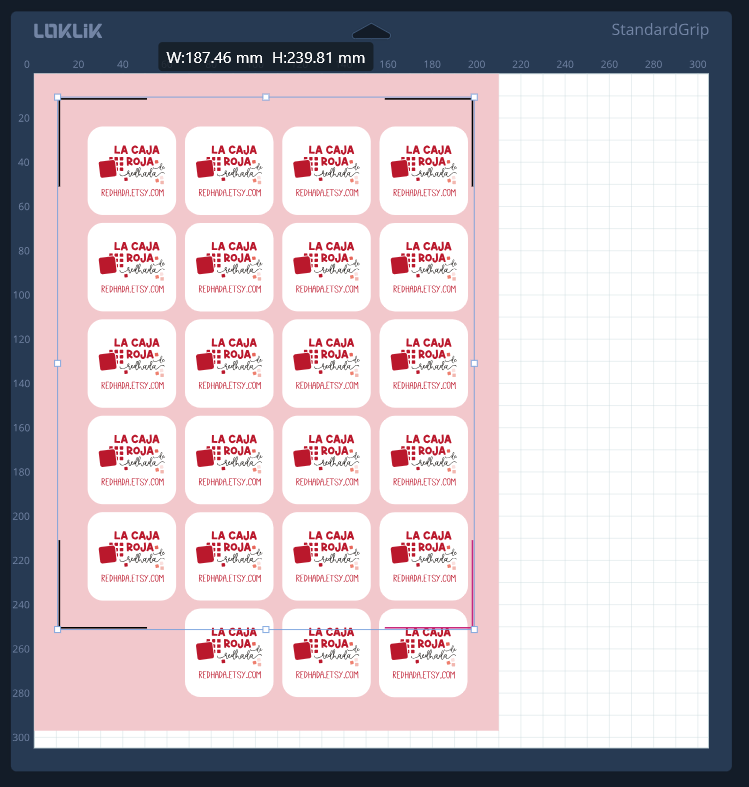
I also thought there is a lot of wasted space on the page.
It would be a help to see the cutting boundaries on the design page.
5 Likes
Have you seen this yet Roger? you can see the print area if you check the box, while your creating on the canvas.

5 Likes
I have seen this - this shows the print area.
The Cutting area is not the same - This only shows on the make screen, after you have done the design.
6 Likes
This can be seen on the canvas already, just check the box in the Design tab as shown by @InkiteeWorkshop but I do hope they can remove the bottom right registration mark since the machine doesn’t read it anyway
4 Likes
Oh I get you now, sorry. I noticed we can only see this after the next steps ![]()
3 Likes