Teacher Gift Box
Next week at my son’s school is Teacher’s Week and like every Crafter mom I had to give her some thanks for this year of great help for my son. She was more than a Teacher for him.
All I used to make this box was the IdeaStudio library and the box was made from scratch.
Material I use
Loklik icraft
IdealStido
Carstock paper
Glue
Design Creation
To make the box it was piece by piece, first you have to go to Shapes and choose a frame to make the main frame that would be the pair, I was making frames by pictures and adjusting it to the size I wanted it.
The part where the students and the teacher are, look for the picture at the Library.
I put the picture and the picture together and selected everything and hit join to make it look like the picture and the box are one.
Since I had the image and the first part of the box attached, I kept looking for shapes to shape the box.
since he had the first part of the box assembled, then the other part had to be done.
What I did was copy each shape I used with the first one without using the image part.
Cut
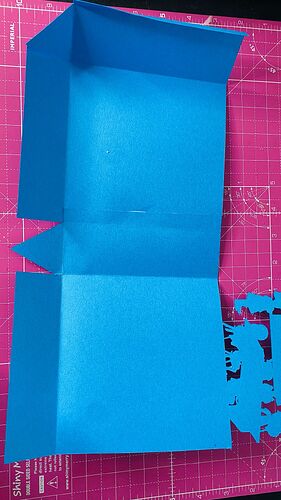
For the cut of the box I used Standard cut, with the lowest speed because as the box had small designs, I wanted it to fit perfectly and not be damaged.
Use the same setting for both parts.
Cutting Parameters
Scorring lines:
Force 11
Speed:5
Passes:3
Group(side of the box)
Force:11
Speed:2
Passes:2
Assembling
I glued all the parts where I had to bend to assemble.
And this is how the box looks already assembled, in the end I decided to make the name of the Teacher, so that it looks more different.
I think I’ll buy him little things and put him in and maybe a few roses made of paper


