Happy Thursday October 23 my fellow crafters!
Today I am adding a second side to my sublimation tote. I am not sure who has not ruined at least 1 pressing mat by working on a two sided sublimation design but I still have the one I did from a few years go. I remember being so sad when I saw the image pressed into my mat.
First because I want to be honest I made my project all at once and broke it down to two post and shared the second side I did first.
~When your making a sublimation project with two sides I like to decide what side will be pressed two times usually the one with the most vibrant colors that won’t wash out as much or the one with lots of black ink.
~ Sublimation on different fabrics lowing the temperature can help ink not to spread int the fibers to much so I chose to set my auto 2 press a littler lower.

(I have 380F 150lbs as one of my custom setting because it’s also what I press ribbon i sublimate on its those settings.)
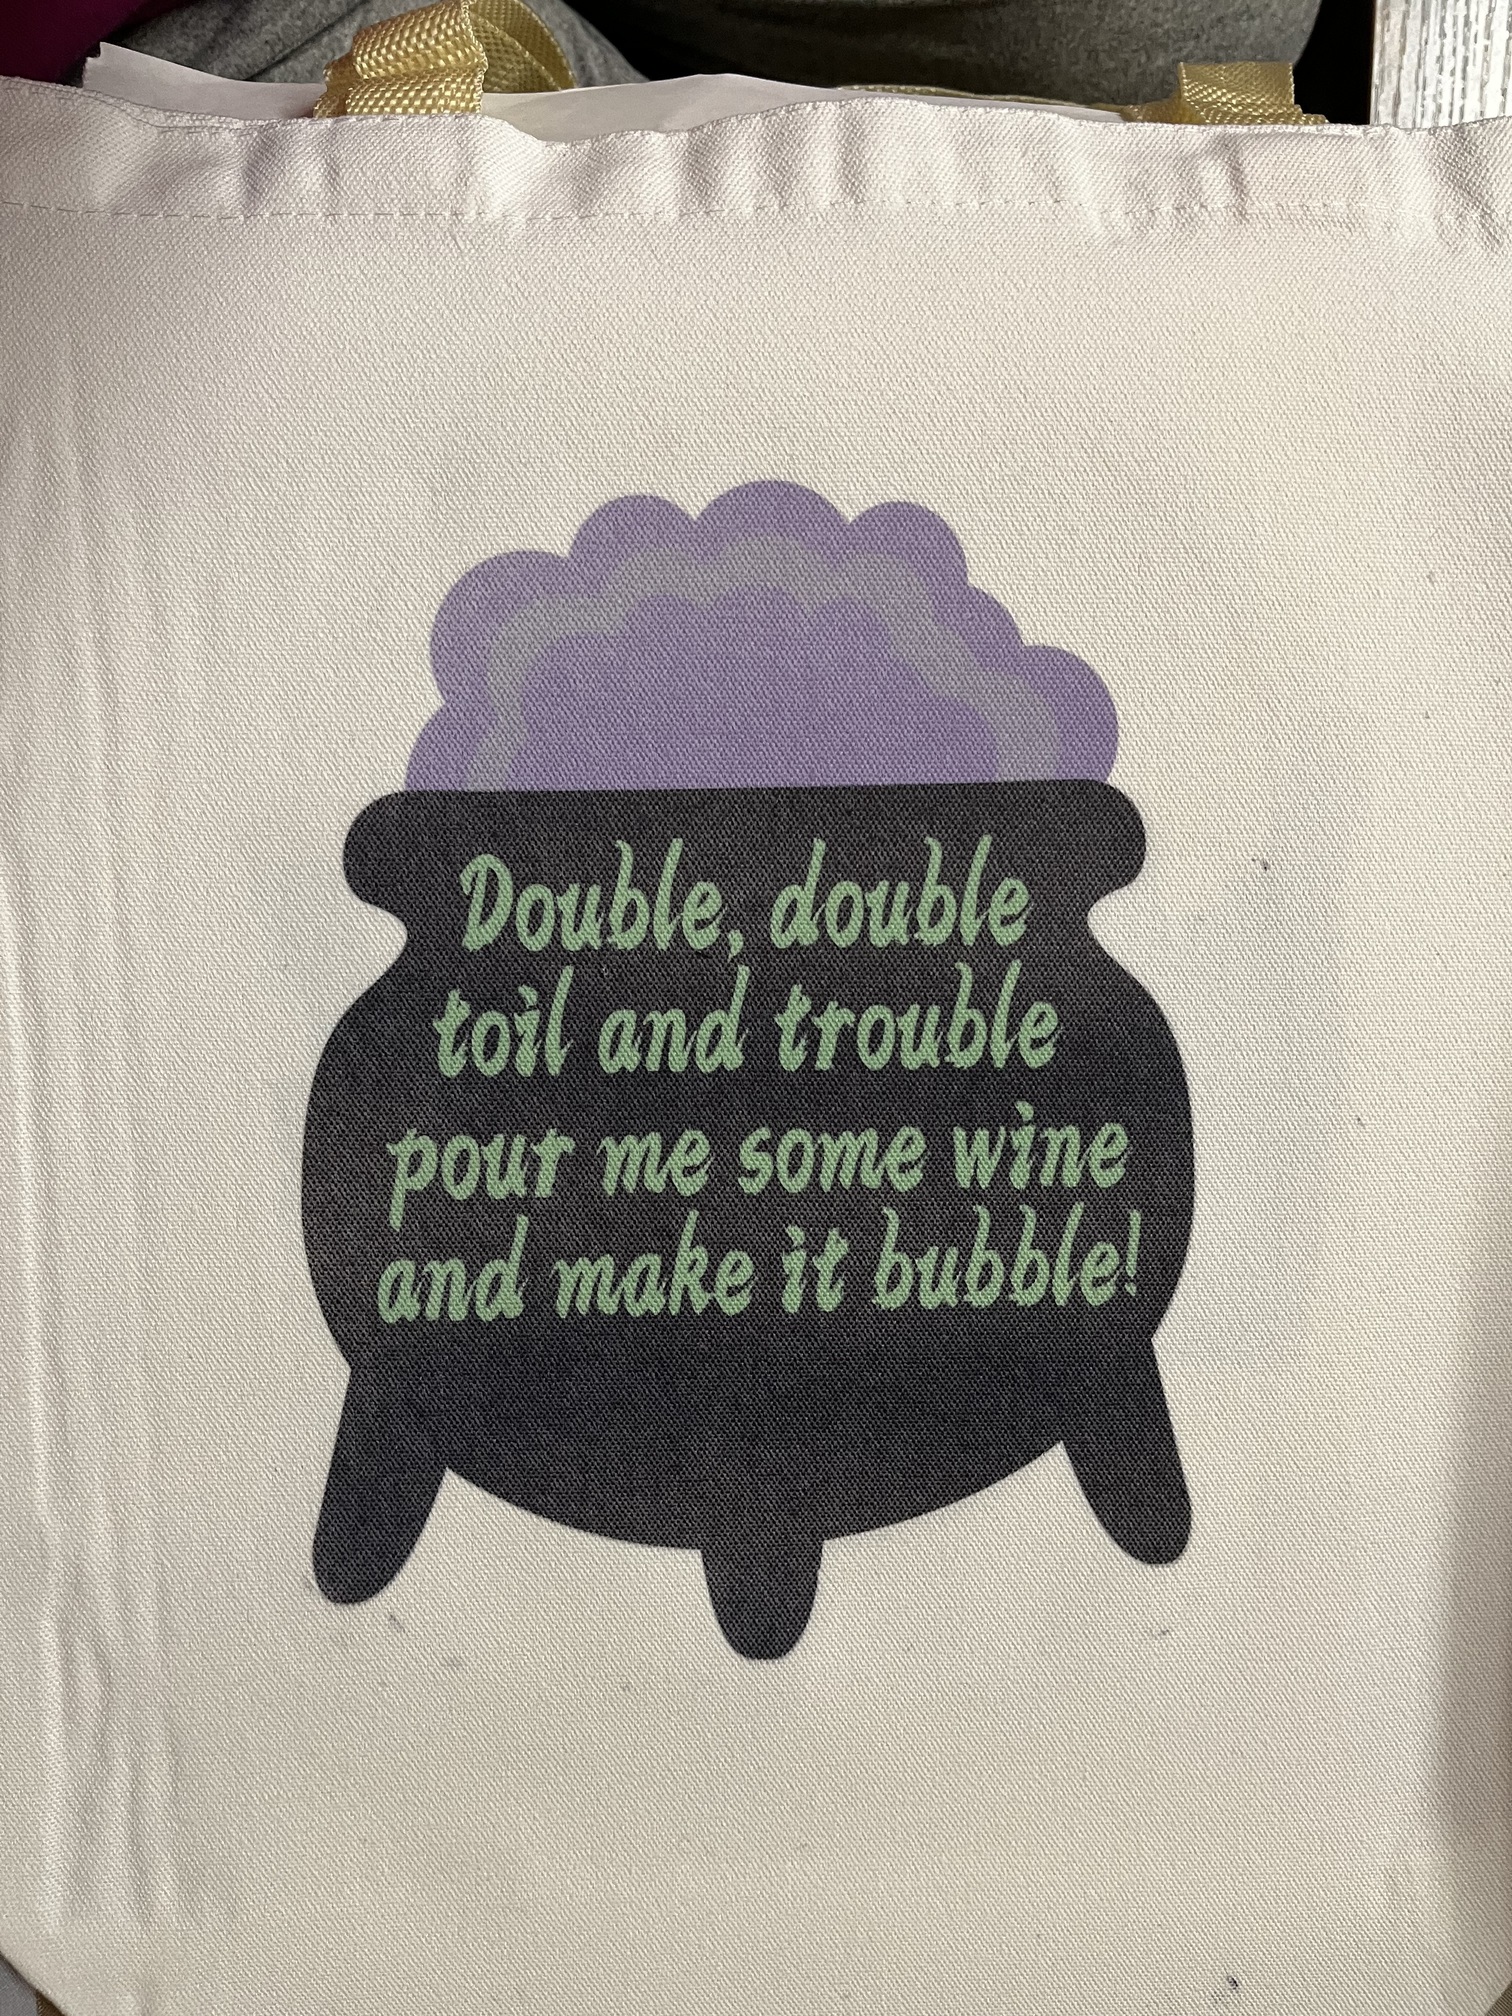
Press the image into bag or whatever you want your first side of design to be on.

After design is pressed grab some butcher paper to cover it and some tape to hold it in place when you lip it over to the blank side of tote can get the other image one it.


With that side of the tote covered and now facing the mat you Can place image you want on the other side press your image with out worrying about the image appearing onto your mat!
Side two is pressed
Now let’s see what ink blow out looks like on that butcher paper we taped on!


We didn’t lose a lot of the image but you can see the black and purple part of the design clearly on the butcher paper.
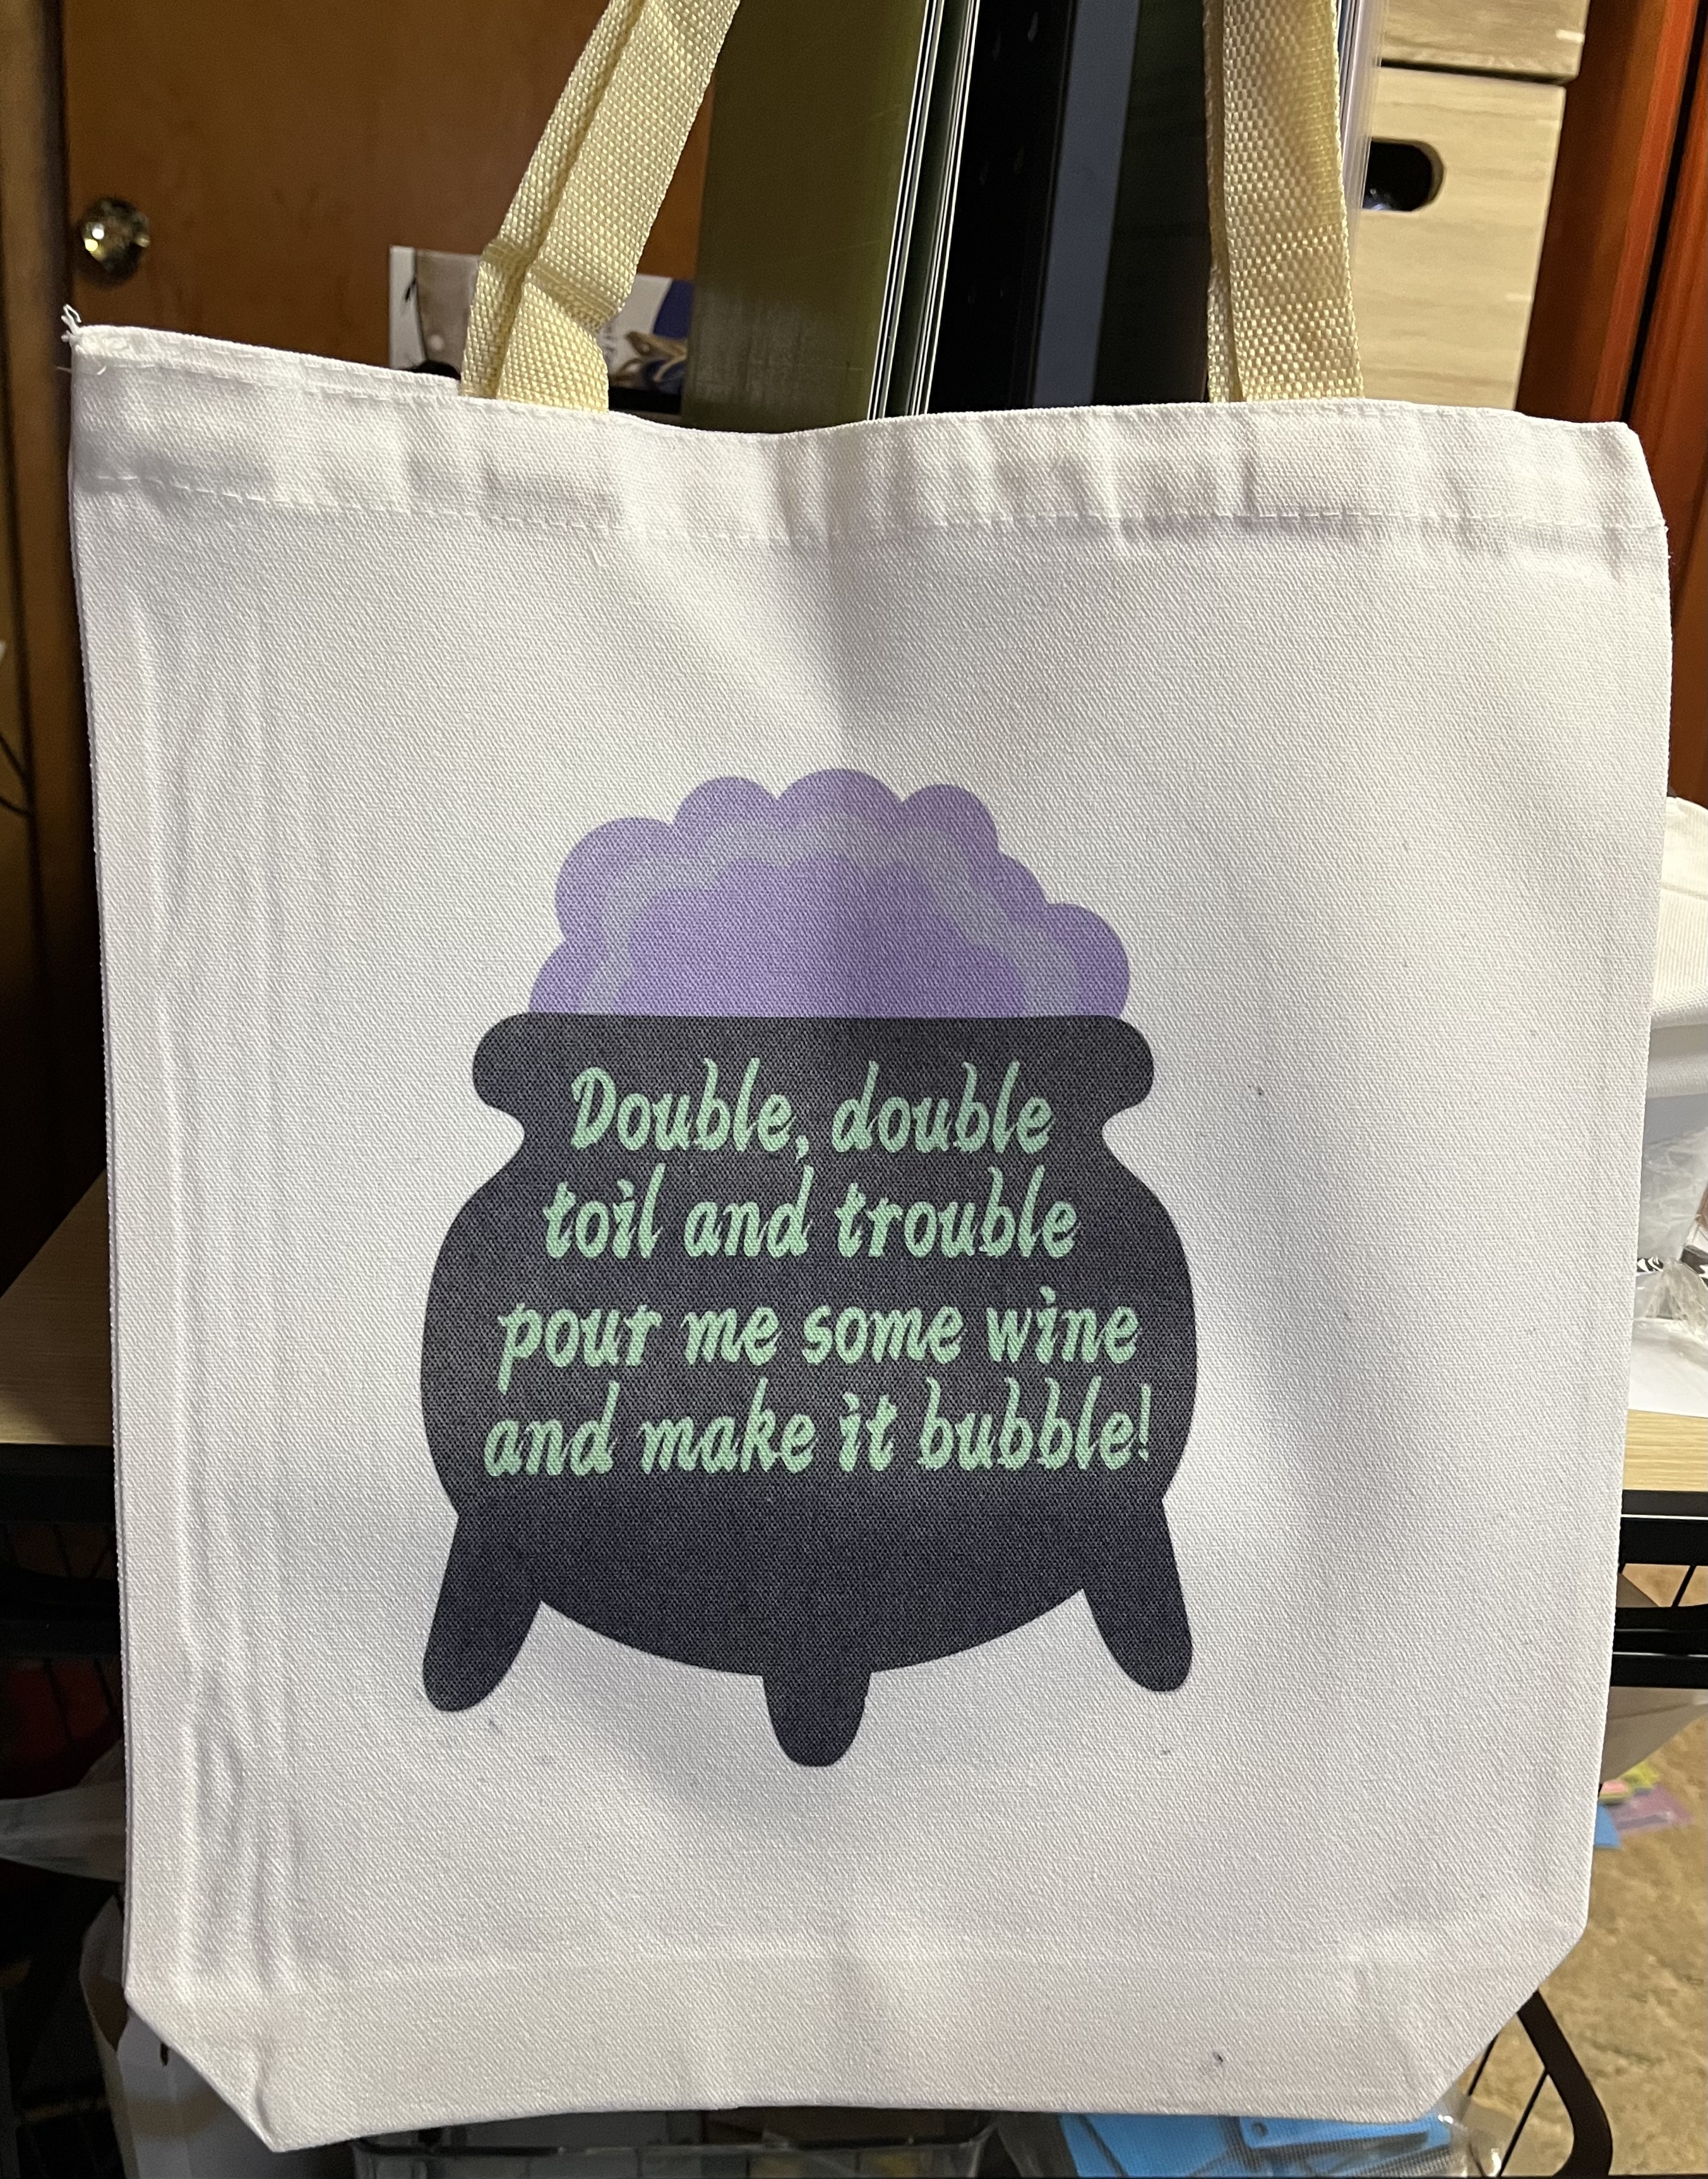
We now have a Wine themed two sided tote ready for my next aldi wine shoping trip aka adult Teat bag!

Tips for other two sided things like ornament you can place card stock down and place the first pressed side down or recycle some cardboard ) boxes cut open cereal boxes work well too) and have that down to and ink that can transfer when pressing the second side.