This step‑by‑step tutorial walks you through creating your own cute, crafty desk calendar using my custom design in LOKLiK IdeaStudio. I guide you through preparing the design, cutting each piece, and assembling the final project — and the finished calendar makes an adorable addition to any craft space.
Materials
- LOKLiK Cutting Machine
- Inkjet Printer
- White 210 GSM or higher Cardstock
- Light Grip Cutting Mat
- Brayer
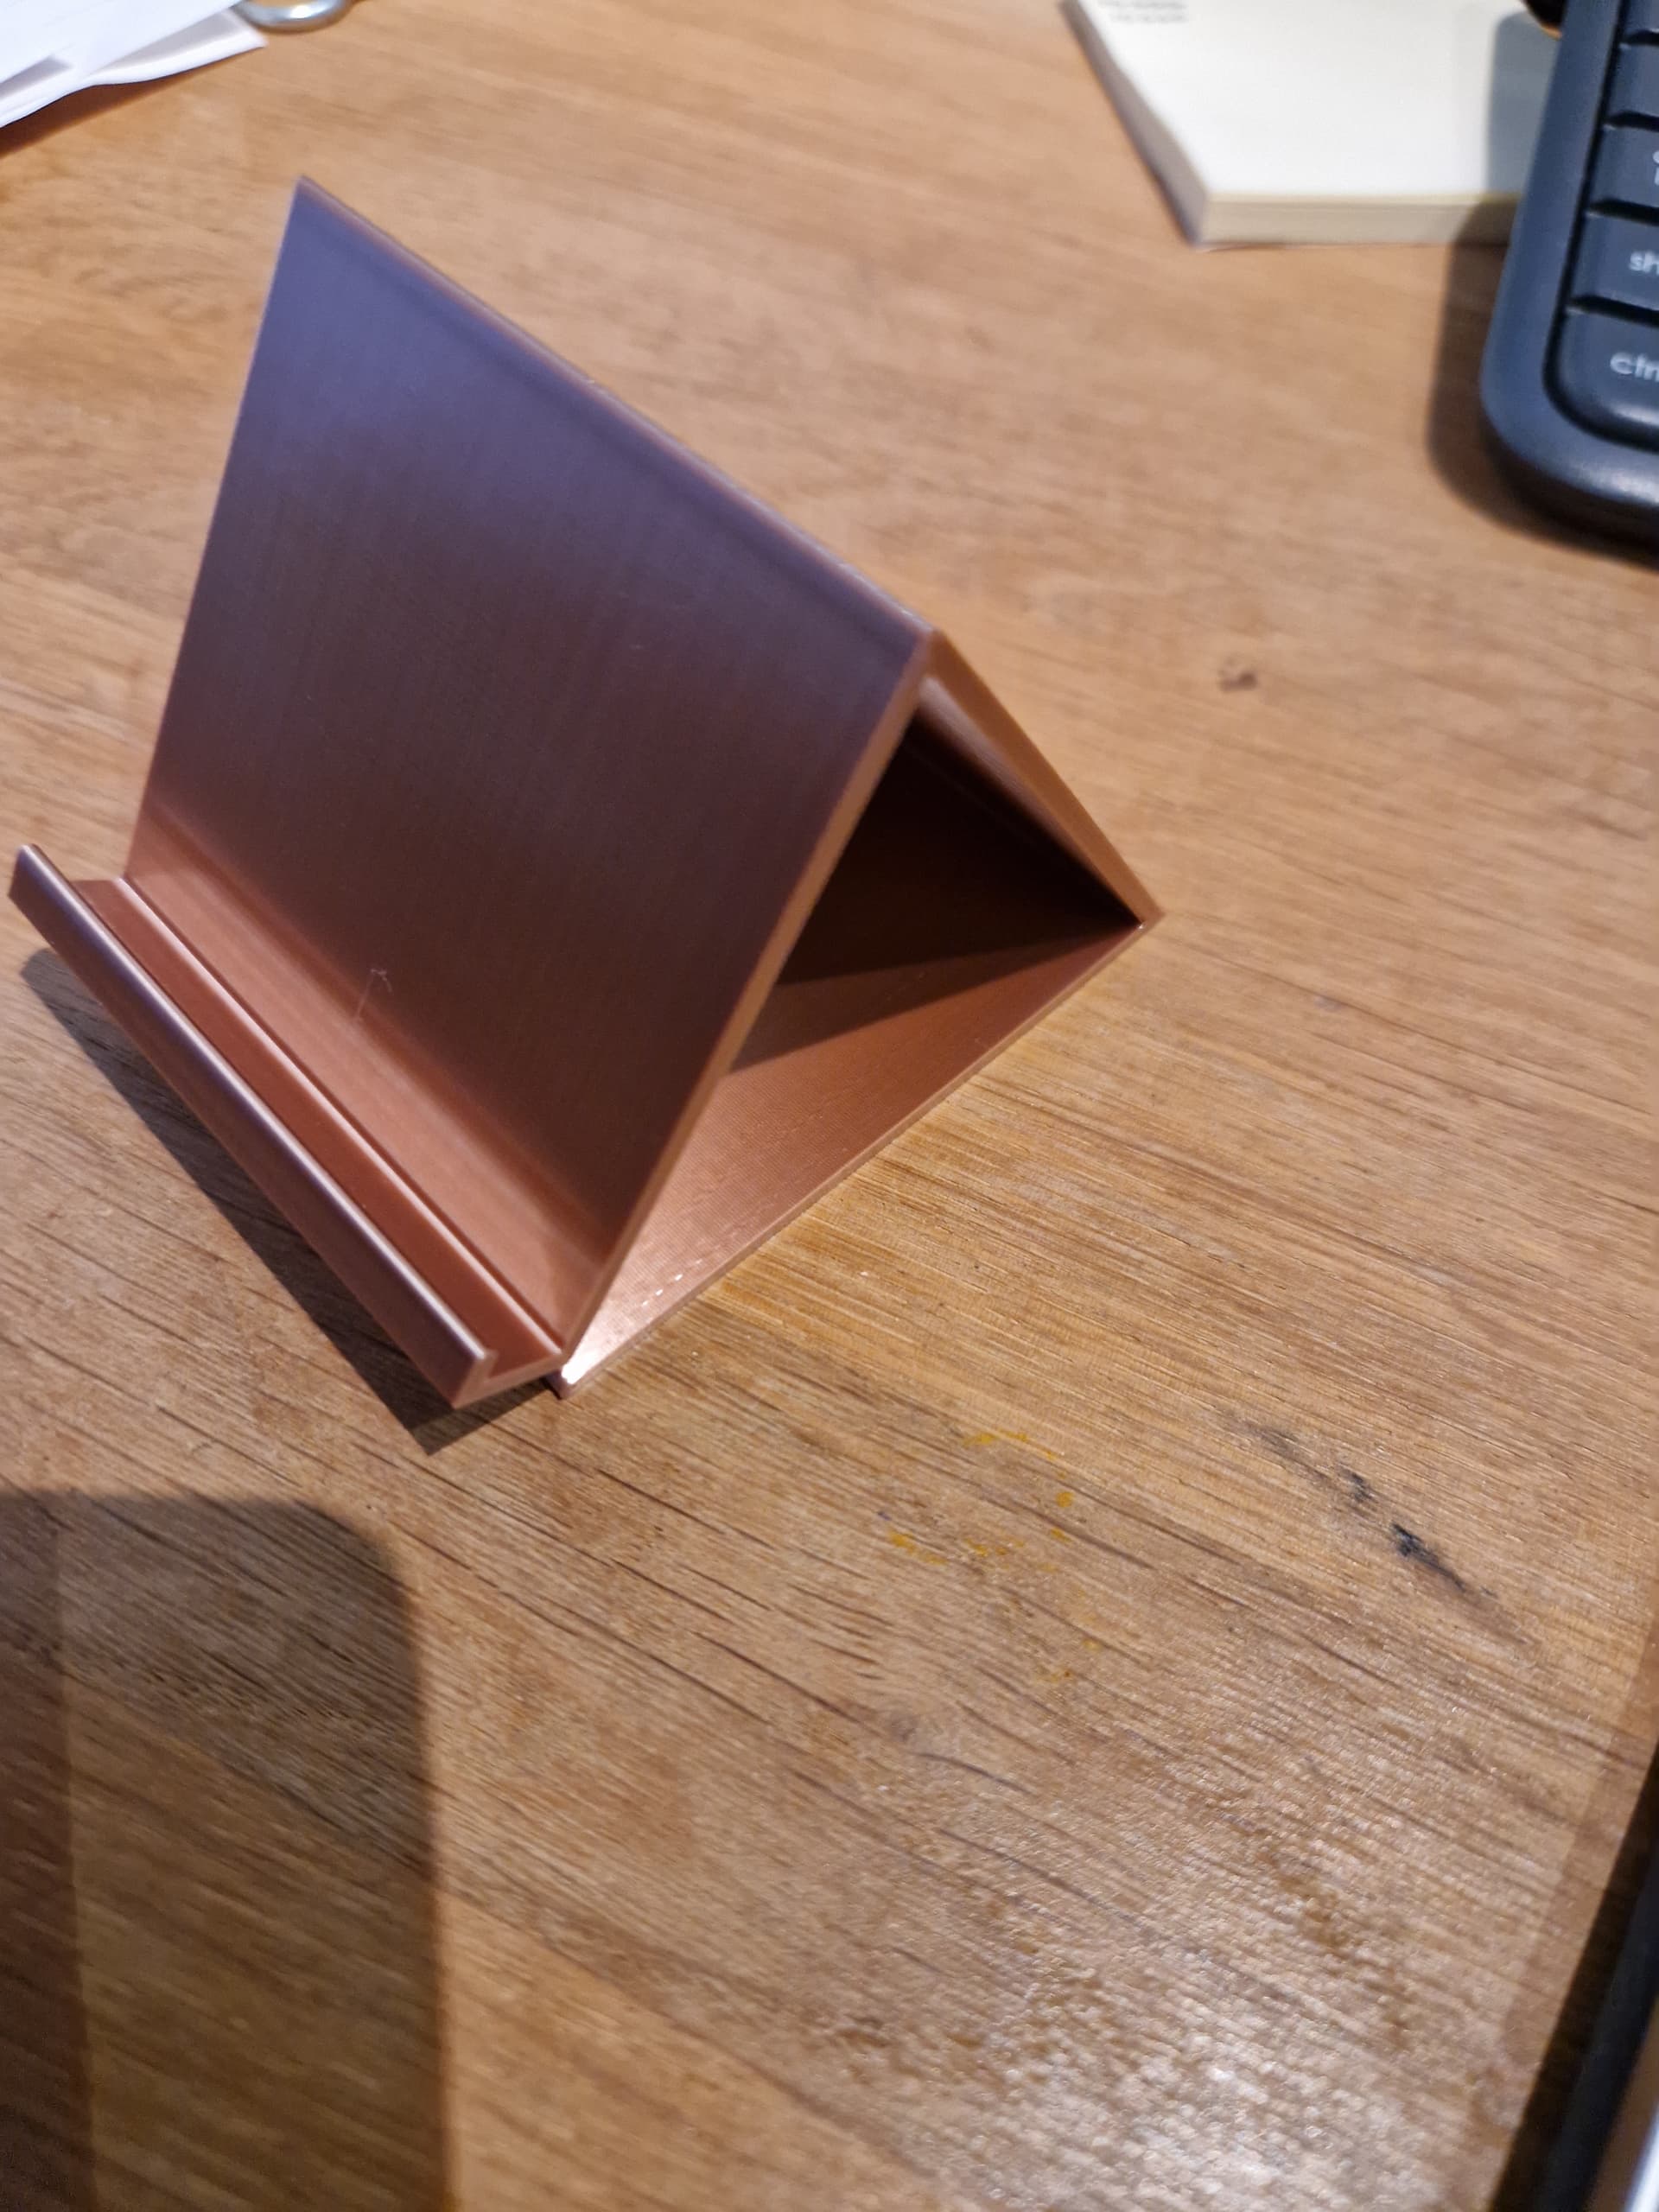
- Photo Stand
Before you begin this project, I highly recommend completing a Print then Cut calibration if you haven’t already. Make sure your software and firmware are fully up to date first, as this helps ensure the calibration runs accurately.


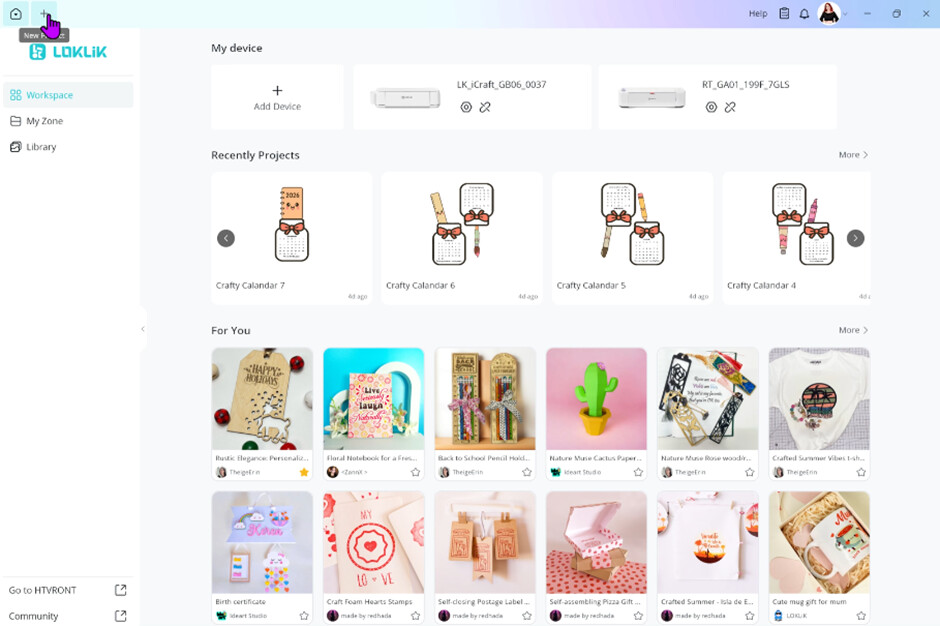
Step 1
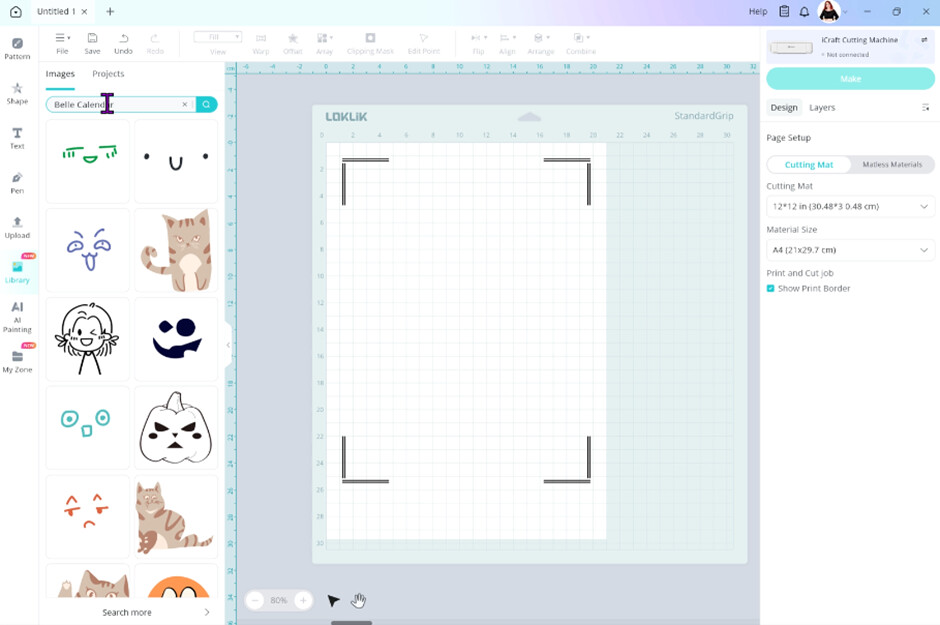
Open IdeaStudio, and create a new canvas by pressing the plus button on the top left of the home screen
Step 2
Set up you canvas for print then cut by changing the material size to A4 or Letter. Depending on what you are using. Tick show print border

Step 3
Open the Library tab, by clicking on the Library button on the left-hand side

Step 4
With the Library tab open, click on the search bar at the top of the tab and type Belle Calendar.
Step 5
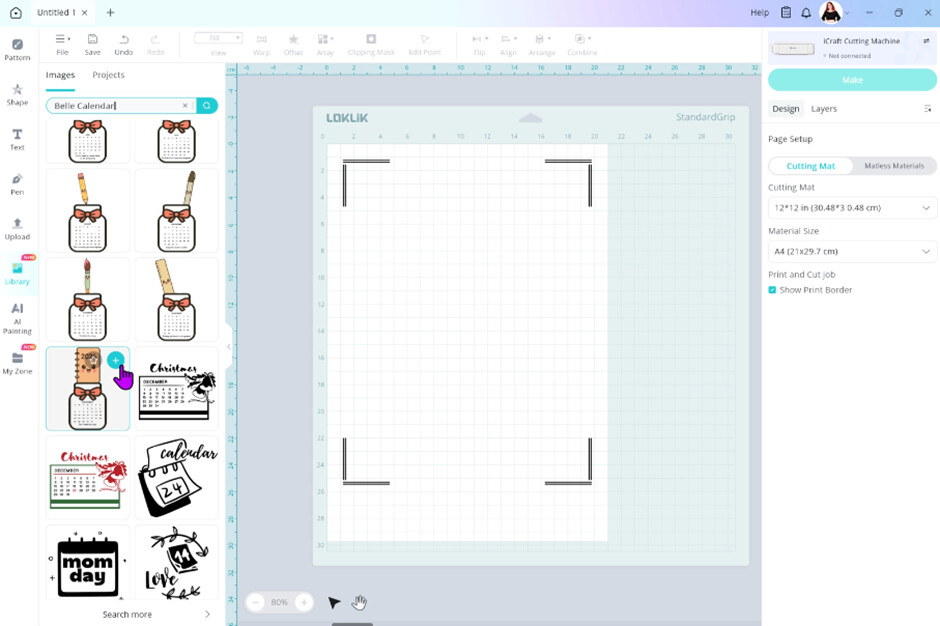
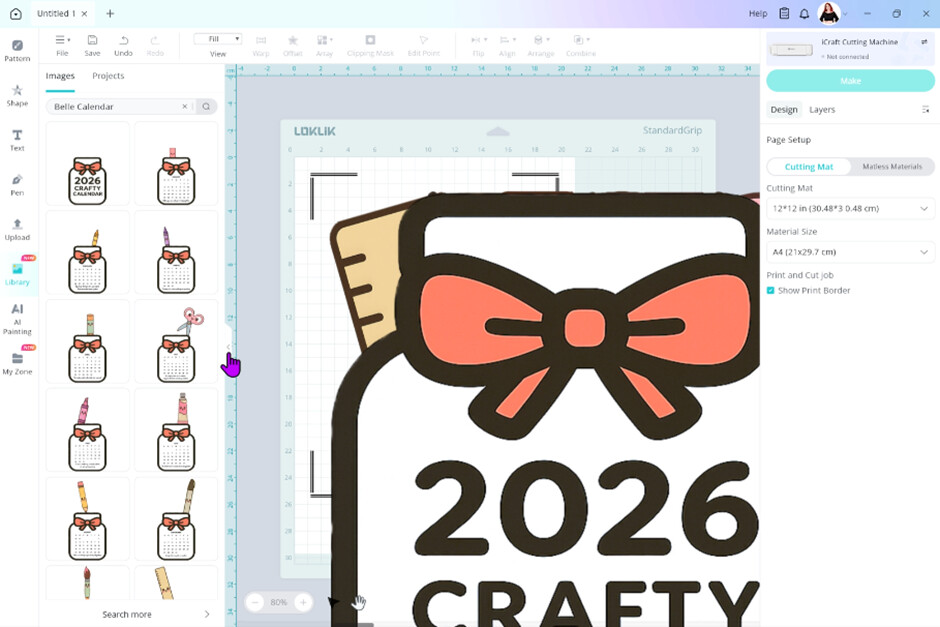
After hitting the search button, all the calendar images should appear. Going from bottom to top, add each image to your canvas by clicking the blue plus button on the top right corner of each image. Going from bottom to top, will add our images in order in our layers panel. There are 13 images in total to add to your canvas.
Step 6
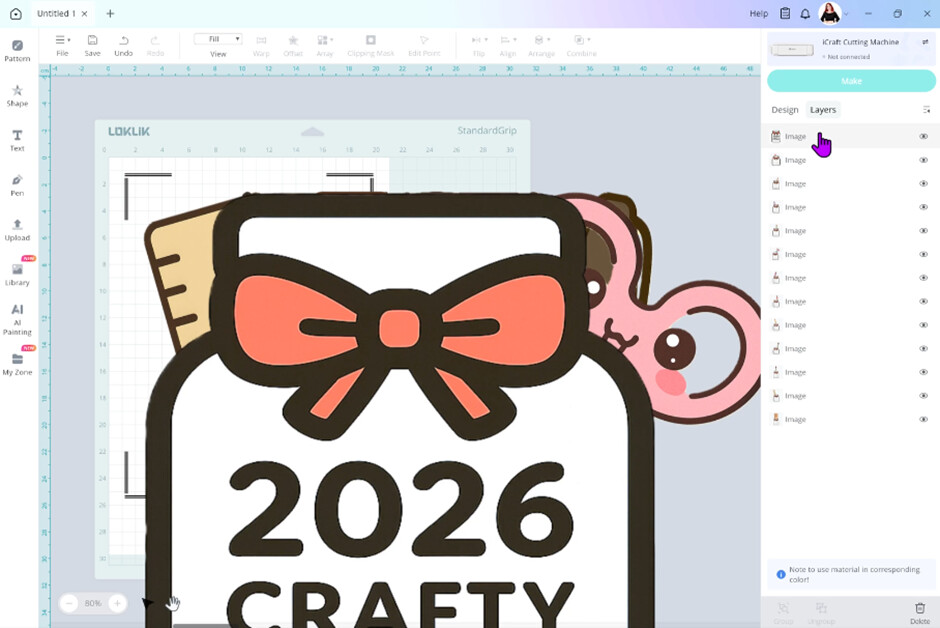
Close the Library tab by clicking on the left arrow.
Step 7
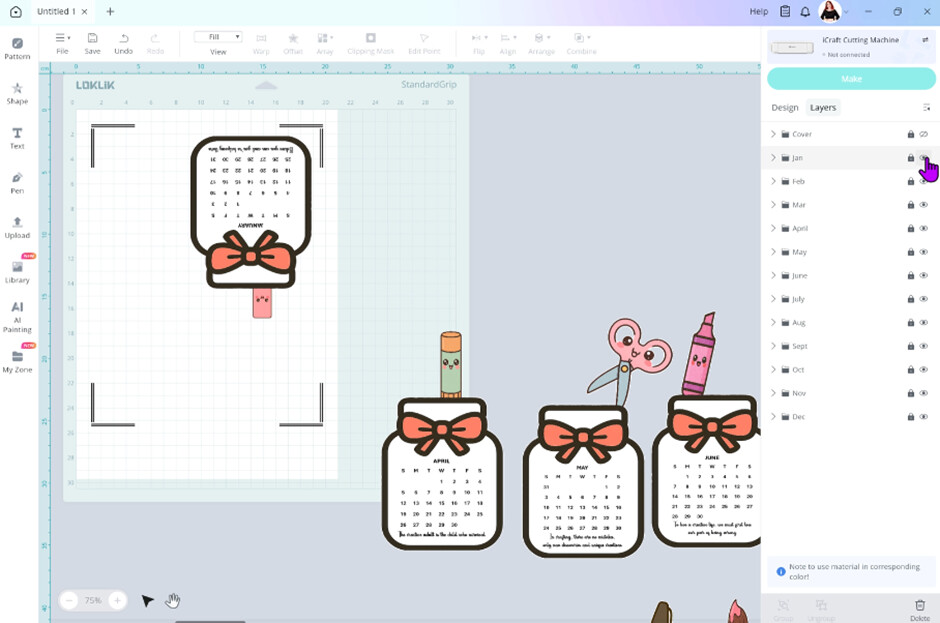
Now you can see all our layers are in the correct order. If yours are not, you can click on the layer and then drag it to the position you want it. Select the first layer (Cover). Now this is optional, if you don’t wish to print this you don’t need to. Start with January layer instead.
Step 8
Click on the design tab. So, the cutting machine knows what to do, we need to assign an operation to our image. For this project we are going to choose Print then Cut.
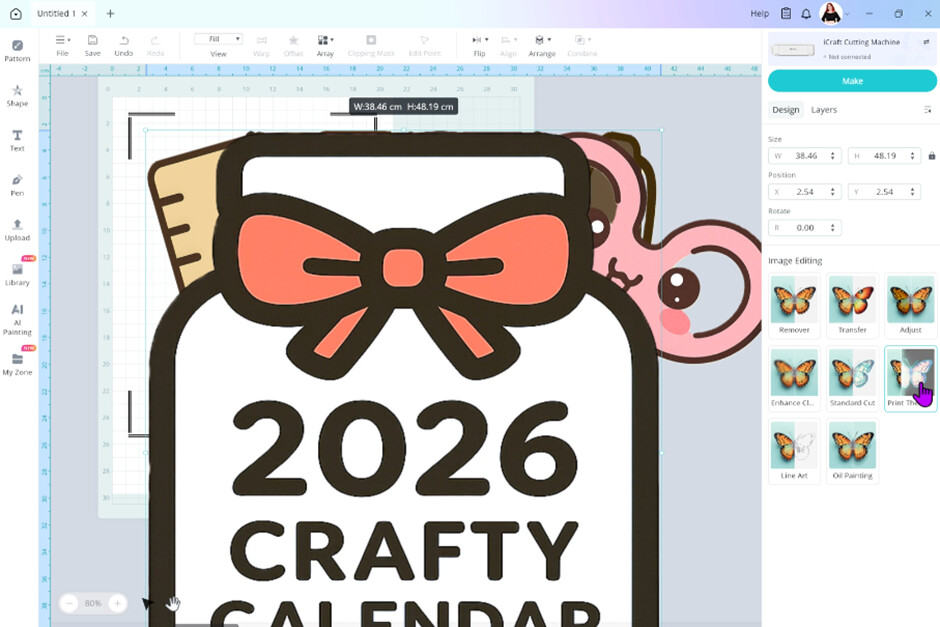
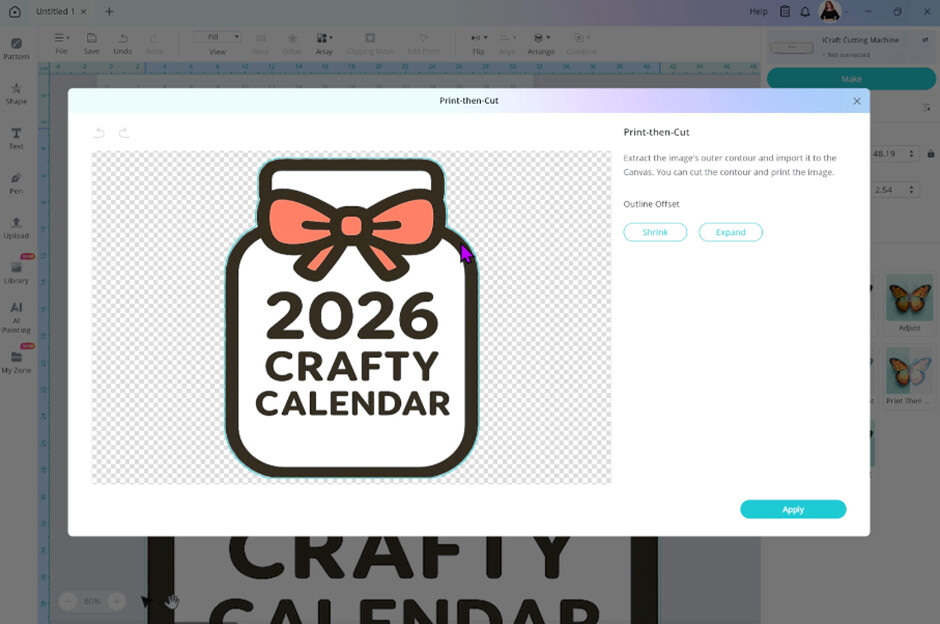
Step 9
Wait for IdeaStudio to extract the image. When it’s finished you will notice a blue line around your image. This blue line represents the cutting line. Now you can move it closer to your image by using the shrink button, or further away from your image using the expand button. I was happy where the line was so I left it and pressed apply.
Step 10
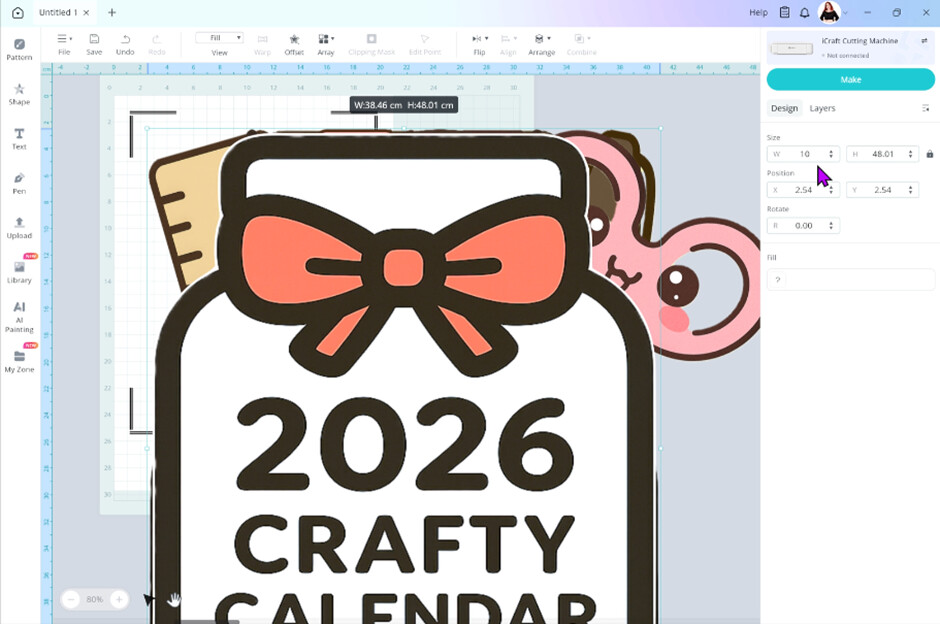
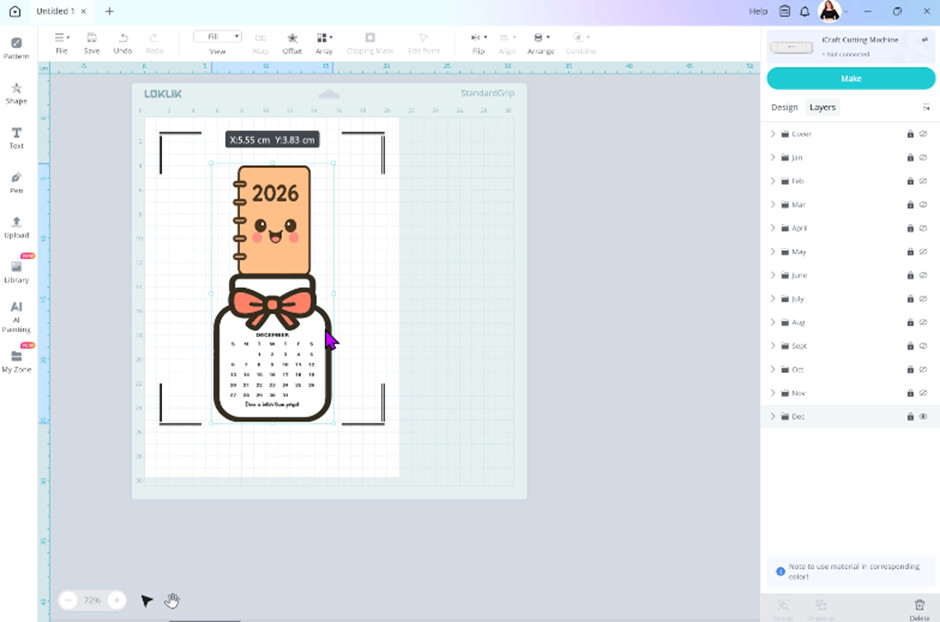
After you apply the print then cut operation to our image we need to resize it. In the design tab you will see size with Width and Height dimensions. To the right of these dimensions is a padlock. Make sure this is in the lock position. The locks our aspect ratio so our image stays the same shape.

Step 11
In the width size box type in 10 cm and press enter.
Step 12
Now that is our first layer complete. Repeat these steps for the other layers apart from 3 listed below.
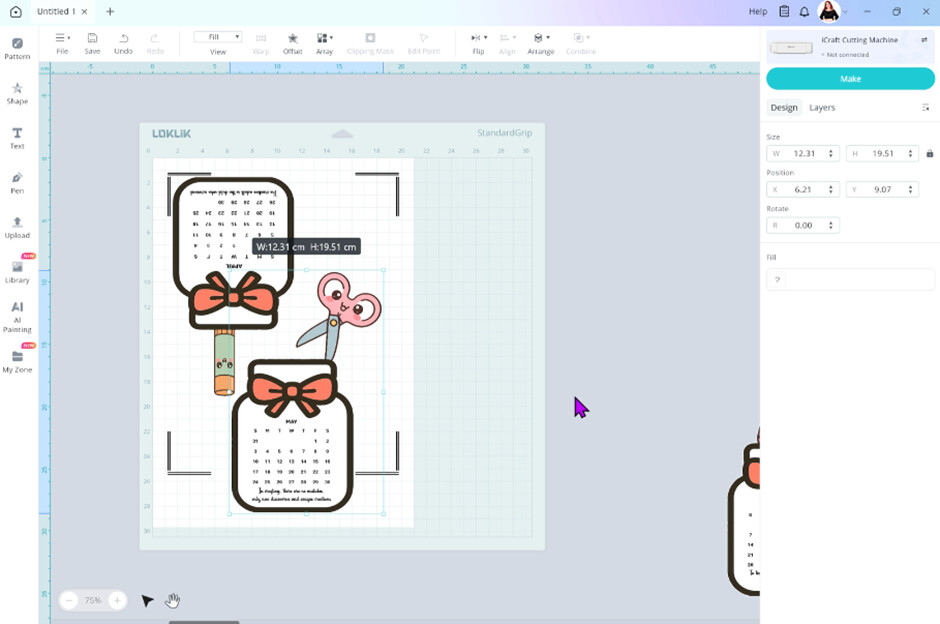
For the months of May, September and November, you’ll need to resize them manually, or you can enter my measurements directly into the dimension boxes—just remember to unlock the padlock first.
I used the cover as a guide on the size I needed. You can hover over the corners of the image and a 2 headed arrow mouse curser should appear. You can then click and drag and make the image smaller.

The dimensions I used for each month is as follows
- May – W 12.31cms – H 19.51cms
- September – W 10.07cms – H 21.21cms
- November - W 10.59cms – H 21.41cms
We had to manually adjust these images as their bounding box was larger to begin with as some of the design poked out the sides of the jar.
Step 13
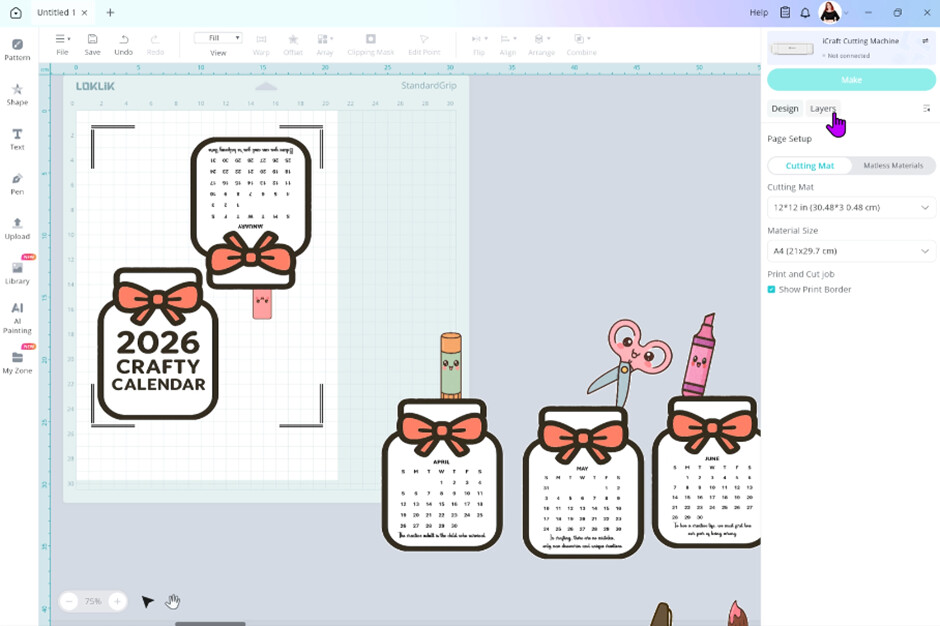
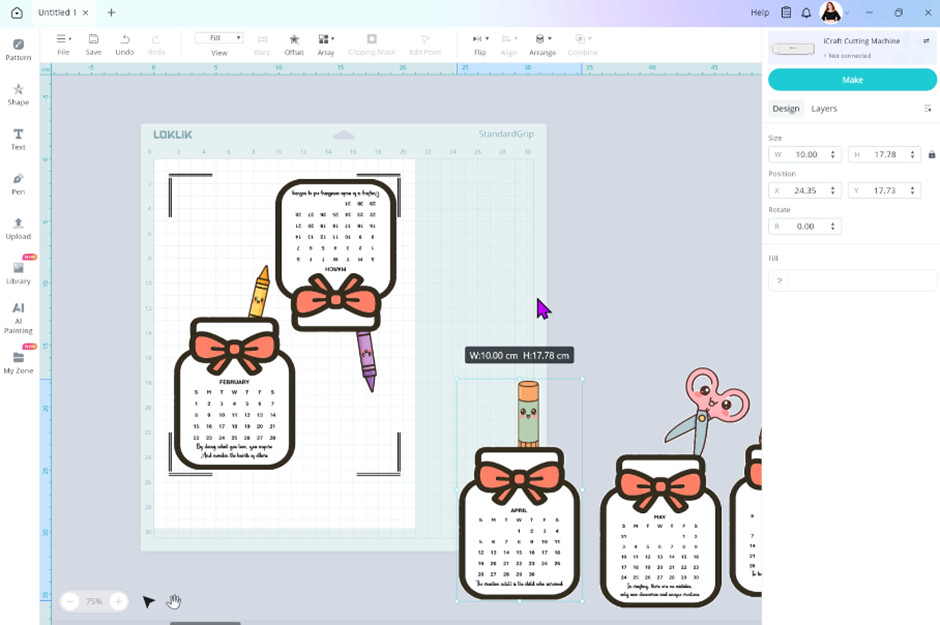
Now we need to arrange them on our canvas where we want them to print and then cut out. So grabbing our first to layers (Cover and Jan) we can place them on our print then cut boarder page.

Step 14
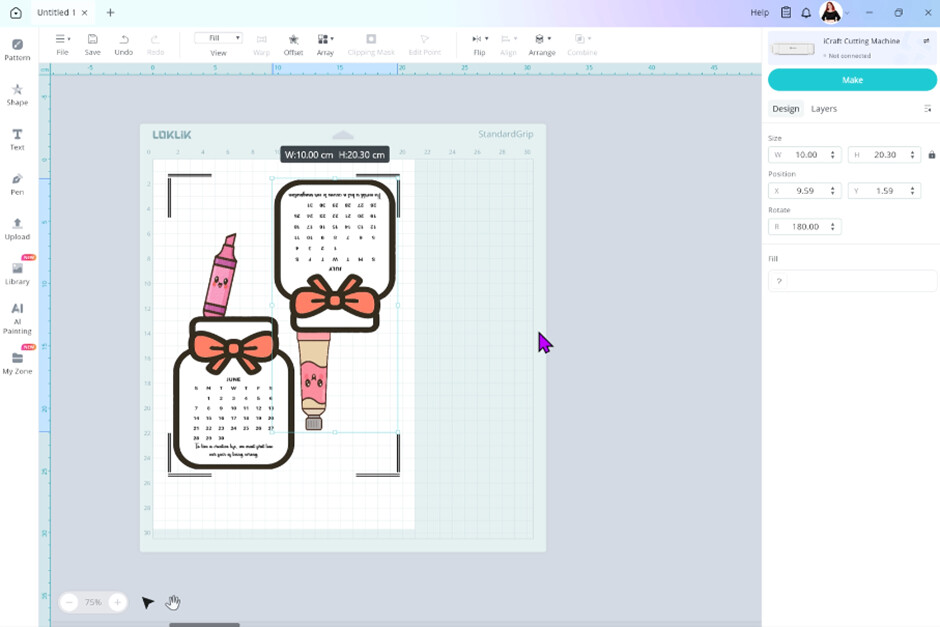
We need to rotate our Jan jar so it’s not touching our cover image. Under the design tab go to the rotate box. Type in 180 and press enter.

Step 15
Line them up so they are both not touching and they are clear from the print then cut registration marks.
Step 16
Now you can go back to the layers tab. Click on the eye symbol on the cover layer and the January layer.
Step 17
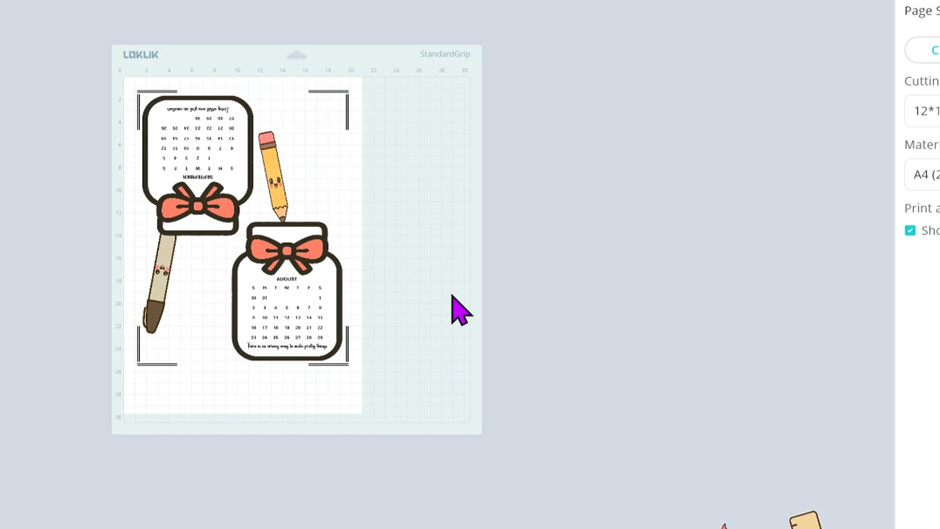
Now you can repeat this process until you get all the layers within the print boarder and ready to cut. These are how I arrange my pages.
February & March
April & May
June & July
August & September
October & November

December
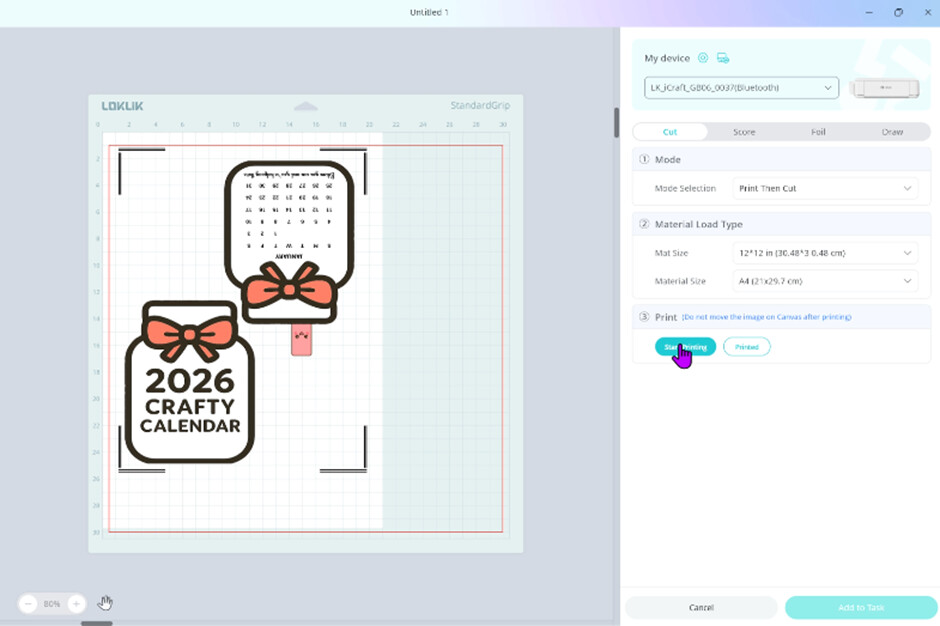
Step 18
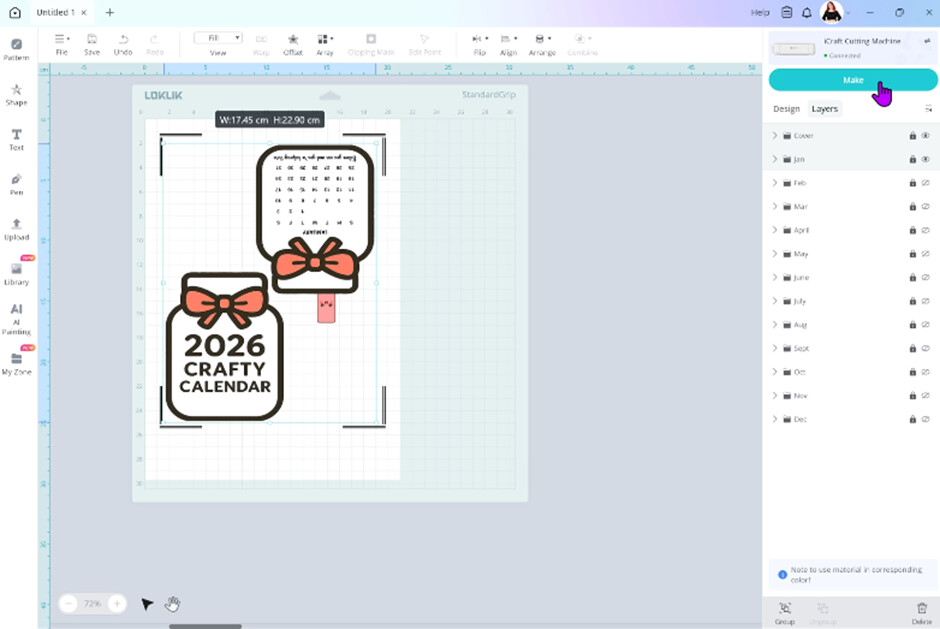
Now we can print then cut. Make sure your LOKLiK cutting machine is turned on and connected to IdeaStudio. Select the first two layers and press the eye button to unhide them. You should only see both those layers on your canvas at this point. Now click make
Step 19
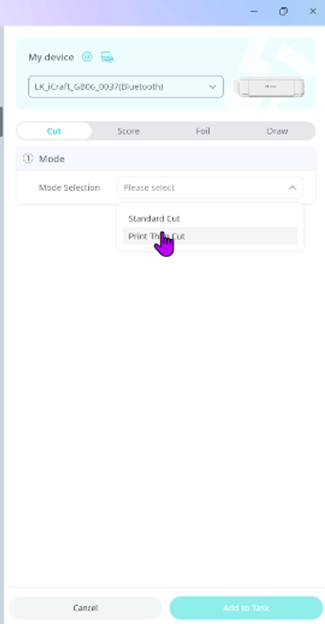
Under mode selection click on print then cut. Make sure your material size is correct.
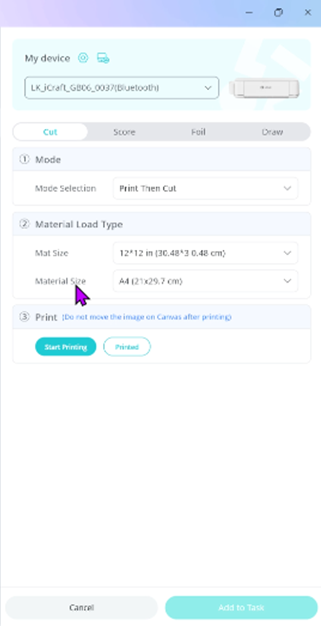
Step 20
Click start printing. Check your printer settings. Make sure your printer is set to print actual size. My print settings included high quality and matte finish. After you are happy with your printer settings click print.
Step 21
While our printer is printing, we can select the white cut layer in group
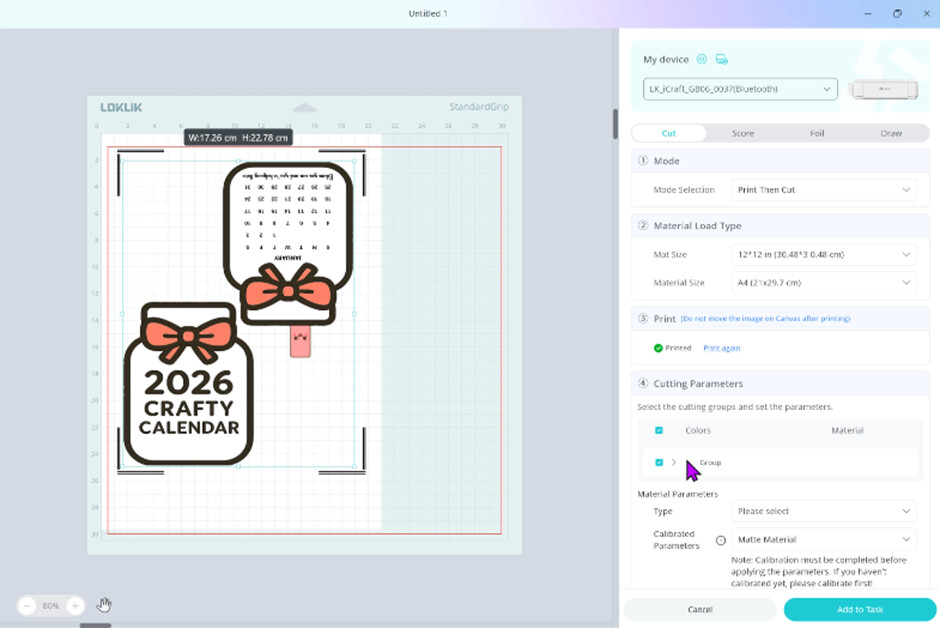
Step 22
Now under material parameters select type. Choose your cut settings for your material. If you are not sure, I recommend doing a test cut of a shape out of your material first.
My cut settings for 210gsm cardstock if you are interested are:
- Force – 9
- Speed – 4
- Passes – 2
Then click add to task


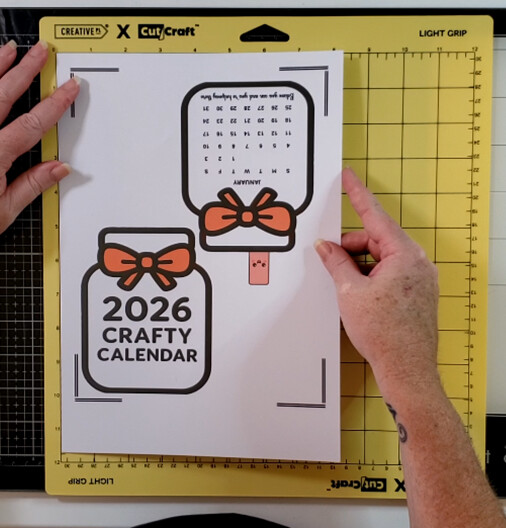
Step 23
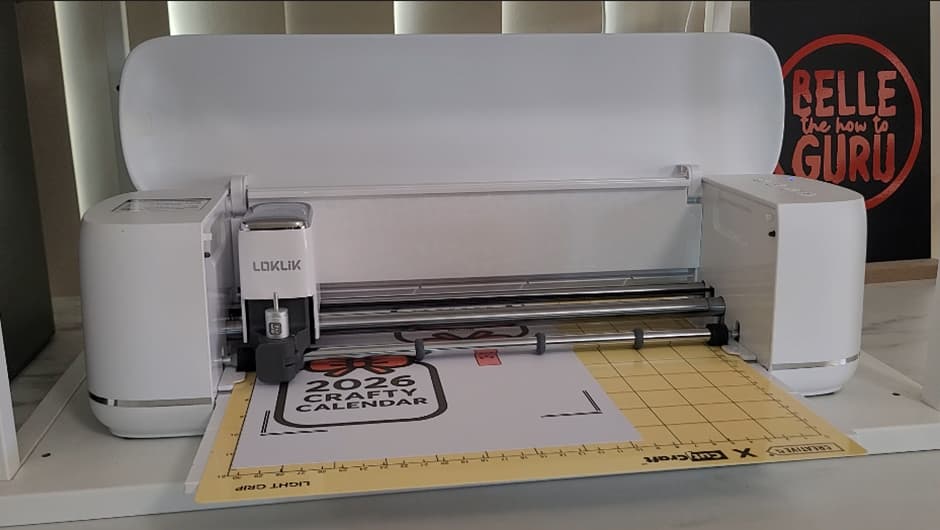
Grabbing your light grip mat, align your print then cut page in the left-hand corner. Adhere your design down with your brayer on to your mat.

Step 24
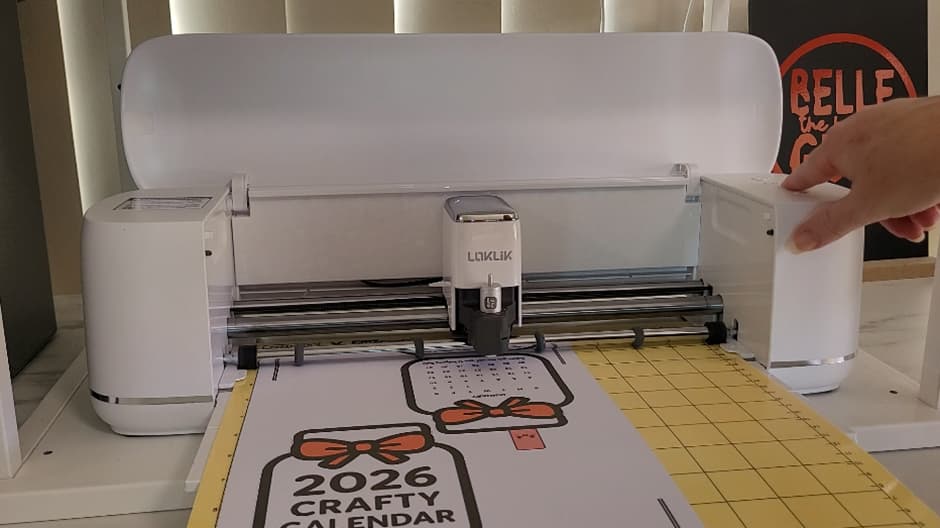
Load your mat into your machine. Making sure your mat under the guide rails. With a little pressure at the bottom of your mat, press the load button

Step 25
Then press start in IdeaStudio

Step 26
Wait for your machine to read the registration marks and cut out your design.
Once it’s done, unload the mat
Step 27
Place your mat face down and slowly and gently peel your design away from your mat while slight bending your mat. Don’t bend your mat too sharply as they can snap. Now repeat the above cutting steps for the remaining layers

Step 28
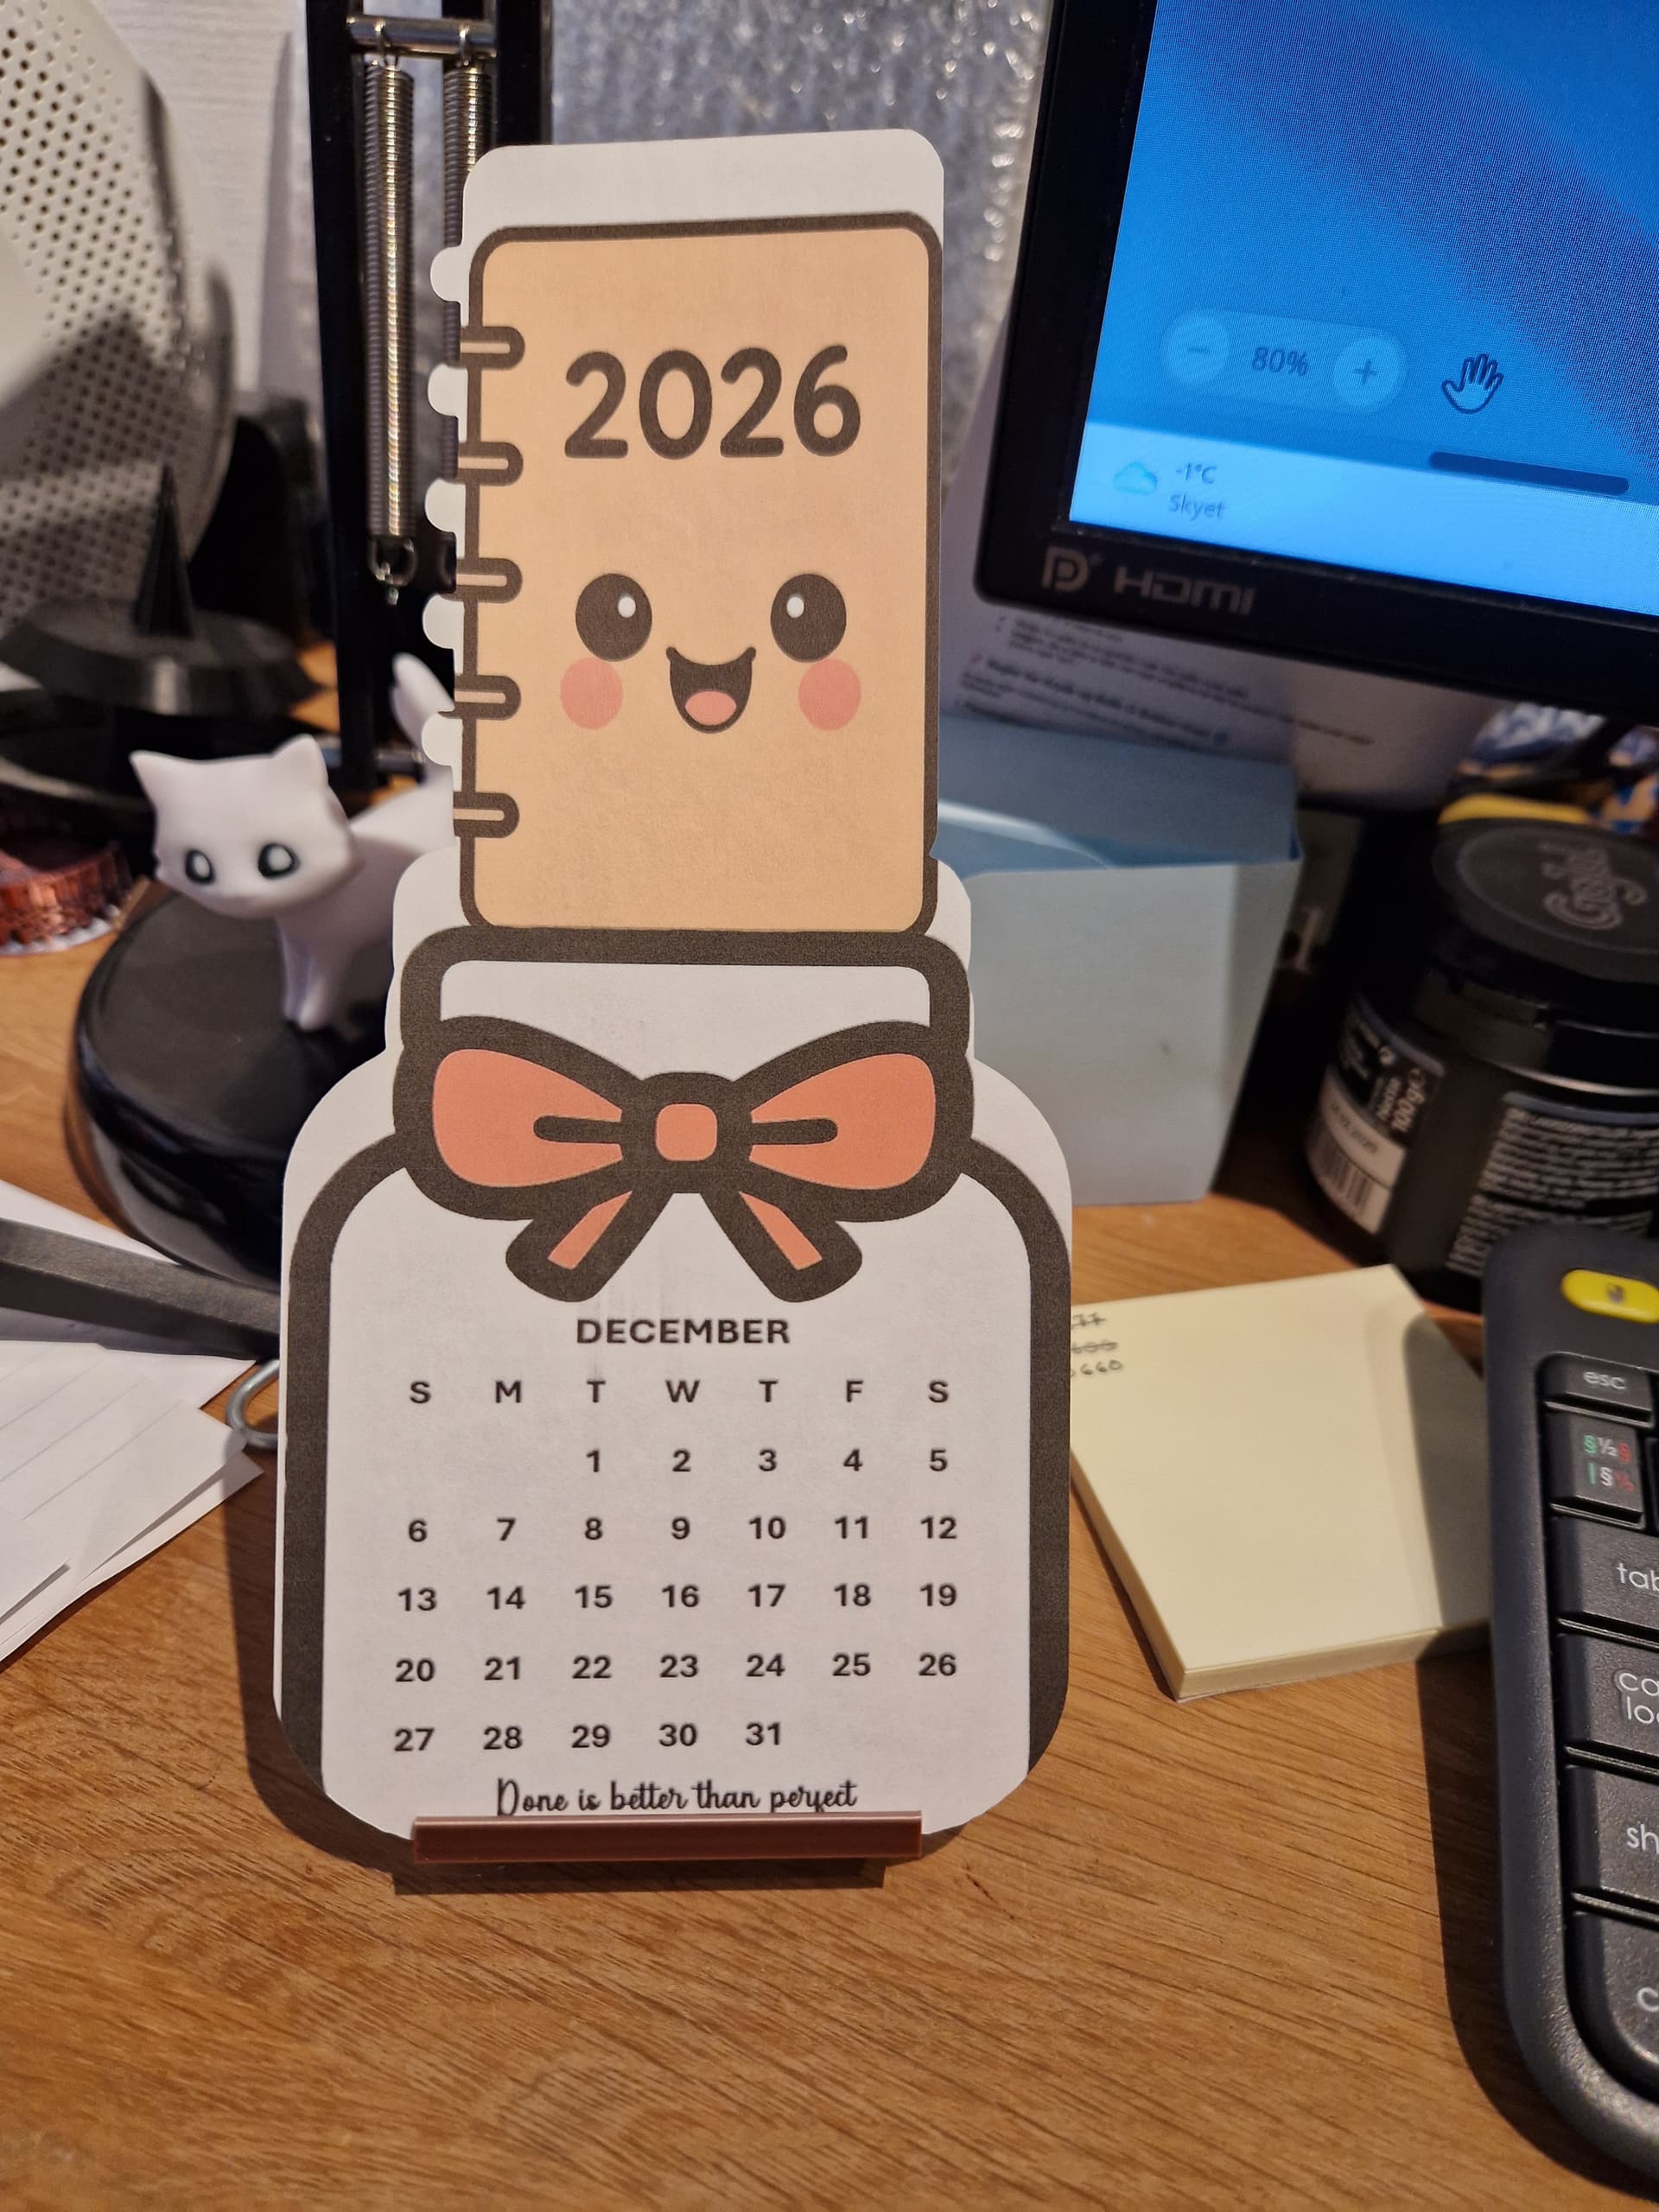
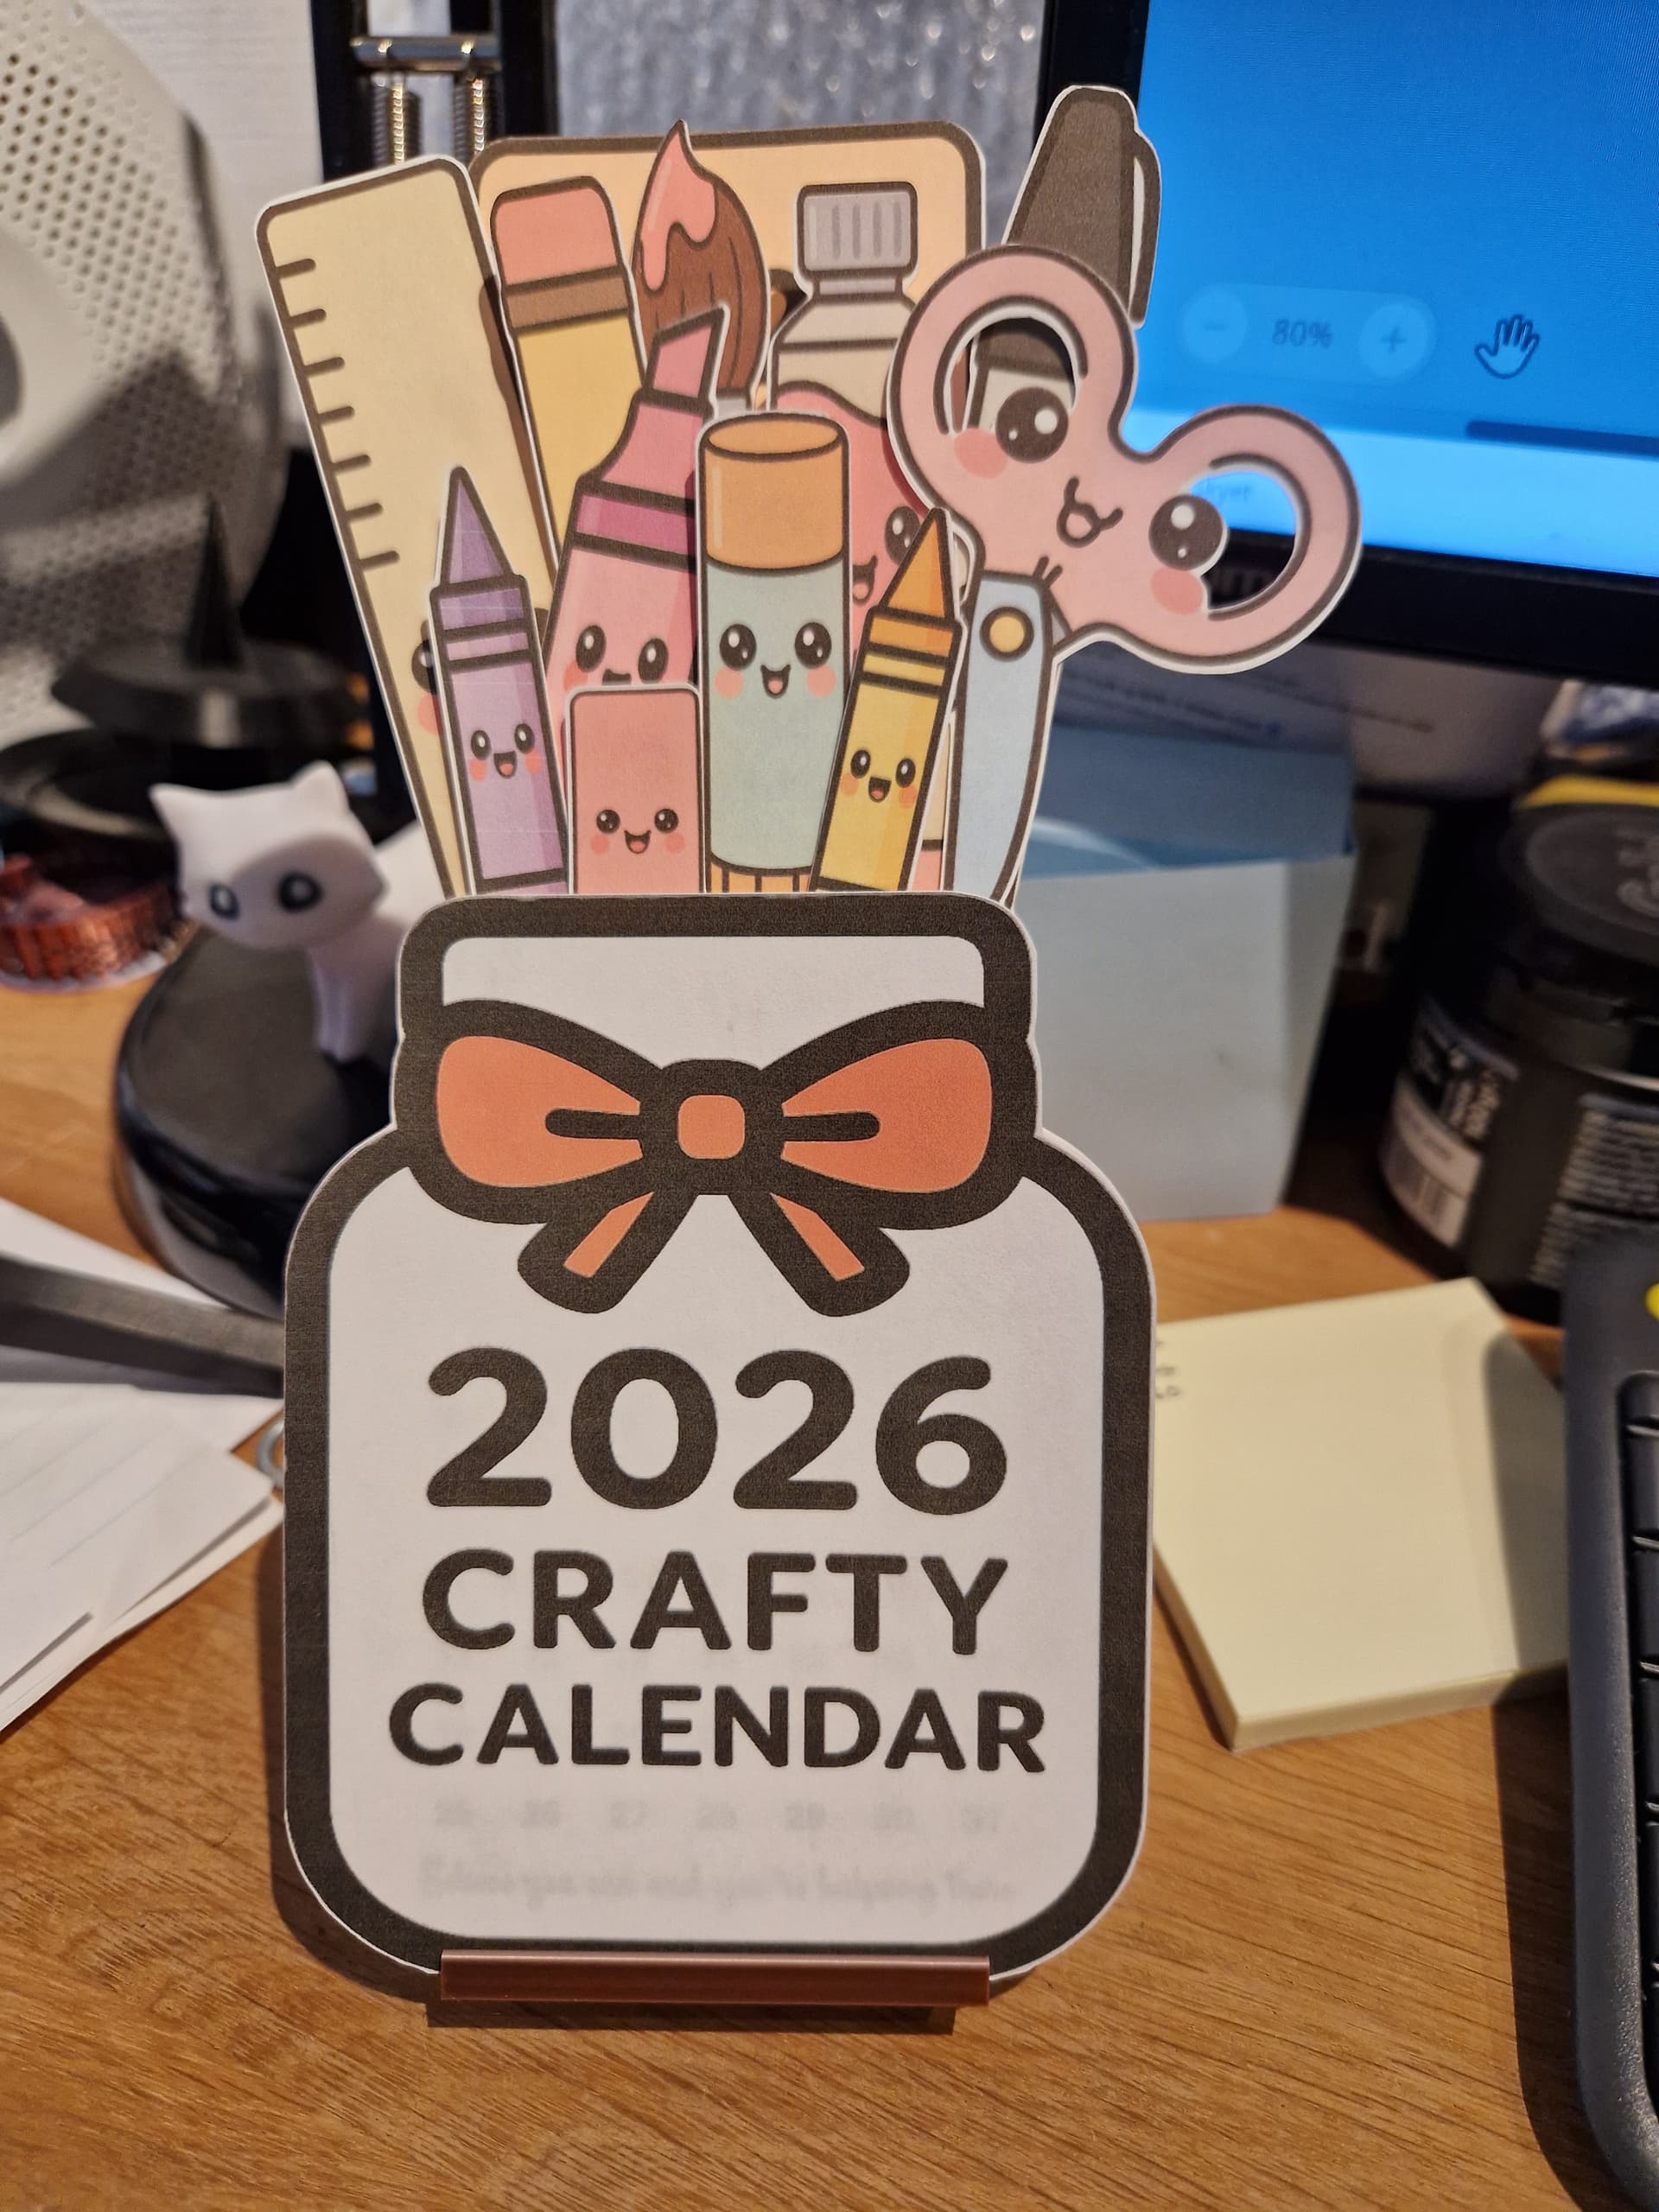
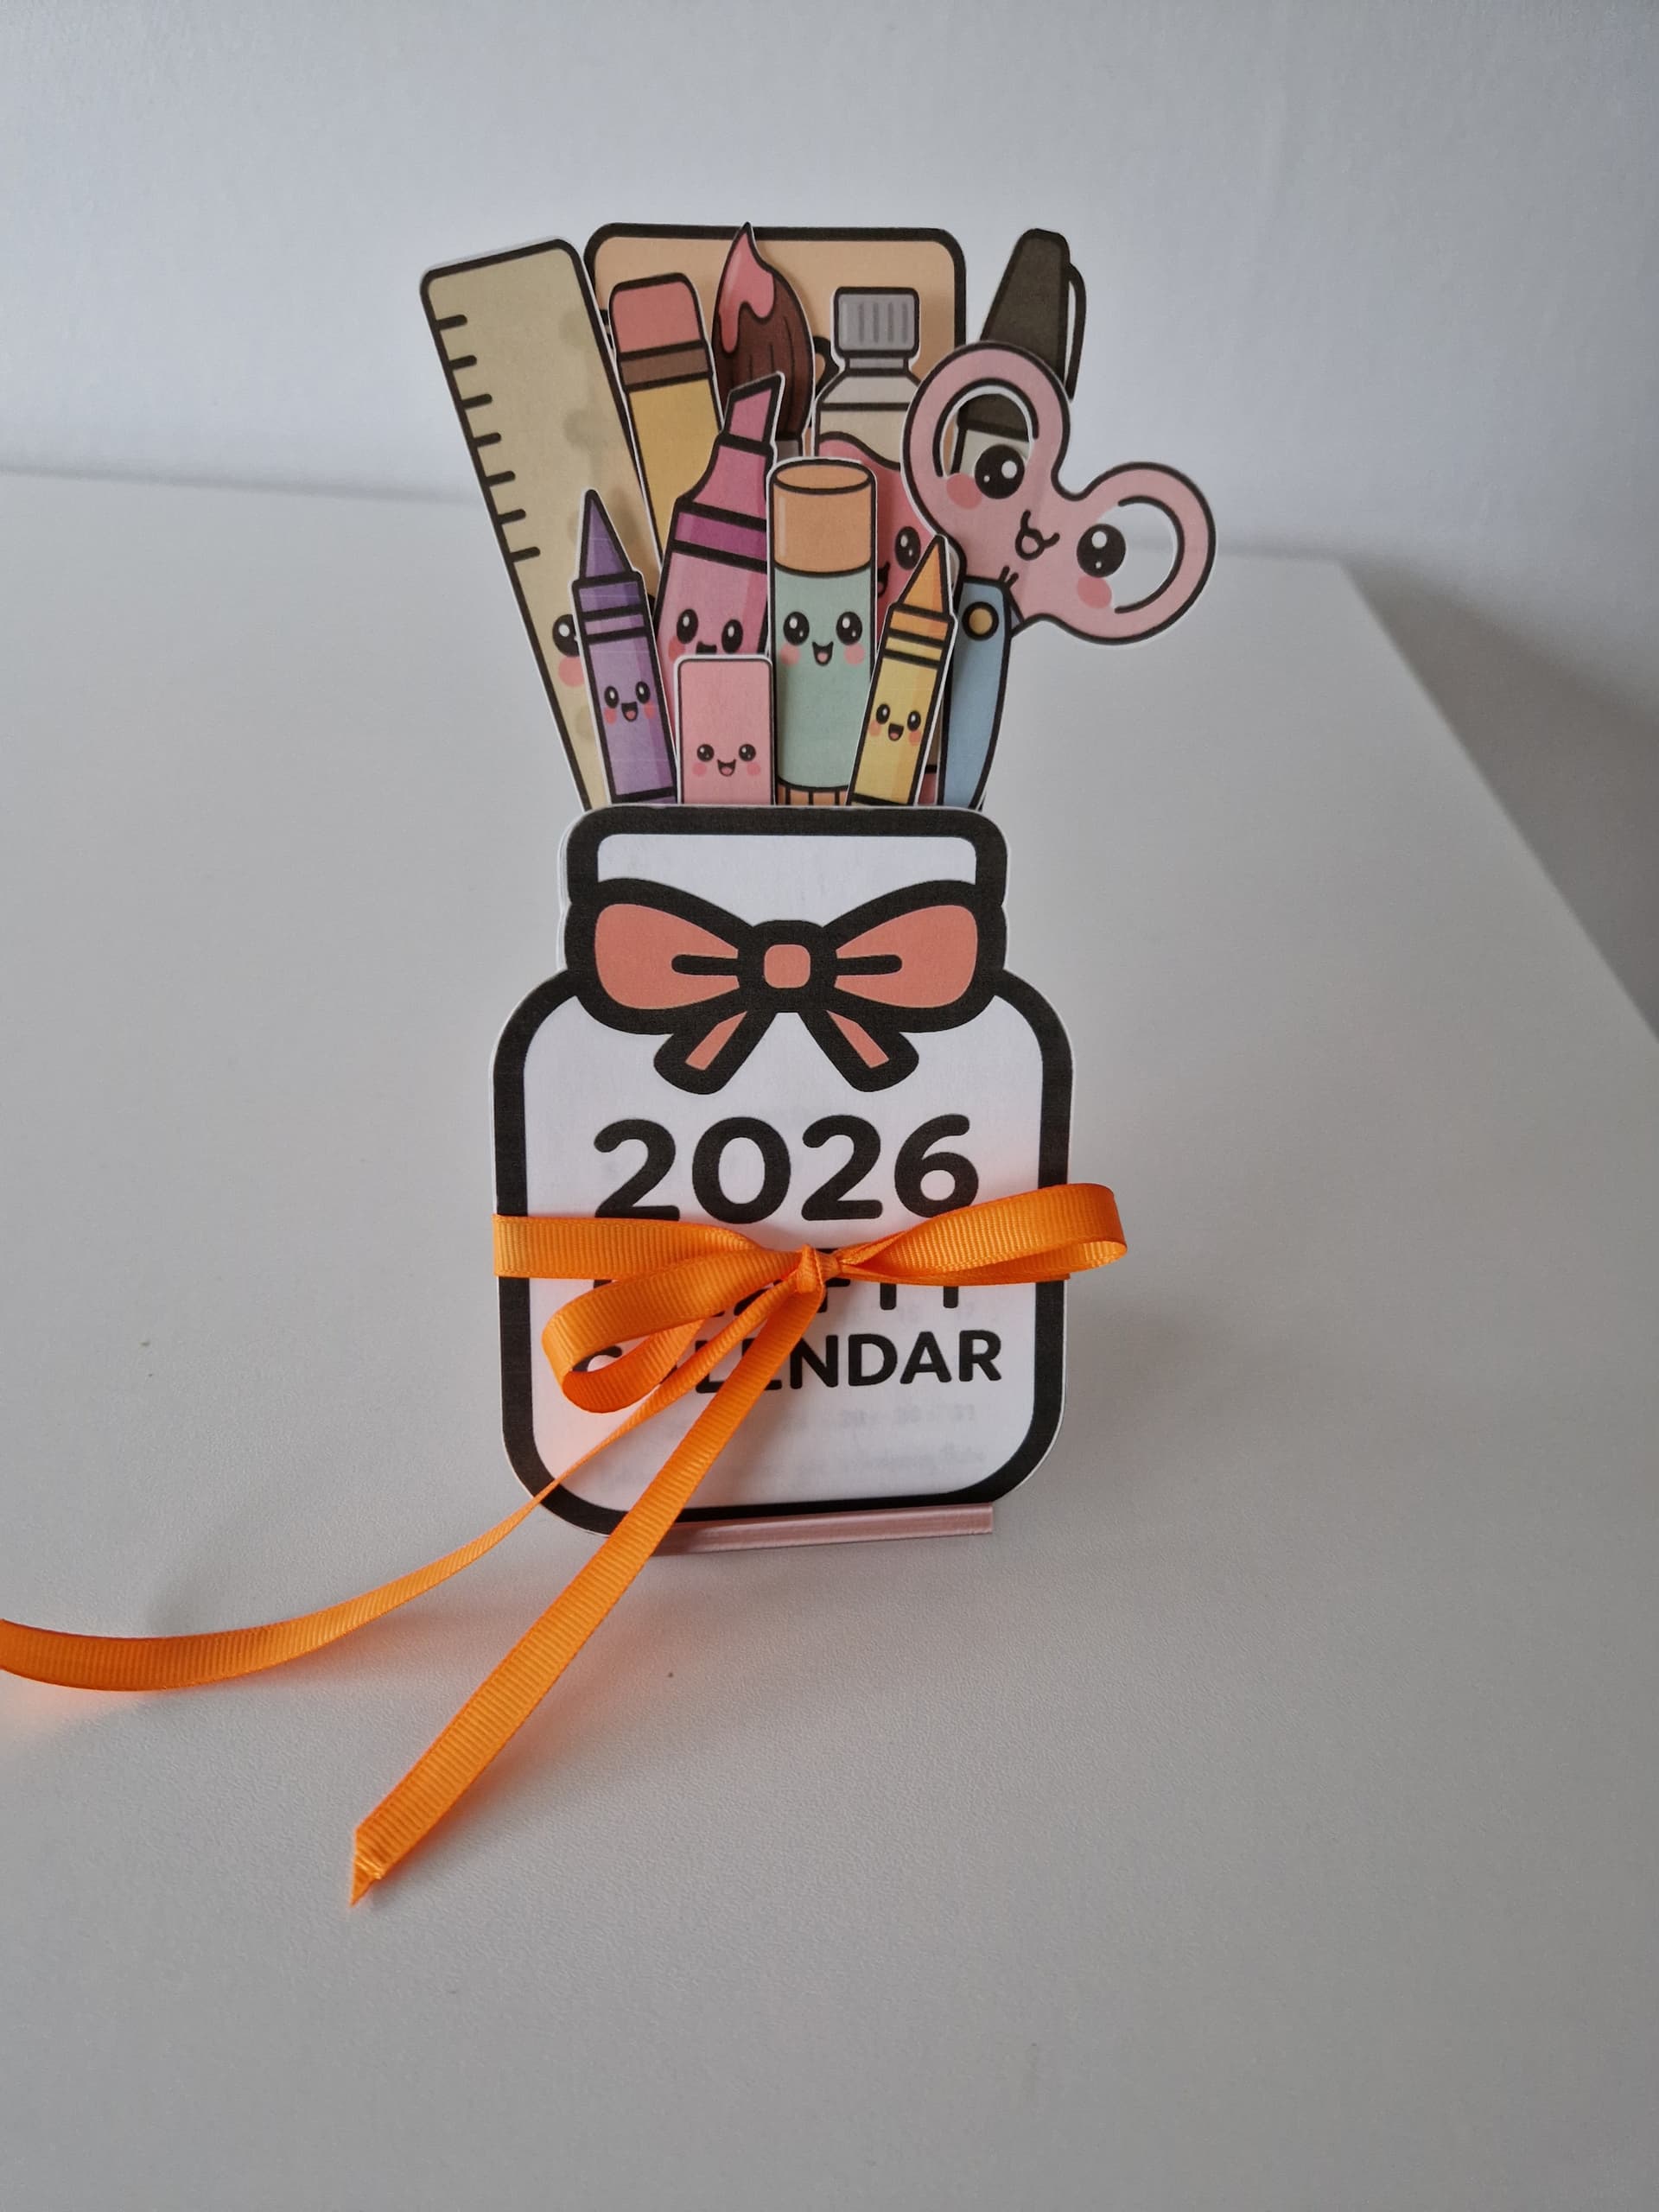
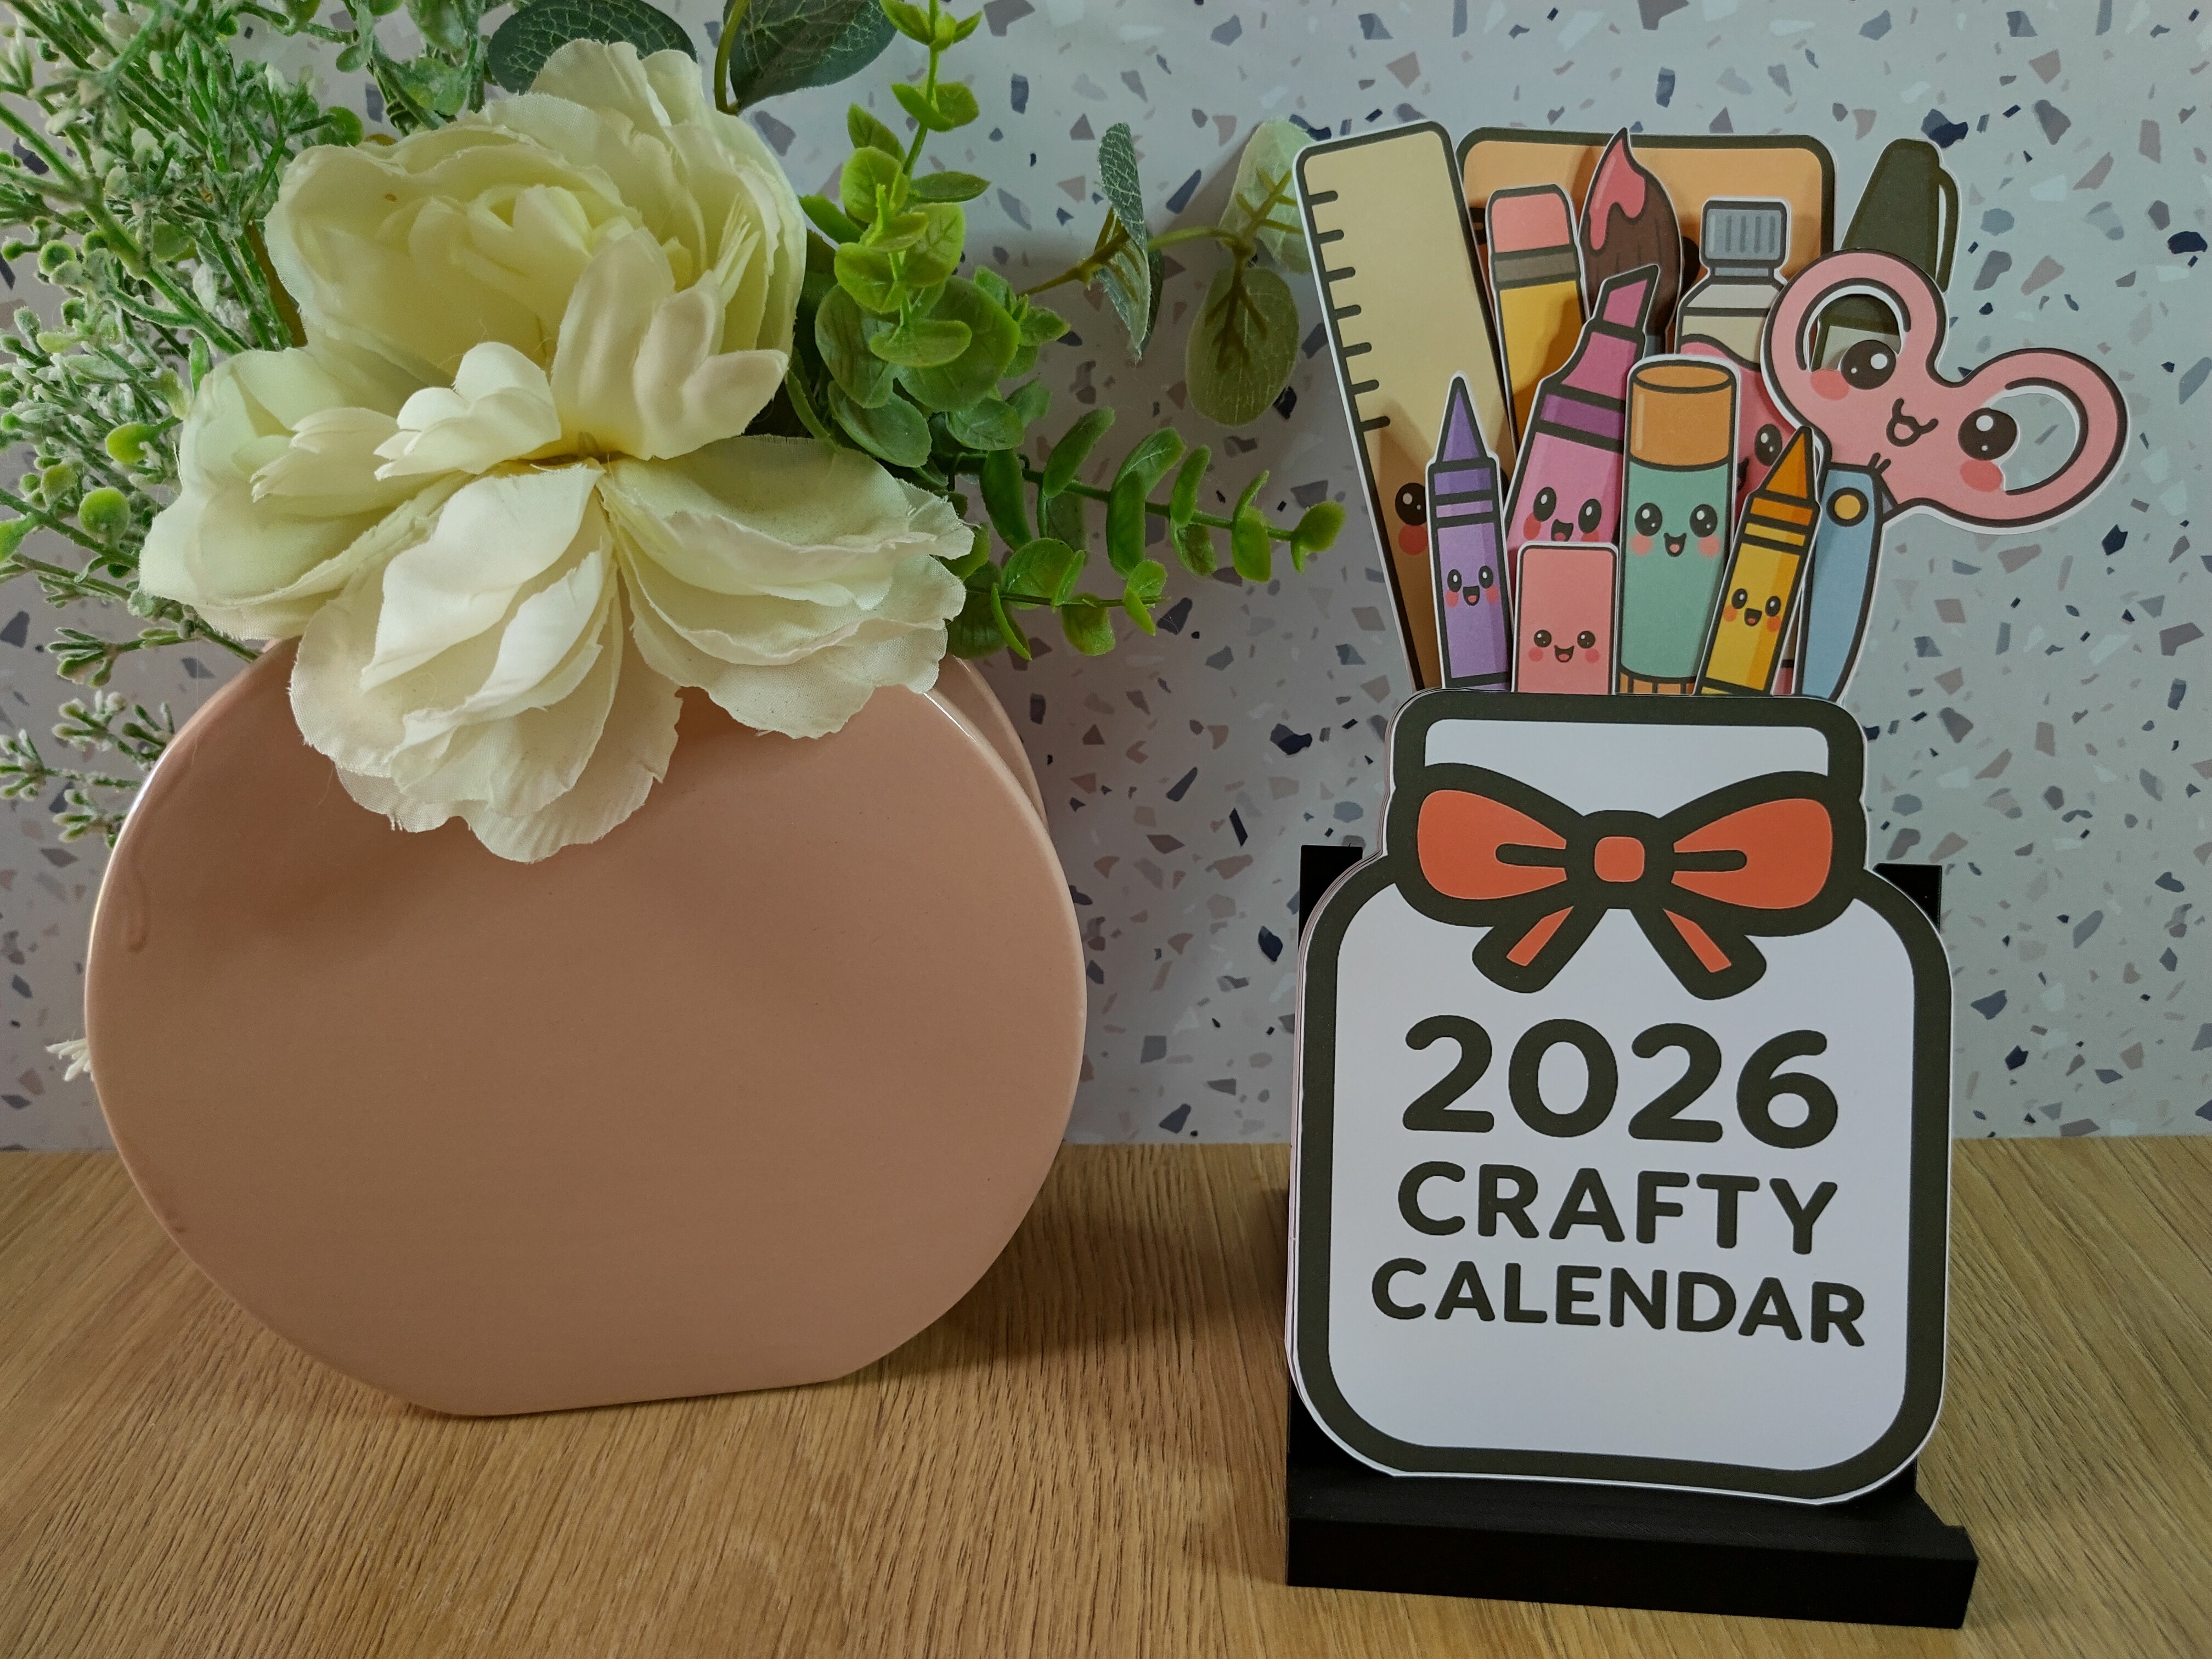
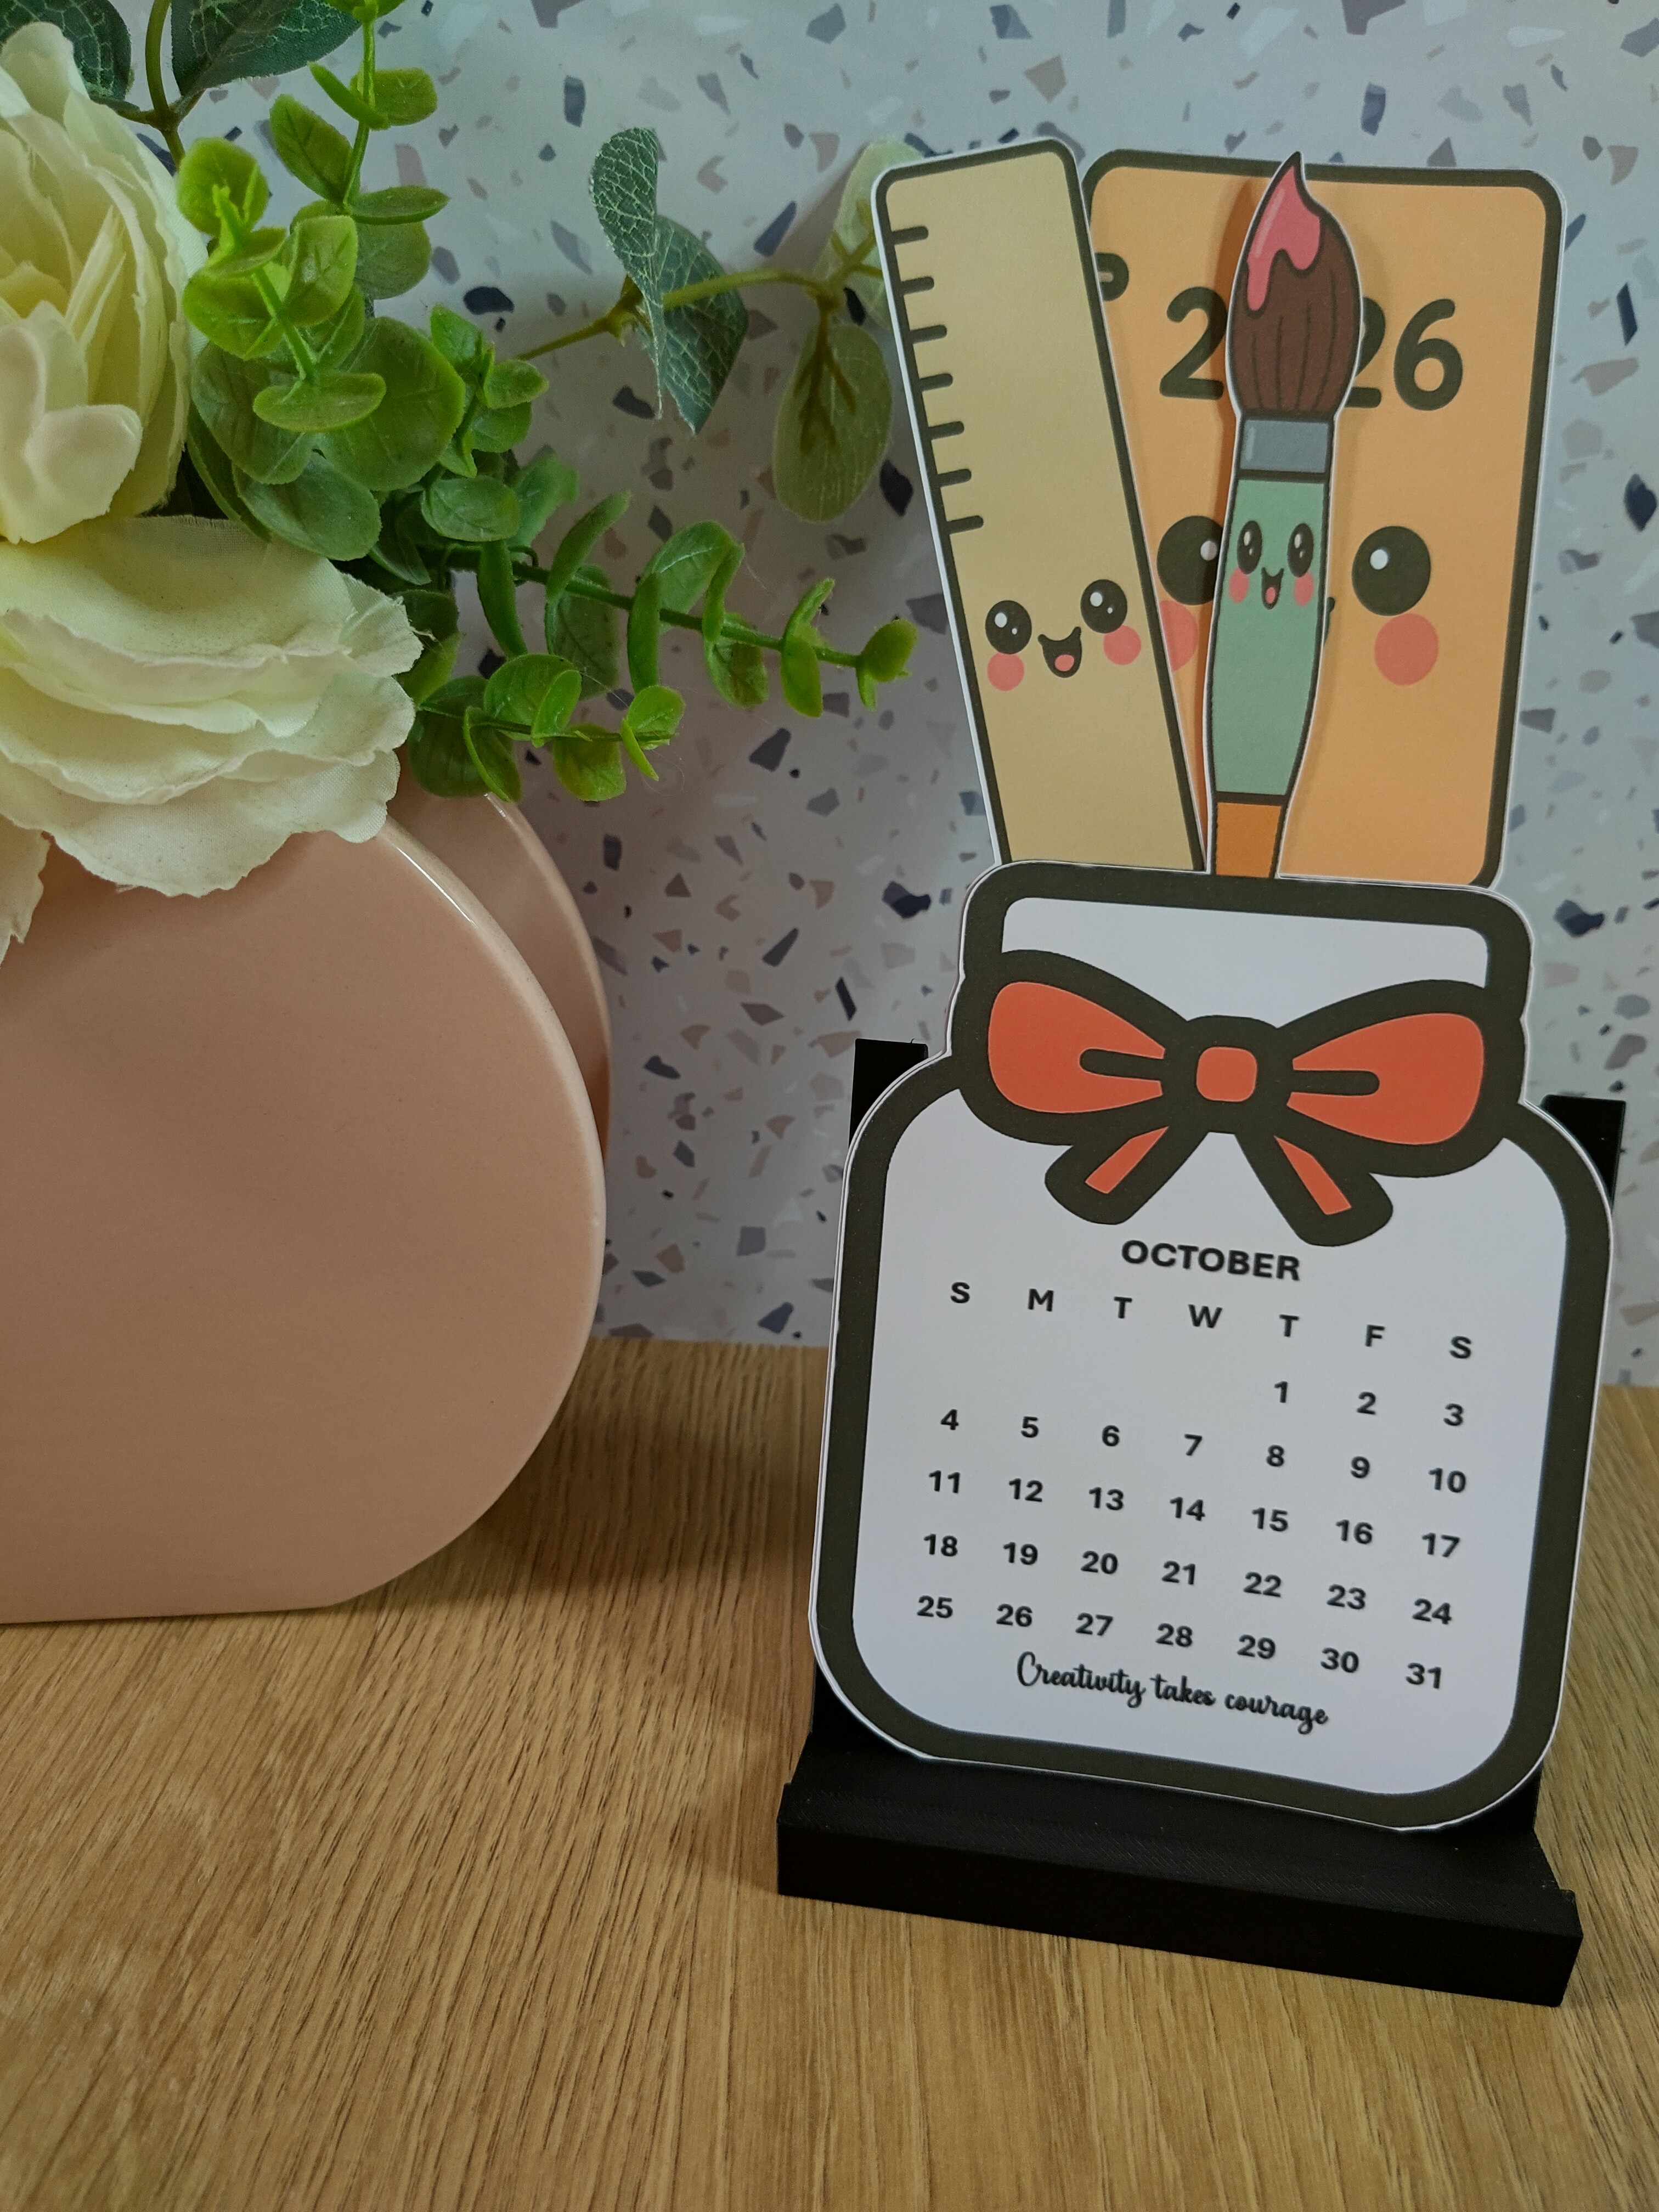
Arrange your calendar images in order and place in your stand.
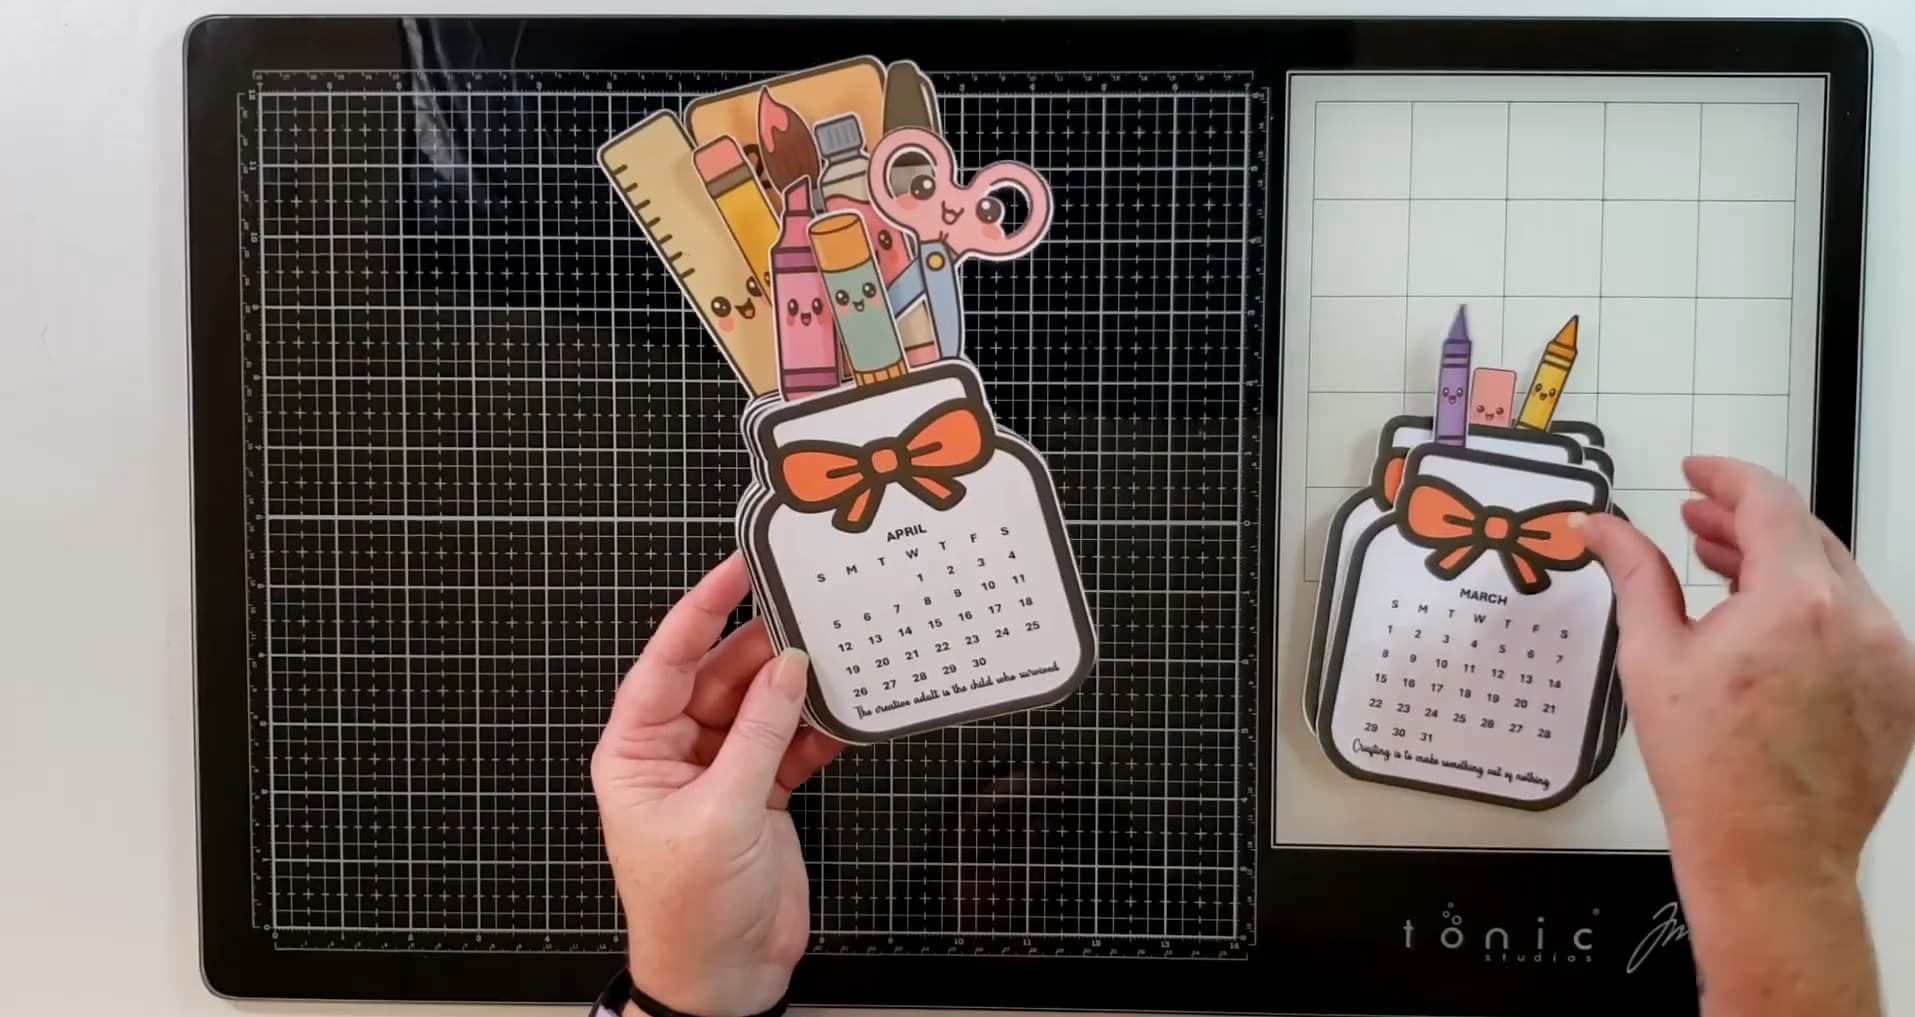
Enjoy your crafty desk calendar

If you would like to craft along with me you can watch here