Valentine’s Day is fast approaching, so I decided to make one for myself. Every Year, I always make gifts for everyone except to myself. So, this time it’s a perfect timing 'coz this will be a special moment that I’m going to cherish and keep the great memory behind this tutorial on my first time to use my NEW HTVRONT AUTO HEAT PRESS 2.
MATERIALS:
Sublimation Printer (EPSON 2800)
Sublimation Paper (HTV RONT 125 grams)
Sublimation HTV for dark fabric (MATTE)
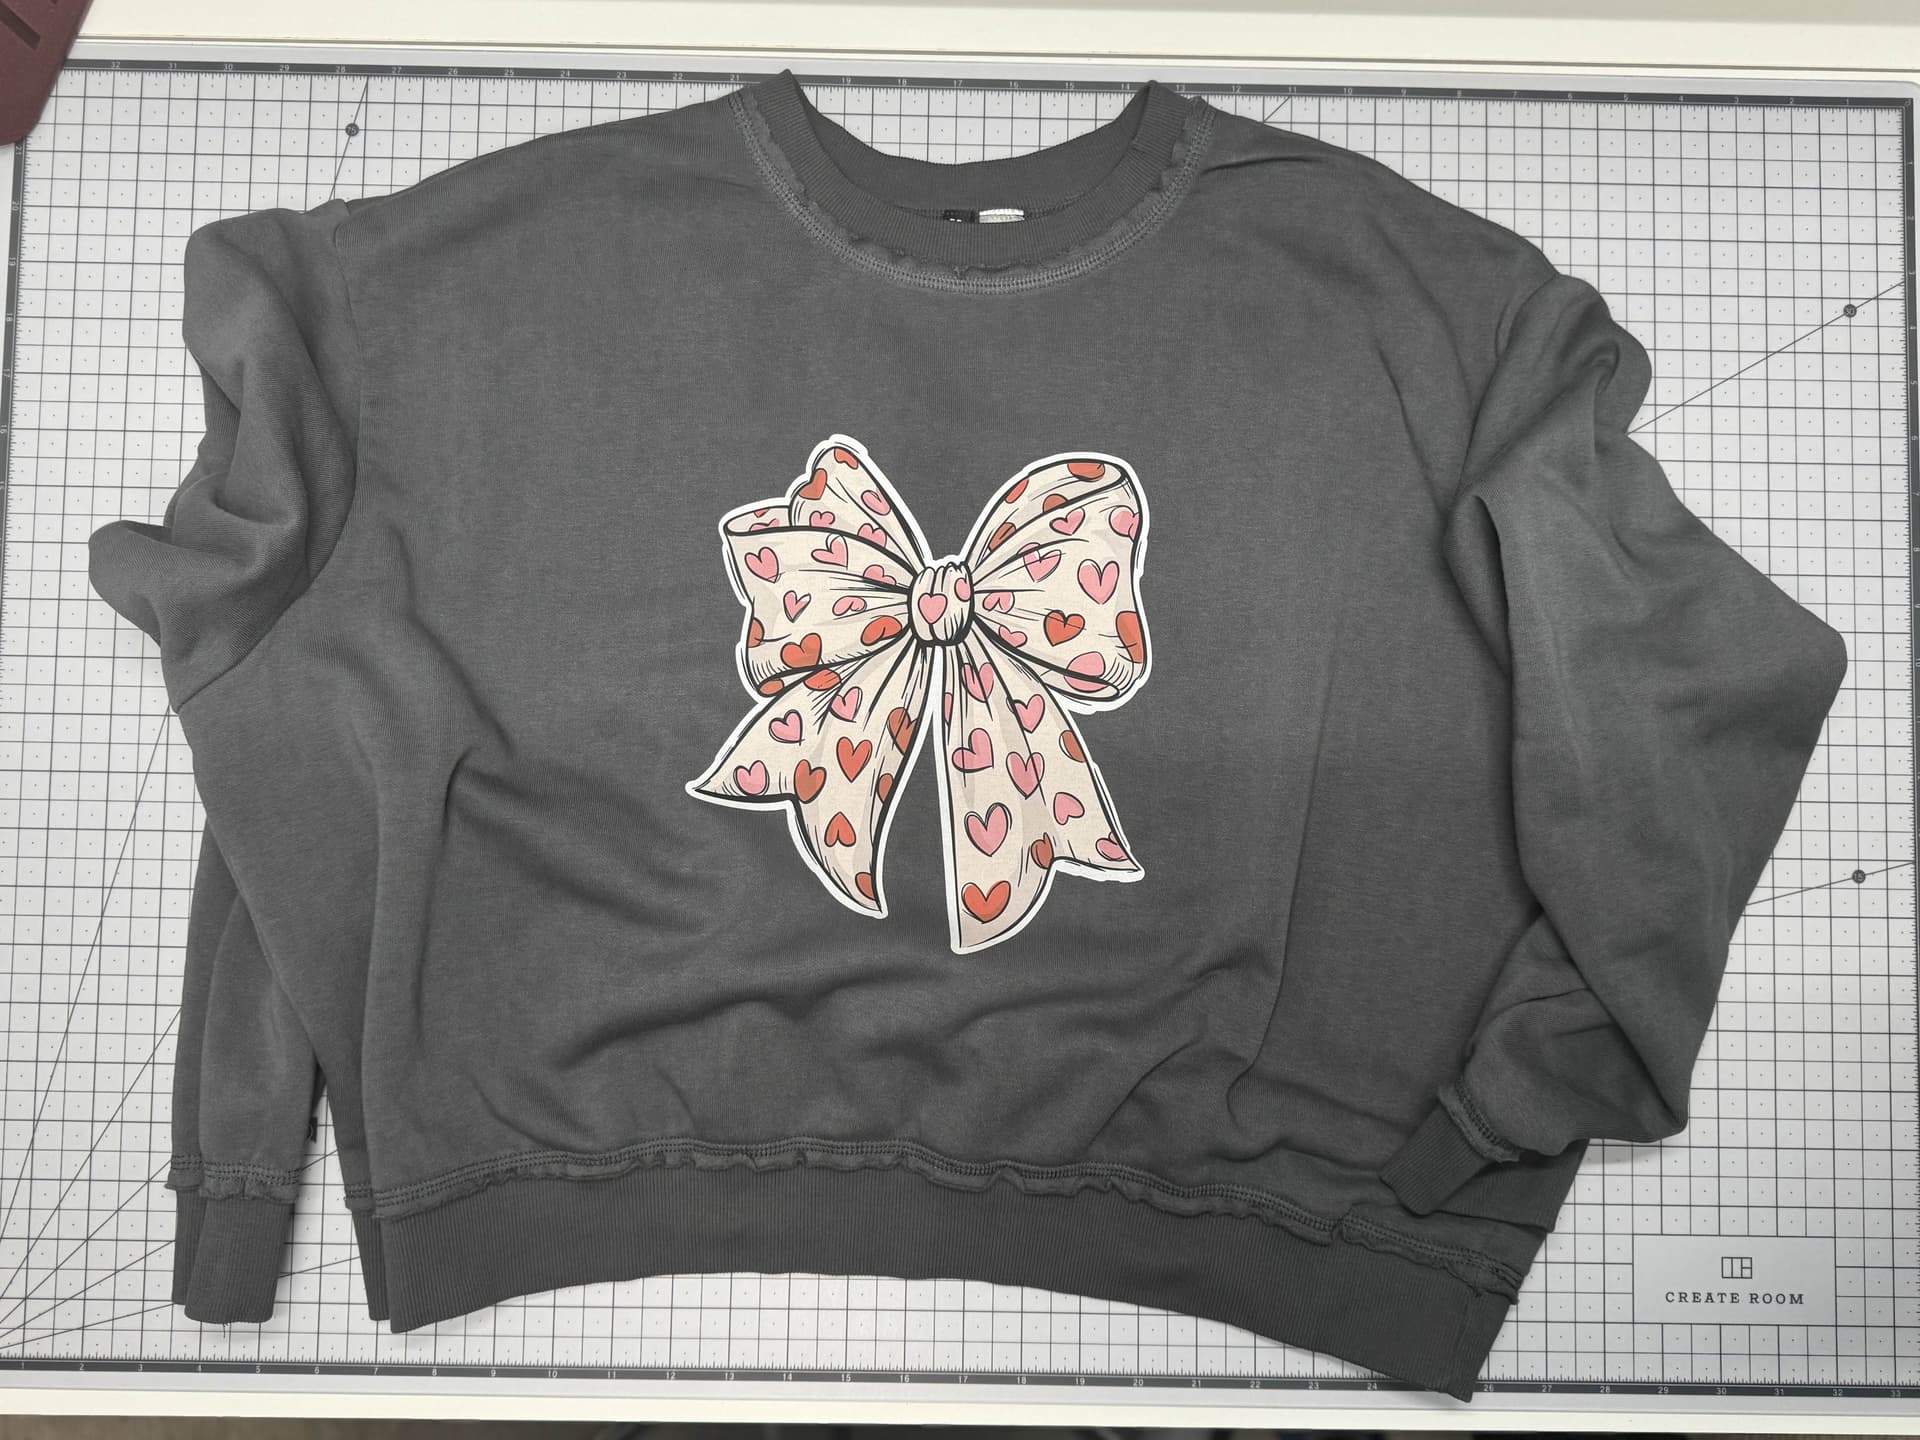
Sweatshirt (60/40 - cotton/poly; pre-washed)
T-shirt Ruler Guide
Green Cutting Mat
Brayer
Heat Tape
Lint Roller
Weeding Tool; Scissors
Designs/Fonts of your choice
Design Software (Canva/Cricut Design Space)
Heat Press (HTV RONT Auto Heat Press 2)
Cutting Machine (Cricut Explore Air2 or other similar brands)
Air Purifier (optional)
CAUTION! Sublimation process needs a well-ventilated area to avoid suffocation from the gas releases by the sublimation ink when applied excessive heat onto the material.
Heat Press Settings:
395 F for 45secs. with 110 lbs. pressure
Pre press sweat shirt for 10 secs.
Step 1: Upload a design
A. Open Canva and upload a PNG format design from your computer. Re-size to whatever makes you happy (Note: make sure the lock button is clicked when you do this so your design will re size proportionately). Remember the dimensions of your design ’coz you will be needing this on the next step. Saved as PDF format and send it to your sublimation printer later.
B. Open Design Software and upload your SVG design. Re-size your design (dimensions should be matching from Canva). Clicked your design and find the offset button (I used 0.25”). The offset of your design is the one you will need for sublimation. Save and cut.
Step 2: Cutting & Weeding
Place your Sublimation HTV shiny side down on to your mat. Send your offset design to your cutting machine (remember to mirror your image). Follow the instructions from your software. Load your mat into your machine with selected settings and cut. Set aside and weed your vinyl.
Step 3: Printing
Load a sublimation paper to your printer. Open your PDF file and select for printing. Once the printer software is open, select the quality as “best” presentation matte paper & don’t forget to mirror your image (if you haven’t done it at your design software) and print.
Step 4: Heat Pressing
A. Warm up your heat press to your desired settings. Put a butcher paper on top of your heat pad to protect it from any possible ink transfer from the image. Pre-press your sweatshirt for 5-10 seconds to get rid of wrinkles and trapped moisture. Use lint roller to pick up any foreign materials from the sweatshirt. Place the t-shirt guide ruler on to your sweatshirt and find a possible placement for your design. Once satisfied, lay down your sublimation HTV with the clear liner facing up. Put butcher paper on top of the sublimation HTV. Heat press at 395 F for 45 seconds with 110 pounds pressure. Carefully remove the carrier sheet (warm peel). Cool it down for 20 seconds or so (NOTE: Doing this will prevent “GHOSTING” from your image transfer).
B. Once the sublimation HTV is cool down, lay out and center your image transfer. Use heat tape to secure the image and to prevent shifting when press. Put back the butcher paper on top of the design. Heat press with the same settings as mentioned above. Pull out the drawer, let it cool then carefully reveal your masterpiece.
Step 5: Show it off! Enjoy!
Wear it with your favorite outfits. Flaunt it and show it off! (NOTE: DO NOT WASH for at least 24 hours to make it sure that you have ample time to cure all the materials adhered to your sweatshirt. Trust me! I’ve done this extra process (patience) and all my handmade T-shirts with HTV lasts more than 5 years and still counting).