Project Overview:
Graduations are such an amazing accomplishment to celebrate! Whether it is from PreKinder, High School or College, let’s celebrate in style with a personalized gradation lei. Follow along as I create this graduation lei for my son, Leon who had his PreKinder graduation ceremony.


Materials:
- Cutting machine: LOKLiK iCraft
- Sticky mat: LOKLiK standard grip
- Cardstock: 60 lb or equivalent, I used white, blue and gold metallic foil for this tutorial.
- Templates: from LOKLiK Library
** Free Black Circle and Lace SVG*
** Graduate graduation hat SVG* - Craft glue and hot glue
- Satin ribbon - 8 yards per color
Assembling the Ribbon Lei
- Cut 8 yards of each color ribbon.
- Start with the bottom ribbon (blue) going up and the top ribbon (gold) going right at a 90 degree angle. And glue the two pieces together using a hot glue gun.
- Then flip the bottom ribbon (blue) over going towards the bottom now. Leave a loop as wide as the ribbon.
- Take the ribbon on the right (gold) and make a little loop. Next take that loop you just make (gold) and push it up through the blue loop.
- This process will be repeated untill all of the ribbon is used or you have reached the desired length for the lei.
- Cut the ribbon at the end, tuck it under the last loop and glue gun the ends to secure the braid.
A video tutorial for this portion will be posted in the comments to help those who need a visual tutorial.

Design and Cutting Process:
- Using the LOKLiK IdeaStudio Library, search for the templates and select the + to add the template to the canvas.


- Ungroup the circle lace design to allow us to pick and choice the components we will be using. For the lace svg, you will also need to “split” split the design to be able to click the scalloped circle design.


- Splitting the white scalloped circle will result in 2 white scalloped circles, choice the one you like most and delete the other. For this tutorial, I kept the one on the right since it is a softer curve.

- Change your color fill and select the colors of your choice. This will help you visualize the end project.
- Resize the circles which will be the “charms” for the lei. For this tutorial, I resized the circles to 2.79in by 2.79in.

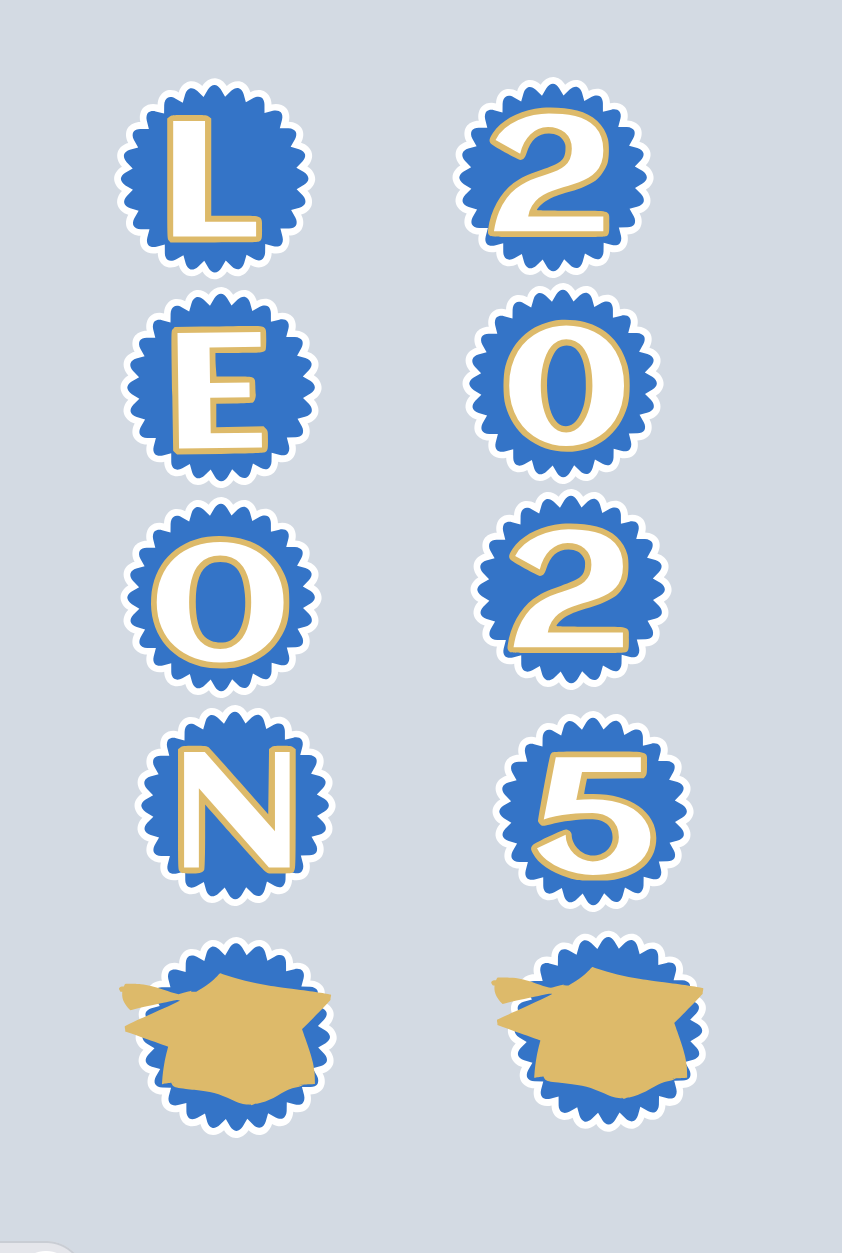
- Resize the graduation cap from the LOKLiK Library to fit nicely over the charm. I wanted the graduation cap to be slightly over the edge as seen in the photo below.

- Now using the “add text” feature, type the name or text you would like to include on the lei. Each letter is added individually so you can place them over the charm, resize as needed.

- Add an offset to each of the letters/numbers. For this tutorial, I used an offset of 2.2mm.

- Change your color fill and select the color of your choice. I wanted to incorporate the third school color so I changed it to gold.


- I have found it to be very helpful to have the projects layed out on the canvas as seen below. This helps me visualize the end product and allow for any changes in colors or sizes prior to sending it to the cut.
Great job! Now you have the designs ready to cut.
- Send all of the pieces to cut, below are the cut settings I used for this project.

** Cut Settings**
** Material Type: Cardstock Paper (180g/97lb)
**Force: 7.5
**Speed: 5
**Passes: 2
Assembling the graduation lei charms:
-
Using craft glue, glue the smaller circle (blue) over the larger circle (white). Repeat this for all of the charms.
-
Add the graduation cap decoration to the charms.
-
Now glue the 2 layers of the lettering using craft glue. In this tutorial, I glued the white lettering over the gold offset cutout.
-
Glue the layered letters/numbers to the charms.
-
Before glueing the charms to the lei, place them on the lei to ensure you like the placement. Keep in mind that you want the center portion empty to allow for the students to wear it around their neck.
-
Space out the charms to your preference and hot glue gun the charms to the lei.


**WONDERFUL!!! You have created a personalized graduation lei. Such an amazing accomplishment for graduates!