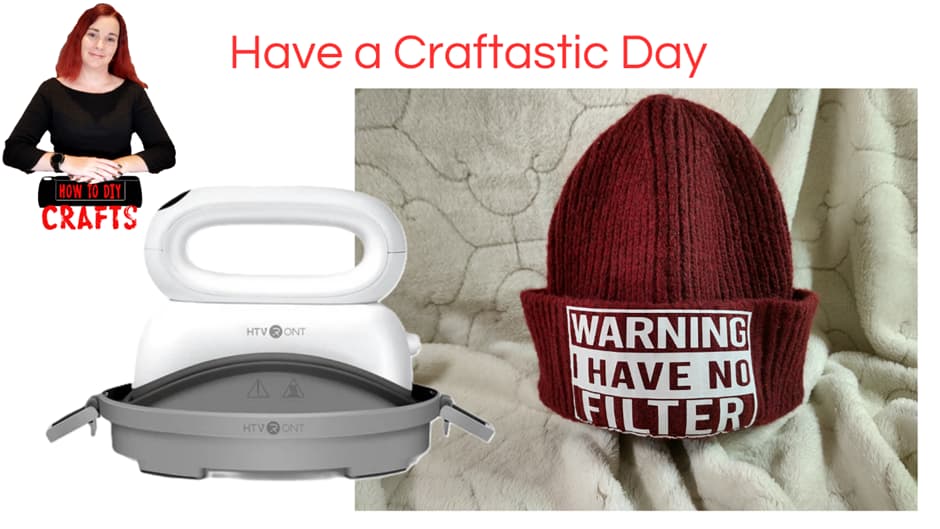
In this tutorial I will explain how to customize a beanie with HTV (Heat Transfer Vinyl) using the HTVRont Hat Heat Press. The HTVRont Hat Heat Press is the same as the LOKLiK Hat Heat Press so if you have either you will be able to do this project.
Materials Needed
Beanie Blank
Lint Roller
Weeding Tool
Teflon Sheet
HTV design
LOKLiK Idea Studio has a library full of cool designs that you can choose from.
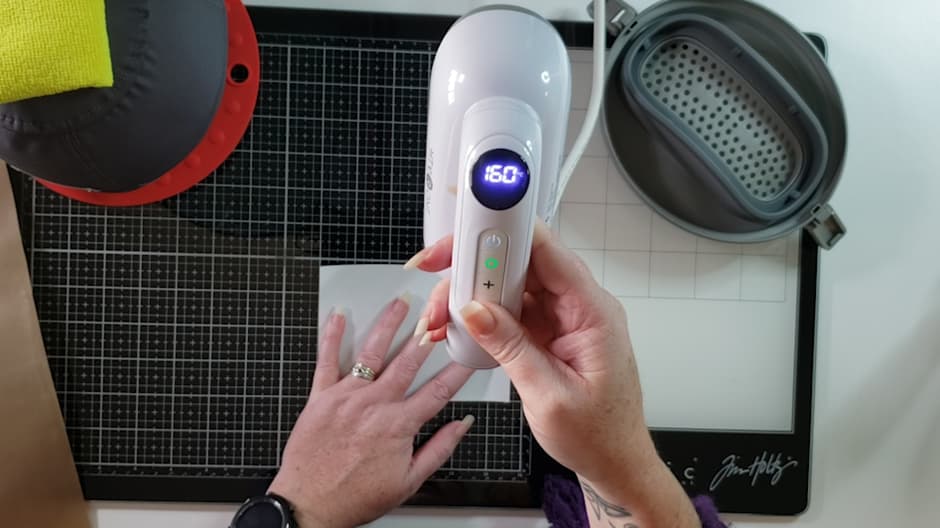
Step 1.
Set your hat heat press to 160C for 20 seconds
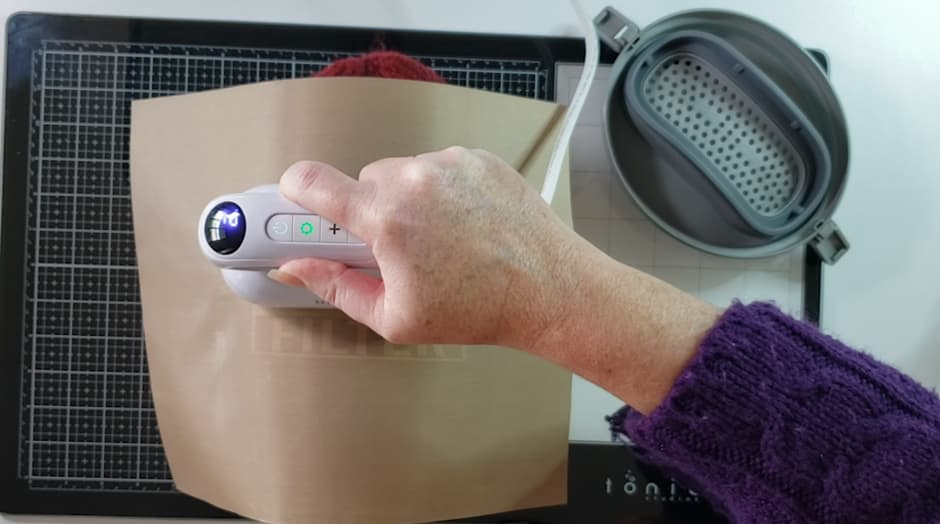
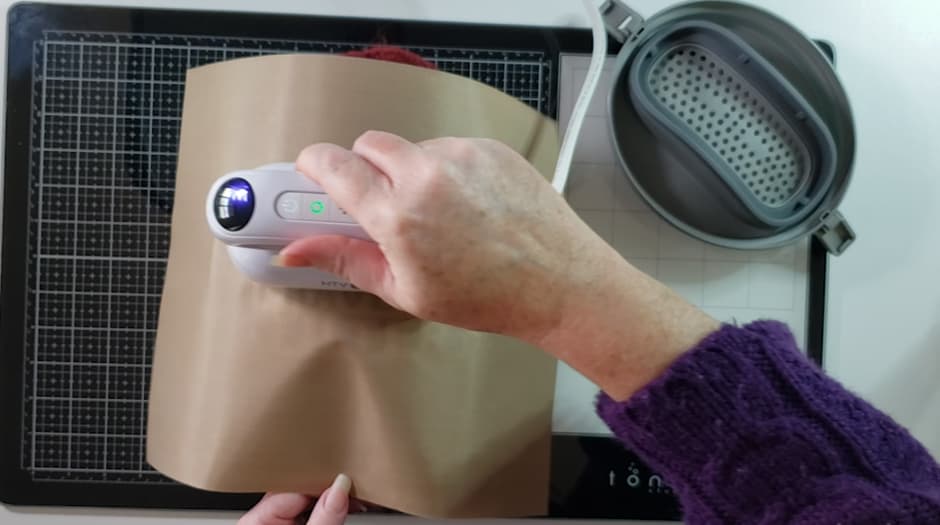
Step 6.
Now heat your design with your hat heat press. Apply a light amount of pressure. Take note if your design is wider than the heat press plate you may have to press multiple times to cover the whole design. You can set the timer to count down on the heat press by long pressing the power button.
Step 7.
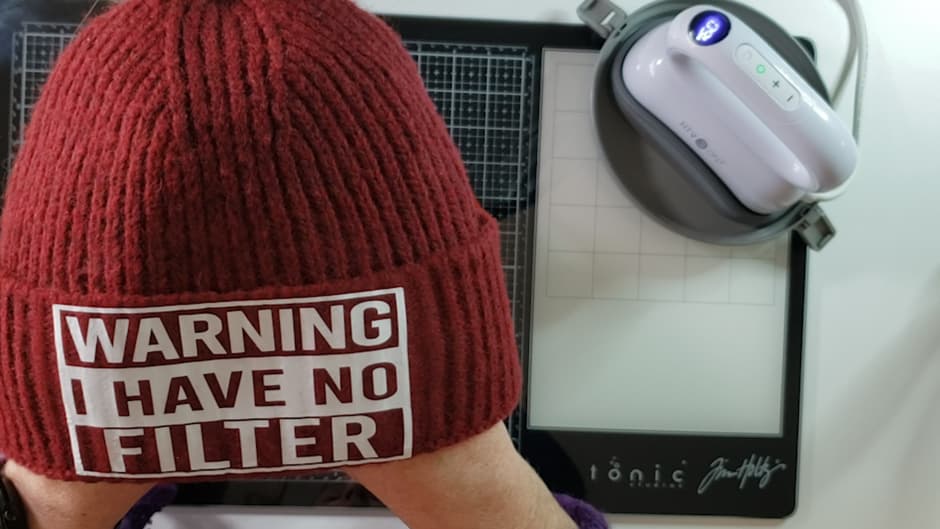
My HTV is cold peel so I placed it on my glass craft mat to cool it down. Slowly peel back the carrier sheet on a diagonal angle monitoring your design to see if any of the HTV lifts up. If it does place the carrier sheet back down and press again. Mine was fine and pressed really well.
Take your beanie off your hat form and wear proudly. A good rule of thumb when working with HTV you know you got a good transfer when you can see the pattern of your blank through the HTV. Remember to keep your HTV looking good, only cold wash and don’t tumble dry.
Hiya, I’ve just recently bought the materials to try this project, I am new to crafting with vinyl and I was wondering what the best way to make sure the vinyl lays flat on the beanie, and if it’d end up not laying flat is there a way to fix it?
I wanna make sure I know the possibilities before I try the project.
welcome to the community @TheSunFae this is a great tutorial from @BellethehowtoGuru if you look at step 5, the carrier sheet is sticky, it will hold onto the beanie, then follow the steps to make sure it stays on!
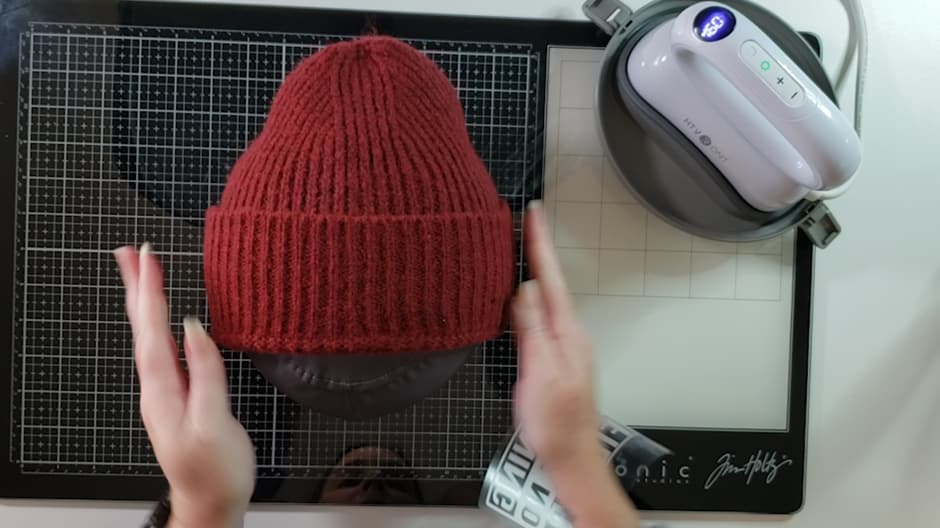
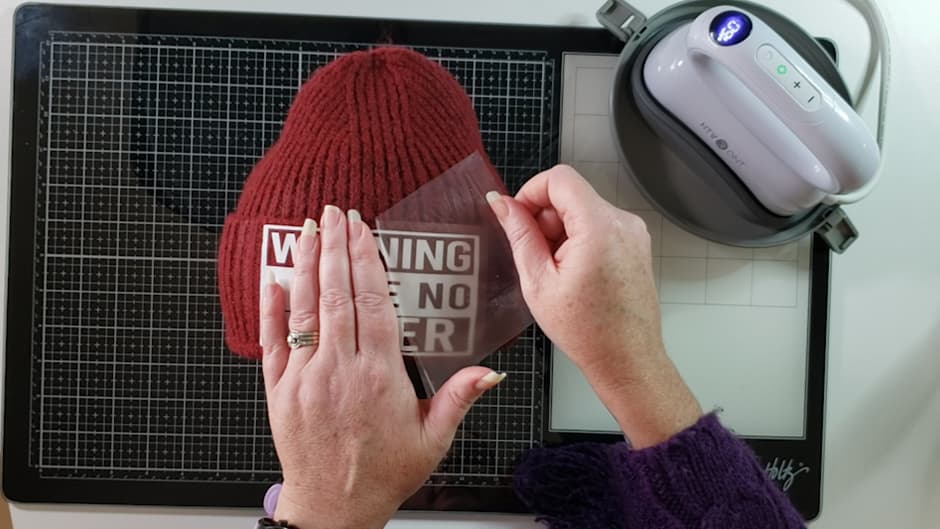
Step 5.
Preheat the area with your press for about 5 seconds
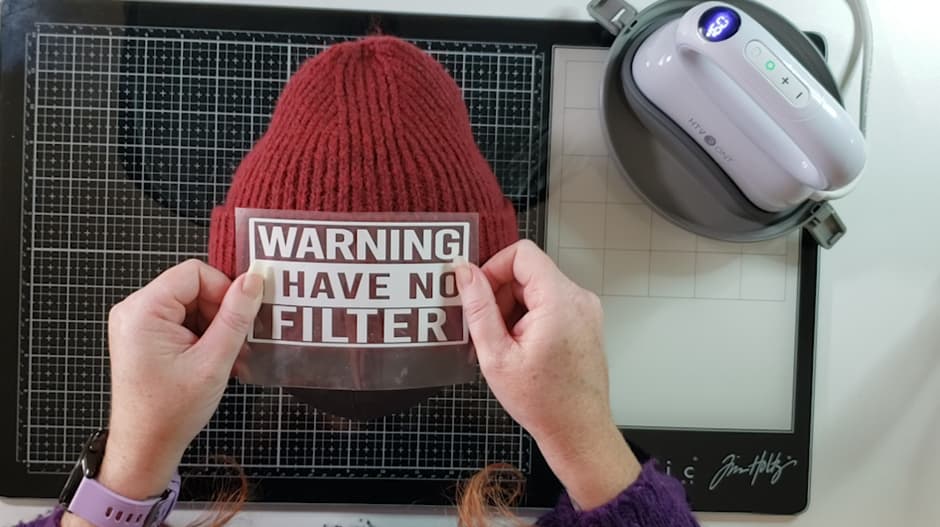
Line up your design and then place a Teflon sheet on top.
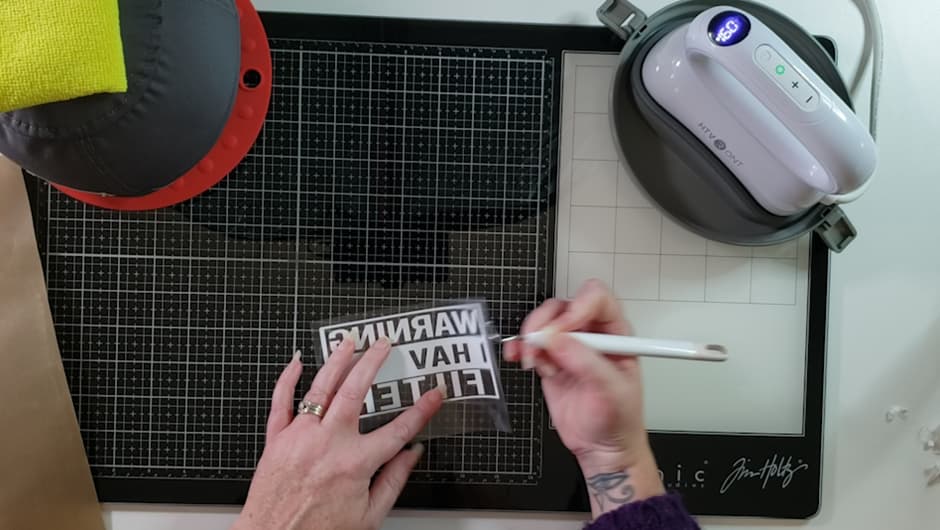
Couple tips before cutting HTV. First make sure your design is mirrored before you cut it. When you place the HTV on the mat, place it shiny side down so the HTV is facing up. This way you cut through the HTV. Make sure you weed out your full design as any HTV wanted or not will stick to your beanie. I also recommend keeping your design on the thicker side, don’t try and stick cursive skinny font on to the beanie, you will have a horrible time.
Make sure you prepress your beanie as beanies can hold a lot of moisture which makes it hard for the HTV to stick. I think I prepressed for 15 seconds.
So, the HTV should lay on the beanie fine for the pressing process as the HTV carrier sheet is sticky. If not, you can always grab some heat-resistant tape and tape it down on the sides if you are worried about it lifting during pressing.
Also using a Teflon sheet over the top while pressing helps to keep it down and in place with no worry of catching the side of the HTV carrier sheet and lifting it up with the hat heat press.
After it’s press make sure you take note if your HTV is a cool or hot peel. If it’s cold place beanie face down on a cool surface to help it cool. Then peel the carrier sheet off, if you find the HTV lifting off the beanie material stop peeling and press again for a further 5 to 10 seconds with pressure. Repeat this until you have a successful peel. Because beanie material is stretchy it may look like the HTV is peeling off but it’s not, after the carrier sheet is off I do recommend pressing again make sure to use your Teflon sheet to protect the HTV.
Hope I have answered everything, I go through the process I did in the video linked above. Please let me know if you have other concerns.
Sorry, just realized I never actually linked the video tutorial for this. It’s there now, my apologies. If you want to skip straight to the beanie project its time stamp is 28:36