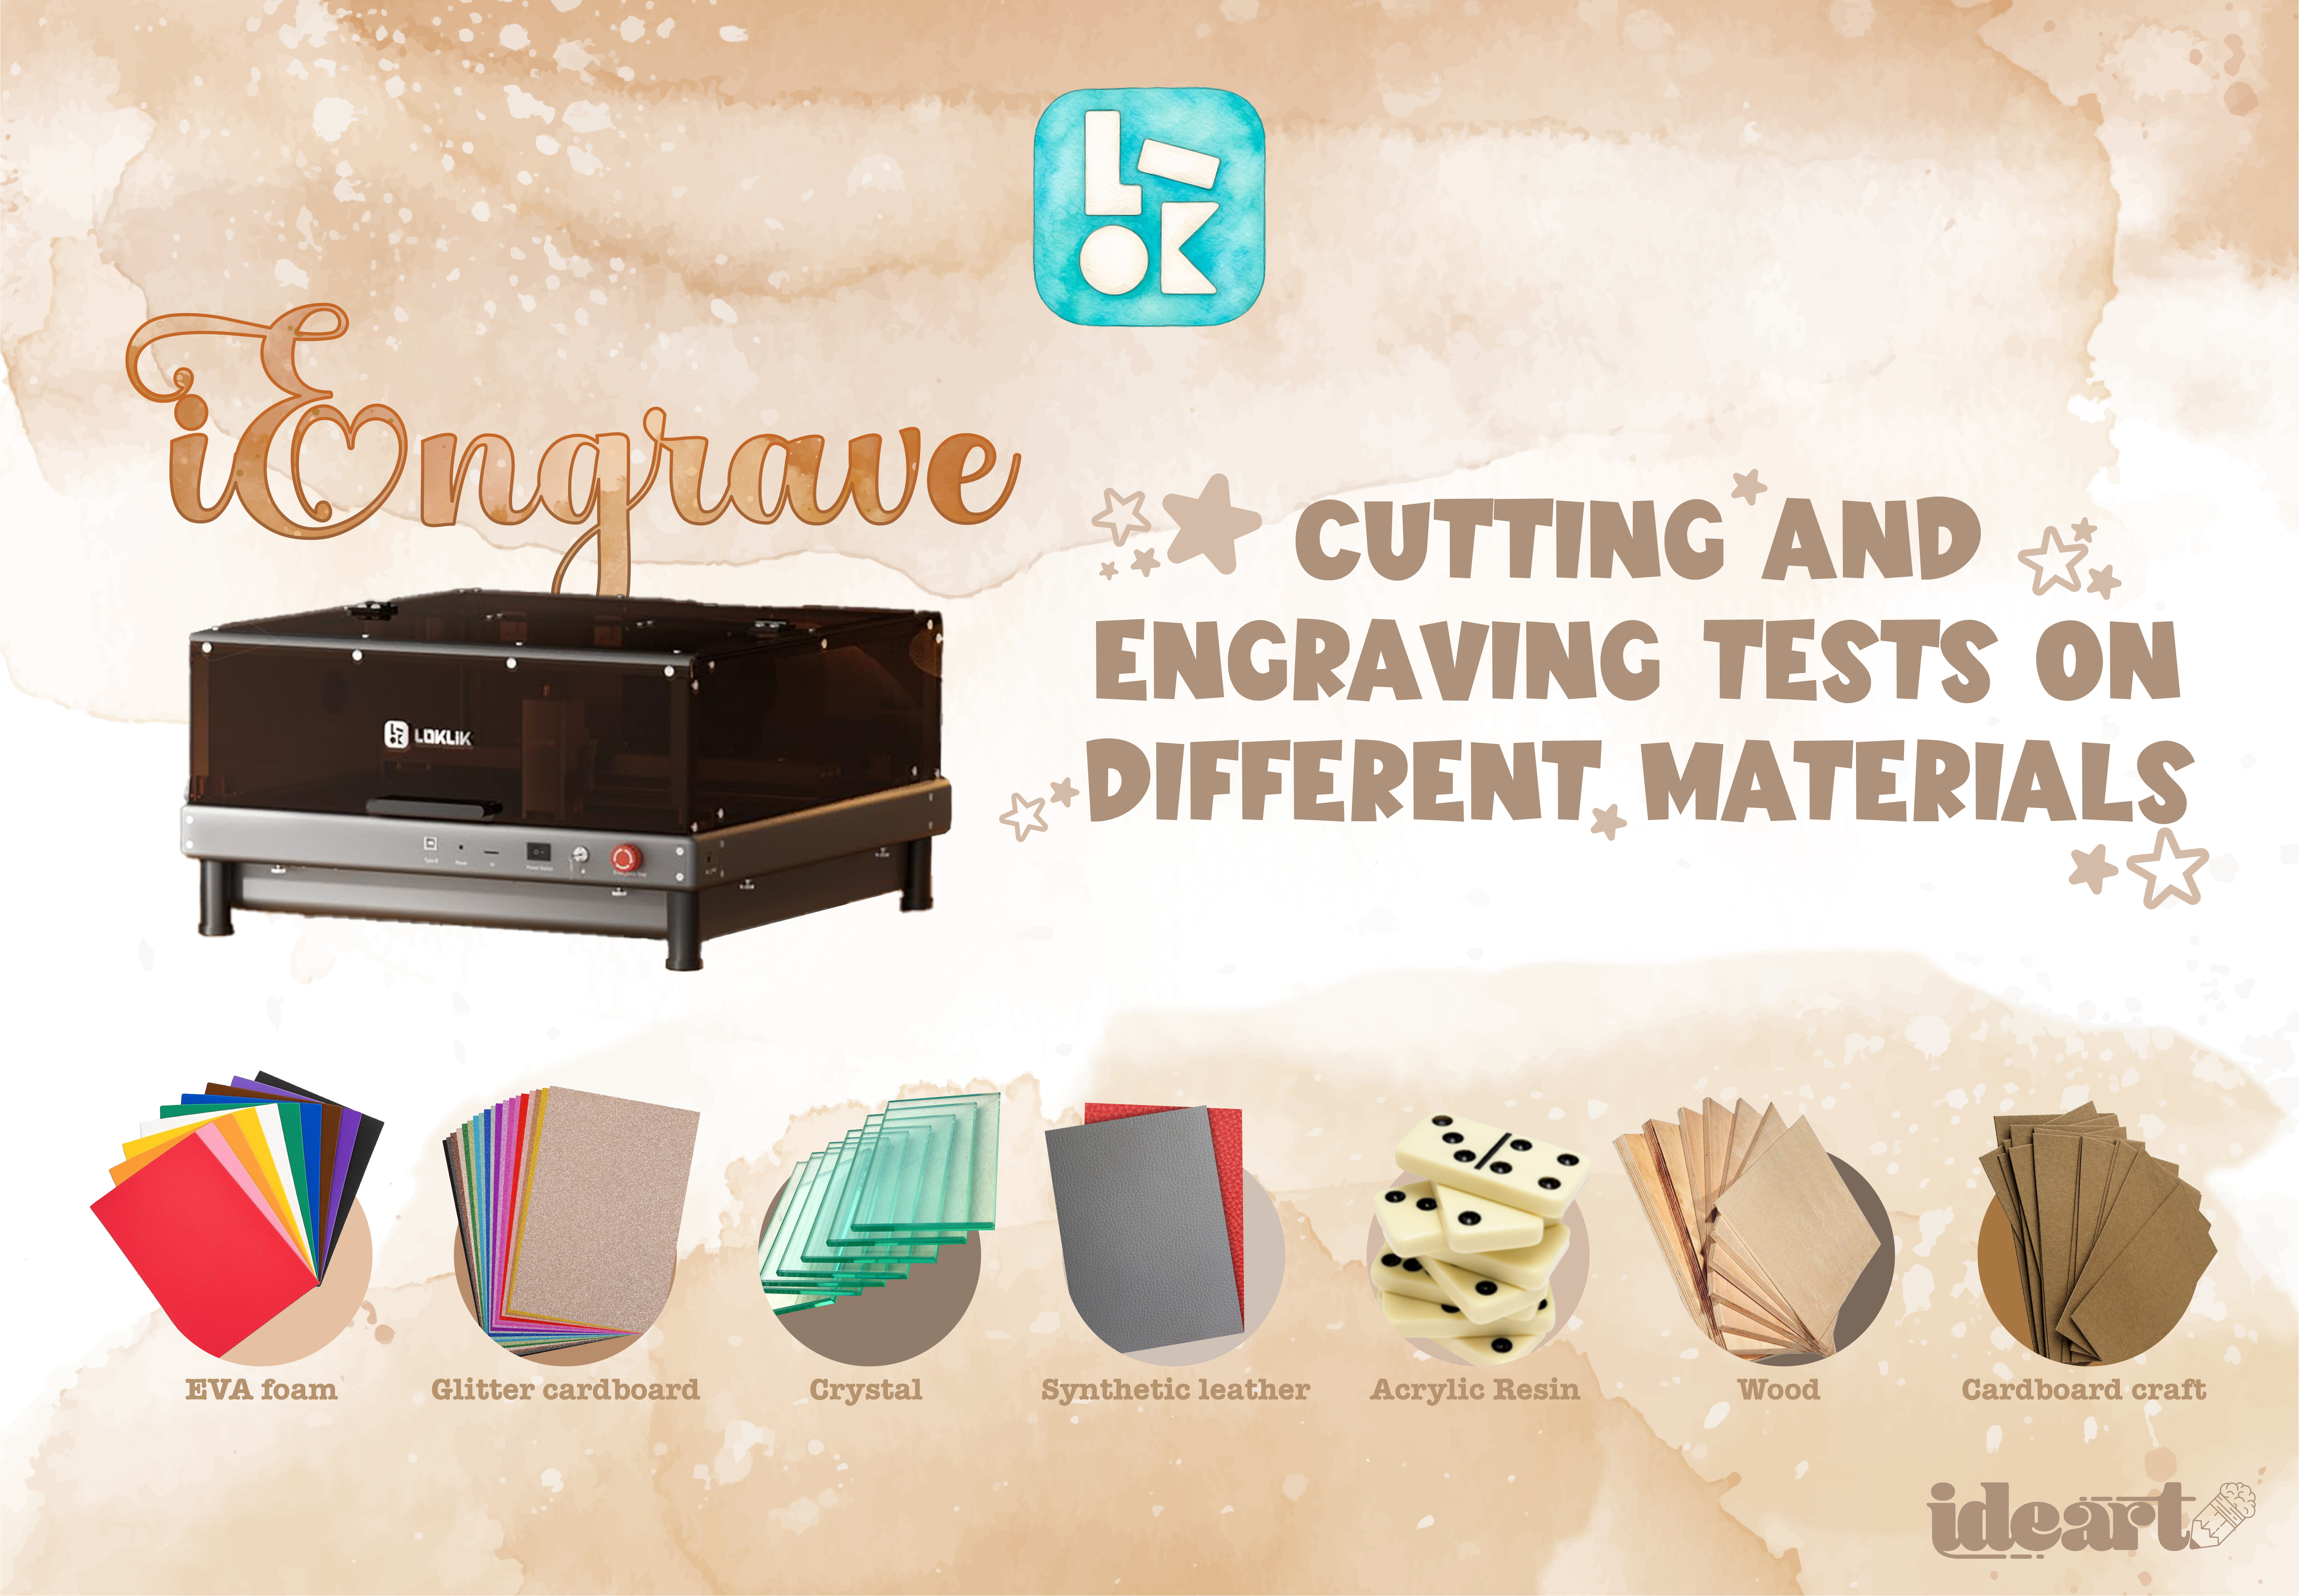
Hello friends of this beautiful community here I share with you my second part of cuts and engravings using different materials and textures to give you an idea of what the powerful iEngrave from Loklik can do.
Keep in mind that these materials are only a reference to check the behavior of the machine on them and that it is not a definitive guide because the engraving and cutting will depend on the thickness, the material and other aspects that we have to take into account depending on what we have at hand, therefore the speed and power of the laser will depend on the final result we want.
Glass, mirror, ceramic, crystal.
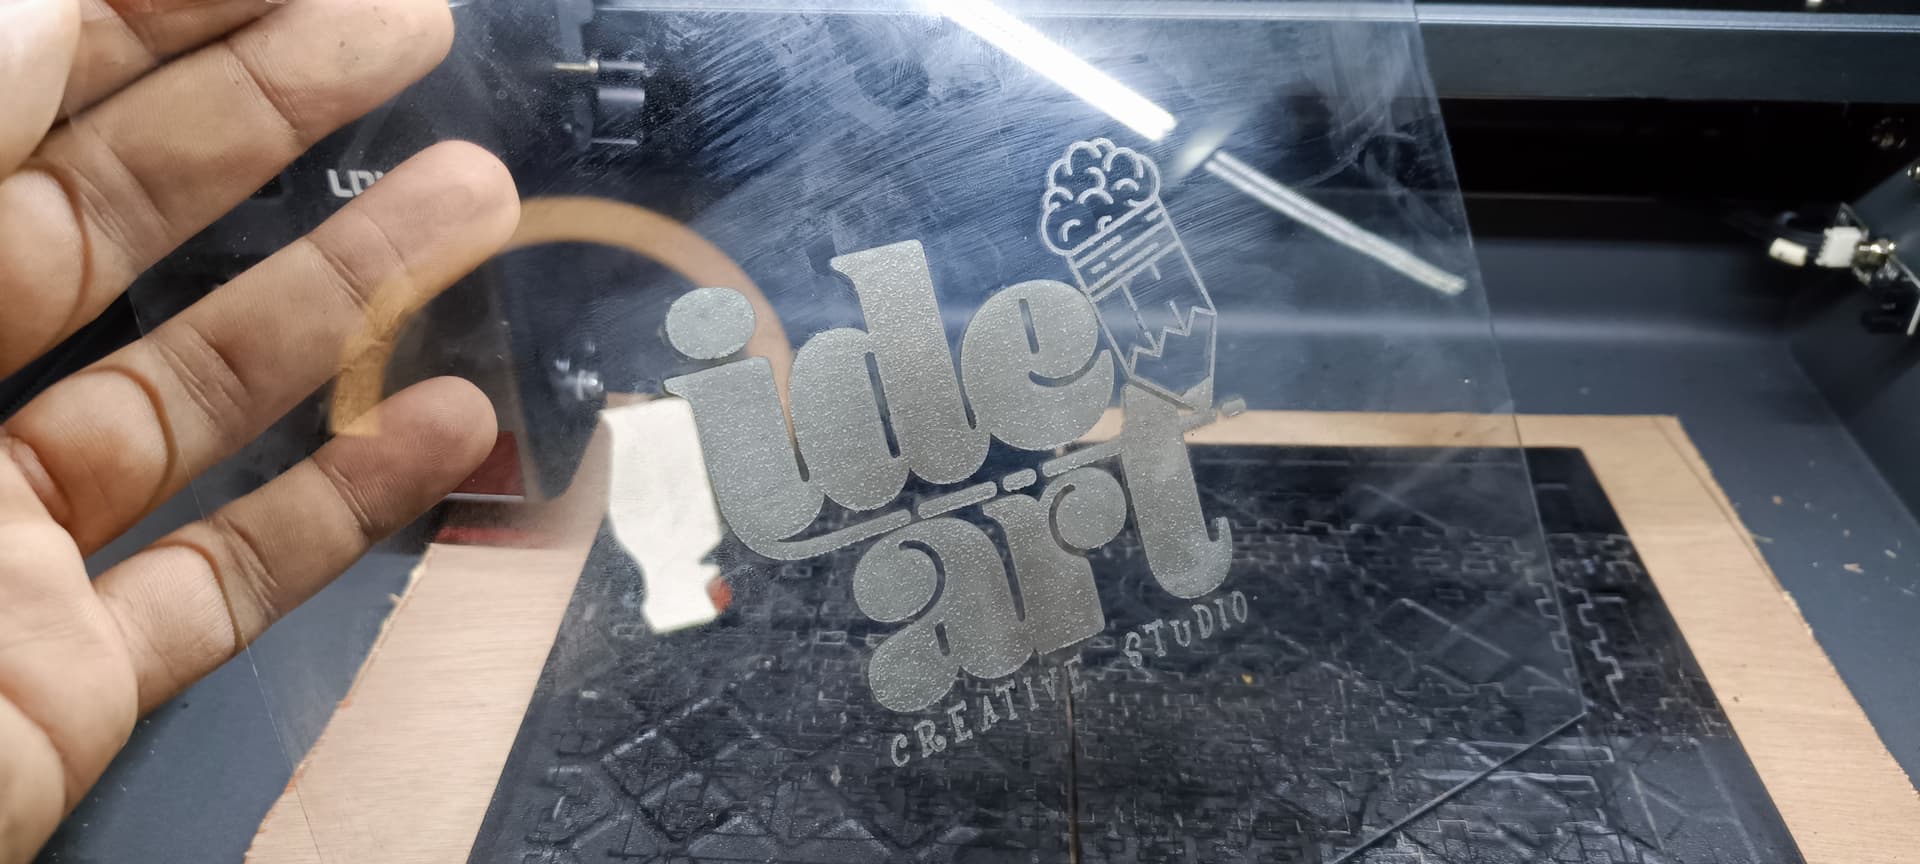
First I wanted to engrave a glass with my logo to put in the tablet slot of my Loklik plotter, then after getting one to my liking, I spray painted with a black aerosol spray the glass and then pass it to the iEgrave, it is essential that the transparent materials are painted black to be able to be engraved.
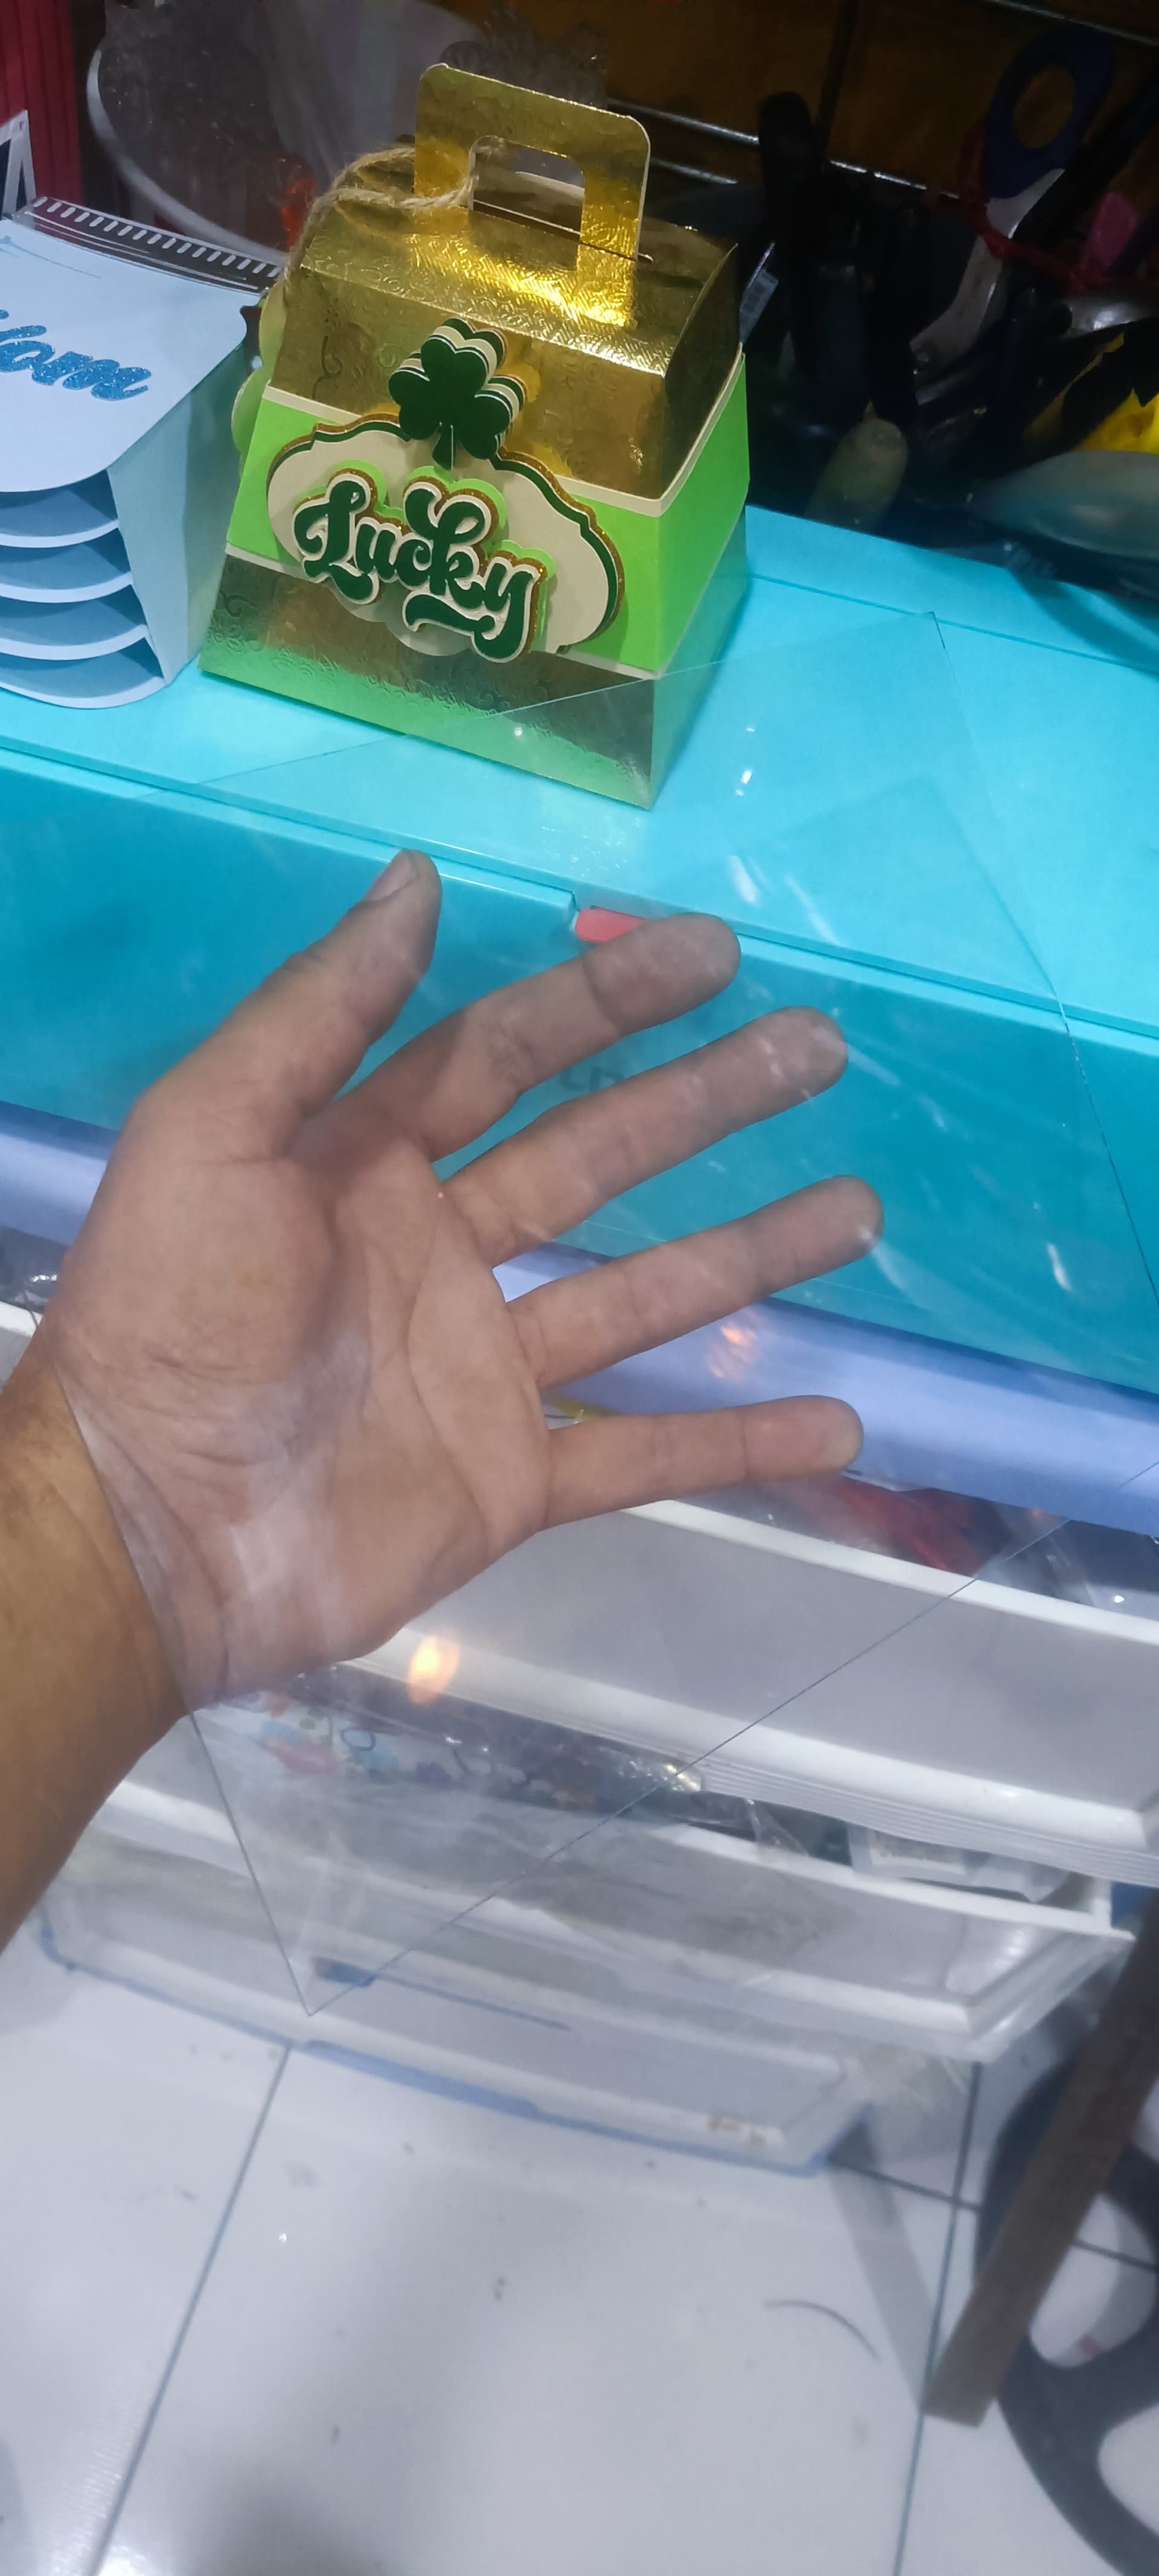
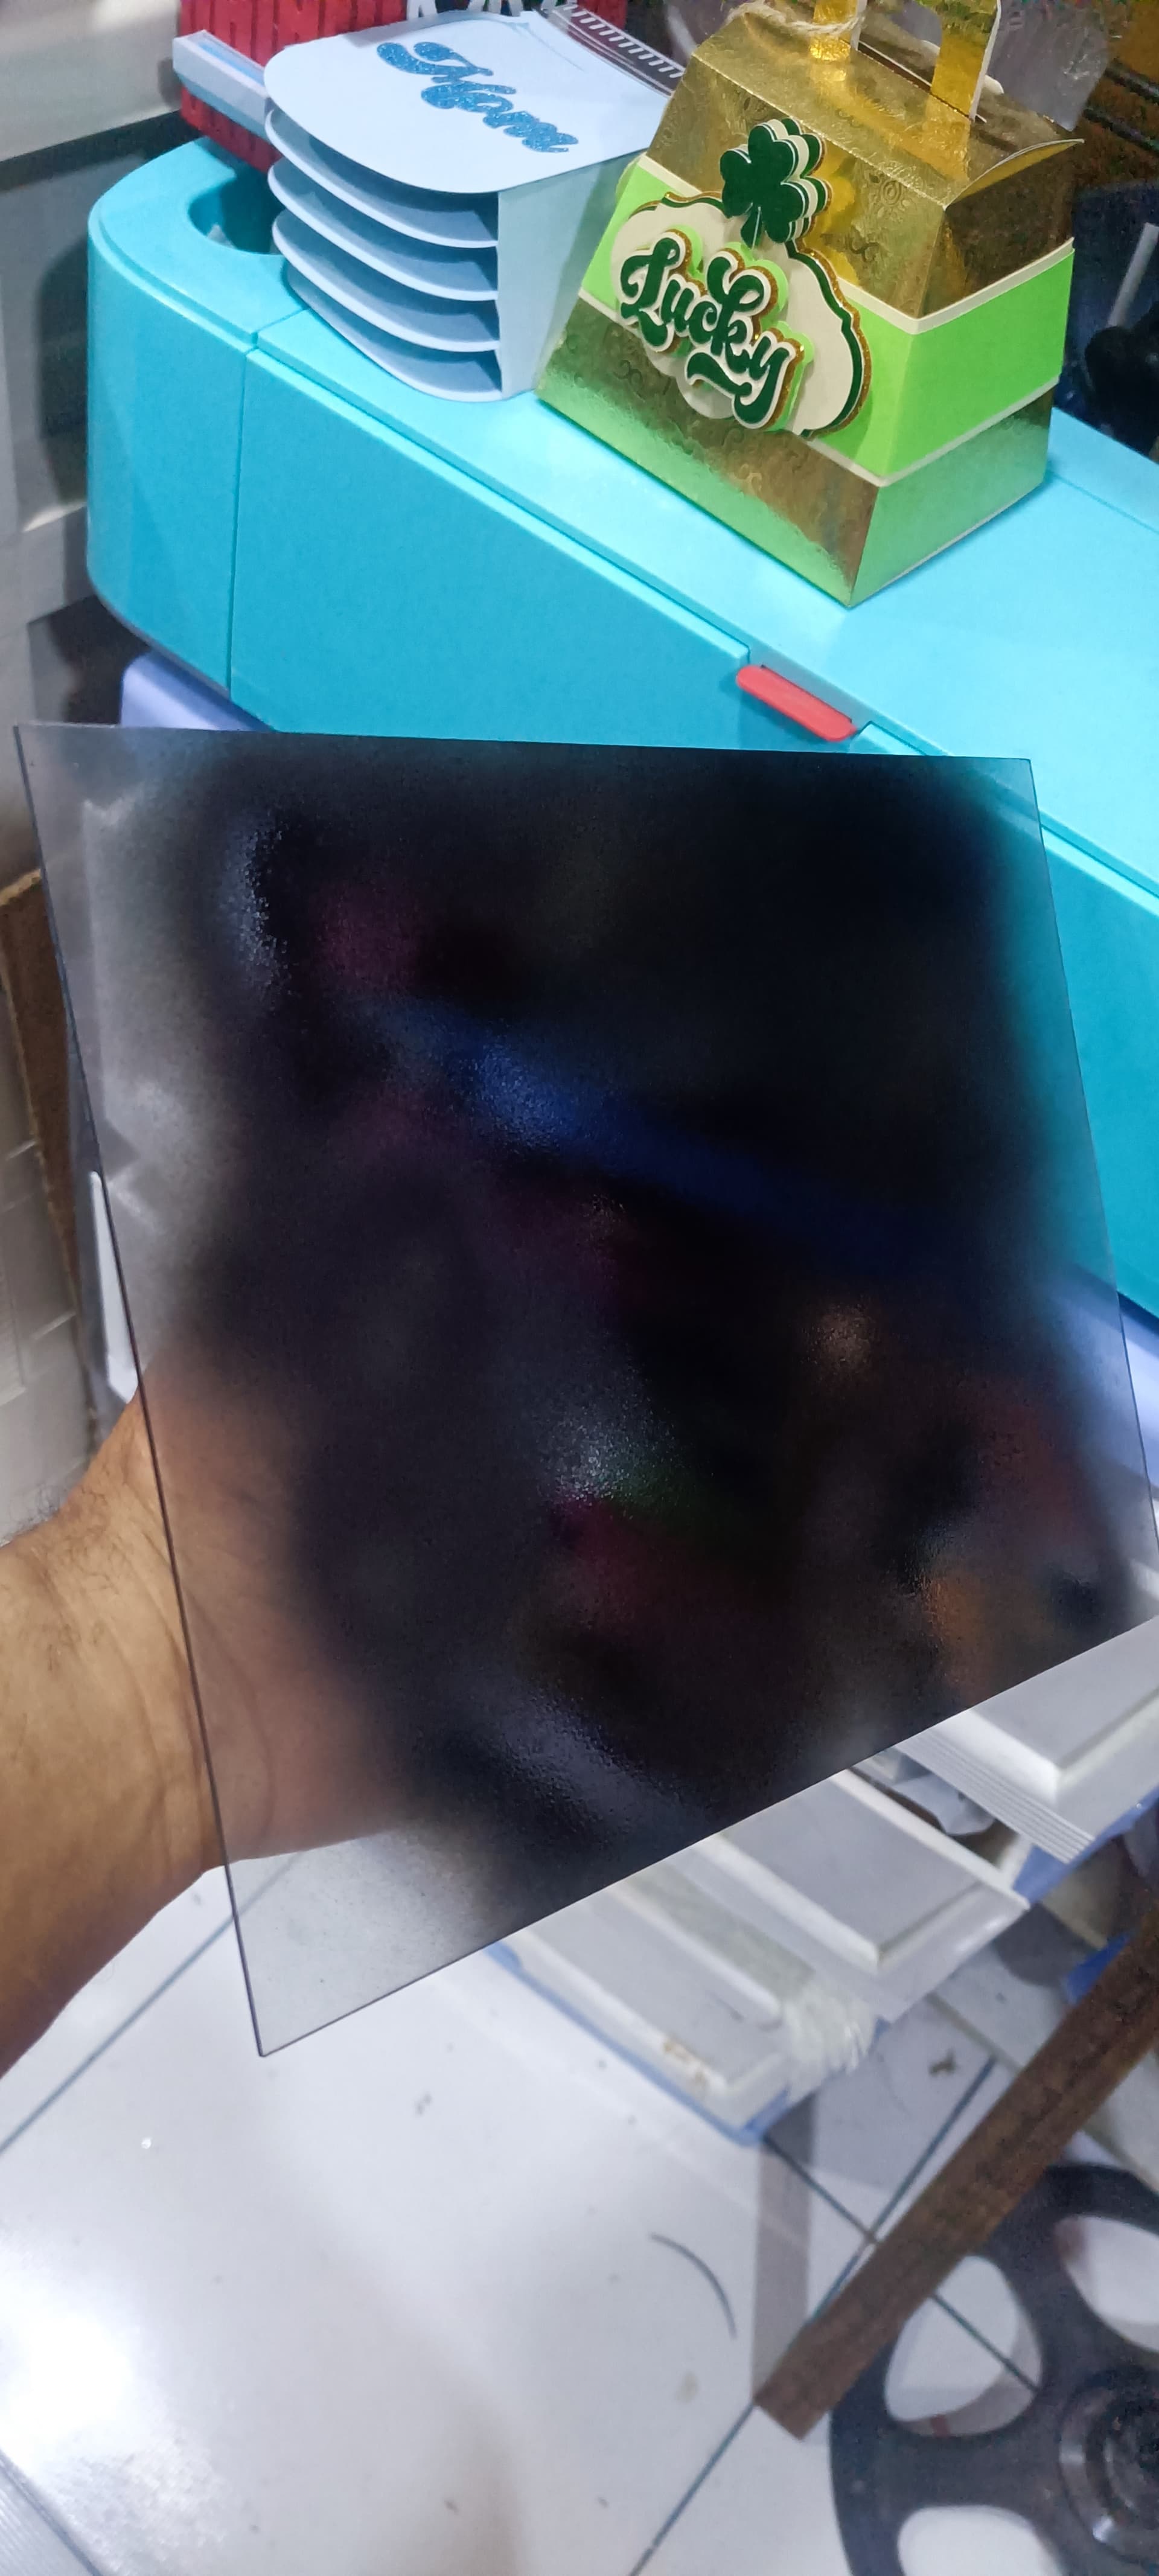
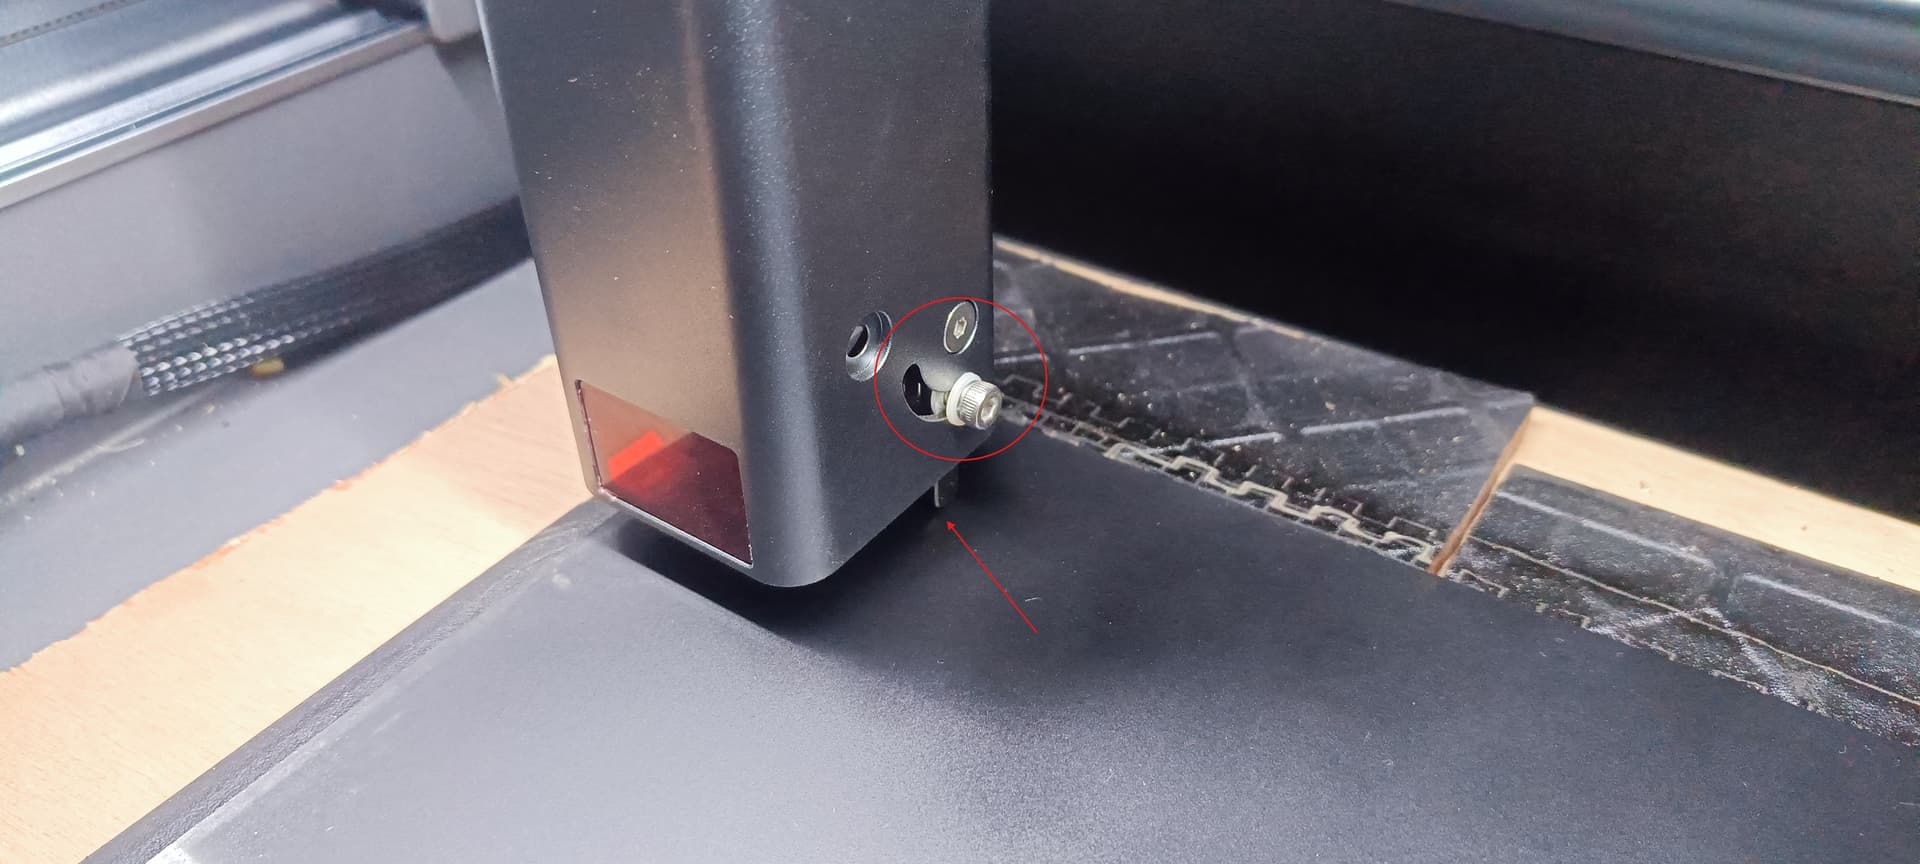
Then pass the crystal to the iEngrave and place it leveling the laser with the integrated stop, this is essential for our engravings to be perfect, since with that distance is that the laser cuts and focuses precisely.
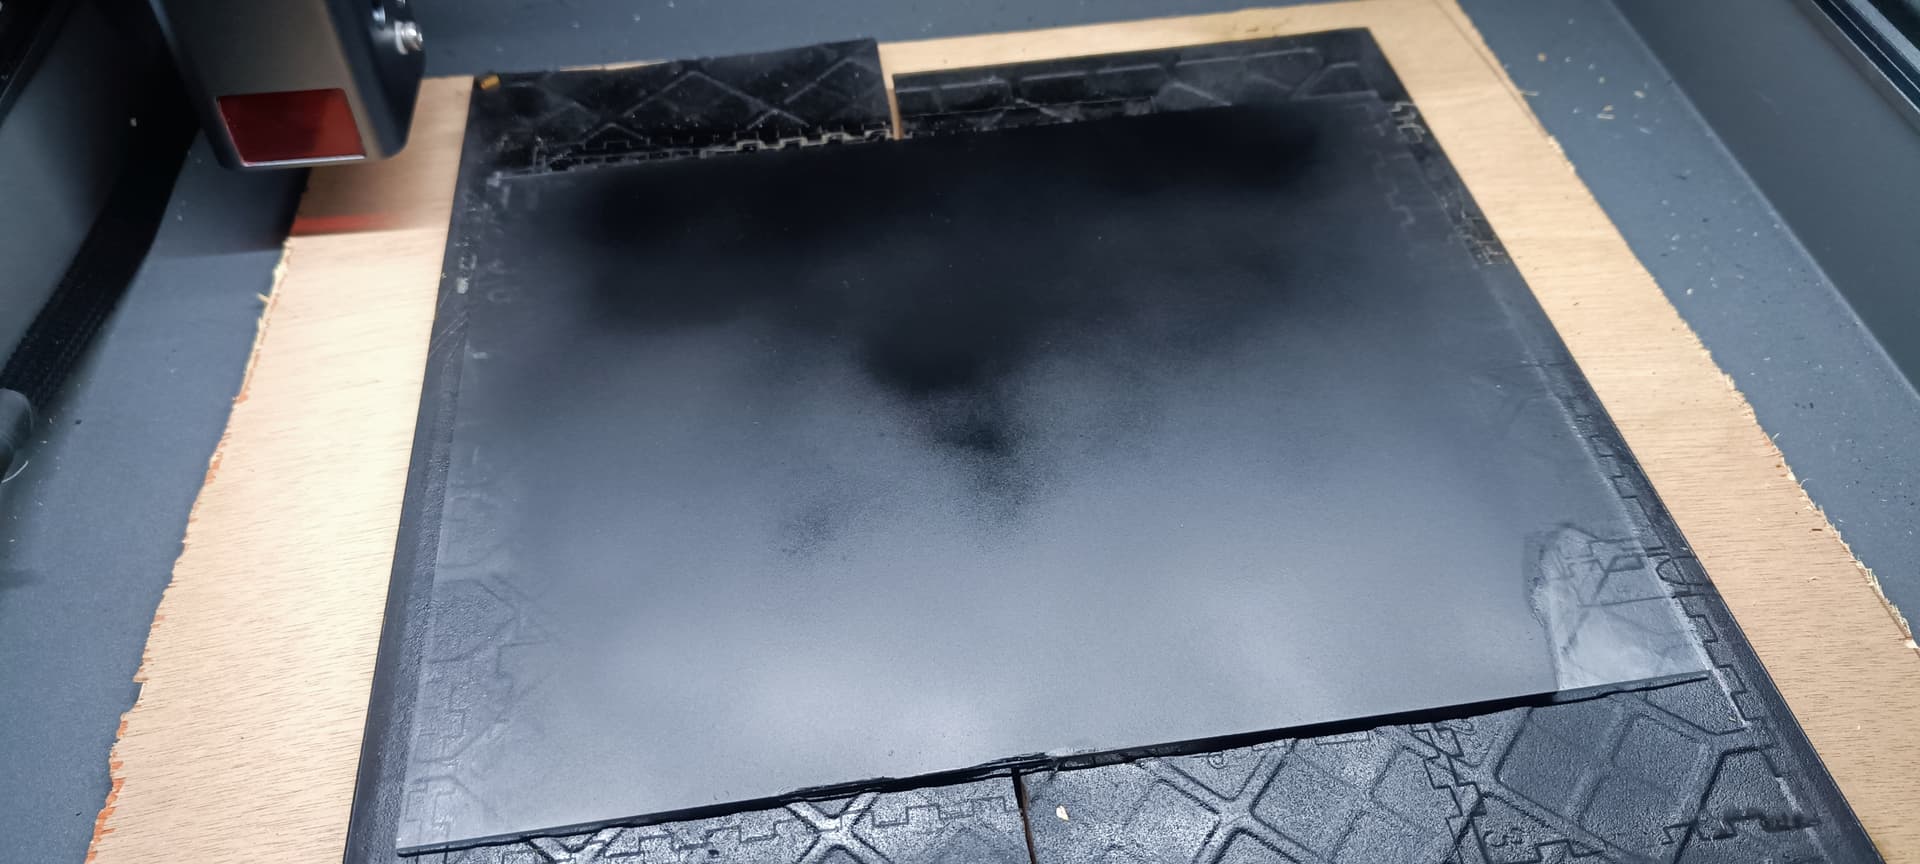
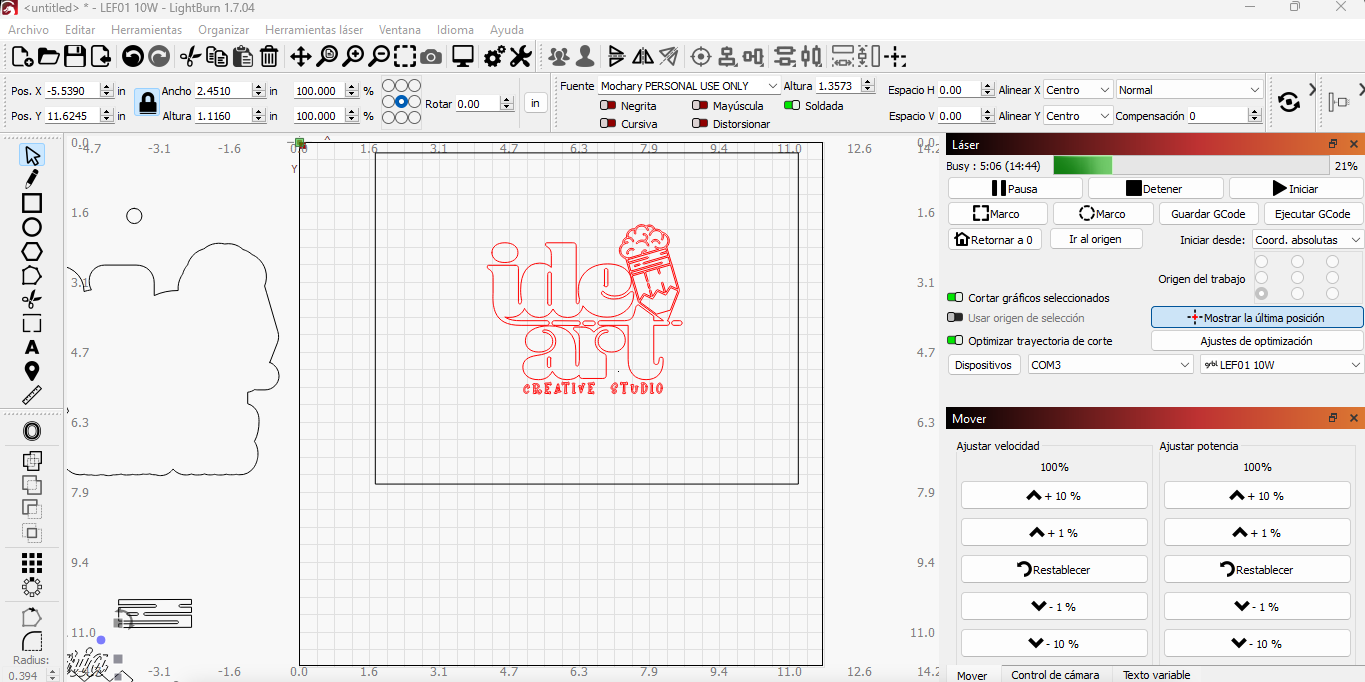
In the Lightburn program I created a box of the width and height of my glass, this box will help me to send to mark the edges of the glass so that the engraving is centered.
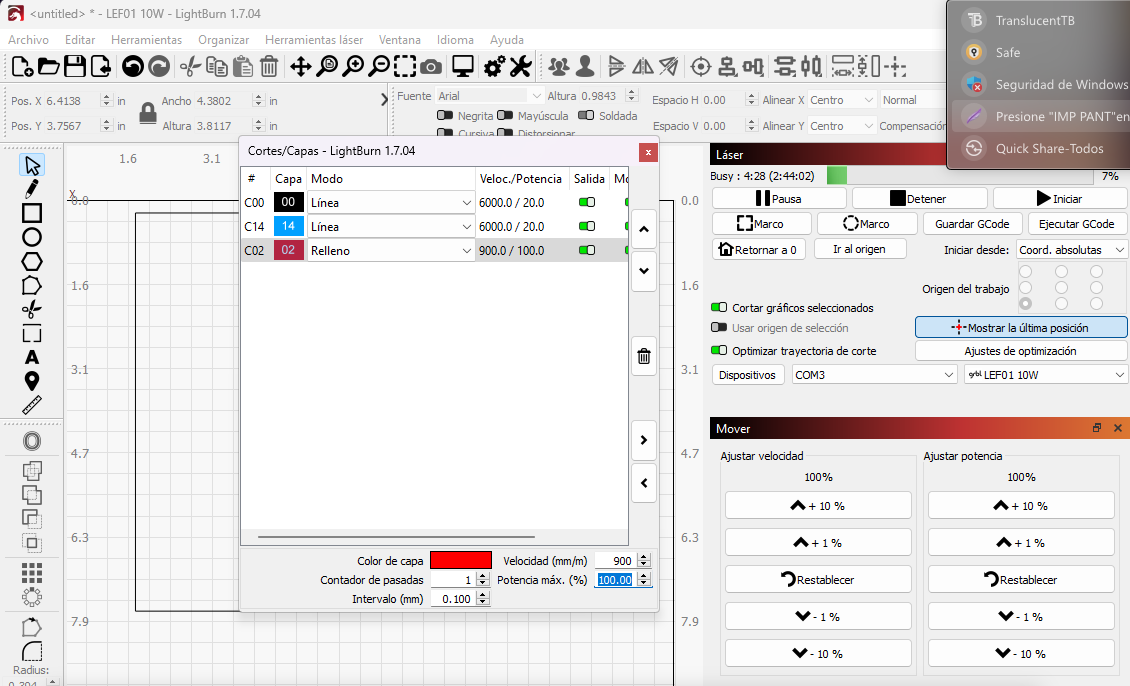
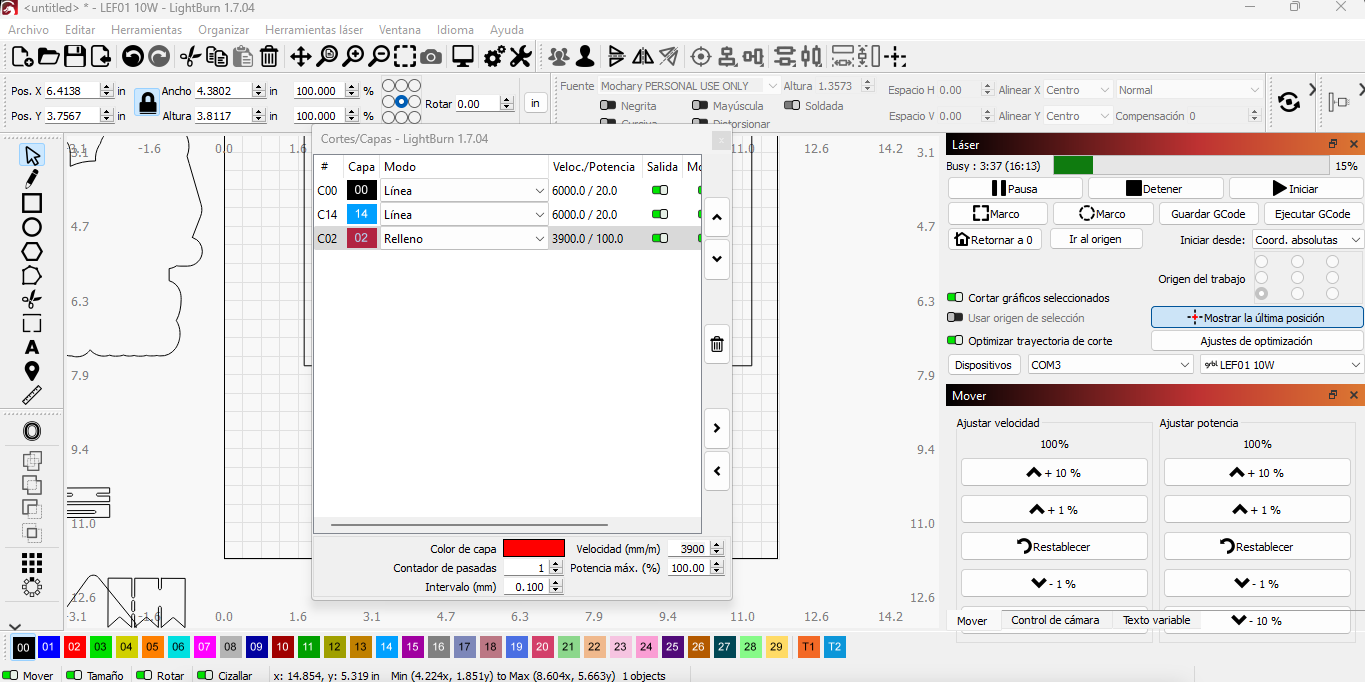
To engrave on glass use a speed of 900 and a power at 100%, these parameters can be modified to the taste you want the engraving to be, in my case I wanted it to be as opaque as possible. with these parameters I gave only one pass horizontally.
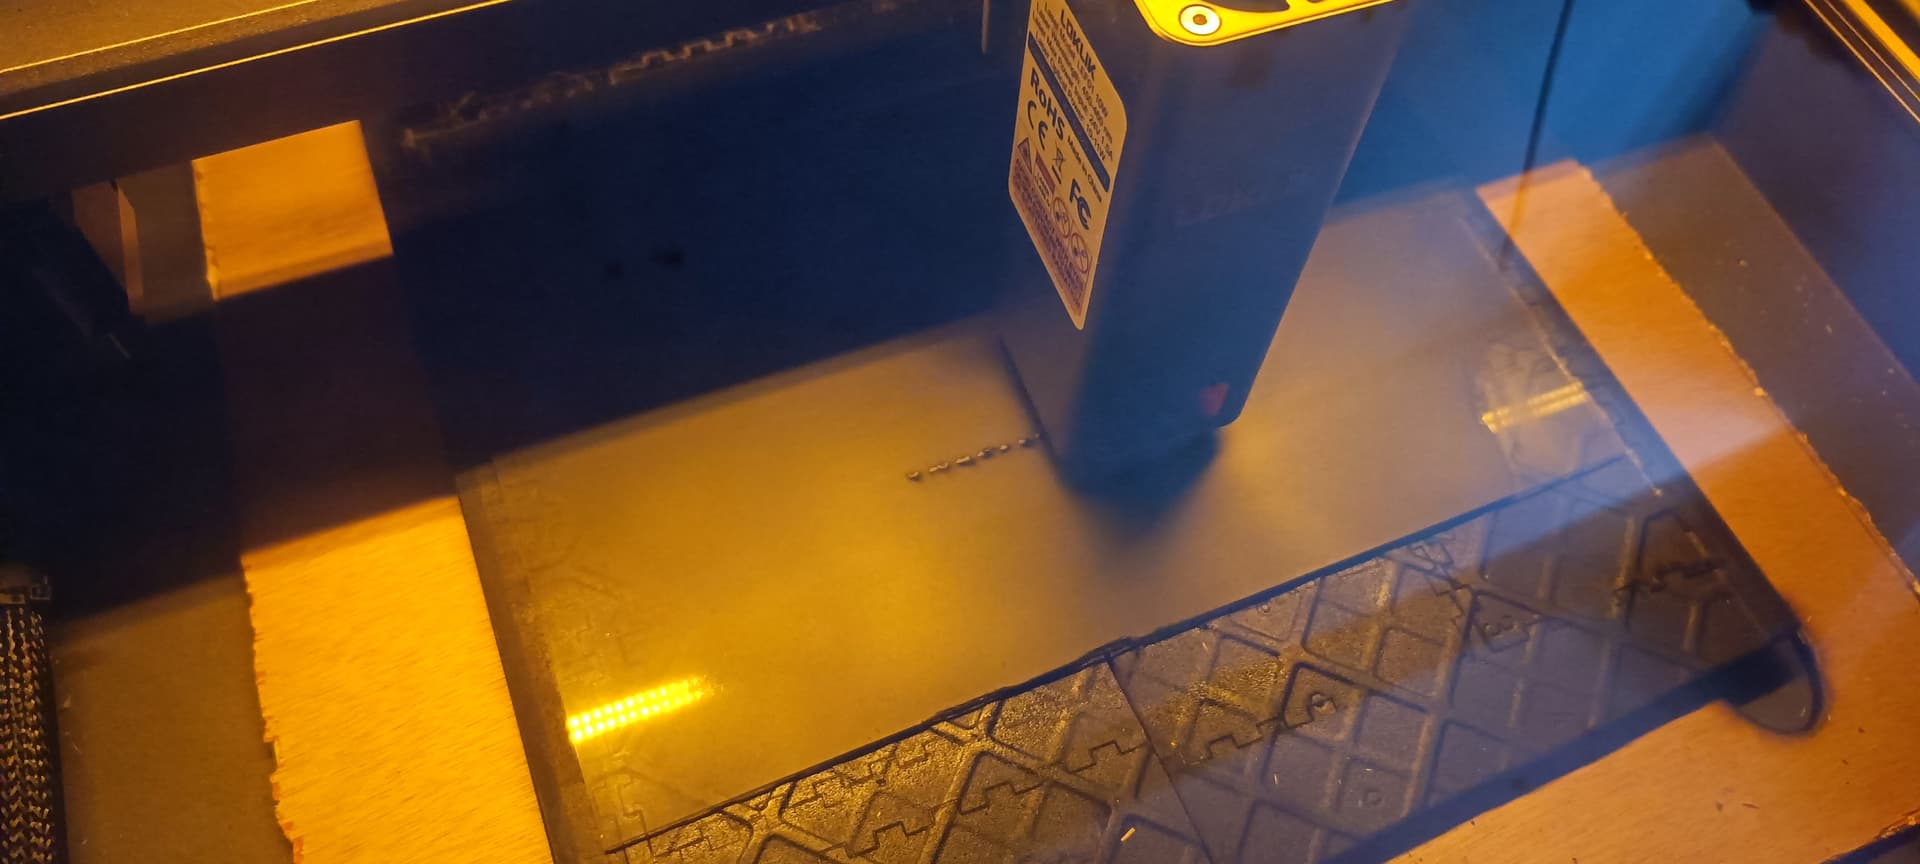
I show you some pictures of how the engraving was done.
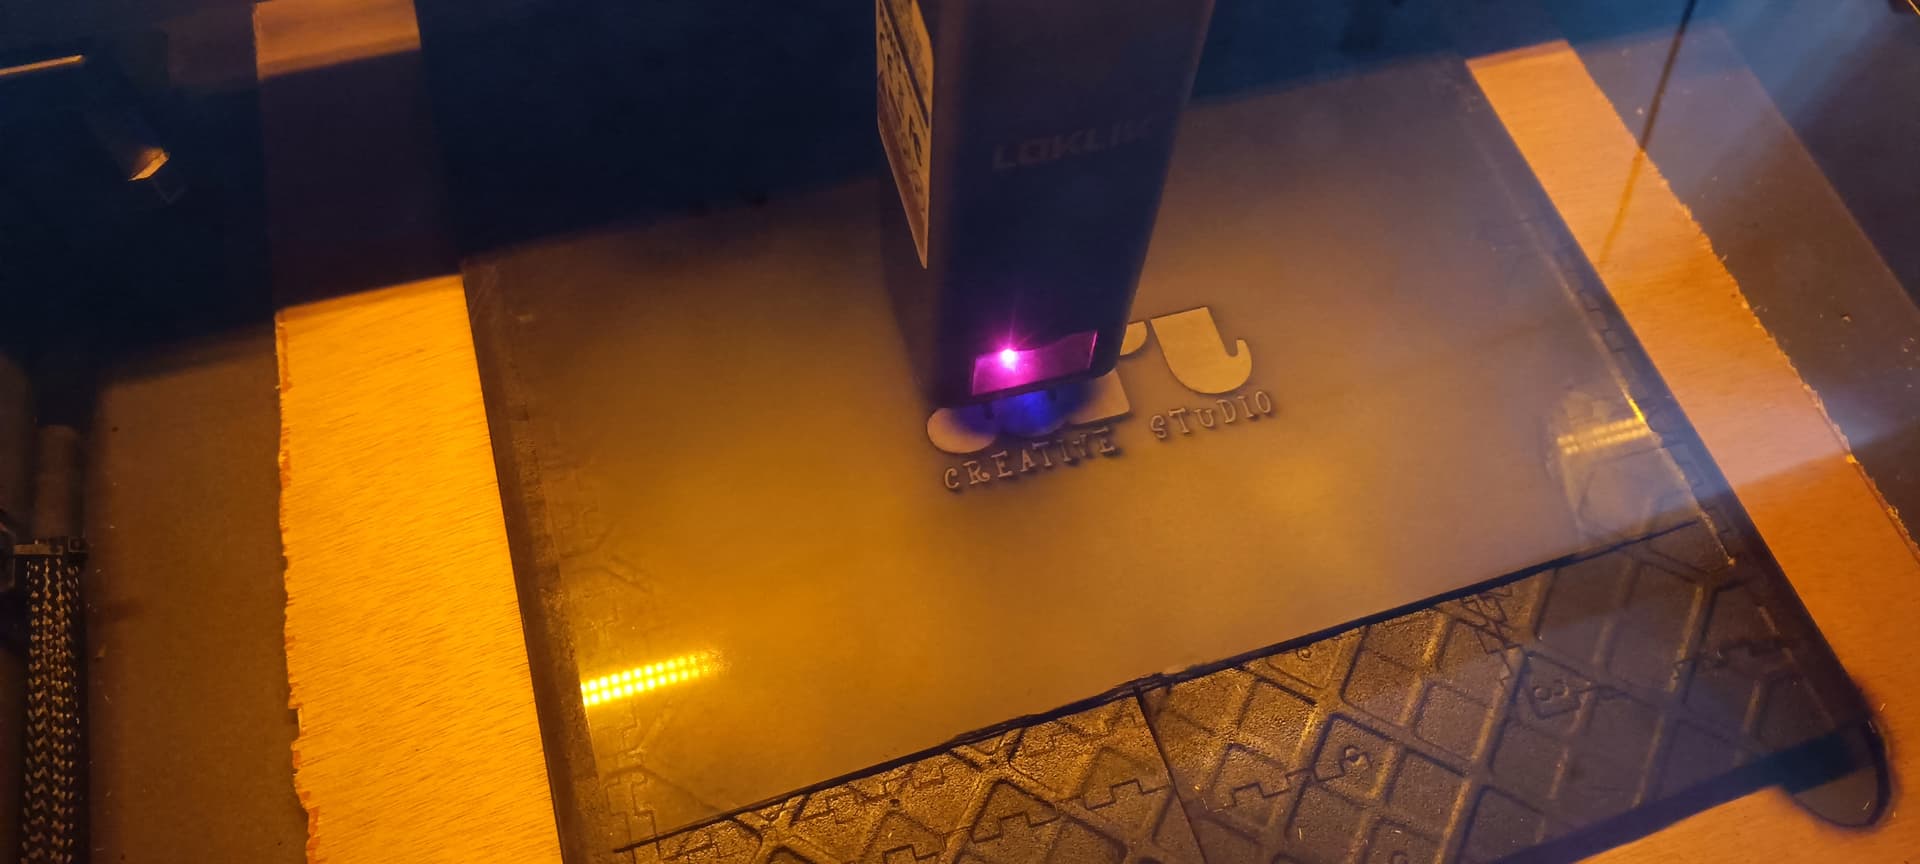
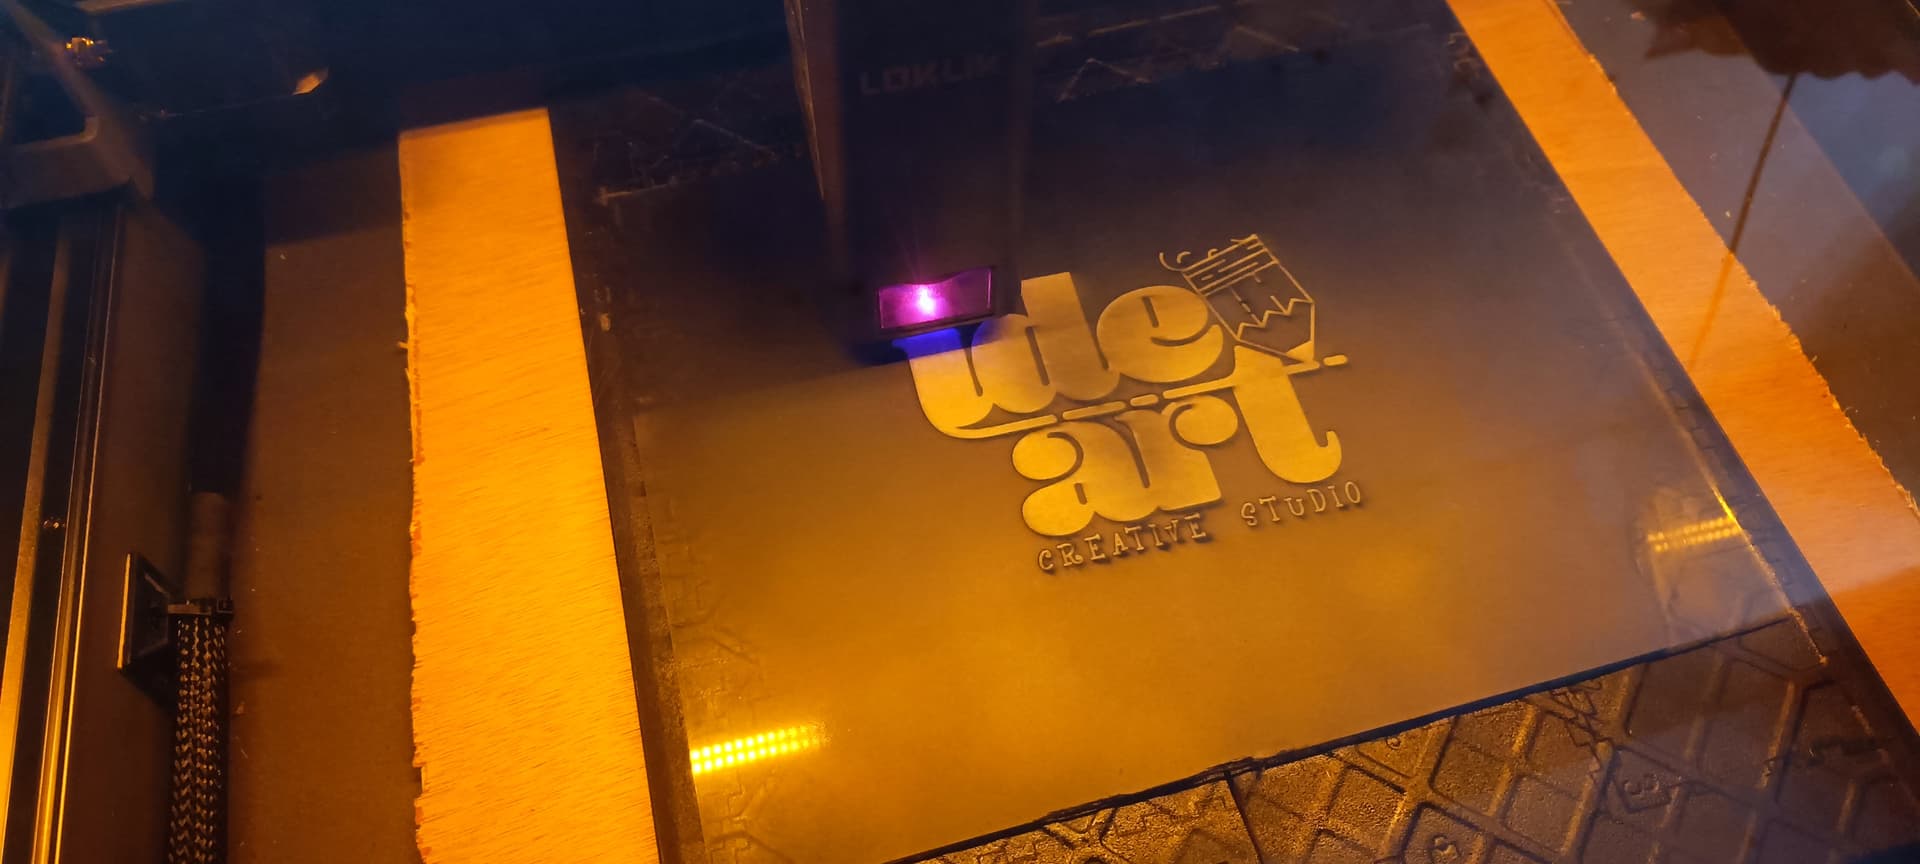
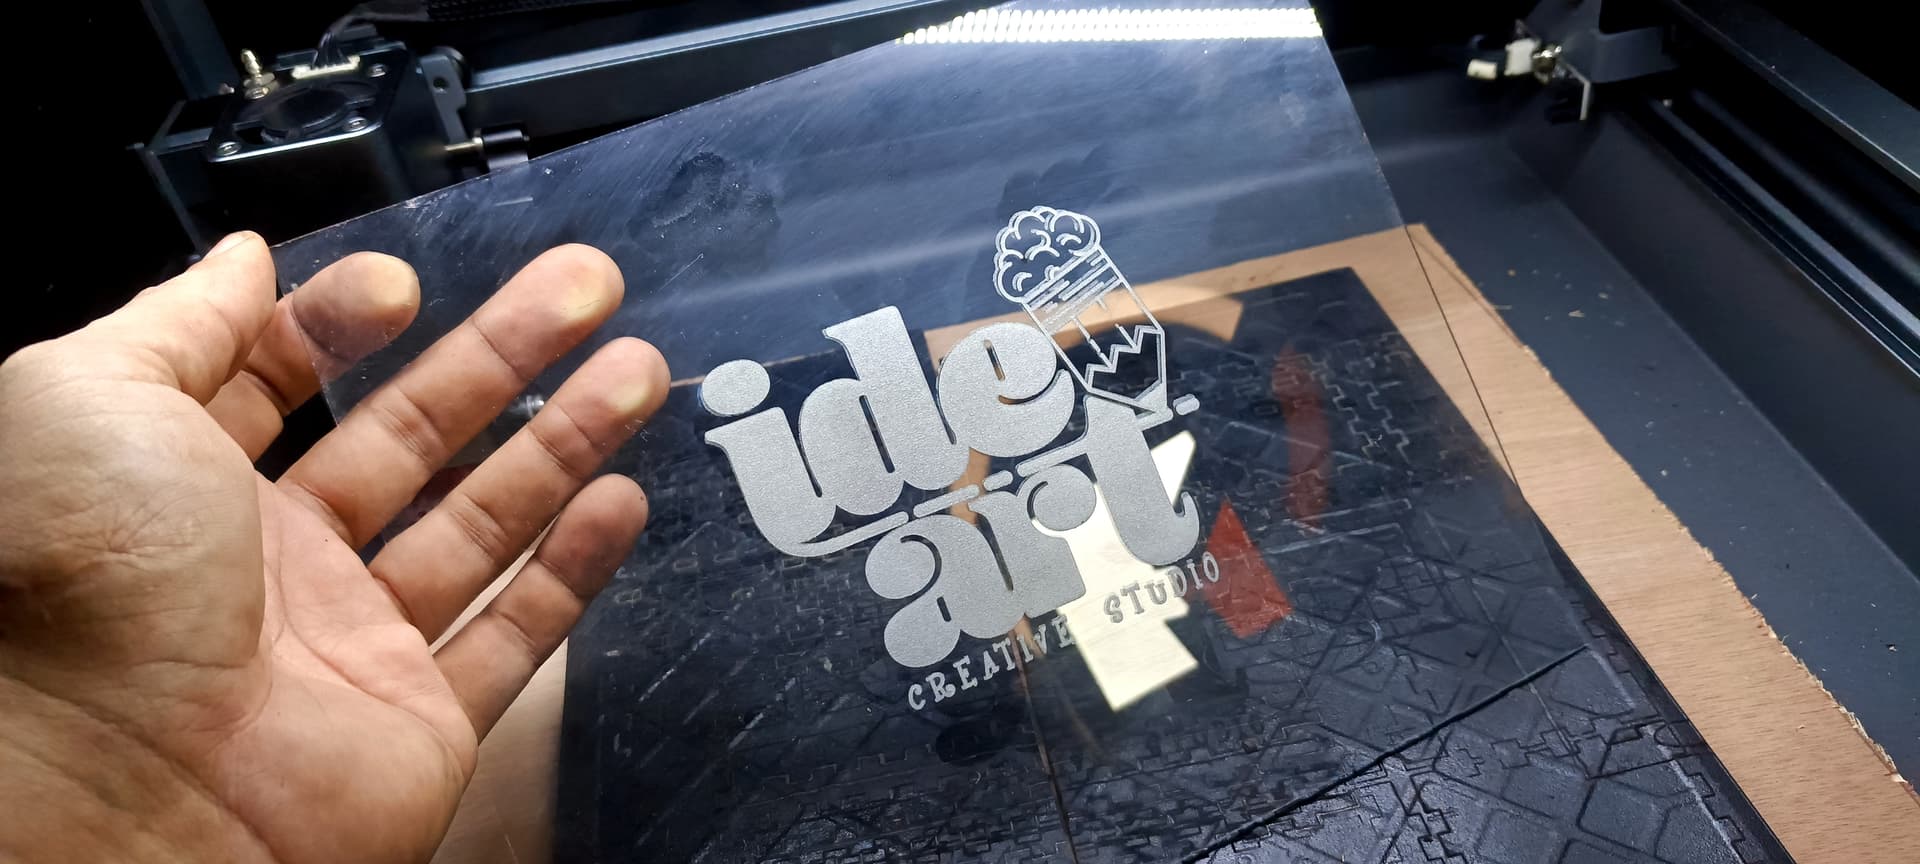
This was the final result as I wanted it opaque, it should be noted that then use a paint thinner to remove the aerosol, and that the paint when removing it got between the lines of the engraving so it looked like dirty, the paint stains, but I solved it by giving a second pass of laser but this time horizontal to erase the spots, just put it in the same position previously marked in the china I have below to engrave.
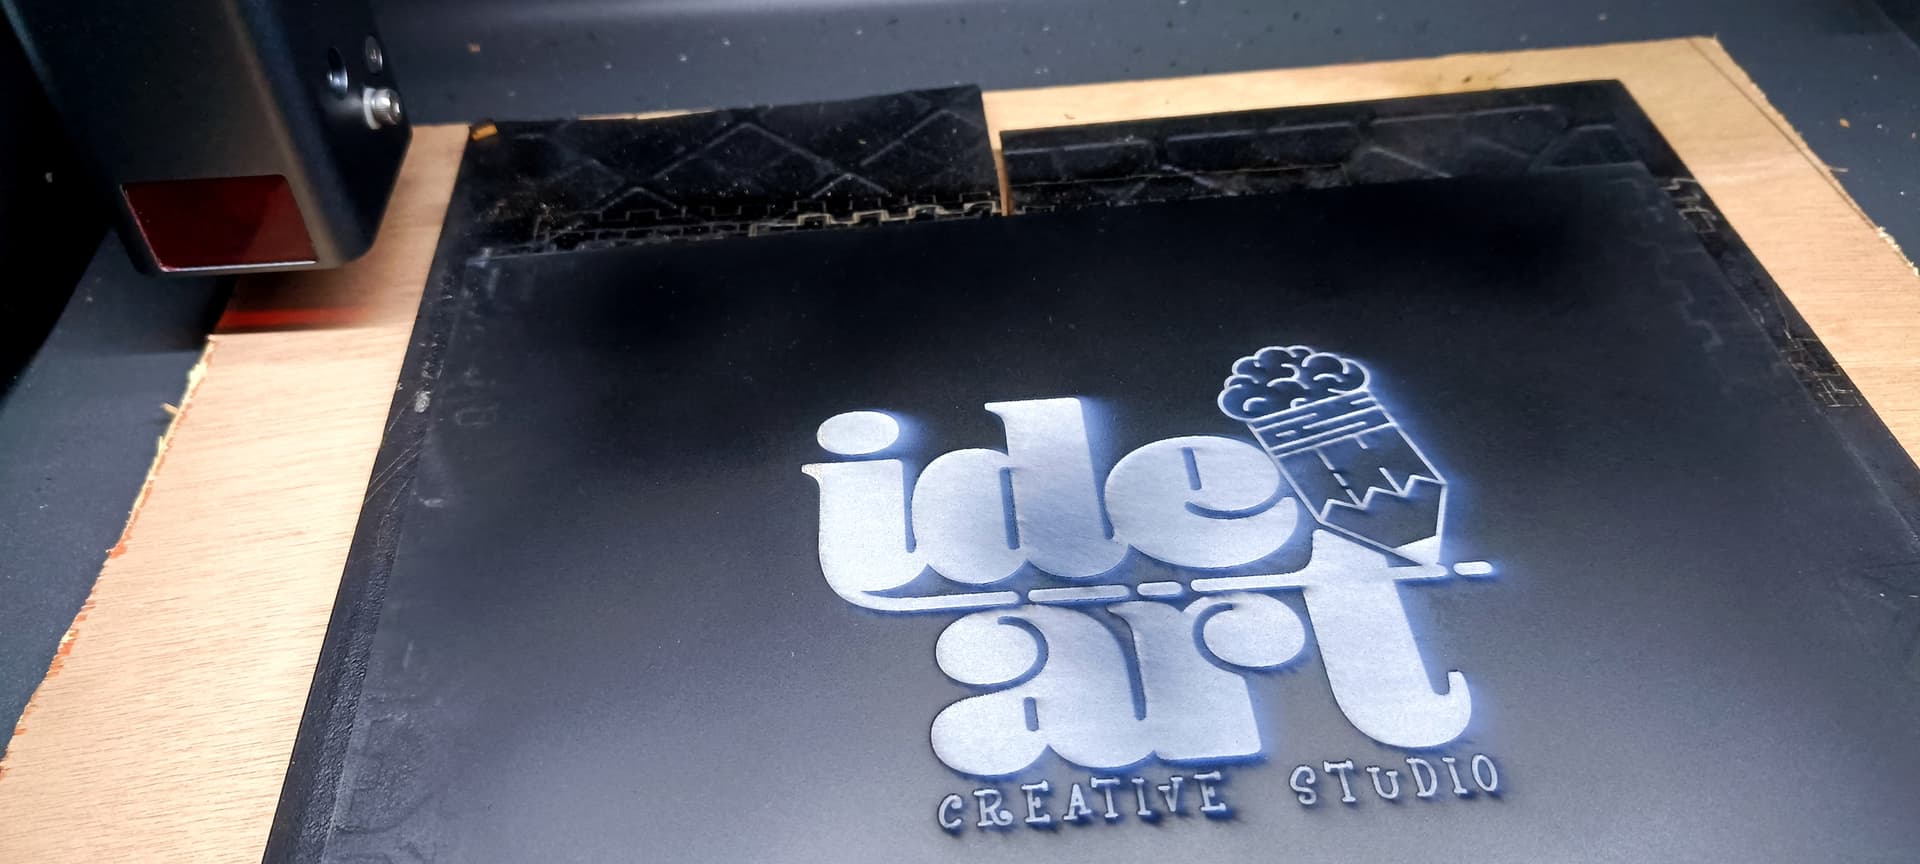
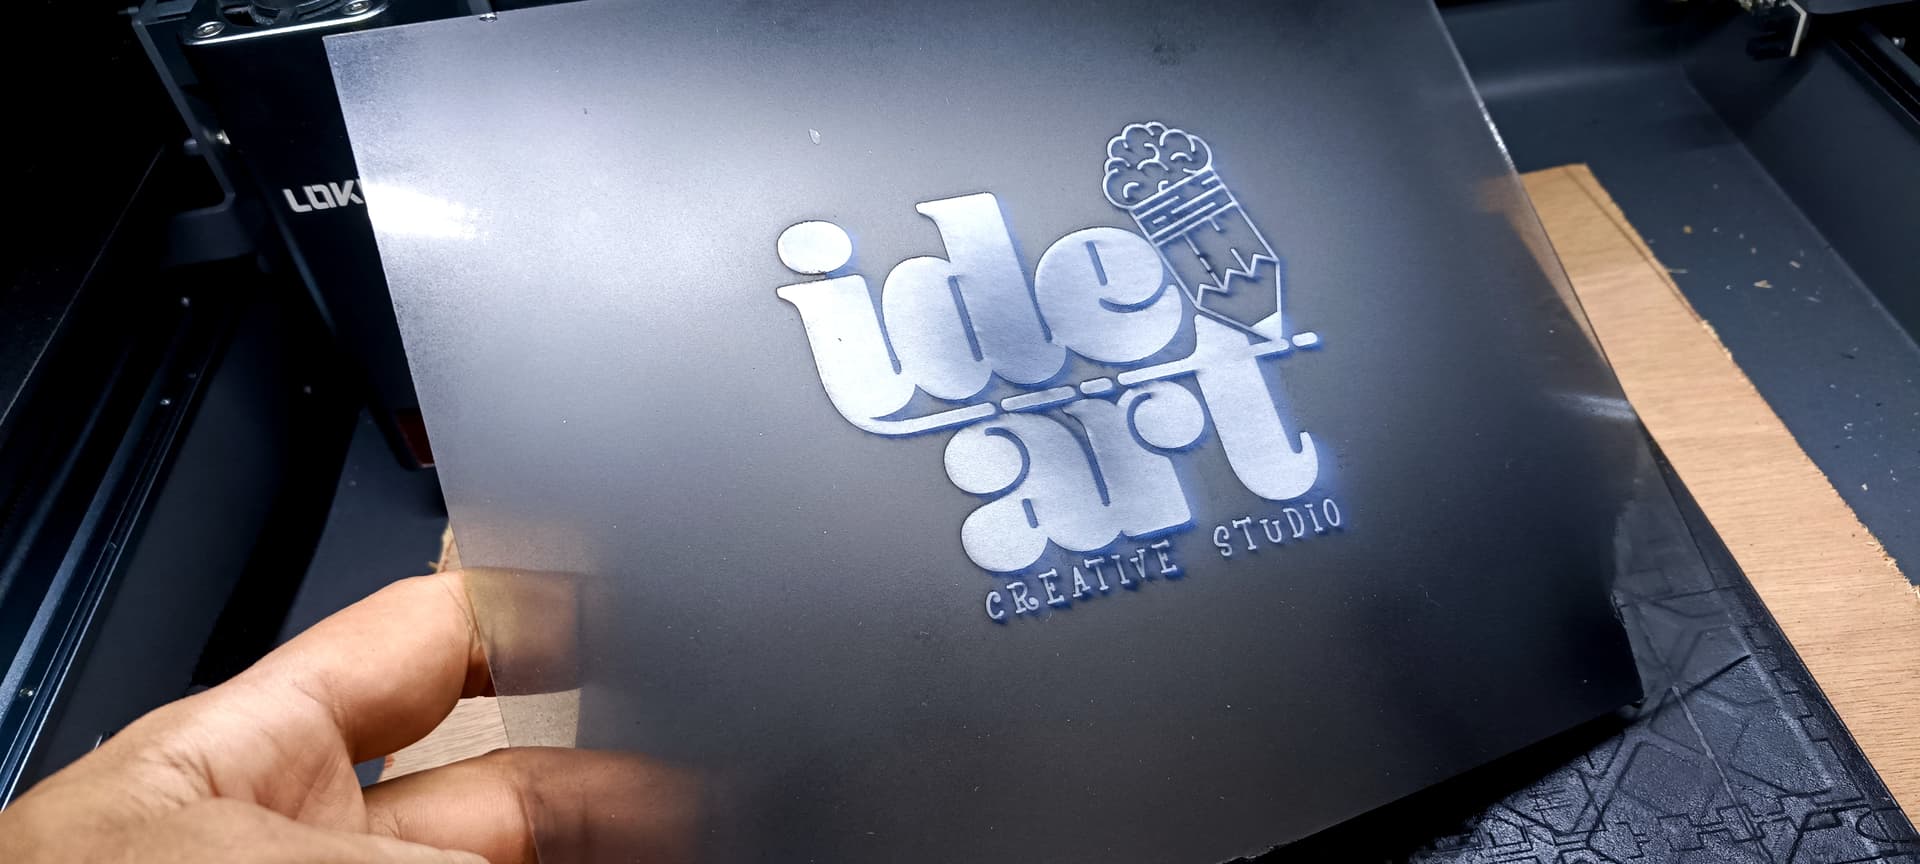
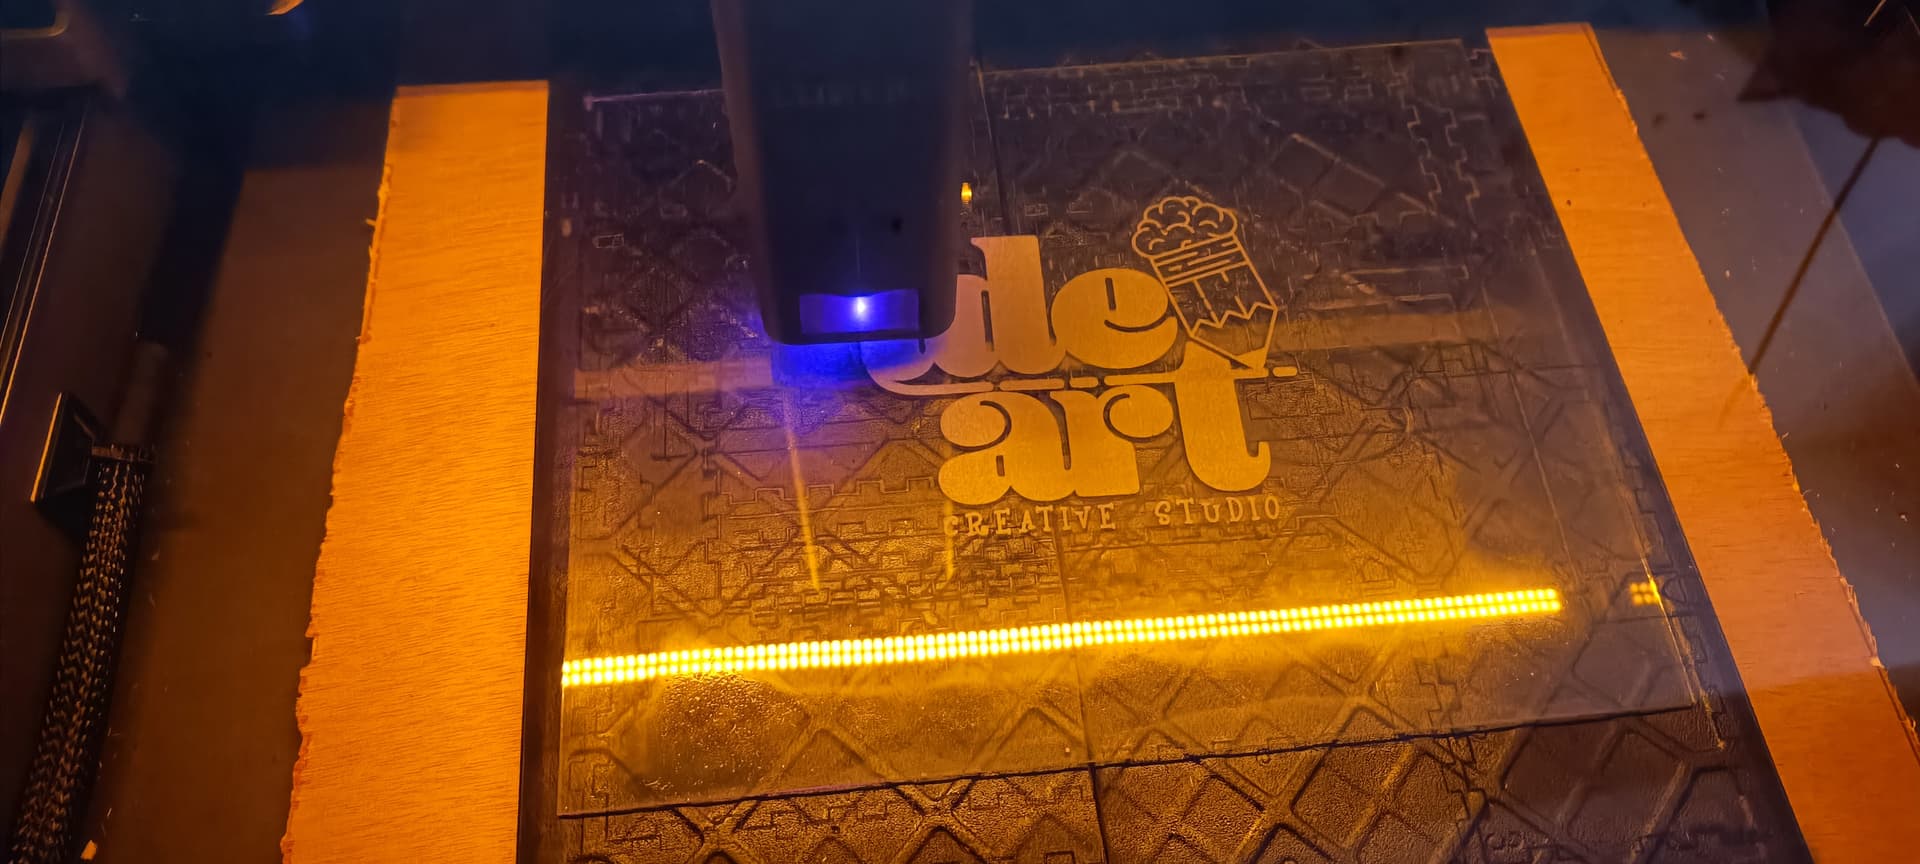
In the following image you can see the division between horizontal and vertical engraving.
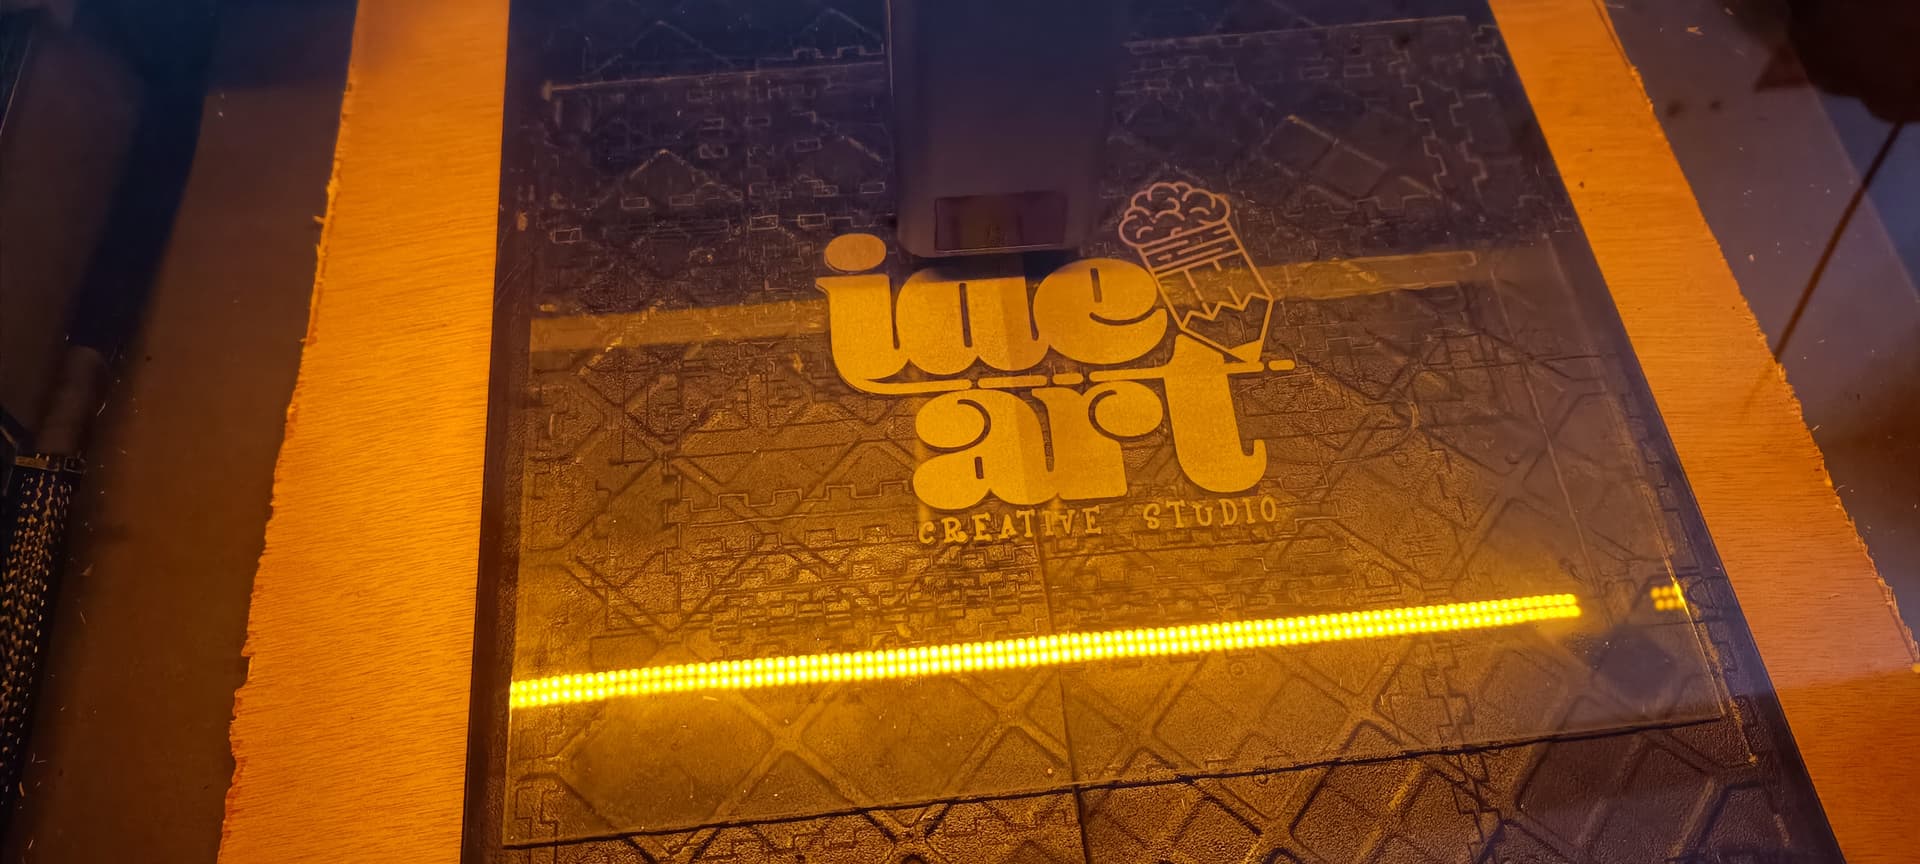
For that last pass I used the same 100% power but with more speed 3900.
This was my final result, I loved it!
EVA foam cutting
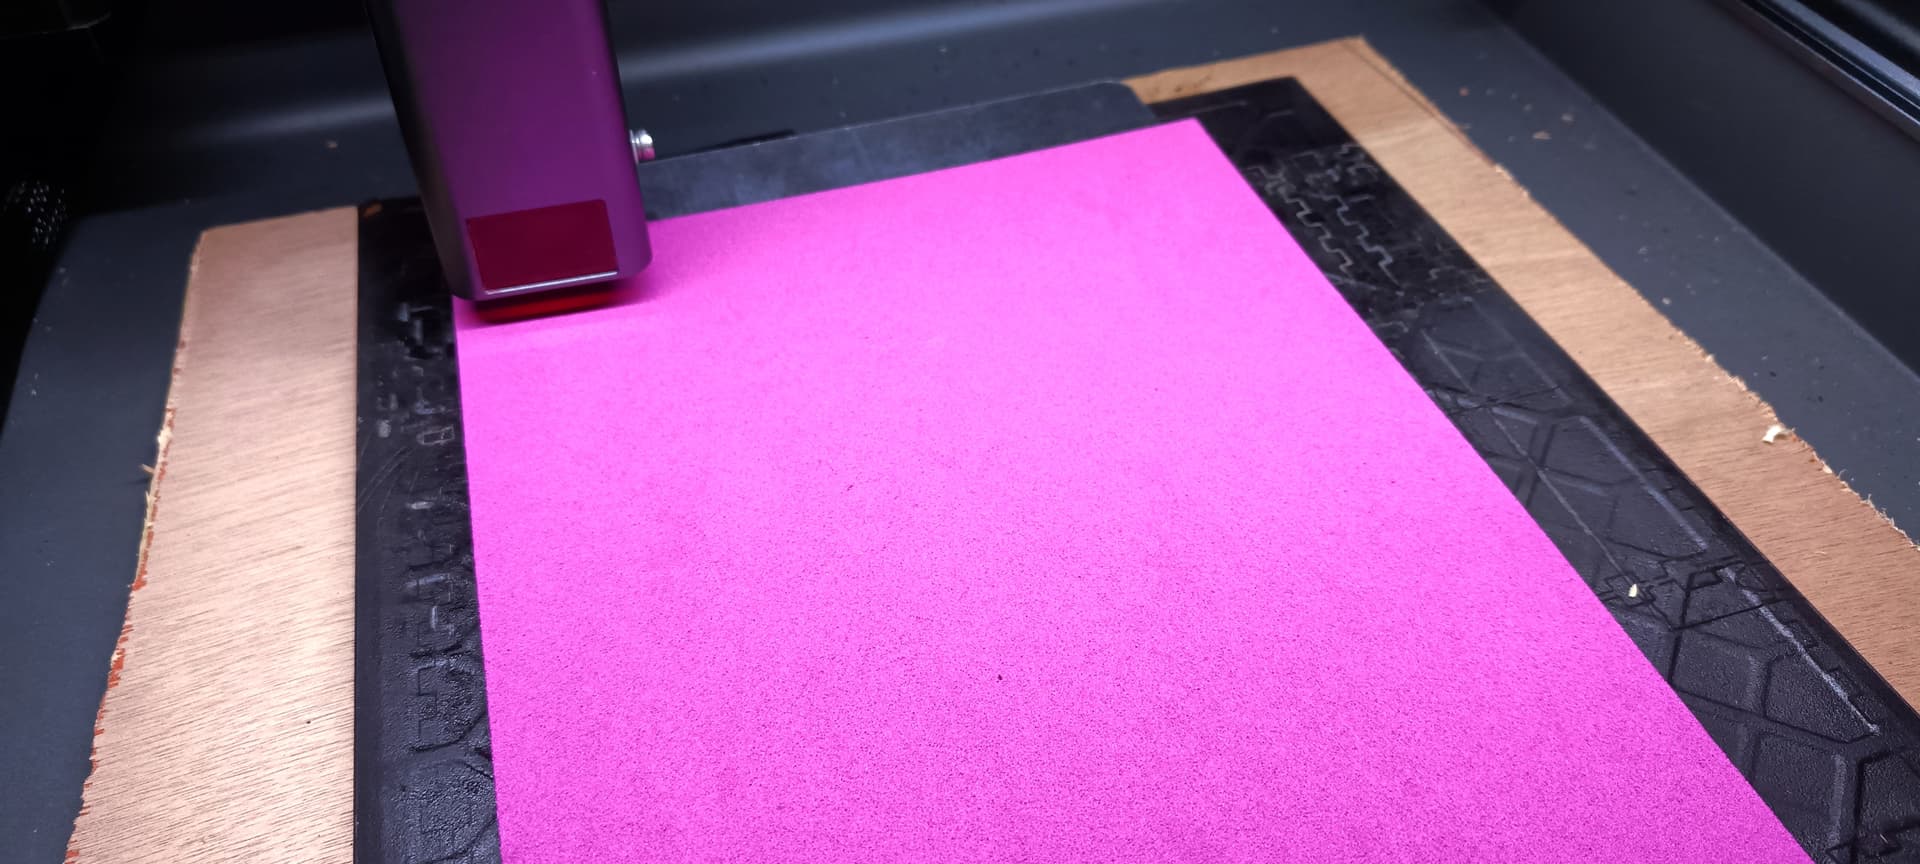
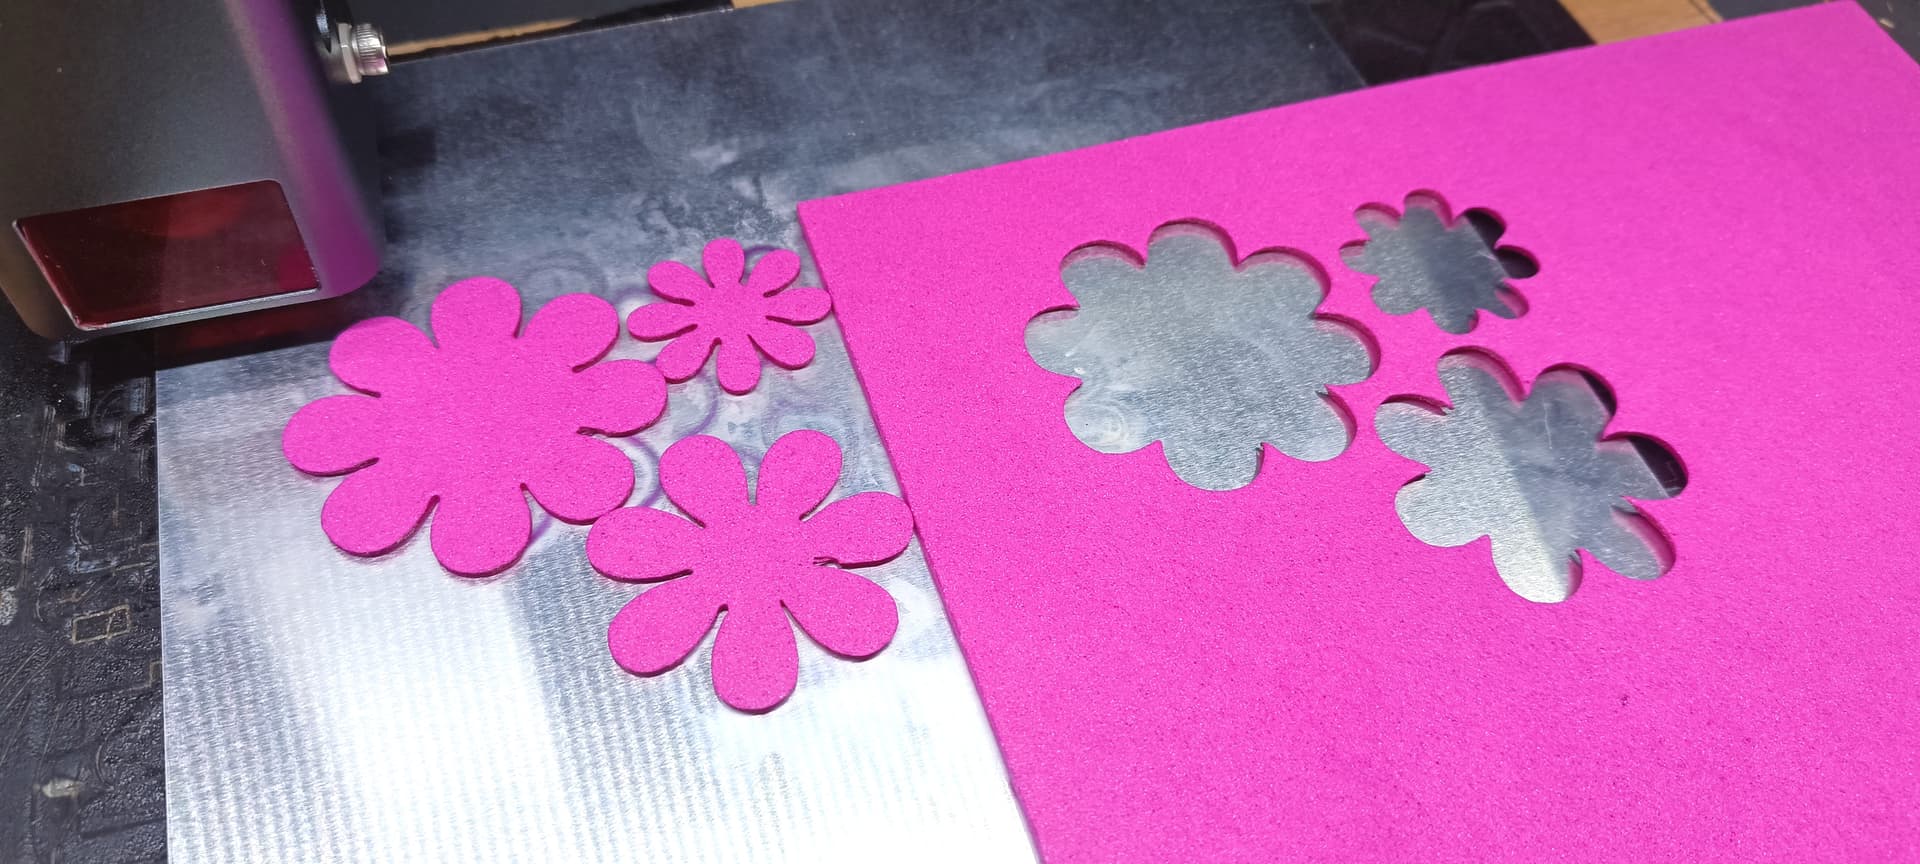
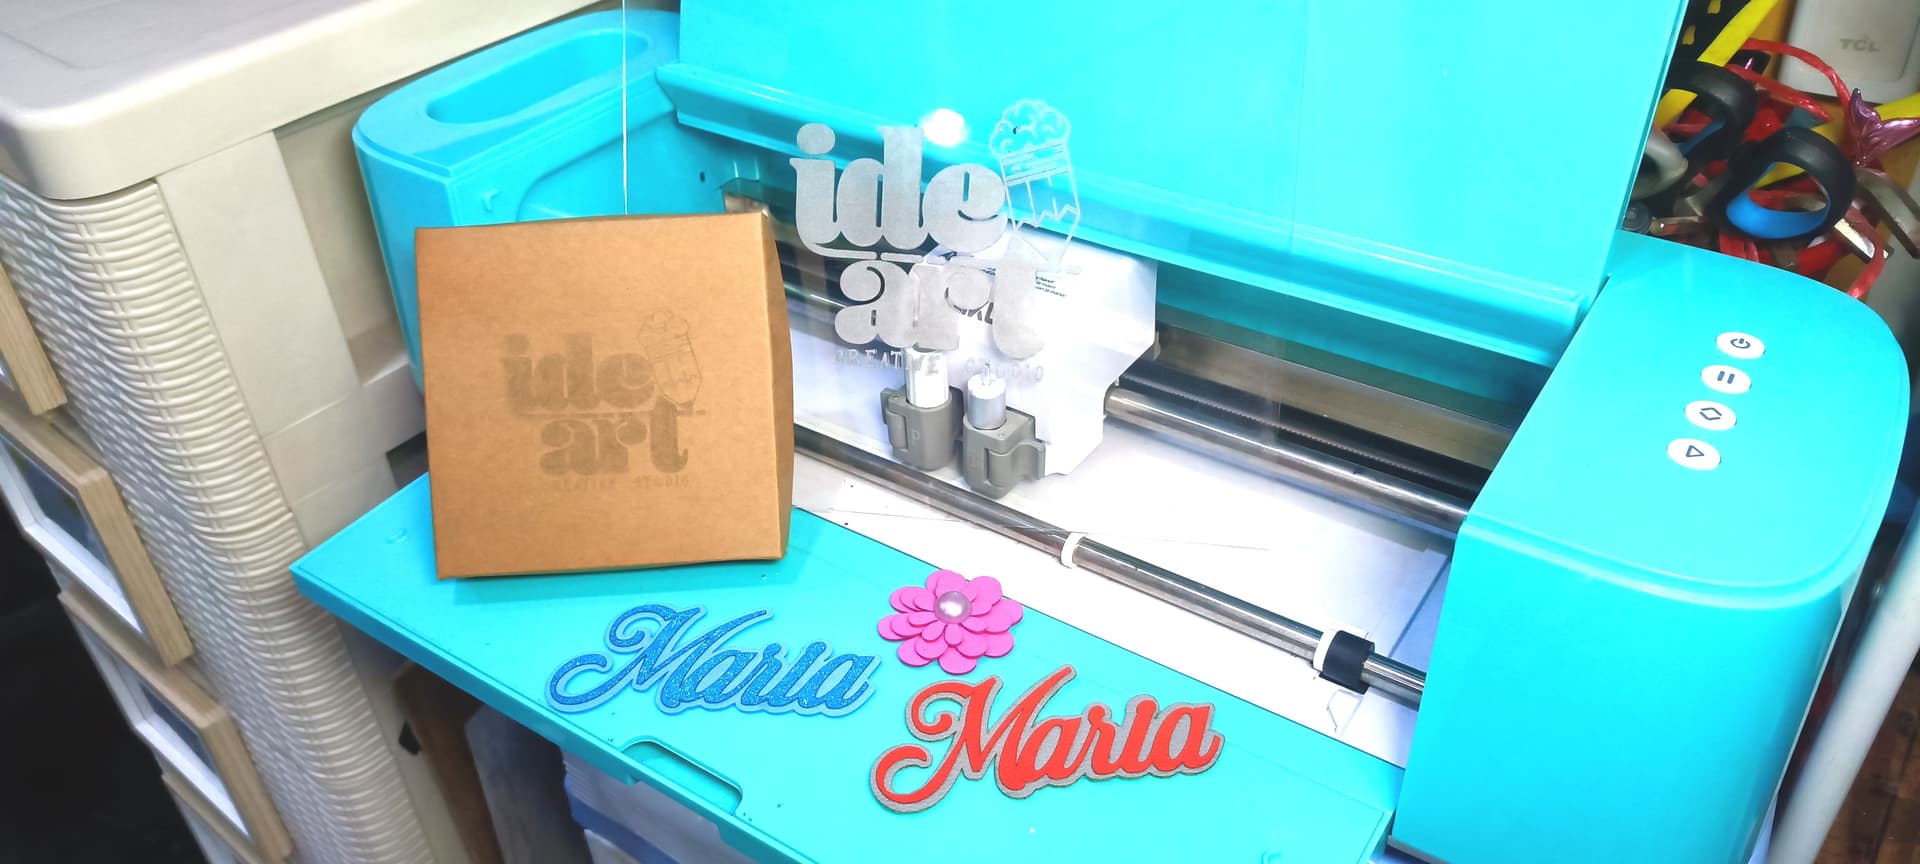
I placed a sheet of EVA foam on the cutting tray to cut a flower, I wanted to try a second material and this is one of the ones I use the most.
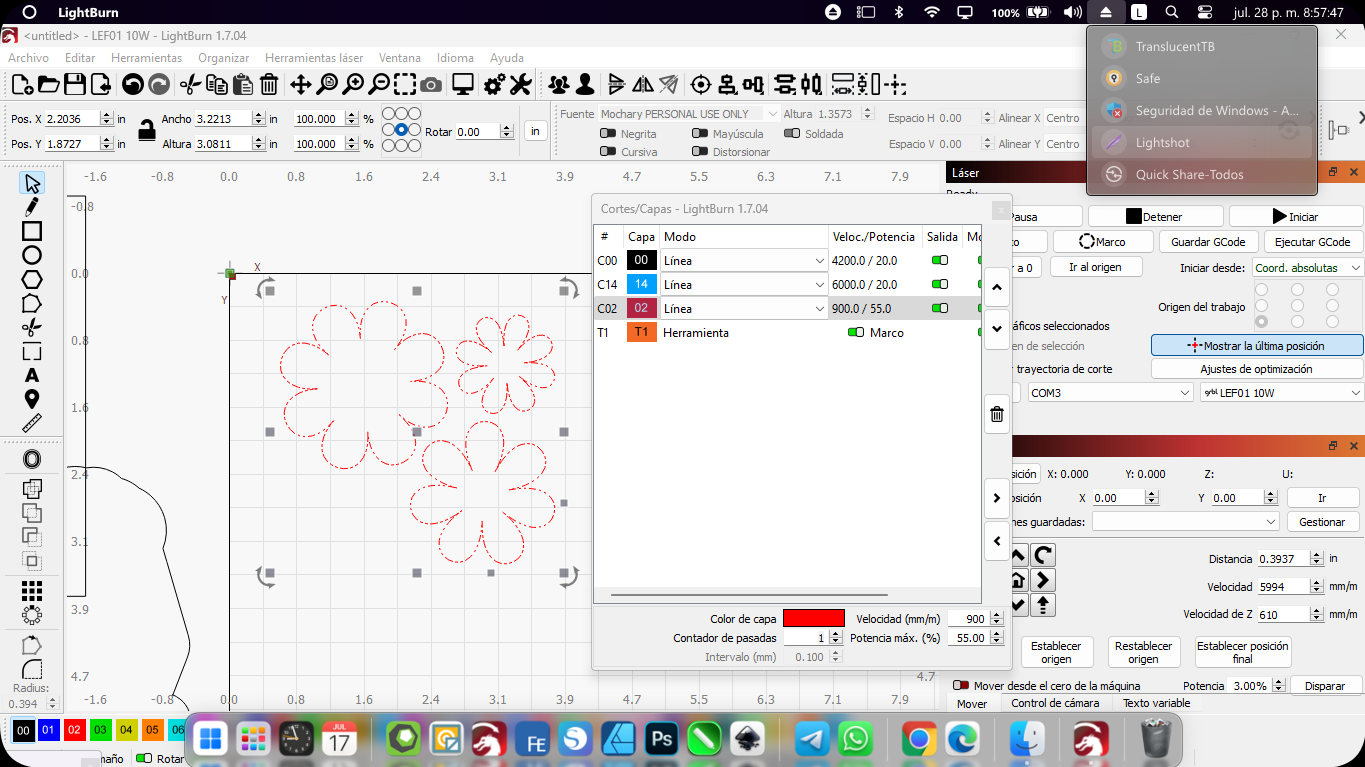
To cut this use a power of 55% and a speed of 900.
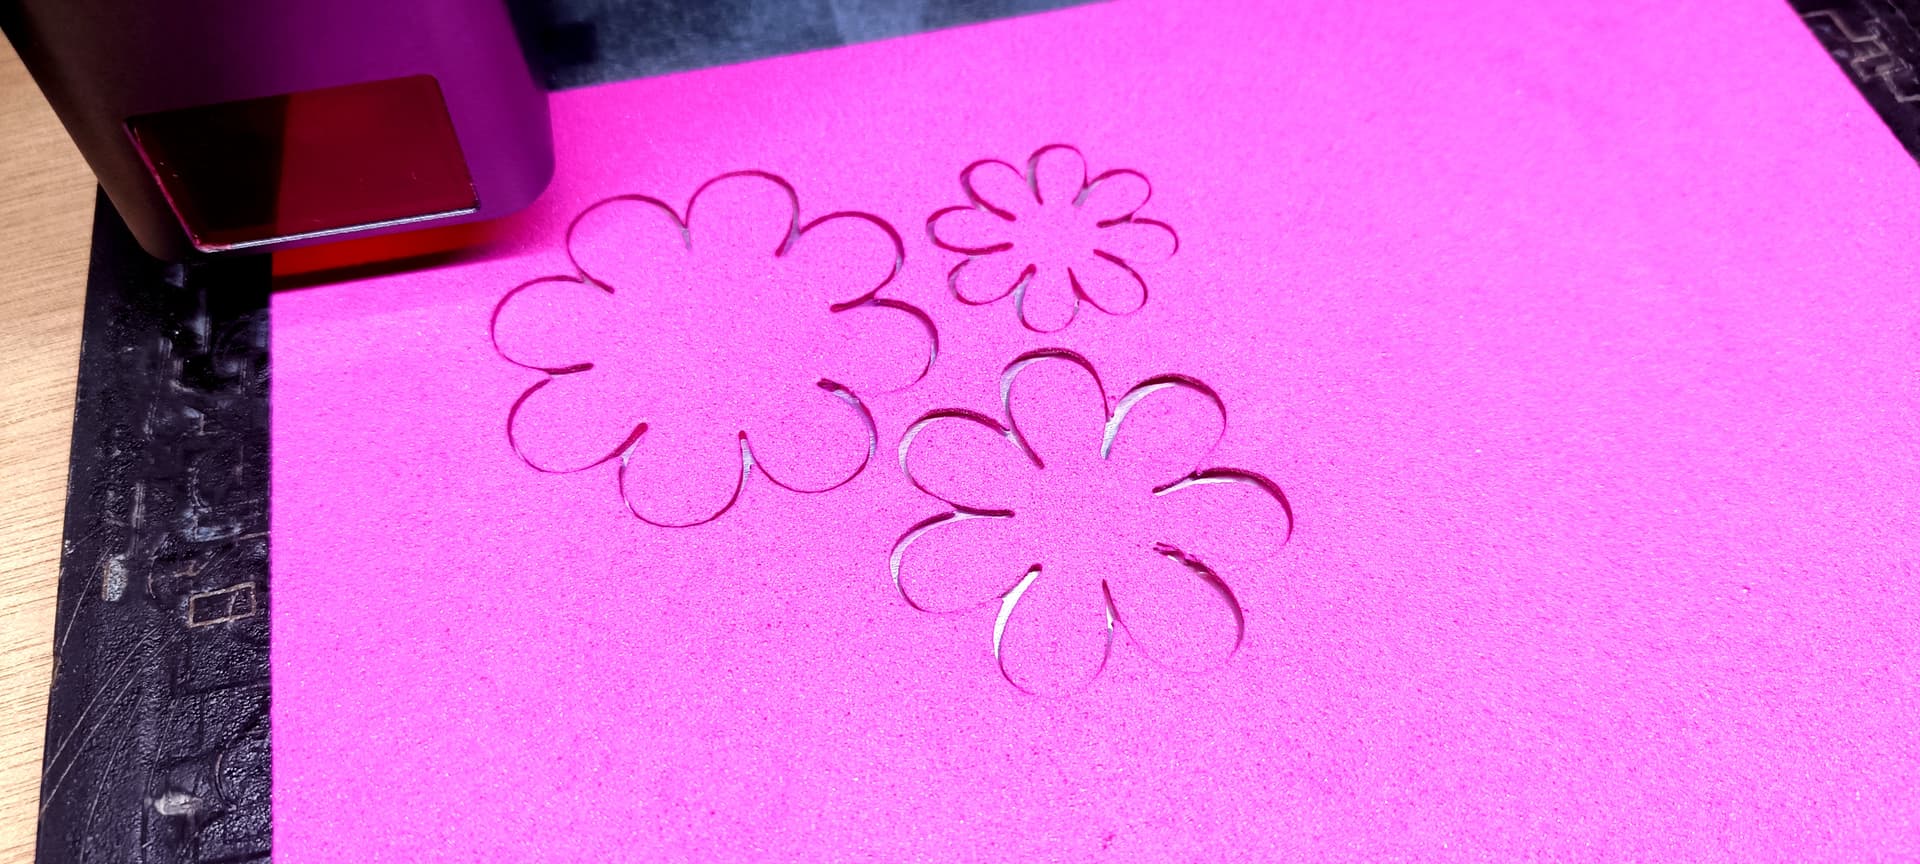
The cut was perfect and in a single pass, I have tried to cut eva rubber in other lasers and it came out wrong, or burned or did not come out the complete cut, with iEngrave apparently I got out of that frustration.
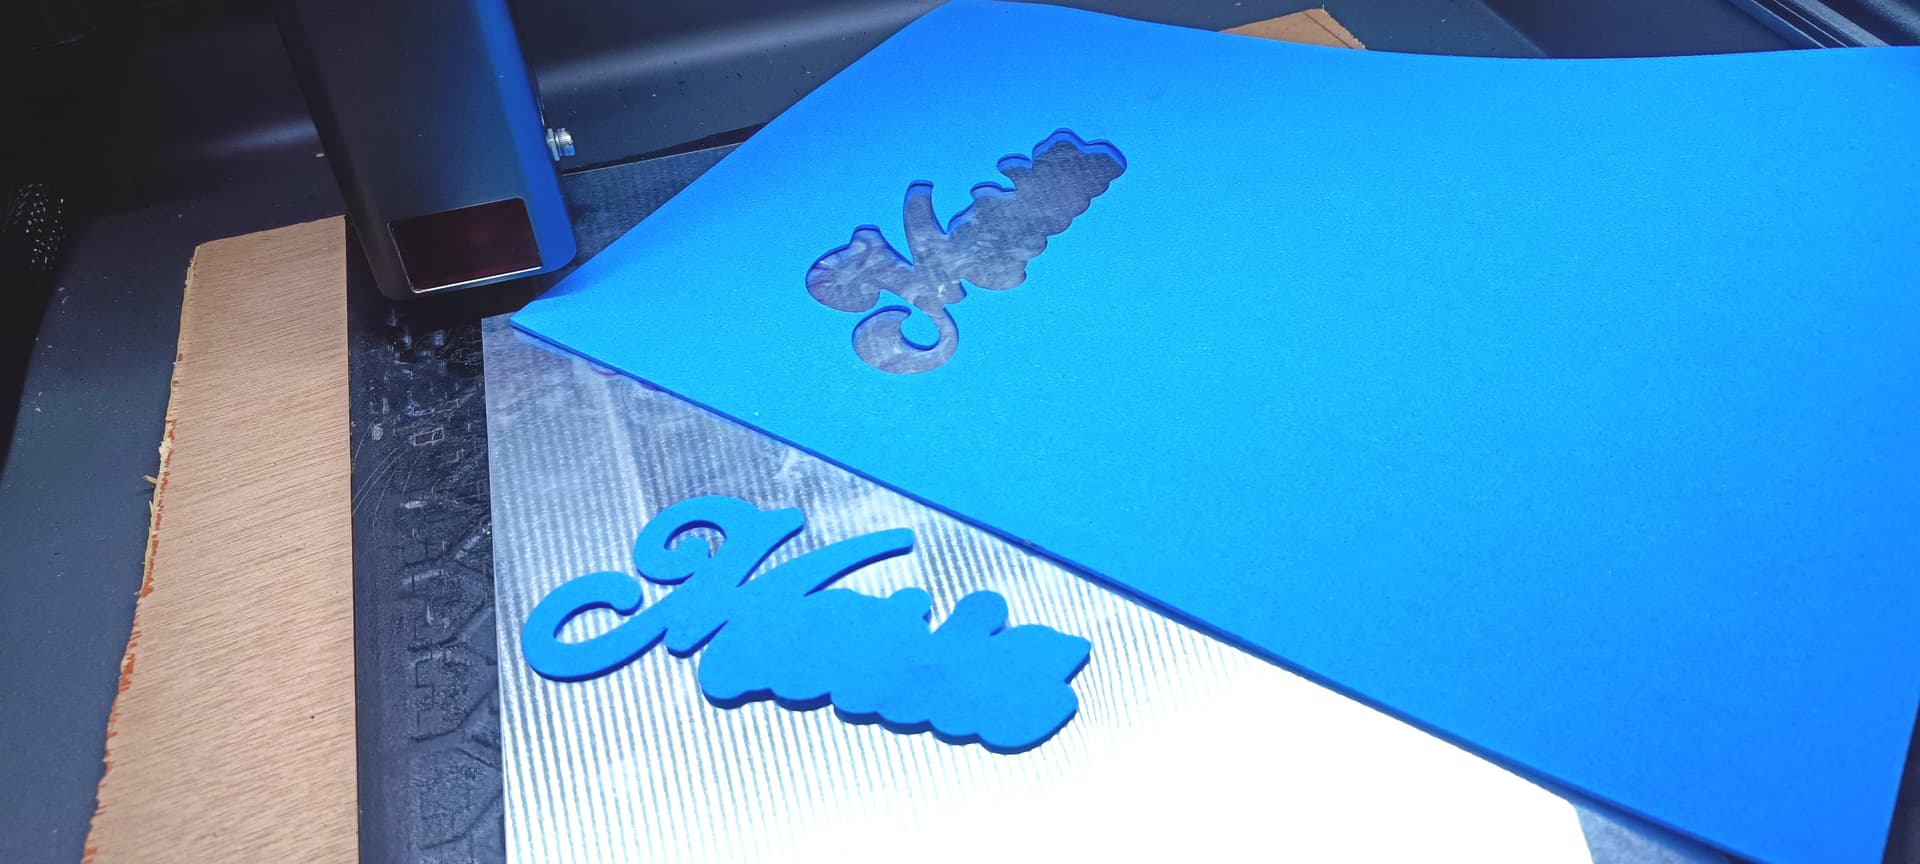
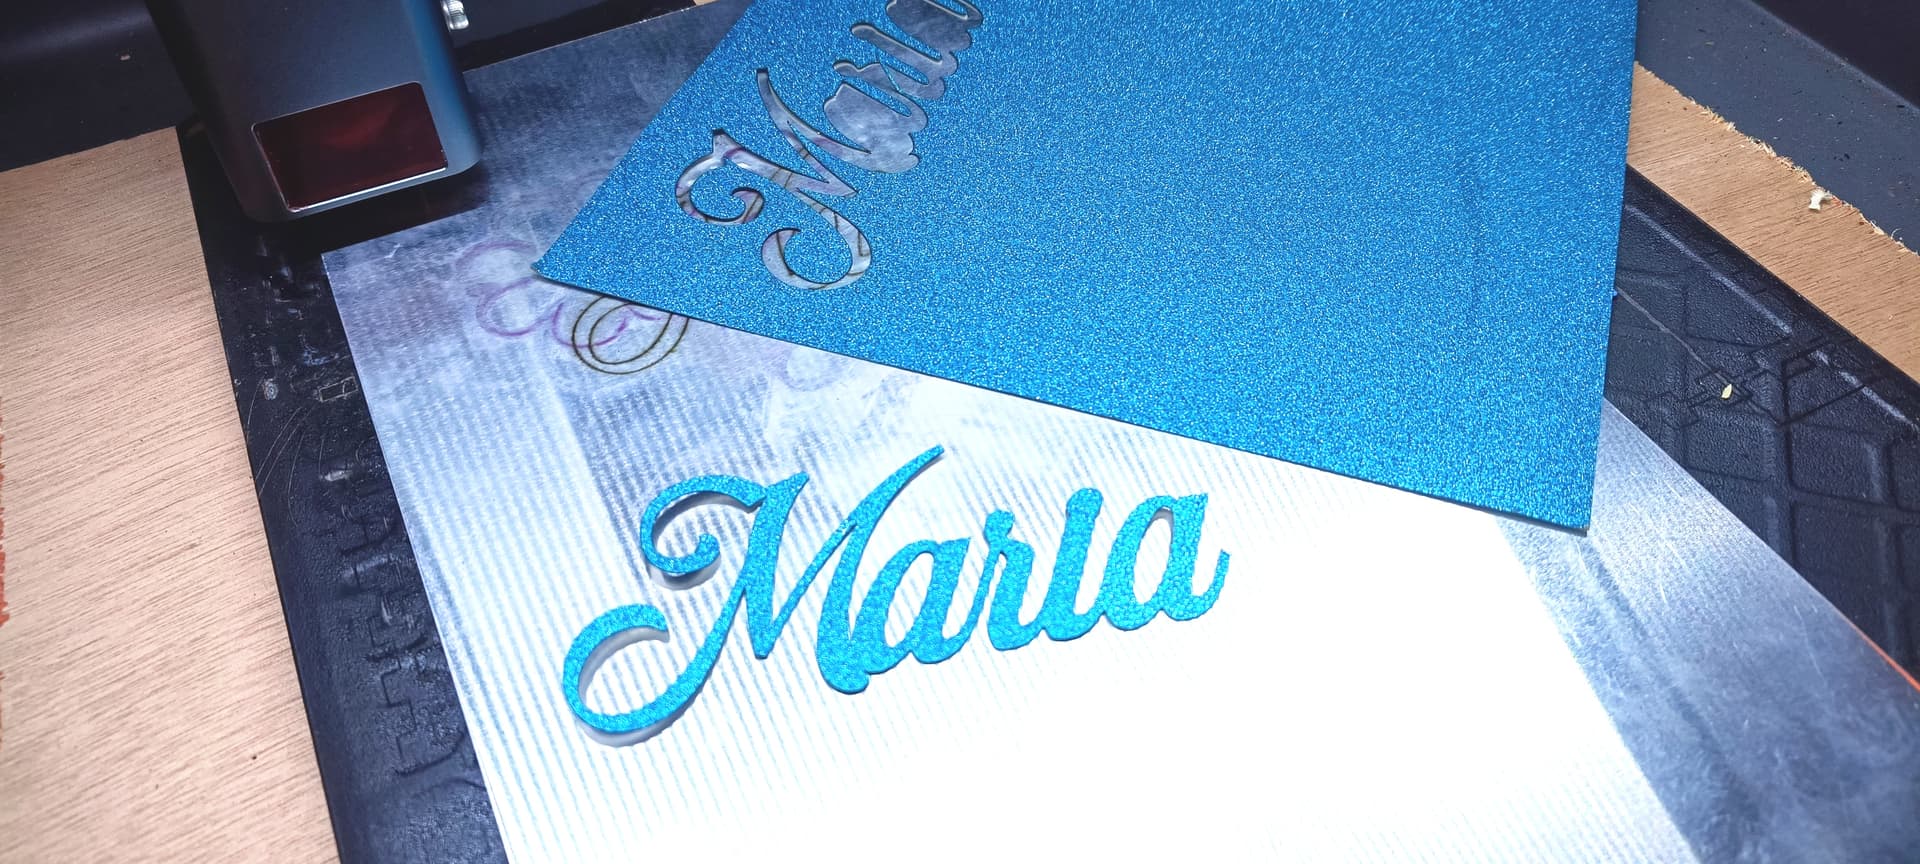
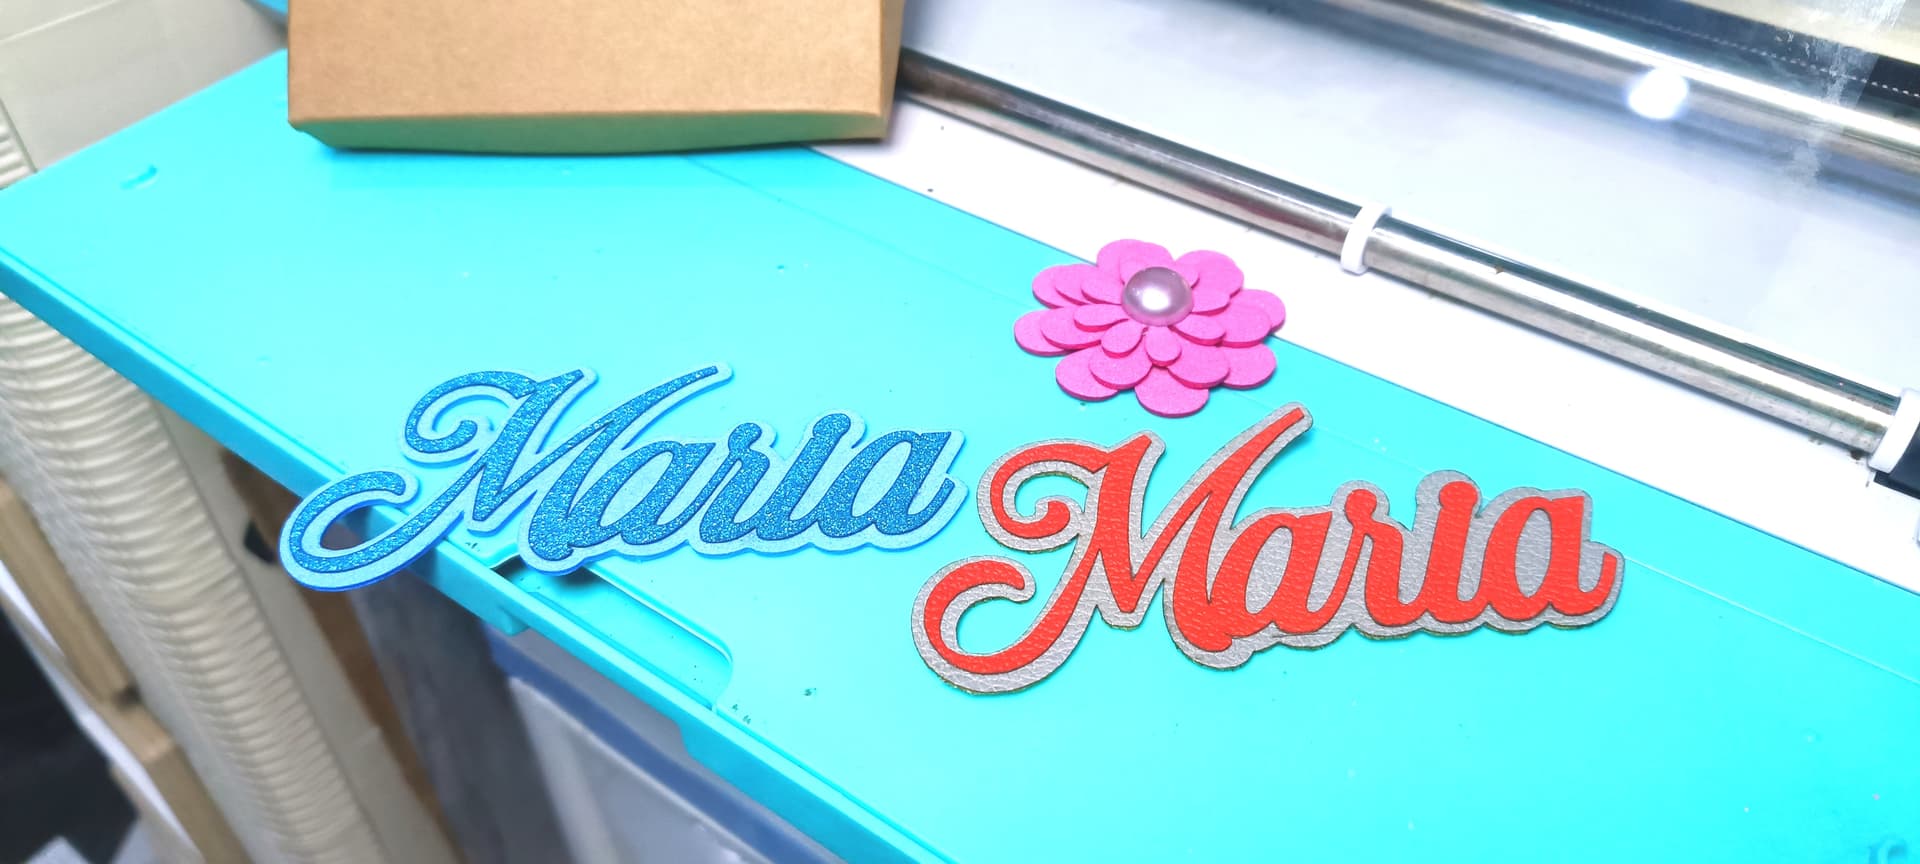
I cut this scroll for the name that I will make in the next glitter cardboard test to place it as the same background on EVA foam and it was another clean and perfect cut.
Glitter cardboard
For the glitter cardboard I did the same steps previous to the EVA foam and used the same parameters as it is a material that could be difficult to cut because of the glitter.
900 speed and 55 % power.
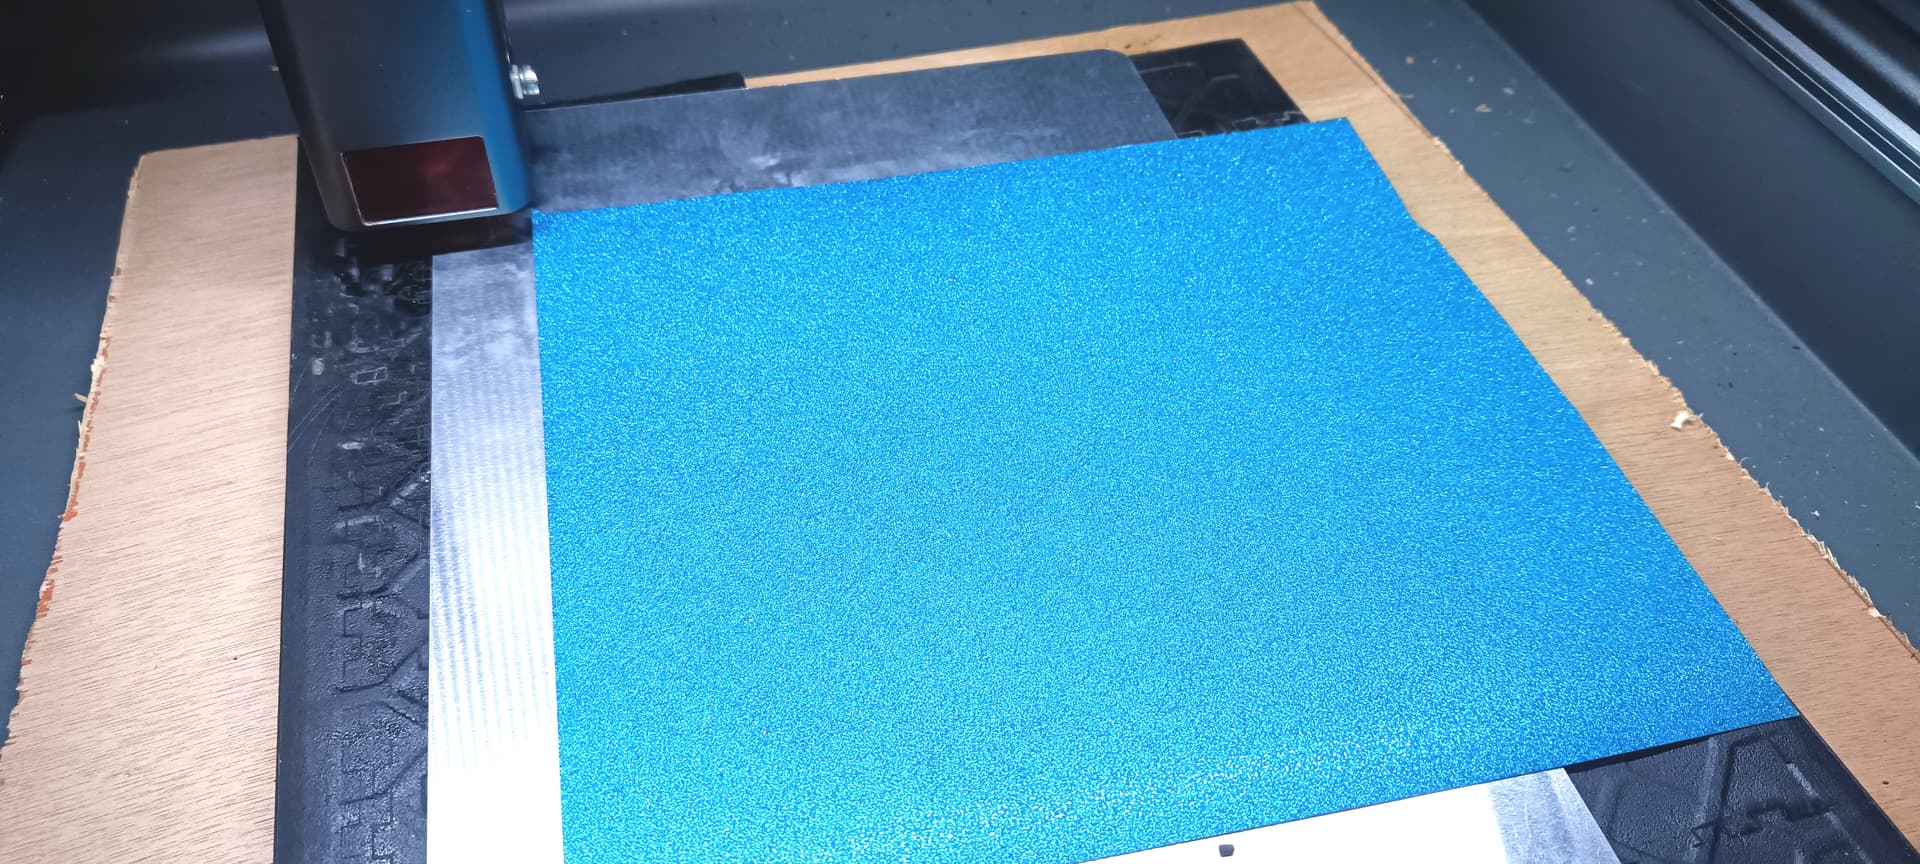
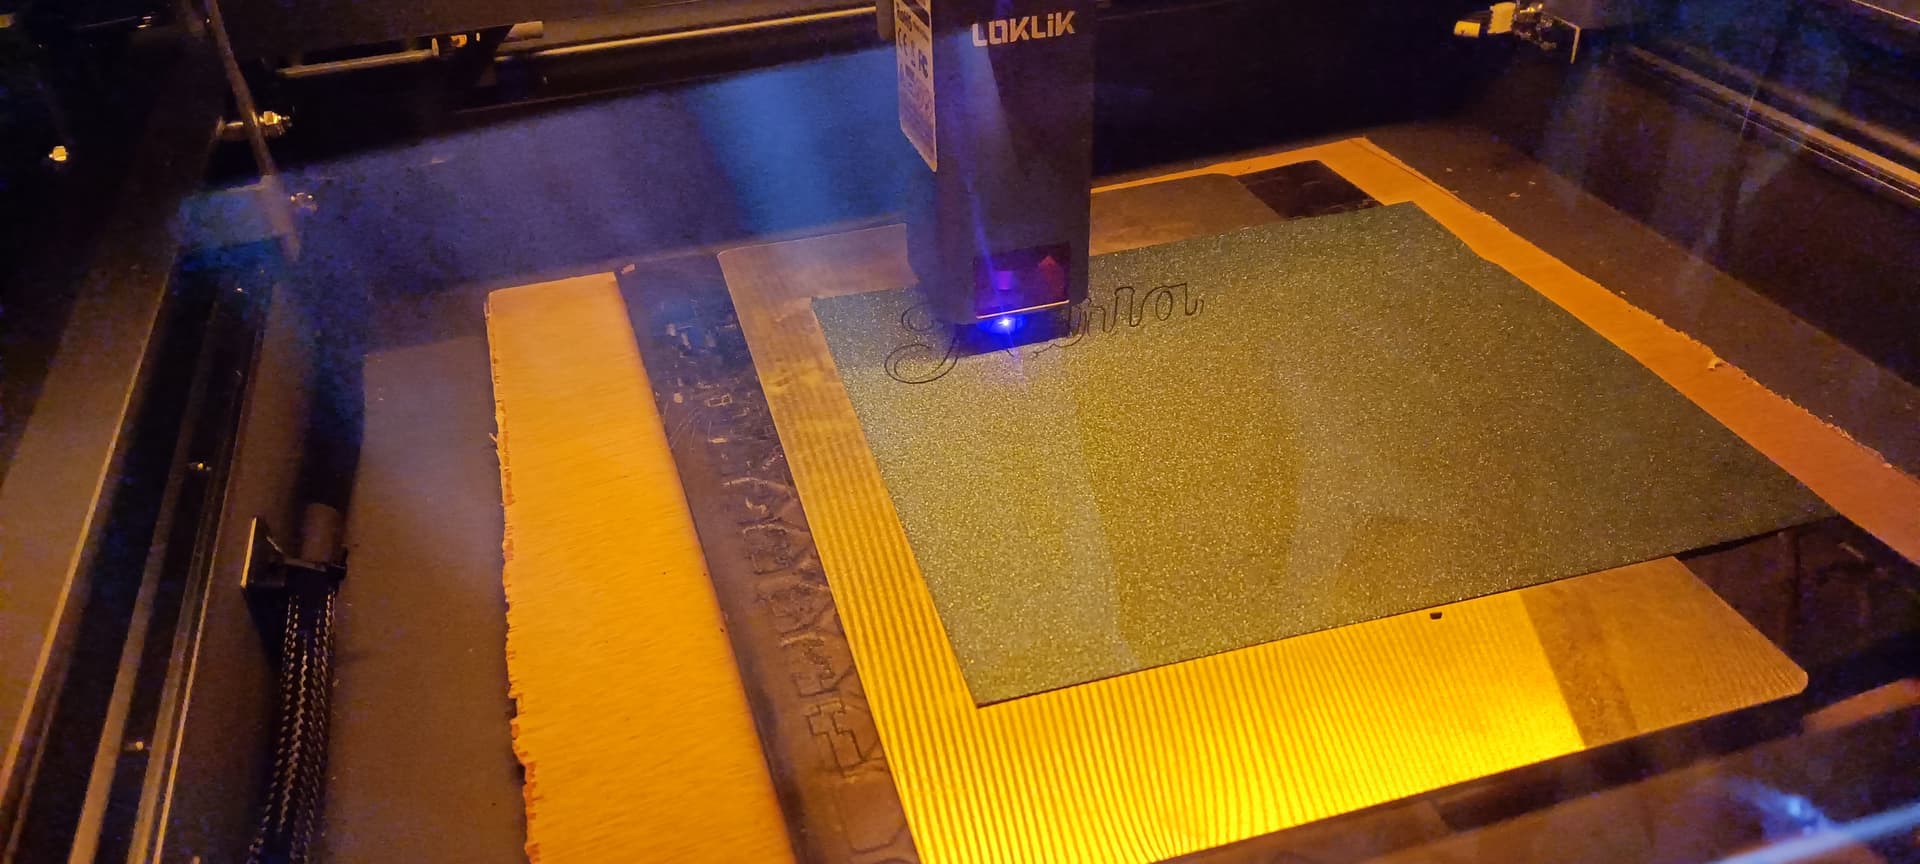
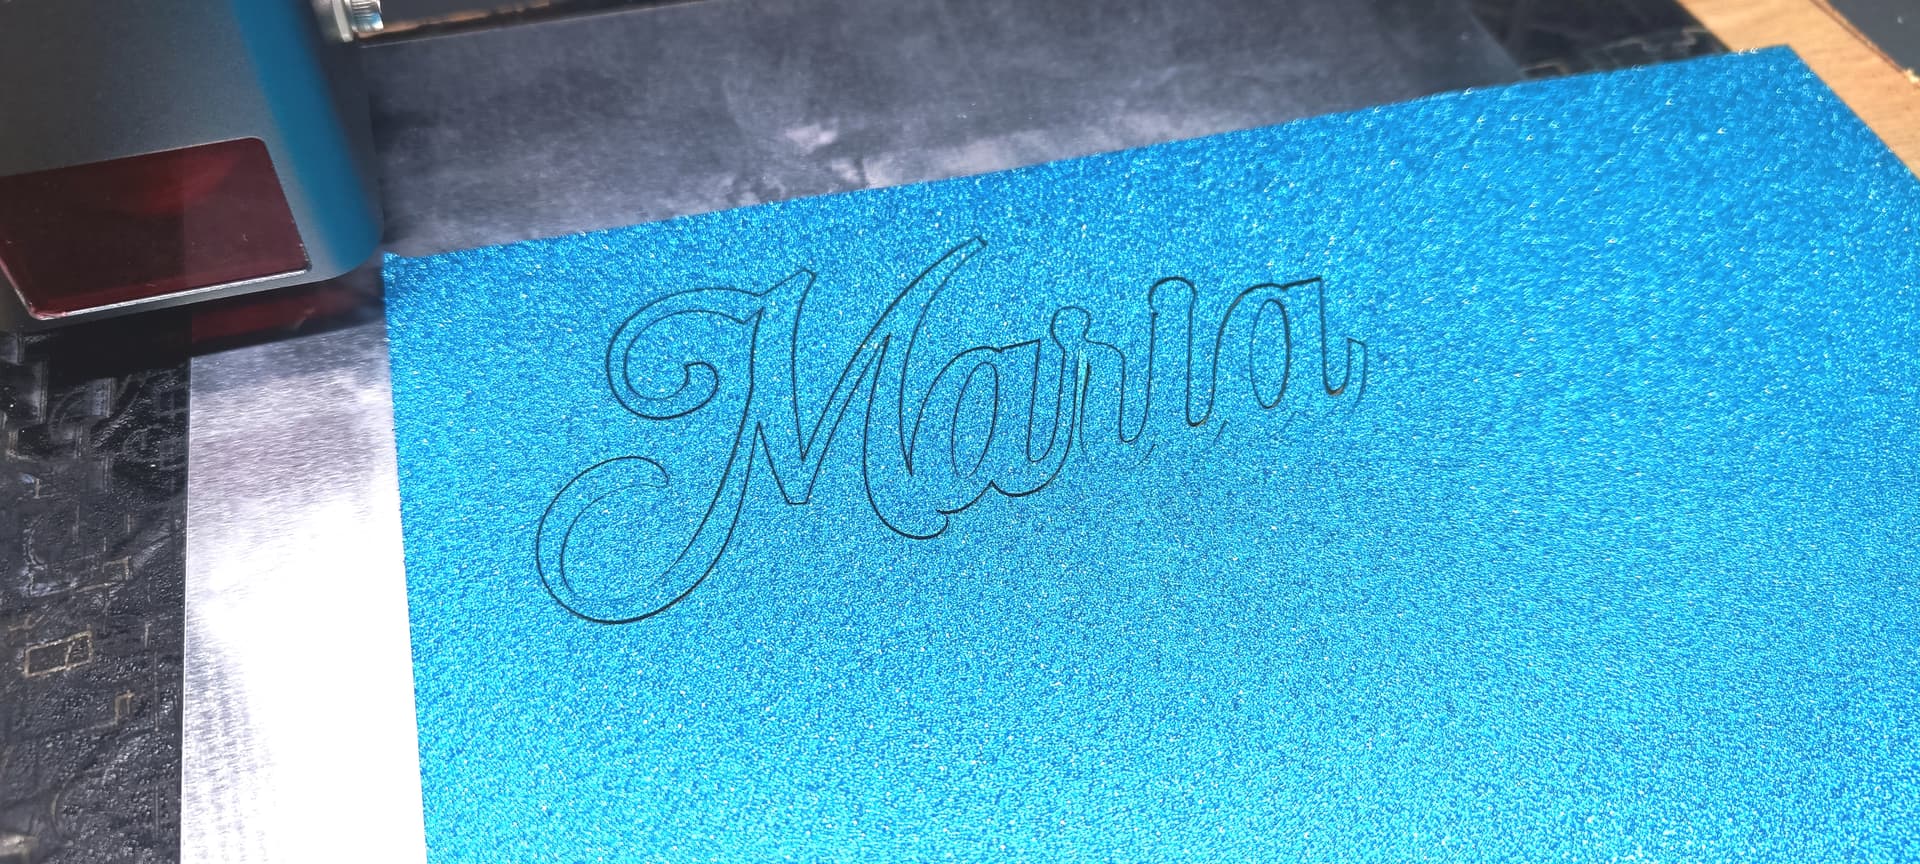
And I got another surprise, another perfect cut, no second passes, no struggle, it came out clean.
Synthetic leather of two different types.
I wanted to try cutting fabric or leather, and as I had on hand I tried leather because I know it would be more difficult to cut, I want to try to engrave it as well but that is something I will show you in another future project, meanwhile I will show you how I cut the synthetic leather.
I first tried this red one, which is thinner in density, I wanted to cut the same name and made it small to see the lacer’s ability to cut small things.
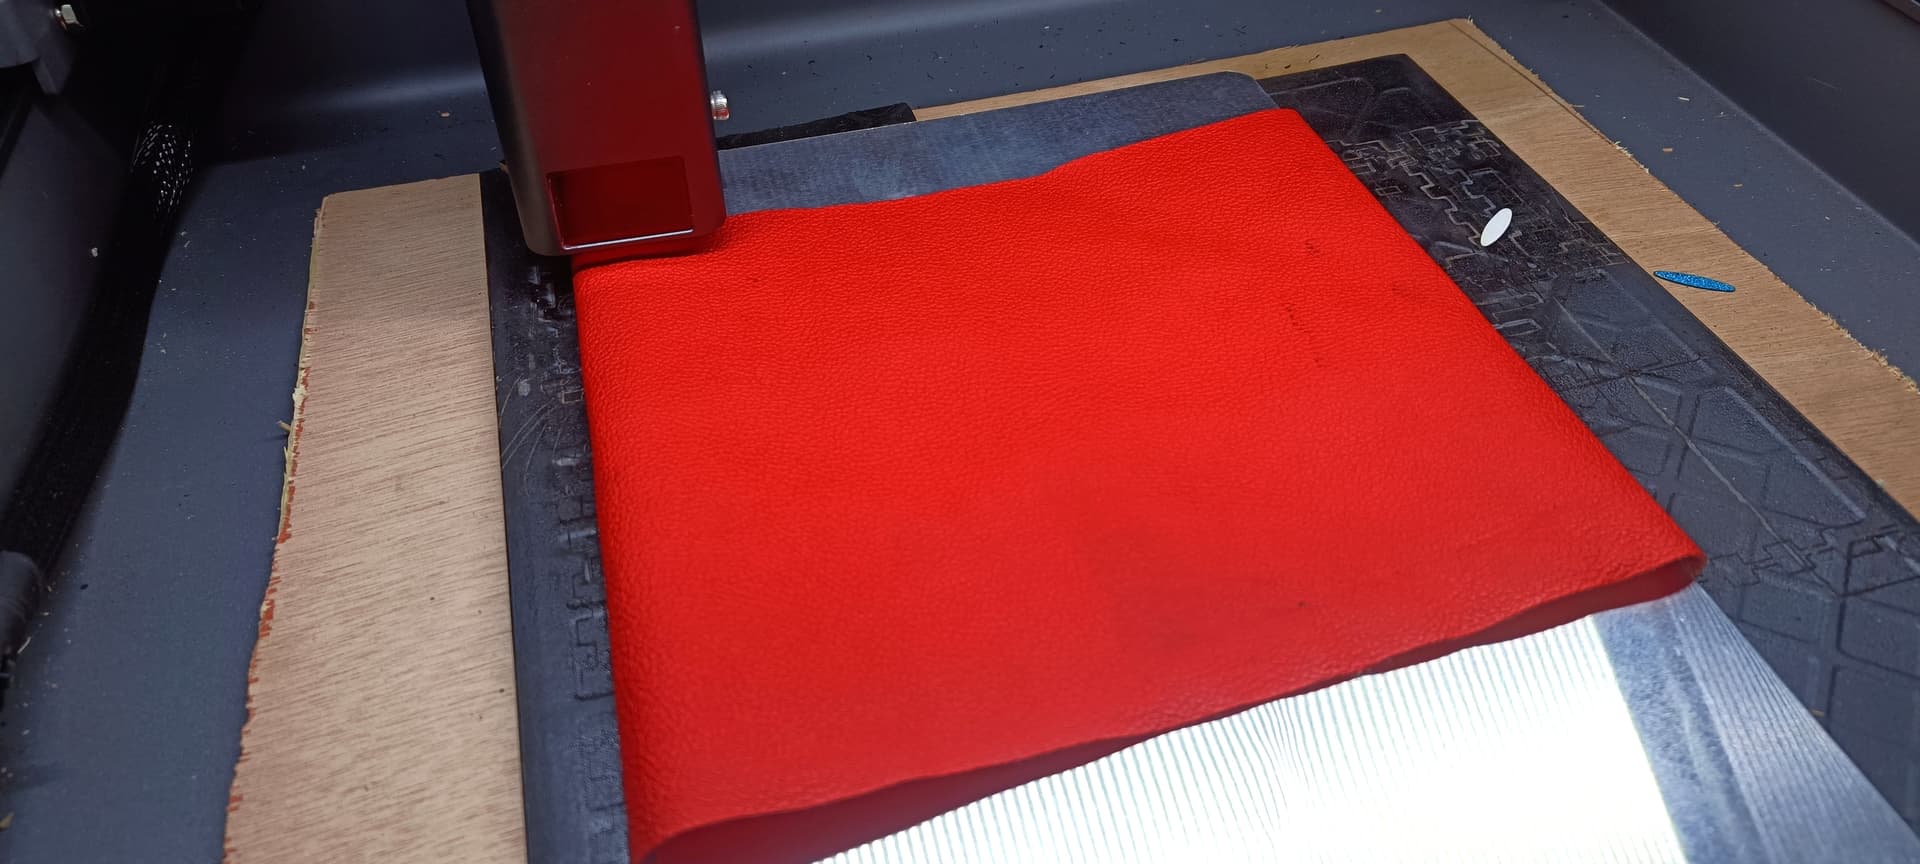
It should be noted that I used the same configuration as the EVA foam 900 speed and 55% power.
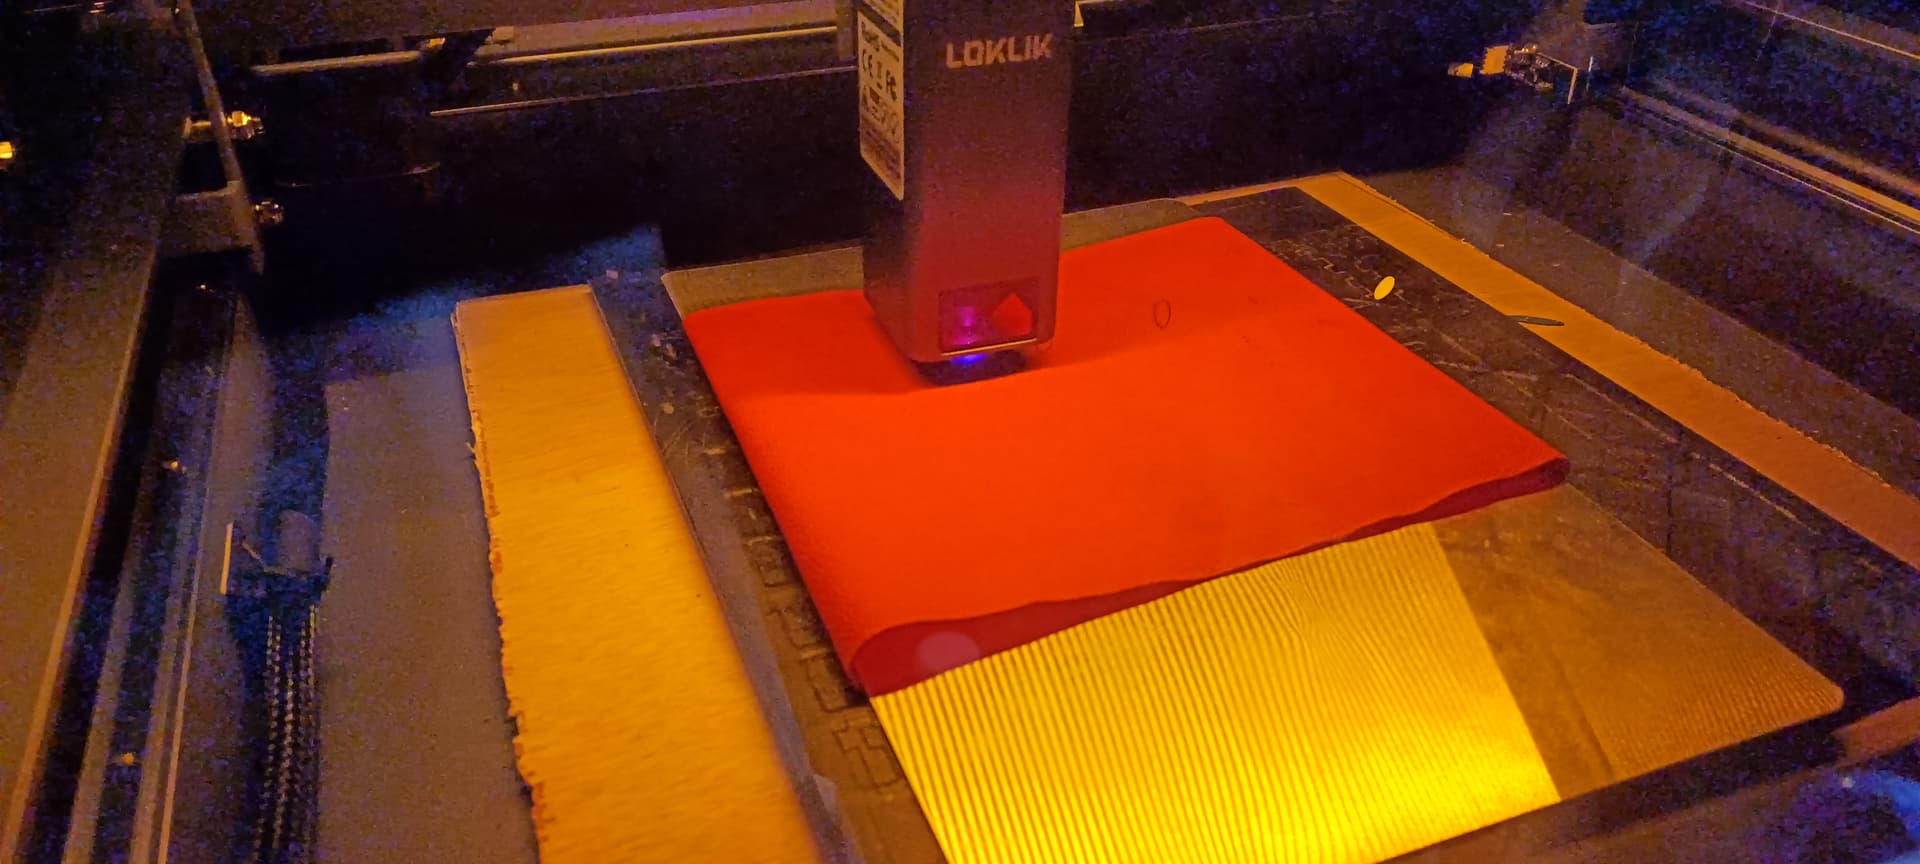
At first glance the cut appeared to be flawed but I was very wrong.
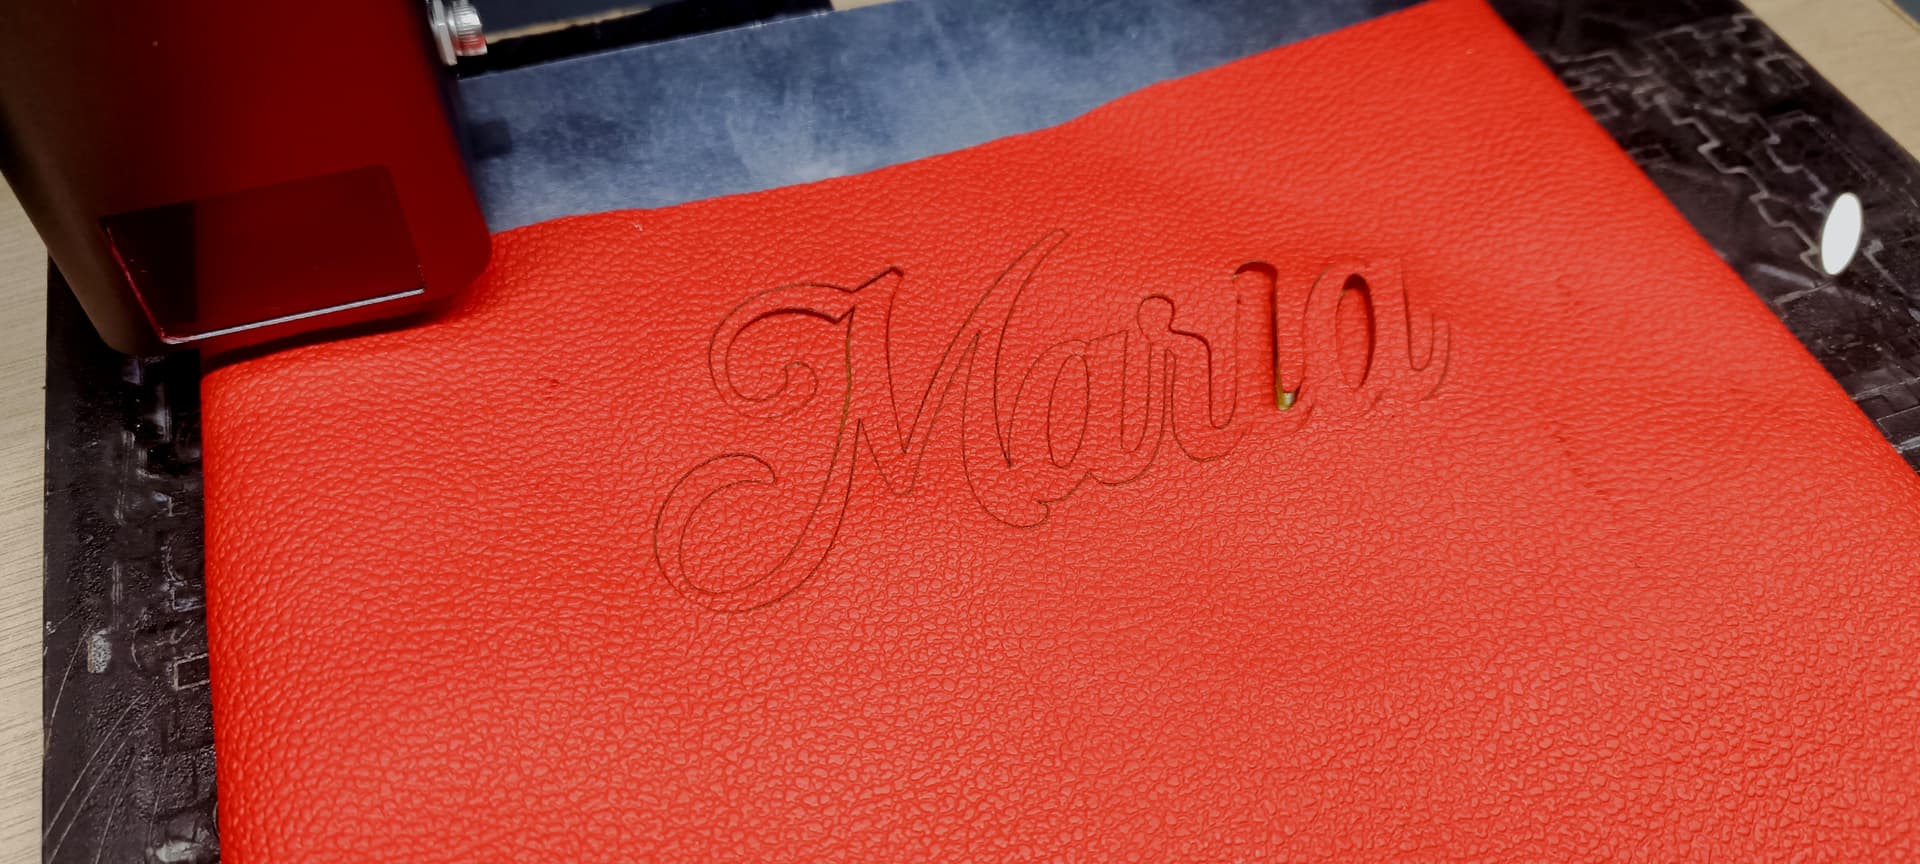
Because the cut was perfect.
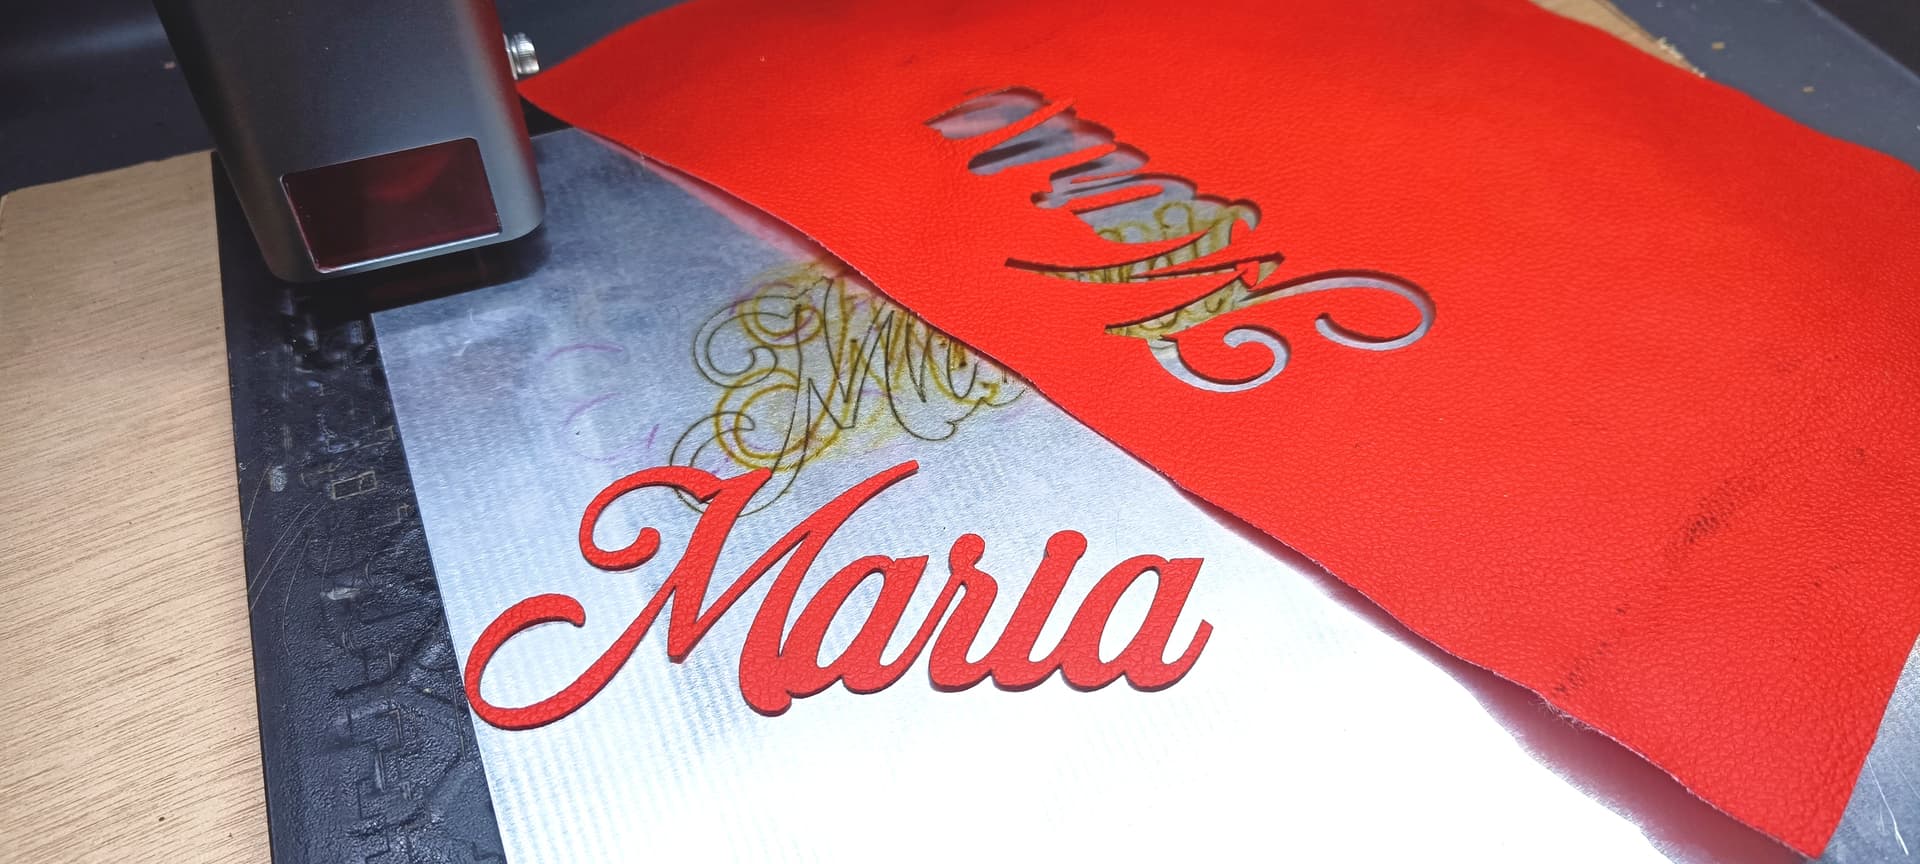
Then I wanted to try to do it with one of a higher density and I used this gray one that has a towel texture on the back.
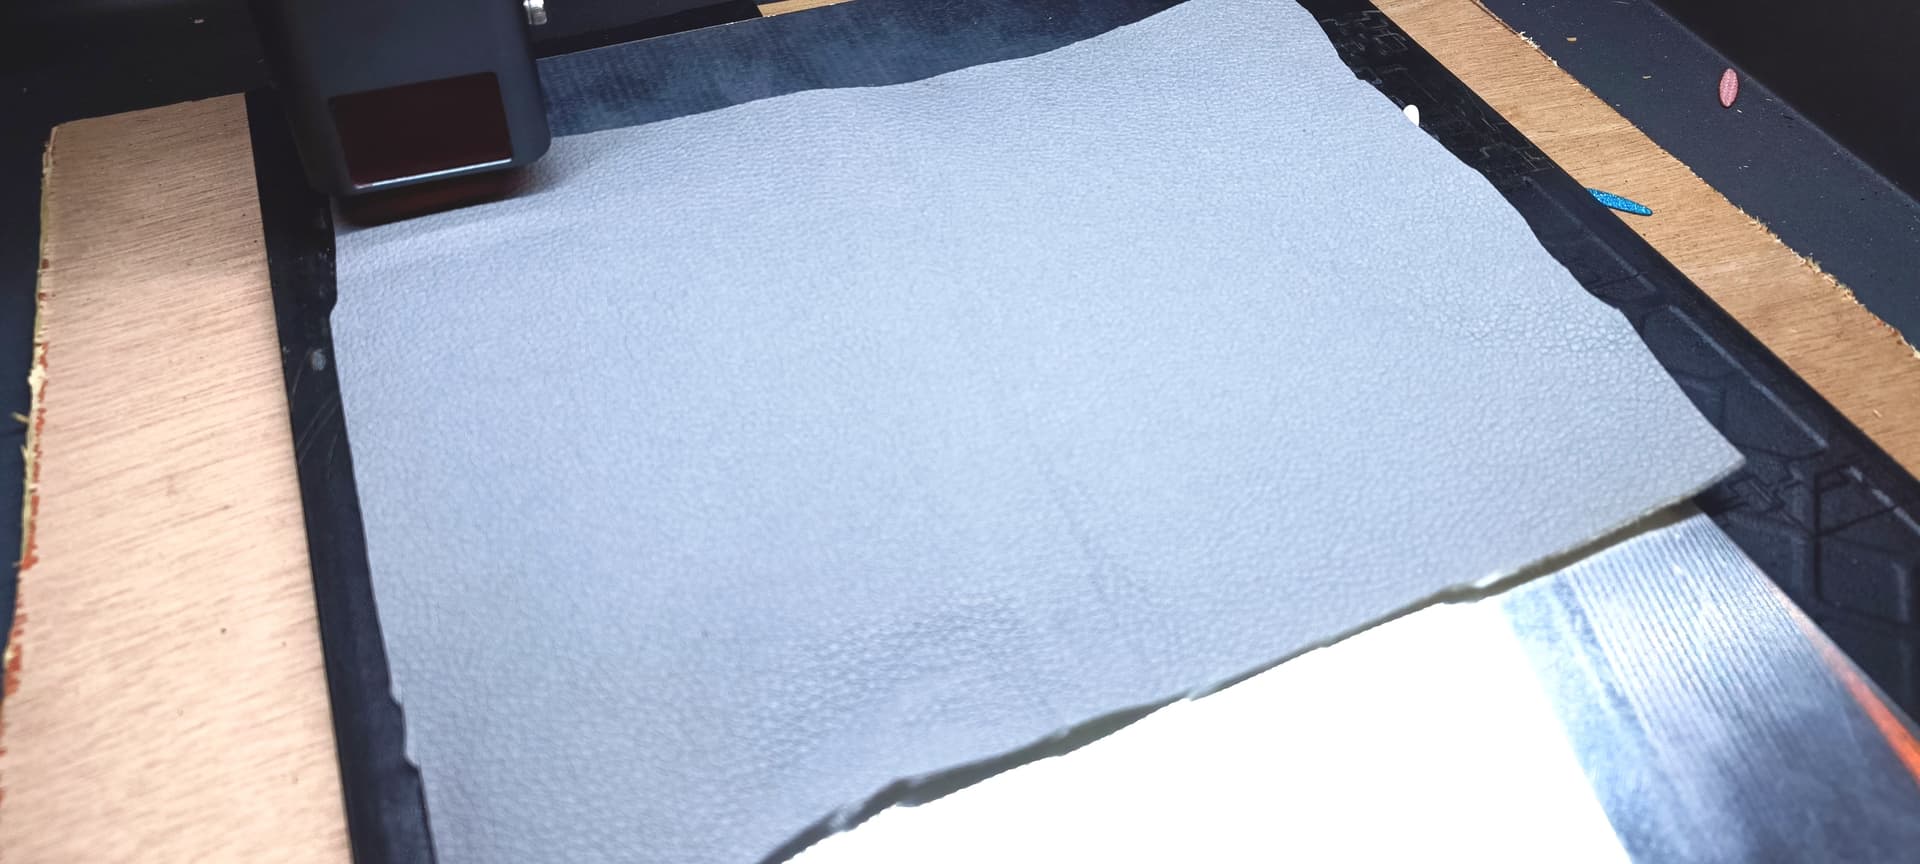
This is how it looked after the cut, so I assumed that it had not been cut, remember that I did not increase the power or lower the speed, I used the same speed that I was already using.
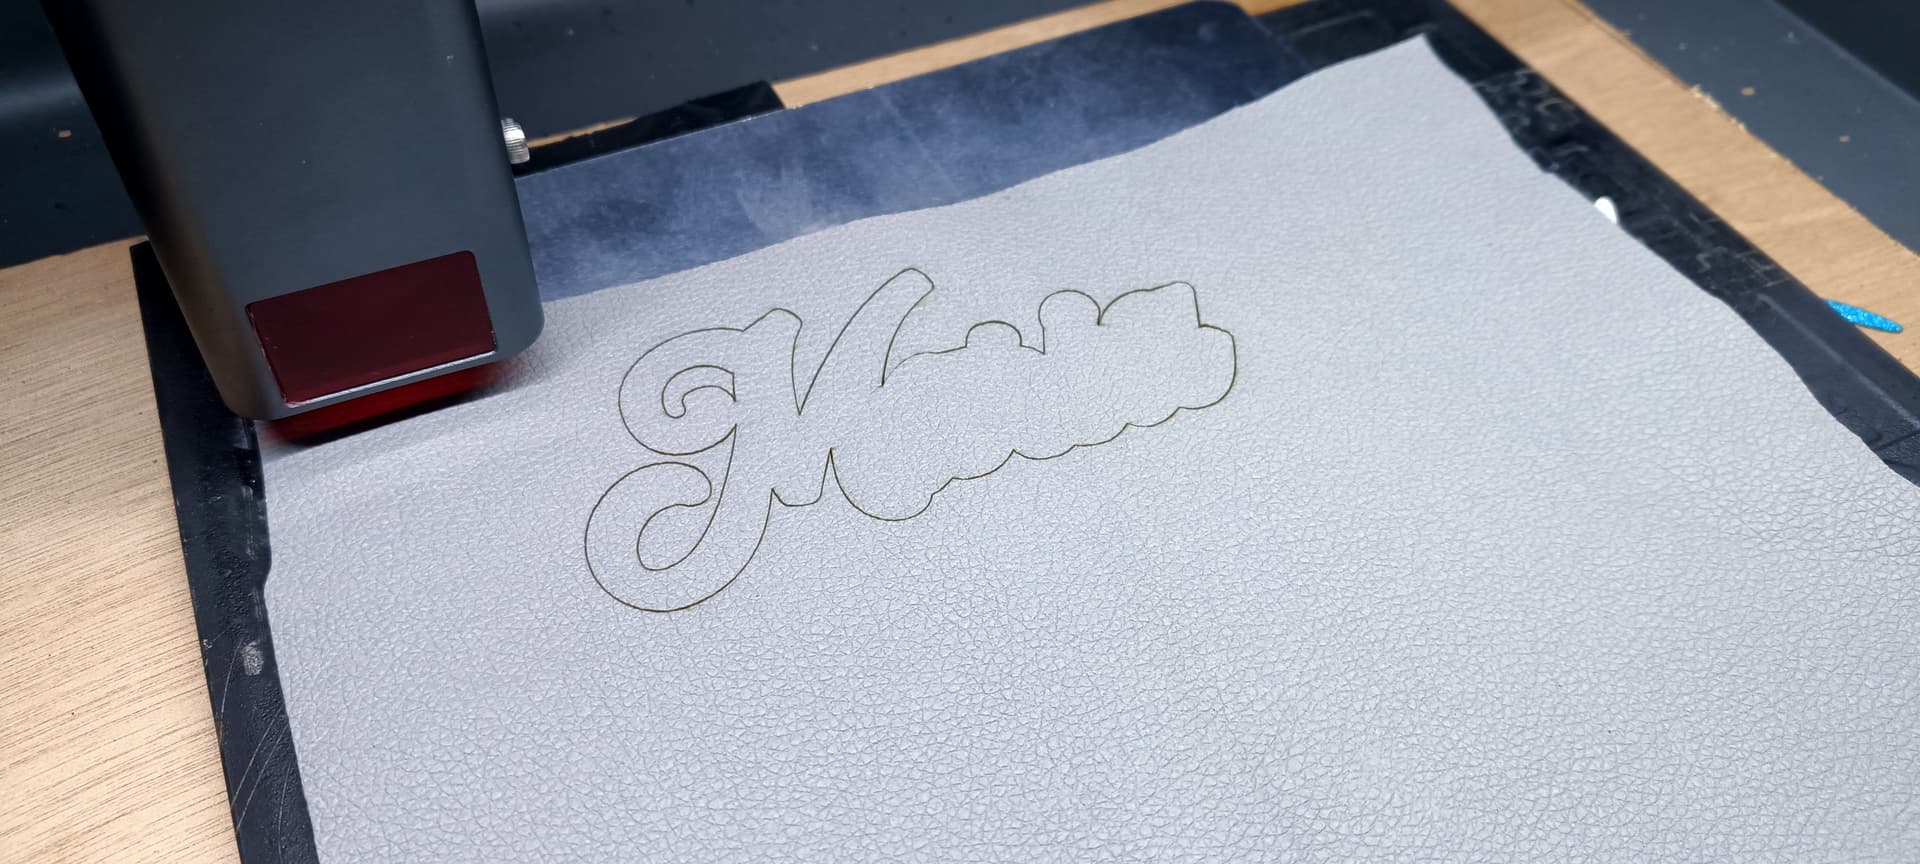
And yes the cut was perfect but the threads on the back were not all cut to raz with the cut of the leather on the front, it is not something that bothers me but I wanted to bring it to perfection.
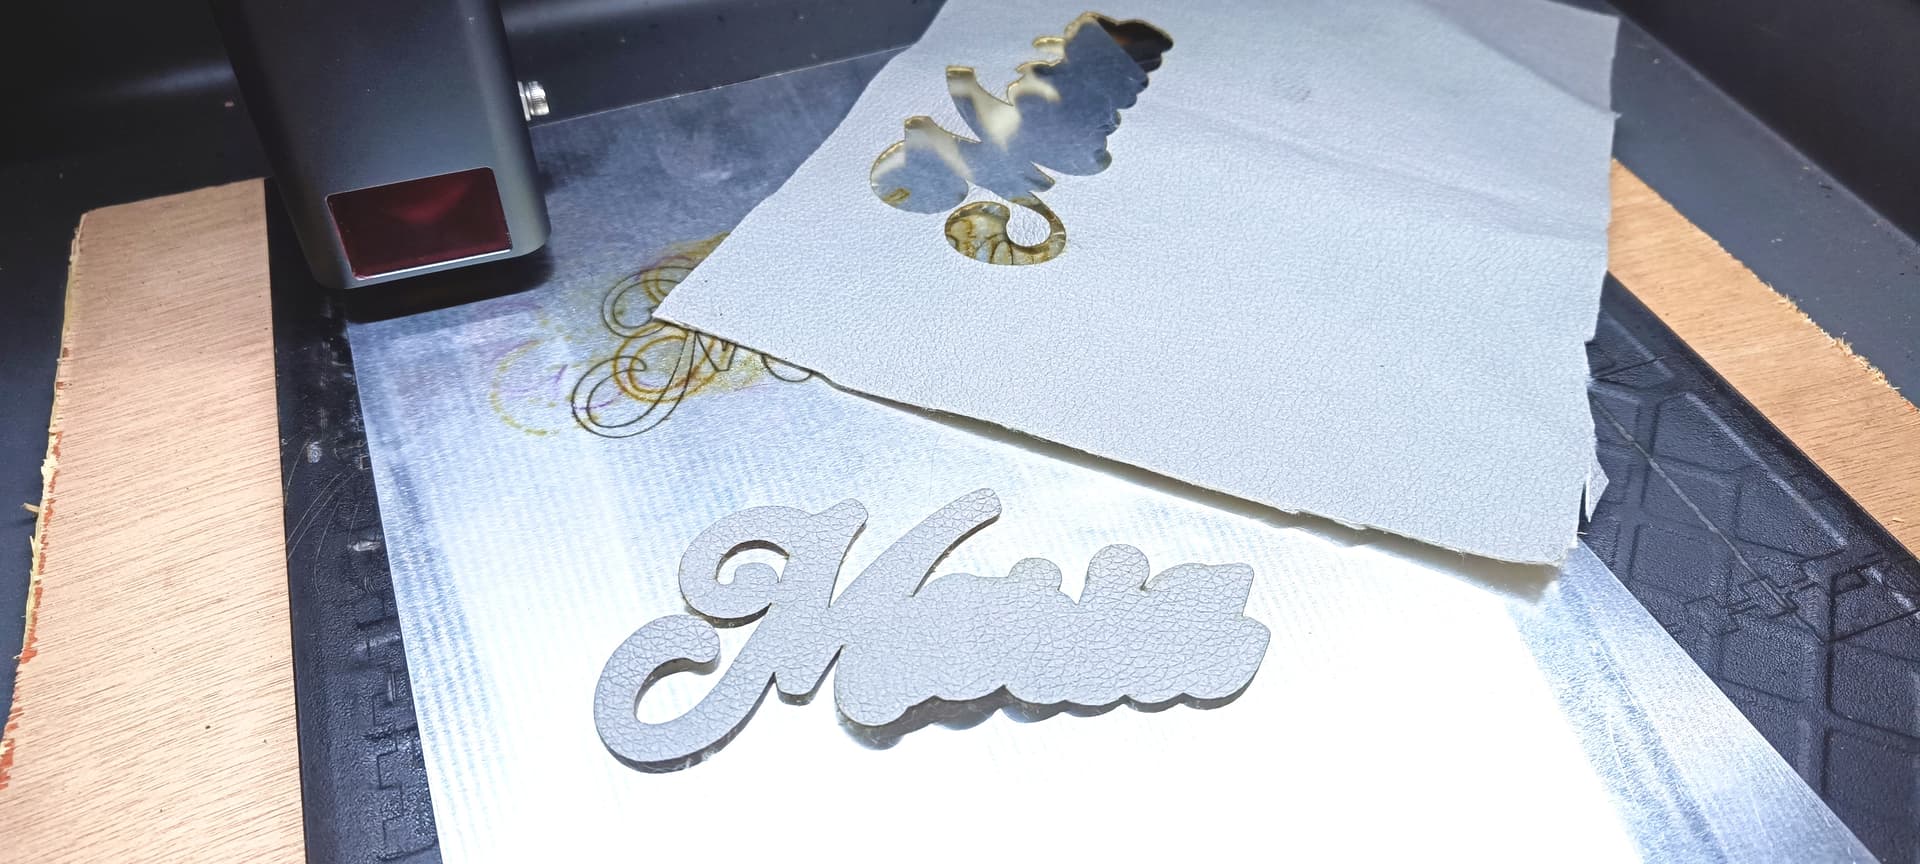
So I put the material back in and gave it two passes with the same settings and it came out perfect, I could also add more power or lower the speed but it worked like that and it did it super fast.
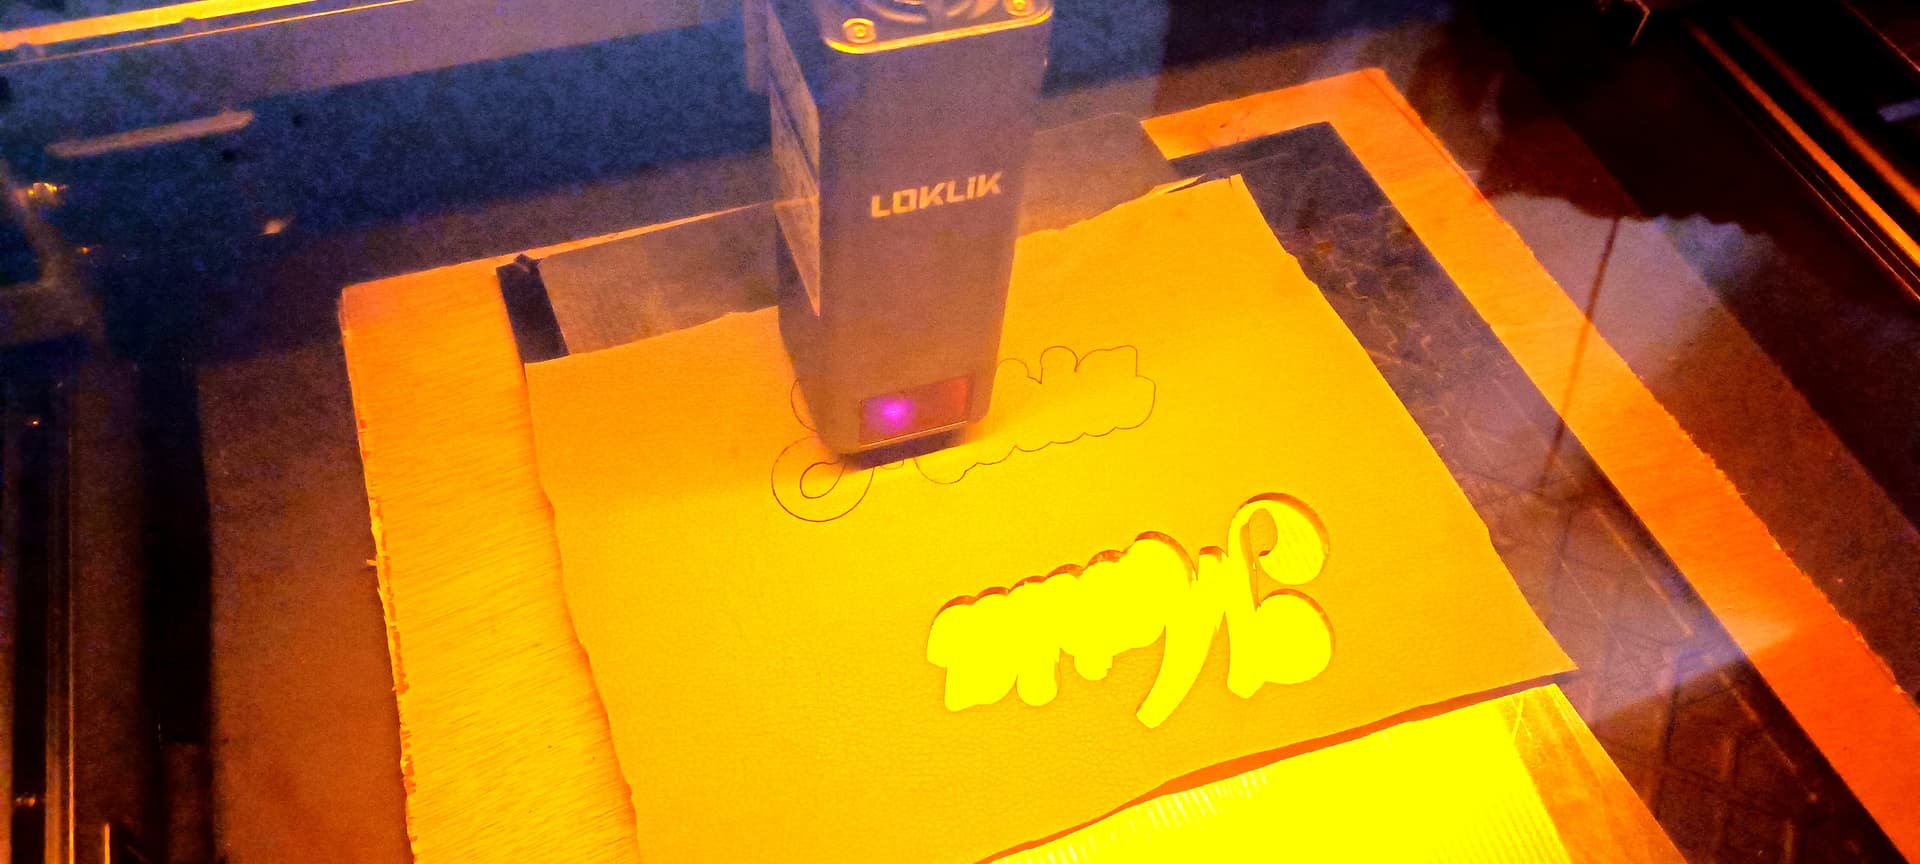
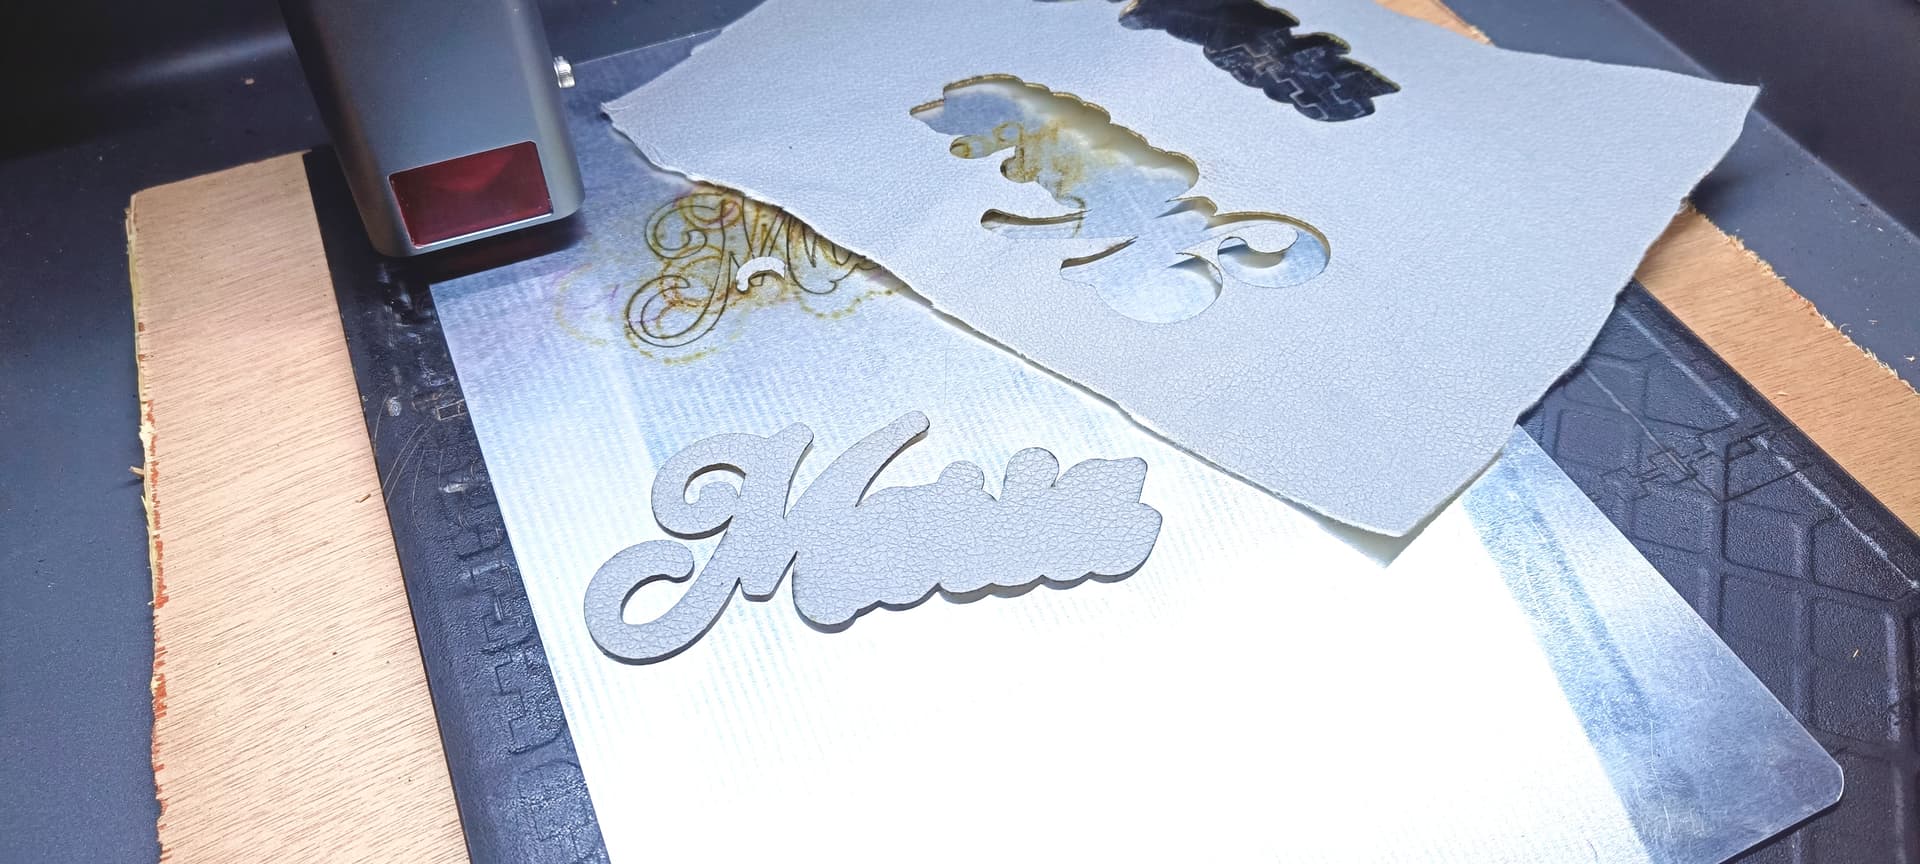
In the following image you can see the difference, the one below has two passes and is the second one, the one above was the first one I made and you can see the threads of the back fabric.
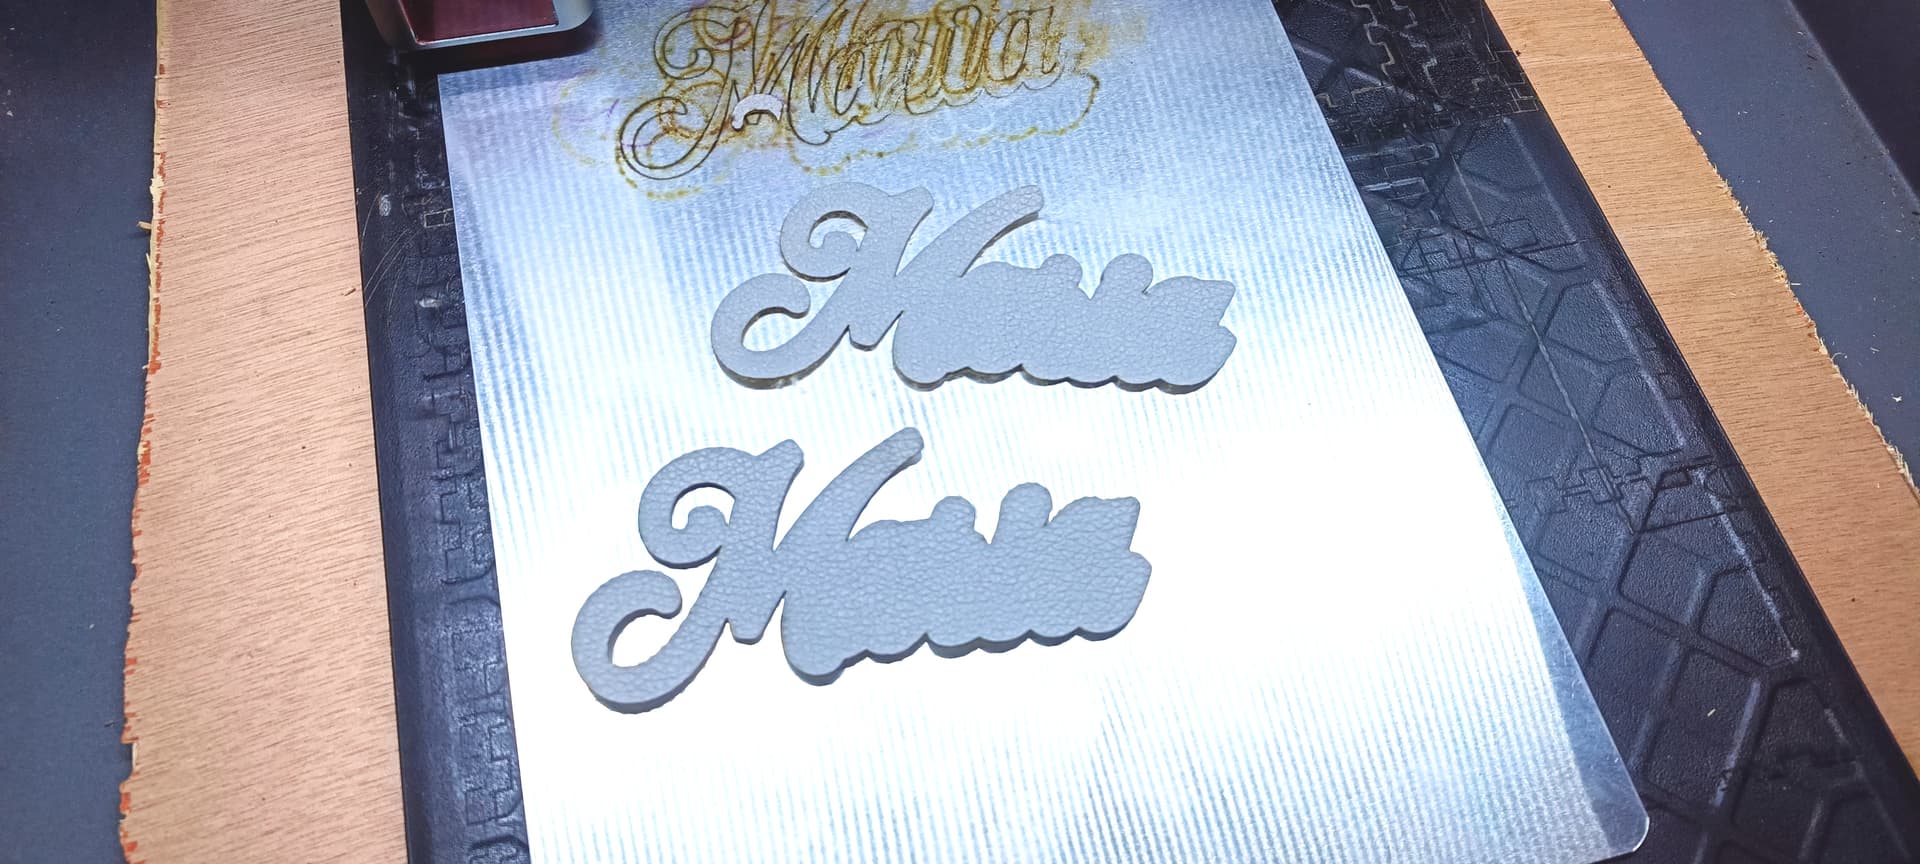
It should be noted that these materials give off a lot of smoke and very strong odors for that reason the bottom tray is burned of these materials, also of this same smoke the material is soiled by the back and front, so you have to adjust the parameters well to avoid that it happens as little as possible.
It is also advisable to do it in ventilated places because of the strong odors that the material gives off, in case you have the iEngrave with the cover, I recommend leaving the lid closed for a minute after finishing, so that the fan removes all the smoke and odors.
Engravings on boxes, cartons and paper sleeves.
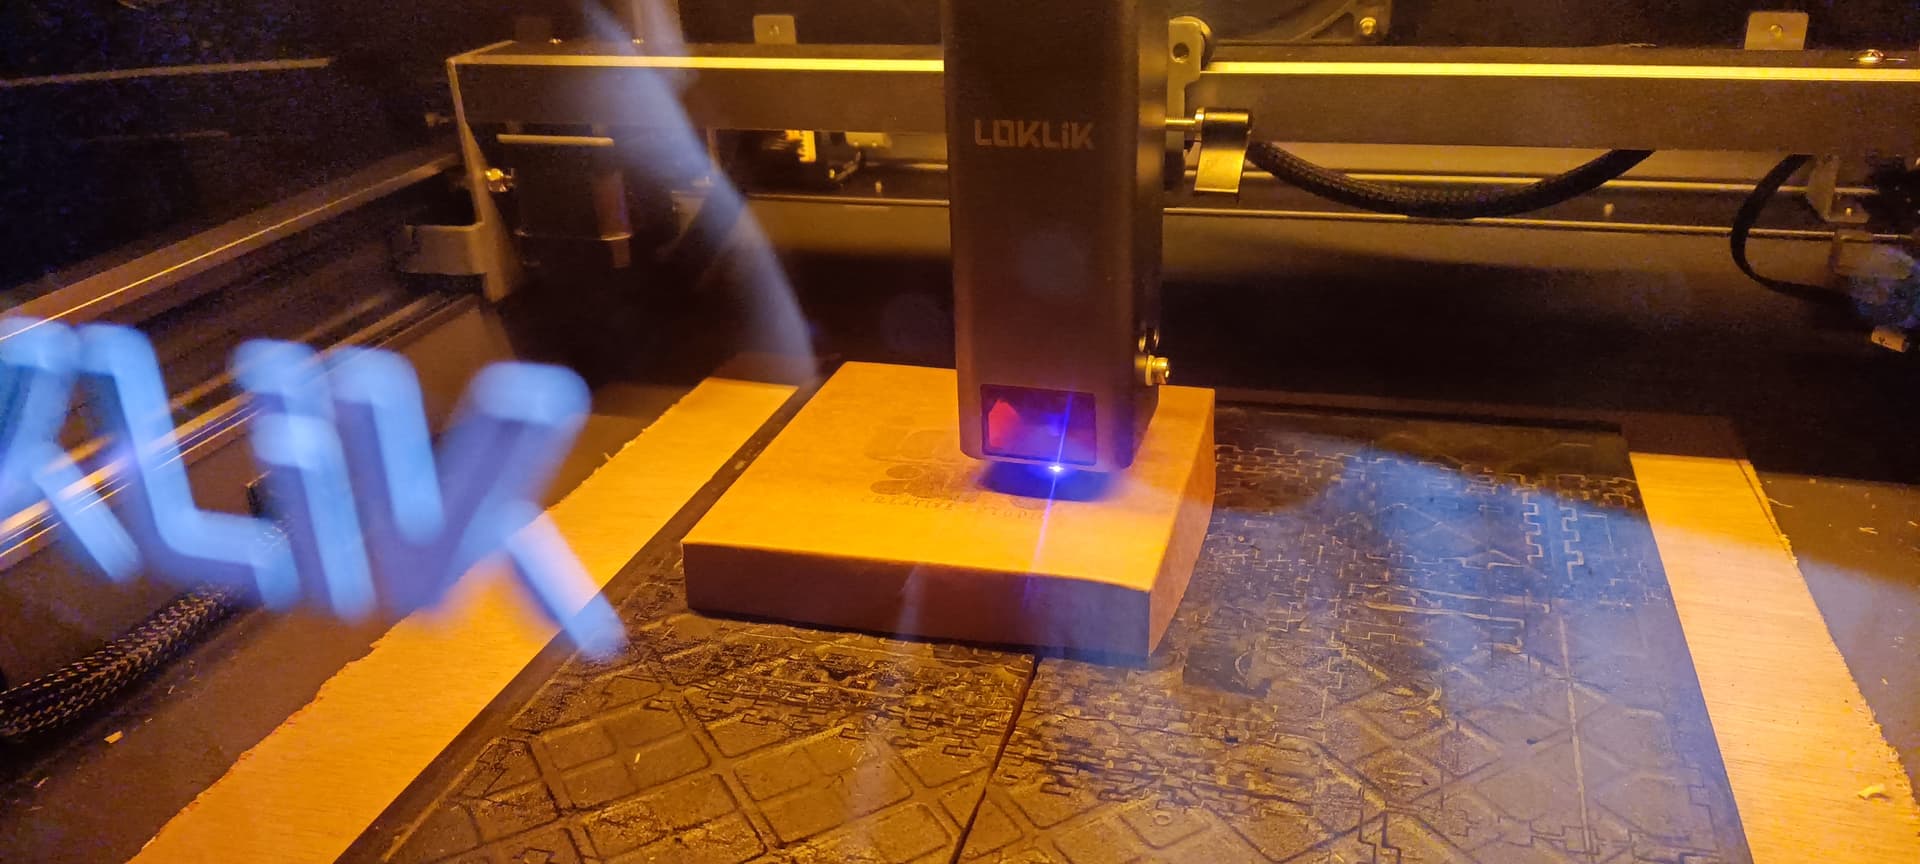
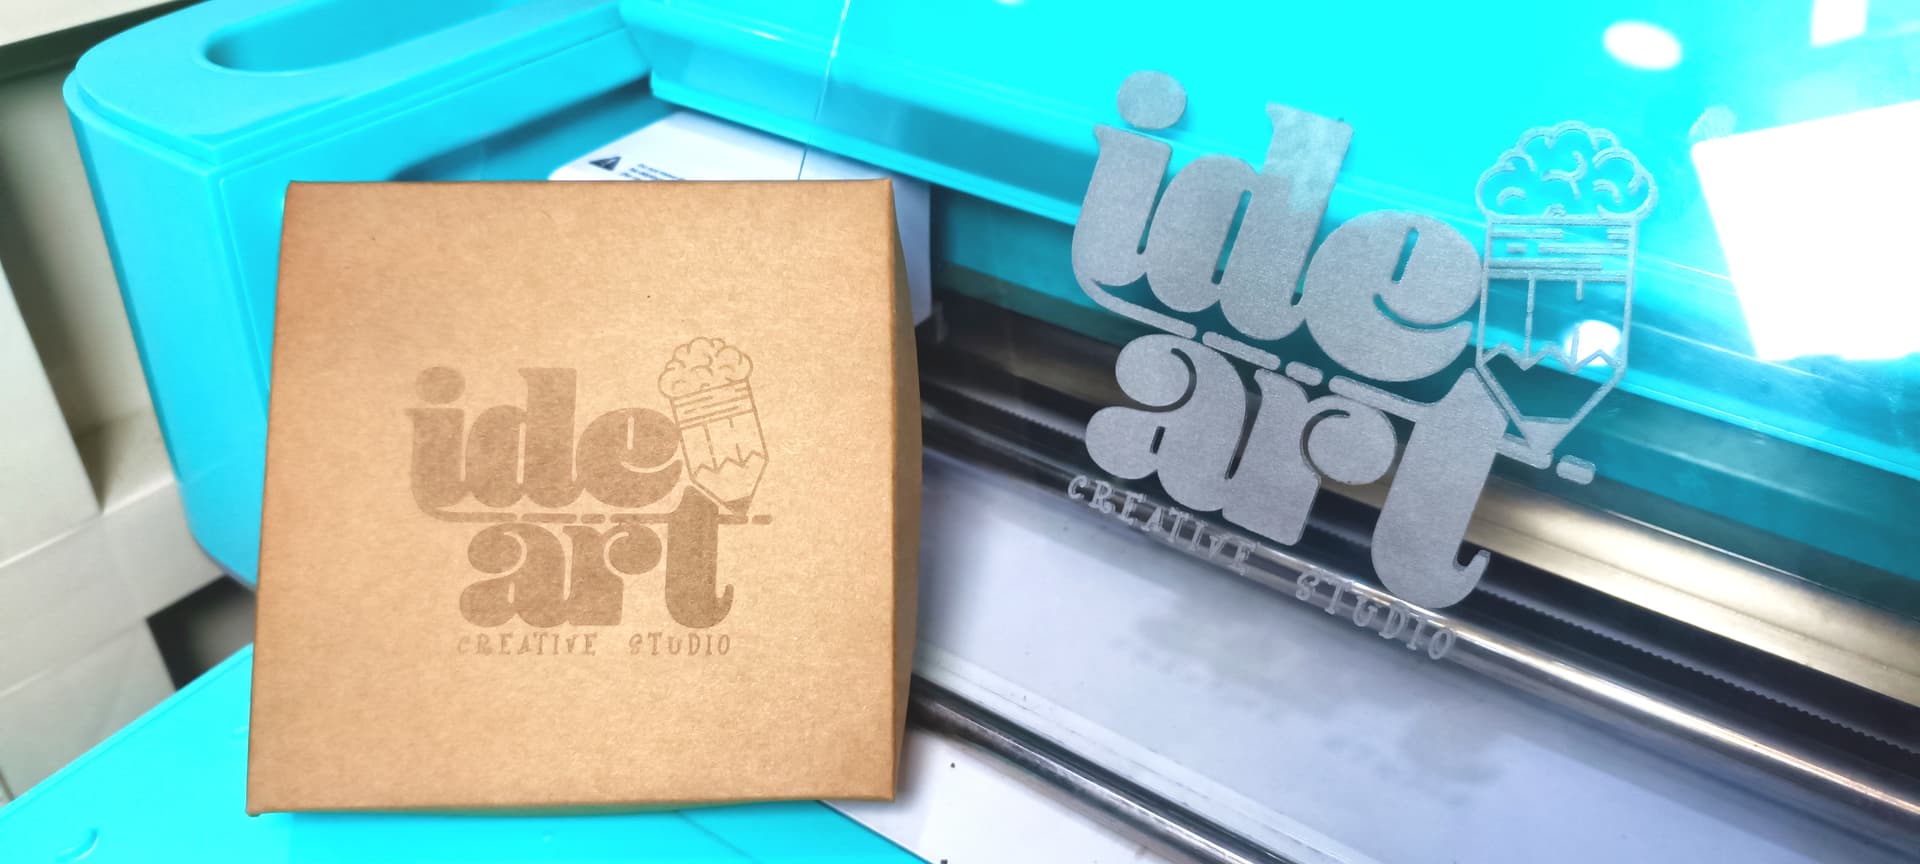
I also wanted to engrave a craft cardboard box with my logo, I used the following parameters, 15% power, 900 speed but the engraving came out very clear and almost impersectible, so I used the same configuration that I had already used to engrave wood, 20% power and 900 speed, my result was as follows:
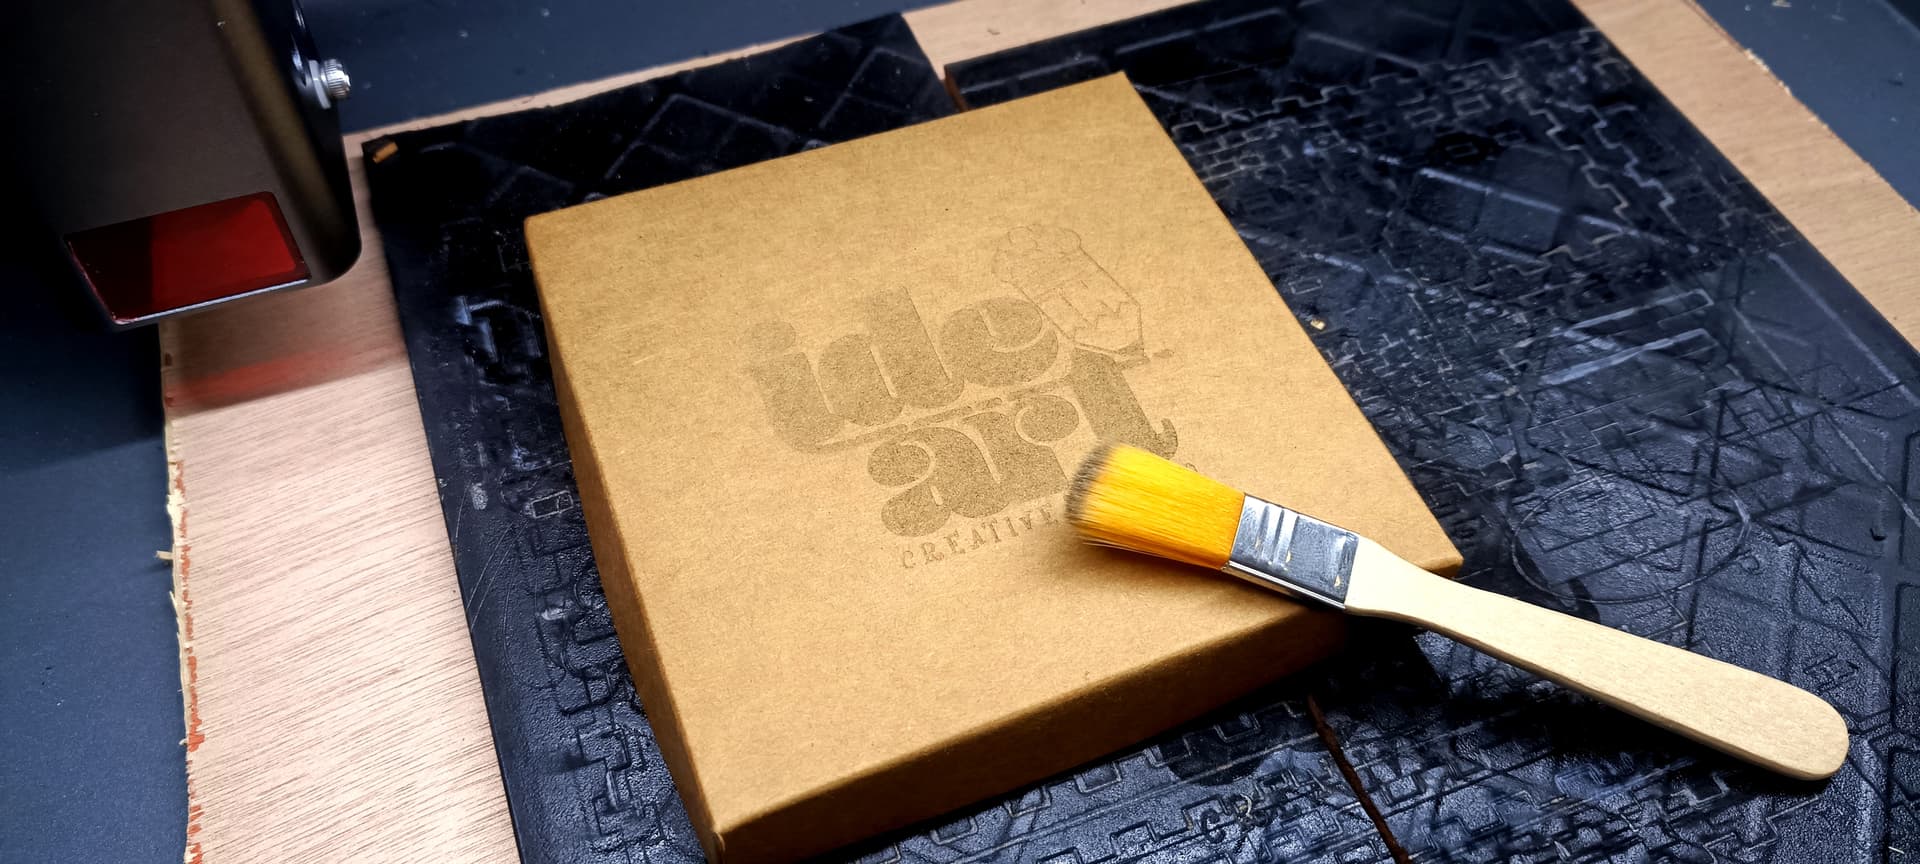
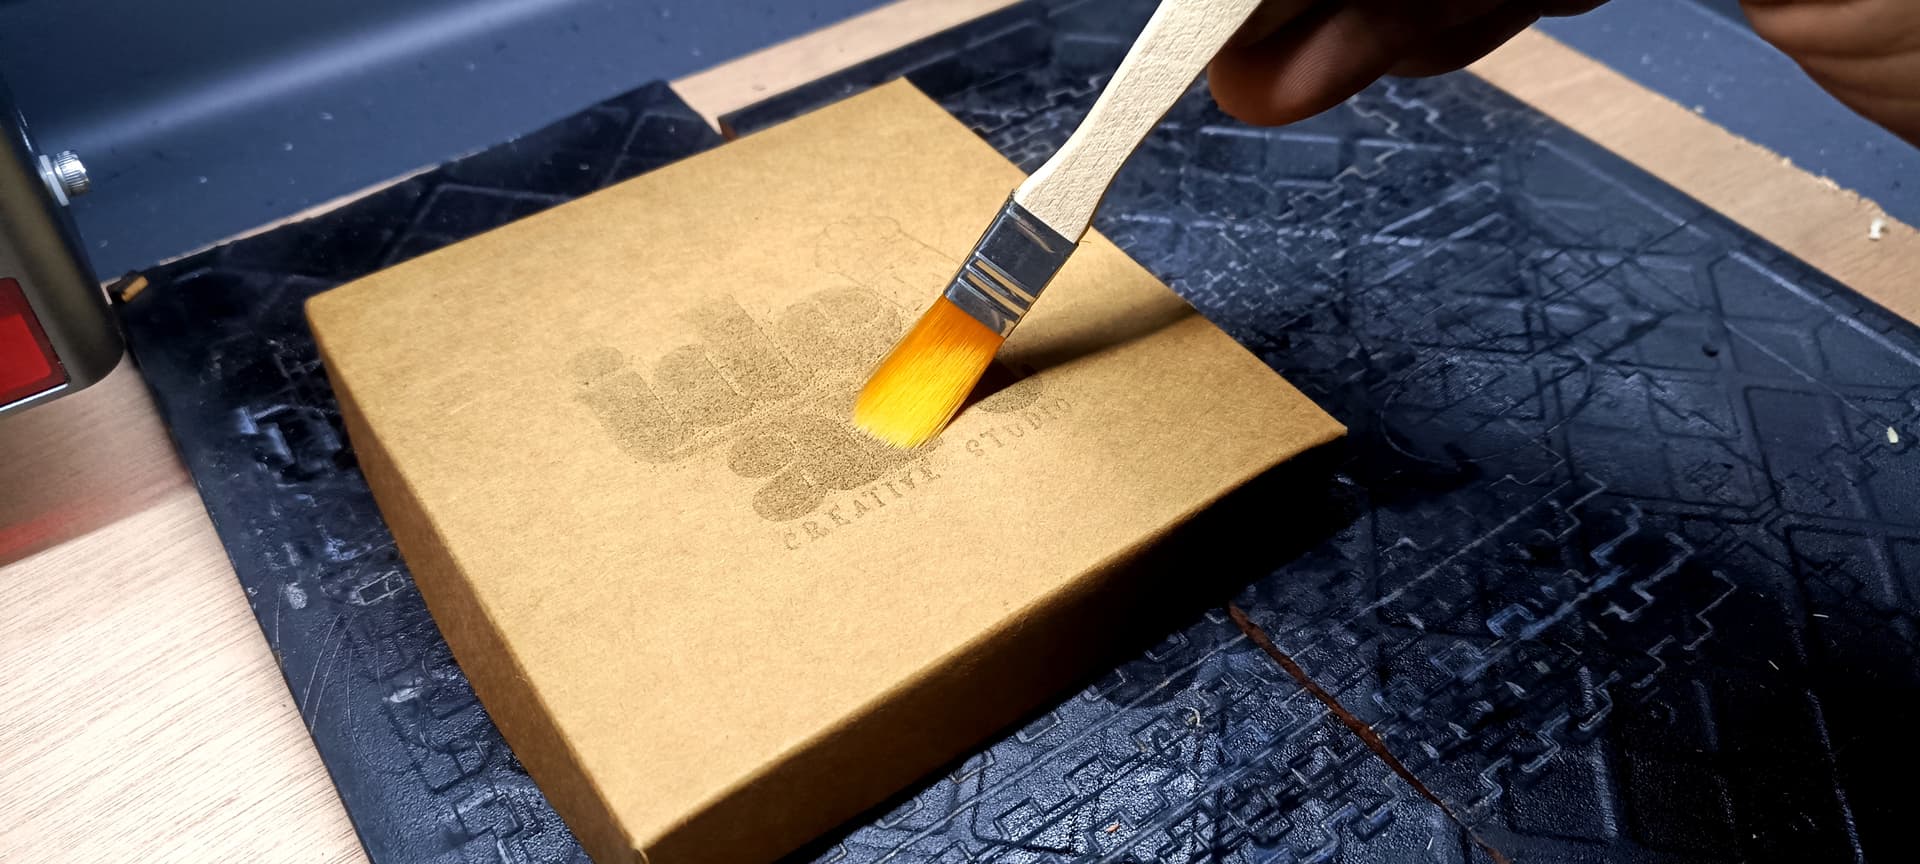
After engraving, particles remain on top of the material and as the cardboard can get dirty with these particles if we clean it with our hands, it is better to do it with the brush that comes with the iEngrave kit.
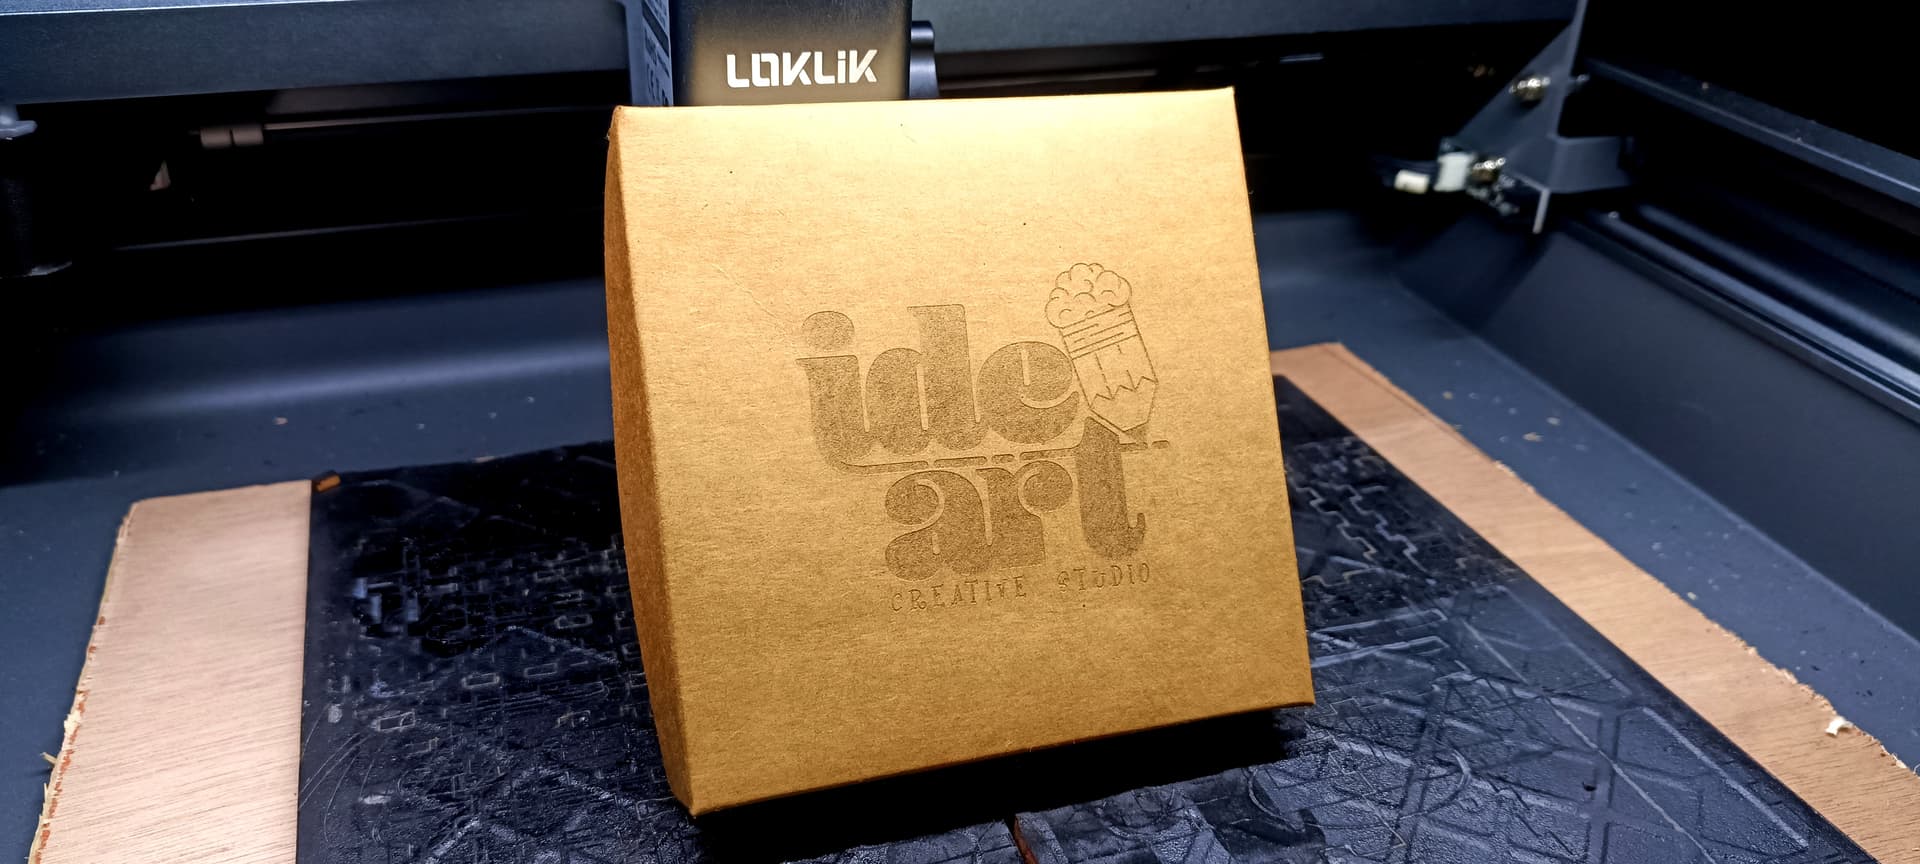
Final result:
Wood engraving and cutting.
I have already published the following two materials in a separate post but I wanted to add them to this one to make it more complete and add links to this project which by itself is quite extensive.
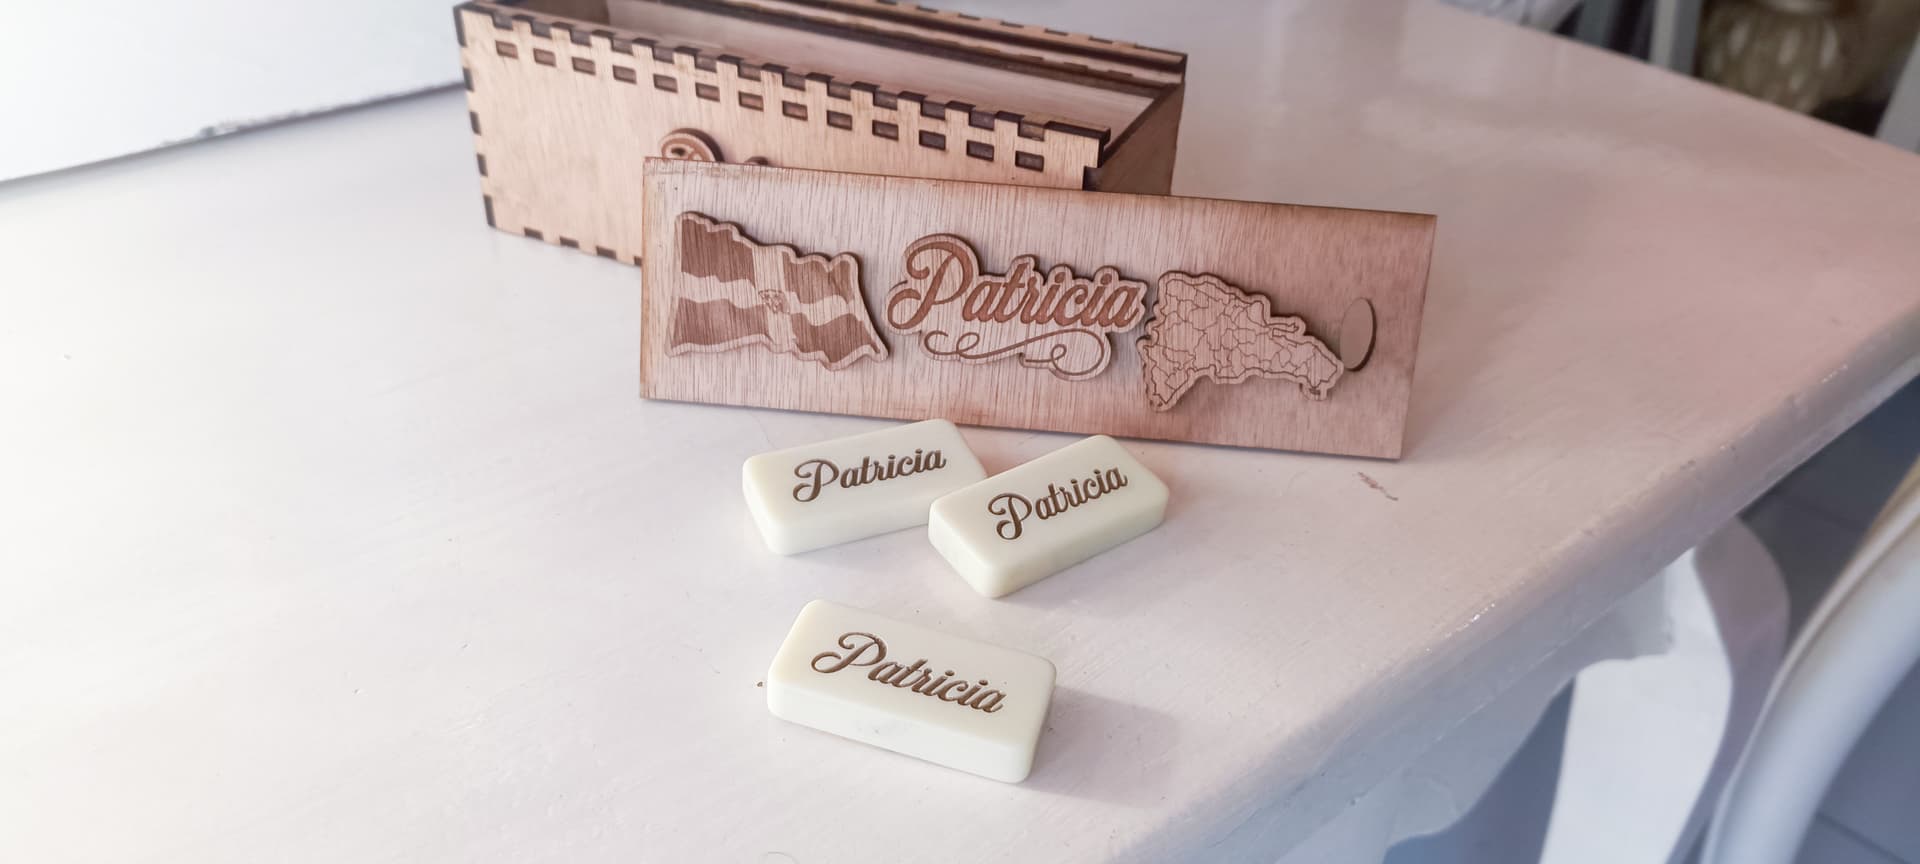
Step-by-step project for a domino box
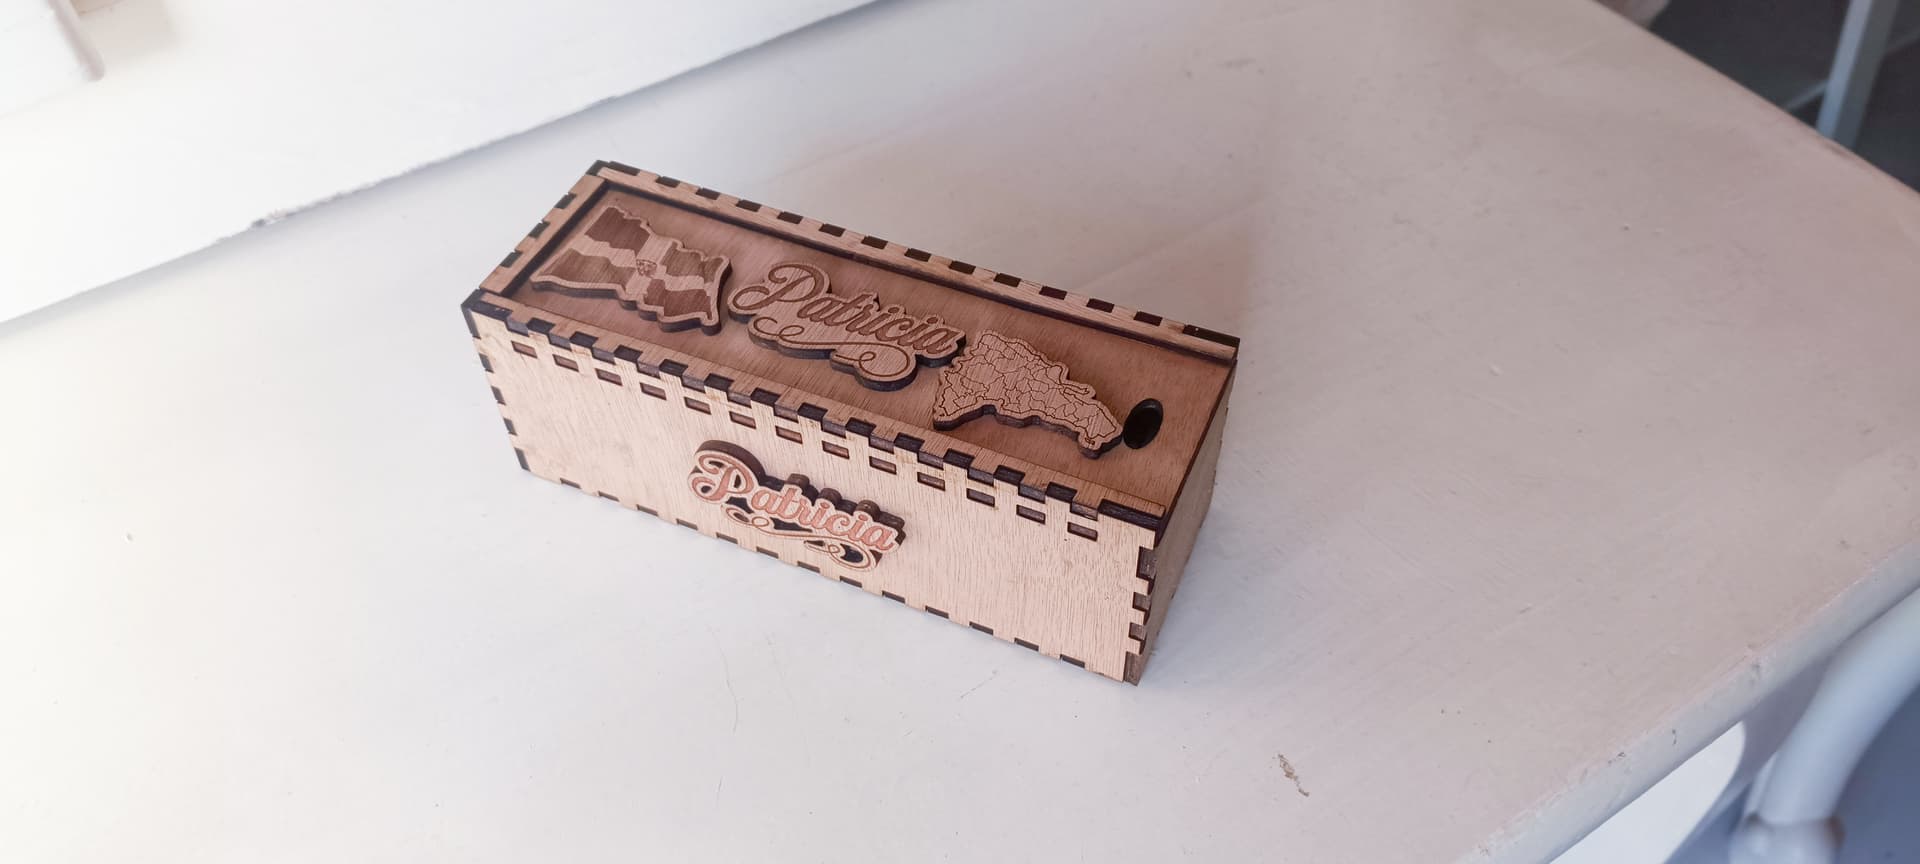
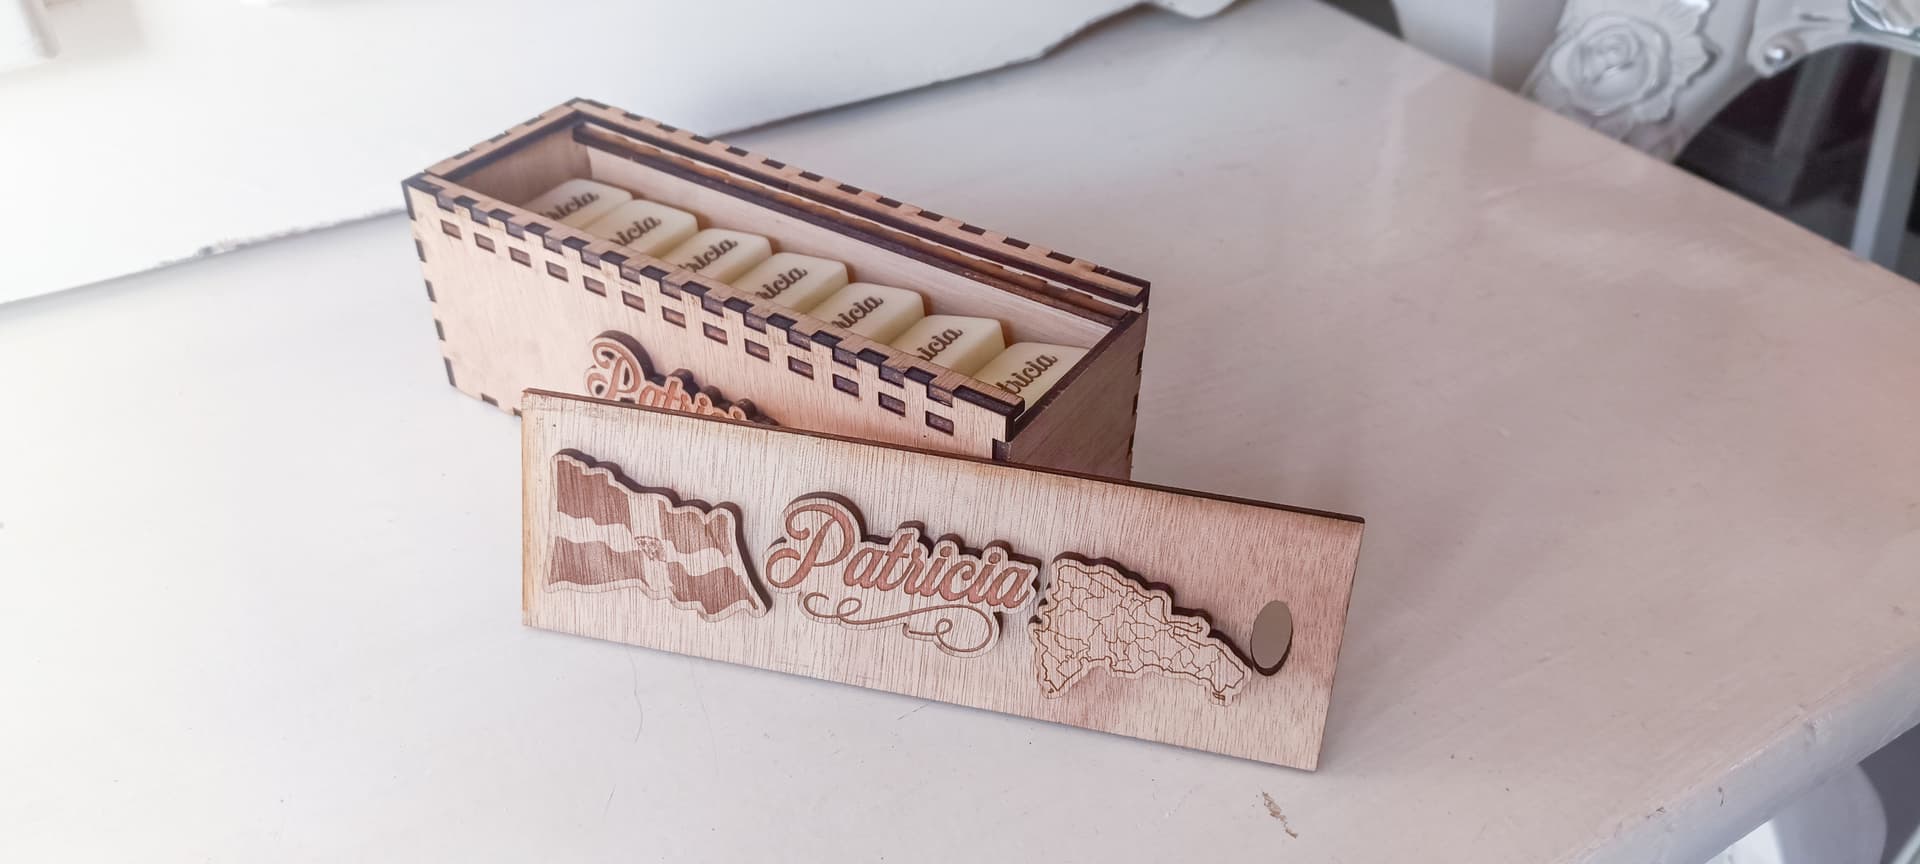
Acrylic Resin
Along with the box of dominoes I also made an engraving on the back of all 28 pieces of dominoes, the final result I loved because the groove of the engraving was deep as are the holes of the numbers of the dice.
Step-by-step project for engraving dominoes
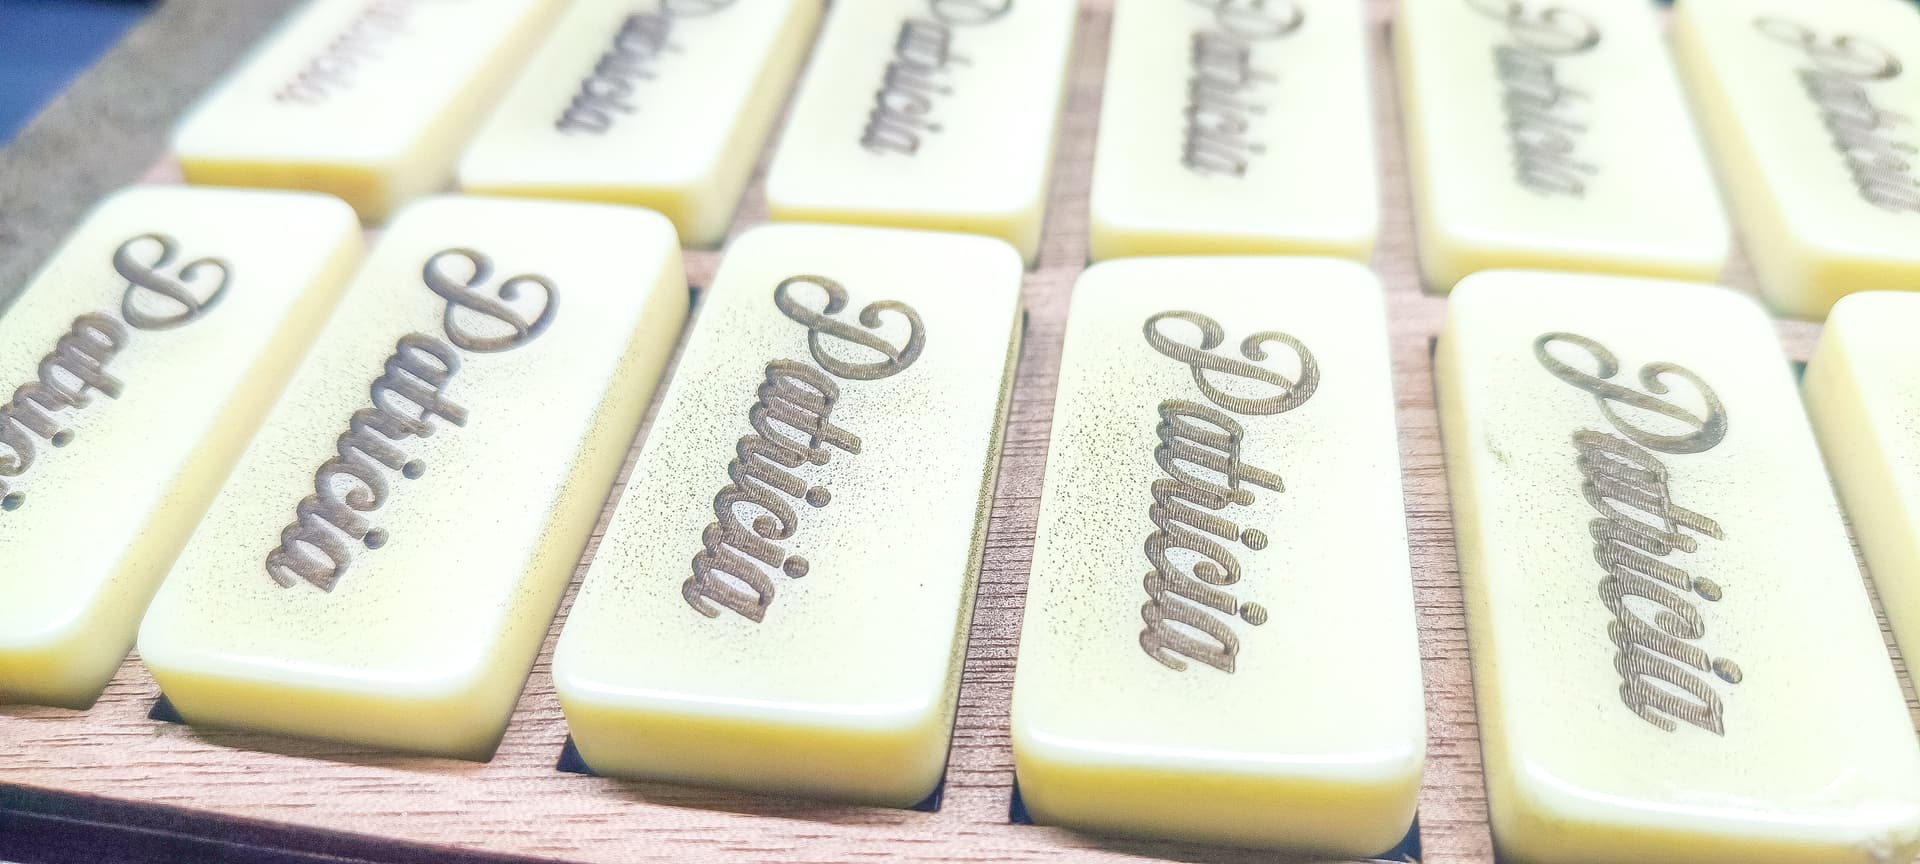
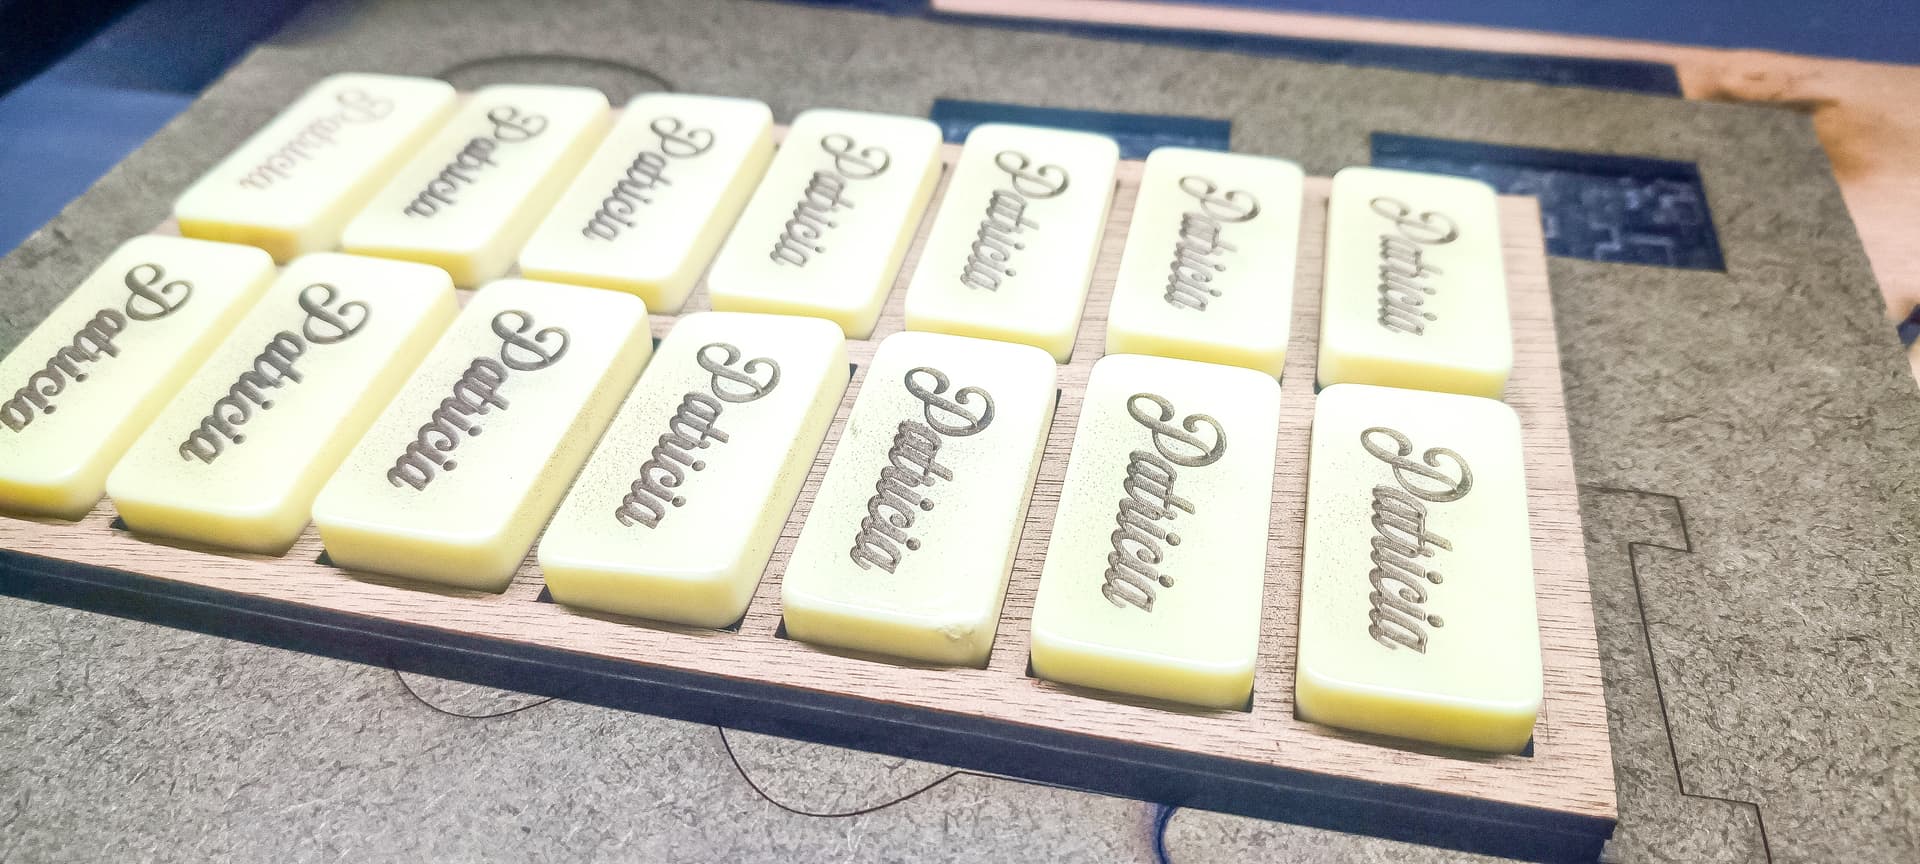
For now these are the tests that I have done with different materials, I hope that in this and in each of the contributions of my colleagues on the iEngrabe find interesting things to do and create, I know that this is the beginning of a long creative path and that will be spectacular for each of those who try this powerful machine.
 the best part la caja de dominos


 Wow, thank you for sharing your tests! It’s so exciting to see the creative energy building around the iEngrave. Your words beautifully capture the spirit of exploration and possibility—this really does feel like the start of something spectacular. I’m looking forward to seeing what you and the rest of the community continue to discover and create. Let’s keep inspiring each other!


