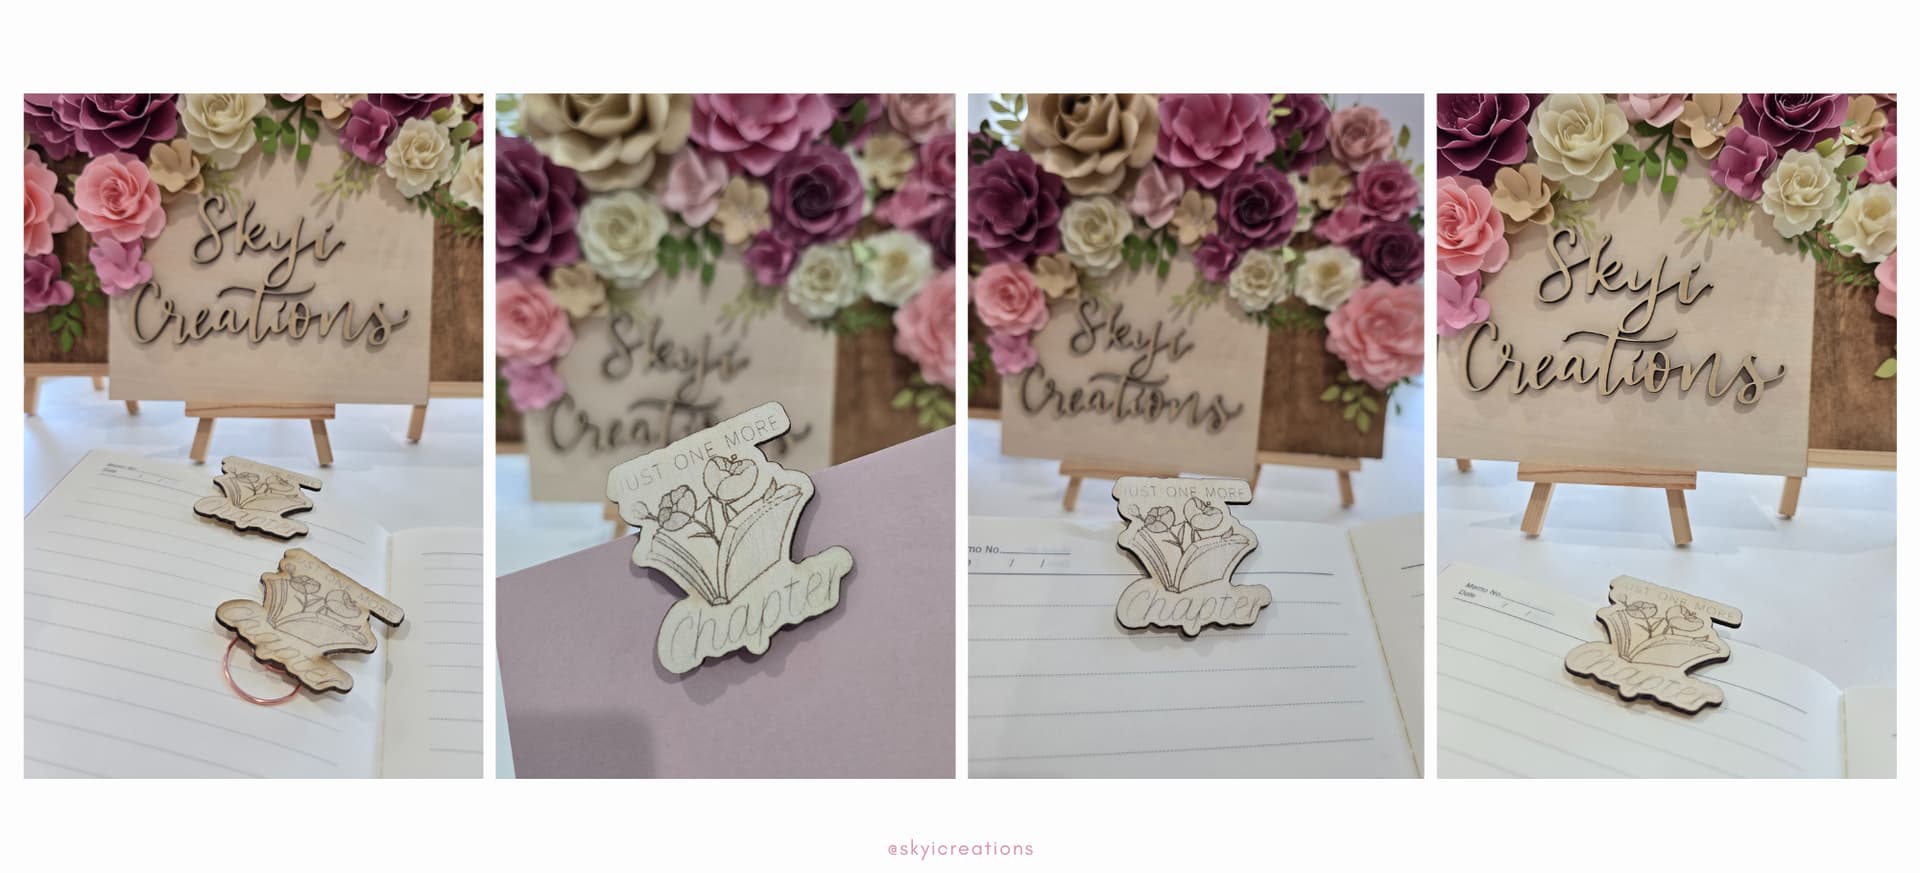
Project Overview:
The kiddos will be going back to school soon and will most likely be reading their usual 30-45 minutes a day. To help with this daily assignment, I have created these wooden bookmark clip using the iEngrave™. Such an easy and quick project showcasing the multiple engraving capabilities of the iEngrave™, engraving line, engraving filling, and cutting.


Materials:
- Cutting machine: LOKLiK iEngrave™
- 2mm basswood - used the sample provided with the iEngrave™
- Large paper clip
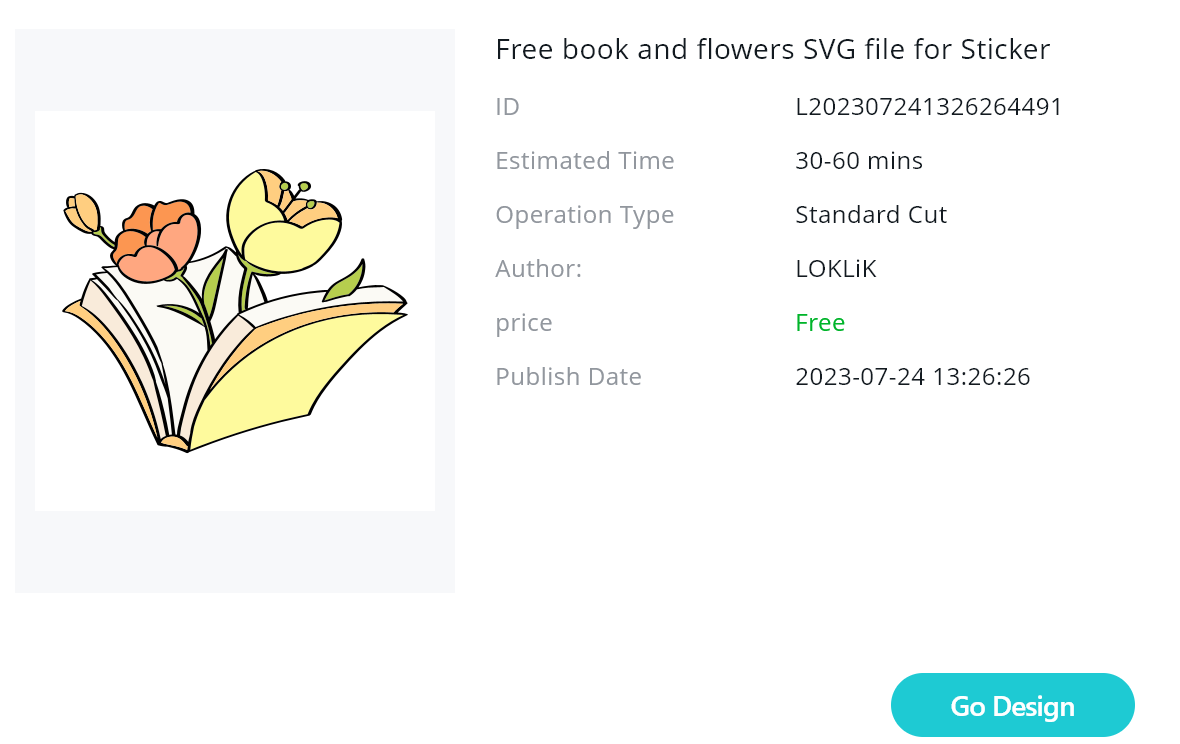
- Template: from LOKLiK Library
**free book and flowers SVG file for Sticker
Design and Cutting Process:
- Using the LOKLiK IdeaStudio Library, search for the template and select the + to add the template to the canvas.
- Using the Text feature, type in the text of your choice. For this tutorial, I used “Just One More” and “Chapter”. The fonts used were Handwriting-SwiftType-Readability-svg and Handwriting-SwiftType-DecorousScript-svg
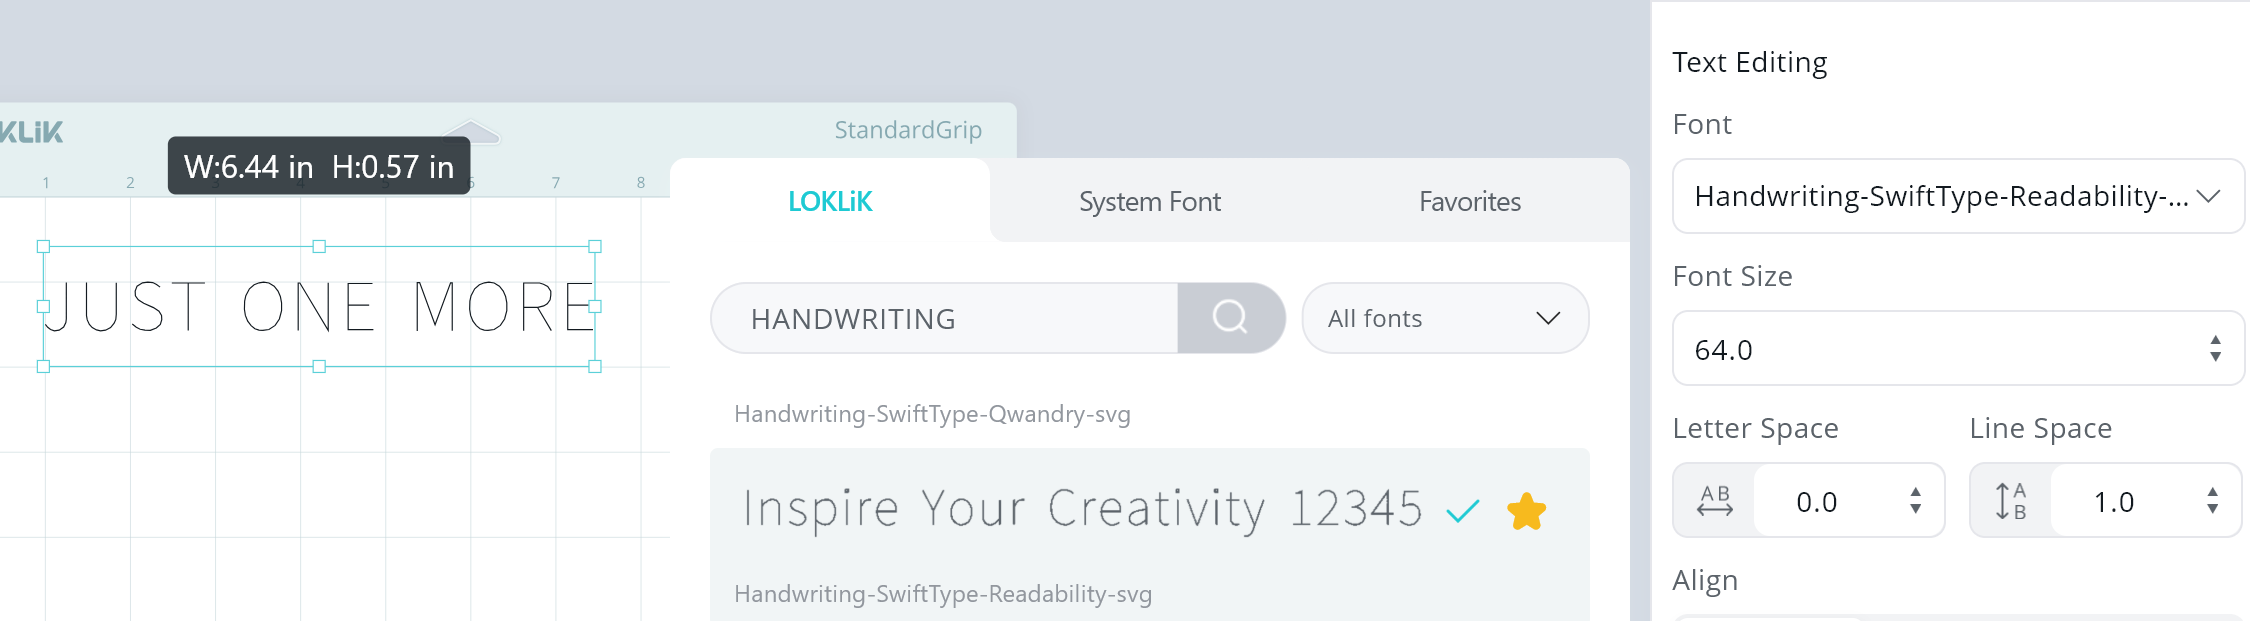
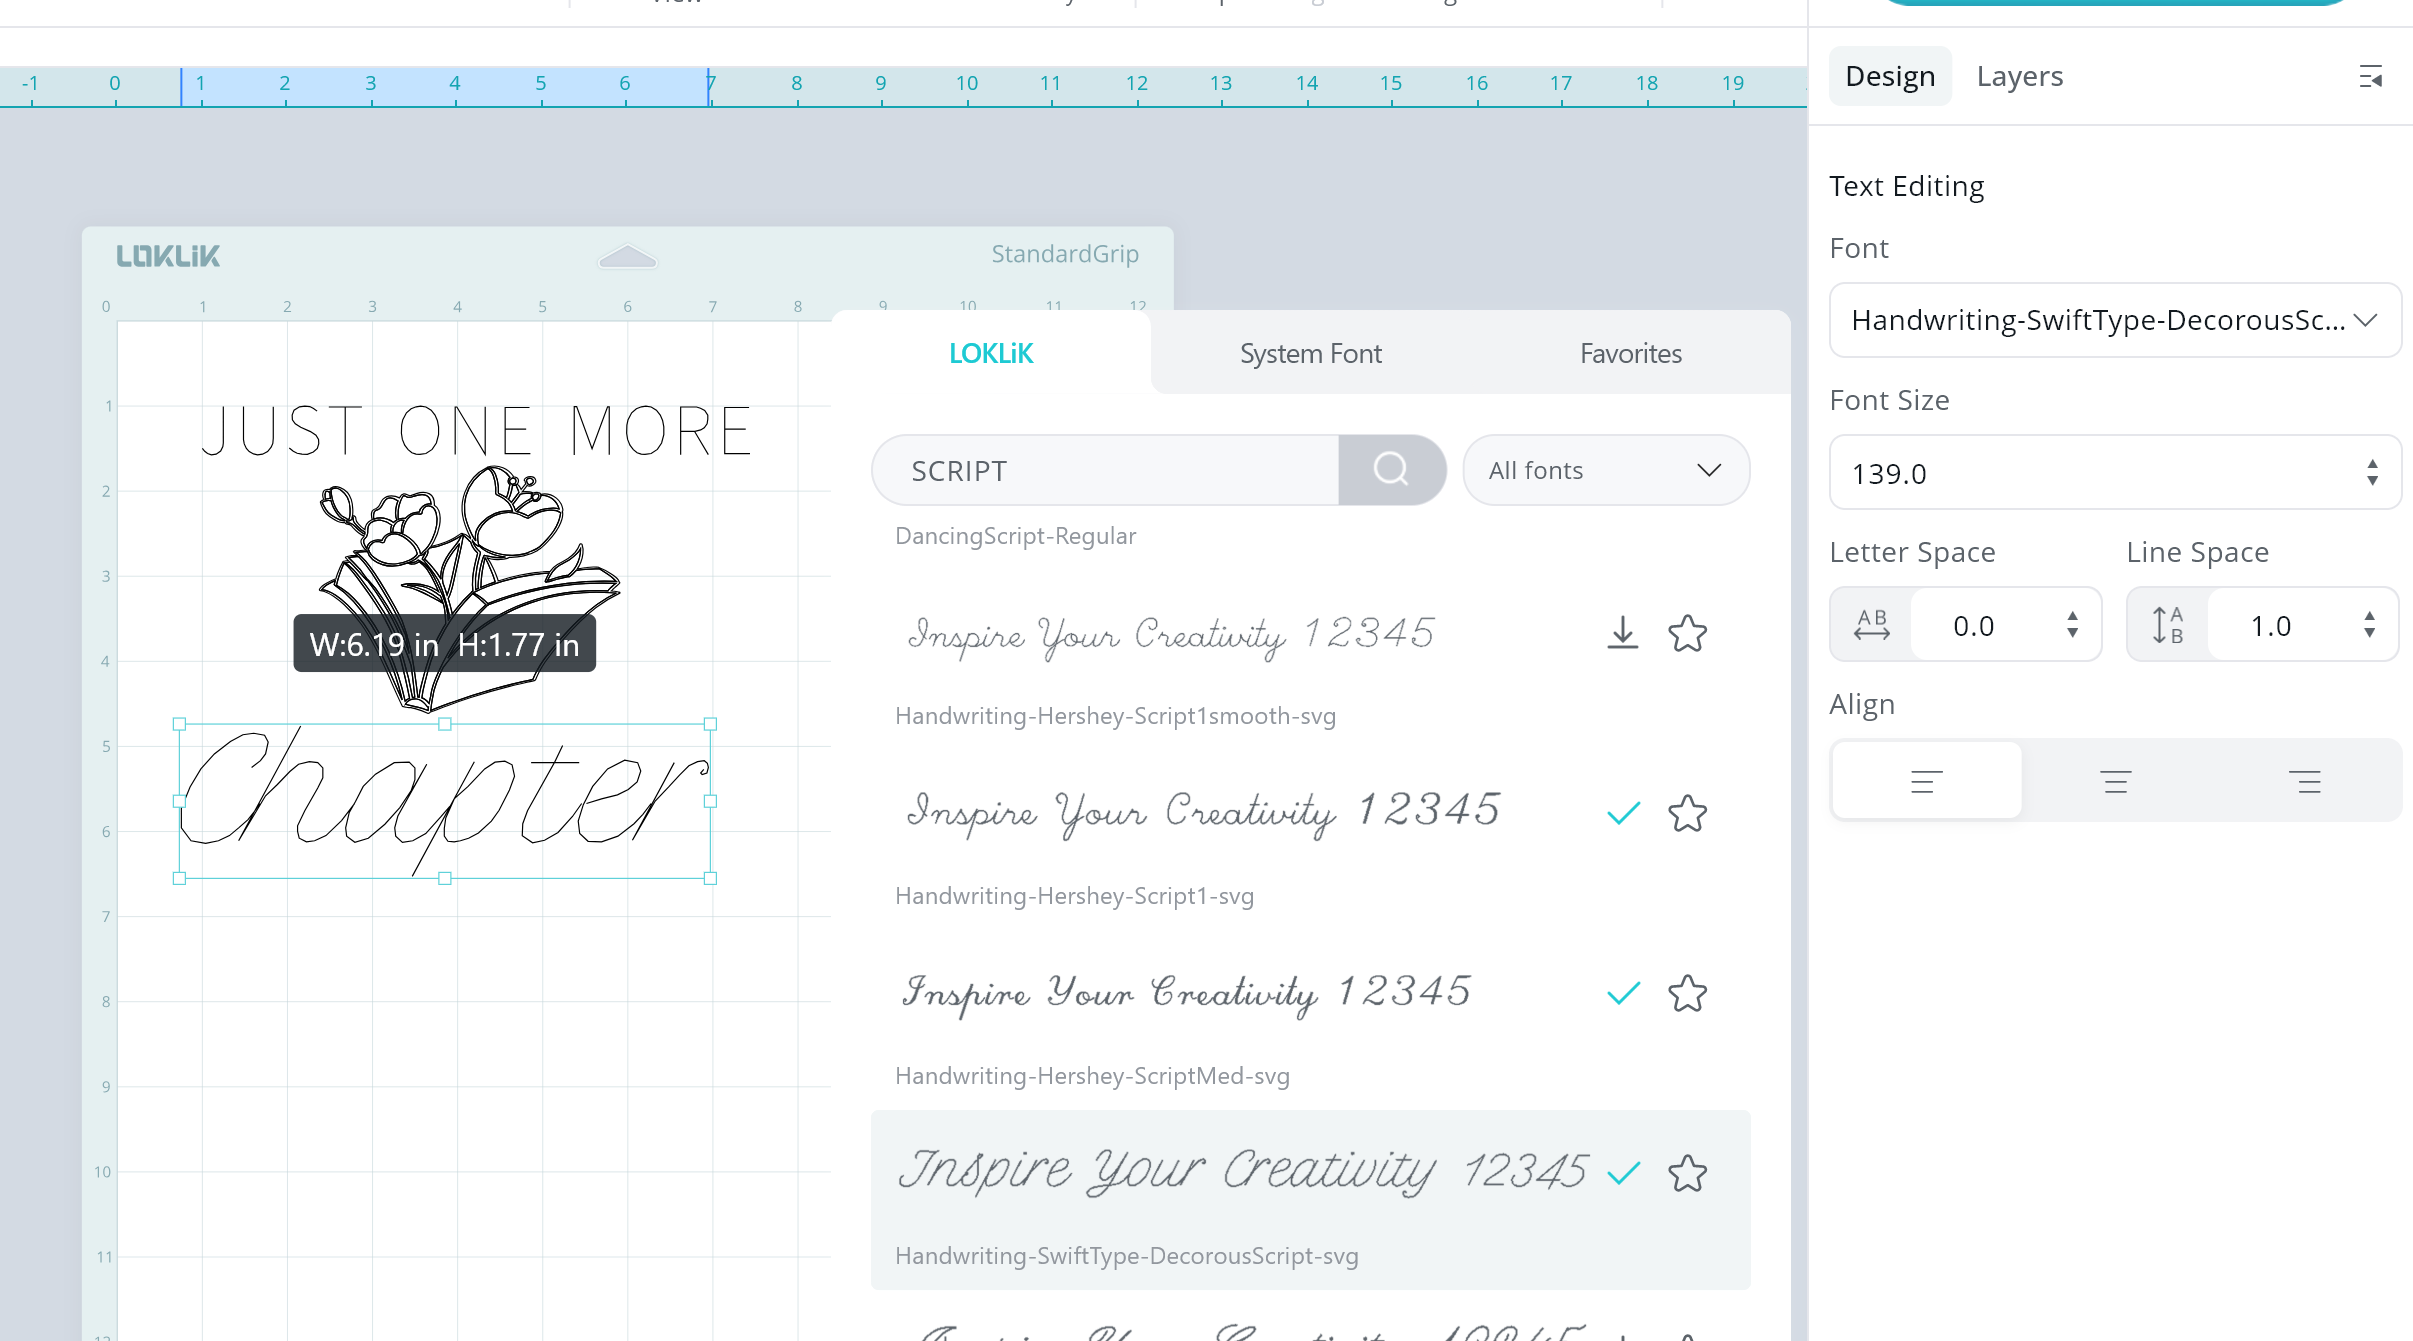
- I adjusted the size and position of the text to fit around the book SVG that was uploaded.
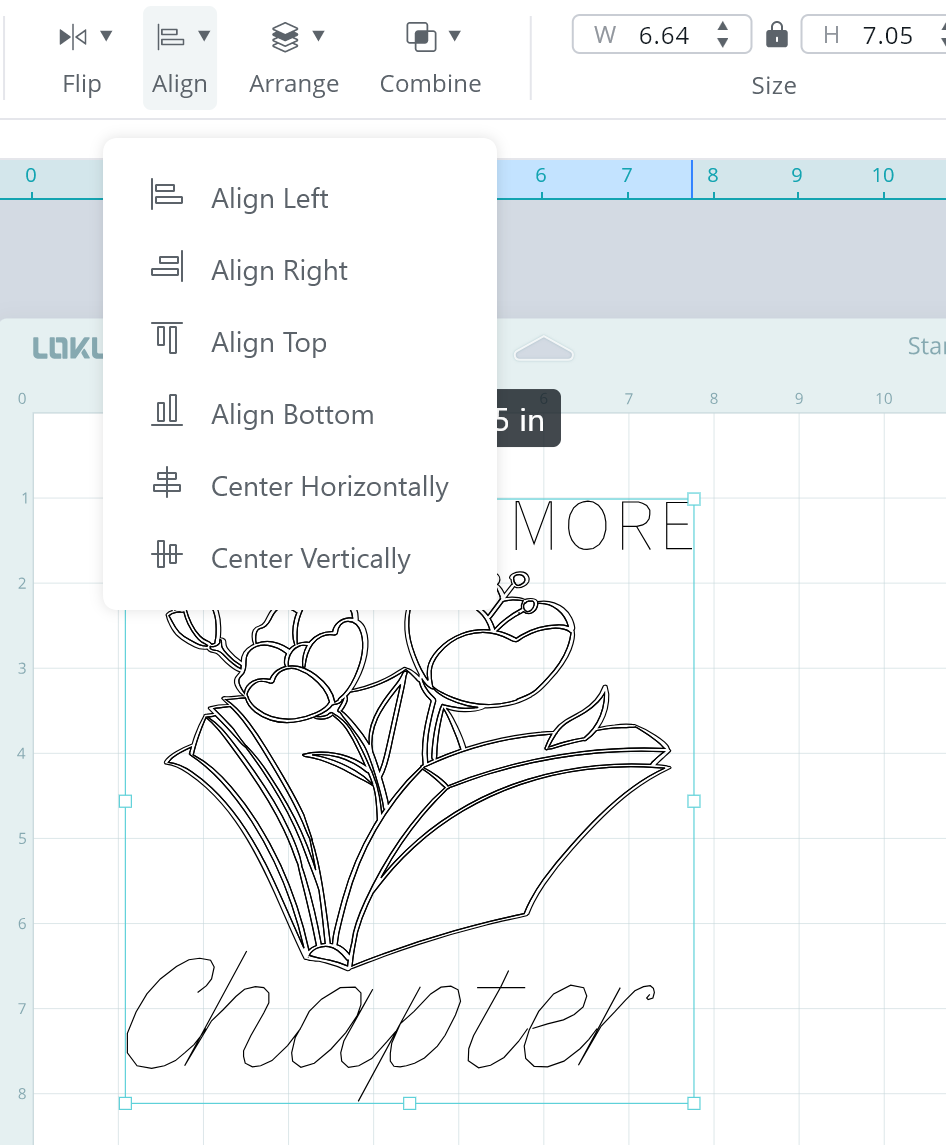
- Select the text and SVG, and using the Align feature and select “Center Horizontally”. This would ensure that the design is centered prior to adding an offset.
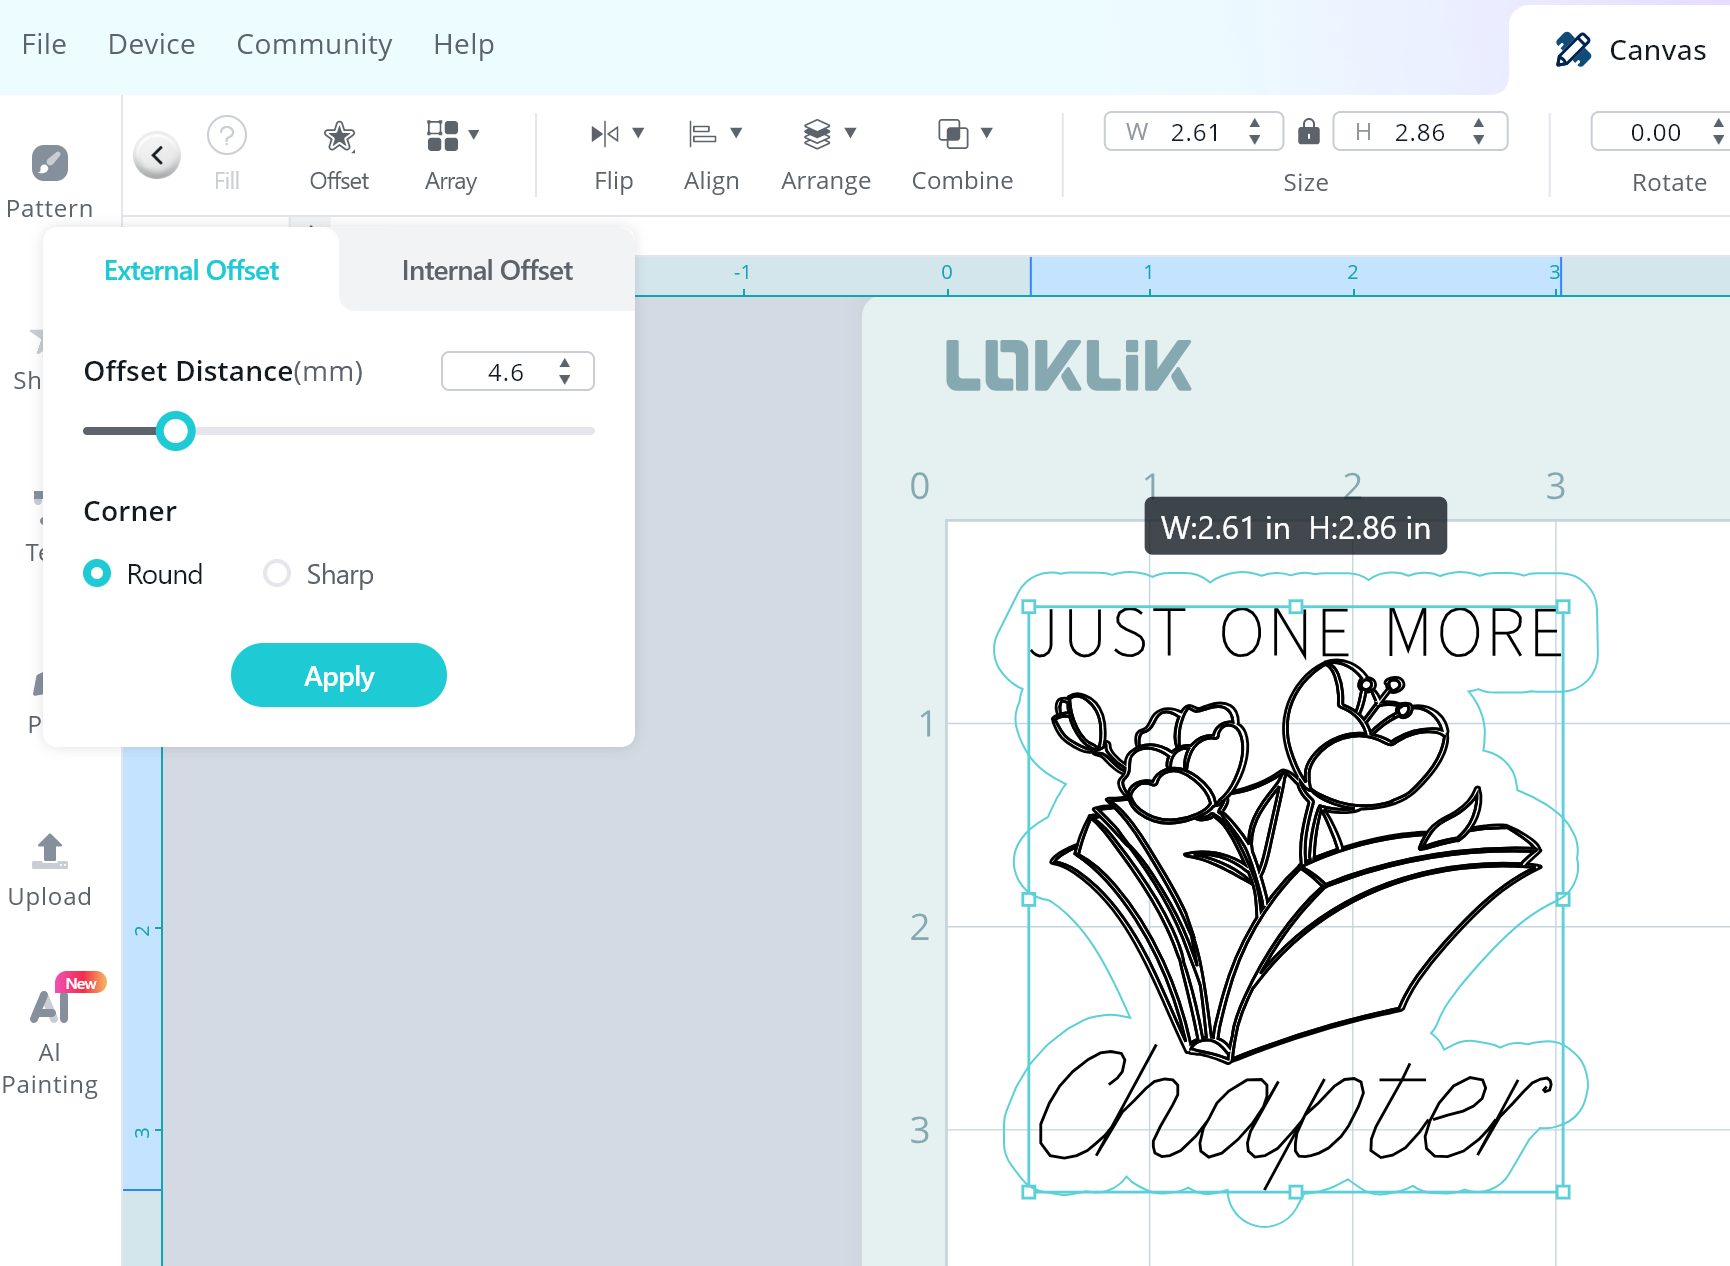
- Select the text and SVG, and add an external offset. This offset will be the shape of the wooden piece being cut. For this tutorial, I used an offset of 4.6mm.
TIP: Group the projects by the different component we are going to be sending to the laser. For example, the text would be grouped together and are all the same color. This will allow you to select which group to send with their correct engraving settings.
- Save your design to the LOKiK IdeaStudio My Zone.
Engraving the Wooden Bookmark Clip:
- Follow the prompts on the LOKLiK app to connect to your laser (device).
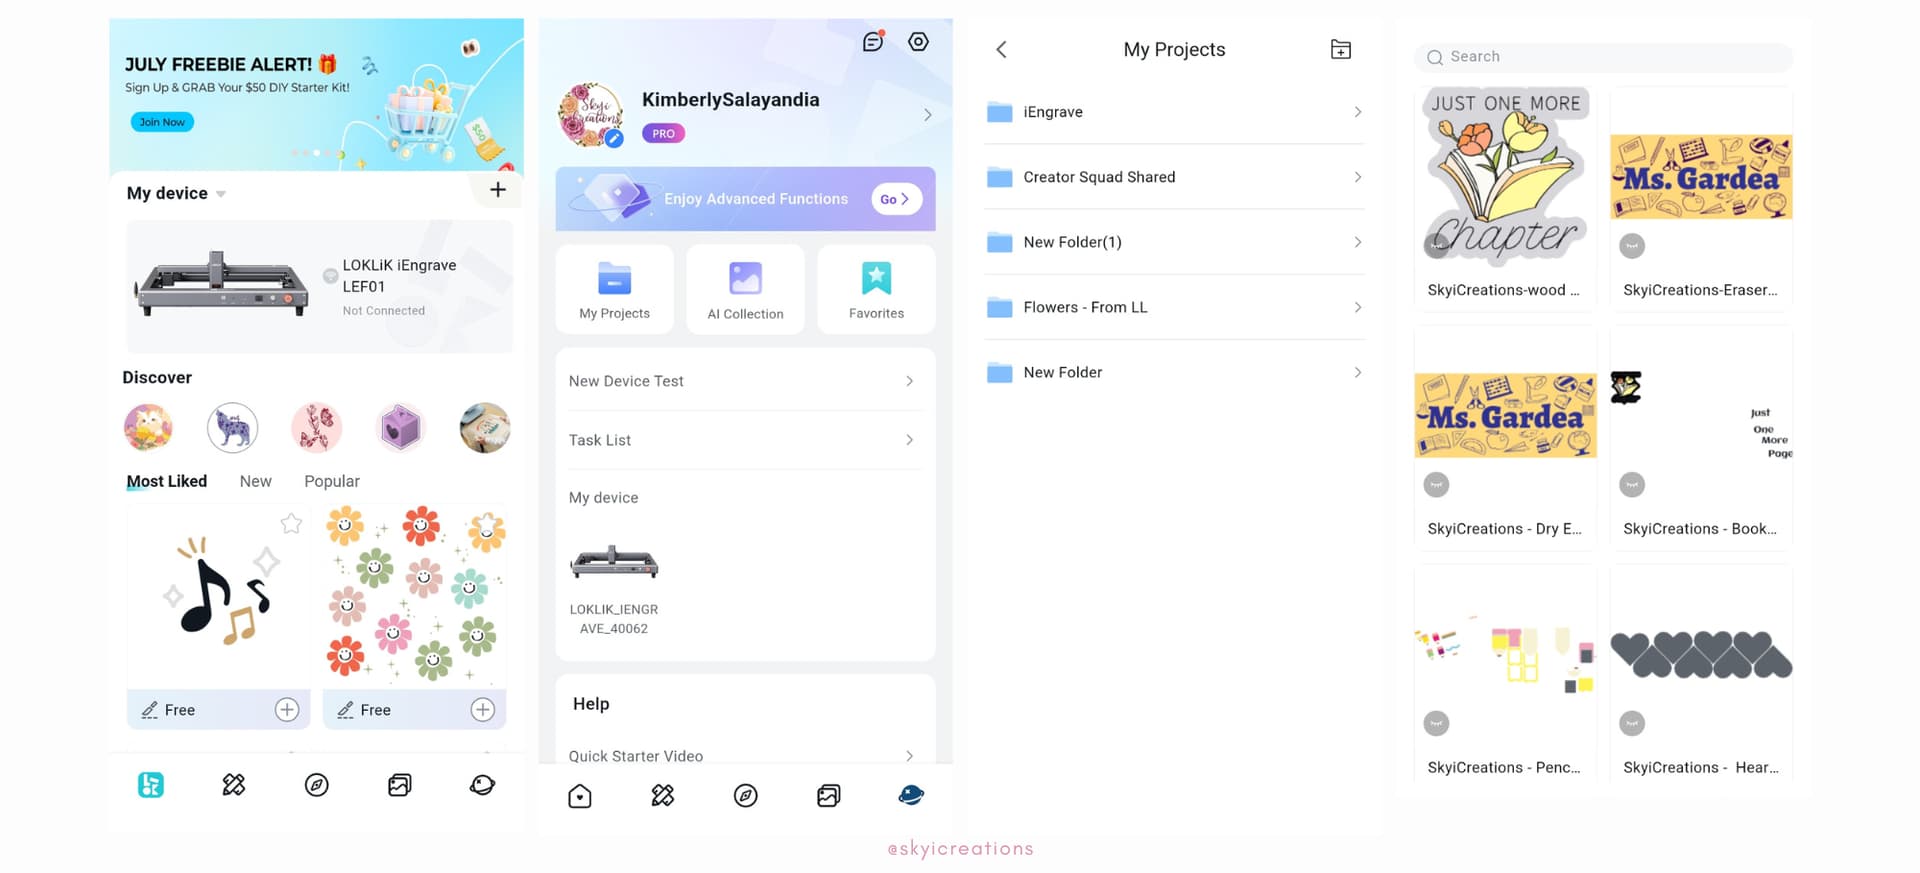
- On the bottom right corner, you will see an icon that looks like a “world”, click on the icon.
- This will direct you to your account and you will click on “My Projects”.
- The next screen will show you the projects you have saved, click the project, and select “add to canvas”.
- Select the project on your canvas and under the “action” icon, ungroup the project.
- Select each group and click on “make”. This will prompt you to enter the engraving settings for each group.
- Enter the engrave settings to match the materials. Below are the settings I used for this tutorial.
Engrave Settings - Filling (SVG image)
Material: Basswood Board
- Mode: Filling
- Operation Style: Engrave
- Power: 75
- Speed: 7500
- Passes: 1
Engrave Settings - Line (Text)
Material: Basswood Board
- Mode: Line
- Operation Style: Engrave
- Power: 75
- Speed: 5000
- Passes: 1 (I repeated this process 3 times as 1 pass was too light for my preference)
Engrave Settings - Cut (Offset)
These are the adjusted settings which resulted in less burn marks but required sanding to remove the cutout.
- Material: Basswood Board
- Mode: Line
- Operation Style: Cut
- Power: 90
- Speed: 600
- Passes: 1
Engrave Settings - Cut (Offset)
These are the system recommended setting which resulted in more burn marks.
- Material: Basswood Board
- Mode: Line
- Operation Style: Cut
- Power: 100
- Speed: 300
- Passes: 1

-
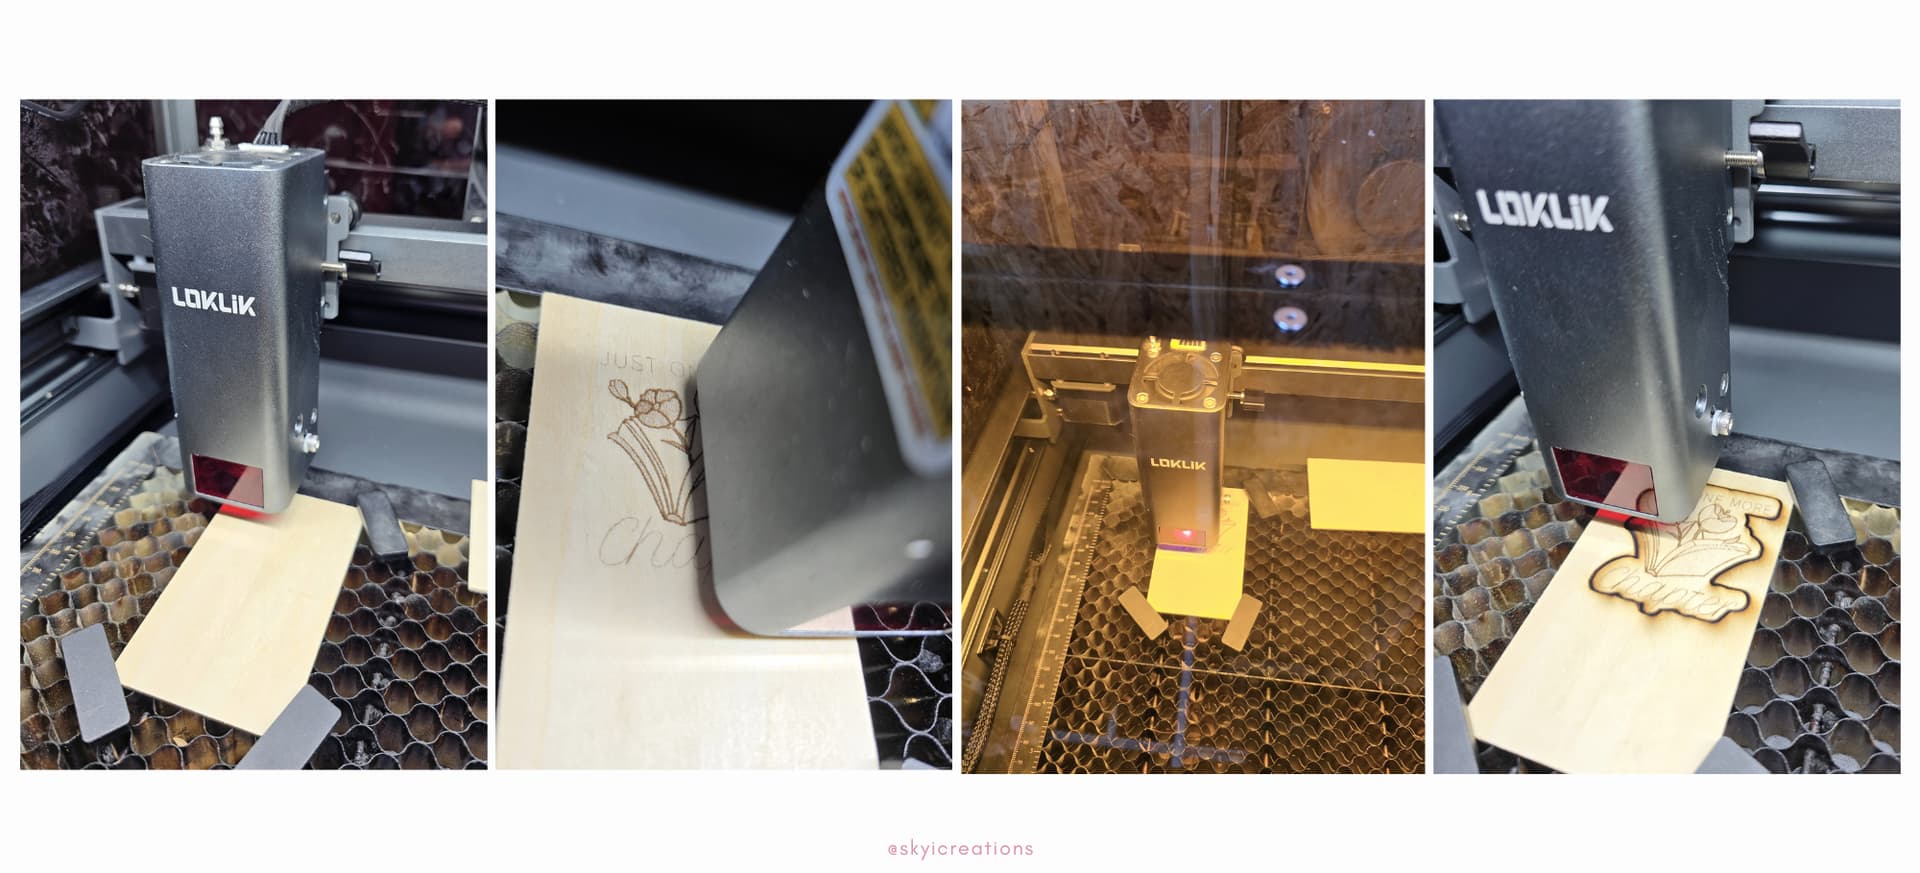
Prior to executing each part of the engrave, make sure you frame the project. After entering the settings, the control panel has a “frame” feature. This is very important to ensure that your material is placed in the correct position. Since this is a project with multiple engravings, I would recommend that you manually adjust your material (not using the x,y arrows). It is important that you do not move any of the project components to make sure that the line and filling engraving are in the right positions.
-
Place your material in the laser and using the focal length pin ensure that the lowered pin touches the material. Adjust the laser head as needed and return the pin to its upward position.
-
Using the Task List, send the components to engrave.
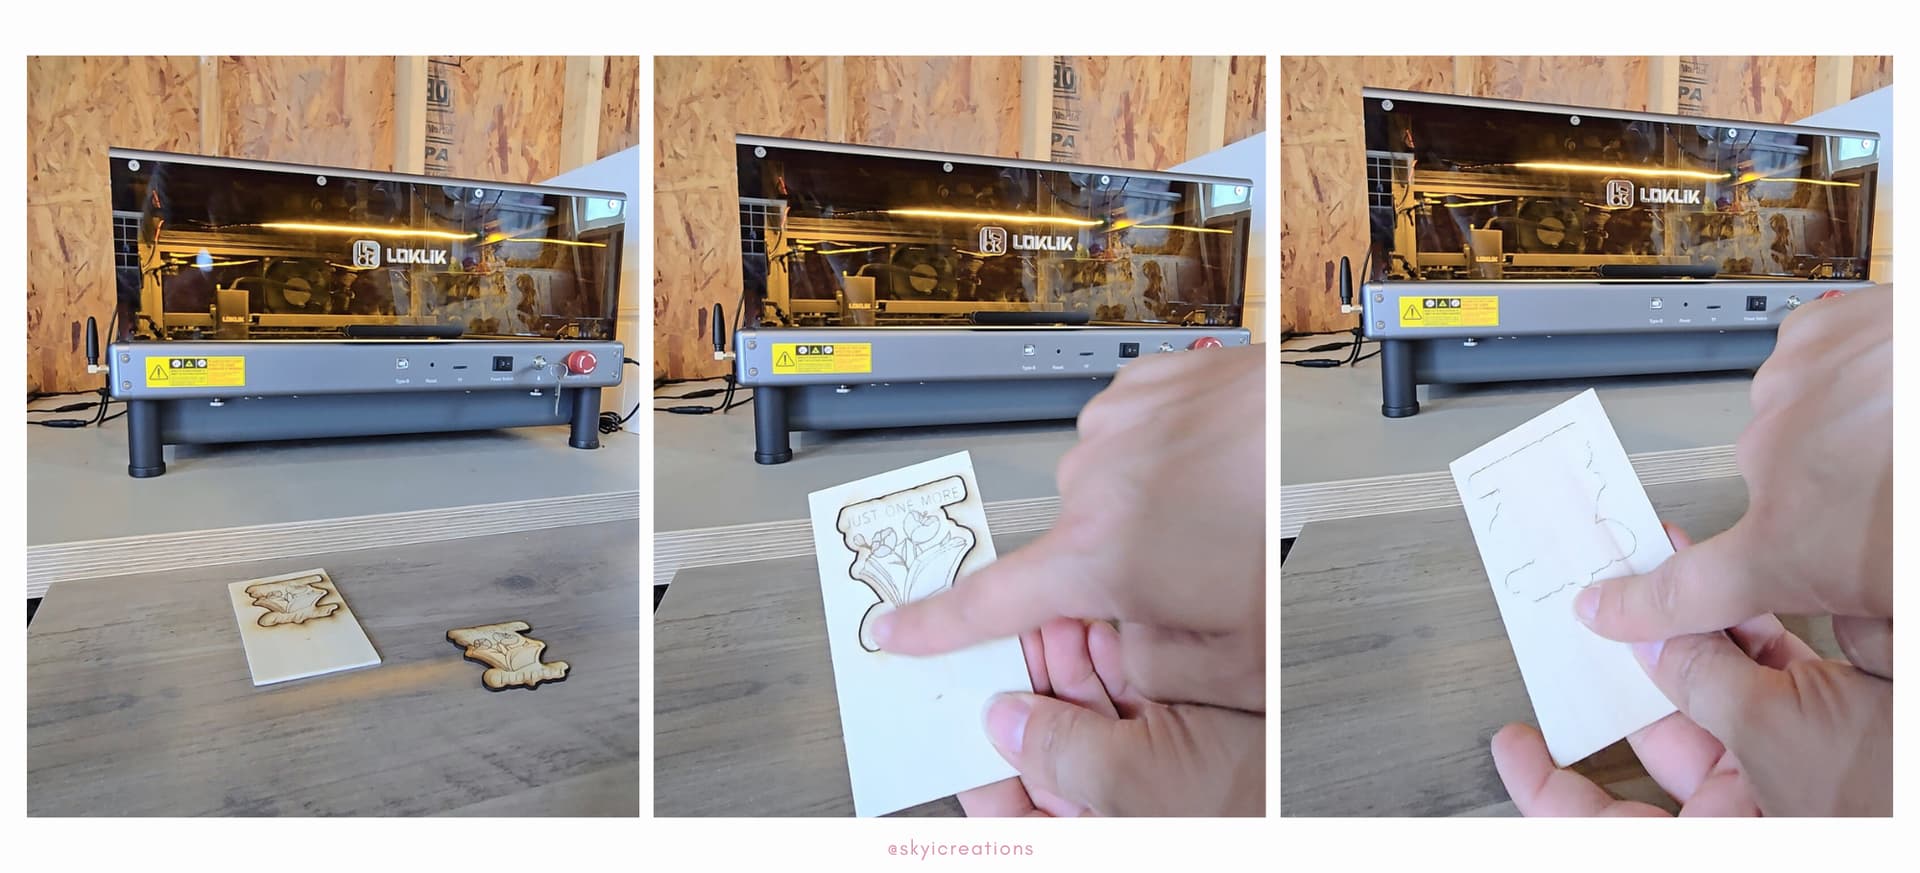
- Since the laser is burning through the material to cut the wood, you may see some scorch marks on the finished cut. As you see below, the scorch marks vary on the settings used.
- I tested a different cut setting and found that it reduced the scorch marks but did not cut completely.
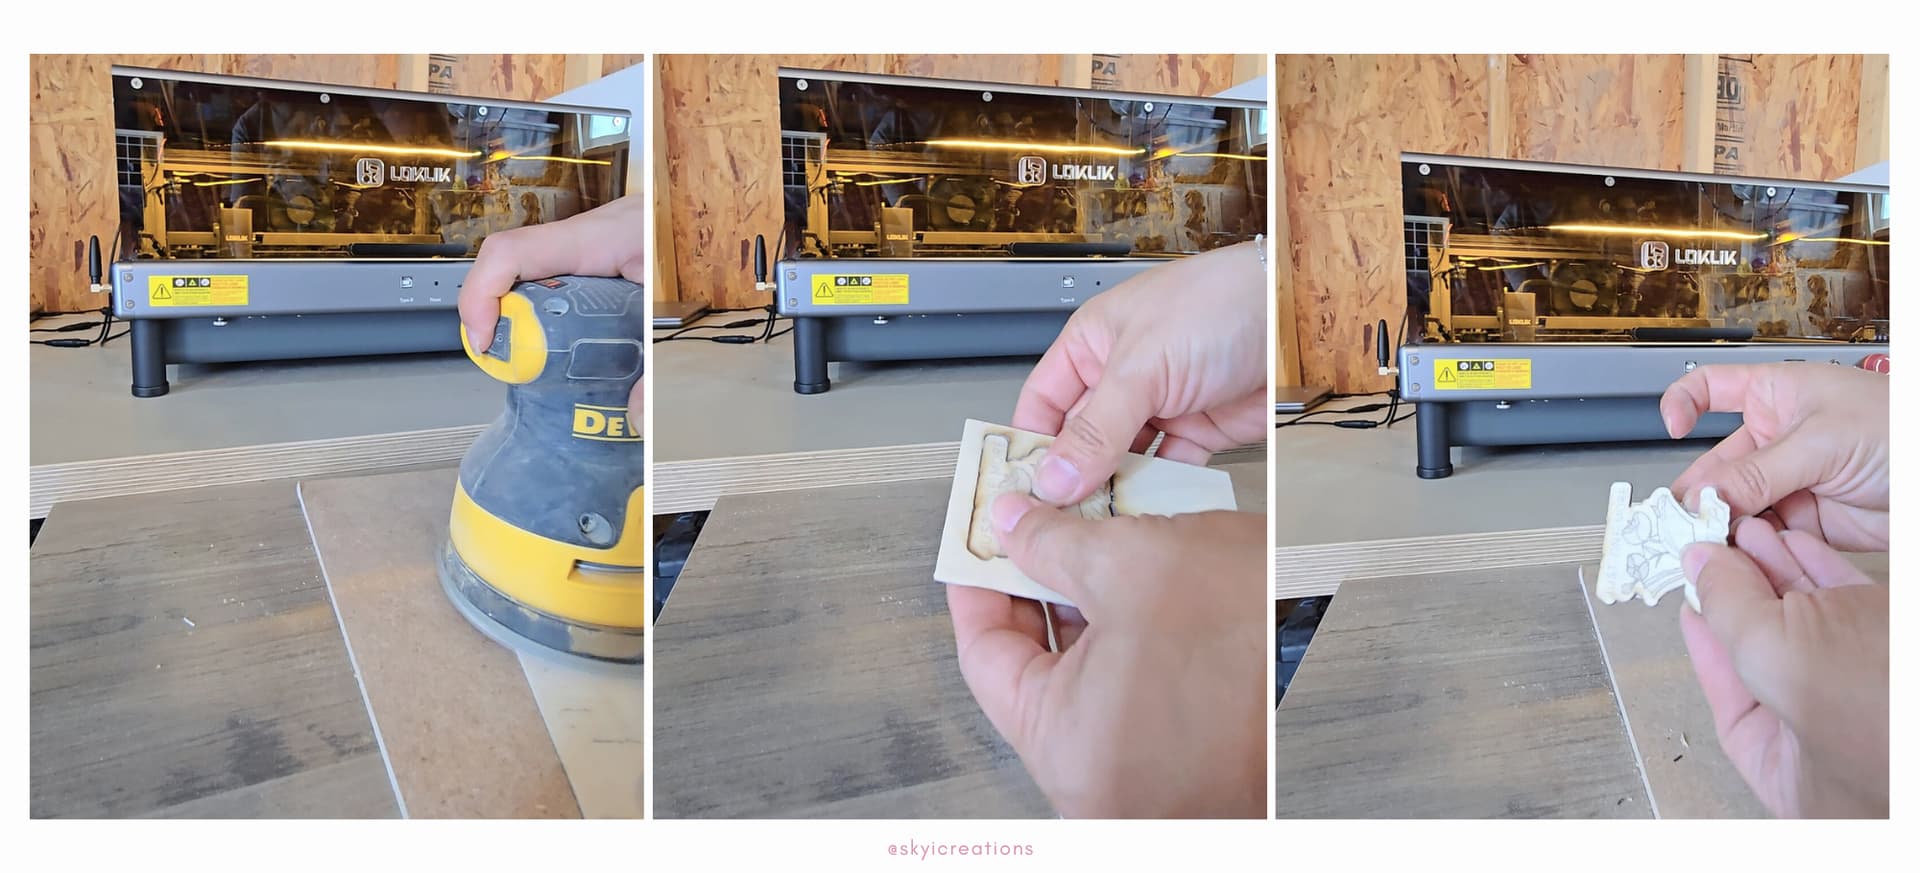
- To help the scorch marks and to release the cut design, I used a handheld electric sander to clean up the wood. Please make sure to use a sanding pad with a low grade (softer) to avoid removing the design.
- I sanded the back side of the design that did not come off of the wood to allow me to pop it out as seen in the photo below.
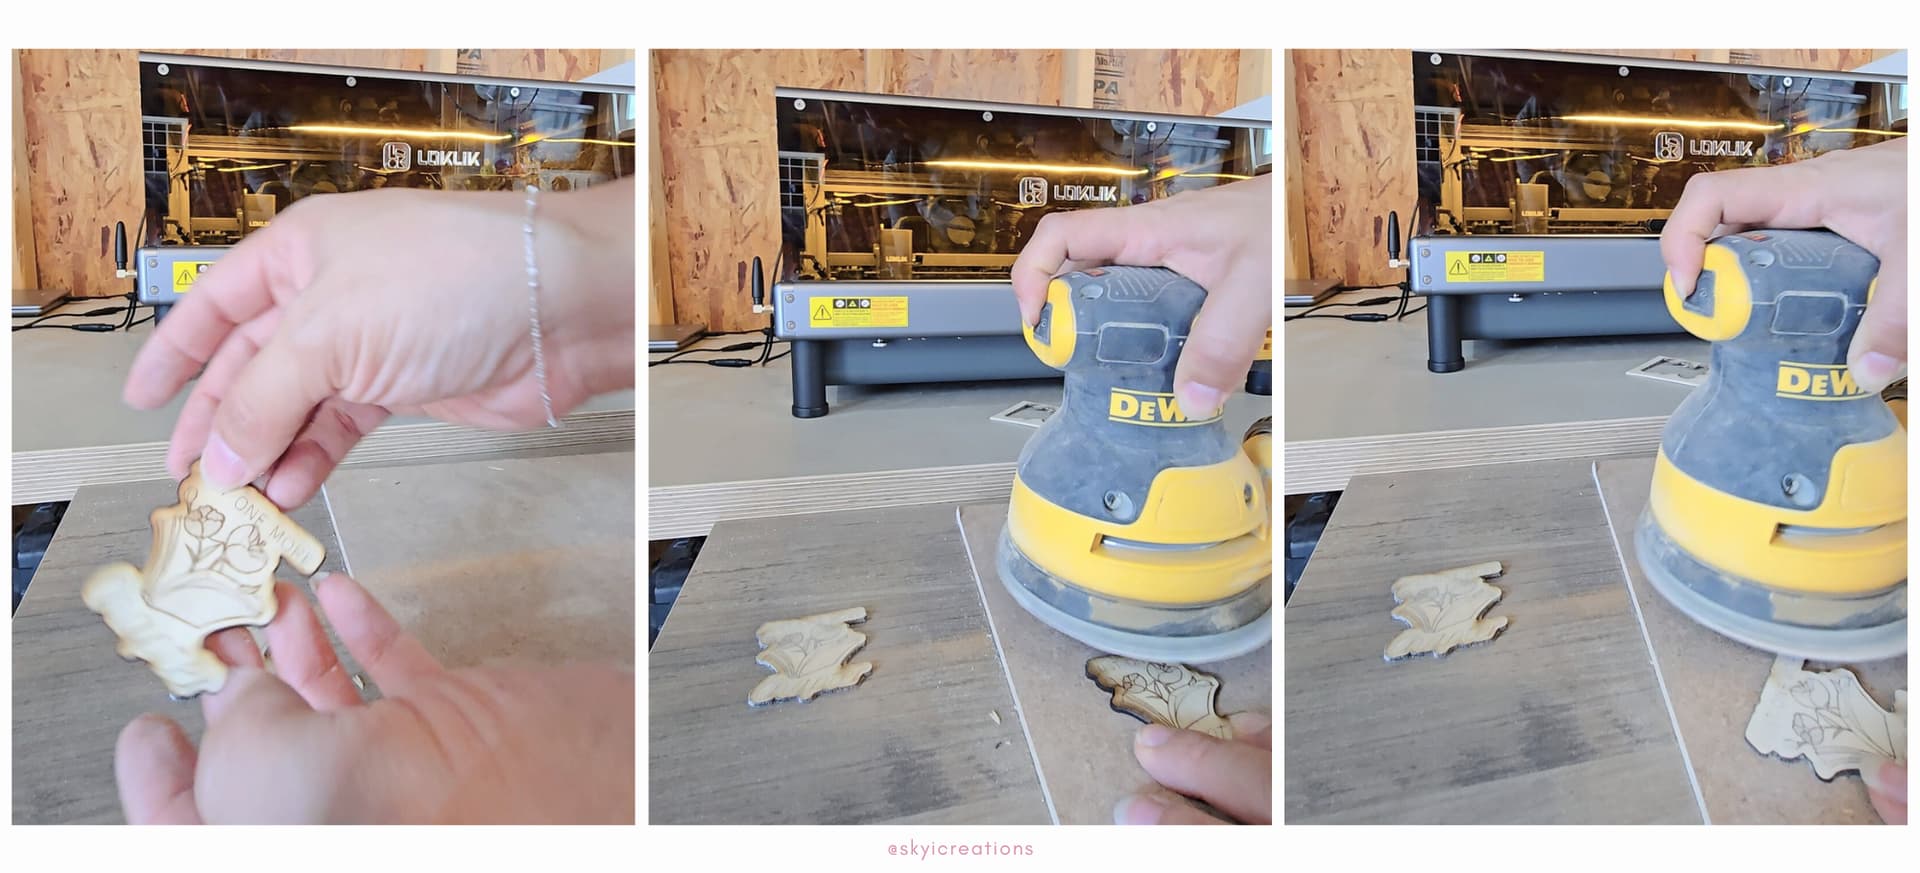
- I then sanded the other wooden piece to remove the scorch marks along the sides. Please note: be very careful as I sanded a little too much on one side making the engraved letters lighter than I would have liked.
Assembling the Wooden Bookmark Clip:
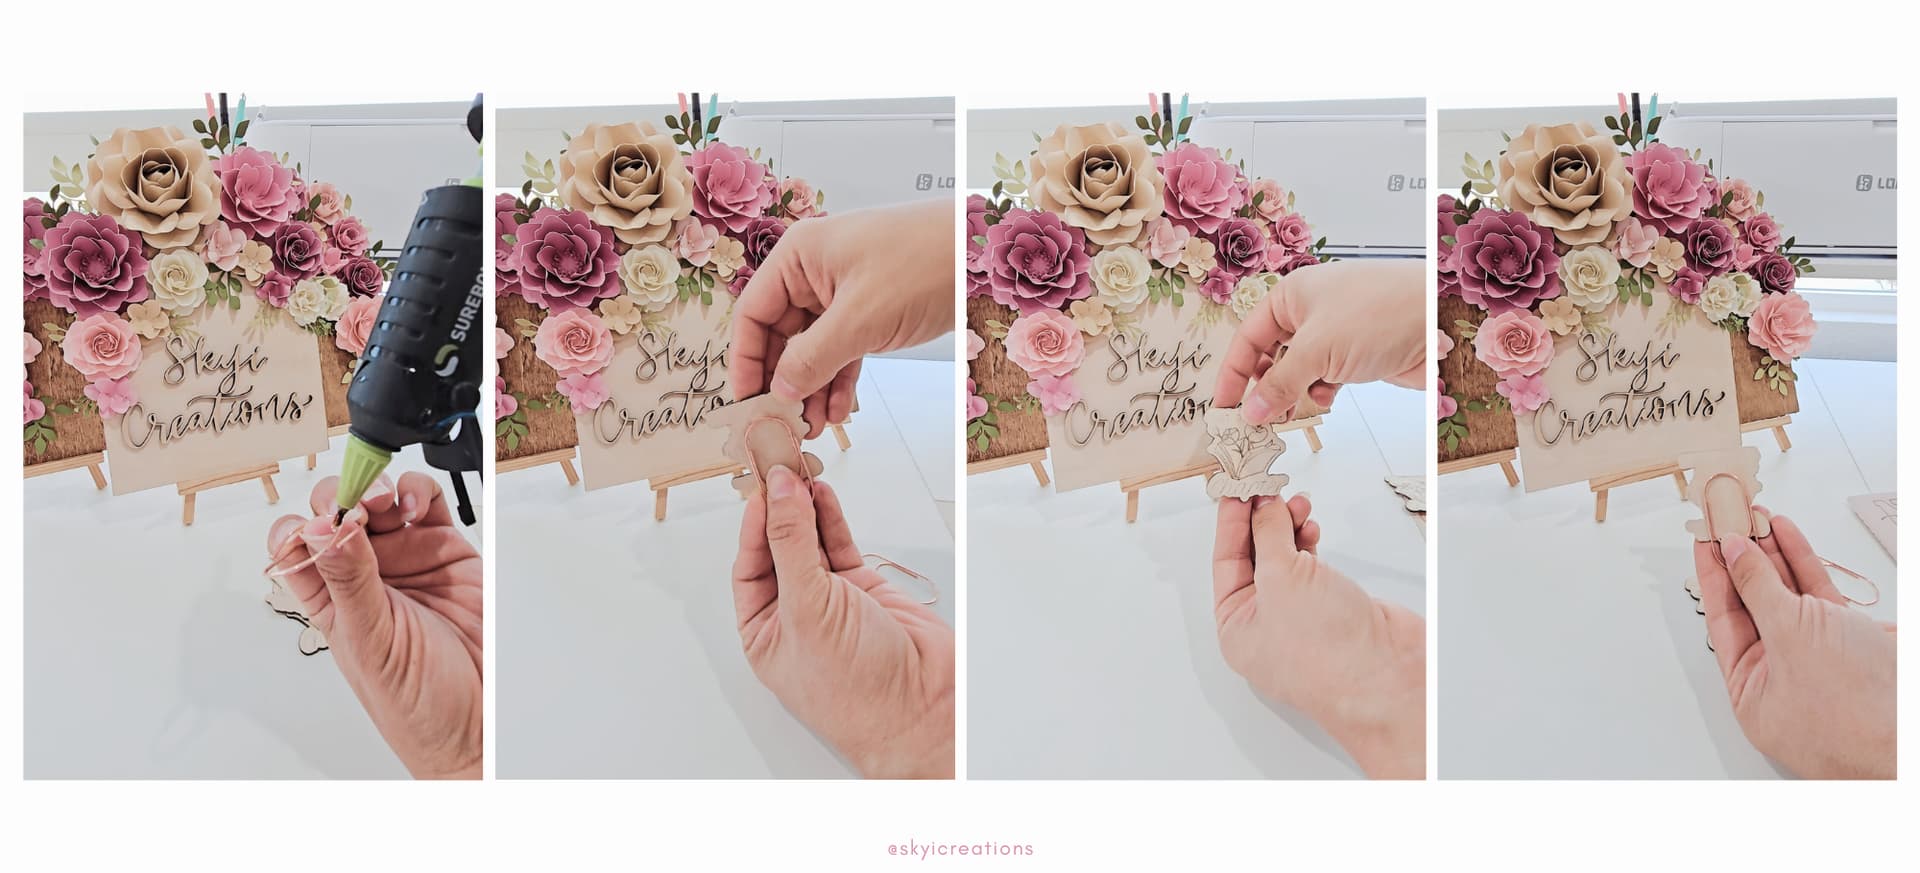
- Using a large paper clip, you will be adding it to the back of the wooden bookmarks. These are “stronger” than your regular office paper clips so you will have to carefull pull the clip apart to allow you to add glue to it.
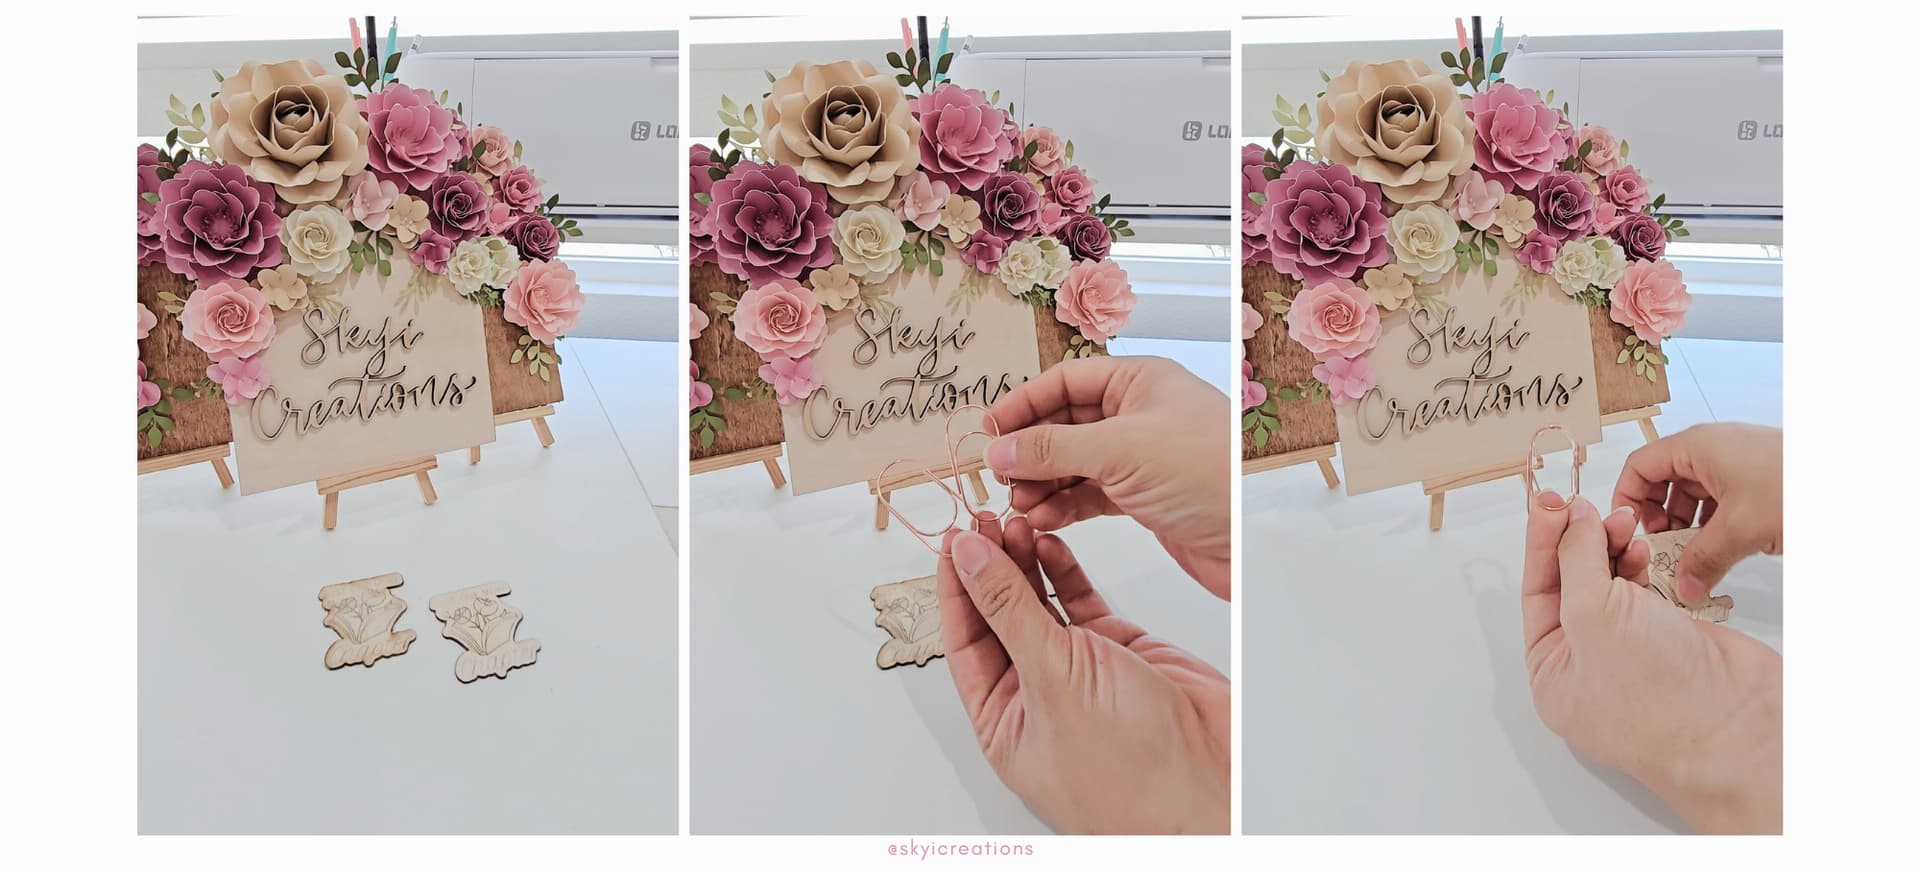
- Carefully place hot glue on the paper clip, and place it to the back of the wooden bookmark.
TIP: If you are able to, add a piece of ribbon or paper between the paper clip layers to help the glue adhere to the wood/clip layer and not glue the clip shut.
WONDERFUL!!! You have created a wooden bookmark clip and are ready to get your Book Worm on!