Project Overview:
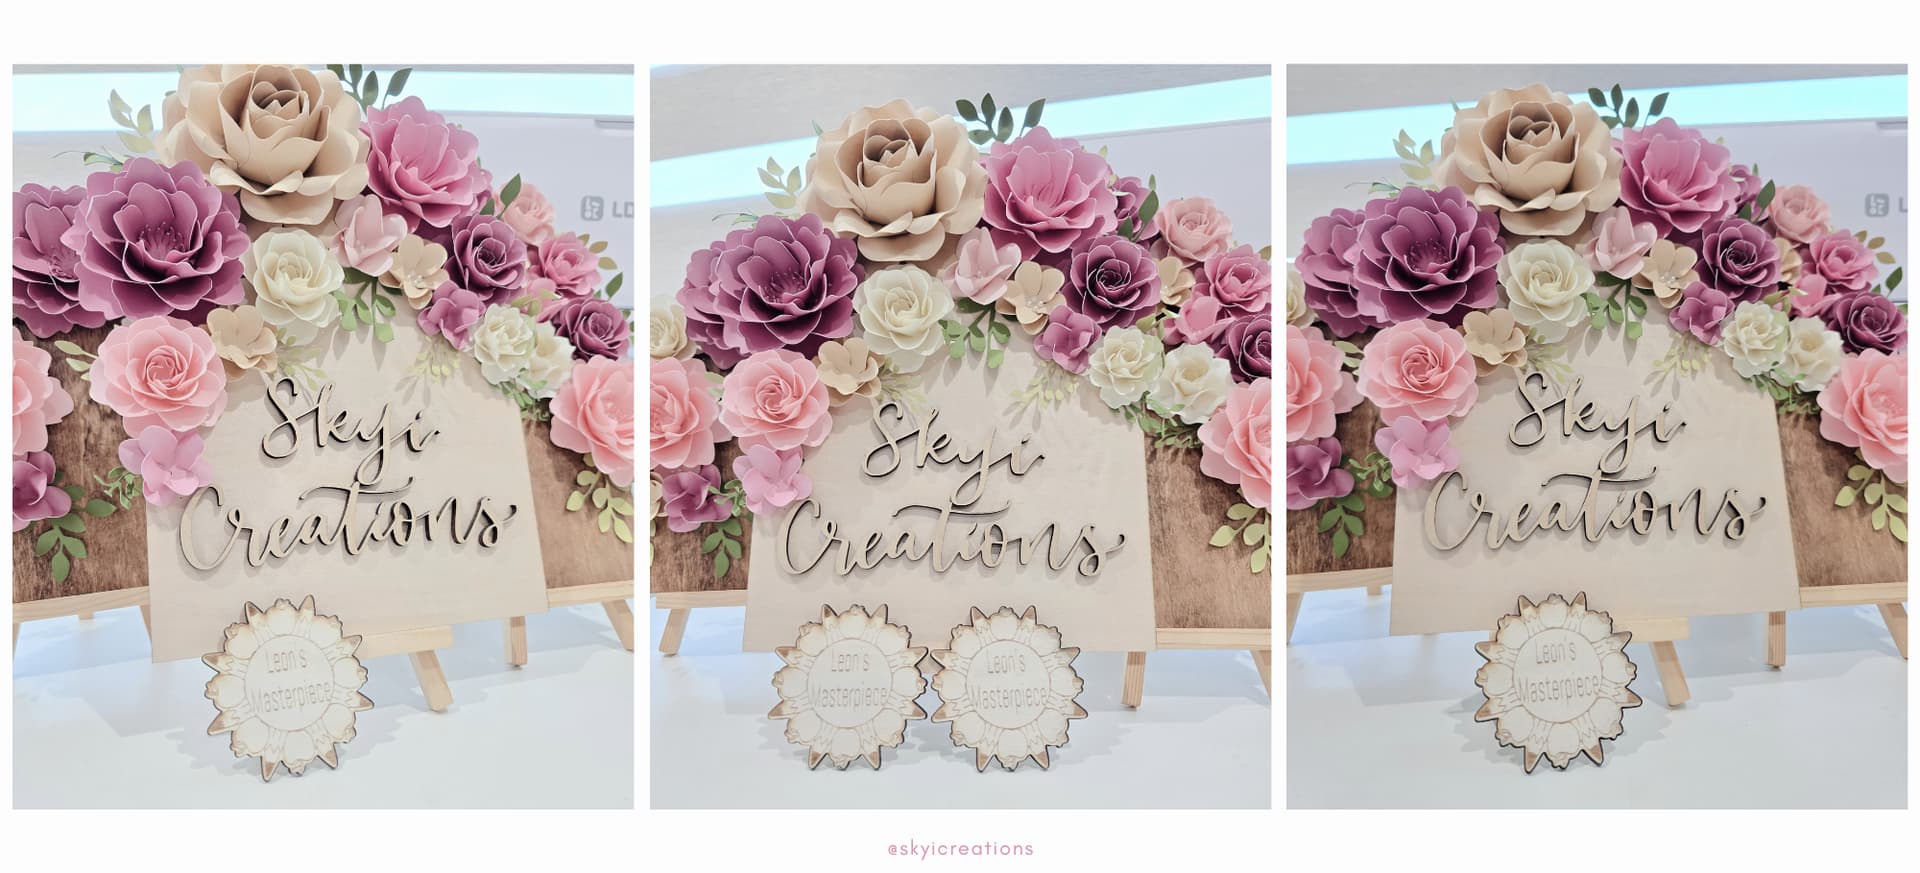
Is it just me or do our kiddos make the cutest masterpieces at school? Let’s create a magnet to use to display their work. Thanks to the LOKLiK iEngrave™ and Idea Studio, it was a quick and easy project to create.


Materials:
- Cutting machine: LOKLiK iEngrave™
- 3mm basswood - available on Amazon or craft store (quality varies by brand/store, some may have more glue pockets within the layers and will require adjustments on the settings)
- Craft magnet
- Glue gun
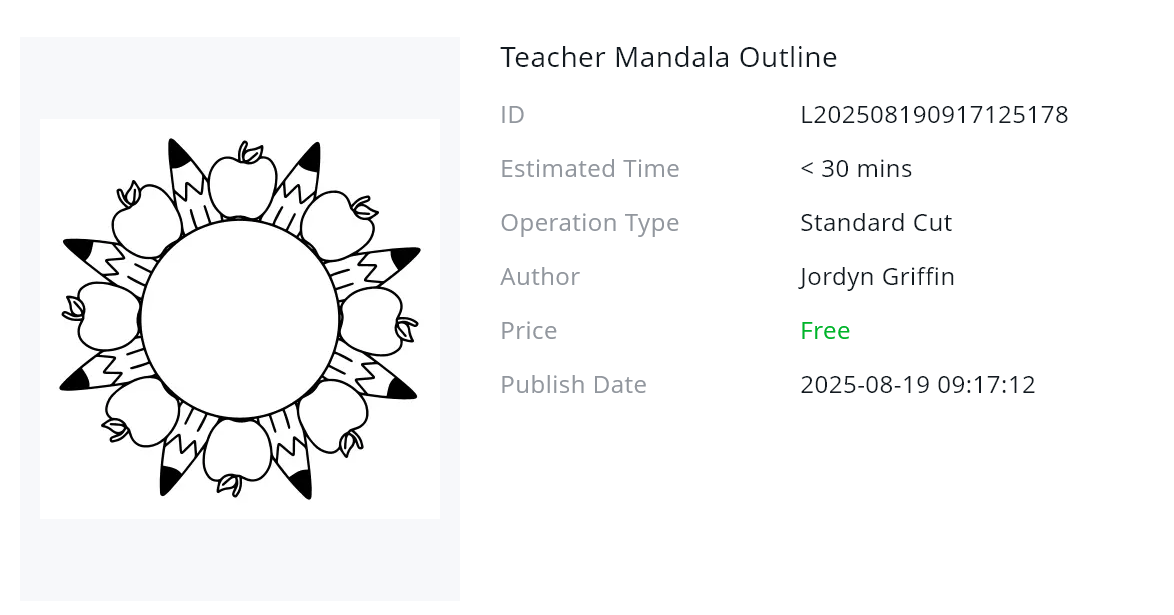
- Template: from LOKLiK Library
**Teacher Mandala Outline
Design and Cutting Process:
- Using the LOKLiK IdeaStudio Library, search for the jig template and select the + to add the template to the canvas.
- The SkyiCreations template will be ready for you to use but below is the information on how to create this design.
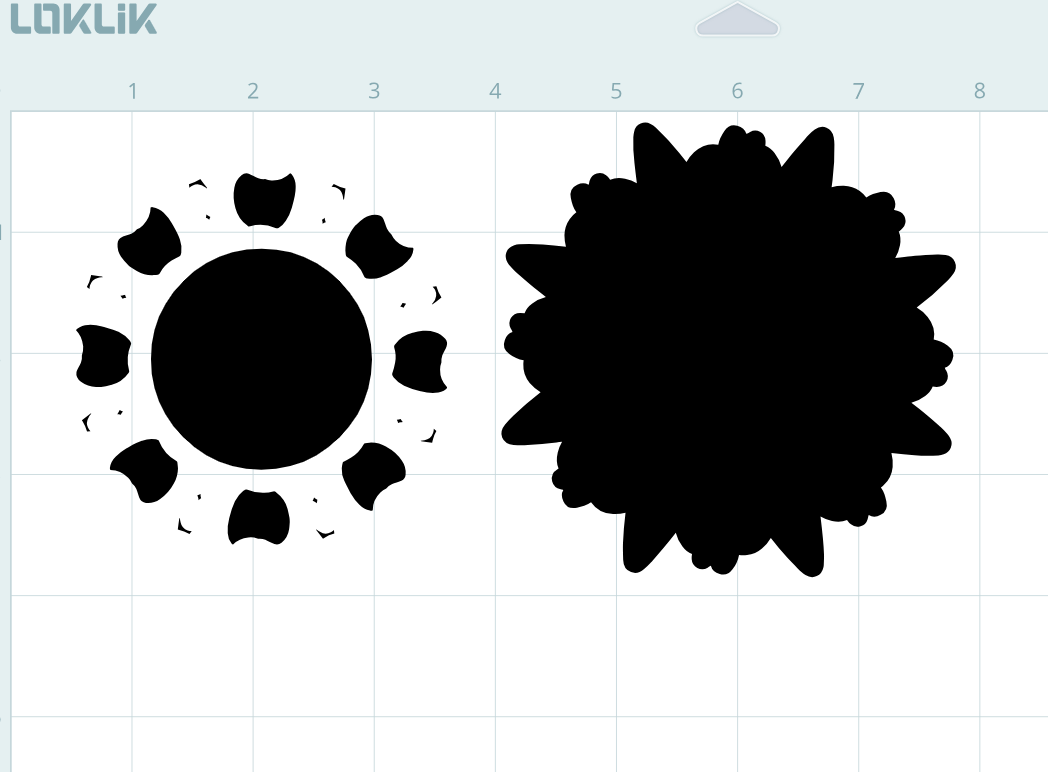
- Using the Offset feature, add an offset to the design. This will be creating the cut border for the design. For this tutorial, I used an offset as 1.8mm.
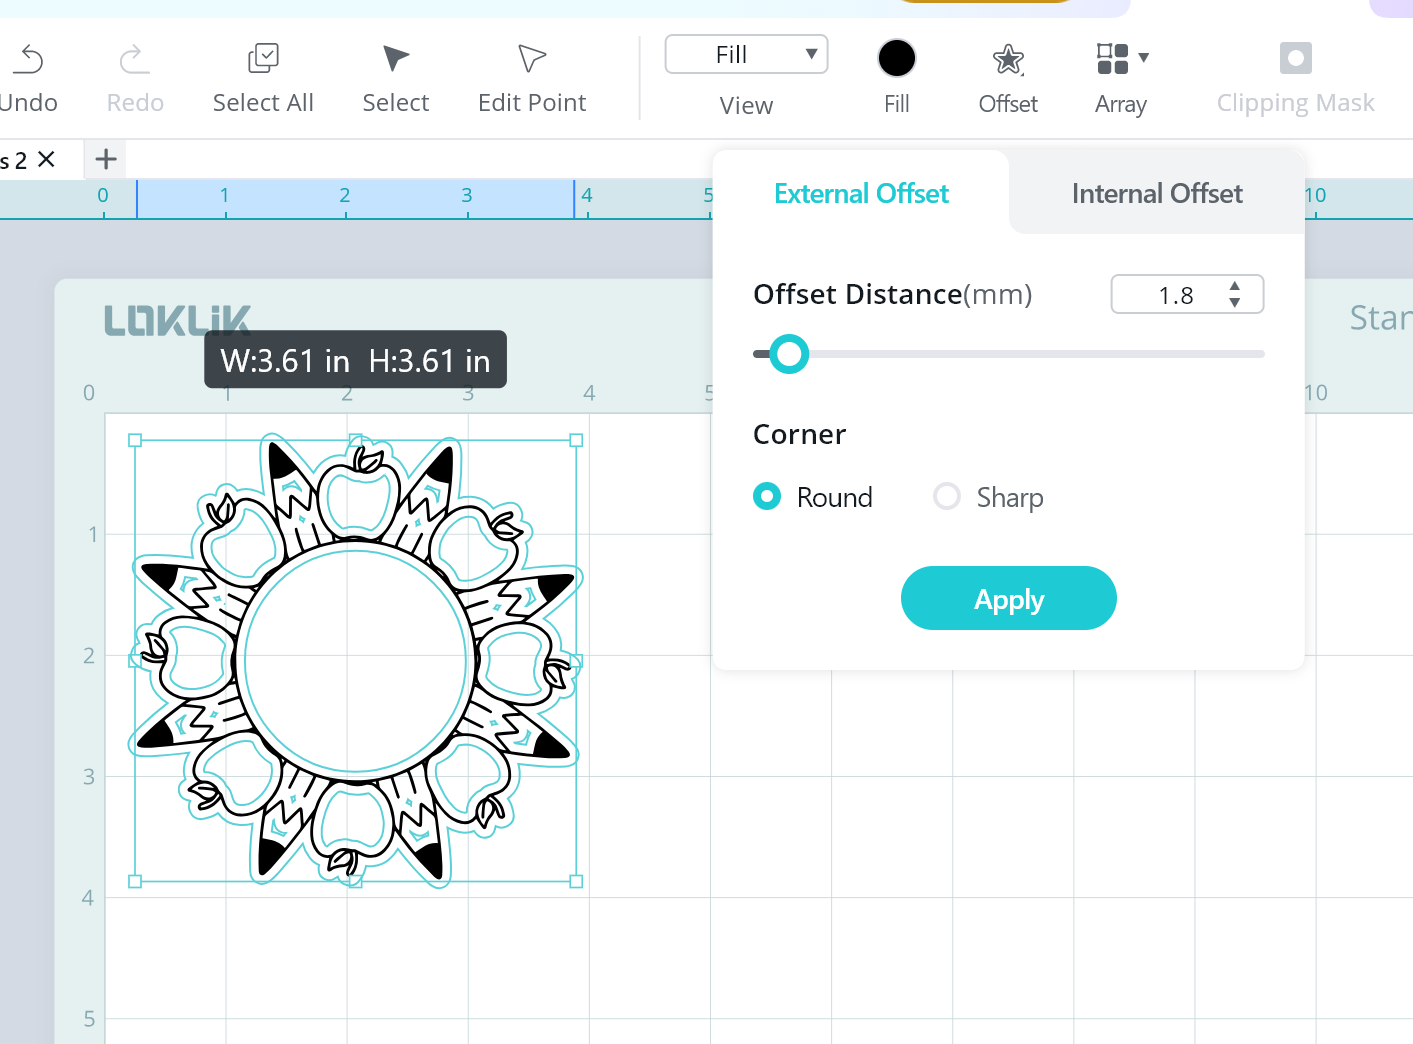
- The offset will have “extra” lines inside of the design that we will want to remove as we wanted to create an exterior offset without the internal gaps.
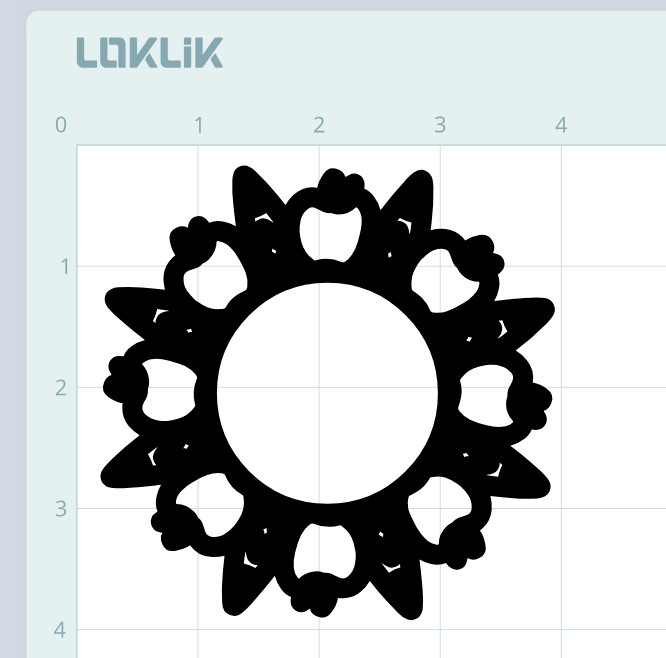
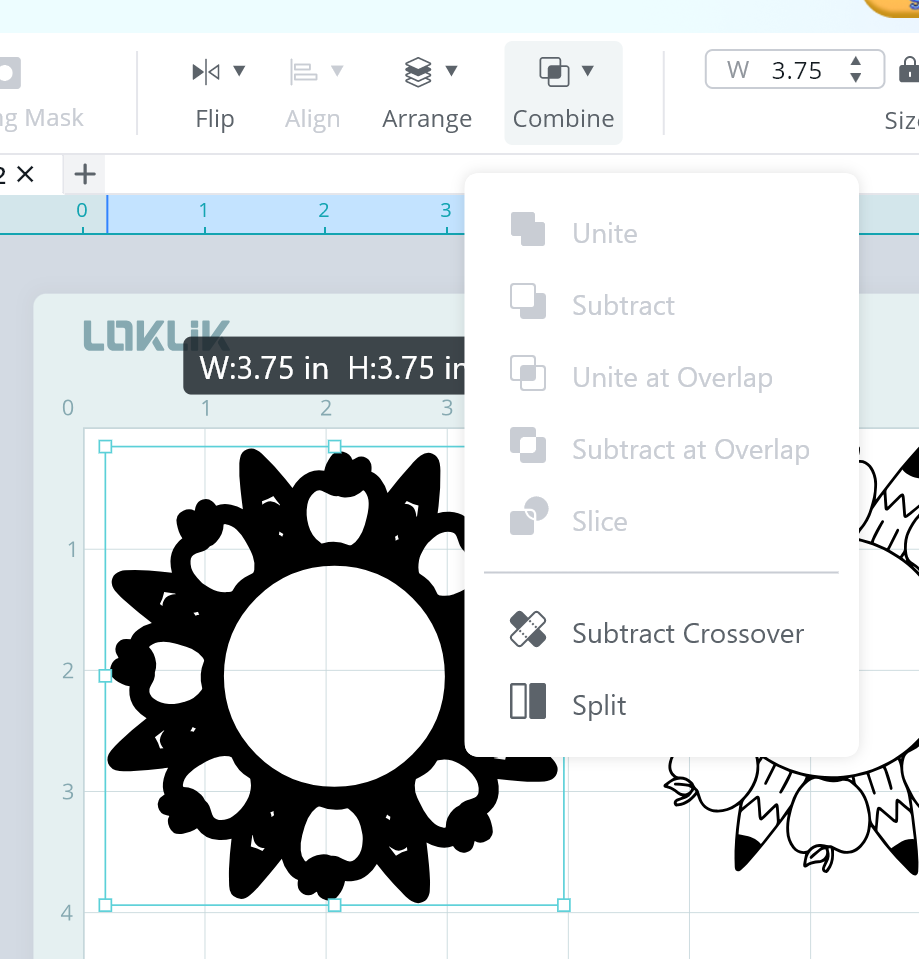
- In order to remove the extra lines, using the Combine feature, select “split”. This will split the external and internal lines.
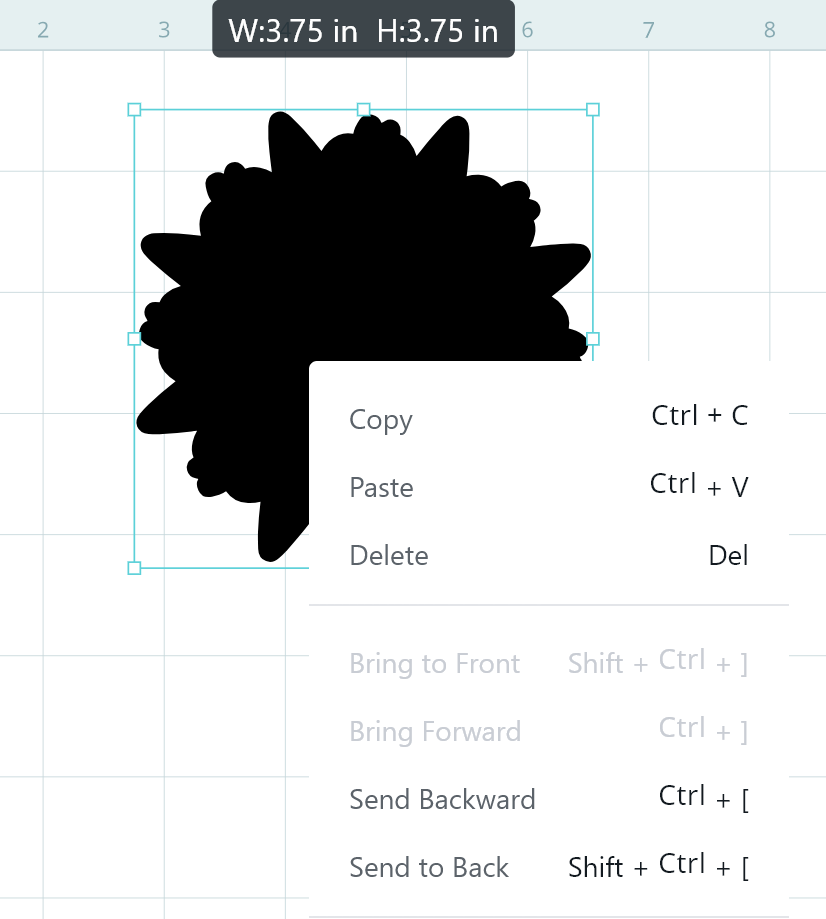
- Select the inside lines and delete them.
- Send the offset to the back (to allow you to see the engraving component)
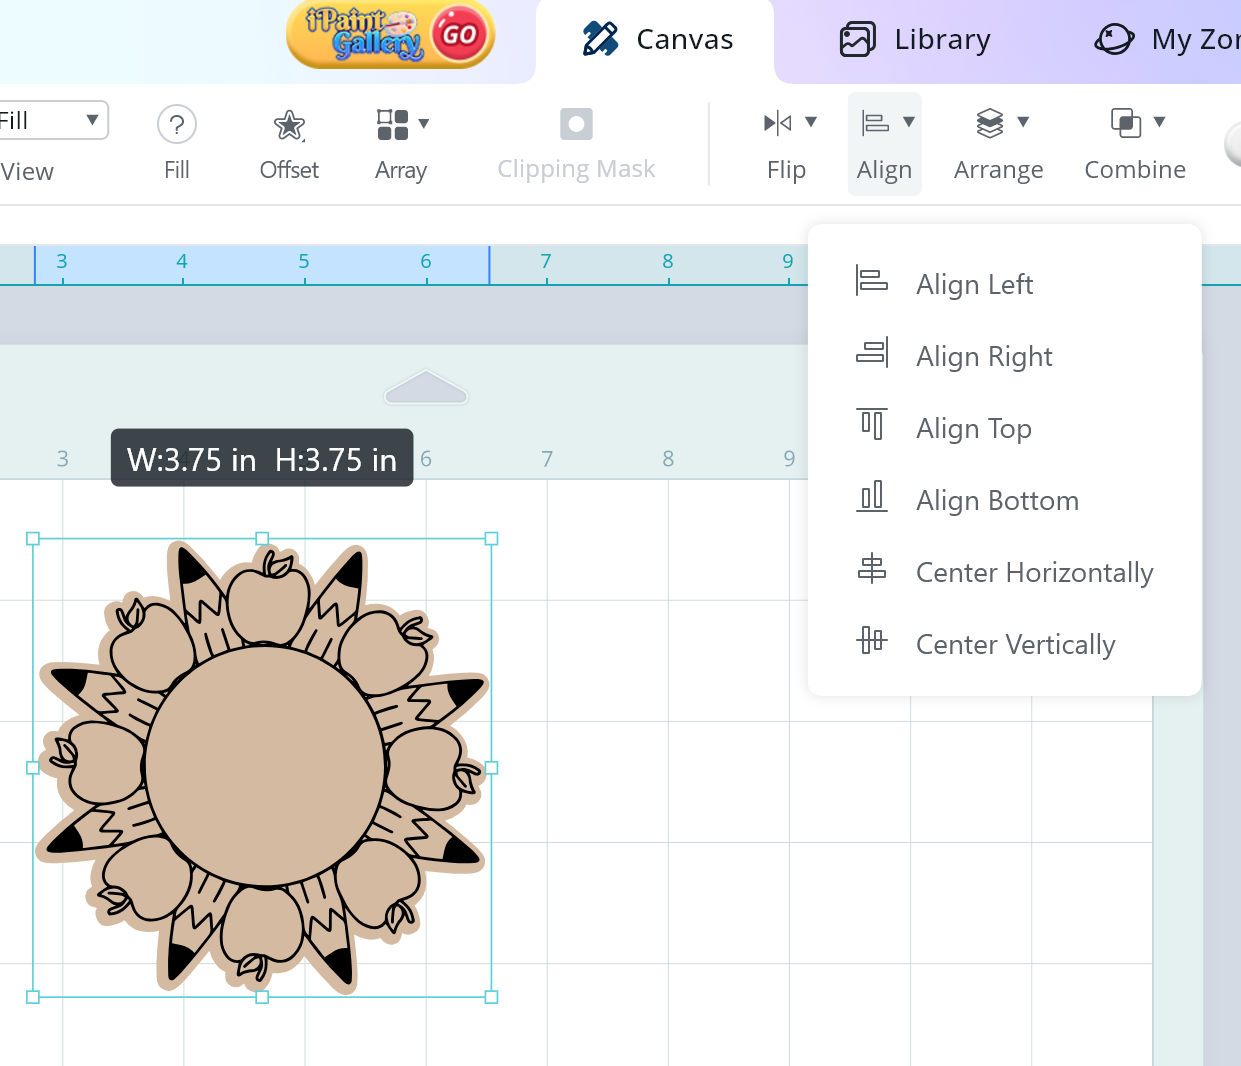
- Recolor the fill to allow you to visualize the project.
- Center your offset base and the engraving design (both horizontally and vertically)
- Now let’s add the text to the design.
- Type the text of your choice and select the preferred font. For this tutorial, I used the Abel-Regular font.
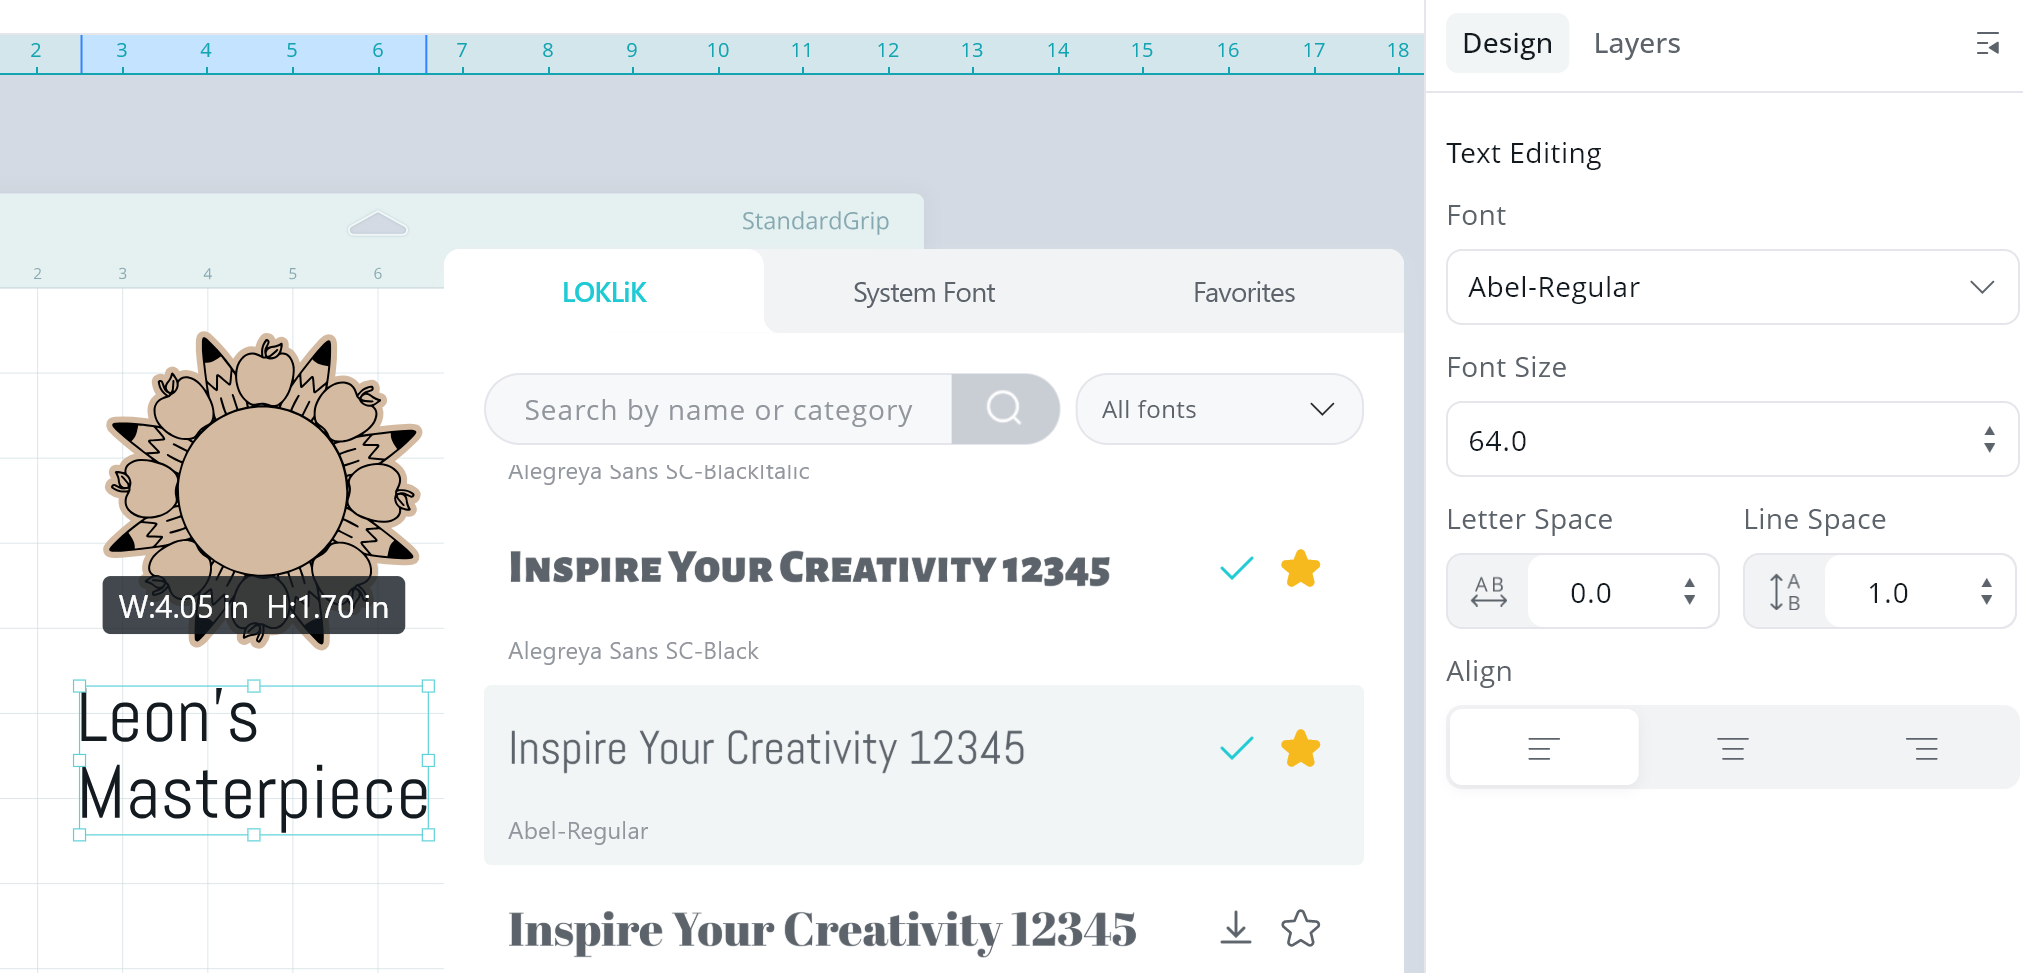
- Resize your text so that it fits within the design.
- Center your text horizontally and vertically.

- Save your design to the LOKiK IdeaStudio My Zone.
Cutting and engraving
- Follow the prompts on the LOKLiK app to connect to your laser (device).
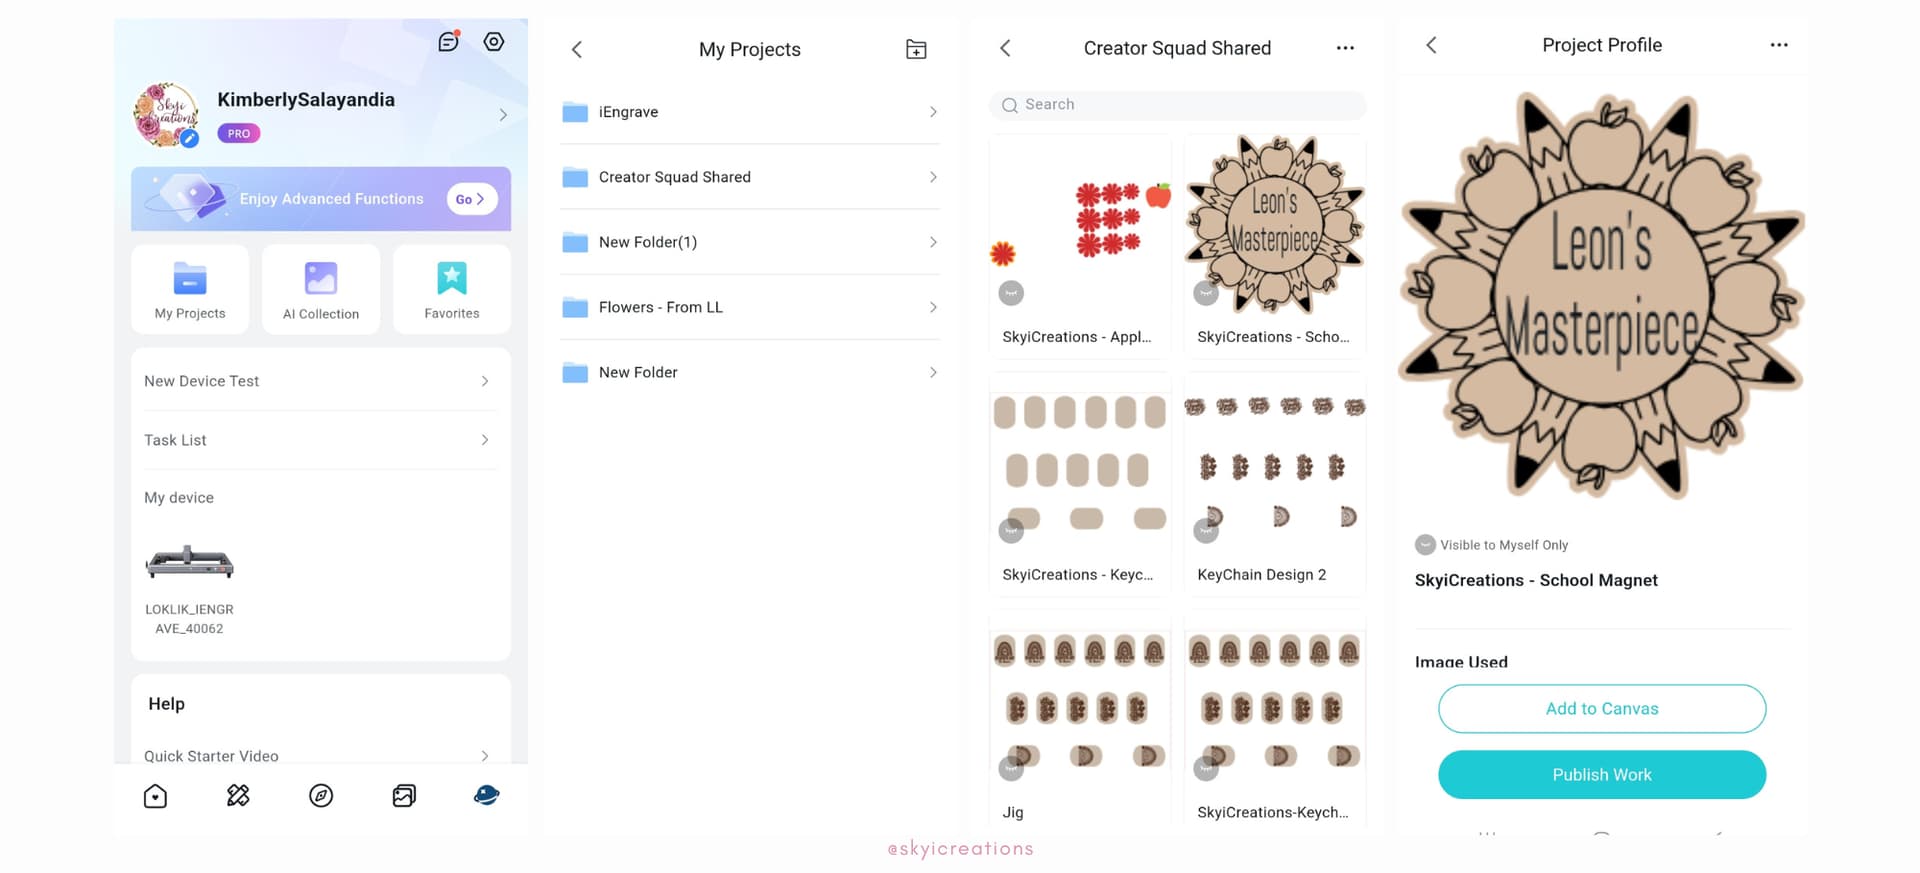
- On the bottom right corner, you will see an icon that looks like a “world”, click on the icon.
- This will direct you to your account and you will click on “My Projects”.
- The next screen will show you the projects you have saved, click the project, and select “add to canvas”.
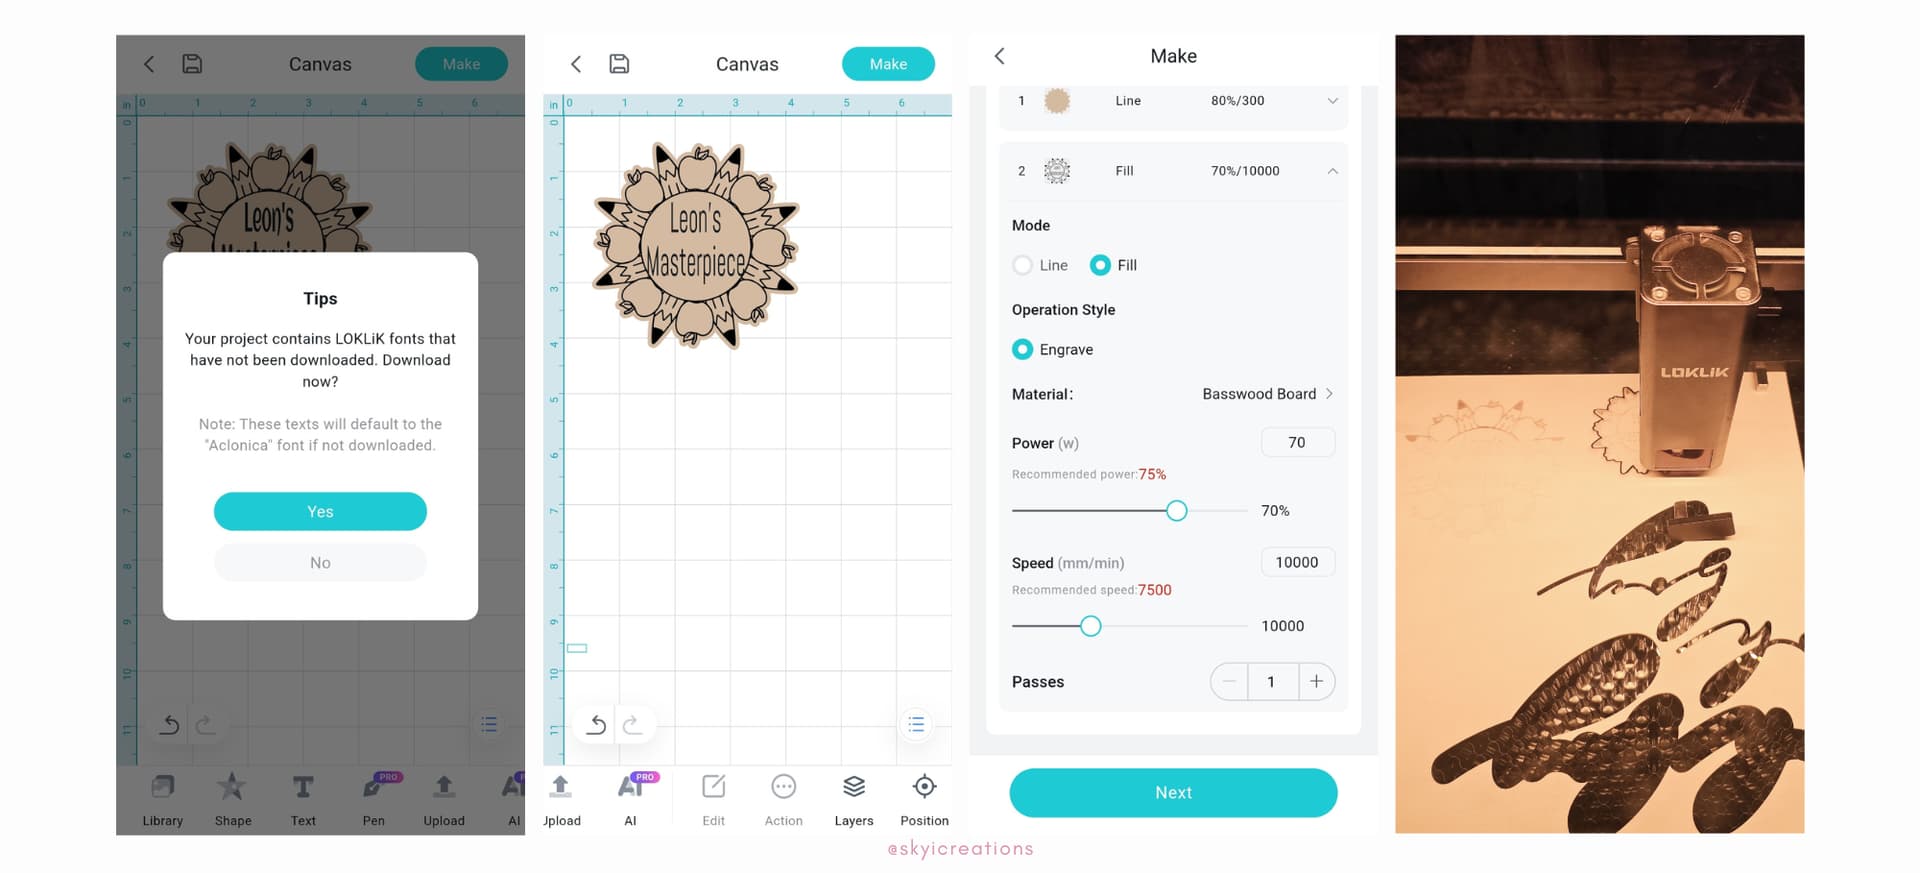
- Since this project was designed on the LOKLiK software on my laptop and had downloaded the font, you will be prompted to download the font using the LOKLiK app.
- Enter the cut settings to match the materials and execute the task.
TIP: I would recommend ungrouping the design and send the task to “make” in 2 separate tasks. This is because if you send them both to make at the same time, the laser will automatically cut the design first and then engrave the internal design. This may cause a slight error as the wood may shift slightly once it is cut.
- Go back to the Canvas and select the project on your canvas and under the “action” icon, ungroup the project.
- Send the 2 different components to make as separate task.
- Enter the cut settings to match the materials. Below are the settings I used for this tutorial.
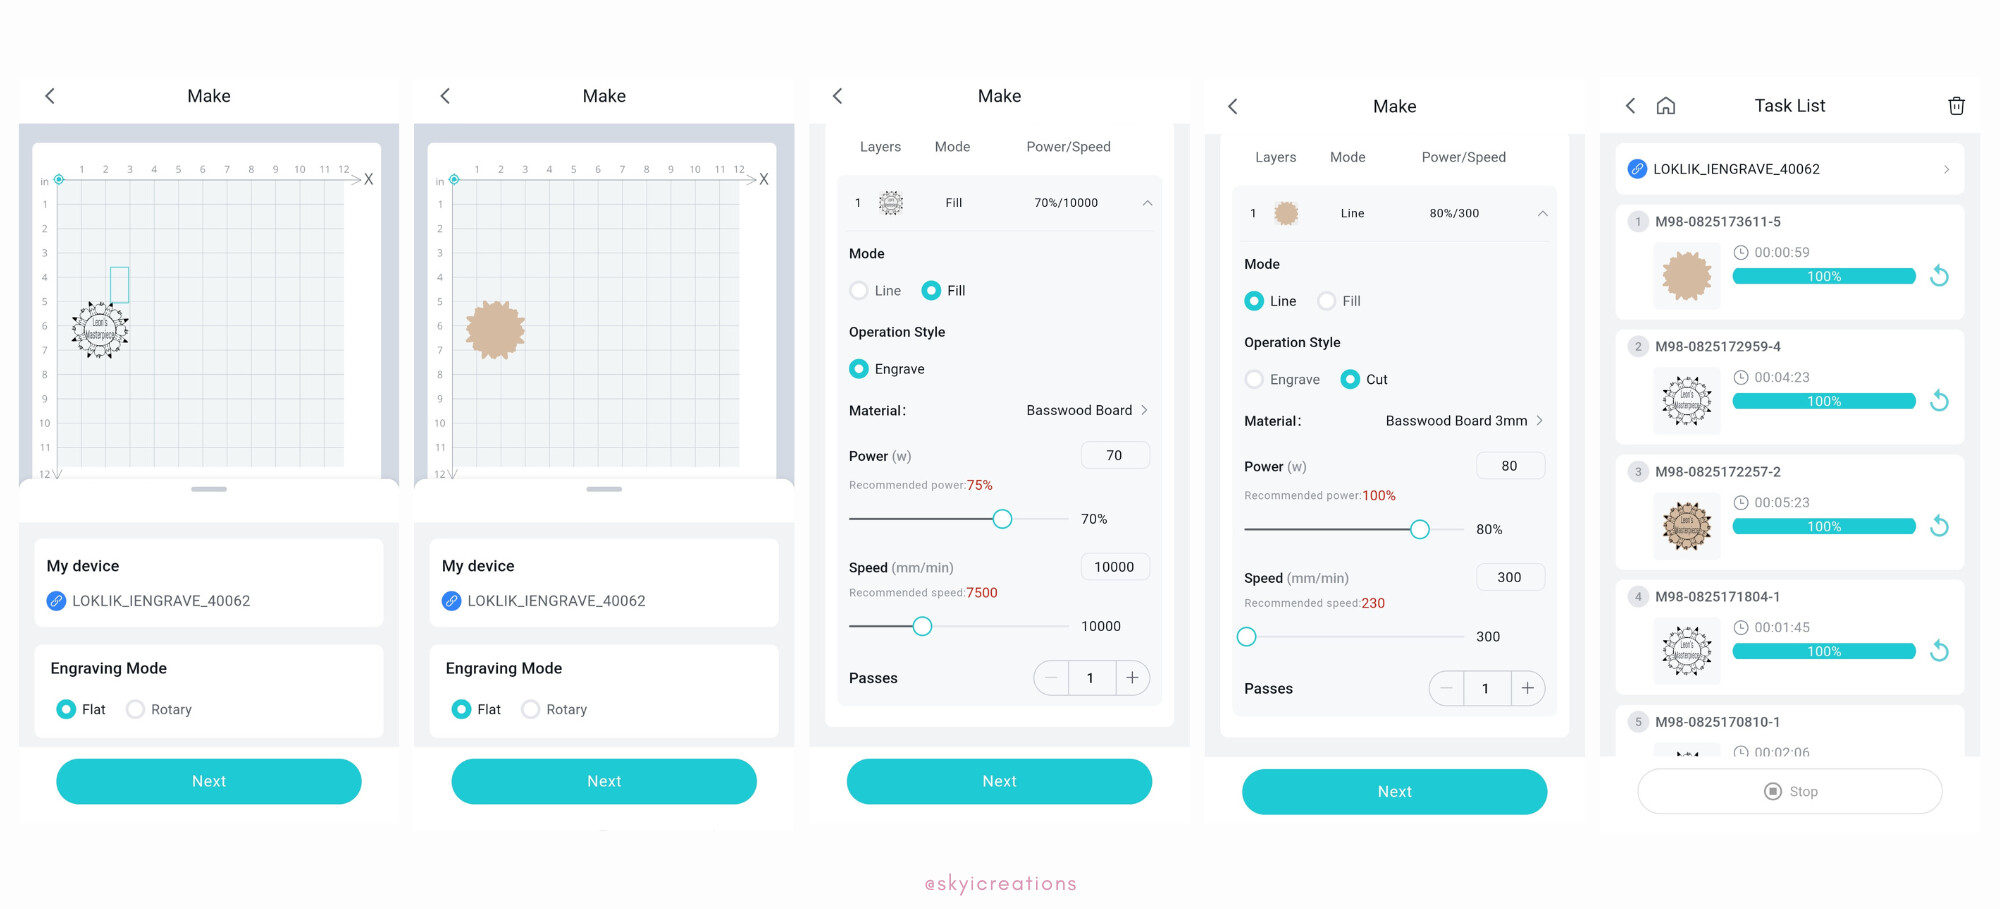
Engrave Settings - design
Material: Basswood Board
- Mode: Fill
- Operation Style: Engrave
- Power: 70
- Speed: 10000
- Passes: 1
Cut Settings - Outer edge
Material: Basswood Board 3mm
- Mode: Line
- Operation Style: Cut
- Power: 80
- Speed: 300
- Passes: 1

-
Prior to executing the engrave, make sure you frame the project. After entering the settings, the control panel has a “frame” feature. This is very important to ensure that your material is placed in the correct position.
-
Place your 3mm basswood in the laser and using the focal length pin ensure that the lowered pin touches the material. Adjust the laser head as needed and return the pin to its upward position.
-
Using the Task List, send the project to cut.
Finishing the project
- Once the wooden piece is engraved and cut, use your glue gun to attach a craft magnet to the back side.
**WONDERFUL!!! You have created a wooden magnet to display your kiddos masterpiece.