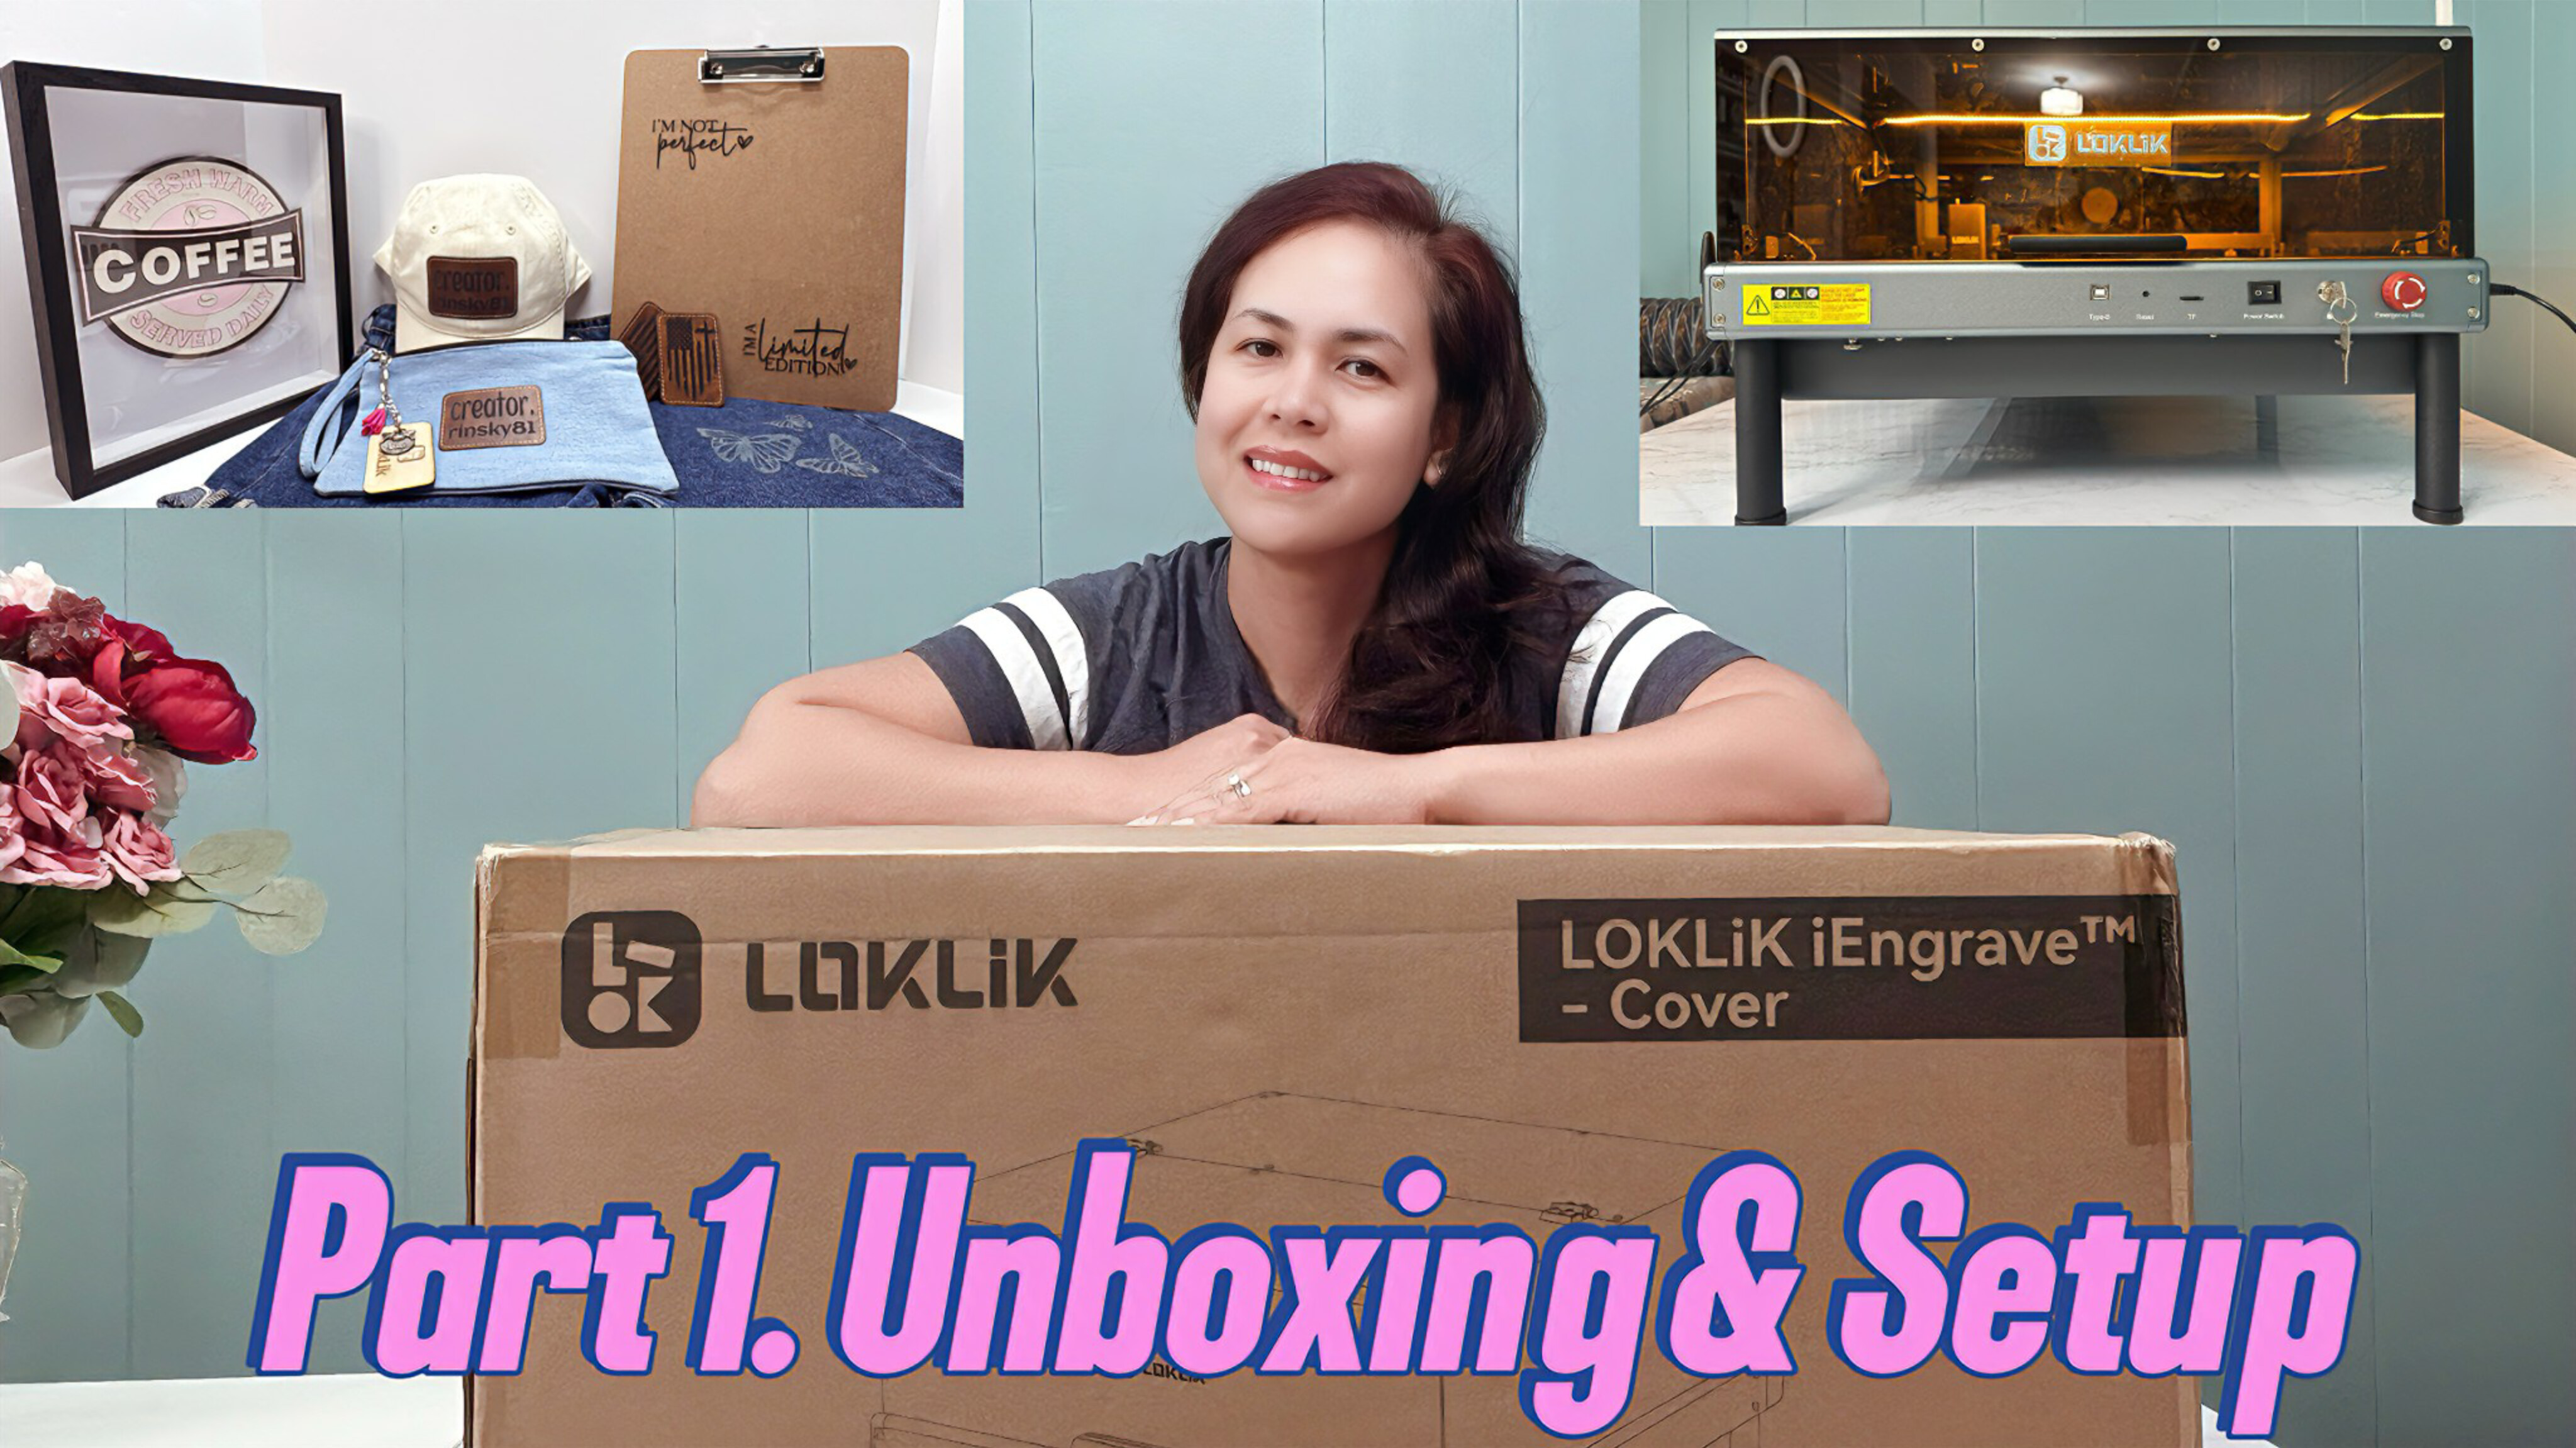
Hi Beautiful People and Fellow Crafters! I’m Erin, your community moderator and avid crafter who blends digital design with hands-on techniques. My go-to projects include precision vinyl decals, sublimation, heat-pressed apparel, 3D shadow box, sewing, quilting and embroidery. Diving into iEngrave for the first time, I was impressed on how easy-to-use the LOKLiK Mobile app, provides a crisp engraving precision, seamless SVG import workflow, leap from on-screen design to real-world engraving.
Part I: Unboxing & Setup, User Experience, Design & Look
![]() Unboxing & Setup
Unboxing & Setup
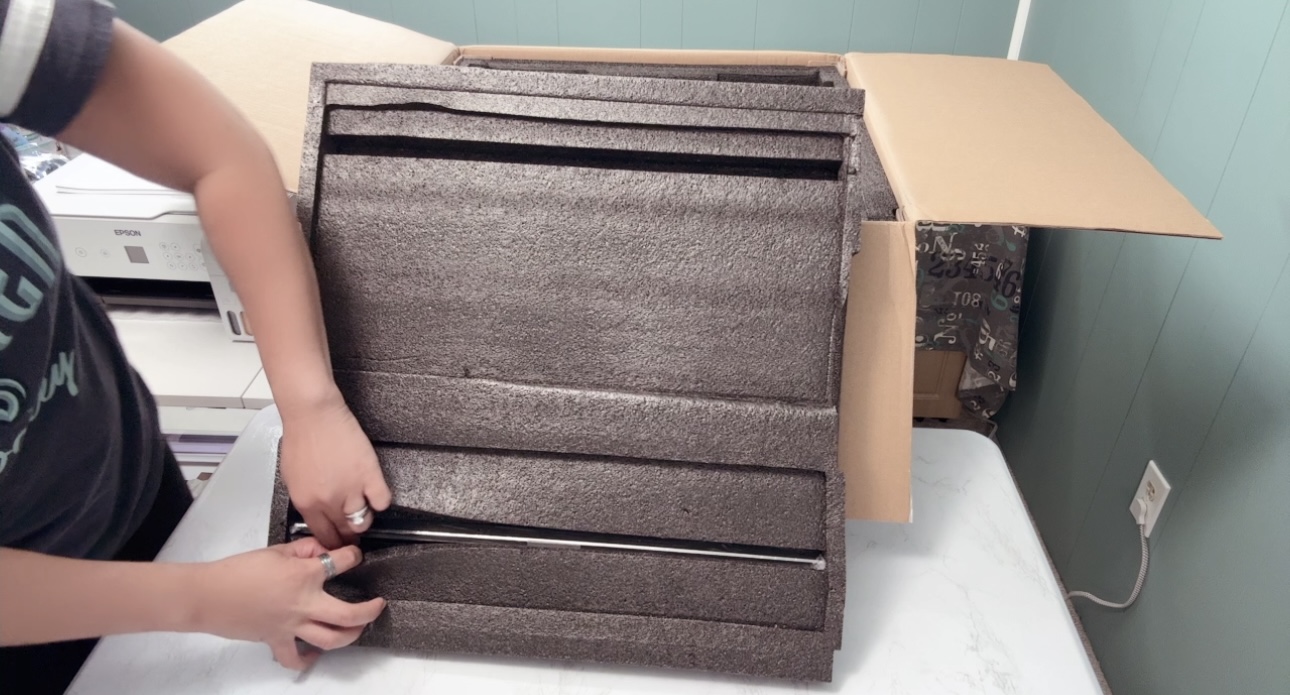
- Packaging : Compact and thoughtfully organized, with foam protection and labeled compartments for each part. The first thing I saw was an envelop from LOKLiK - a list of parts that was included in the iEngrave Cover, warranty card, and a note about the Company.
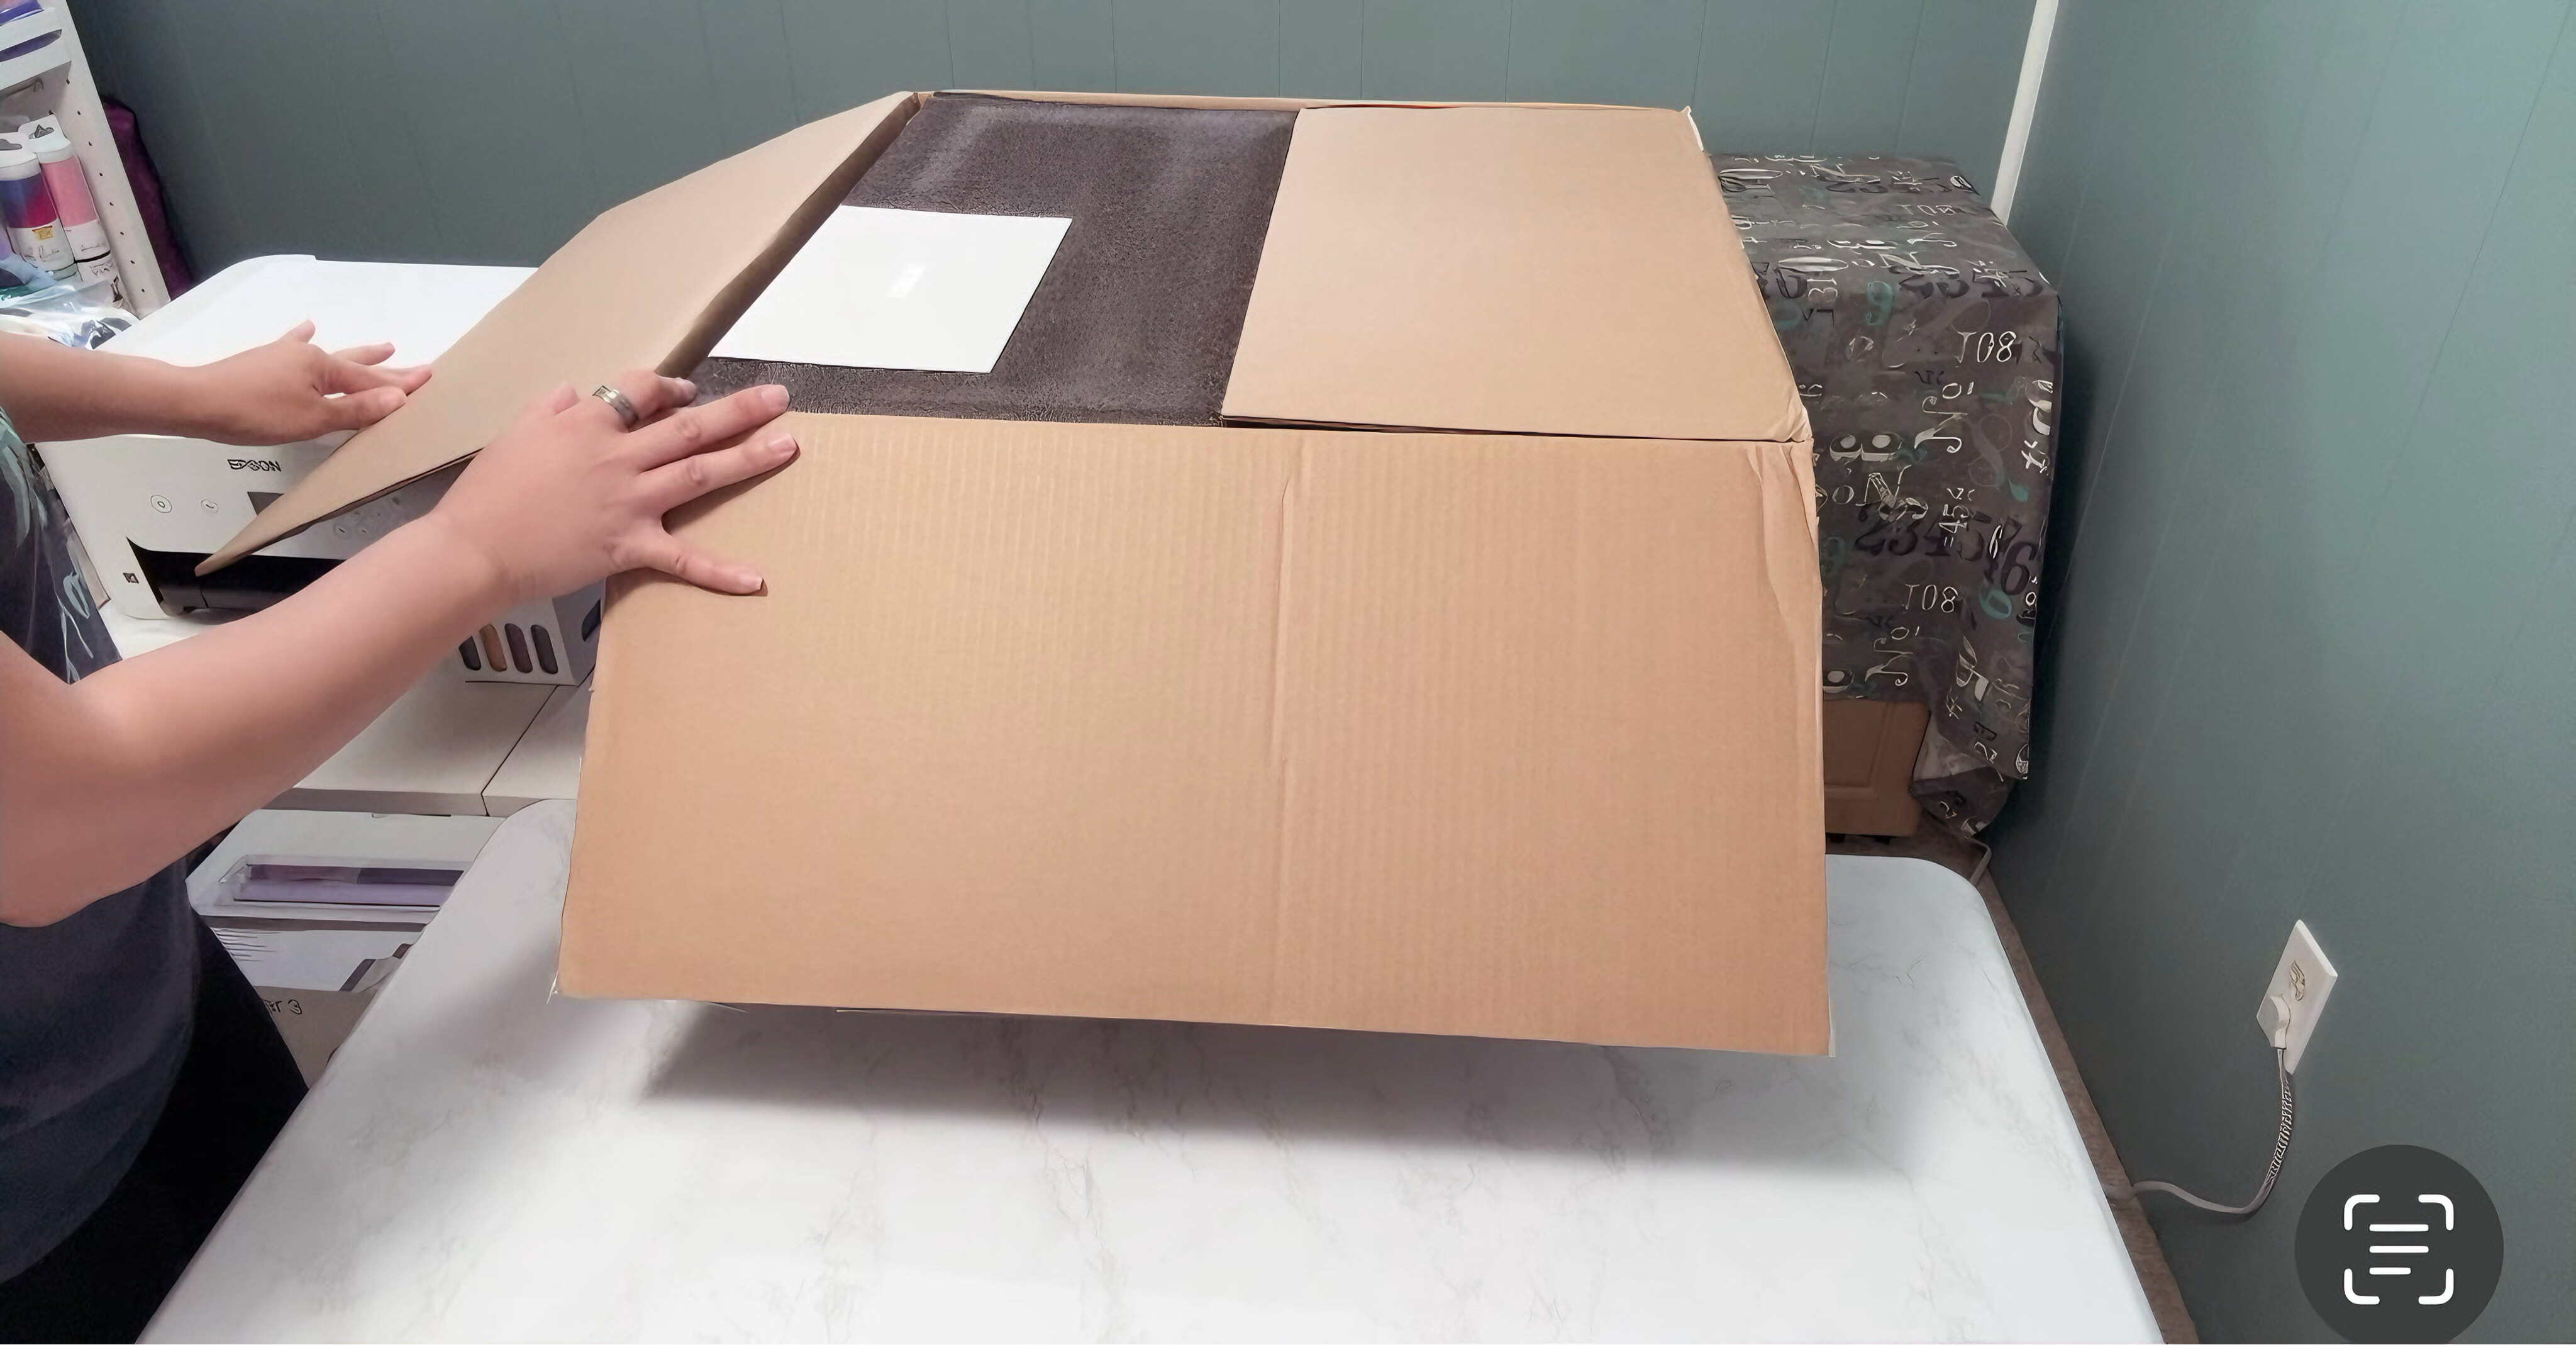
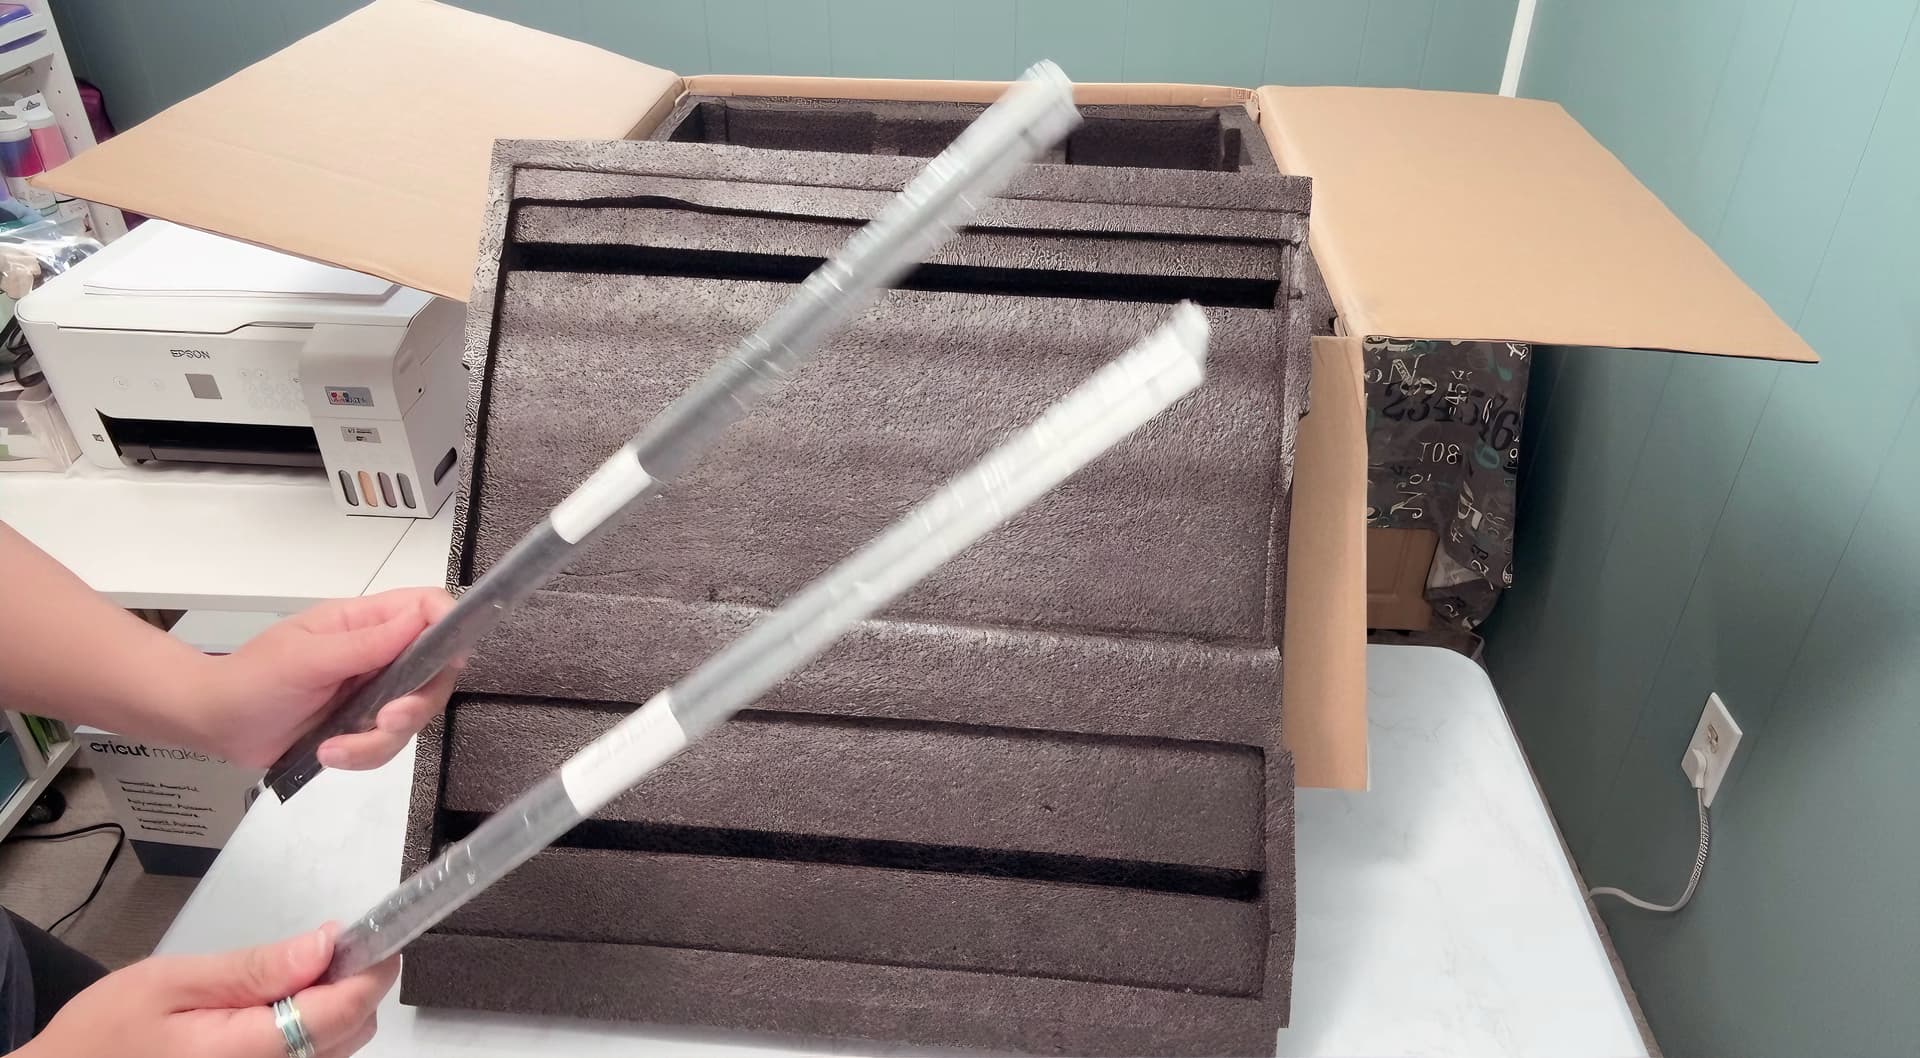
The next layer was the front cover and back top panel of the machine followed by a single layer of foam with labels.
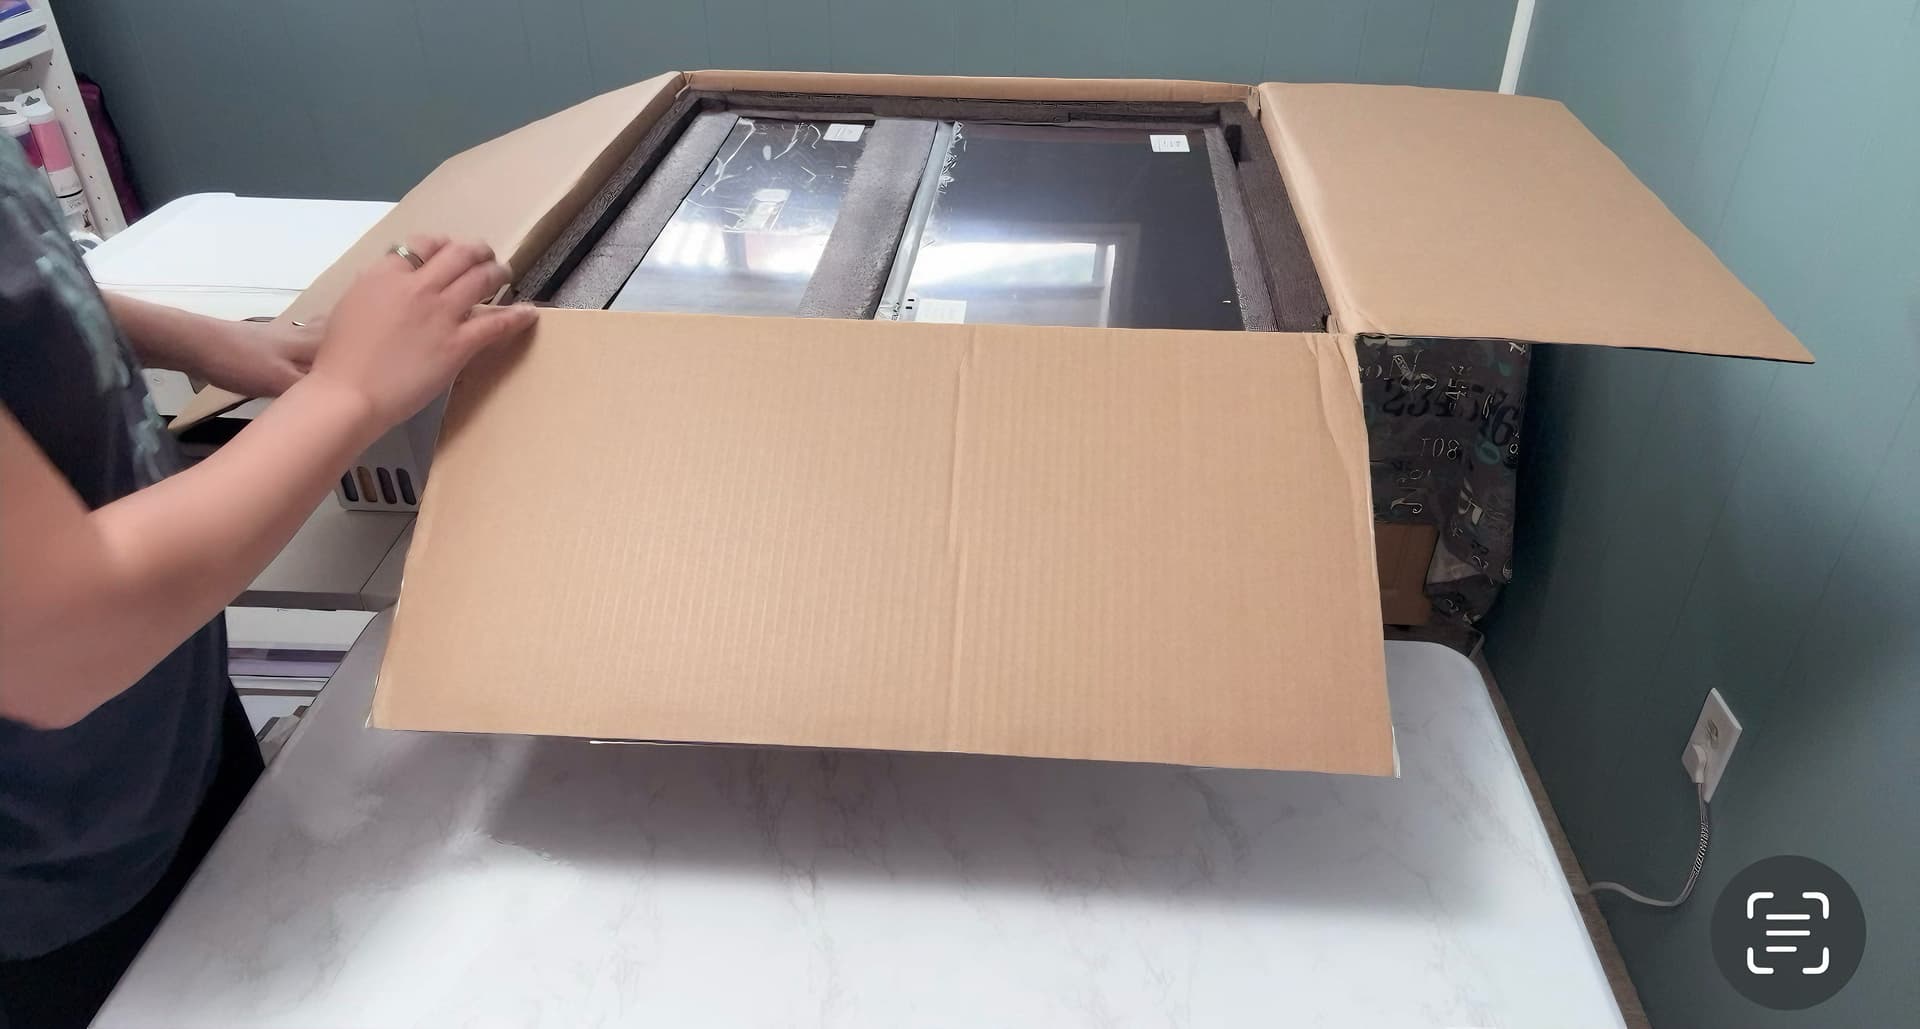
At first glanced, it looked like nothing in there but I need to dig deeply and took out the parts carefully as shown below:
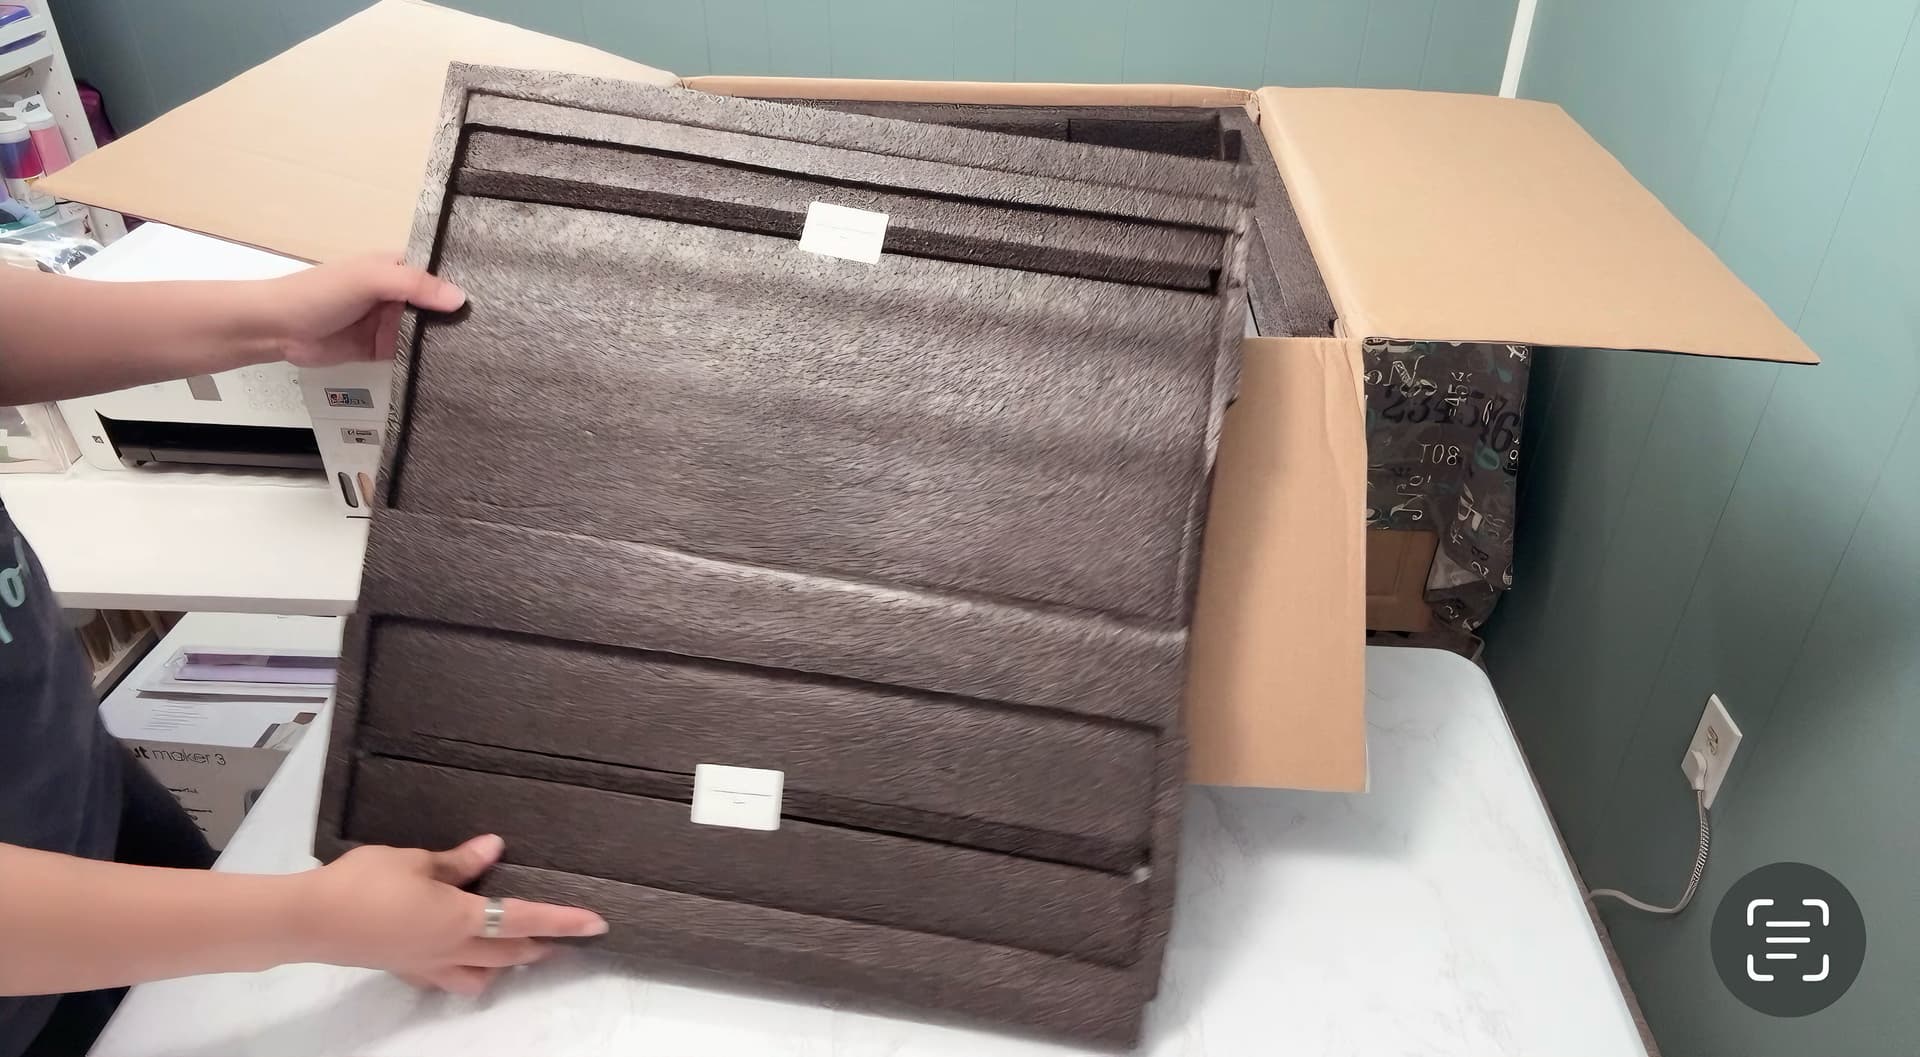
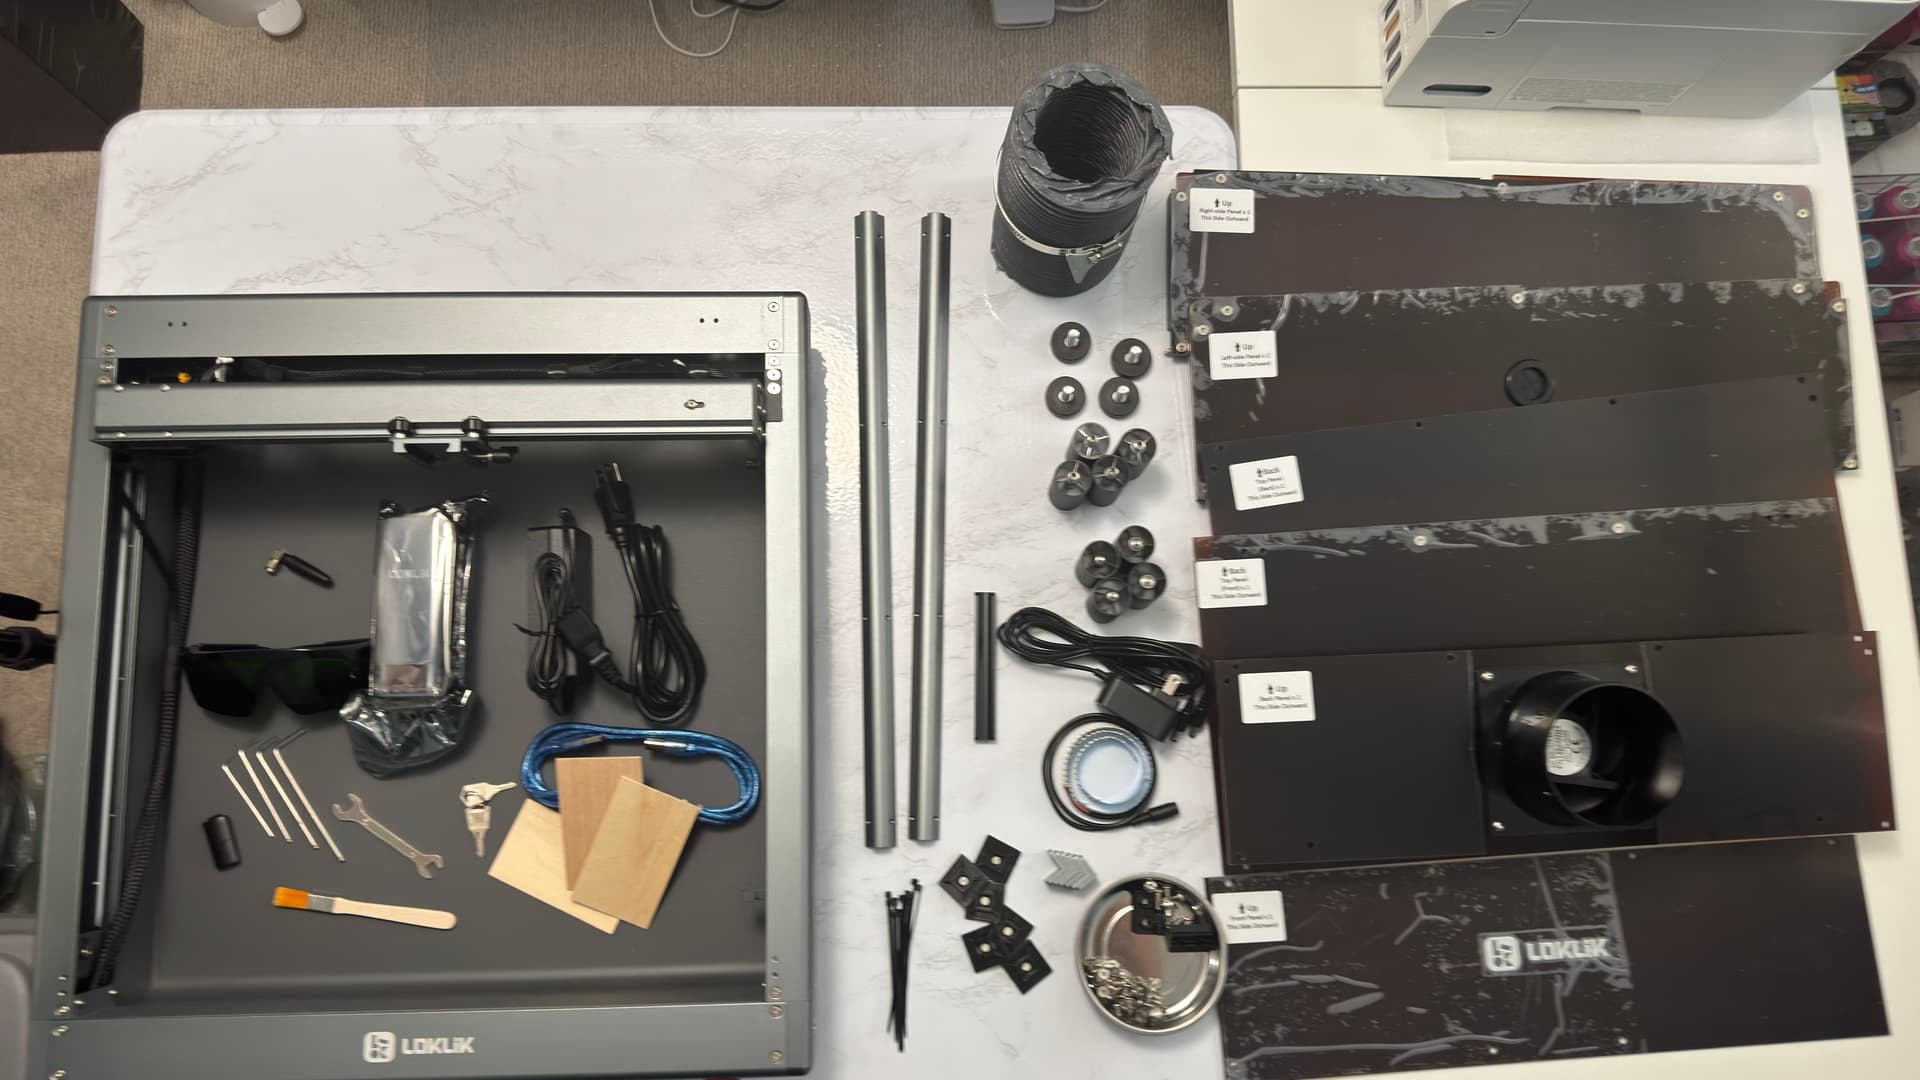
After taking out all the layers of foam, you’ll see the iEngrave tray and all the necessary accessories for the assembly.
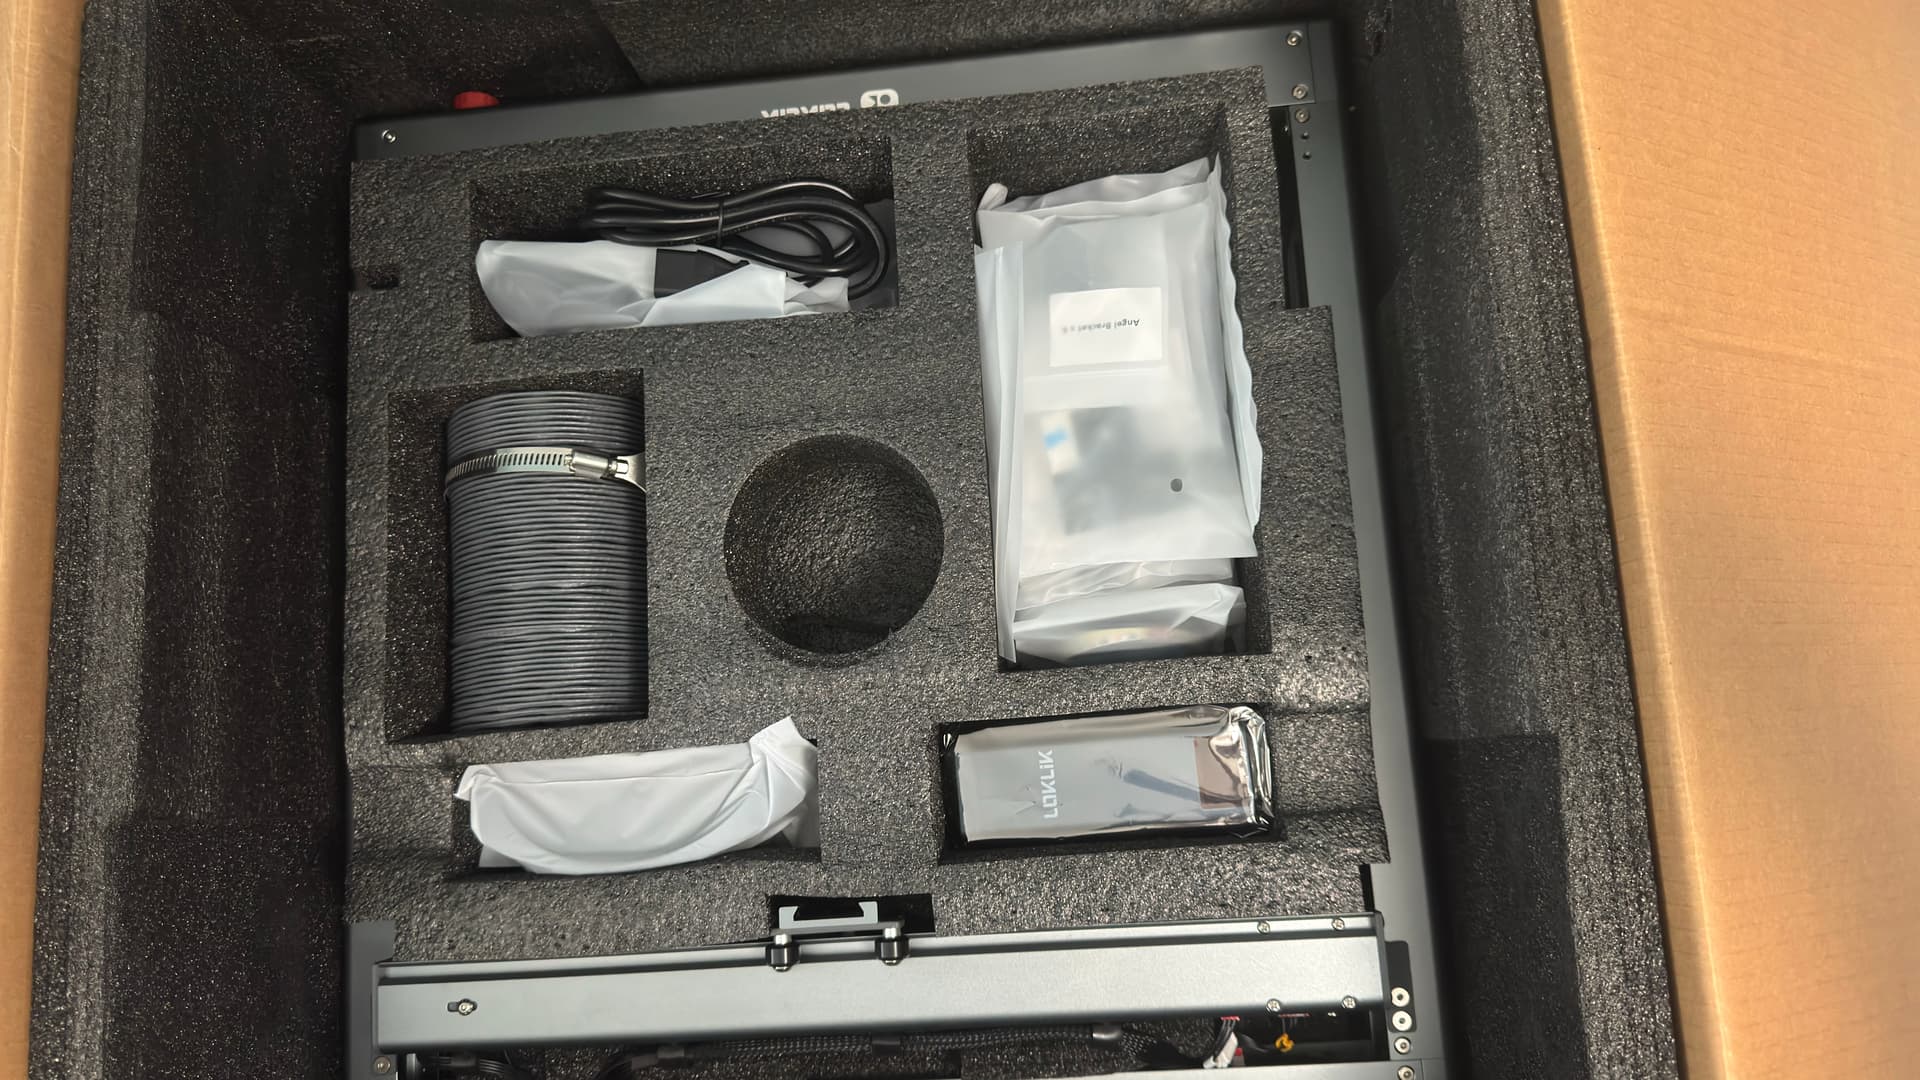
The Cover Edition includes a full enclosure, ventilation pipe, safety goggles, starter wood board, cable management kit, power adapter, USB cable, TF card/ card reader, laser module, WiFi module, laser cover accessories and of course, your LOKLiK iEngrave. ![]()
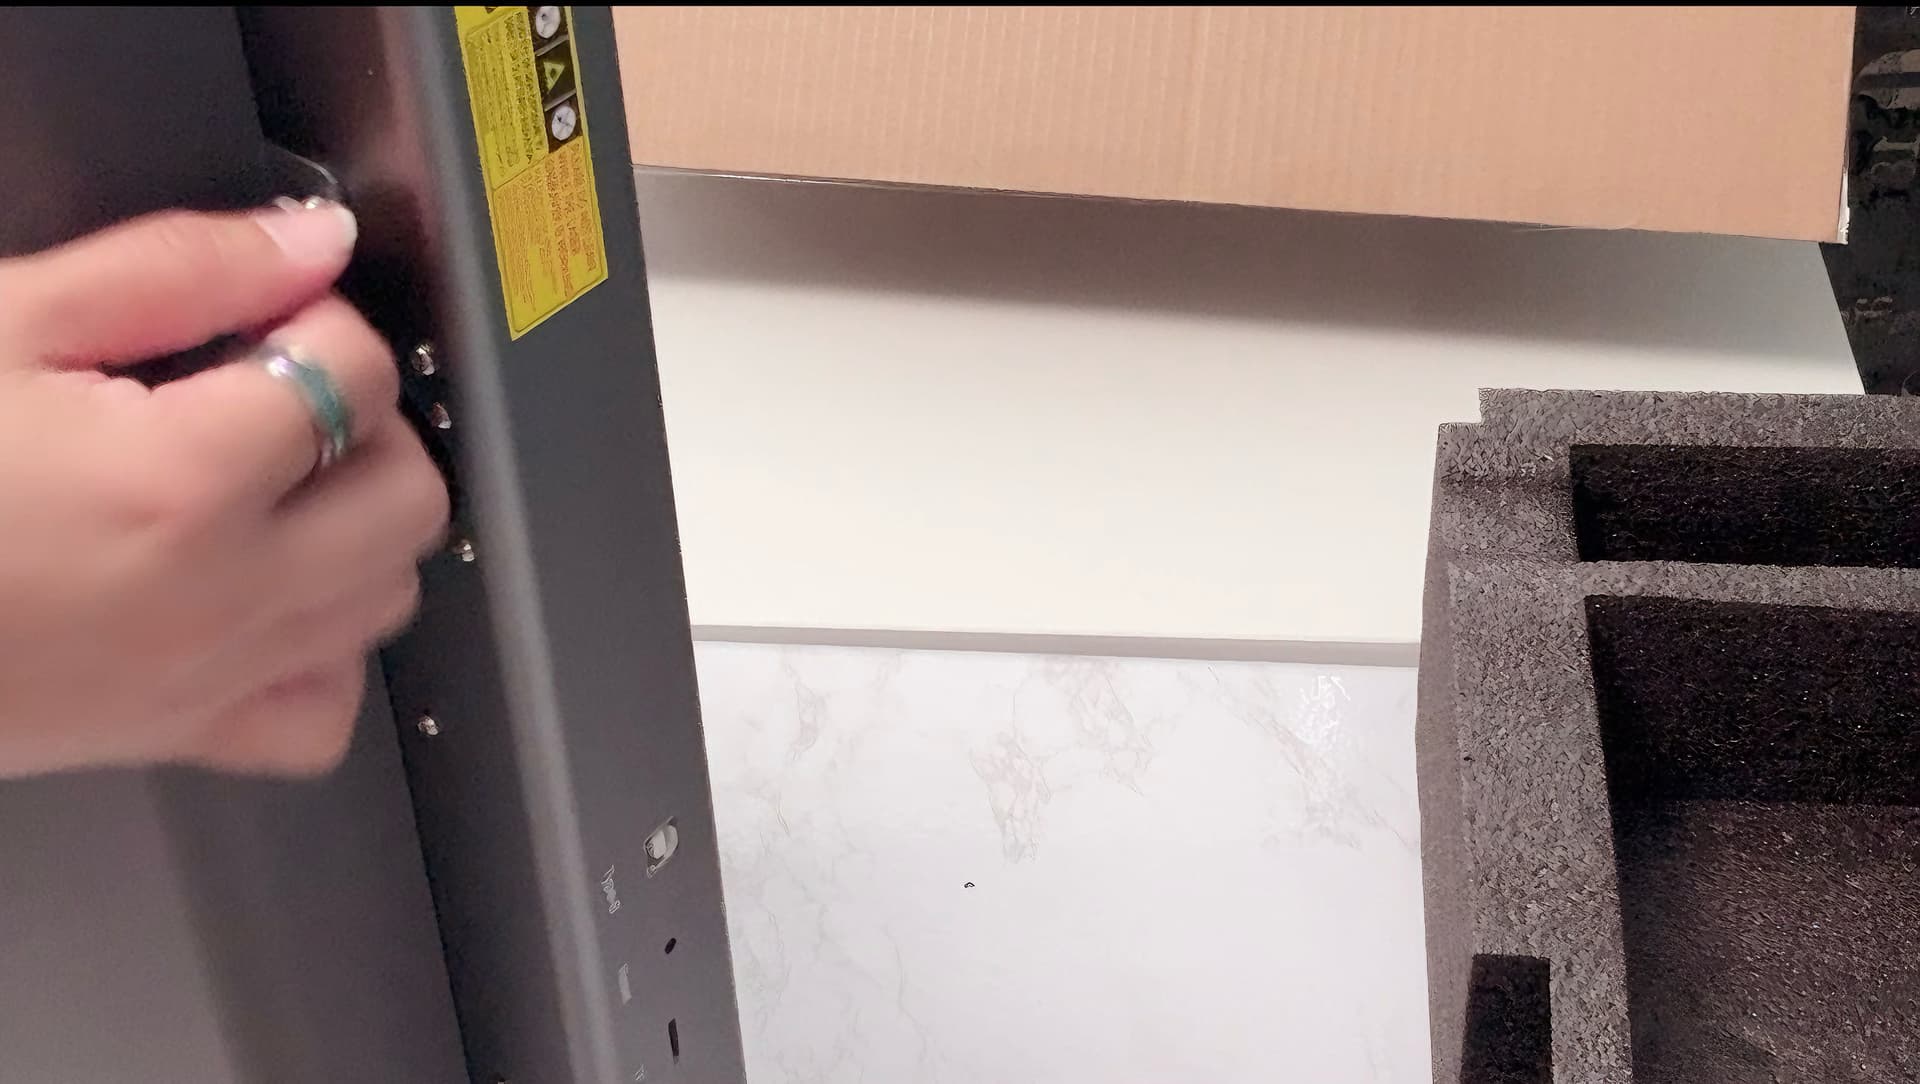
- Setup : There were no printed manual, but setup is guided via QR code to a digital manual or YouTube tutorials. I’ve noticed a loose screw from the bottom of the box and figured out right away that this screw belonged to the bottom of the tray (and it was!). So, I took care of it right away before I put the legs on.
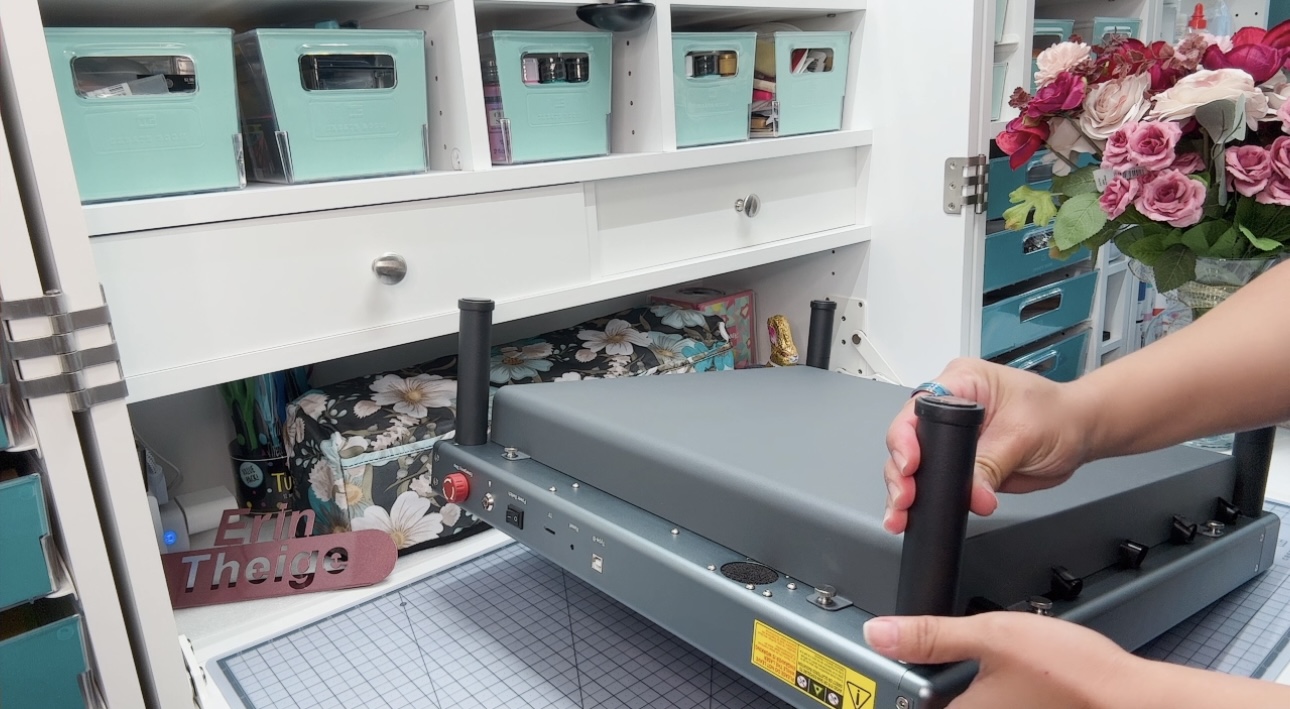
Looked like it fits perfectly in my craft table! But wait, I have a special place for her at the corner of my craft room nearby the window ![]()
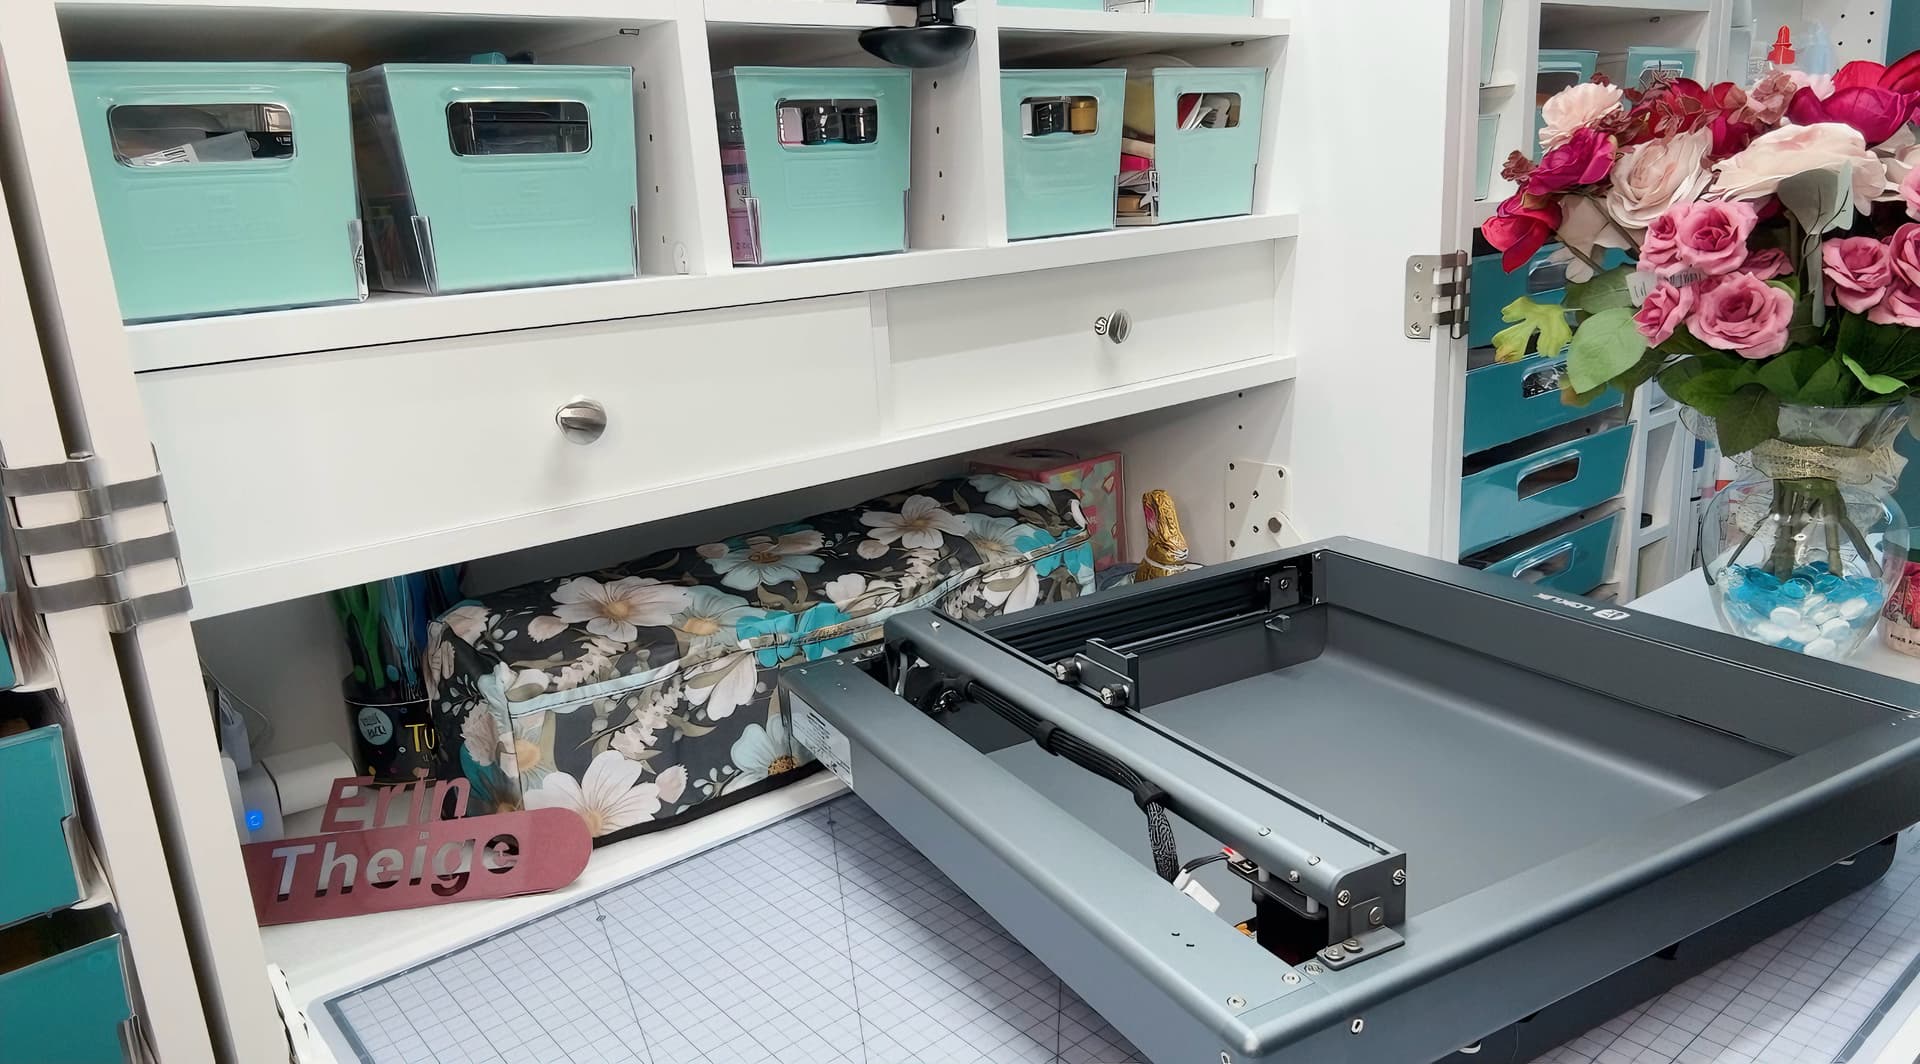
Now, the real part of assembly begins by putting the four legs at the bottom tray of the machine followed by unscrewing on both ends (The company installed 4 screws in the X-axis bar to prevent it from sliding through shipping).
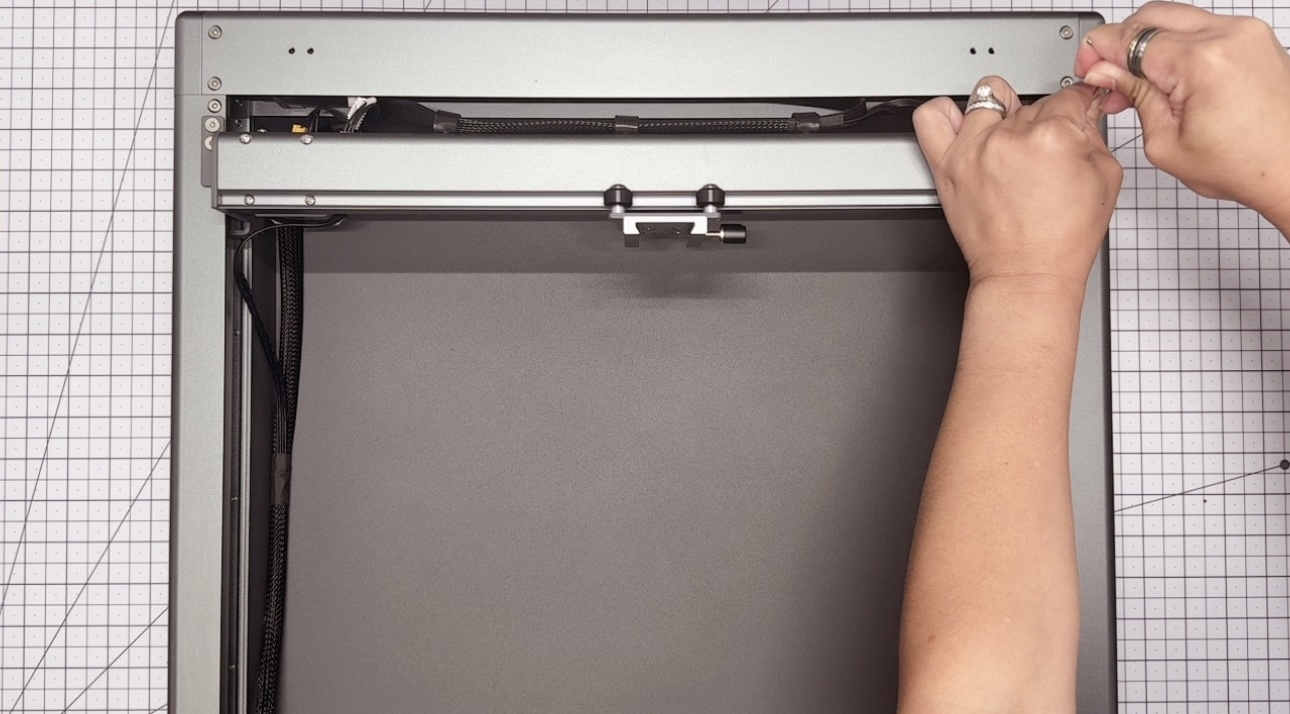
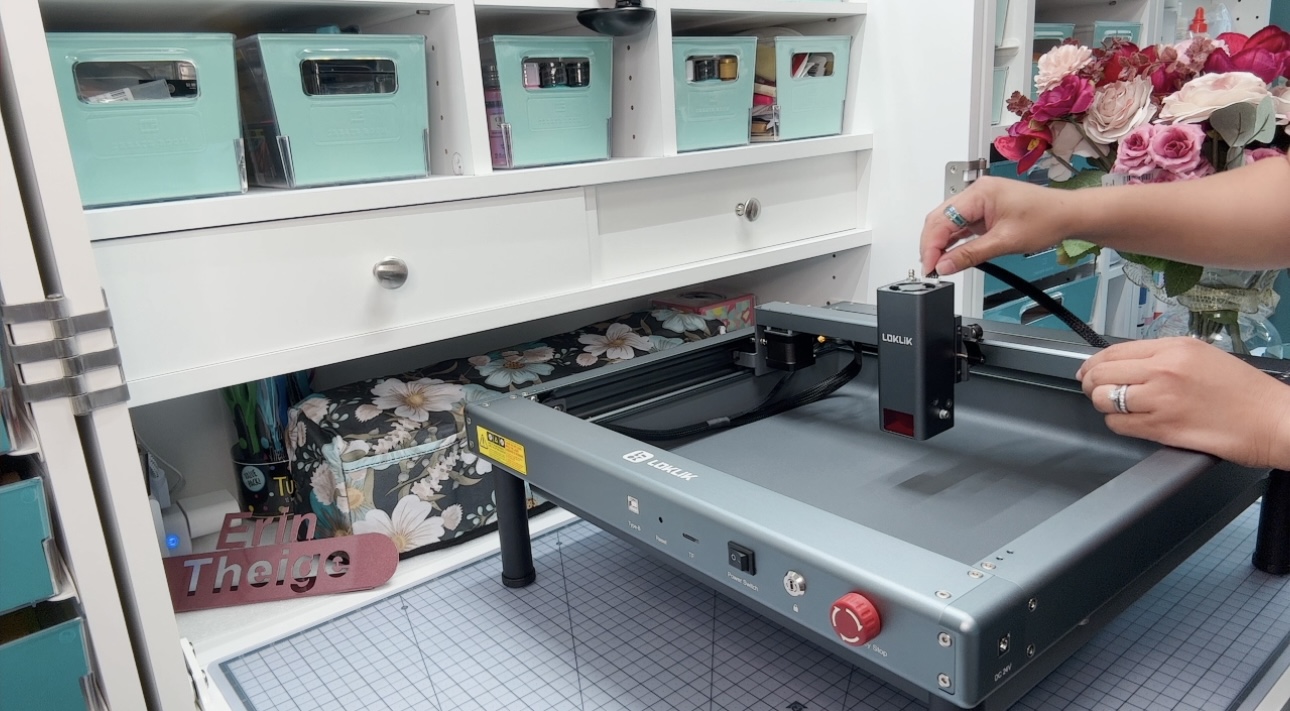
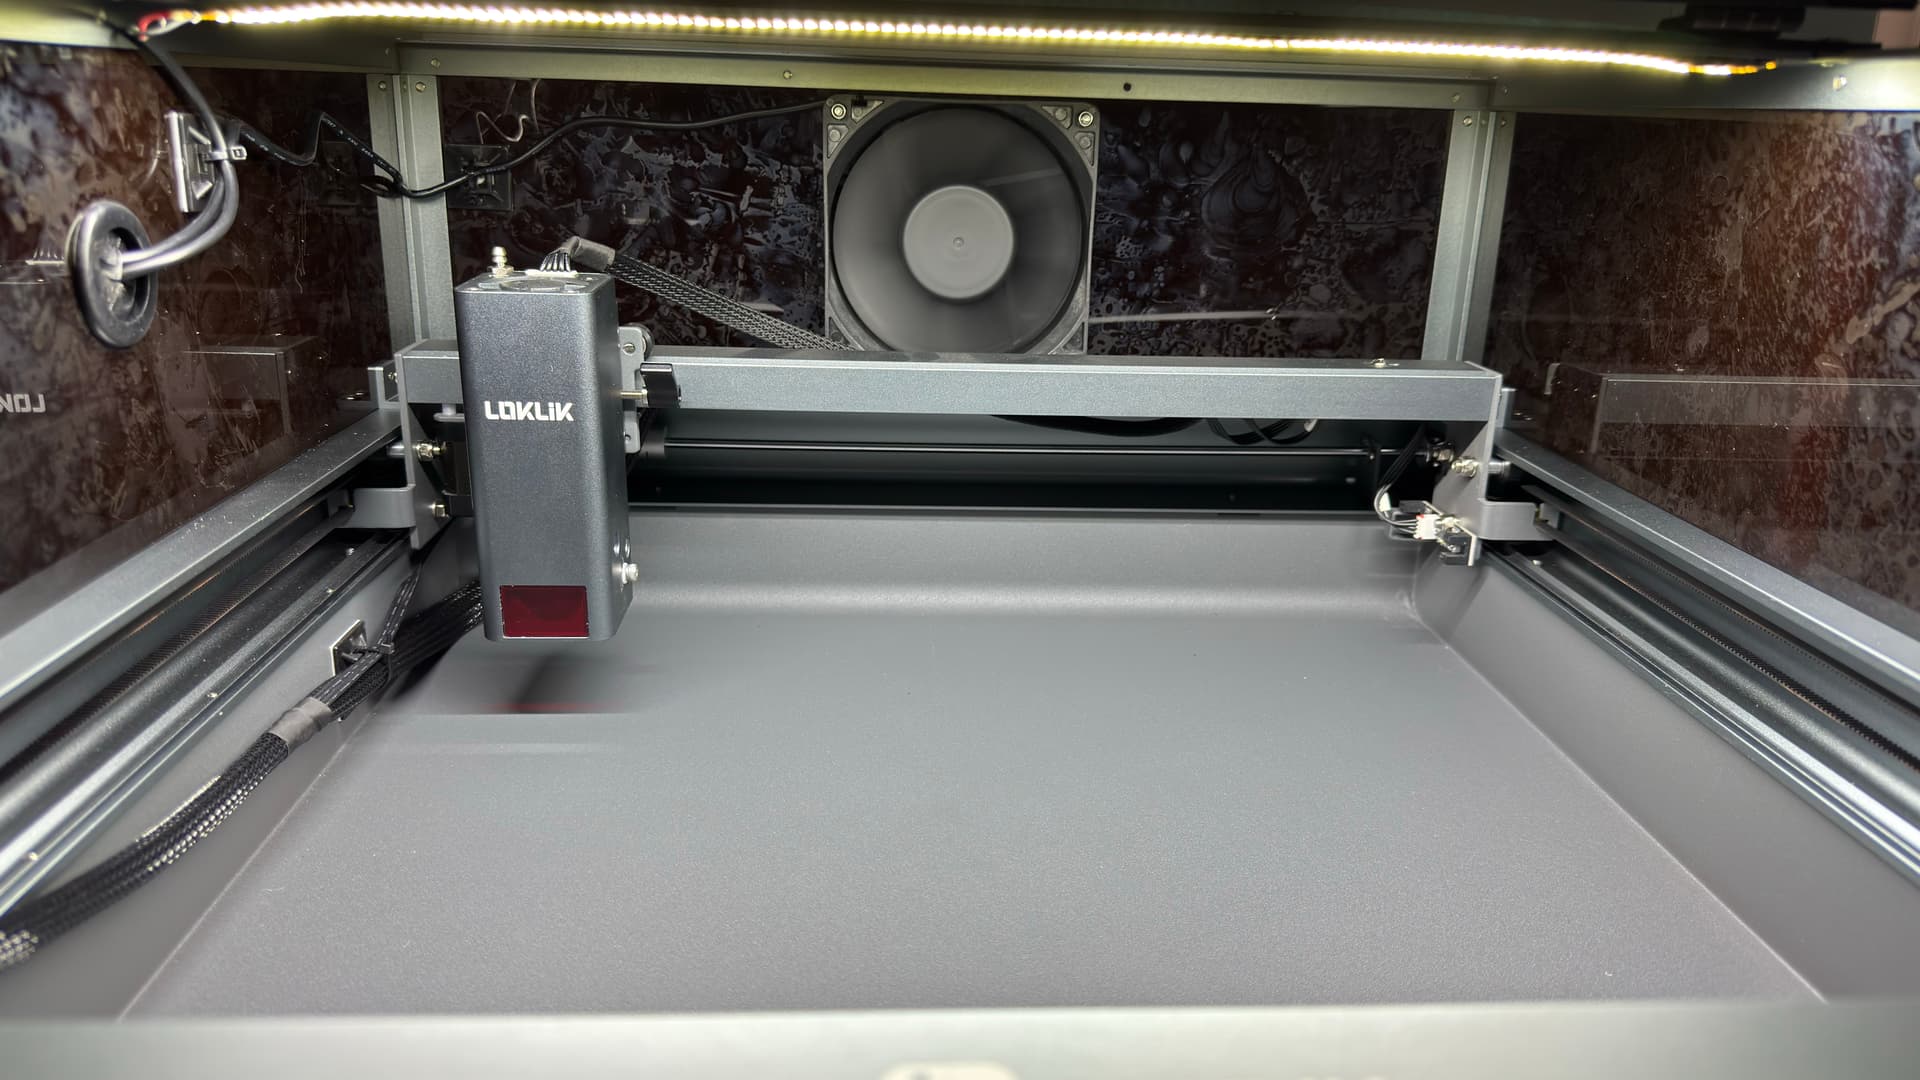
Next, is by installing the laser module and the rest of the cover assembly.
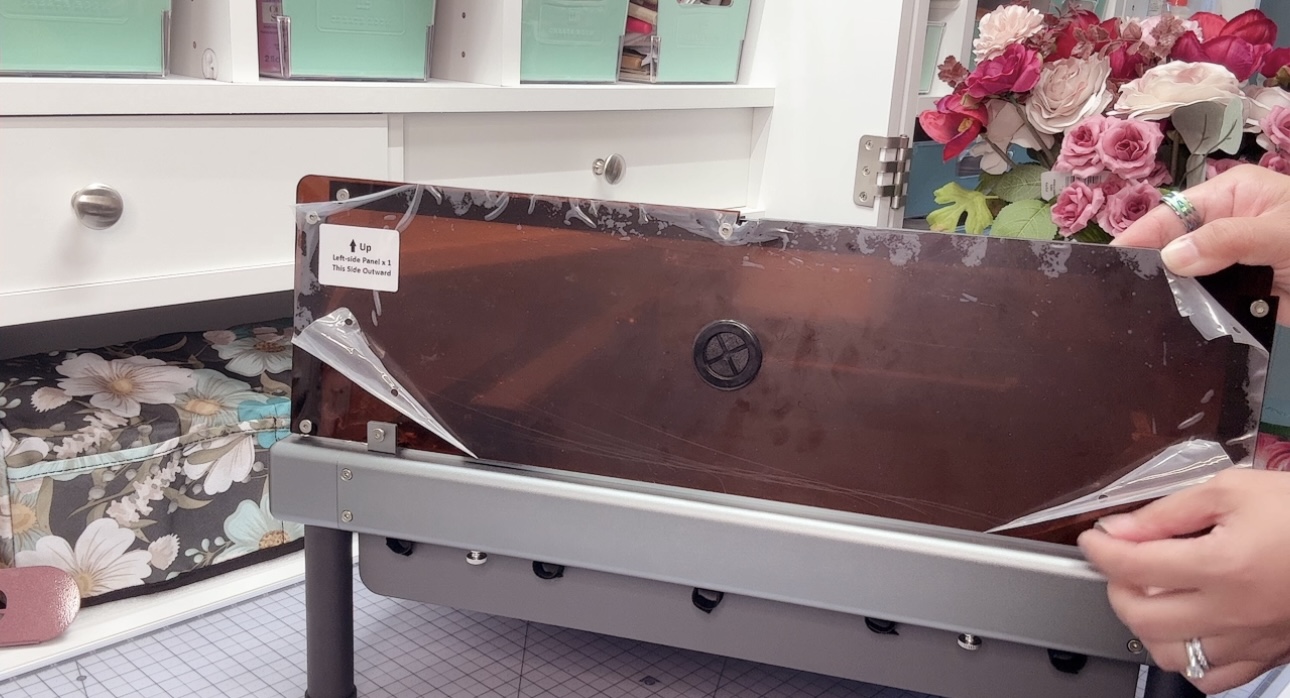
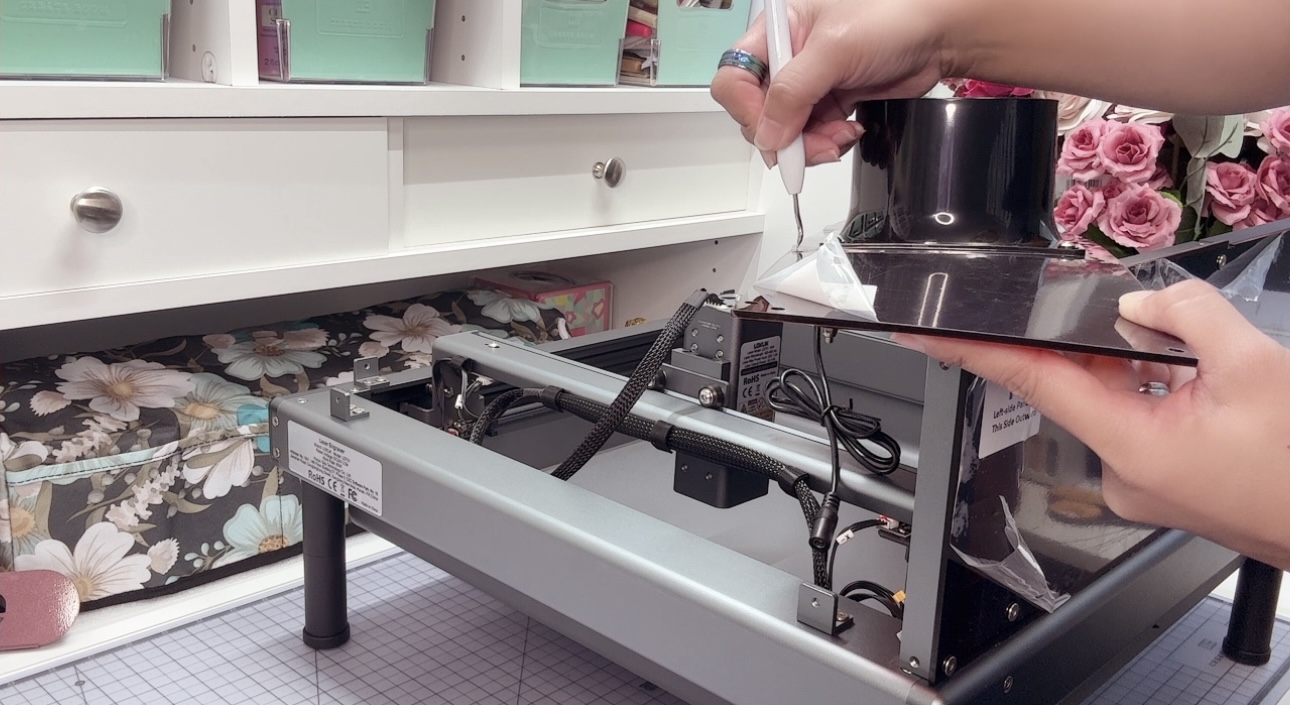
You will notice me in here that I used a weeding tool for easy release of those protective films later on.
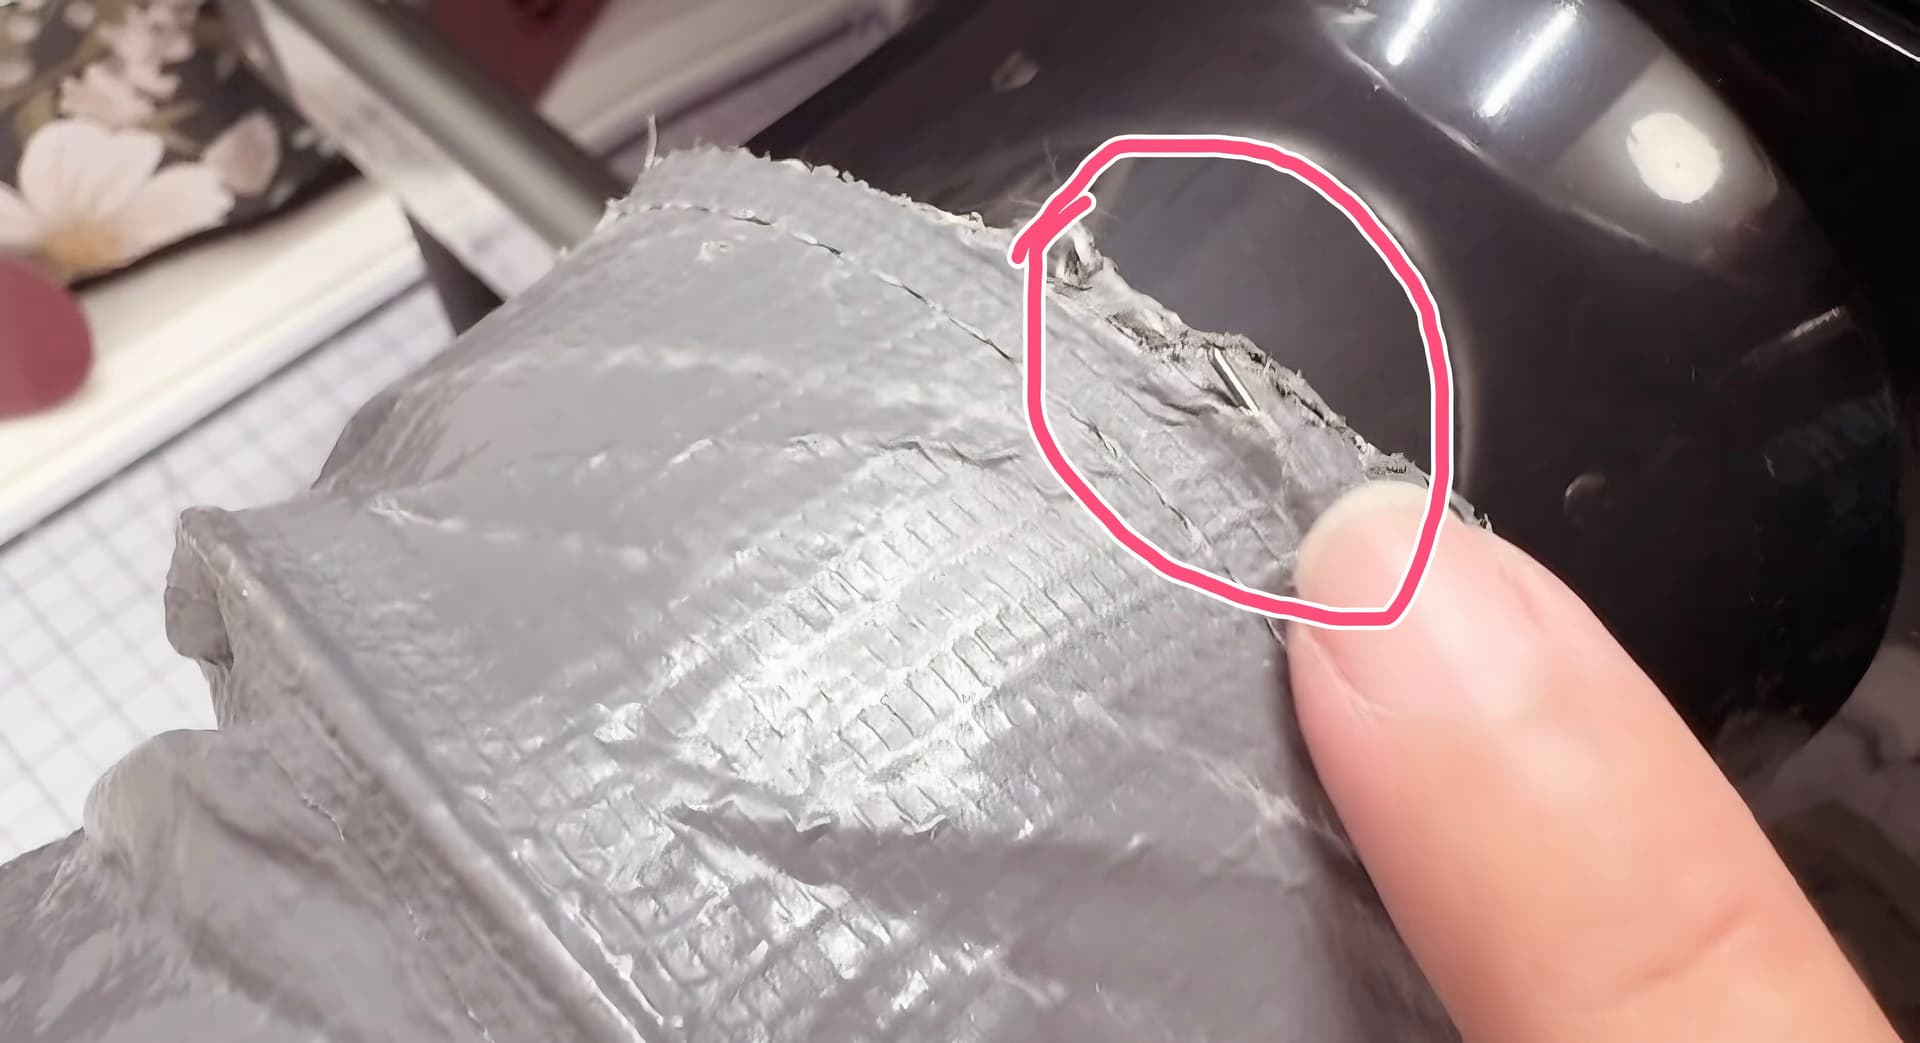
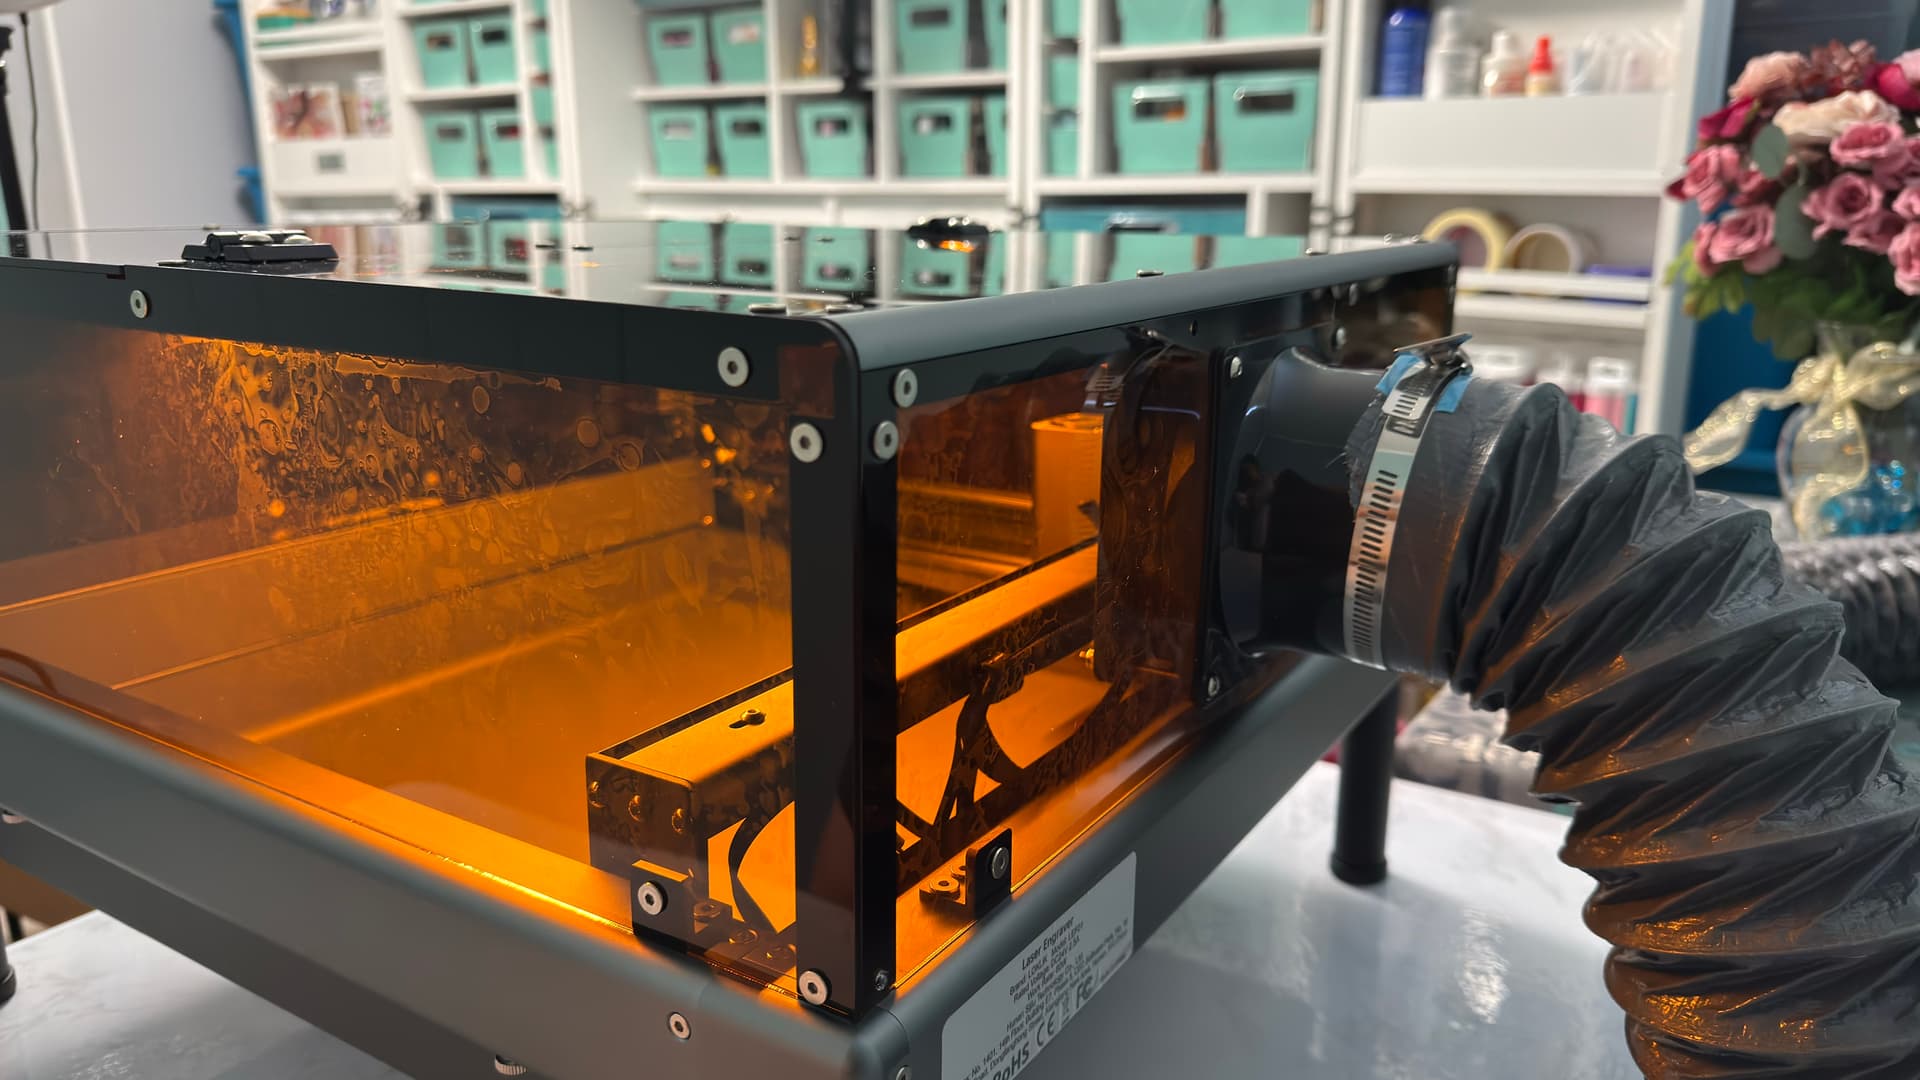
- Safety Caution! Please check both ends of the ventilation pipe of any metal sticking out through the hose prior installation to prevent your fingers being punctured (I did puncture my finger, ouch!
 )
)
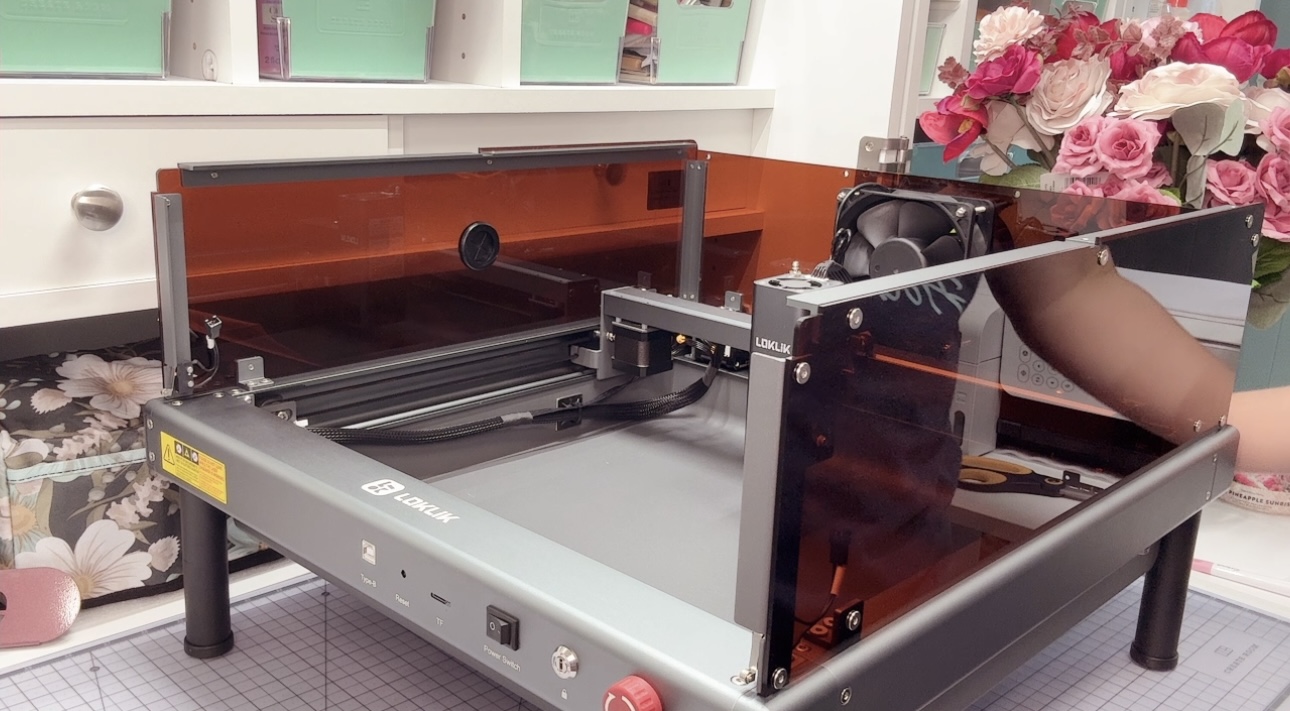
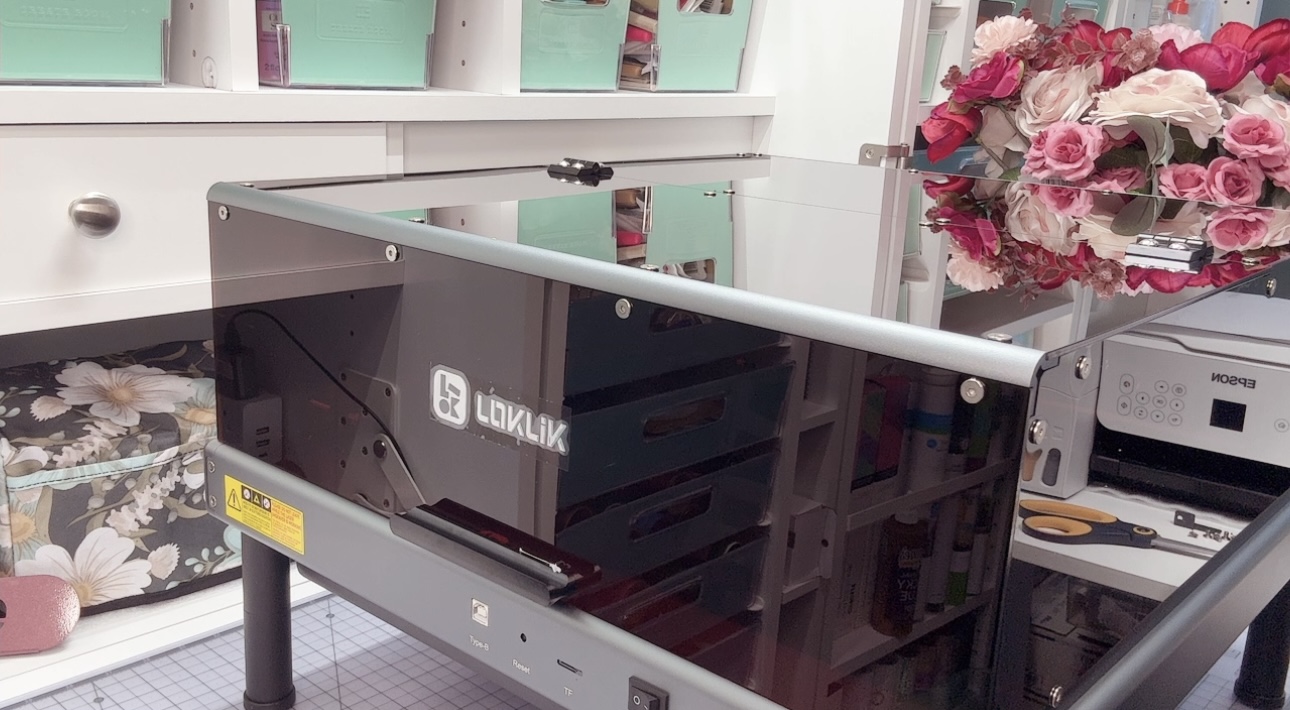
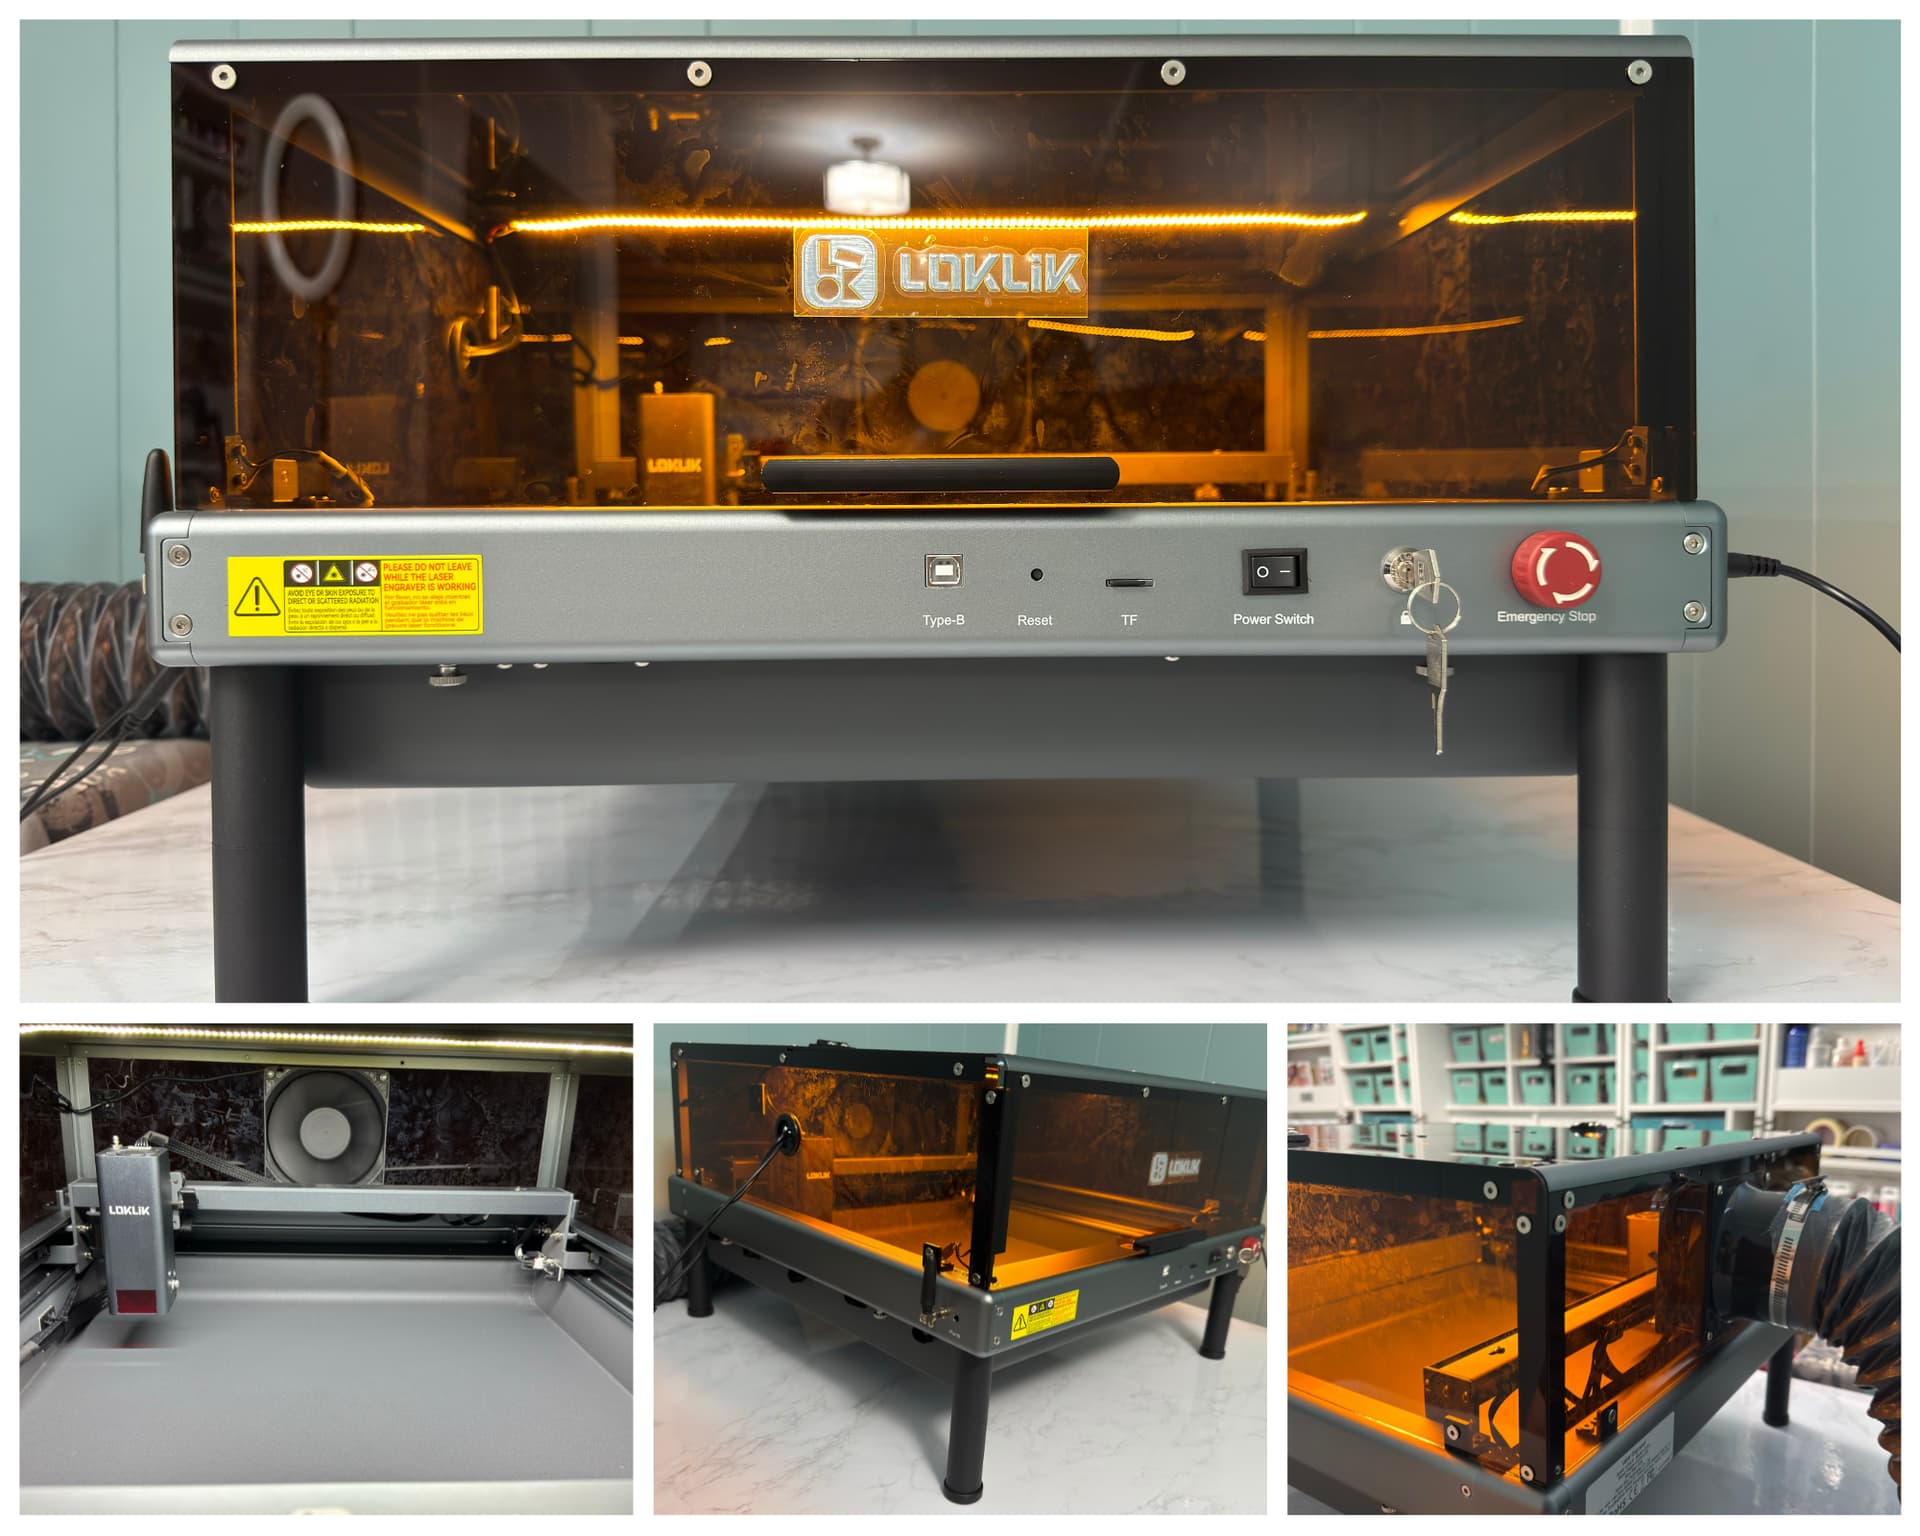
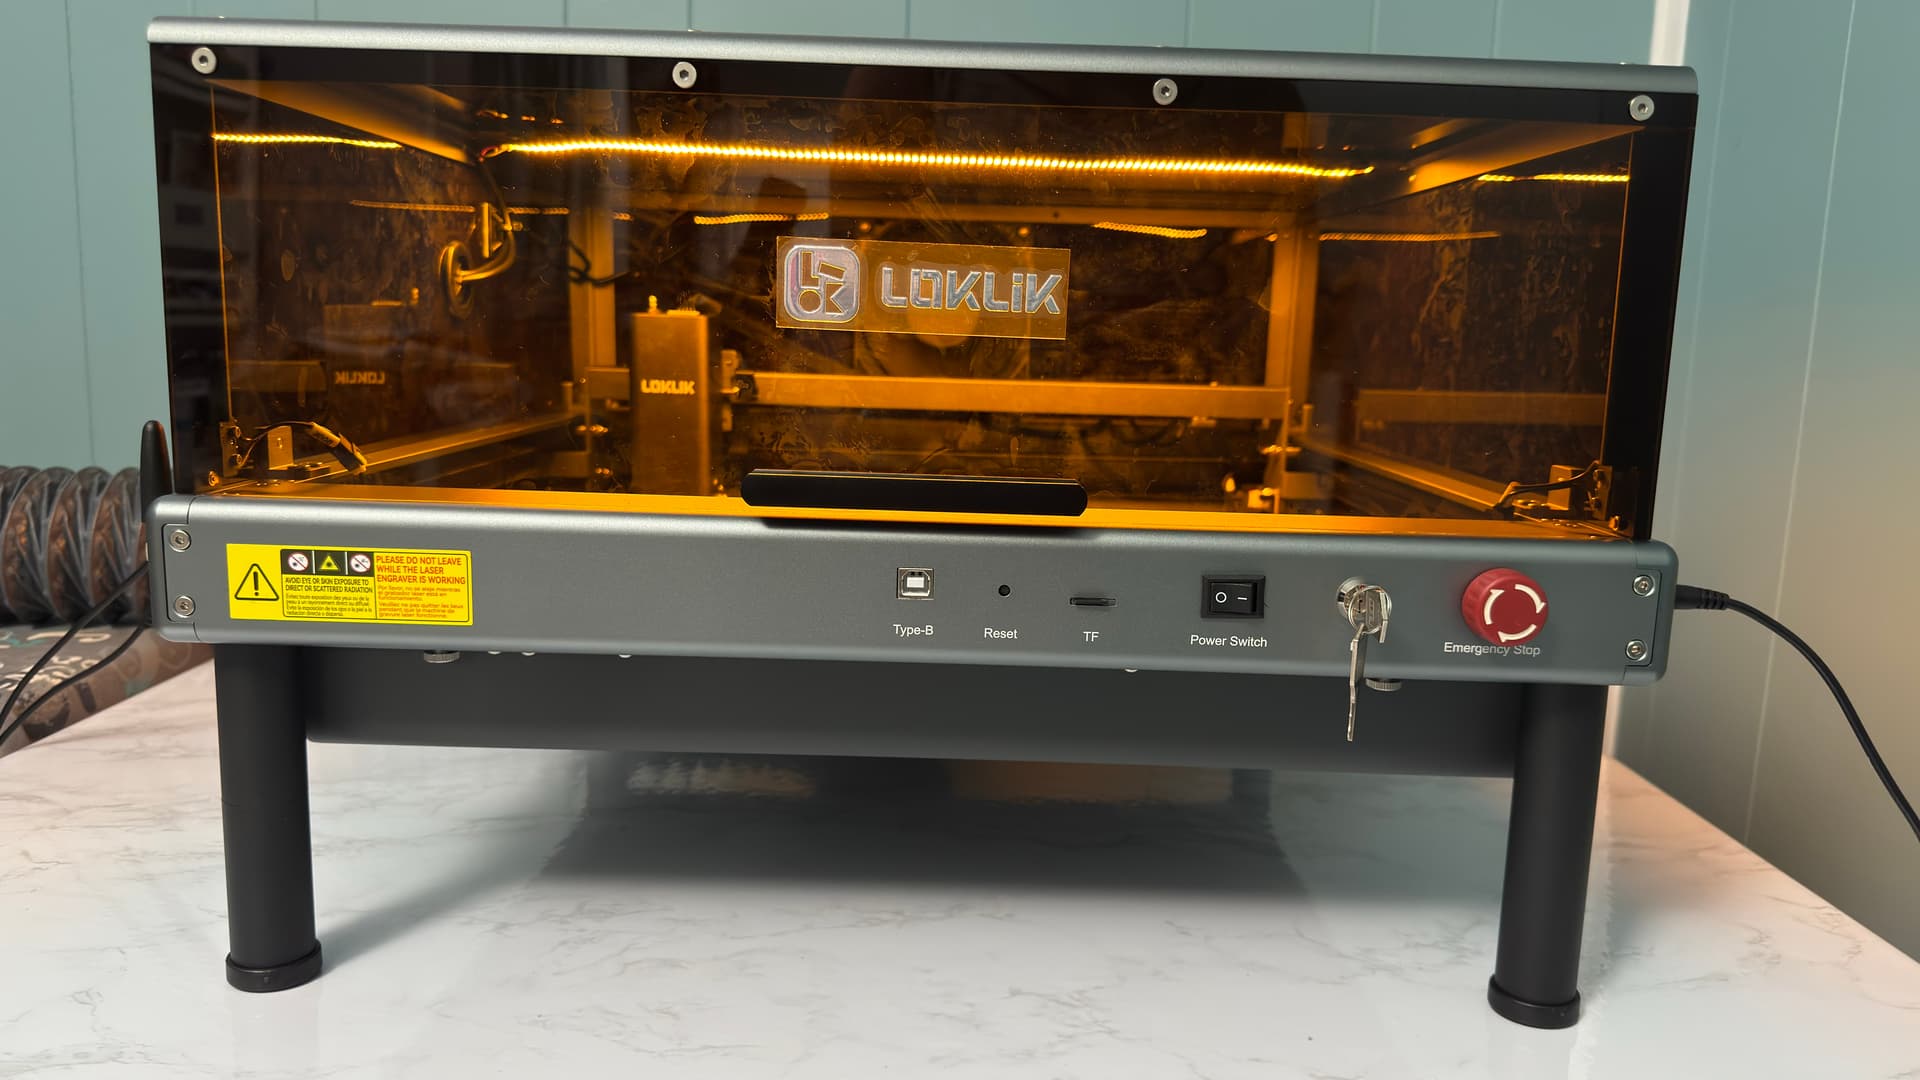
Here’s a fully assembled iEngrave Cover Machine looked like in my craft room. ![]()
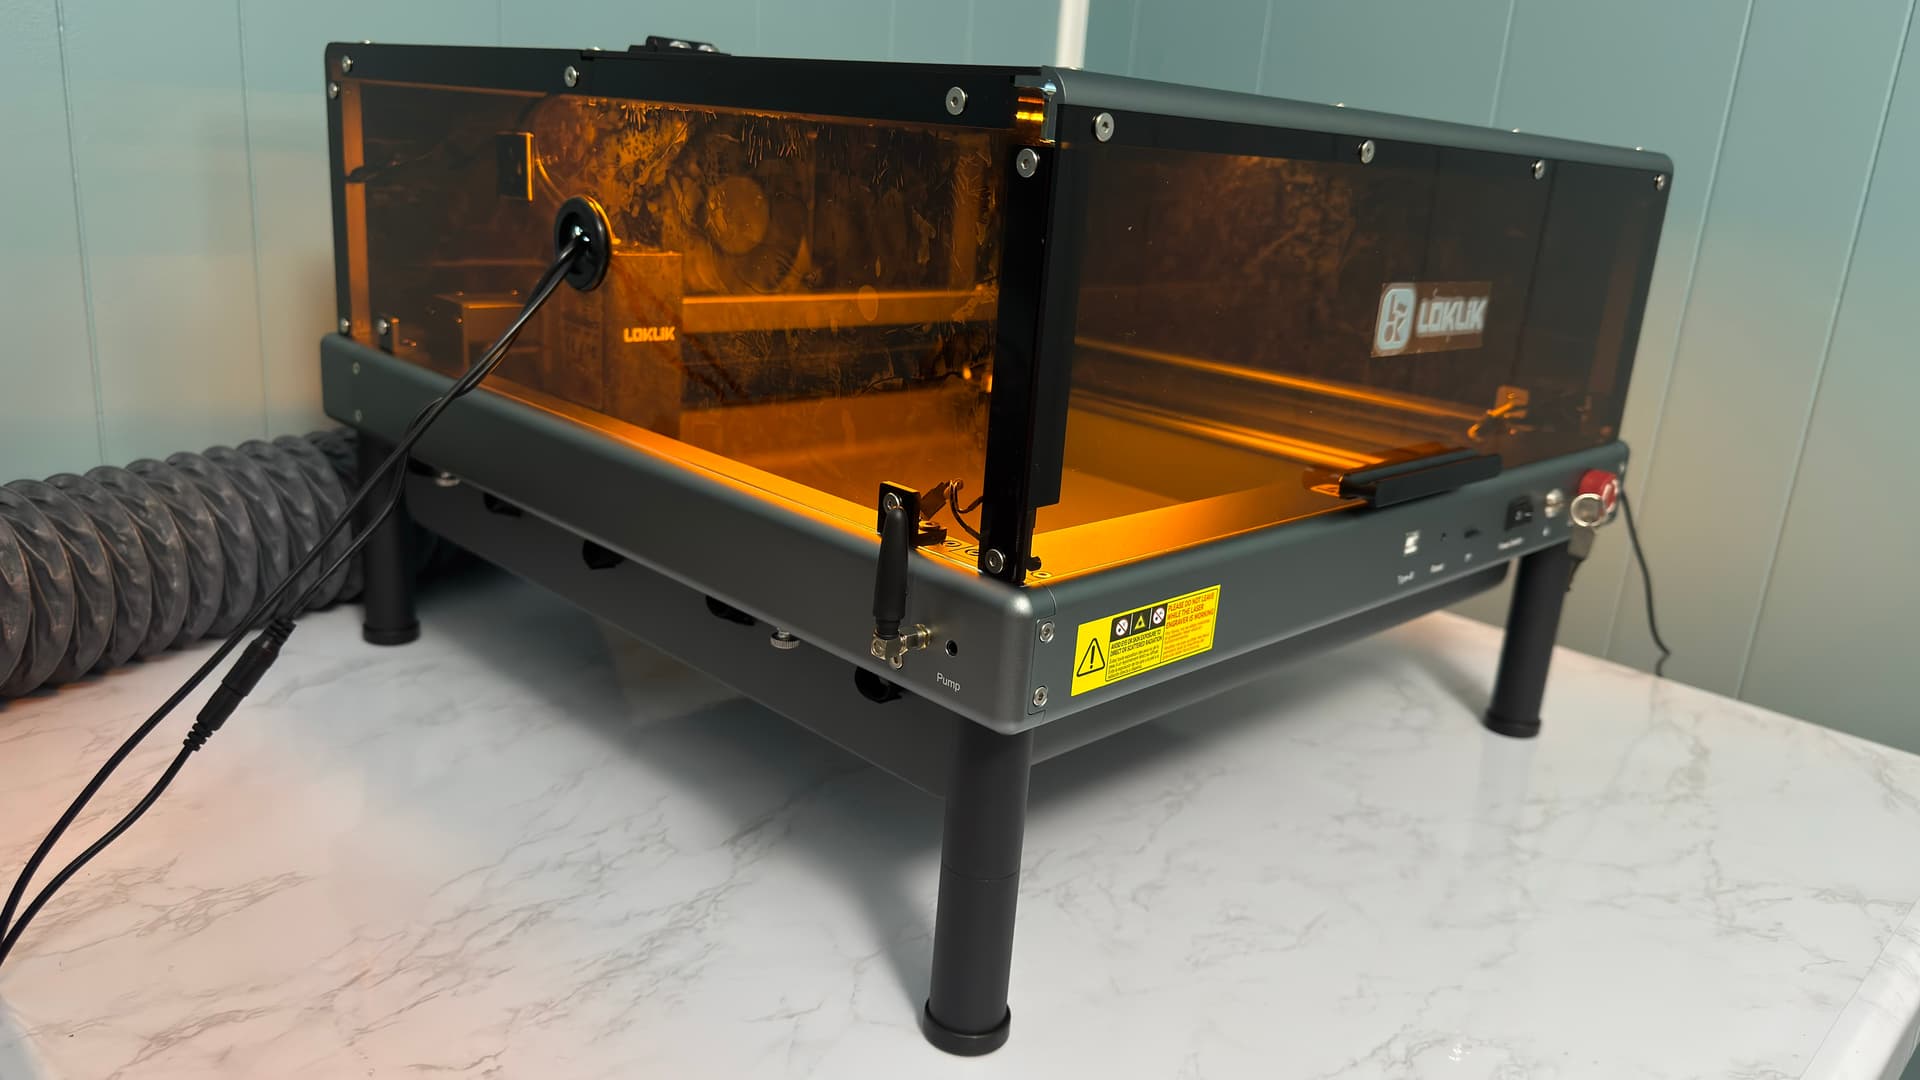
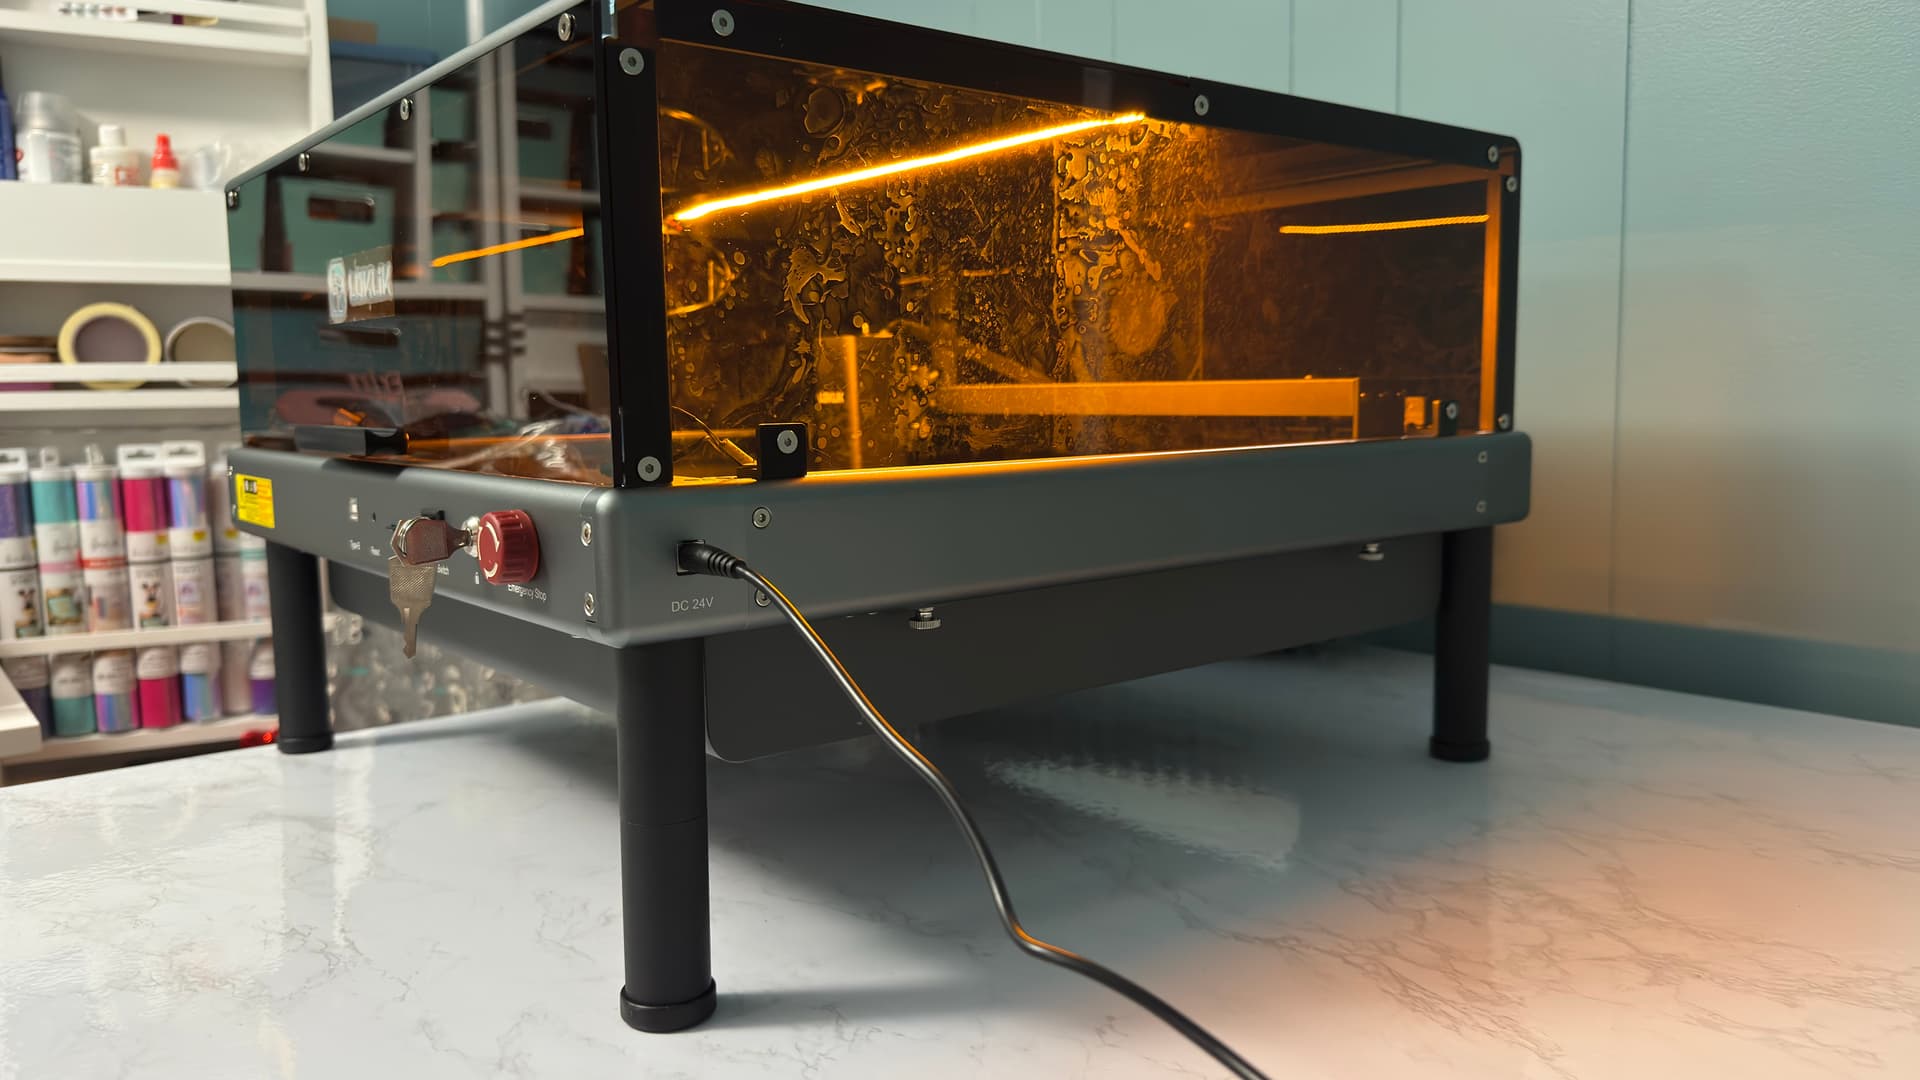
Total hours of assembly were less than an hour.
![]() User Experience
User Experience
- Beginner-Friendly : Designed for plug-and-play use. The mobile app (IdeaStudio) simplifies design and operation – provided default settings for some materials in used, though some users prefer LightBurn for advanced control such as setting parameters for any job command as assigned through color codes.
- Connectivity : Wi-Fi setup requires 2.4GHz — not 5GHz — and may need a reset if misconfigured. (TIP: If you have a dual band network, make sure you choose 2.4GHz for both mobile phone and machine in order to work.) I had an issue connecting between my phone and the machine at first, but I realized my phone was connected to 5GHz. So, I went to change it and all good to go!

- Software : Compatible with LightBurn and LaserGRBL. The mobile app is intuitive but limited for detailed editing; desktop version is expected soon.
 Also, it is supported most of file formats such as JPG, PNG, SVG, AI, etc. On top of that, you can upload or import your personal designs of your choice! Moreover, it is flexible for file transfers using micro-SD, USB, and Wi-Fi.
WATCH OUT for my next post! Part 2: Engraving & Cutting, Safety & Operation Feel, and my Overall thoughts about the iEngrave Cover Machine.