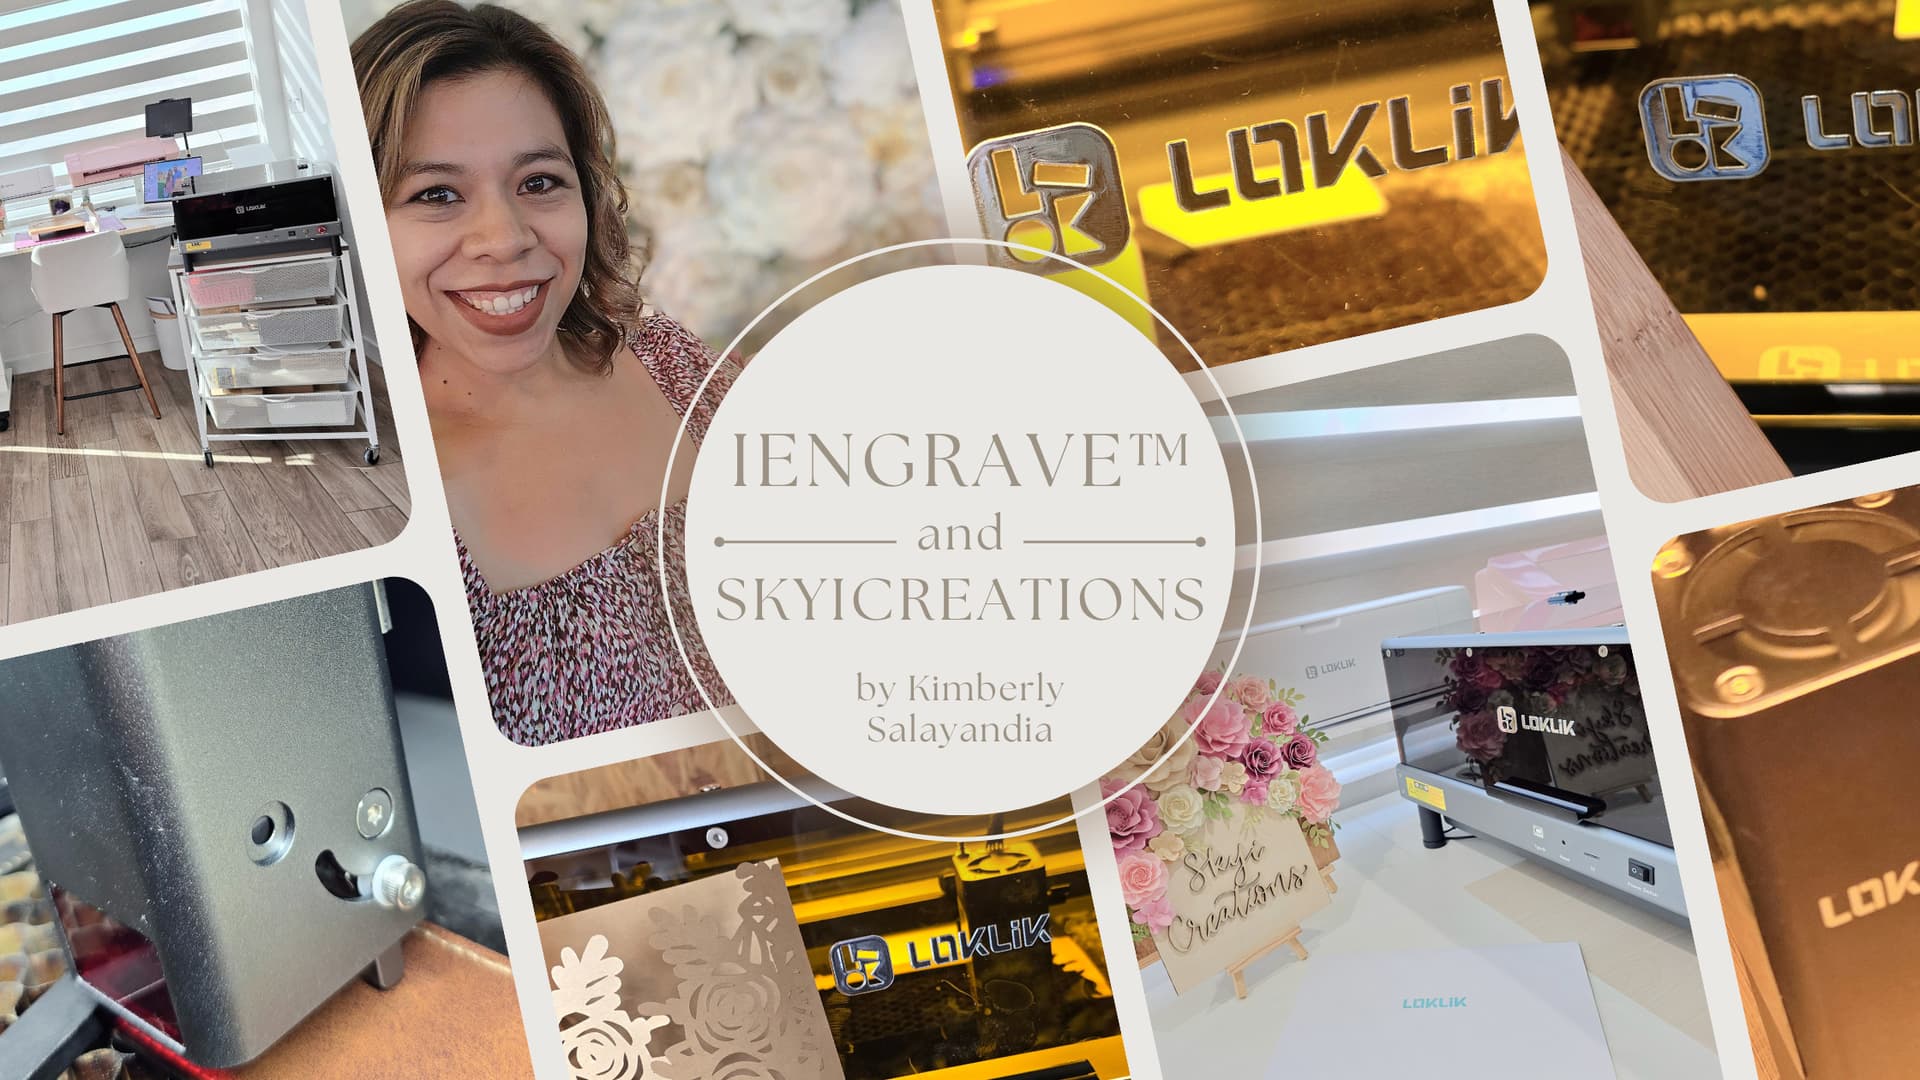
Hello crafties, this is Kimberly with SkyiCreations
I am a mommy of four, a wife to my high school sweetheart, a Zumba instructor and a full-time crafting small business owner. I’ve always enjoyed crafting, and the glue gun was my best friend growing up. SkyiCreations was created in 2017 as a small business to make large paper flowers. Who knew that was only the beginning and I now DIY everything from paper flowers, wooden signs, cake toppers, notebooks, keychains and all sorts of party favors.
I have had the pleasure to work with the iEngrave™ and I am so excited to share the possibilities and projects you are make.
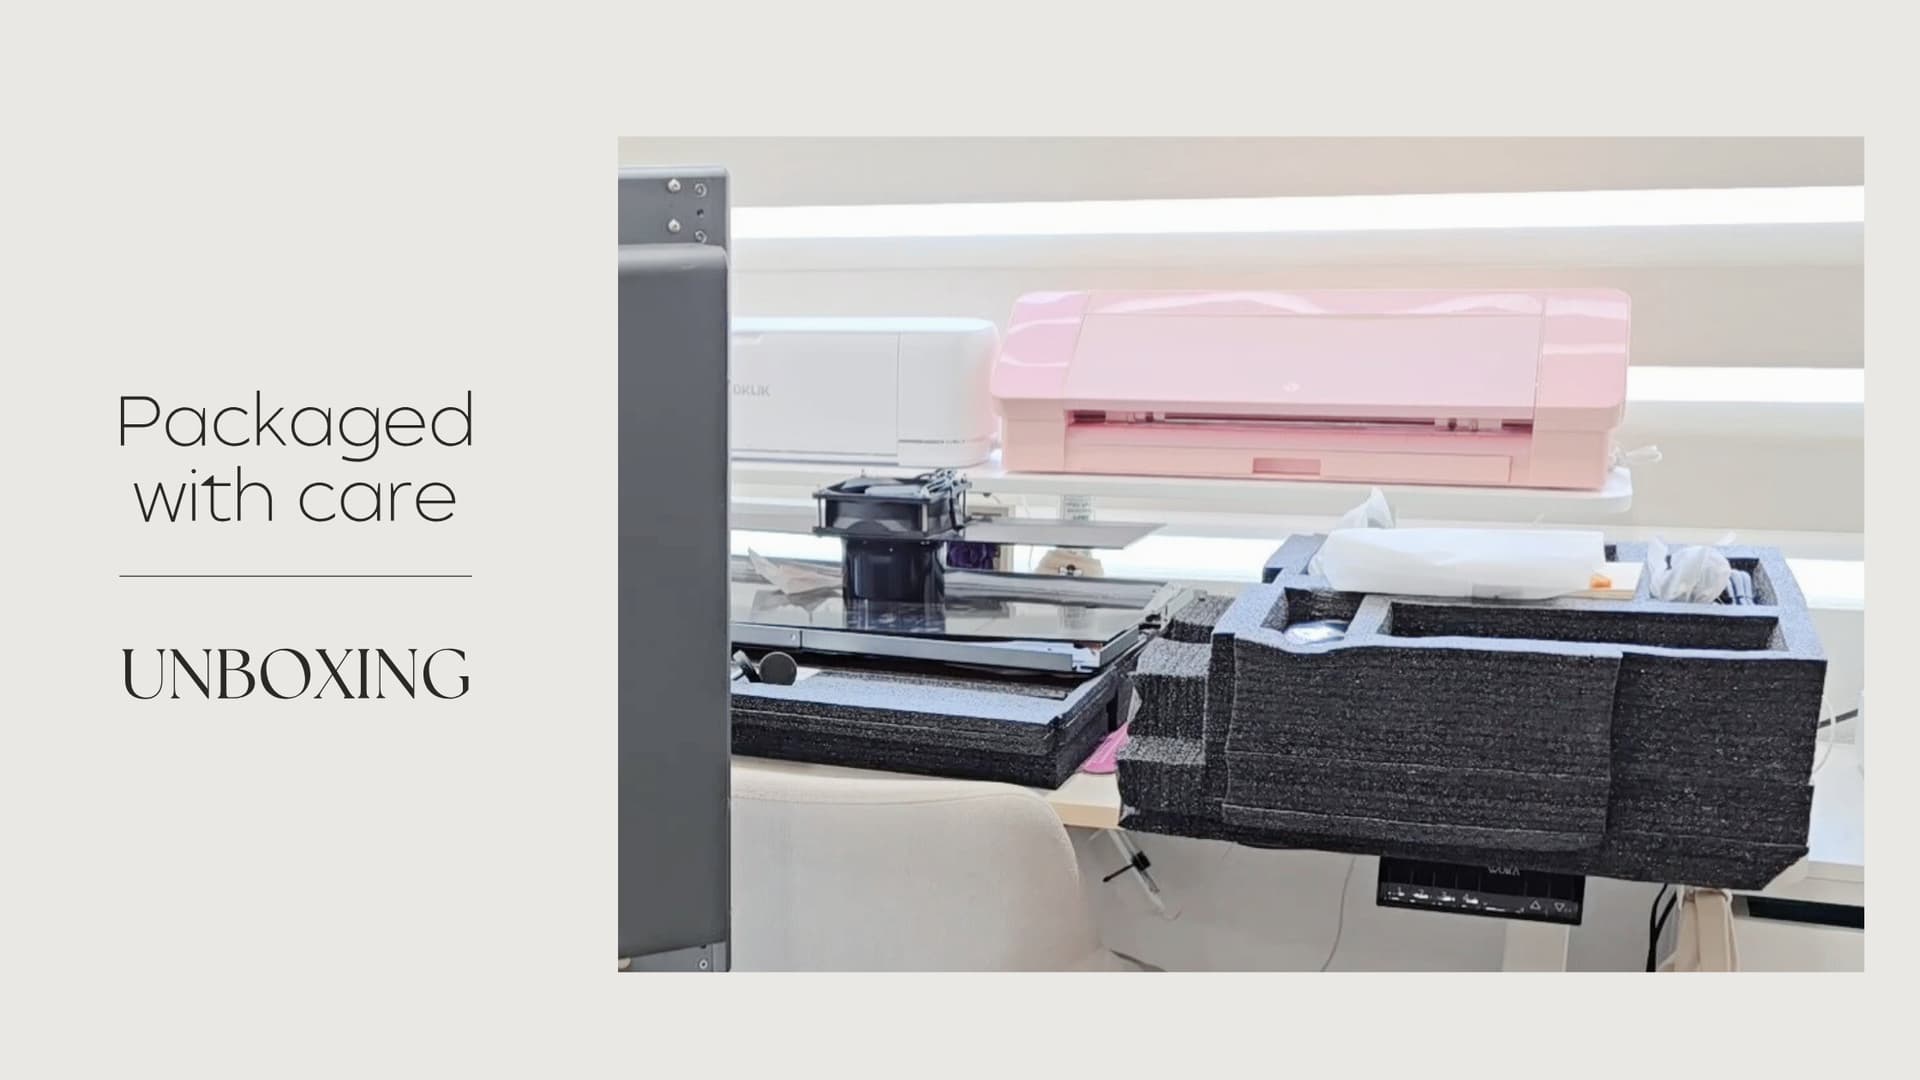
Unboxing & Setup
The process for setting up the iEngrave™ was straight forward and took about an hour which is great for those who want to get started on projects quickly.
- Shipping packaging: The iEngrave™ arrived in great condition due to the excellent shipping packaging. The outer box was very sturdy, and internal components were very well packed with foam.
- Unboxing: Each component inside was placed in a well manner to ensure that nothing moved during shipping. The components were labeled to help with the assembling of the unit; the most helpful labels were those of the panels indicating which direction the panel should face. Another important observation was that the internal laser axis was properly secured to ensure that it would not move while being shipped.
- Setup: The setup process of the iEngrave™ was smooth and can be done by one individual. There were a few steps that I asked my husband for assistance to ensure that I followed the step correctly (as he is an engineer) but for the most part, I was able to setup the unit by myself.
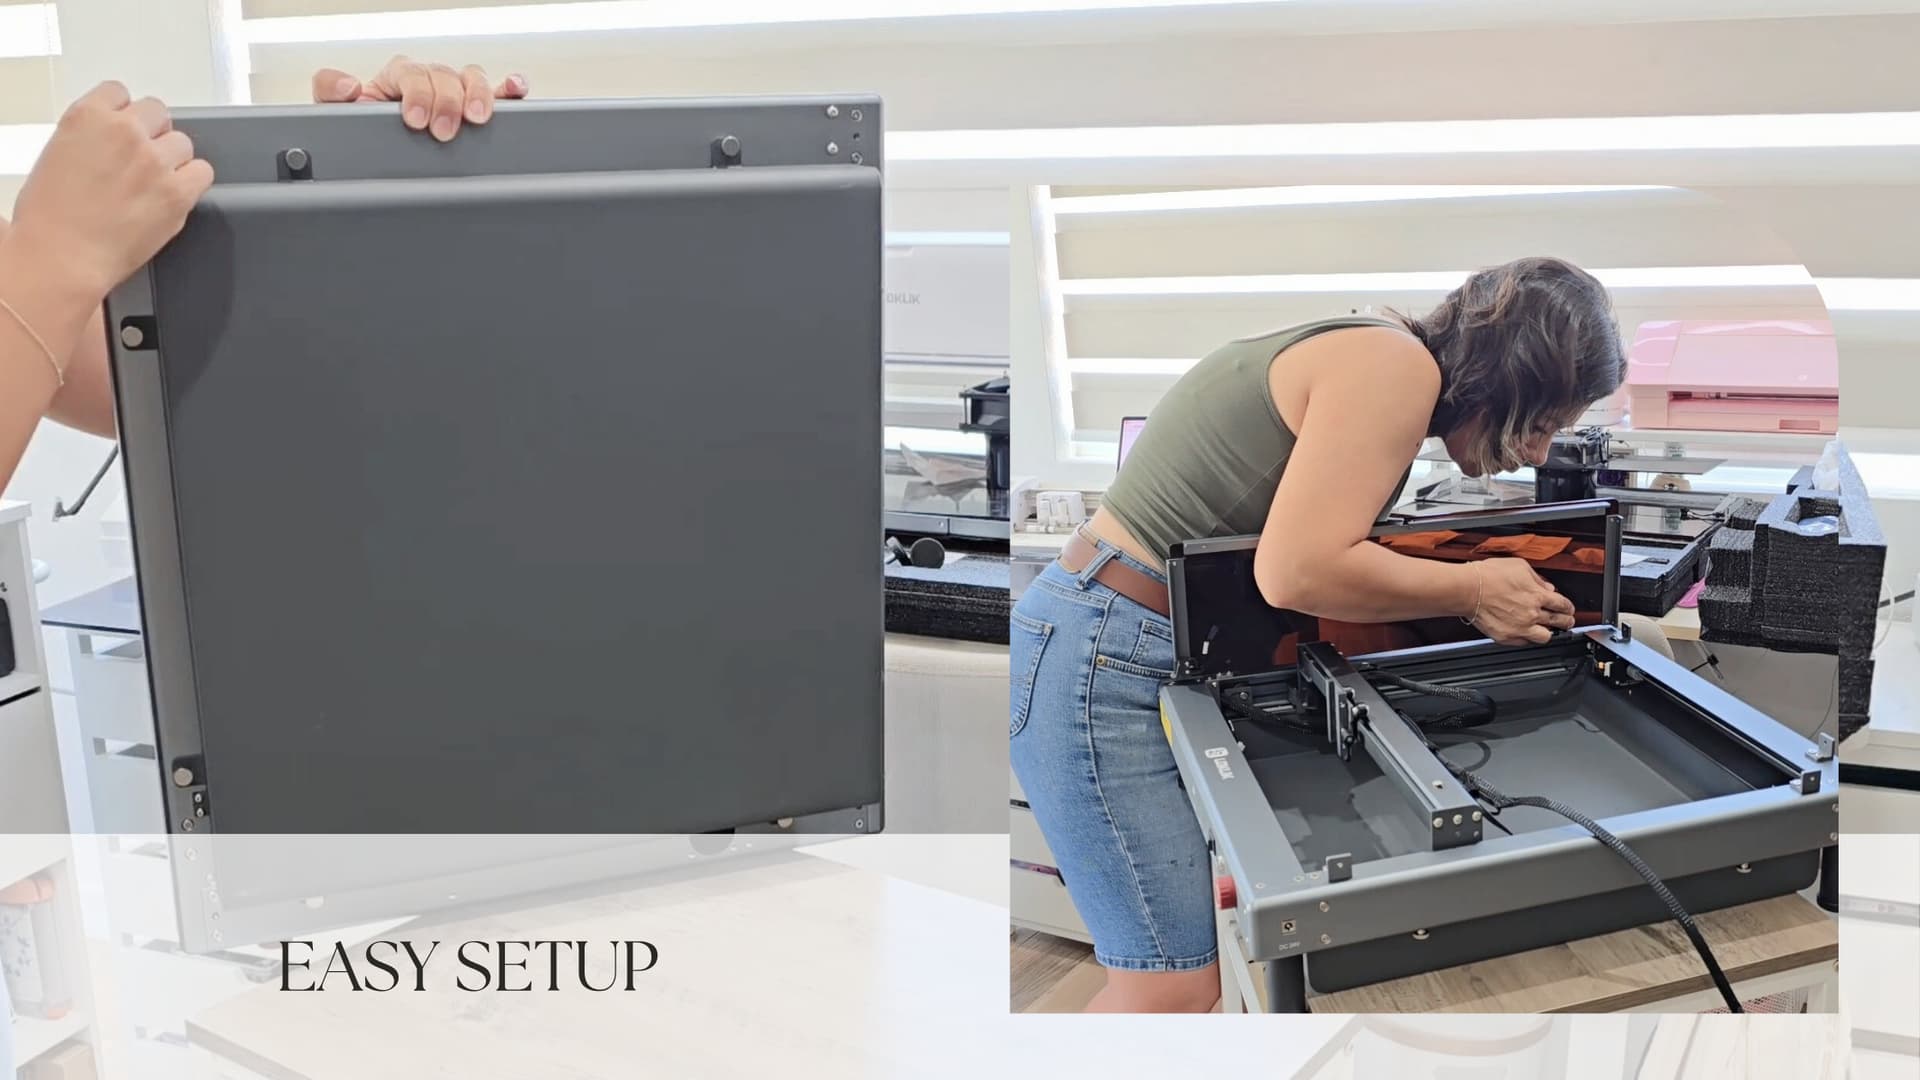
Adding leg extensions and side panel
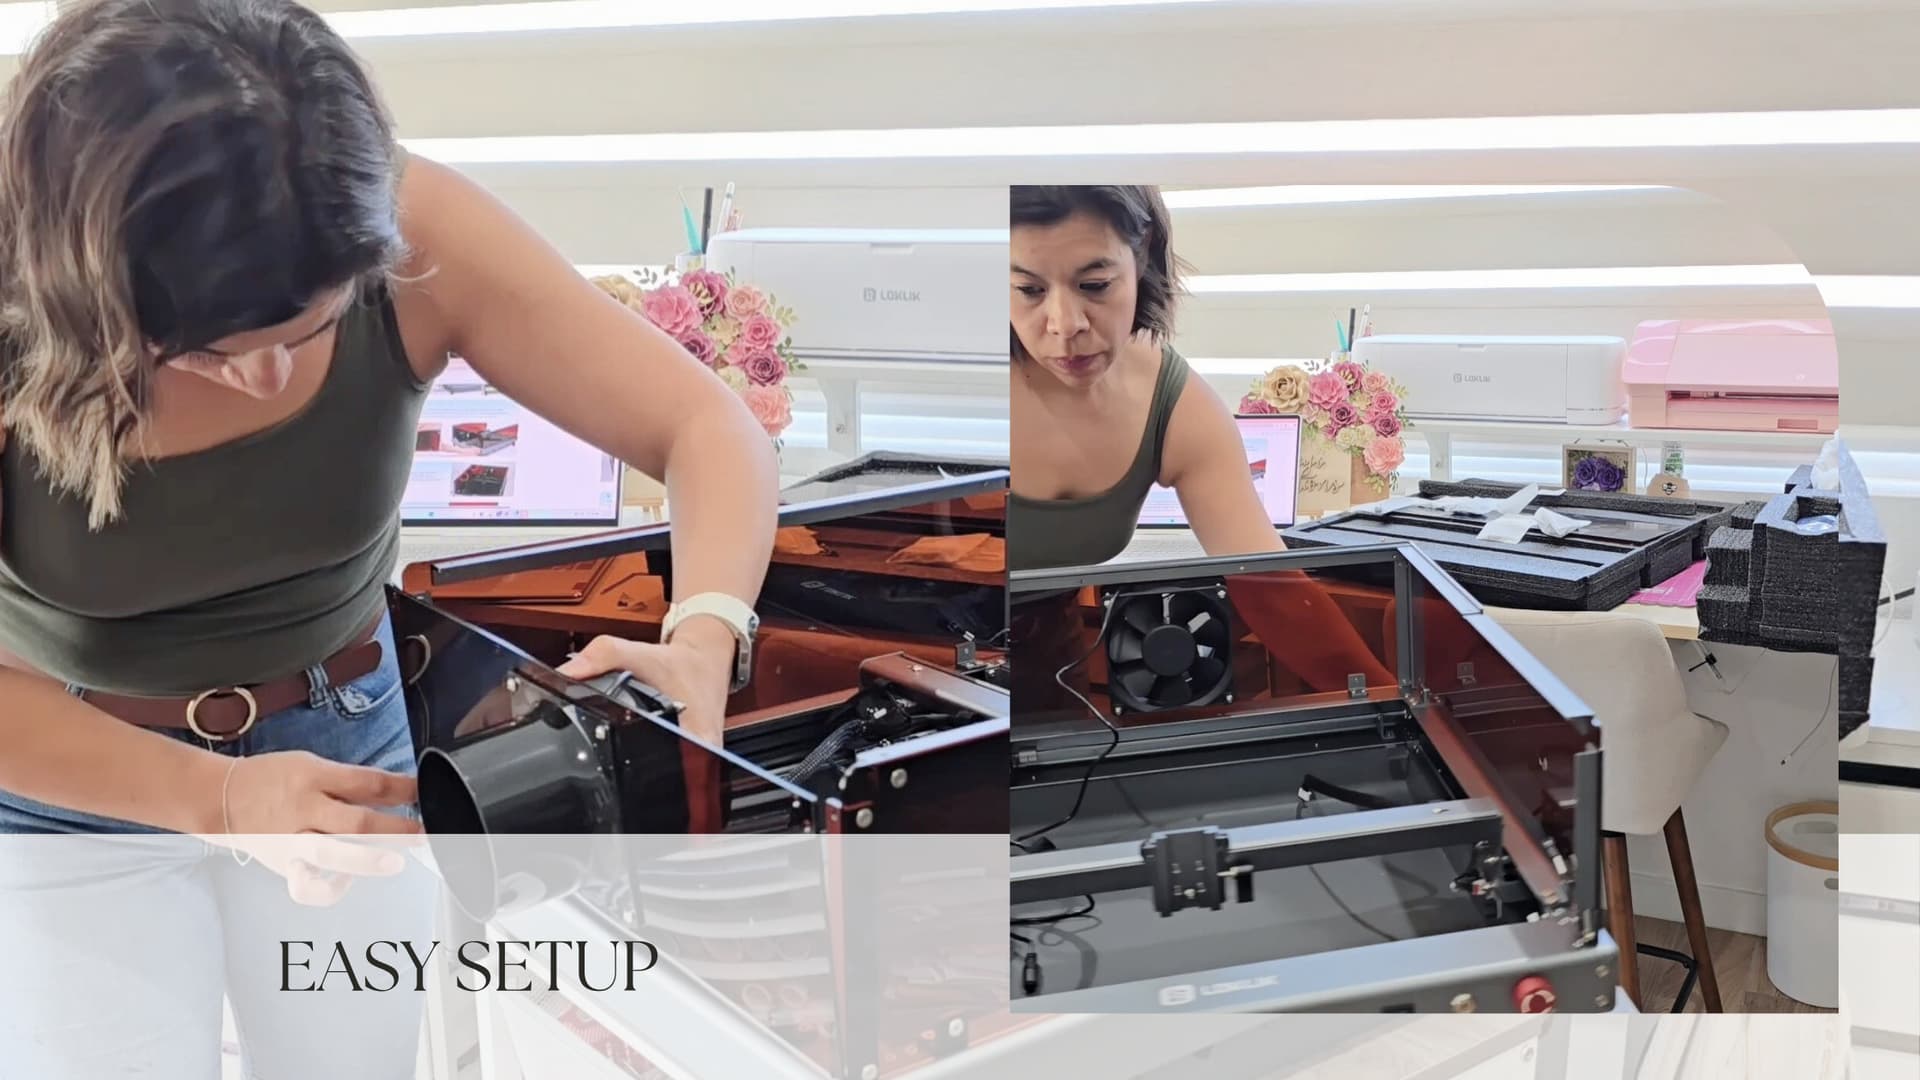
Attaching back panel with fan to base unit
Connecting fan wiring and routing it through the designated hole to connect to power adapter
- Tips: Below are a few tips to help through the setup process.
- Leg extensions: The leg extensions may have the screws pushed inside the extension, carefully adjust them to allow you to add the legs to the base.
- Lid hinges: Please take your time while attaching the lid hinges. It helped to have another person hold the lid and metal strip while screwing in the hinge. This ensured that the metal strip remained flush on the lid.
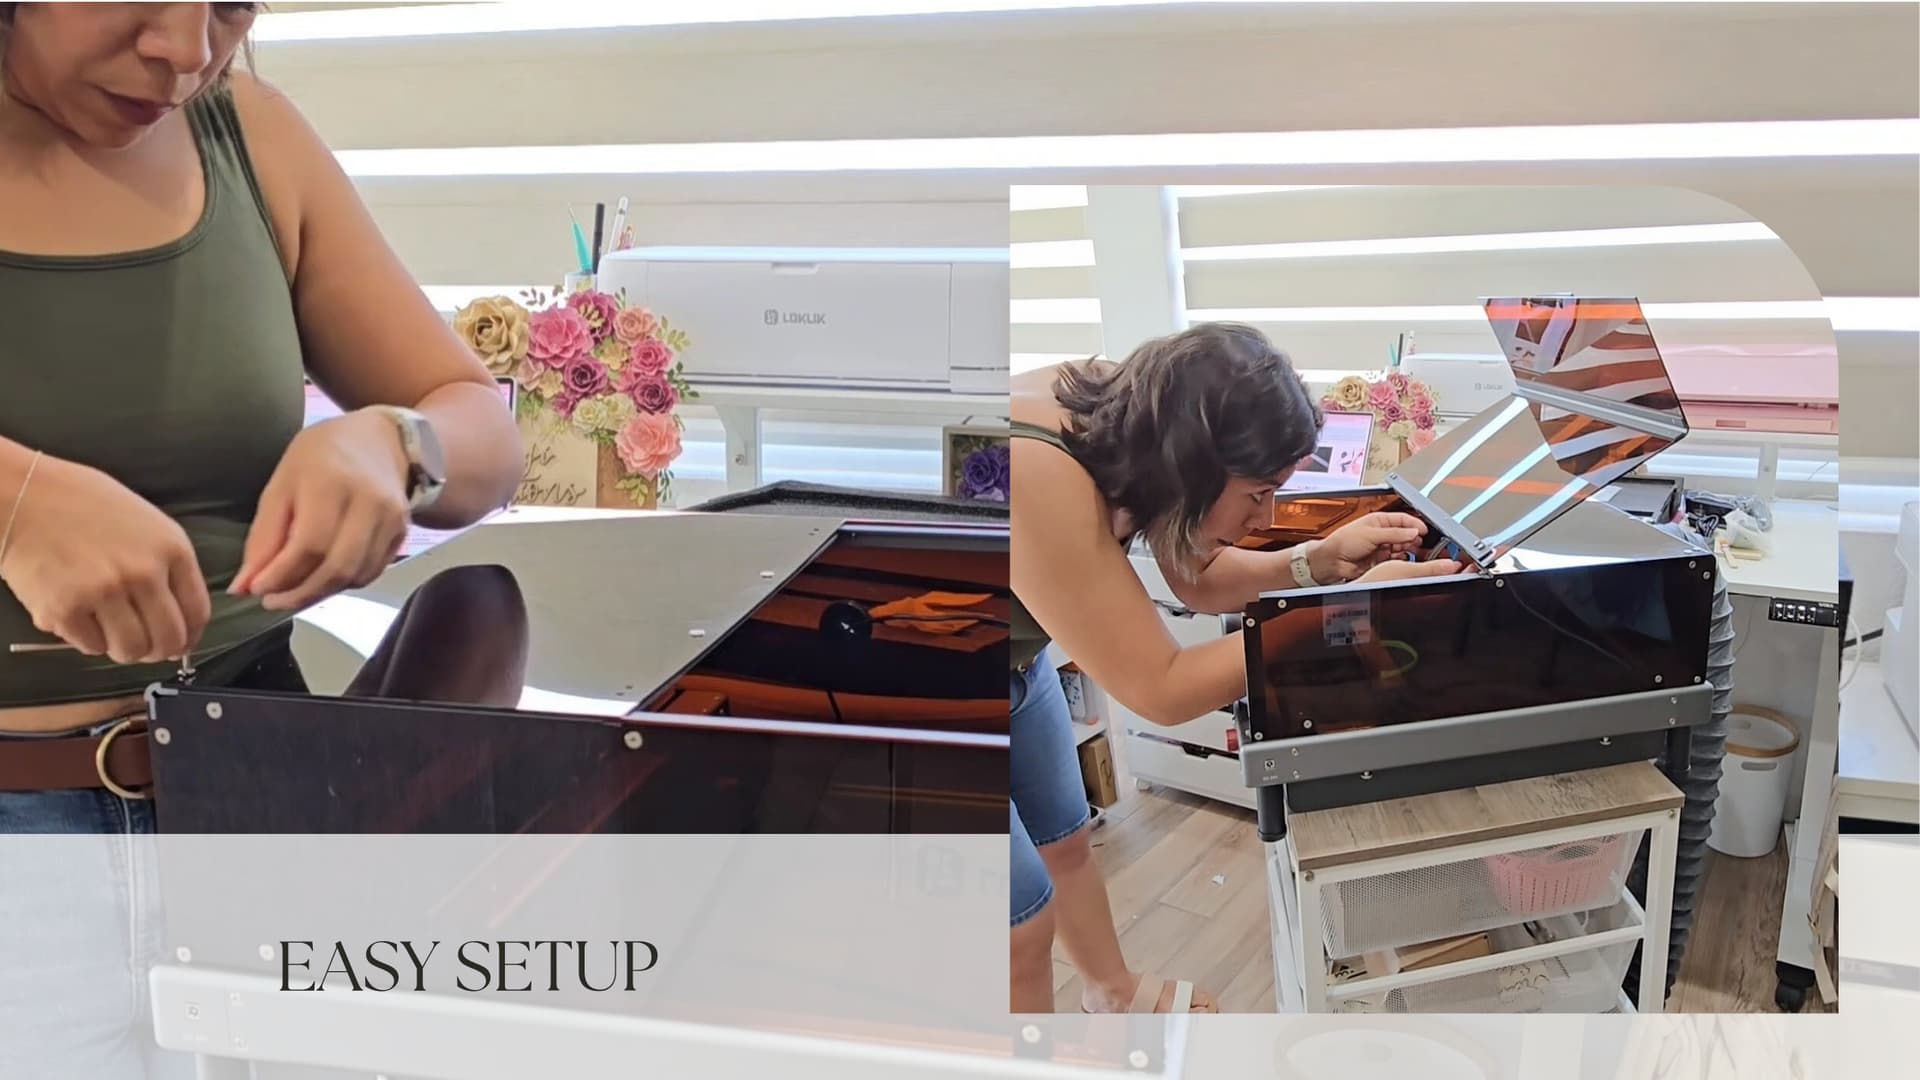
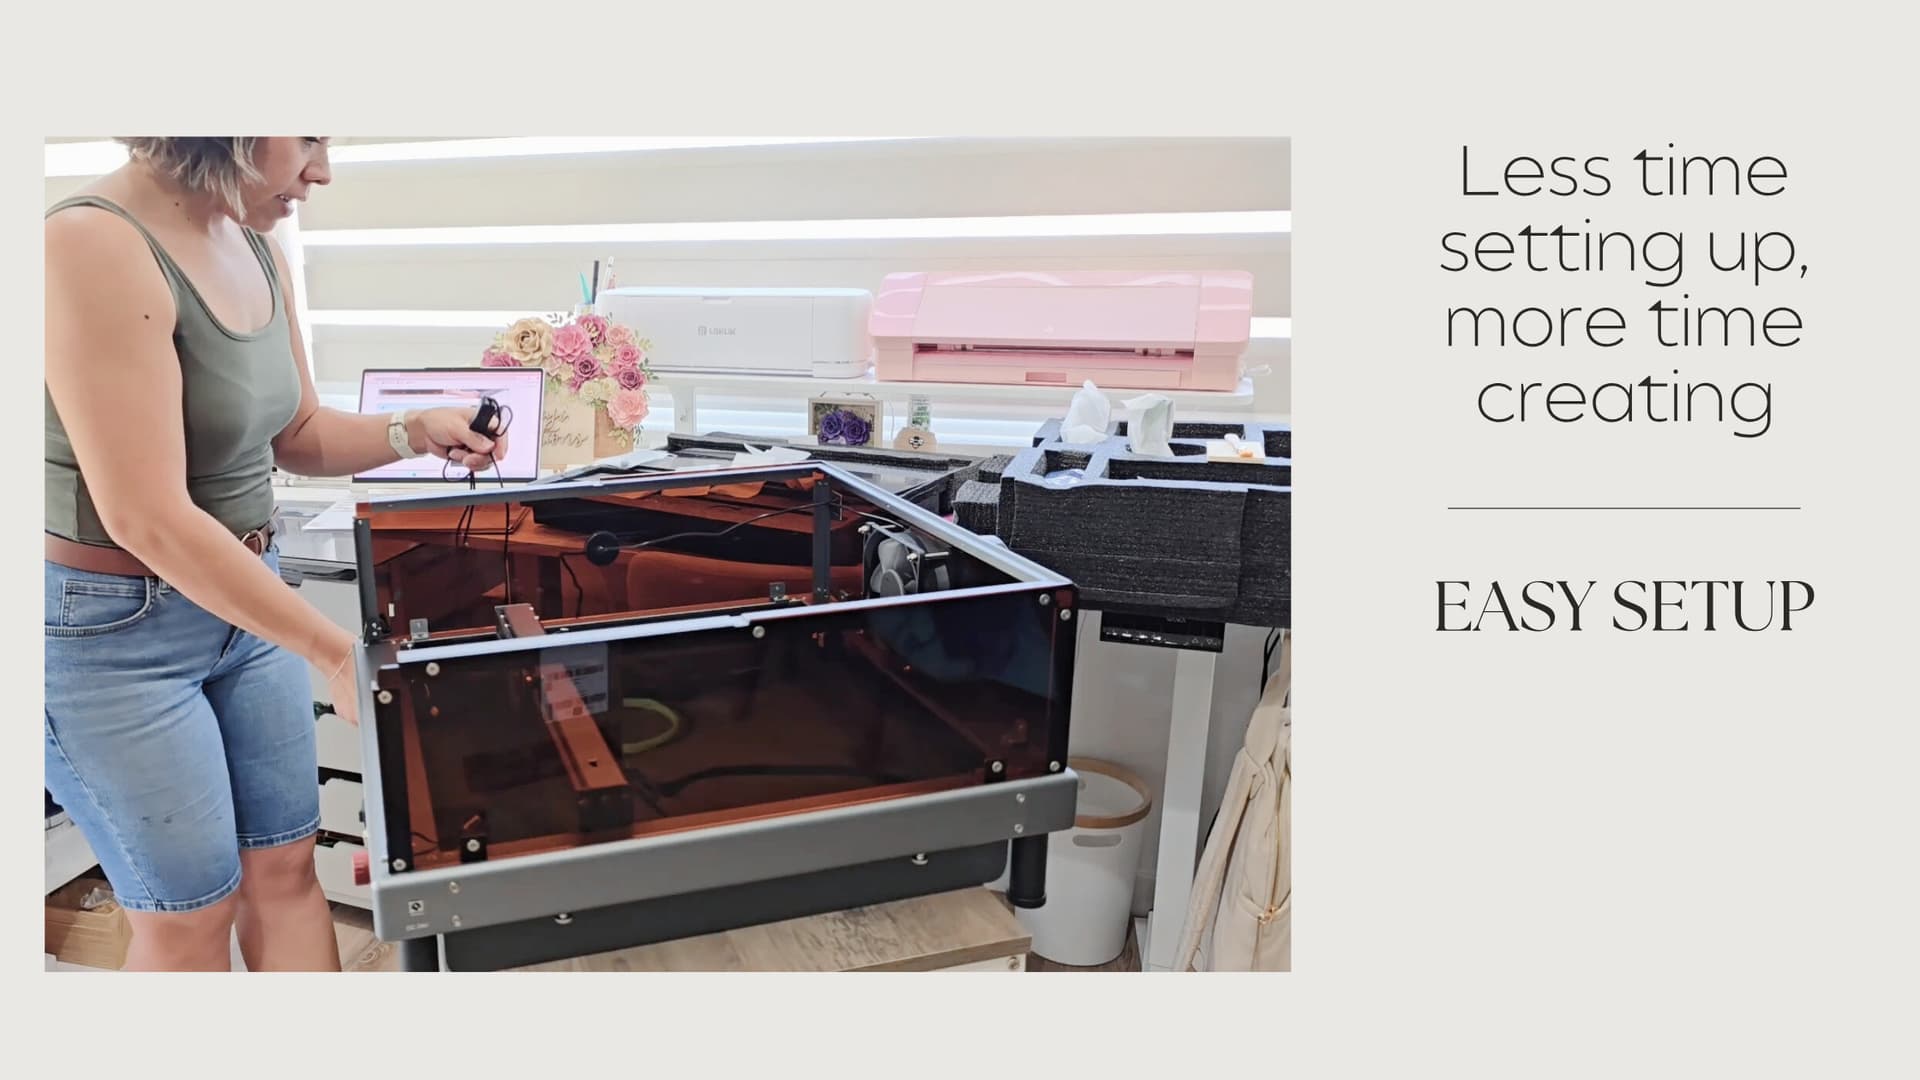
Video of Setup
Design & Appearance
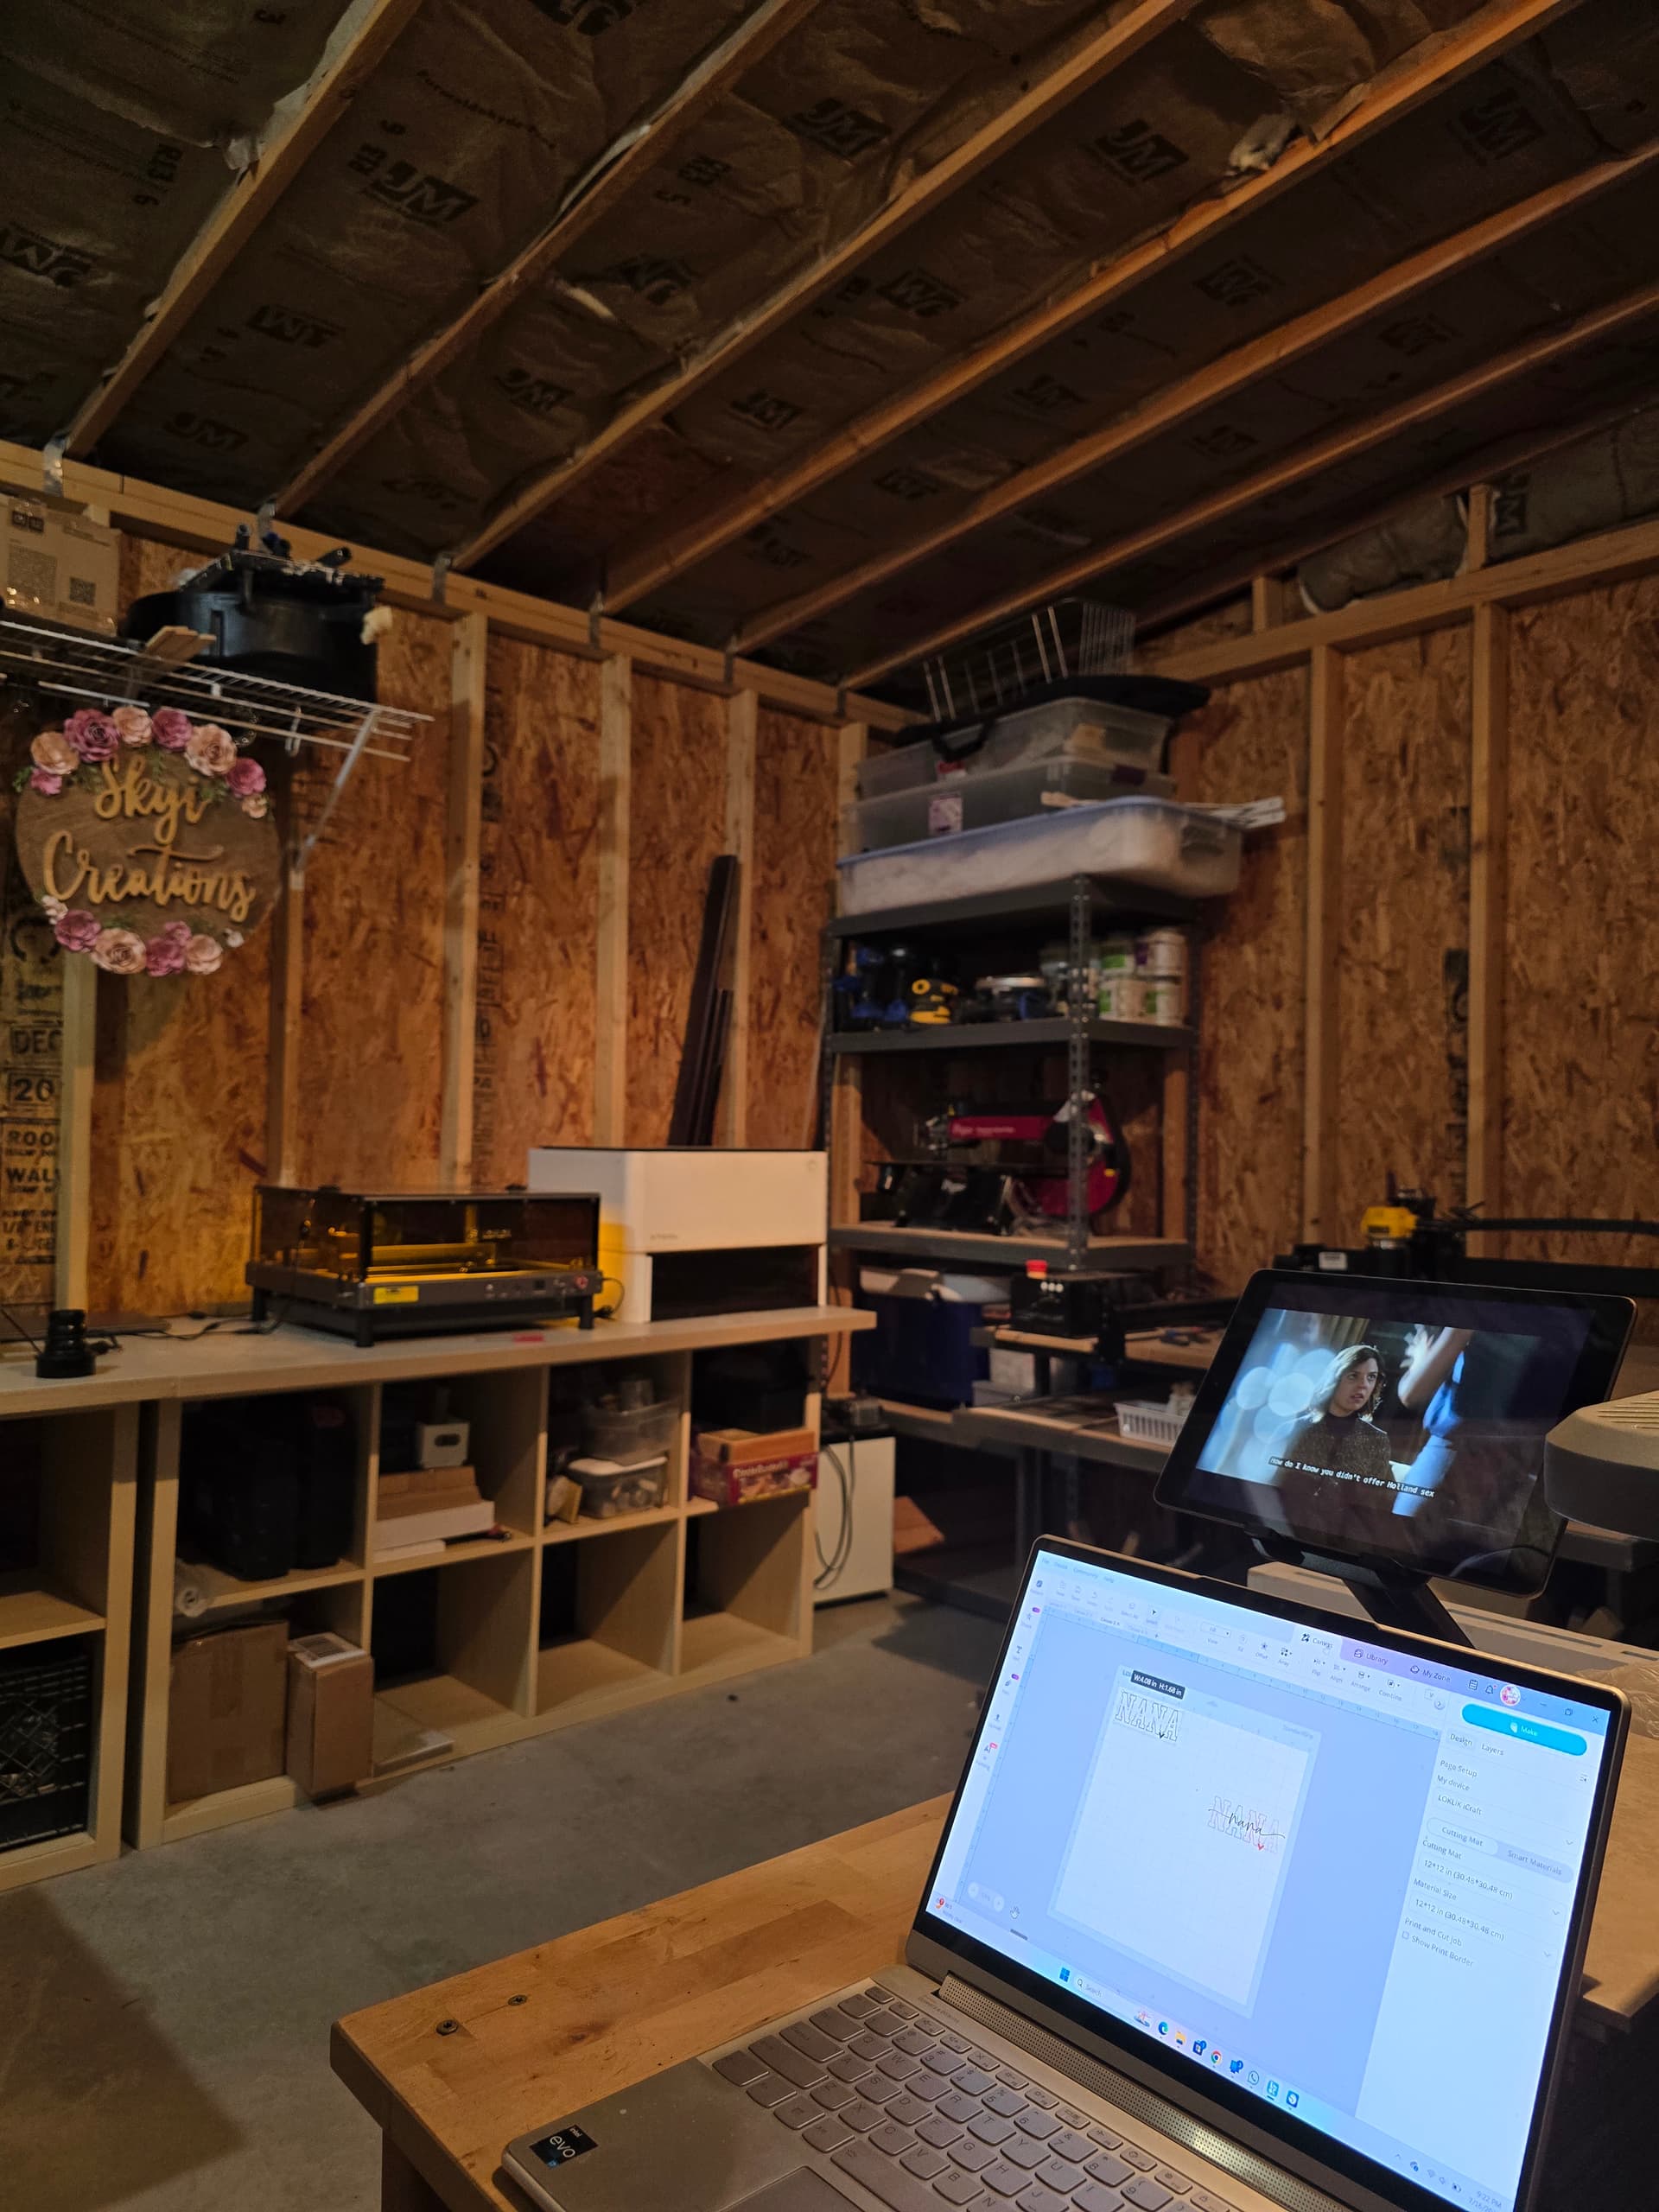
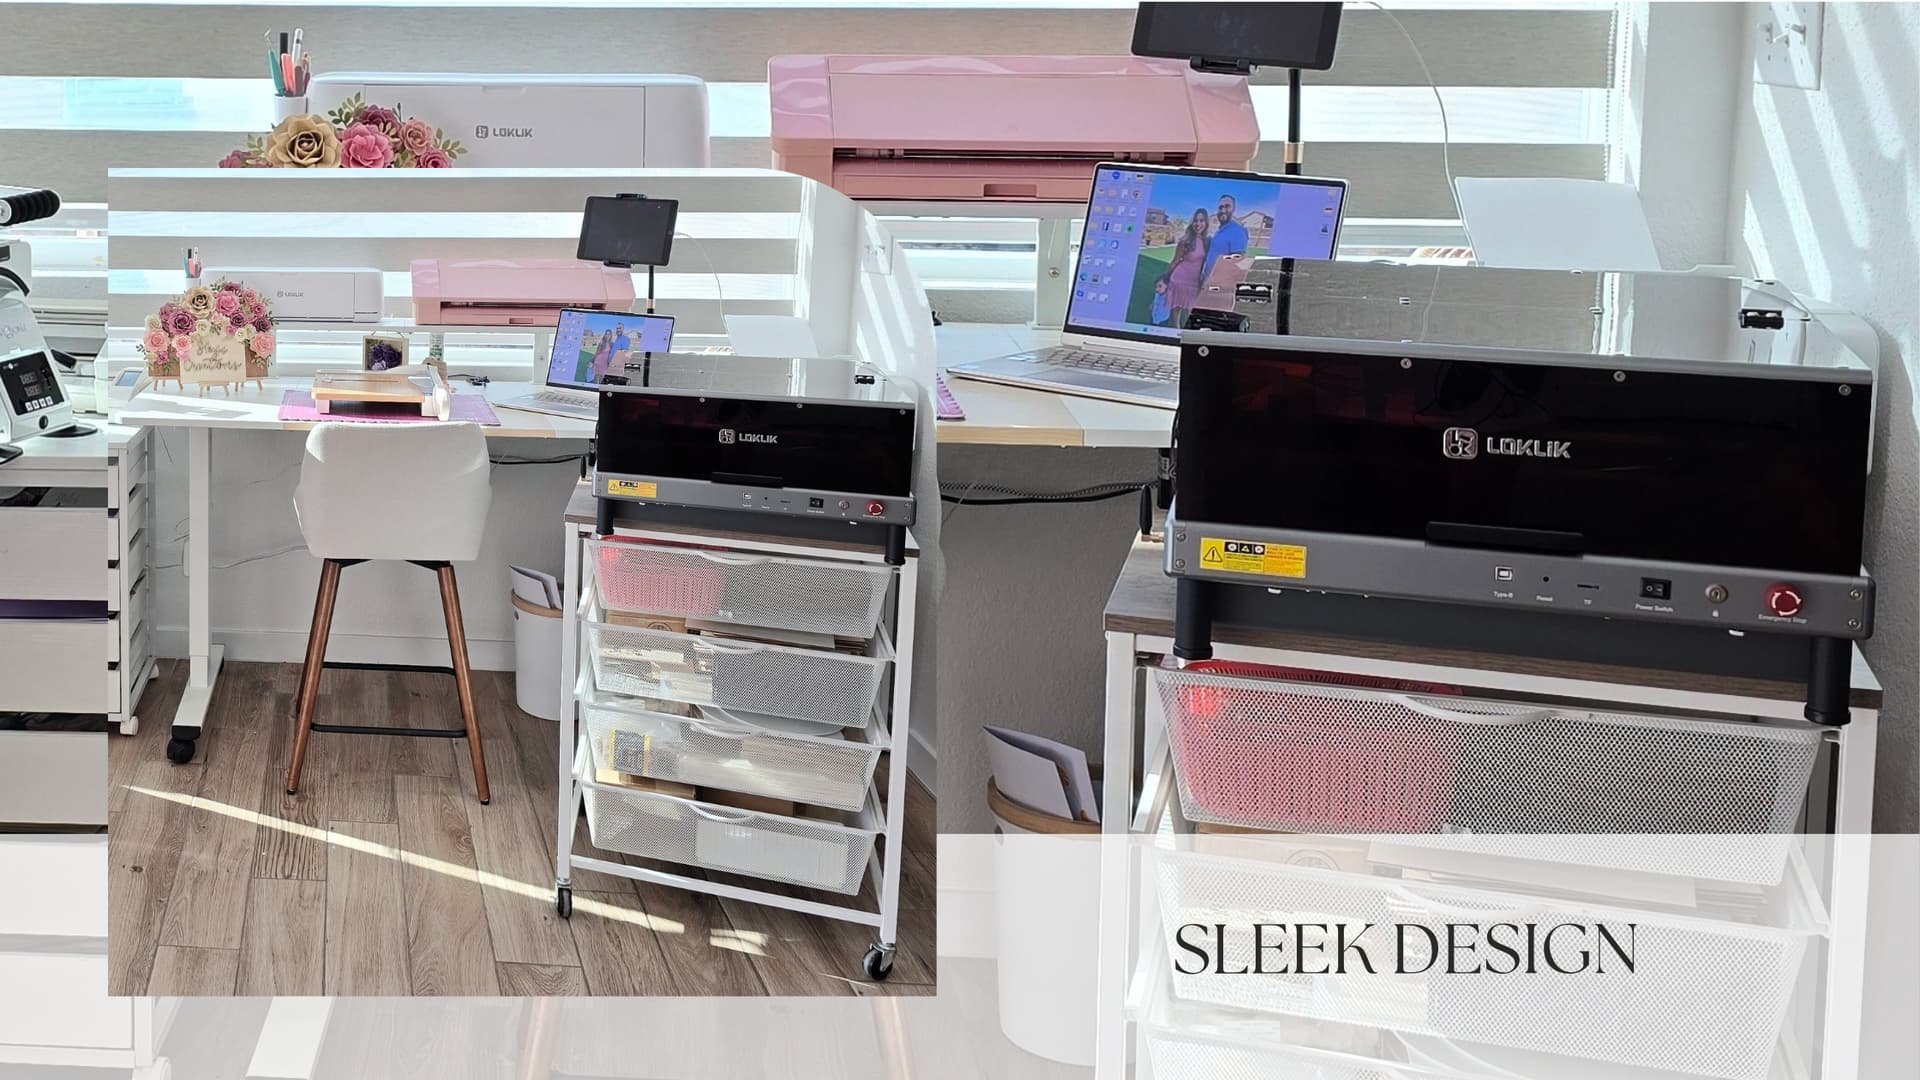
As a self-proclaimed crafter and at times hoarder, the design and appearance of the machines in our craft room is important.
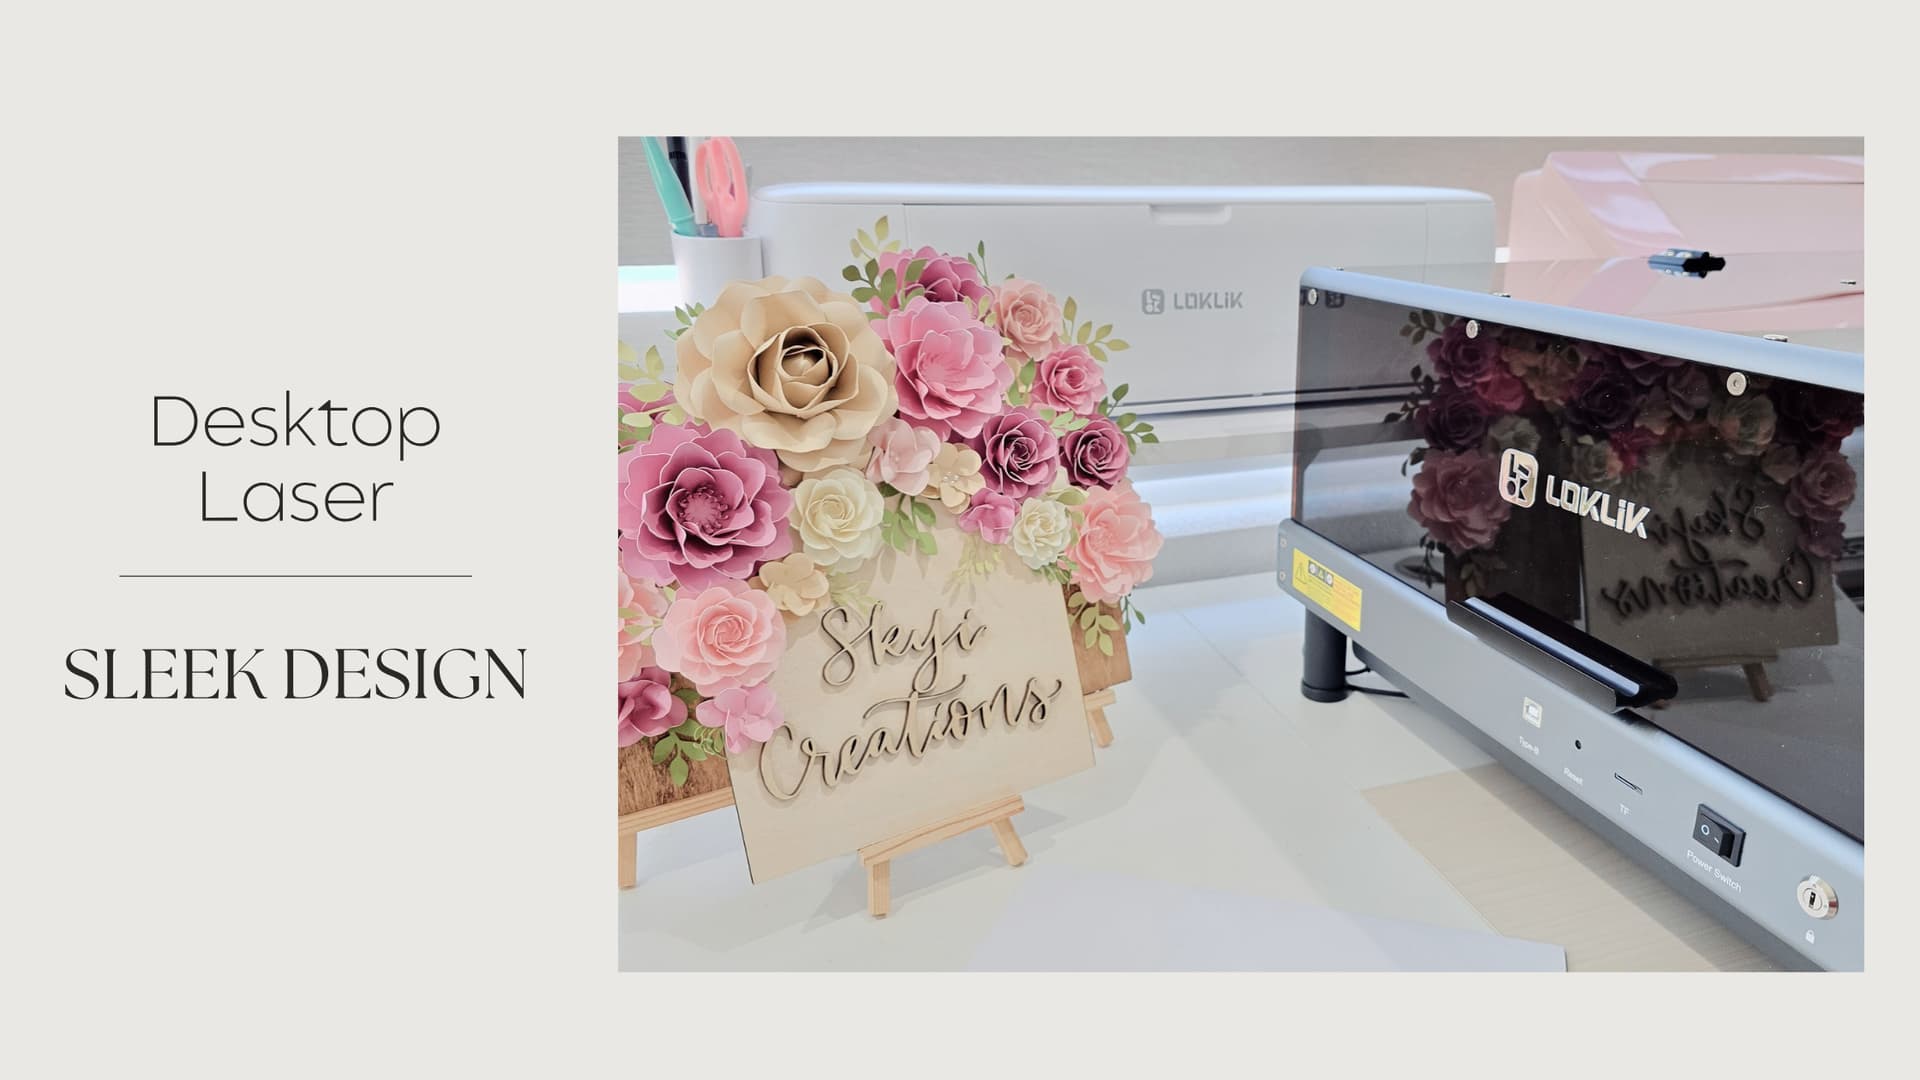
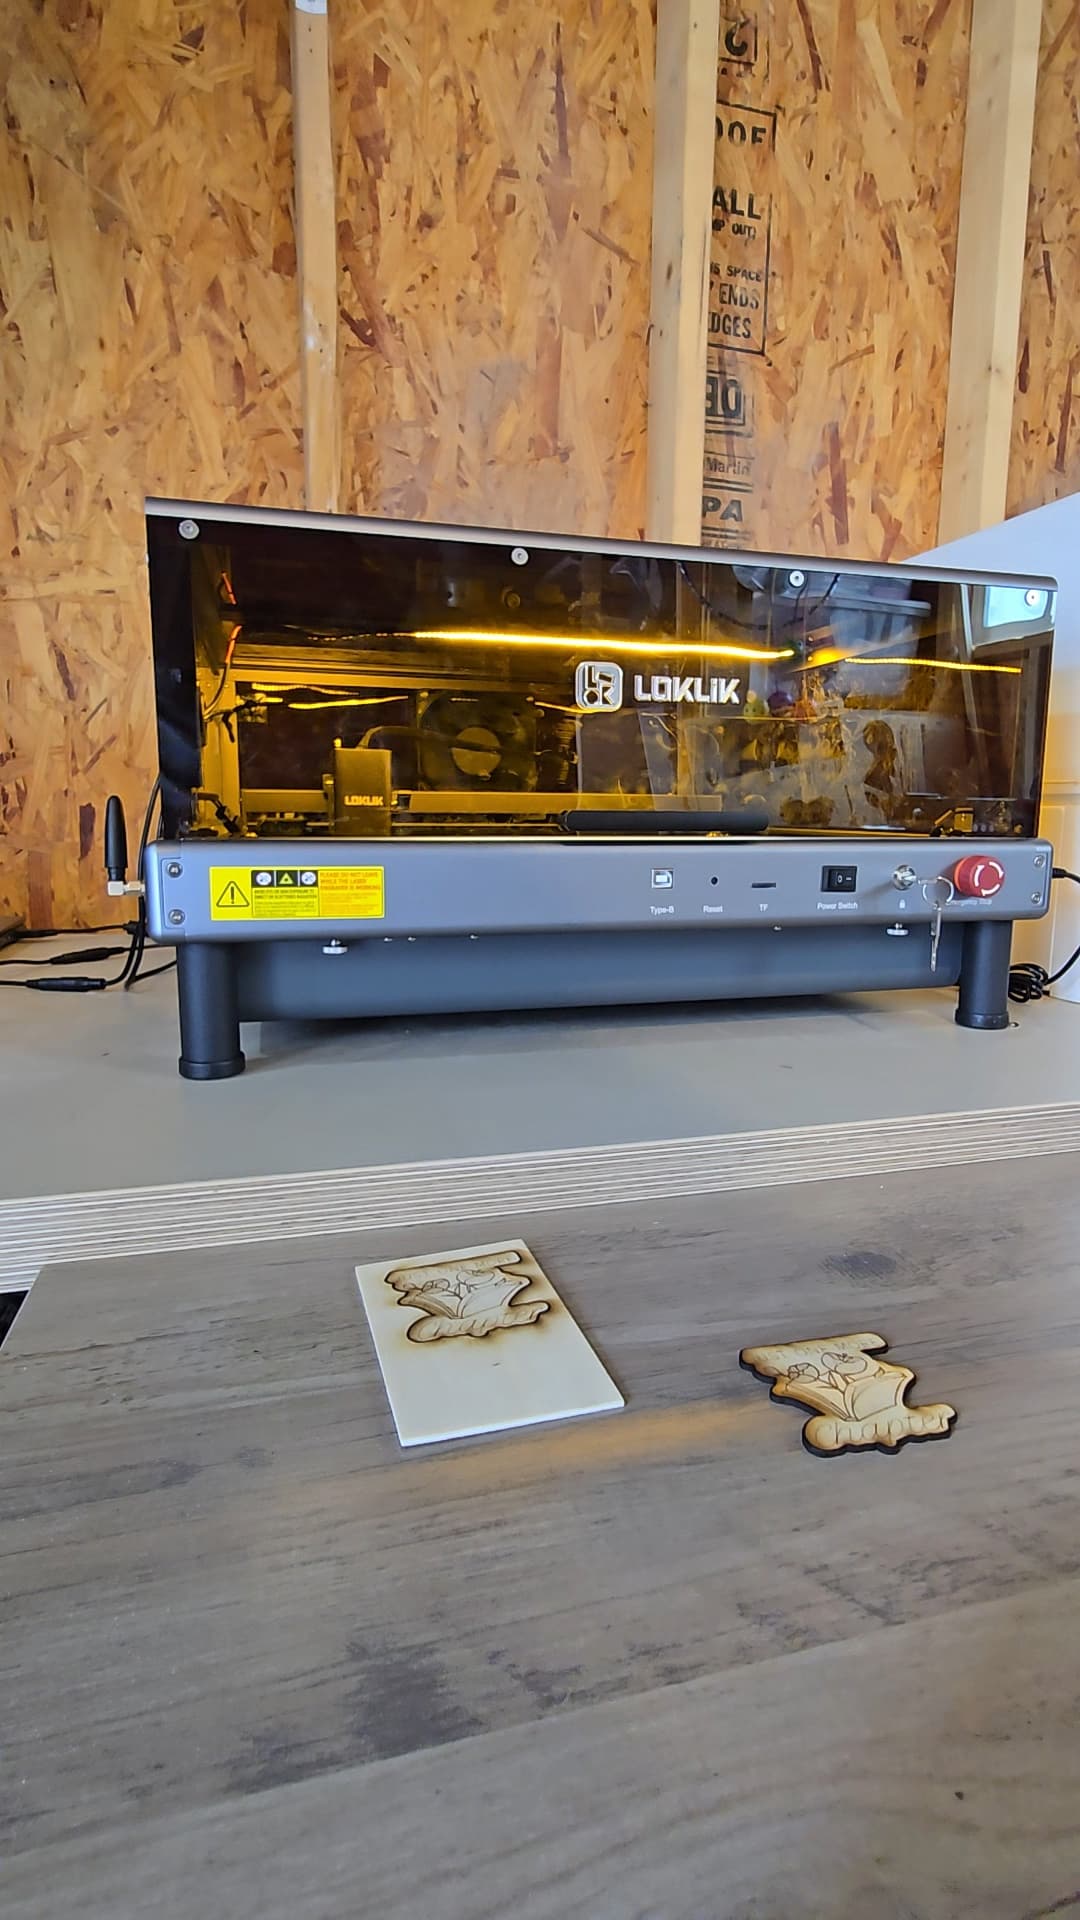
- Compact: The size of the assembled laser is perfect for use in your craft room desk or in your wood shop. It is compact and lightweight, this helps when you have other machines that are used in your work station.
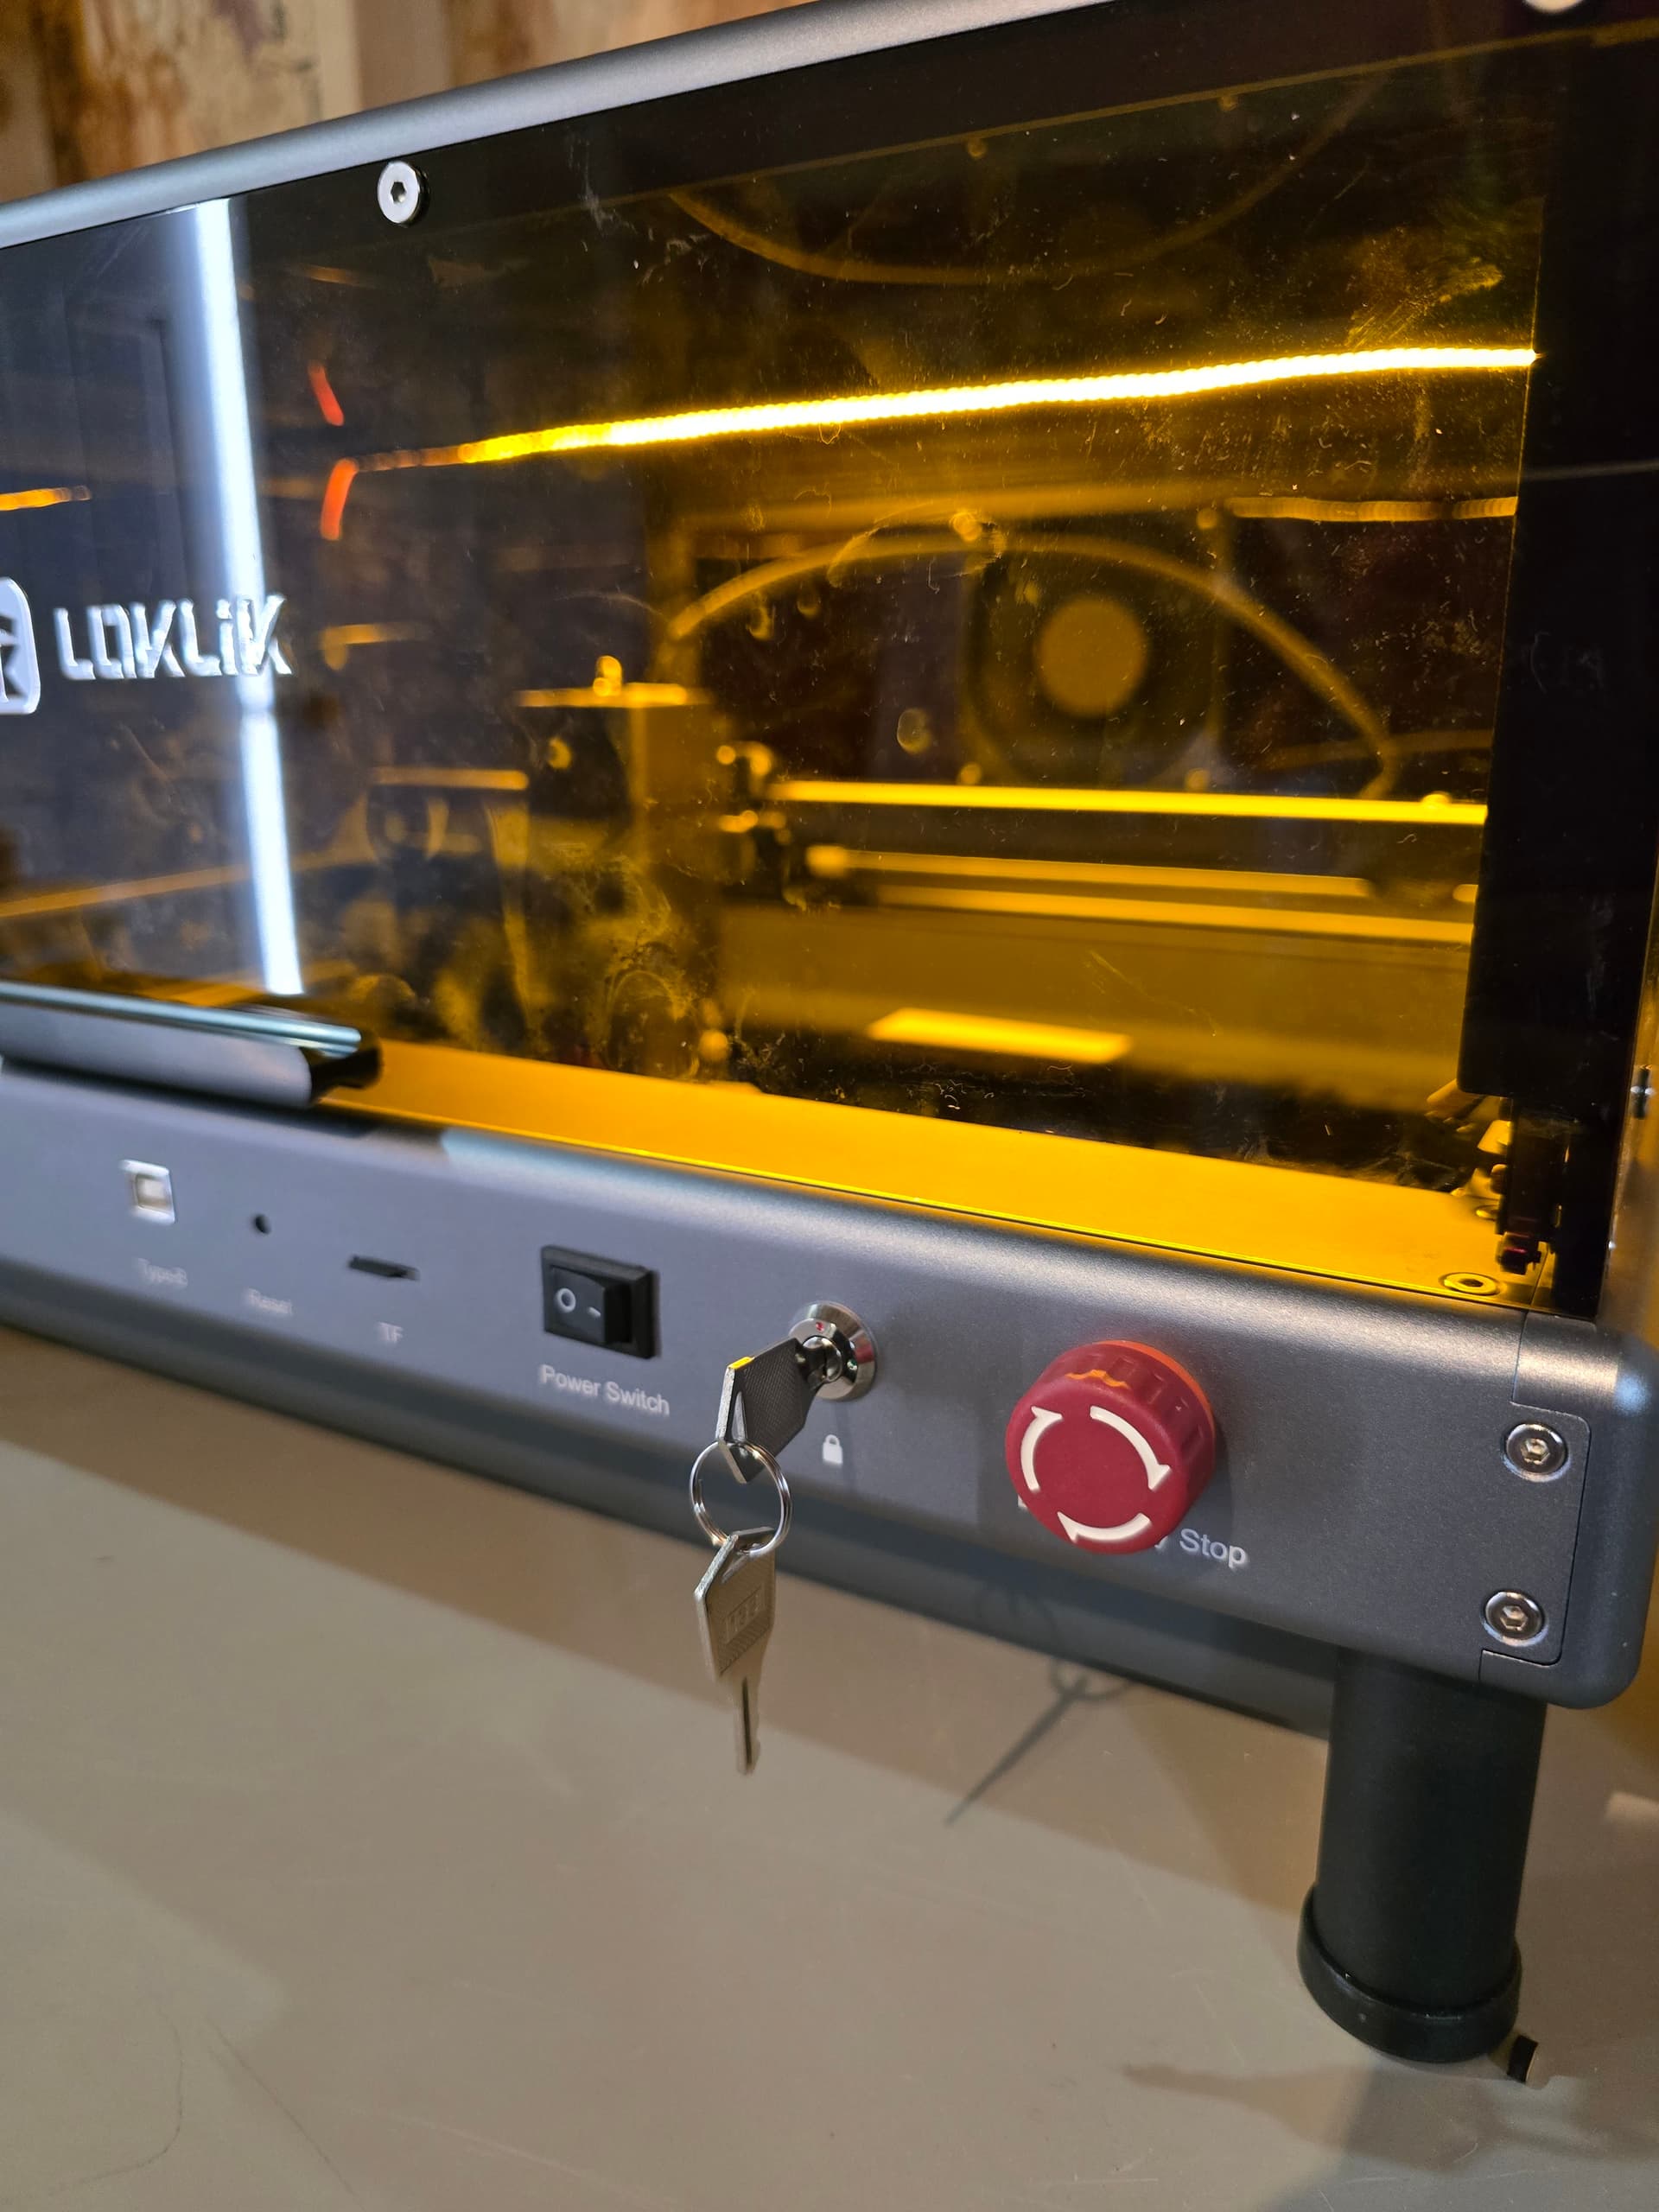
- Sleek design: As the iEngrave™ is now part of my work area, the design allows for it to stand out in a positive way in my work area.
- Sturdy base/legs: The base/legs are sturdy and ensure that the unit is stable. This is important to ensure that the laser safe while in use.
Overall Thoughts
The packaging of the iEngrave™ and setup was simple. I am happy that the process was quick to allow me to start testing and creating beautiful projects. The design of the iEngrave™ is a perfect addition to my craft room and wood shop.