

This is a step-by-step tutorial on creating your very own Easter cup. You could use these for drinks on the day or you can give them as gifts with easter eggs inside them. This project teaches you how to layer vinyl on top of each other and then transfer it to your blank. Having this skill helps open up so many crafting possibilities.
Step 1: Measure your blank

Step 2: Upload design and resize it

Step 3: Cutting out your design
I cut all my vinyl out before hand to be 30cm wide by 18cm height

In LOKLiK Idea Studio make sure all your layers are selected, and press make and then connect your LOKLiK cutting machine.

Then select cut then standard cut

Now select the first group, then choose your cutting parameters. I’m using HTVRONT Adhesive vinyl so I chose glossy permanent vinyl with plastic carrier. Now add to task. Select the next layers and choose your material.

If all your cutting parameters are the same you can choose all the groups and select the cutting parameter and add to task.

Now you should have all your tasks in your task list.

Now getting the correct colour vinyl for your task, place it on your cutting mat.

Now load your mat into your machine and press start in the task list.

Once your machine is finished cutting unload your mat. Flip your mat over and slightly bend your mat away from your vinyl.

Now repeat the same steps for the remaining tasks in your list. Make sure you use the right colour vinyl for each task.

Step 4: Weed out all your design pieces
Slowly and carefully start weeding out all your design pieces.

Step 5: Apply the transfer tape to all the vinyl layers
Peeling back about 1 cm of the backing of the transfer tape. Place the transfer tape on the your first layer.
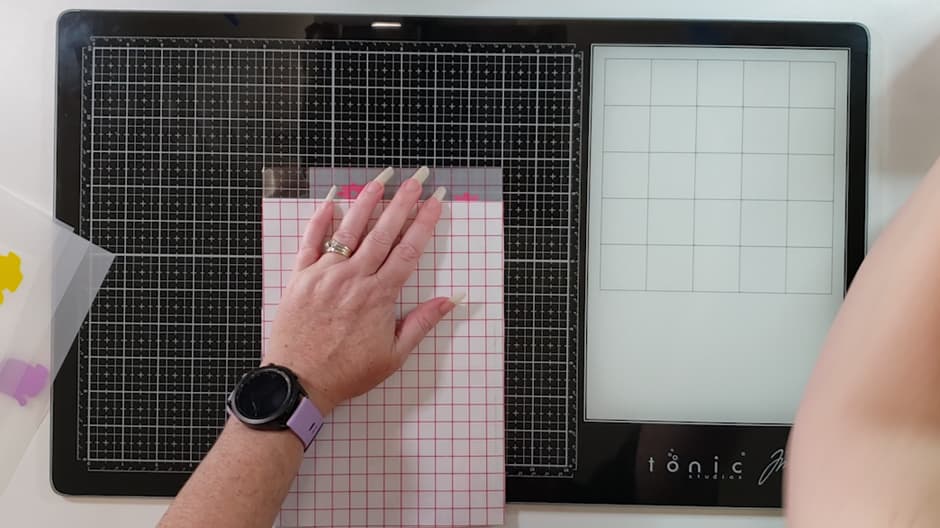
Now using the scrapper tool slowing start peeling the backing off the transfer tape while pushing it down using the scrapper tool

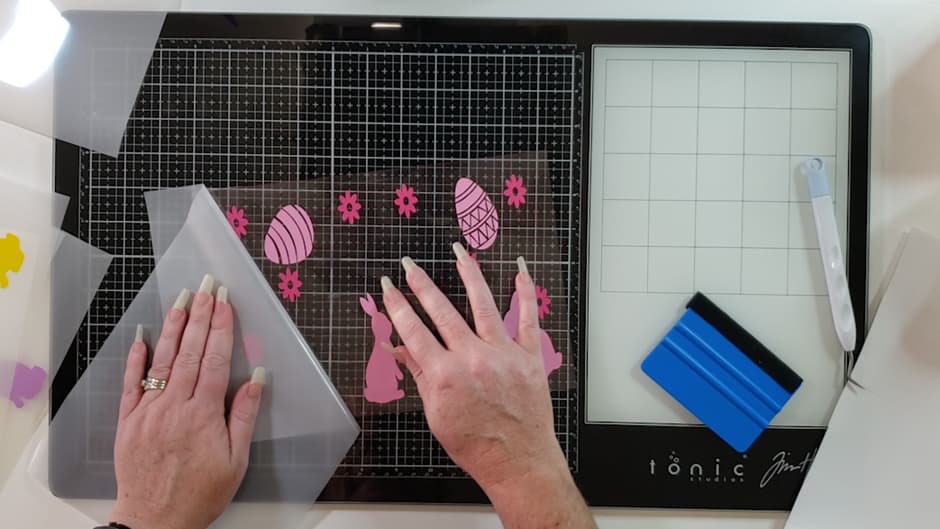
Now burnish the vinyl so it sticks to the transfer tape. Then slowly peel the backing from the transfer tape leaving the vinyl on the transfer tape.

Now line up your next layer with the transfer tape

Once burnished start slowly removing the backing from the transfer tape again.
Keep repeating these steps for all the remaining layers

If you have trouble lining up your design, stand over the top of it so you can see all the elements of your design.

I recommend doing the larger layers first. Because if you need to you can adjust the smaller layers so your design fits.
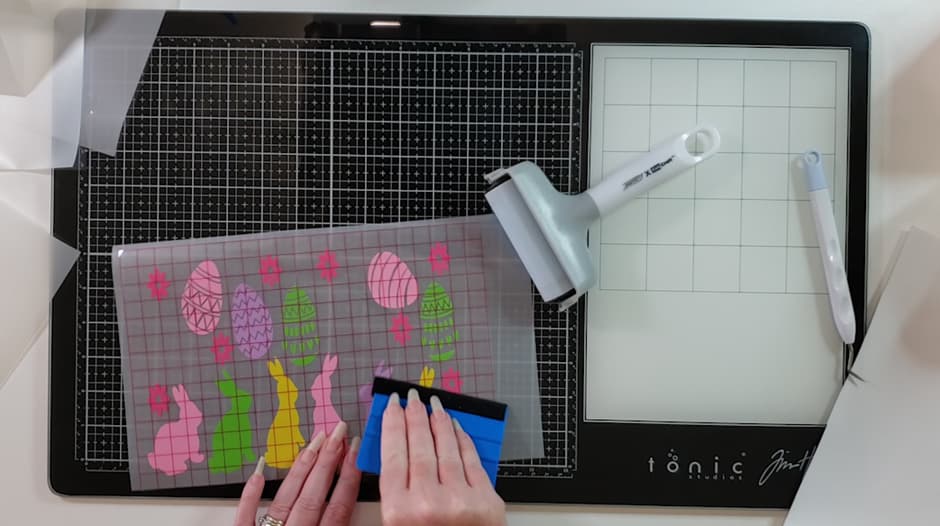
Now all the layers are on your transfer tape

Place a large backing piece on to the back of the transfer tape and cut along each side of the design.

Step 6: Clean your blank
I sprayed rubbing alcohol on the blank and wiped it with a microfibre cloth. This helps get any dust or fingerprints off your blank so the adhesive vinyl adheres better.


Step 7: Placing your design on the blank
Peel back 1 cm of the backing

Line up your design

Then slowly start peeling the backing off the transfer tape. Keep an eye on your design to make sure everything is sticking to the glass and being taken off the backing

Once your design is on your cup start burnishing it with the scrapper tool or the microfibre cloth

Then start slowly peeling the transfer tape off your design

If you have any trouble areas burnish again and go slowly

Then your design is done. Make sure you don’t use the cup for 24 hours so the vinyl has a chance to cure. Keep in mind that this cup can only be hand washed, don’t put it in the dishwasher.


