![]() Step 1 – Design our Sticker Sheets.
Step 1 – Design our Sticker Sheets. ![]()
Click on Page Setup and then select your machine and tick show print boarder. Note this has changed to the layers panel after the new update.
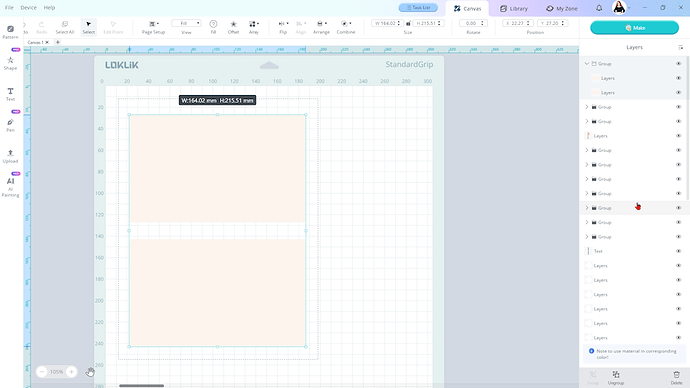
Create the backing for your sticker sheet. Select pattern tool and then draw a rectangle. My dimensions are 10cm wide by 16.4cm high. You can make your sticker sheets any size you want to. I just like this size.
Now let’s create a title for our sticker sheet. Using the text tool, double click the text box and type in Sticker sheet. Resize and change the font to what you would like.
I’m creating a flower sticker sheet today, so the title is going to be flowers. I created another text box with the word flowers, and I change the font to babylone script font.
Now we can make sure the words are in the centre by clicking on the background layer and one of the text boxes, then click align, then choose centre horizontally. Repeat for the other text box.
Now let’s go to the library and find some lovely flower pictures for our stickers.
I’m looking for flowers, so I add the flowers I want to the canvas. You can make a sticker sheet of anything, so you pick any of the many lovely designs in the library and add them to your canvas.
Now resize all the images that you have added to your canvas.
Now you can resize the images so they fit nicely on your sticker sheet.
Now to make our images stickers, let’s create an offset for each of our flower pictures. Click on the first flower image and then click the offset button. Now move the slider up and down to get the desired offset size. The blue outline shows you the offset size. You can also type in the desired number and then press enter. After that press apply.
Helpful tip – Make sure you offset is totally solid. If it has any holes and gaps in it your cutting machine will cut them out. If you make an offset with holes in it, you can then create another offset from that offset and then the holes will be filled in. You can see the hole in this black offset.
Creating another offset from the first one has gotten rid of the hole and I didn’t have to make the offset super big.
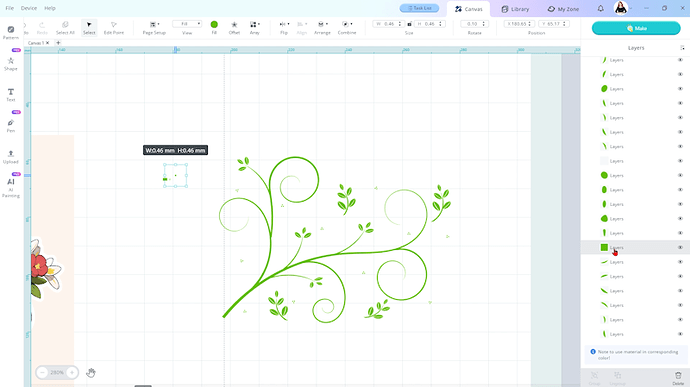
Now all the stickers are done, we can start making our sticker backing sheet pretty. I went into the library and looked for swirls. Then added this one to my canvas.
Now this design had some elements in it that I didn’t want. So I went to the layers panel and started selecting the layers to find where the layers I didn’t want were. Then I deleted each of these layers. Other way of doing this is to ungroup the group. Then you could just click on the part of the design you didn’t want and then delete them. Then group the image up again. Only reason I didn’t want to do it this way was because I had a lot of layers in my project already and I didn’t want it to get super confusing.
I then resized and placed my little flourishes on my backing.
Now it’s time to get the sticker sheet ready to cut. Having this size sticker sheet I can fit 2 of them on one A4 piece of paper. I selected all the layers and then rotated it 90 degrees to be on it’s side.
Then I made sure all my layers were selected. Then using Ctrl + C and Ctrl + V I duplicated my image. If you are on MAC, use CMD + C and CMD + V.
Now we want to group our cutting layers together. First we want to select out backing sheet layers. You can do this by going to the layers panel and select the first backing sheet. With that selected go down the list until you find the next backing sheet layer. Hold down CTRL or CMD and then select the backing sheet. Now both layers should be selected. You can then press group.
Now we want to do the same for the flower offsets. You will want to select all the flower offset layers and then group them together.
So it’s a little less confusing you can name your grouped layers, by double clicking on the word group. Then you can type the name of that group. I named mine backing and offsets Layer.
I also grouped all the flower pictures and swirls and text boxes in a group for each sheet. Make sure your sticker sheet looks how you want it to right now because that is how it will print. So make sure your backing sheet and offsets are under your flower pictures. I also changed the colour of my text and backing sheet by using the eyedropper tool in the colour selection. That way all the colours were matching.
Now we are ready to print.
![]() Step 2 – Printing
Step 2 – Printing ![]()
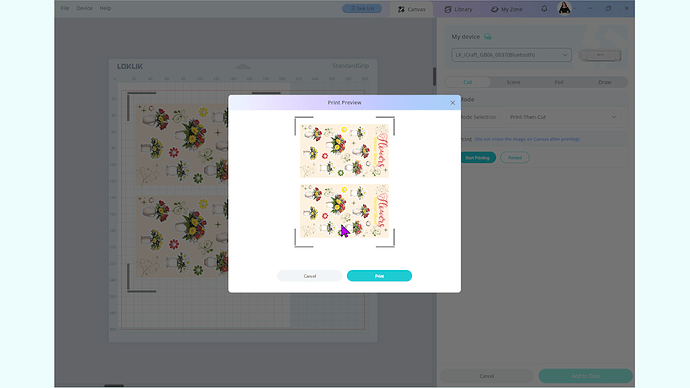
Select all the layers and press make. Connect your device using USB or Bluetooth.
Now select cut and under mode selection select Print-Then-Cut
Now select Start printing
Note: Once you have printed your design you cannot move anything on the canvas. If you move your design around the canvas you will need to reprint the design again.
Click next and select your printer settings and then press print on your print prompt window. Wait for your printer to finish printing.
After printing is done make sure you have your registration marks printed on your piece of paper.
![]() Step 3 – Cutting
Step 3 – Cutting ![]()
Now it’s time to cut out our stickers. Place your sticker sheet in the top left corner of your light grip cutting mat.
Now load your mat into your machine
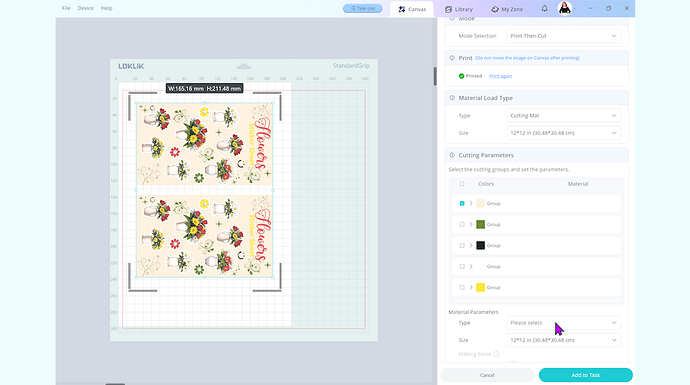
Back in LOKLiK Idea Studio we only want 2 layers actually cut. Our backing layer is going to be a die cut. A die cut is where the cut goes all the way through the sticker sheet. So we want to select our backing layer in the cutting parameters and then chose our material parameters.
My setting for die cuts is Force – 8.5 Speed – 5 Passes - 1
Then add to task list. Now we want to make our offset layer a kiss cut. A kiss cut is where the cut only goes through the sticker layer and leaves the backing intact. To do this we will select our offset layer and then in material parameters we will adjust our settings to make it a kiss cut.
My kiss cut settings are Force – 6.5 Speed – 5 Passes - 1
Please note you may have to adjust your settings to match the sticker sheets you are using, please use my settings as a starting point and adjust yours accordingly.
Now we can start cutting. Go to the task list and press start on the backing layer task.
Your machine will then start by reading the registration marks. If your machine has trouble reading the registration marks you can try to close the lid of the machine and make the room a bit darker. If you are using glossy sticker paper you can try using some masking tape over the registration marks to stop the glare from the glossy paper. After you machine has read the registration marks it will start to cut.
Once the cut is finished you don’t need to unload the mat. You can just press start on the next task.
Your machine will then read the registration marks again and then proceed to cut
Once both tasks are completed unload your mat from your machine.
Flipping your mat over and slightly bend your mat while peeling your sticker sheets away.
Now you have gorgeous sticker sheets that you can sell or give away.
And the kiss cut worked perfectly.


