In this tutorial I go through the new upload process, so you guys know exactly what to do.
![]() Step 1: Design
Step 1: Design ![]()
Click on the upload button and select your image you want to upload.

When you have your image selected in the design panel you can select a couple different options.

If your image has a background, you can remove it here. Then there are the operation selections. Standard cut is for cutting a solid image to use with vinyl or HTV etc. Then you can choose Print Then Cut. This operation is what we will be choosing, first we will print it then we will cut it out.

The blue boarder around your image displays where the machine will cut around your image. You can use the Shrink button to reduce the size or the Expand button to make the boarder around your image larger. Or you can leave it how it is and select apply.

Now I’m going to resize the image so it’s a bit easier to work with.

Now to create our sticker we need to make some offsets. The first offset is going to be white, and I did an offset difference of 12. You can use the slider, or you can type in the number and press enter. When you are done press apply.

Change this offset to white. With the white offset selected create another offset. This second offset will be black.

I used an offset difference of 4.5 for the black outer offset.

Now you want to leave this offset black. The white offset is going to be our kiss cut and the black offset is our die cut.

Now under the design panel you can go down the bottom and select print border. This will give you the print then cut registration marks on your canvas so you can arrange your stickers. Make sure you don’t cover up the registration marks.

Now you can add more images, my daughter wanted to give out dog stickers to her friends, so I made a lot of dog stickers. I just copied and pasted each image with both offset layers. When you have all your stickers select them all as well as there offsets and press group.

Now select the group and press make

![]() Step 2: Printing the stickers
Step 2: Printing the stickers ![]()
Connect your cutting machine via USB or Bluetooth. Then under mode selection select Print then Cut.

Now make sure your images are within the print then cut area and not touching the print then cut registration marks. Once you are happy with your stickers press Start Printing.
Important Note: Please don’t move your images after you have printed your design. If you do move them, you will need to reprint out the design.

Press print and your printer dialog box should open. Follow your printer instructions and press print. Important Note: You will need to mirror your design in your printer settings before printing.

![]() Step 3: Pressing our Stickers
Step 3: Pressing our Stickers ![]()
Make sure to place your sublimation paper face down on to the sublimation sticker paper. Line up the left corner of both sheets. Secure the sublimation print with heat resistant tape.

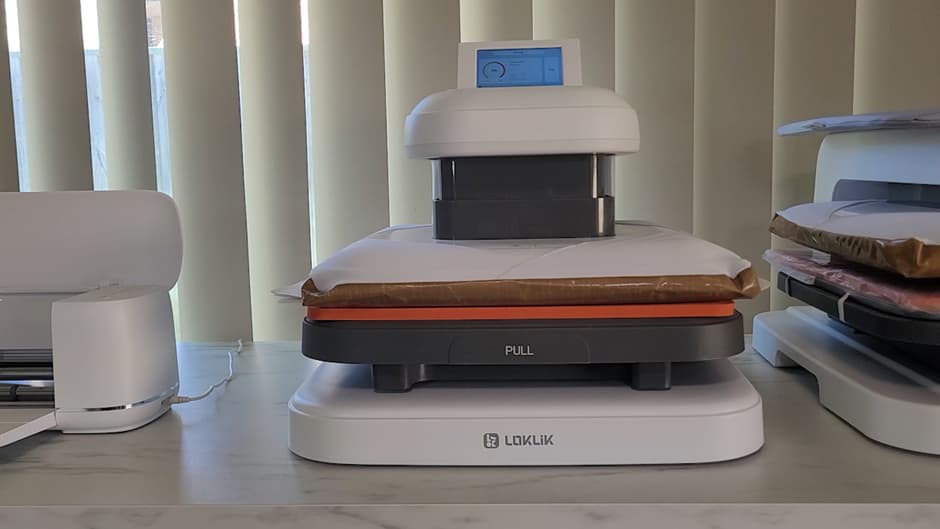
Turn your heat press on.
My heat press settings
Temperature: 190C / 374 F Time: 60Secs Pressure: 40kg / 88lbs
Place butchers’ paper on top of your heat mat.

Then place a piece of cardboard that is the same size or bigger than your sublimation print. This helps getting even pressure as the paper is so thin.

Place your image with the sublimation paper on top.

Now place more butchers paper on top to complete the sublimation sandwich.

Now press for the full time
After it is done, please be careful it will be hot. I recommend using heat resistant gloves to remove your print from the heat press and let it cool. After it is cooled remove the sublimation print from the sublimation sticker sheet.

Please Note the paper will curl, this is fine, it won’t affect the outcome of your stickers.

![]() Step 4: Cutting out our stickers
Step 4: Cutting out our stickers ![]()
Place the sticker sheet in the top left corner on the light grip mat. You may need to use tape to secure it down because of the curling.

Load your mat into your machine

Select the Black layer, this will be the die cut layer.
Die Cut Settings: Force – 11 Speed – 5 Passes – 2
Now add to task.

Select the White layer, this will be the kiss cut layer.
Die Cut Settings: Force – 9 Speed – 5 Passes – 1
Now add to task.

Now select the white task and press start

Your machine will then read the registration marks and then cut.

When your machine is done, there is no need to unload the mat. You can just start the next task.

Your machine will read the registration marks and then proceed to cut out your stickers. Note it will do 2 cut passes. When finished unload your mat.

Peel your sticker off cuts off the mat

Then flip your mat over and peel your stickers off the mat.

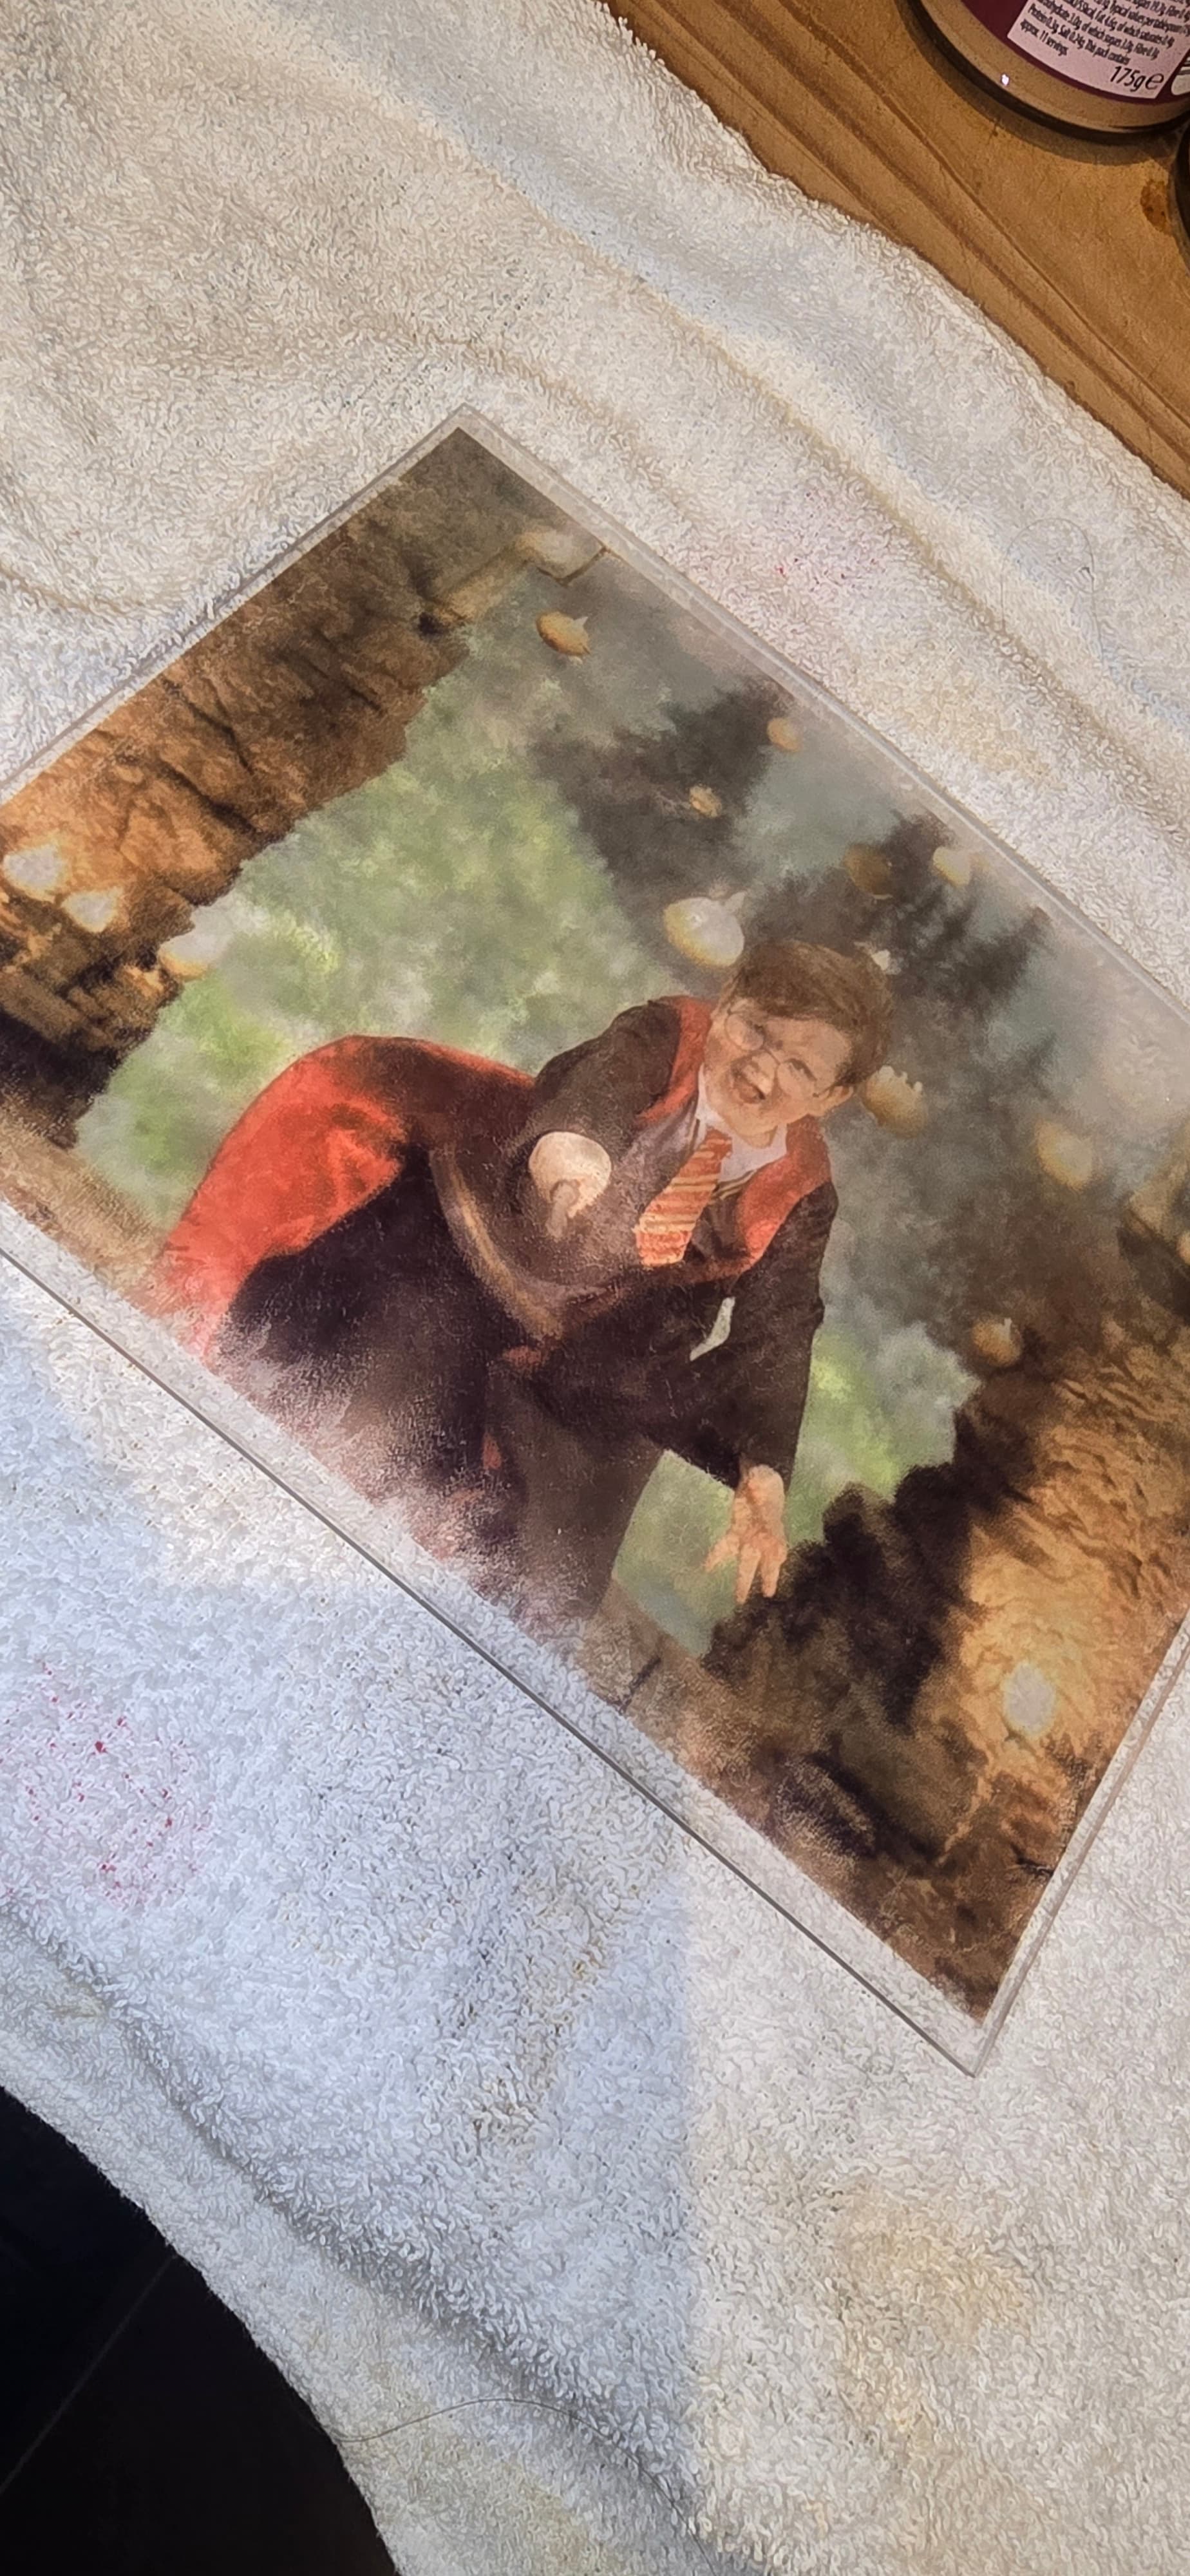
Now enjoy your stickers. Note that they are transparent, but they look so good.


Please note in the video tutorial I’m using the old upload process as the update hadn’t launched yet.