I have been using this machine since september and until now i am at the trial and error phase.
How do i keep this from misaligning when i am cutting stickers? TT
17738514580101908760085228850695|666x500
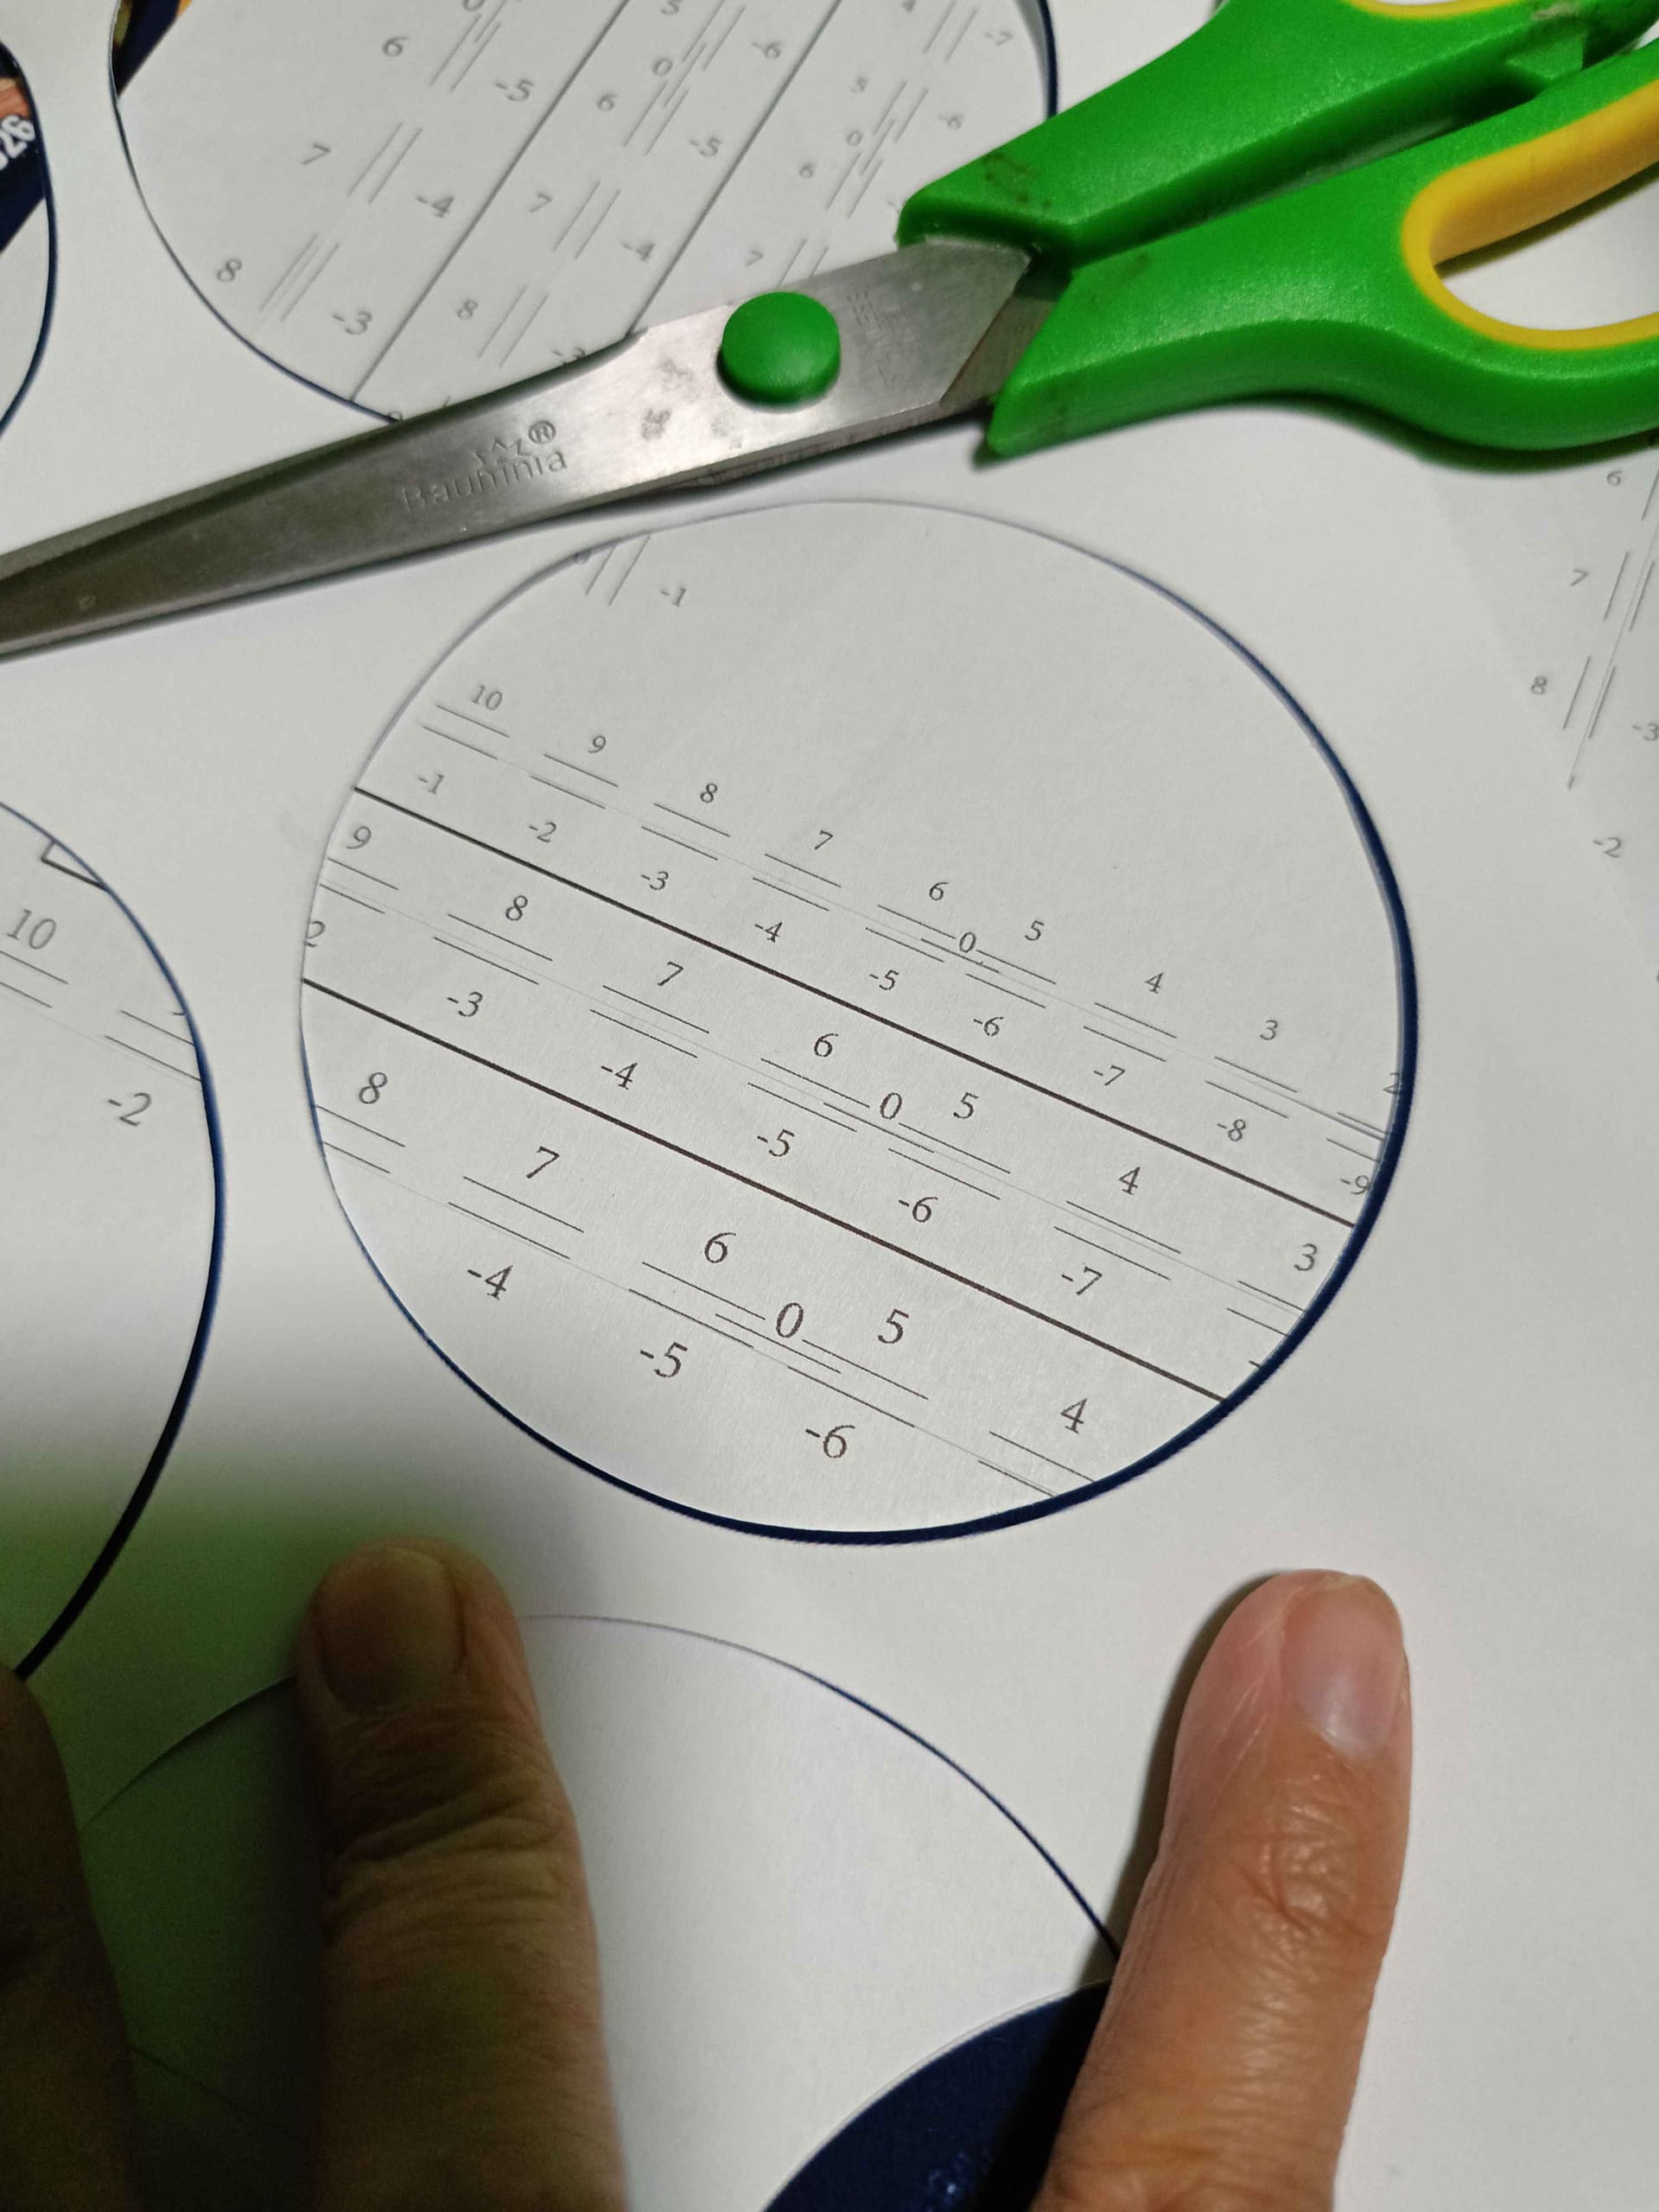
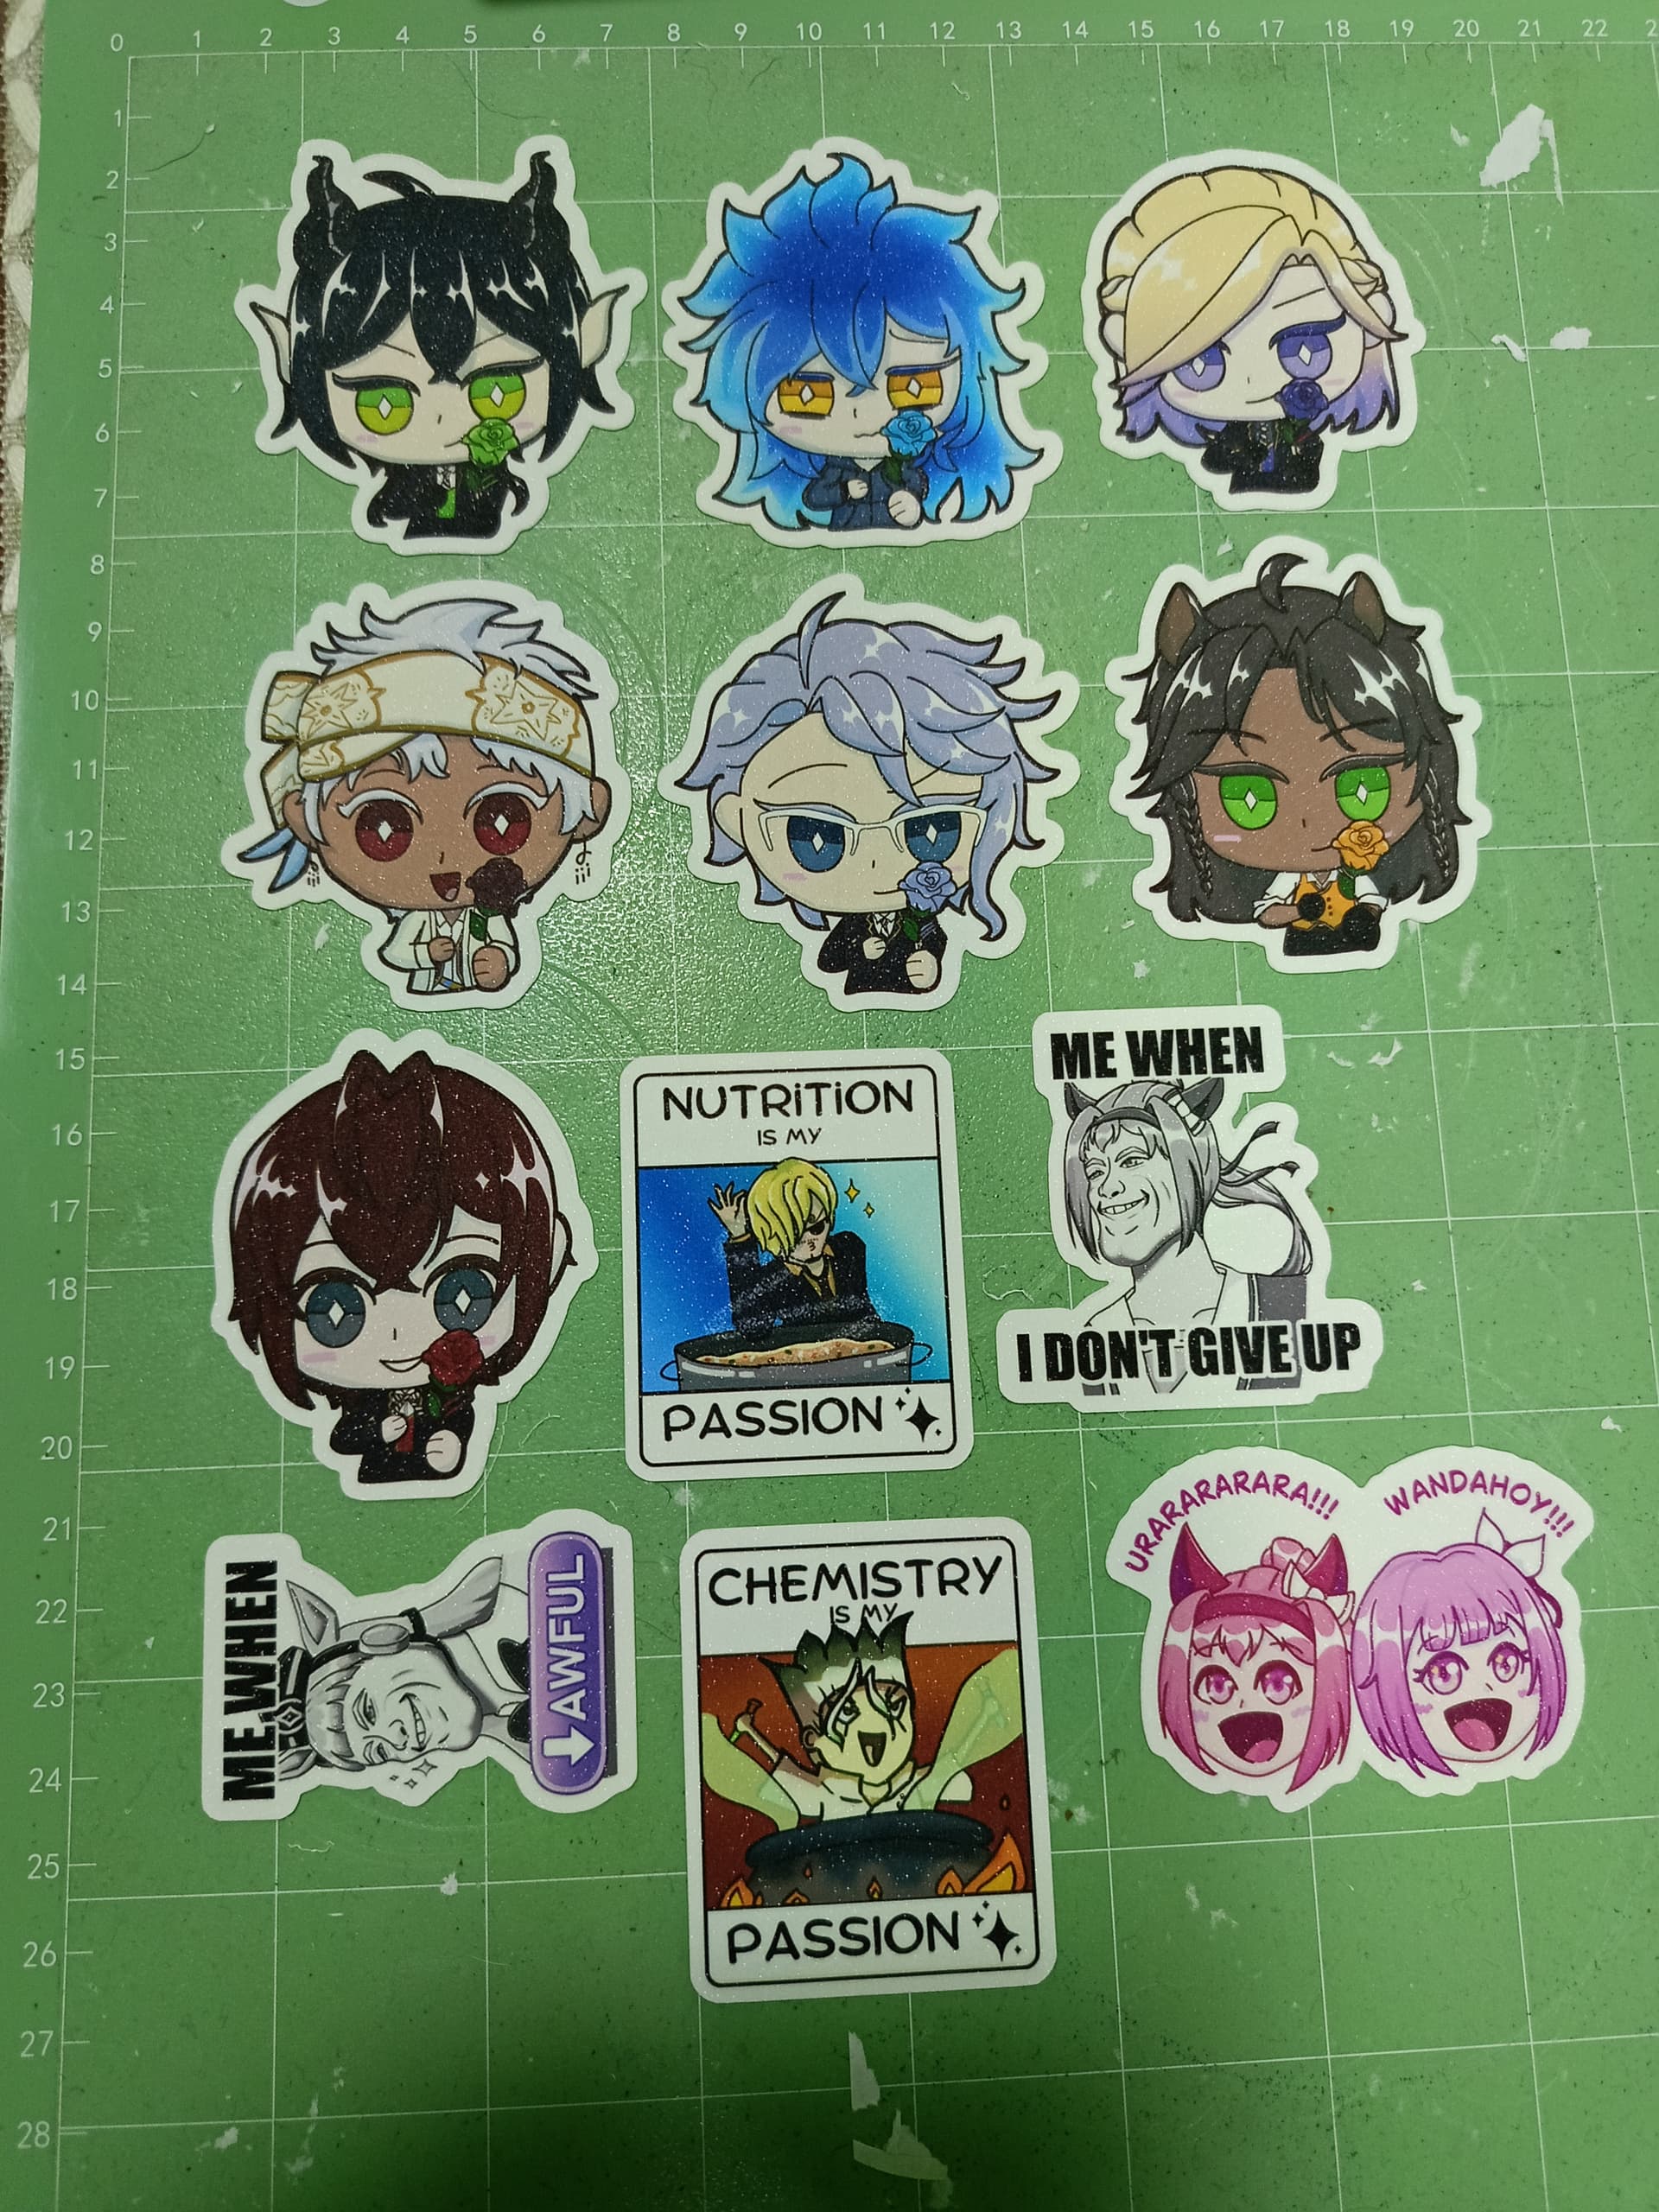
This is a glitter cold laminated sticker paper. The design is supposed to have a 10px border equal in all sides. I’ve tried changing the passes, the speed, calibrated multiple times getting -2 to 2 calibration settings. I even got 0 in the calibration and its still very misaligned. At this point the sticker paper I am using for calibration is way more than the sticker paper I’m using to sell.
3 Likes
Hi, @Regine_Rachel_Roxas, welcome to the community. The print then cut feature is definitely tricky. I always suggest practicing first and using regular paper before cutting sticker paper. I have a video in which I do print then cut. It will be way easier to direct you to it, rather than type it all out for you. From IdeaStudio to Finished Envelope — My More Self‑Love Project Video!. There are timestamps so you can go directly to the print then cut section. This process involves creating an offset with the actual Offset function rather than creating one with the software’s Print Then Cut offset feature. If you have any questions after watching the video, feel free to come back here & ask. Just make sure to click the Reply on this comment instead of the orange one, so as to be sure I get the notification. If my video helped you, please let me know.
You can also take a look at this thread in which I explained how to do it. No lee las marcas de registro [RESOLVED] (It’s in English, btw).
3 Likes
Hi, again, @Regine_Rachel_Roxas.
I have a little more time now to explain my process.
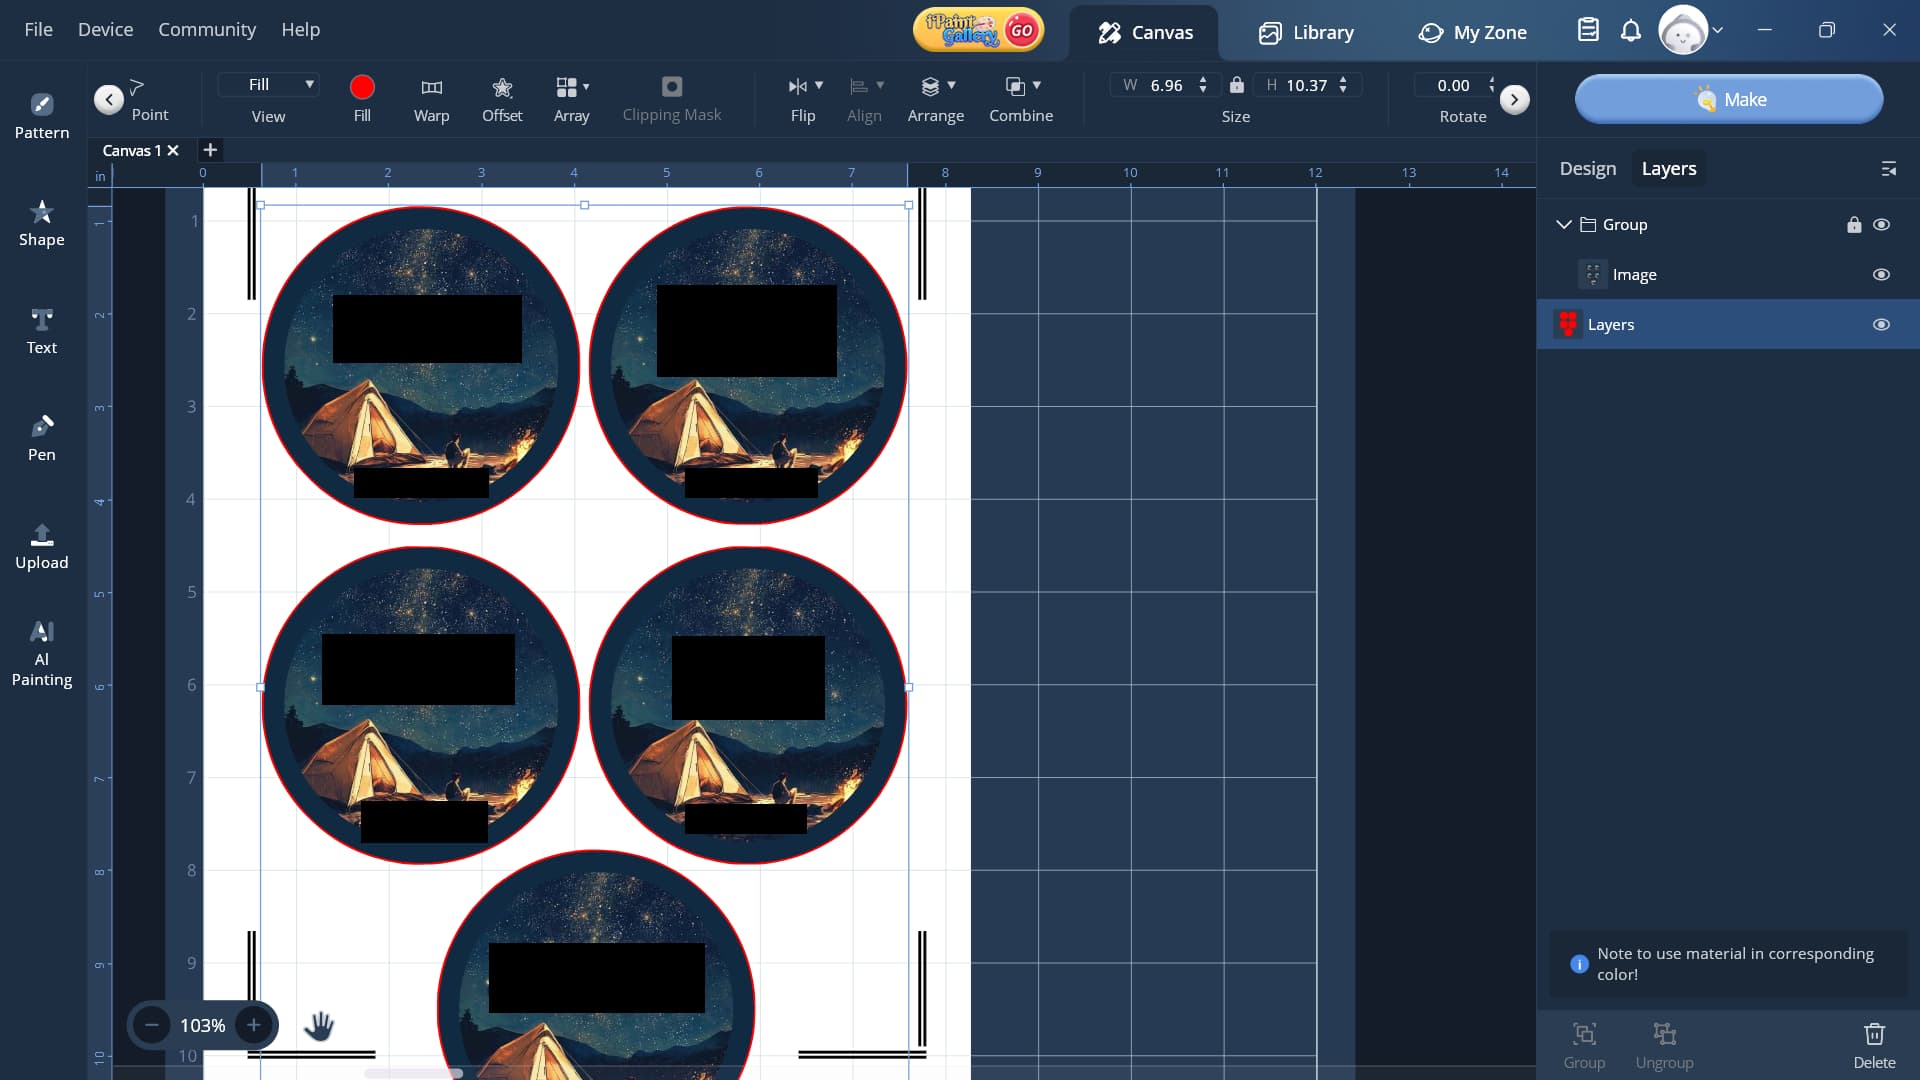
- Try creating an offset with the actual Offset function around all of your stickers. Just a very small one at like 0.1
- This will create another layer in black
- Change the color of the offset layer to a color that isn’t in your sticker design
- Select both layers and group them together, make sure not to move the print layer from the offset layer
- Click Make
- Select the box that has the color of the offset layer (you can make sure it’s only the offset layer by clicking the little arrow beside the box color. If it has anything other than the offset layer, go back and change the color
- Set the cut parameters for that layer
- Add it to task
- Go back to the make screen, and set the mode to Print Then Cut this time
- Select all of the layers except your offset layer
- Click Print
- Choose your print settings (Paper type, set scaling to None, turn off borderless printing)
- Print
- Click Printed
- Load your paper into the machine, and click Start on the offset layer
- This should give you a perfect print then cut
Let me know if this worked for you.
1 Like
hii, i do apologize for the delay of response.
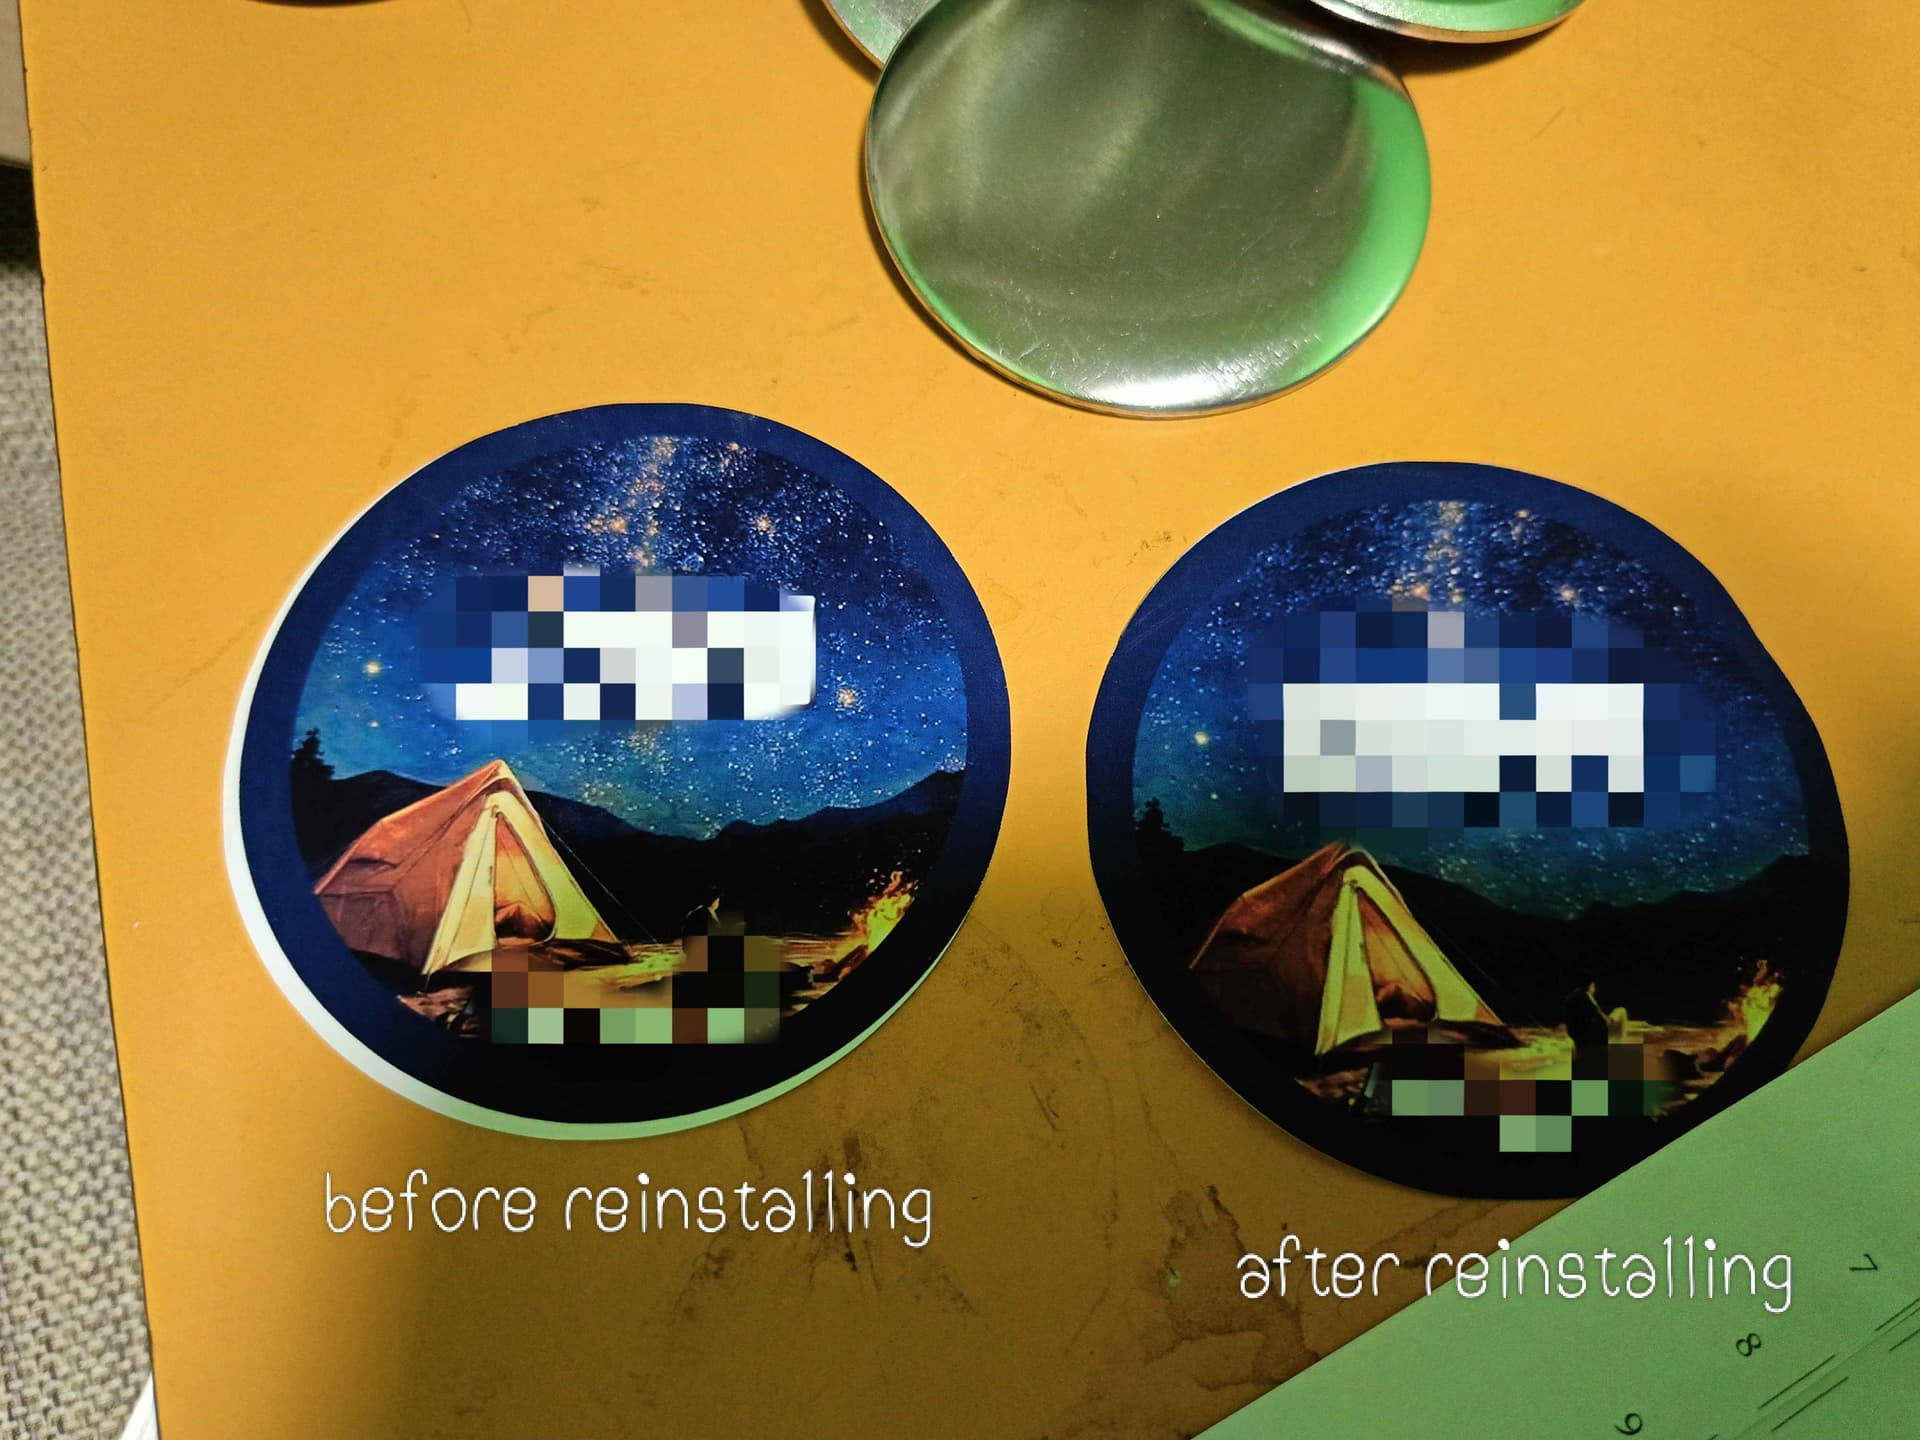
I tried your instructions, yet here’s the results.
The first one is from what i’ve understood from your instructions here, and the second one is from what I’ve understood from your instructions on your thread. However, the cutting was still unaligned.
I did see that you’ve attempted to cut designs from canva but it also yielded the same results. Was there any update on how to deal with designs not made from the Loklik Studio? I designed mine from Canva and placed the png to the Loklik app. Thank you in advance!
1 Like
Hi, @Regine_Rachel_Roxas! No worries. Unfortunately, no, I haven’t tried using the Canva designs since. However, the other member in the thread I shared was working with their own designs from an outside source and was able to get it to work following this advice. I do realize I forgot to mention to align each sticker with each offset before grouping. You can try doing that. I know sometimes, the sticker layer sometimes shifts away from the offset layer. If I get a chance later, I will play around with it and see if I can get it to work. If I do, I will let you know.
1 Like
ooh, looking forward for your responsee.
btw, by “align each sticker”, do you mean having it directly underneath the sticker layer, like so?
1 Like
Hi, @Regine_Rachel_Roxas! I hope you’re having a fantastic day.
So, I just tried a PTC with a sheet I made with Canva, and it actually did very well — without having to do all that extra stuff.  I’m actually shocked. Here is a low quality video showing how I did it. I condensed it so it would play here, I’m currently processing the higher quality video, and I will share the link to it when it’s finished. So if you can’t see exactly what I’m doing in this one, you can watch the high quality video via the link.
Higher quality video link: Microsoft OneDrive
Yes, that’s exactly what I meant. Align horizontally and vertically to get them each centered.
Hi! I have some great news!
I watched the video, and I think that’s what I’ve been doing since then. I retried cutting again, hoping they updated the app, and hopefully it might work. But sadly, it’s still unaligned. I tried doing your suggestion of getting 0-0-0-0 calibration, and after 7 pages (yes…7 pages TT) of the calibration papers (the new ones), the closest I can get to 0 is -2 at best. So I tried reinstalling the app.
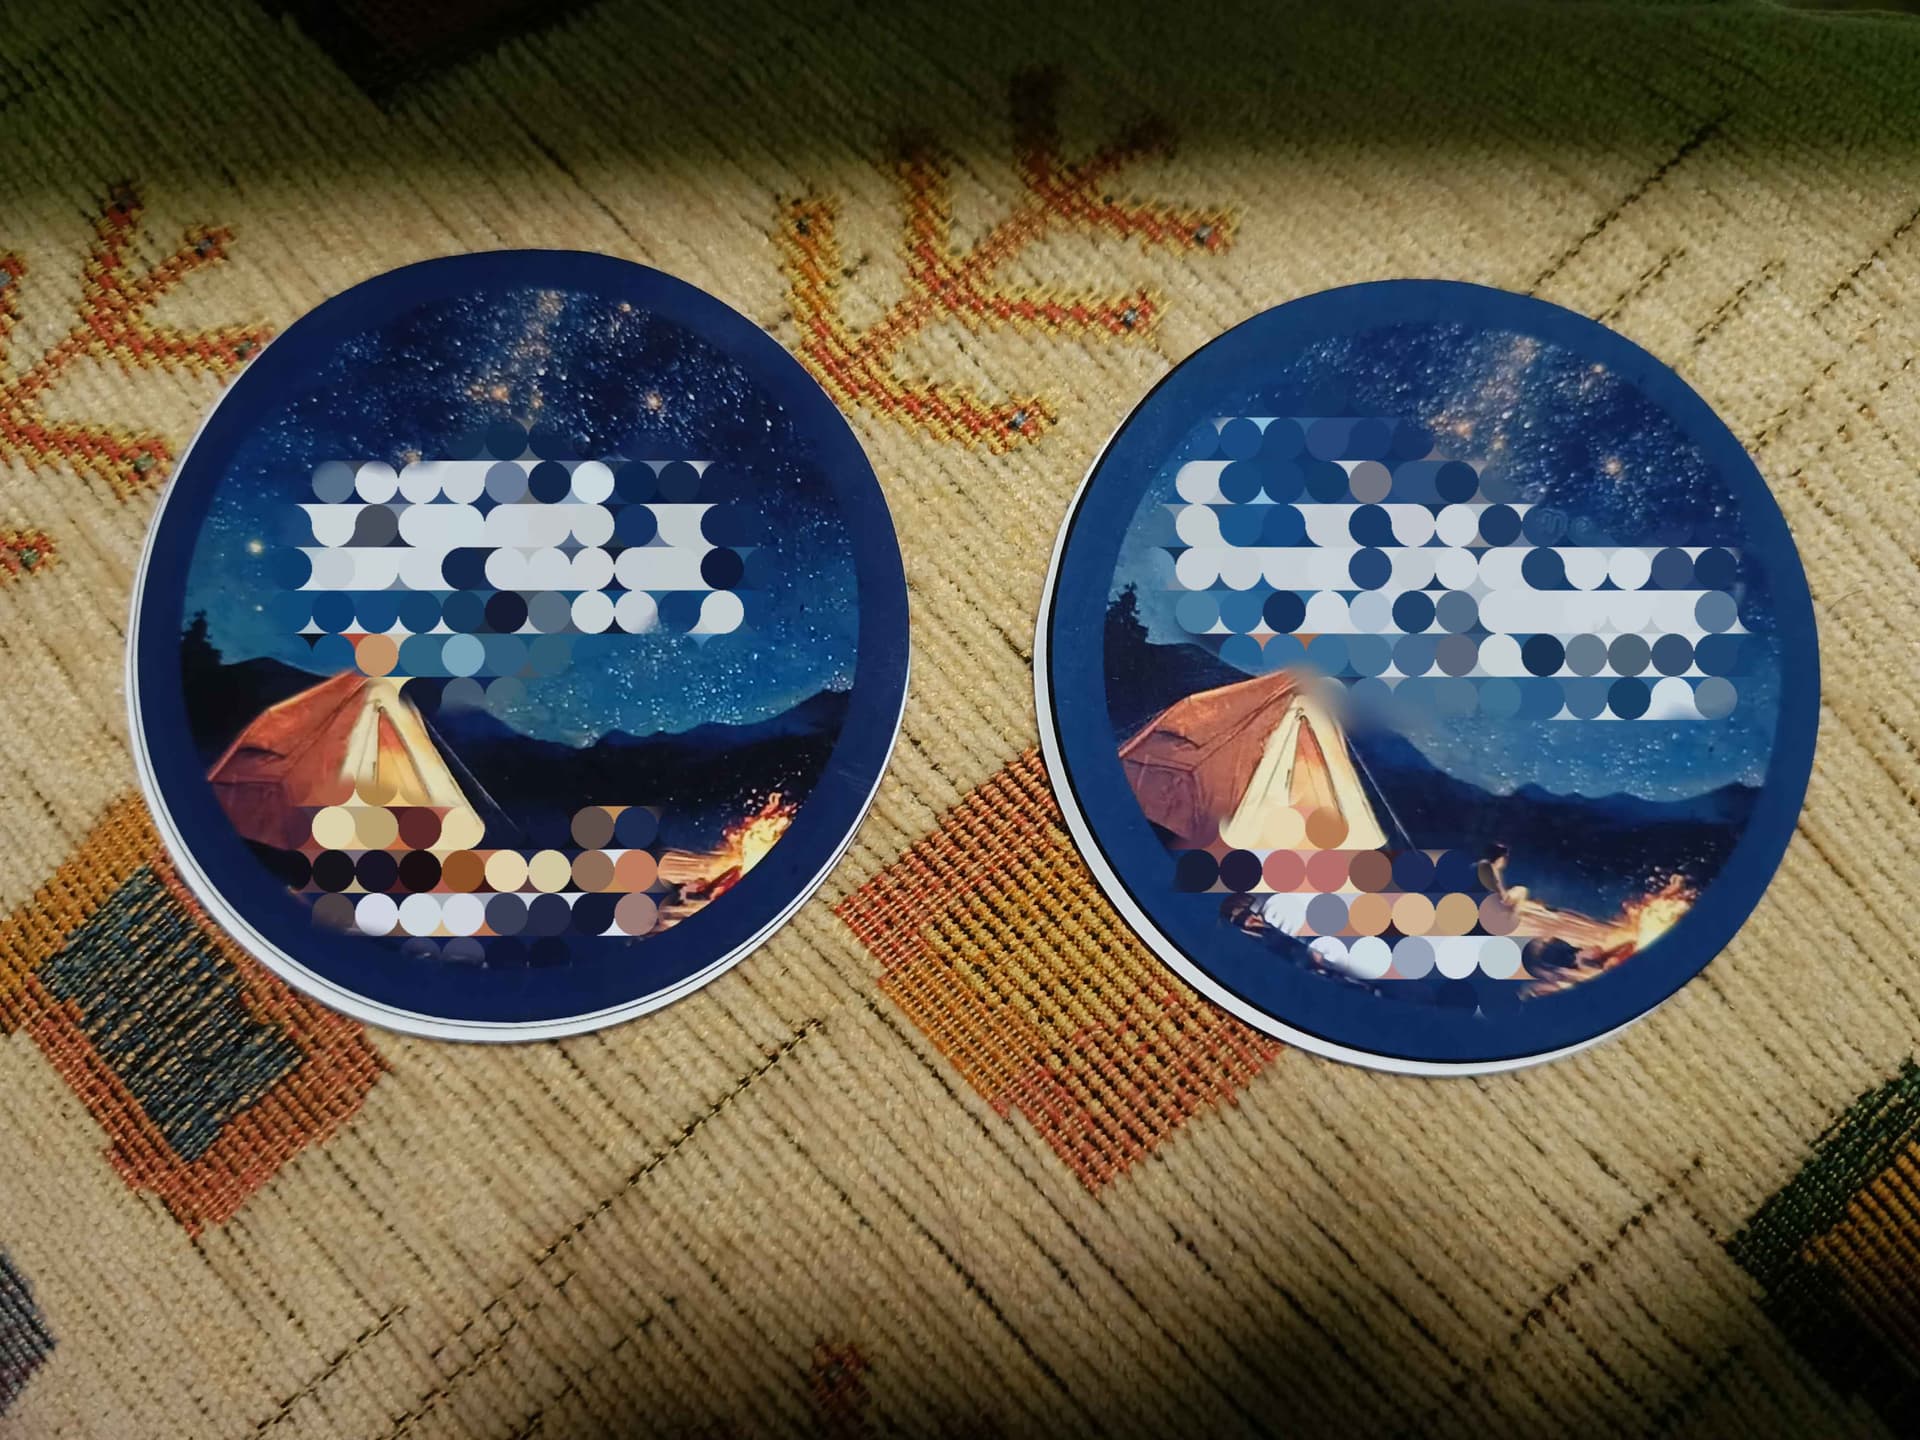
I think that solved the problem. Here are the results!
There’s a slight unalignment:
As you can see, there’s a small part of the blue bg, but I don’t mind that much error, as long as it is not too unaligned.
Thank you very much for your instructions and patience with me >< I’ll try printing stickers with irregular shapes soon and will send the results here. :3
1 Like
Awesome! That’s great news! It’s good to know that reinstalling the app may actually help. I appreciate you sharing that information. I also look forward to seeing how the irregular shaped cuts work out for you. If you need anymore help, feel free to reach out.
You’re so very welcome! I’m always happy to help. 
1 Like
Hi!
Its been a while and update on this, I got perfect cuts for irregular shapes!
Thank you very much for your help and I’ll be definitely using this machine a lot ^^
1 Like