Project Overview:
Sometimes it is in the little things that we are able to say thank you. A little handwritten note can go a long way. Here is a great project for you to create a holder for post-it notes. The best part it is made out of paper and can be created completely in the LOKLiK IdeaStudio.

Materials:
- Cutting machine: LOKLiK iCraft
- Sticky mat: LOKLiK standard grip
- LOKLiK drawing pen and adapter
- Cardstock: 60 lb or equivalent, I used a combination of solid cardstock and printed cardstock
- Craft glue and hot glue
- 3in by 3in post-it notes
- Mini pencil or pen
- Cellophane bag
- Twine string
Design and Cutting Process:
- Using the LOKLiK IdeaStudio we will be creating the gift card holder from scratch.
- Begin by using the “Shape” feature and adding a rectangle measuring 7.38in wide by 3.25in tall. I changed the setting from fill to contour to allow us to see the next steps.
- Make sure you place the rectangle along the 0,0 axis of the canvas.


- Add score lines using the pattern feature and selecting the dashed line option instead of a solid line.

- I use the “Position” toolbar on the top menu to help guide me to ensure that they are place in the exact right spot.


Position Setting
X: 3.13, Y: 0
X: 3.5, Y: 0
X: 3.88, Y: 0
- Add solid lines using the pattern feature to create the slits for our pencil/pen from the far left score line to the far right score line.


Position Setting
X: 3.5, Y: 1
X: 3.5, Y: .5
-
Add a rectangle shape to the design which will be used as a decorative piece on the note holder. For this tutorial, the rectangle measures 3in by 3.1in.
-
Add a circle shape to the design inside of the square, this will be where you place a nice written message. For this tutorial, the circle measures 2.11in by 2.11in.
-
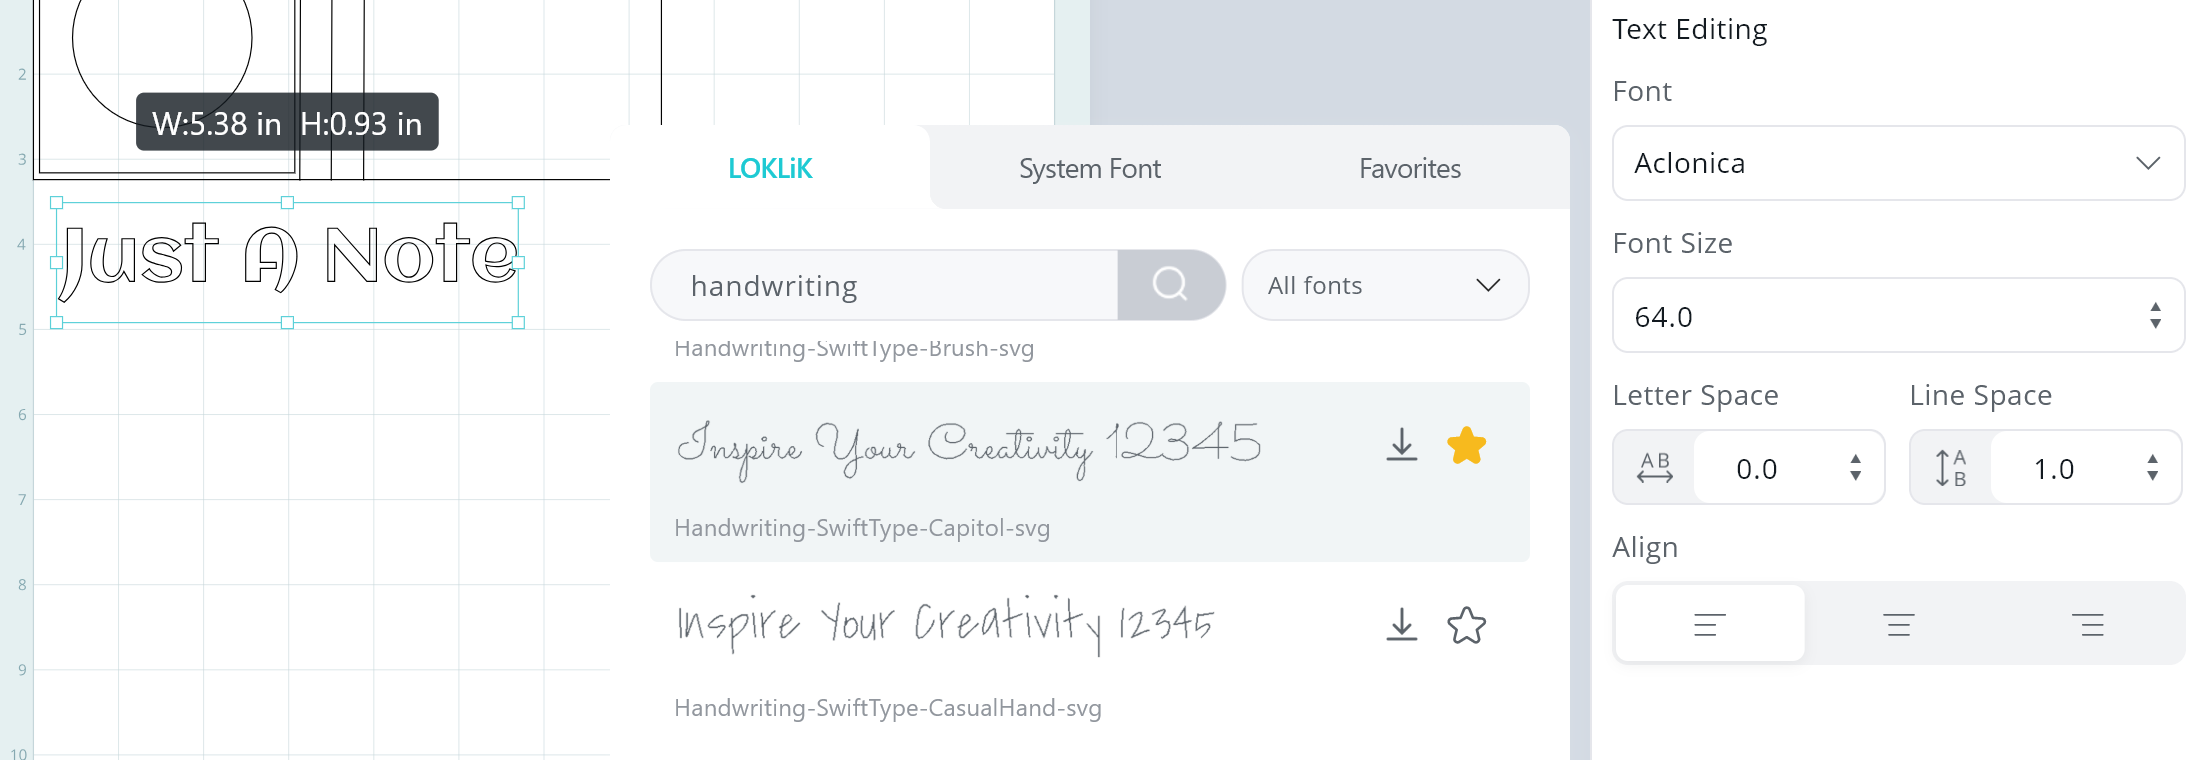
Using the font option, add your message.
-
Select your preferred font. For this tutorial, I would recommend a “handwritting” font as the drawing pen will be used to add the text.


-
Now we are creating a paper banner that will be used to close the cellophane bag once the note holder is placed inside.
-
Add a rectangular shape measuring 6in by 2.25in.
-
Add a score line 1in from the top of the rectangle.
-
To add the scalloped shapes to the bottom of the rectangles, we will be adding another shape, a half circle.
-
Rotate the half circle to have the flat side along the top.
-
Resize the half circle to be .5in wide by .26in tall.
-
Place it slightly over the bottom line of the rectangle and right at the corner edge of the rectangle.
-
Select the half circle and use the Array feature to duplicate the half circle. The columns will be 10 and the rows 1. Make sure that the spacing for columns and rows are set to 0.
-
As the limit is 10, select the last half circle created in the last step and make an additional array with columns of 3 and rows of 1. This will ensure that the entire bottom line of the rectangle has a half circle.


-
Select the rectangle and all of the half circles.
-
Using the Combine feature, select the Unite option. This will make your rectangle a scalloped rectangle.
-
You know have all the components made for the note holder, here is a preview of all the components.


- Send the components to cut, below are the settings used for this tutorial.
Cut Settings
Material Type: Cardstock Paper (180g/97lb)
- Force: 7.5
- Speed: 5
- Passes: 2

Material Type: Cardstock Paper (180g/97lb) - used for patterned cardstock
- Force: 7.5
- Speed: 5
- Passes: 1
Score Settings
Material Type: Cardstock Paper (180g/97lb)
- Force: 5.5
- Speed: 5
- Passes: 2

Draw Settings
Material Type: Cardstock Paper (180g/97lb)
- Force: 6.5
- Speed: 5
- Passes: 1


Assembling the note holder:
-
Slightly crease the cardstock along the score lines, with the larger rectangular shape on the right side of your work area.
-
Place glue along the right crease mark and fold the cardstock over to the right side and press down.
-
Place the notepad on the right to make sure it fits.
-
Place craft glue on the back of the notepad and place it centered along the right side of the note holder.
-
Place the decorative rectangle using craft glue along the front of the note holder.
-
Using crafting foam, place the Just a Note circle to the front of the note holder.
-
Place the mini pen/pencil in the slits to the side of the note holder.
-
Using a twine ribbon, wrap the note holder and pencil together and tie with a bow.
-
Place the note holder inside a cellophane bag.
-
The banner I created on IdeaStudio was too long compared to the cellophane bag I used, and I trimmed it to 4.75in wide so it would match the same width of the cellophane bag.
-
Place craft glue along the flat side and place the back of the cellophane bag along the banner.
-
Fold the scalloped rectangle over to the front of the cellophane bag.
-
Use a twine ribbon to close the cellophane bag with a bow.
-
Cut an excess twine as needed.


WONDERFUL!!! You have created a Note Holder to remind someone how special they are.