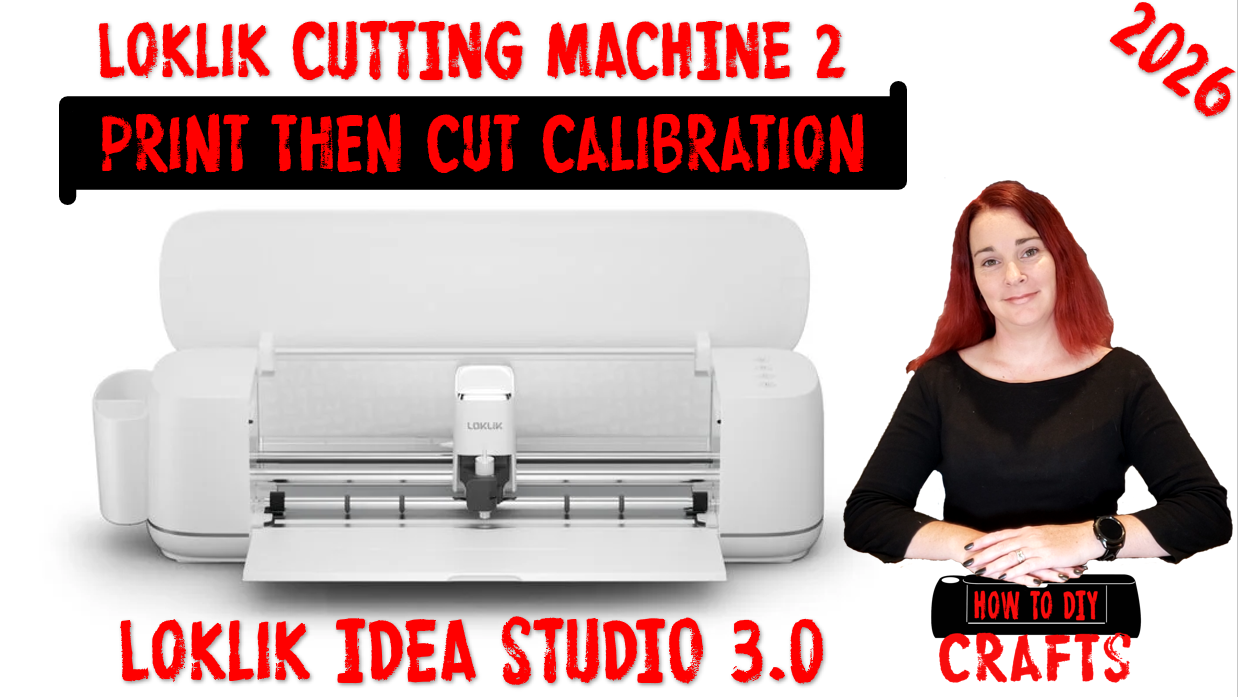
Print then Cut Calibration Tuorial using the LOKLiK Cutting Machine 2
If you’re diving into the world of LOKLiK Cutting Machine 2 crafting—or you’ve been struggling to get those perfectly aligned Print Then Cut projects—this new tutorial is an absolute gem.
I walk through the entire Print Then Cut calibration process inside LOKLiK IdeaStudio 3.0, breaking it down step‑by‑step so anyone can follow along.
What You’ll Learn
How to run the Print Then Cut calibration from start to finish
What the calibration sheet actually means and how to read it
How to interpret your calibration values
Tips for testing your calibration and dialing in accuracy
How to reset calibration values if things go sideways
A full walkthrough of making stickers using your own uploaded images
Print Then Cut can be one of the most frustrating parts of any cutting machine workflow—but when it’s dialed in, it unlocks a whole new level of crafting. I hope this tutorial helps others that are having trouble getting this calibrated. Please pop down in the comments with your thoughts or problems. I’ll try to help where I can.
I must make time to watch this, this week-end i havent calibrated using the new system yet bc my machine cuts great atm lol i’m nervous to put it out of wack!
I felt the same way at first, but I managed to get mine cutting properly again. I upgraded my firmware from v7 to v8 before recalibrating, and I definitely recommend running a calibration after updating. My cuts were off until I did. After one calibration, my matte material settings were cutting perfectly. But when I tried using those same settings on glossy material, they didn’t work anymore. I ended up calibrating the glossy material separately, and once I did, it started cutting cleanly again.
I downgraded from v7 to v6 because v7 and I just couldn’t get along.
I used the same materials and calibration settings, but when it came to the moment of truth, the cuts were already off—so I went back to v6.
Hopefully, v8 will finally be the one I can work well with!
Hopefully v8 works better for you. I do recommend using the new calibration sheet with the v8 firmware. Just keep in mind you may need to do a couple calibrations to get good cuts.
 Print then Cut Calibration Tuorial using the LOKLiK Cutting Machine 2
 What You’ll Learn