Project Overview:
With Spring around the corner, baby showers and celebrations will be scheduled every weekend. If you are like me, I always forget to grab a gift bag for the gift. But do not panic, you can upcycle a plain/simple gift bag and create a beautiful gift bag.


Materials:
- Cutting machine: LOKLiK iCraft
- Sticky mat: LOKLiK standard grip
- Heat Transfer Vinyl: I used a metallic gold HTV for this tutorial
- Plain paper gift bag
- HTVRONT Auto Heat Press 2
- Teflon sheet
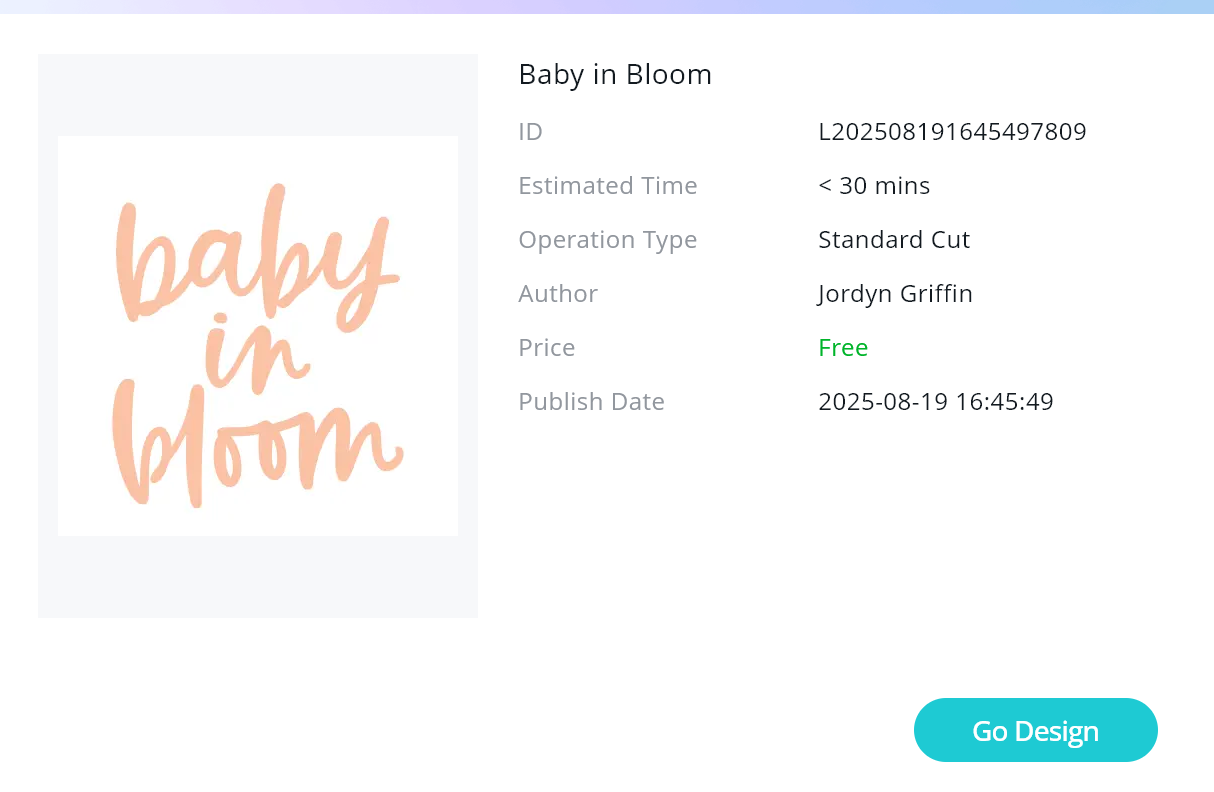
- Template from the IdeaStudio:
**Baby In Bloom
Design and Cutting Process:
-
- Using the LOKLik IdeaStudio Library, search for the template and select the + to add the template to the canvas.
- Using the LOKLiK IdeaStudio, use the shape feature to add a rectangular shape.

- This rectangle will serve as a guide for us to resize the design to best fit the gift bag.
- Resize the rectangle to match the size of gift bag you are using. For this project, I used a gift bag that was 6in wide by 8.5in tall. Note: click on the lock image when resizing the rectangle to allow you to update the size if it is not proportional to the original size.
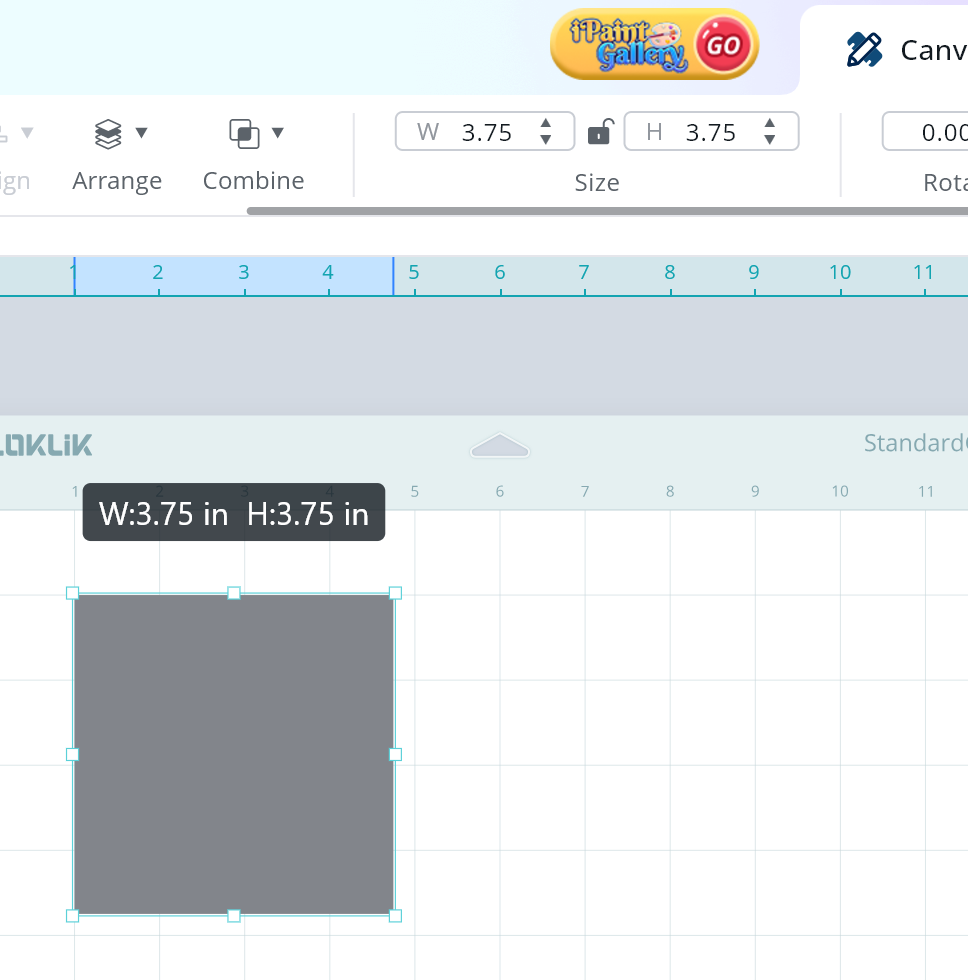

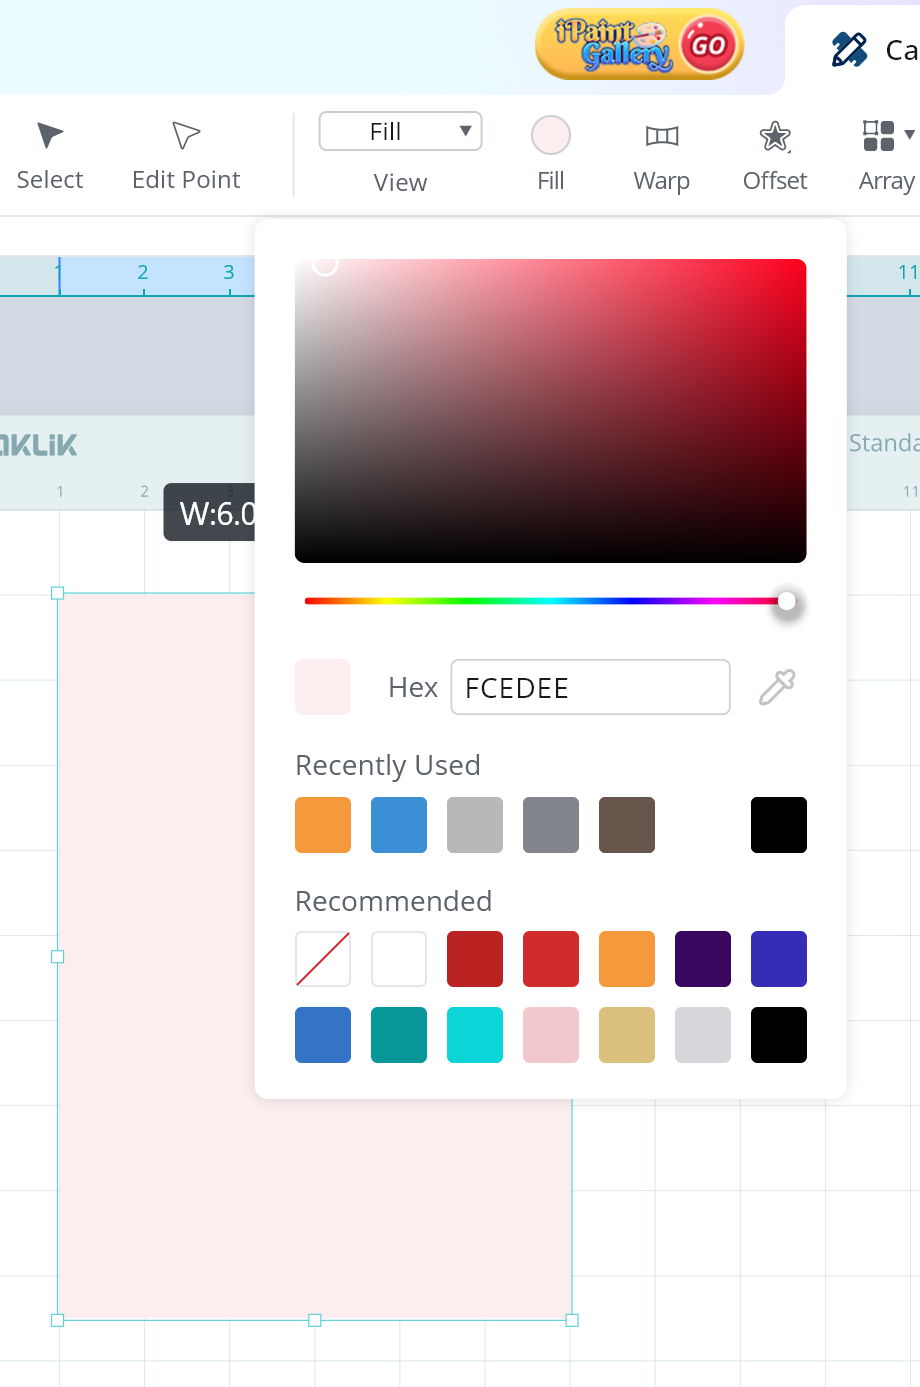
- I updated the color of the bag to help me visualize the project.
- Resize the design to the preferred size. Since this bag is plain and does not have any texture or design, I wanted to make the design large.
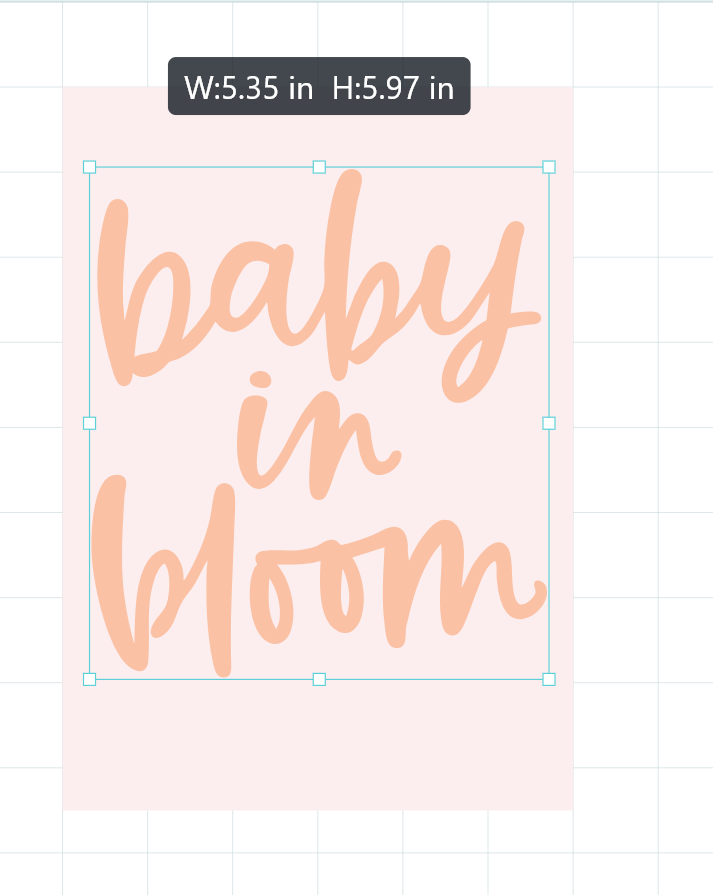
- You now have all the components made for the gift bag.
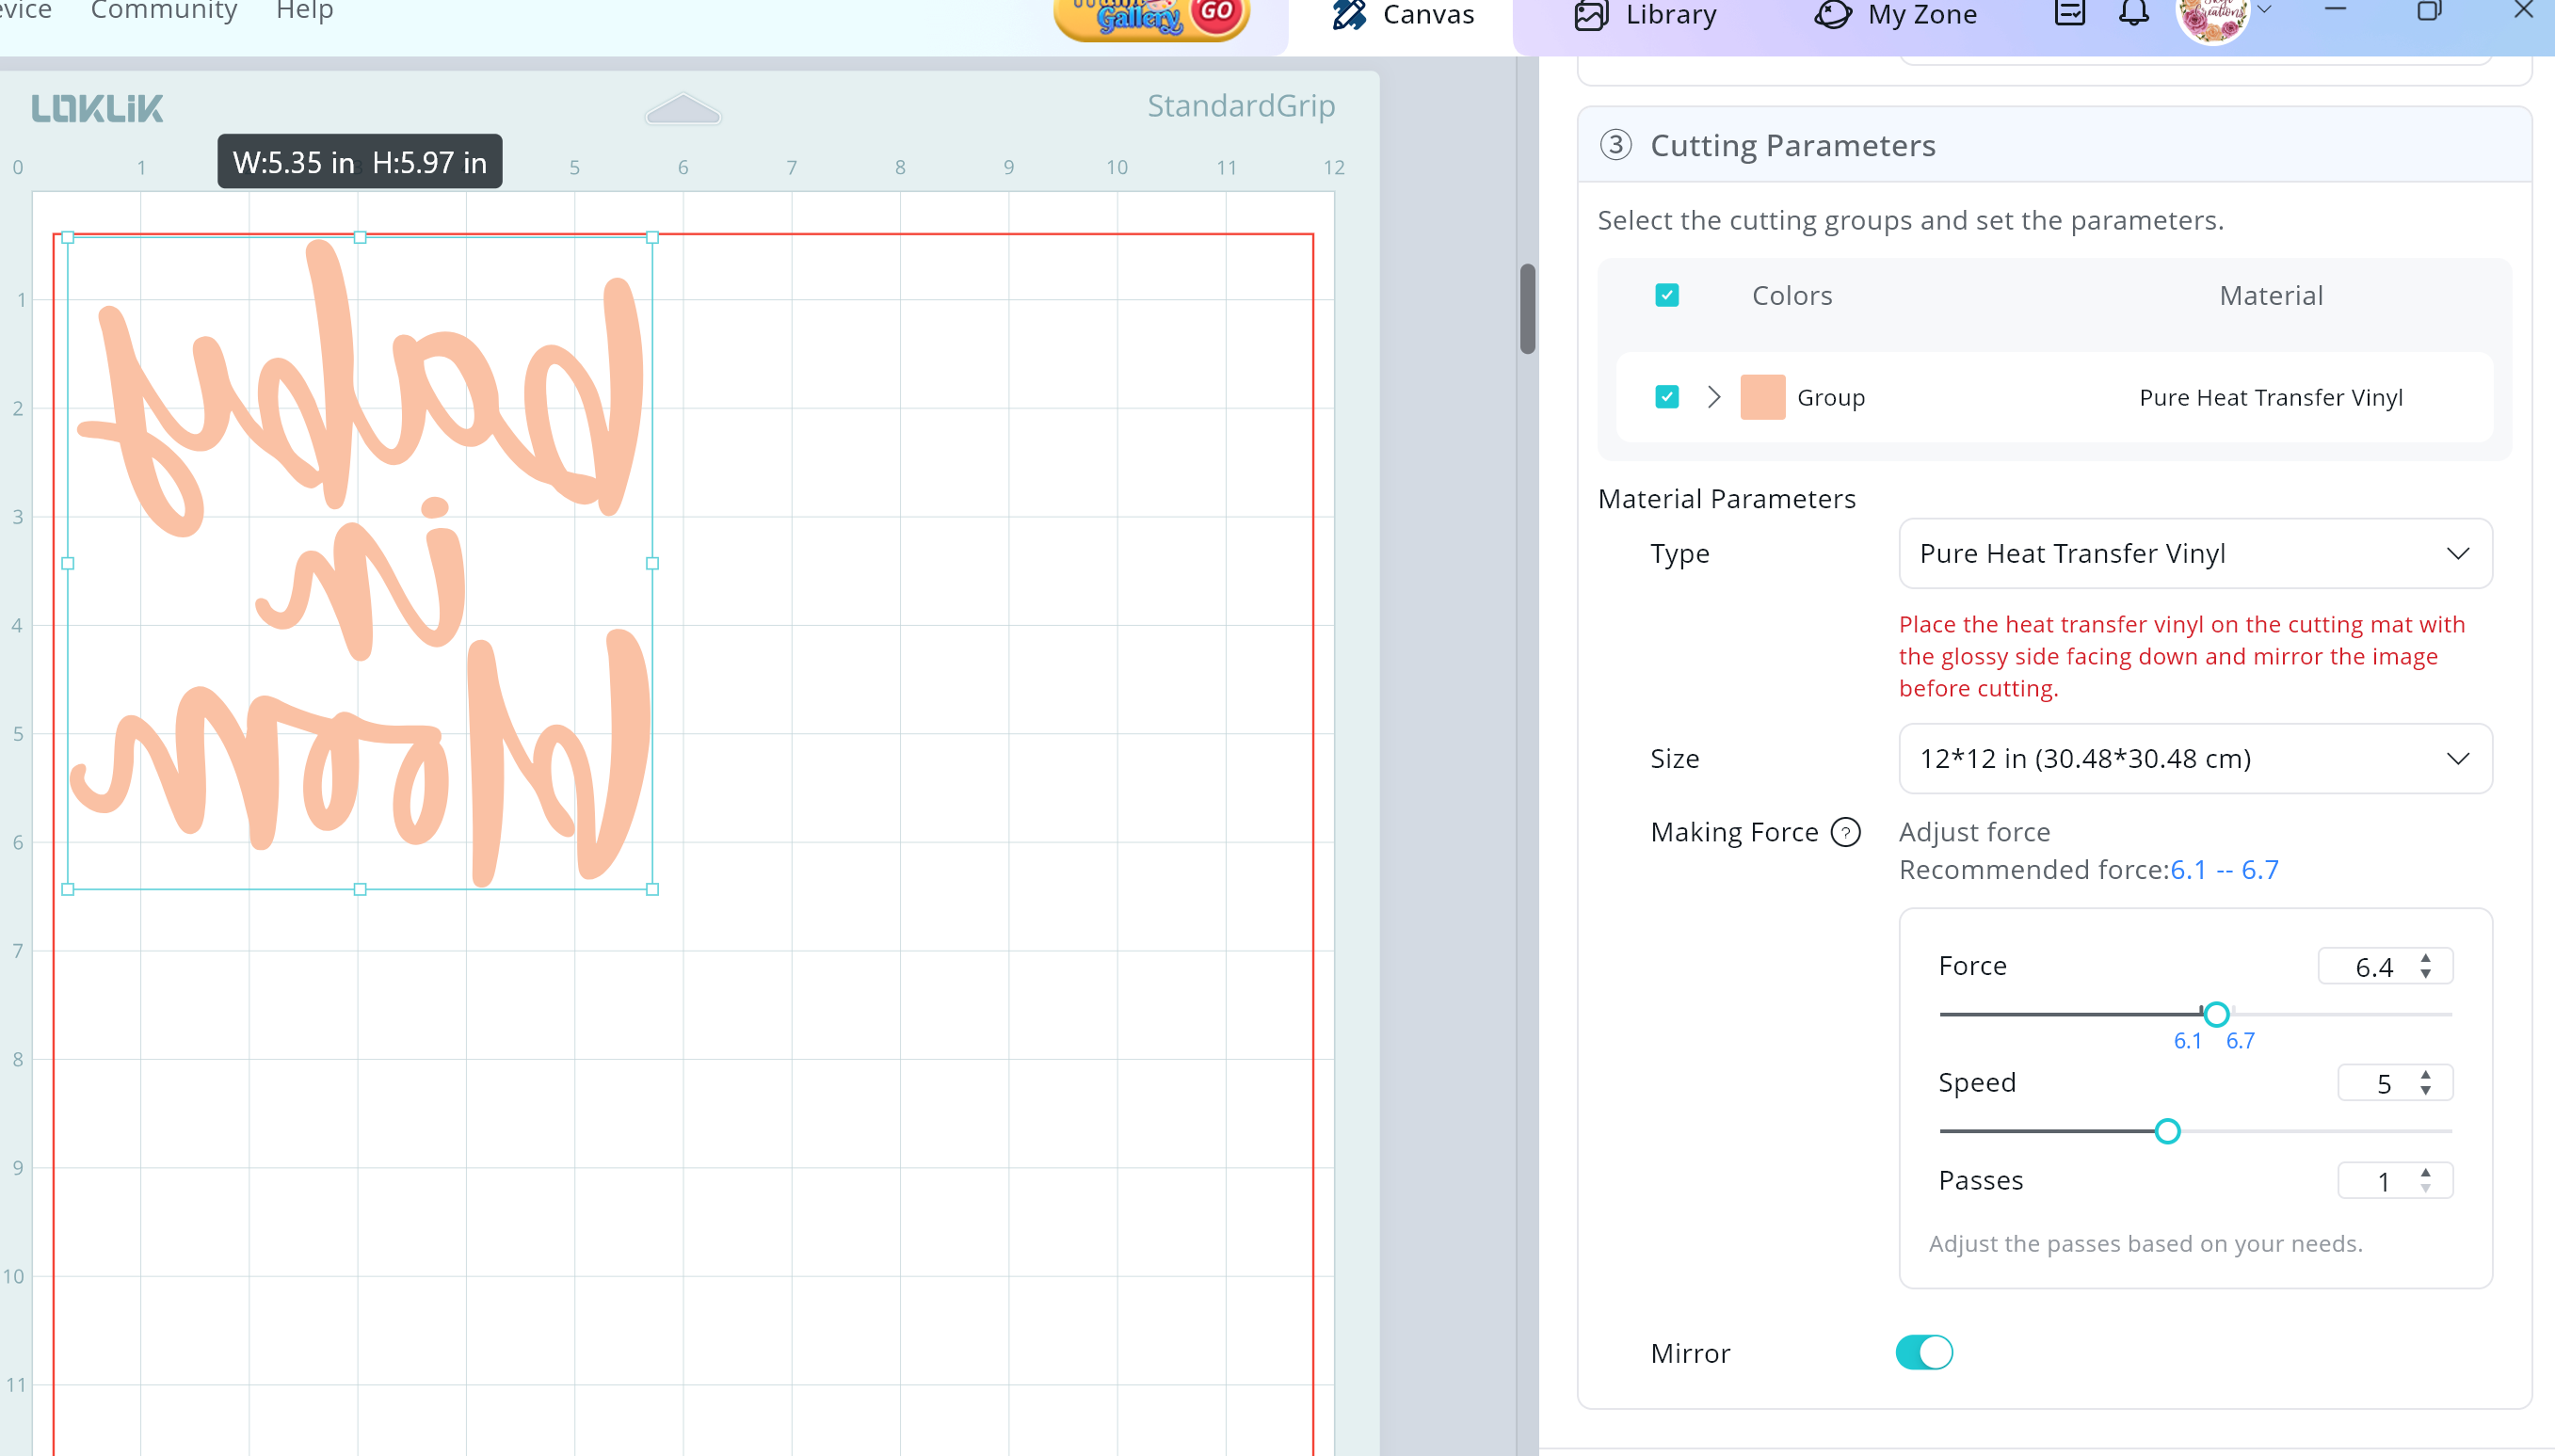
- Send the components to cut, below are the settings used for this tutorial.
REMINDER: Click on the “Mirror” tab when selecting the cut settings. Ensure that you place the HTV with the matte side up, as you see in the photos below, I failed to do this the first time. It is something so simple but even “experienced” crafters forget.
Cut Settings
Material Type: Pure Heat Transfer Vinyl
- Force: 6.4
- Speed: 5
- Passes: 1

Embellishing the Gift Bag:
- Weed the excess HTV.
- Place the design in the position you would for it to be. The HTV backing is slightly tacky so be careful as you place it to avoid lifting the paper of the bag.
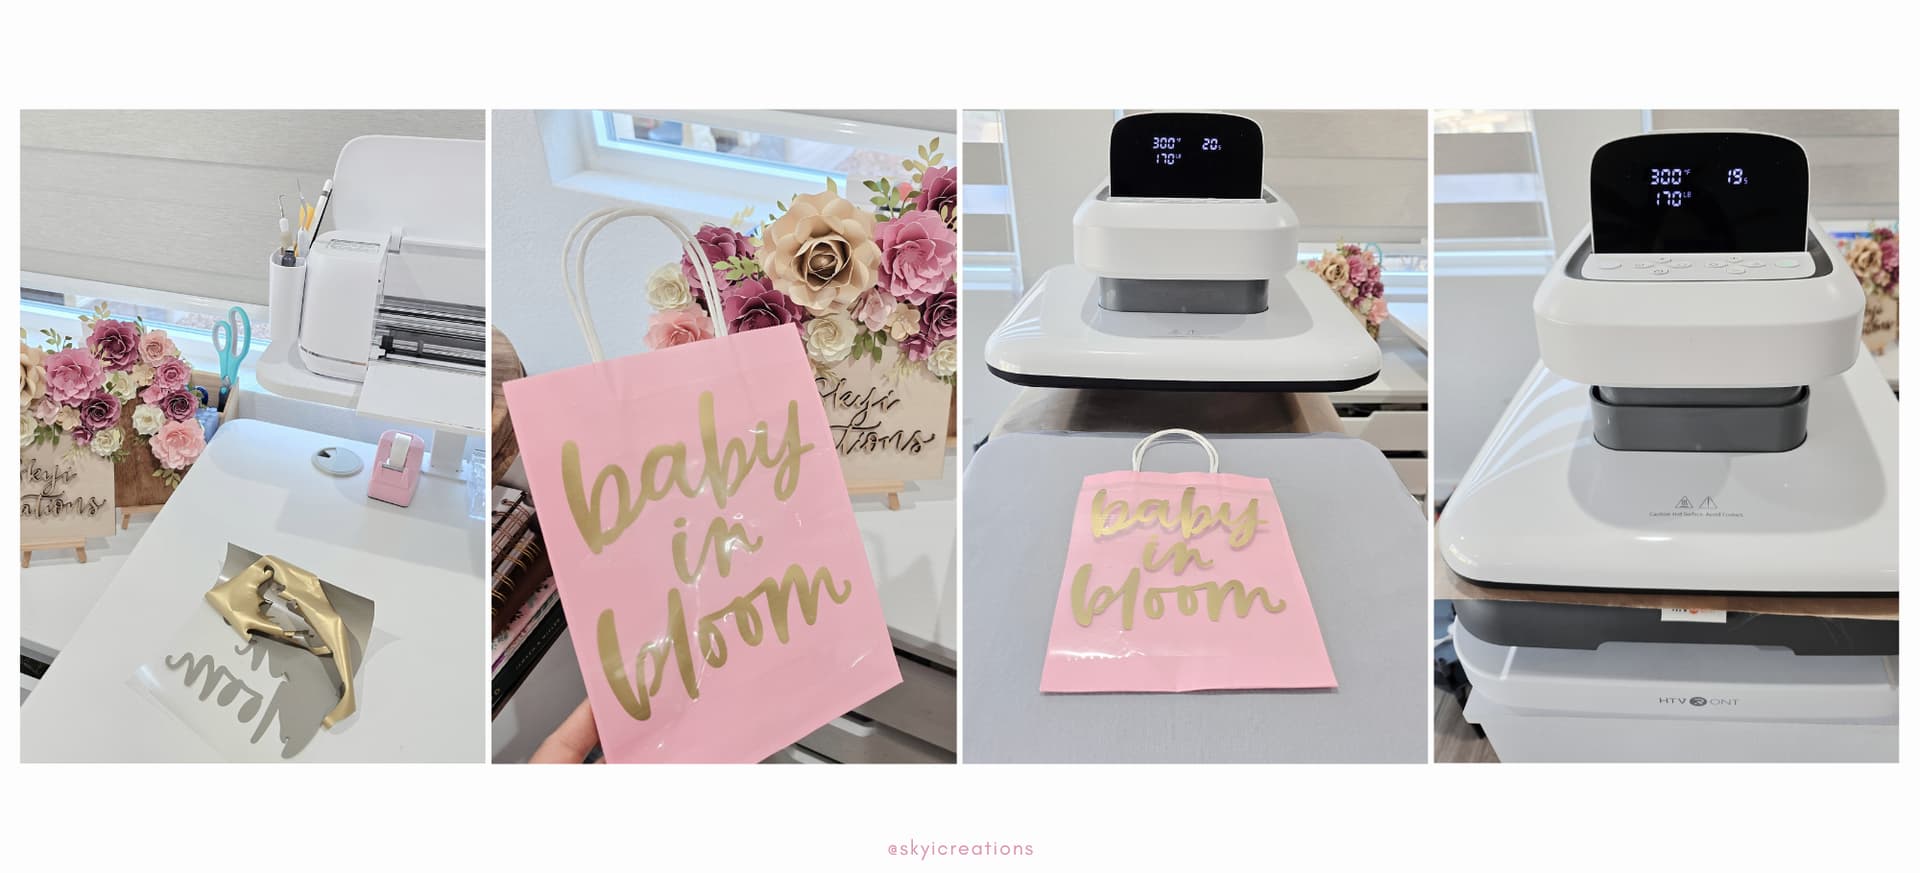
- Turn on your heat press and adjust the heat settings. For this particular project, I used the temperature of 300 degrees F, for 20 seconds, and a pressure of 170lbs.
- Press the HTV onto the gift bag with a Teflon sheet between the bag and heat press.
- Once the heat press is done, slide the bag out and wait for the bag to cool, you will want to peel the plastic sheet once cooled. As you will see in the photos, I was not as patient and tried to remove the plastic sheet while still warm causing the HTV to lift.
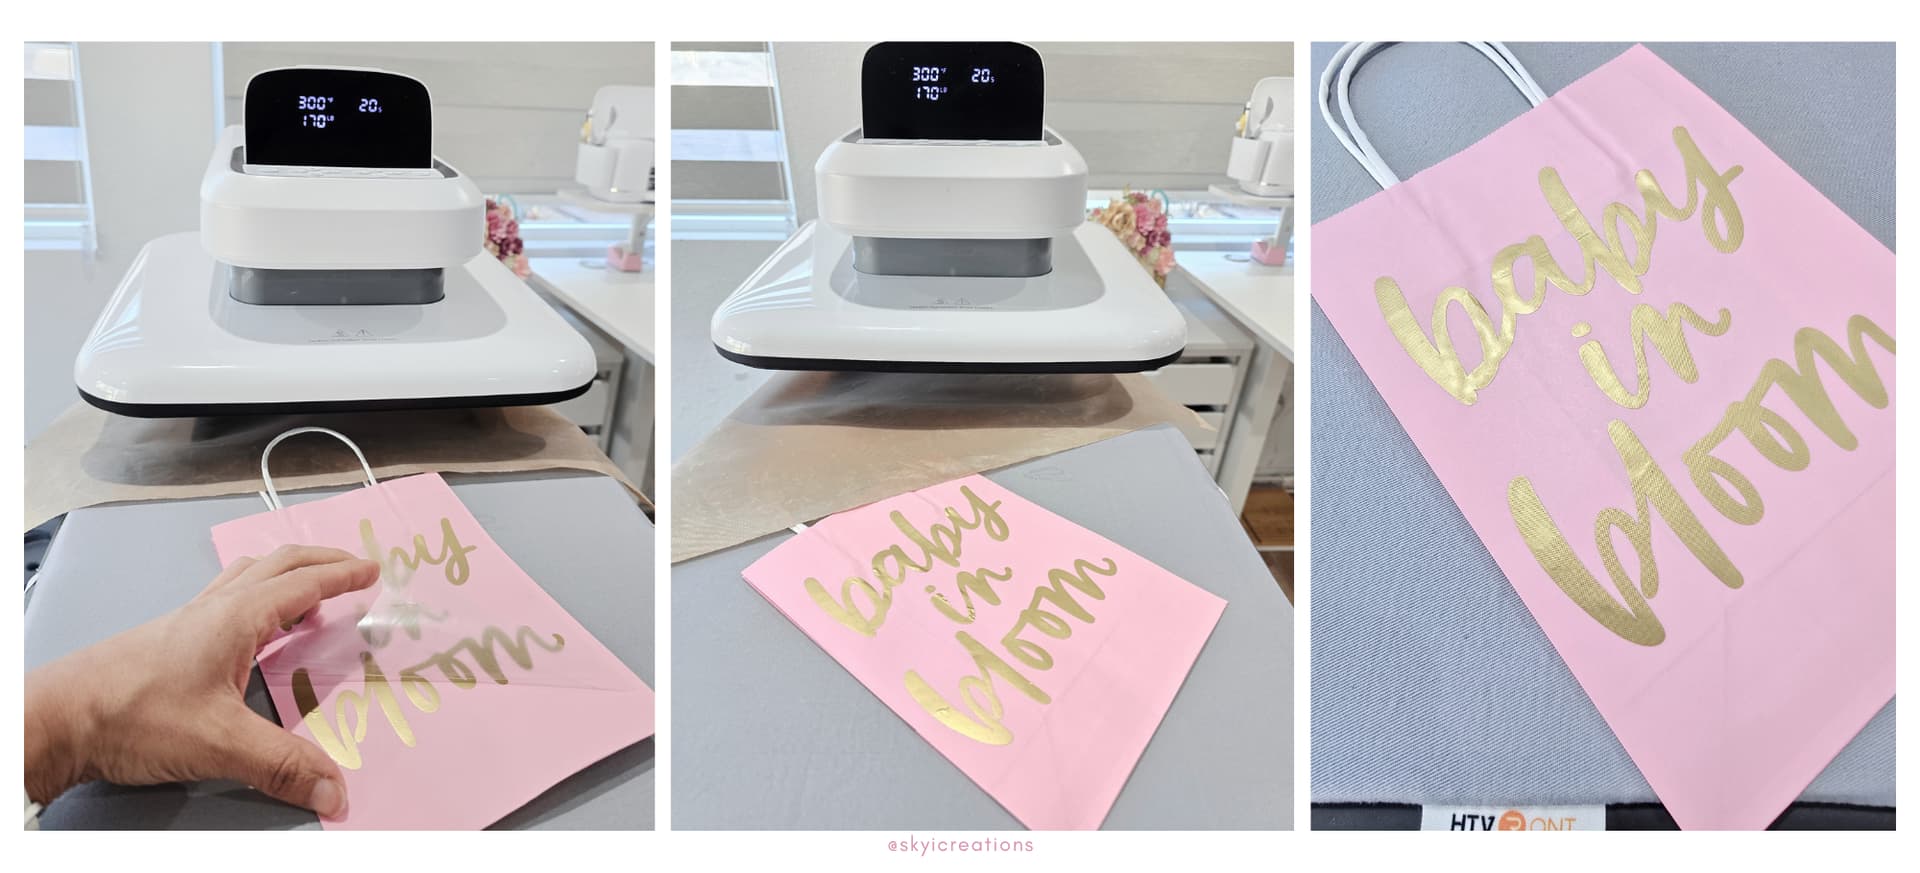
- Seal the HTV by sending it to press once more. For this particular project, I used the temperature of 300 degrees F, for 10 seconds, and a pressure of 170lbs.
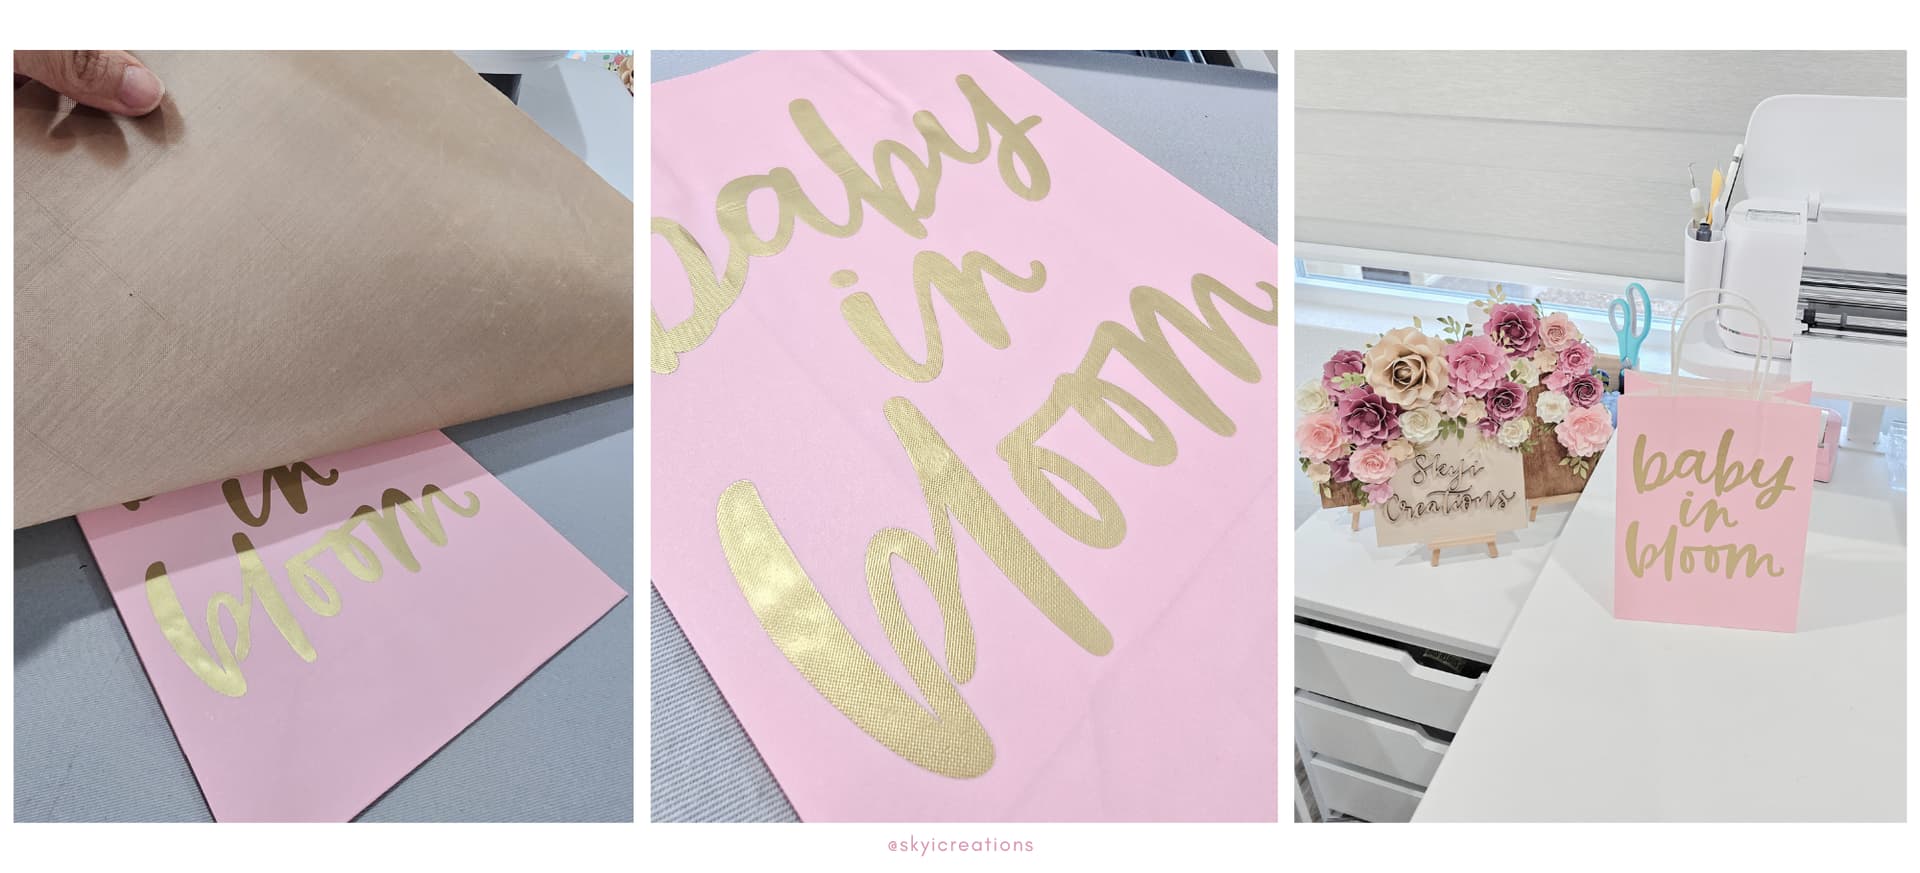
WONDERFUL!!! You have created a beautiful gift bag. Hope this project helps you when you are in a pinch