Project Overview:
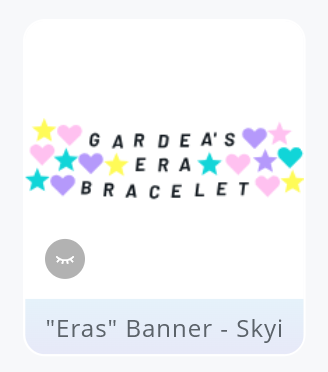
With spring markets popping up all around us, make sure you have the proper signage. I had the pleasure of creating this “Eras” themed paper banner for our school’s booth at the Carnival. It was not only a big hit with the kiddos to take photos with their families, but a great project for the teacher to keep for her classroom.


Materials:
- Cutting machine: LOKLiK iCraft
- Sticky mat: LOKLiK standard grip
- Cardstock: 60 lb or equivalent, for this tutorial I used black, white, blue, pink, yellow and white
- Craft glue
- Ribbon to hang the paper banner
- Project File: from LOKLiK Library
** Eras Banner**
Design and Cutting Process:
- Using the LOKLik IdeaStudio Library, search for the project file and select the + to add the template to the canvas.
-
Ungroup the design and modify the text and count of shapes/circles depending on your project need. You are also able to create this project from scratch if you prefer, below are the steps to make the project from scratch.
-
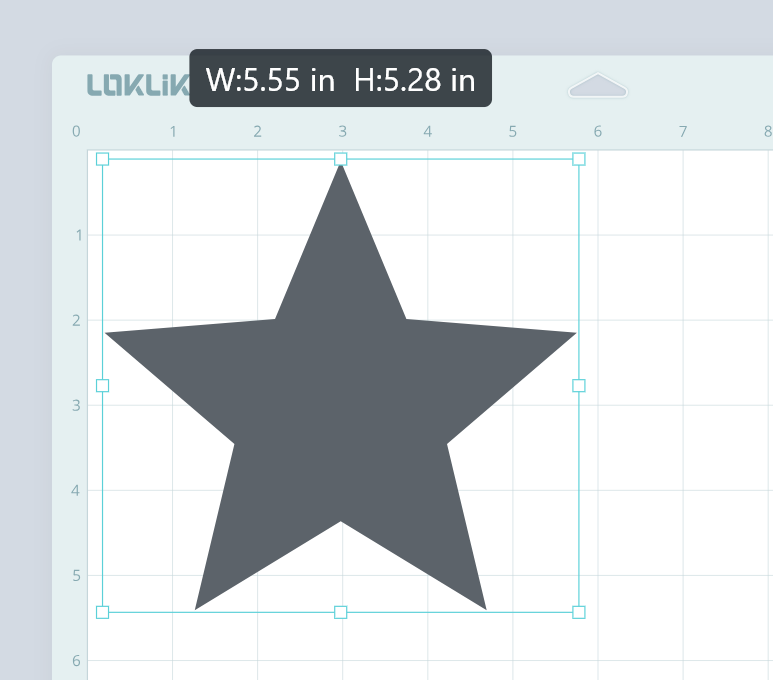
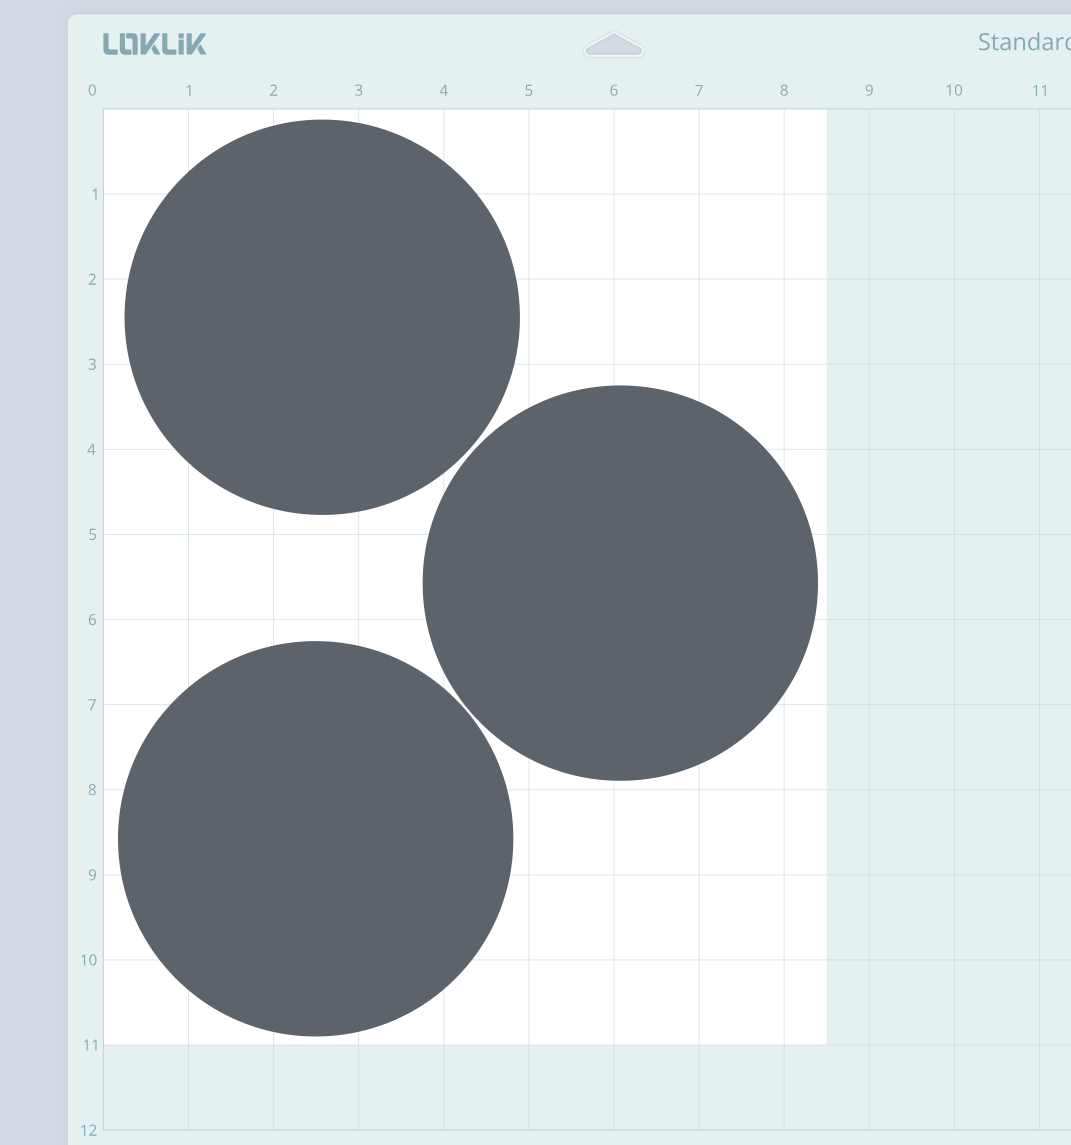
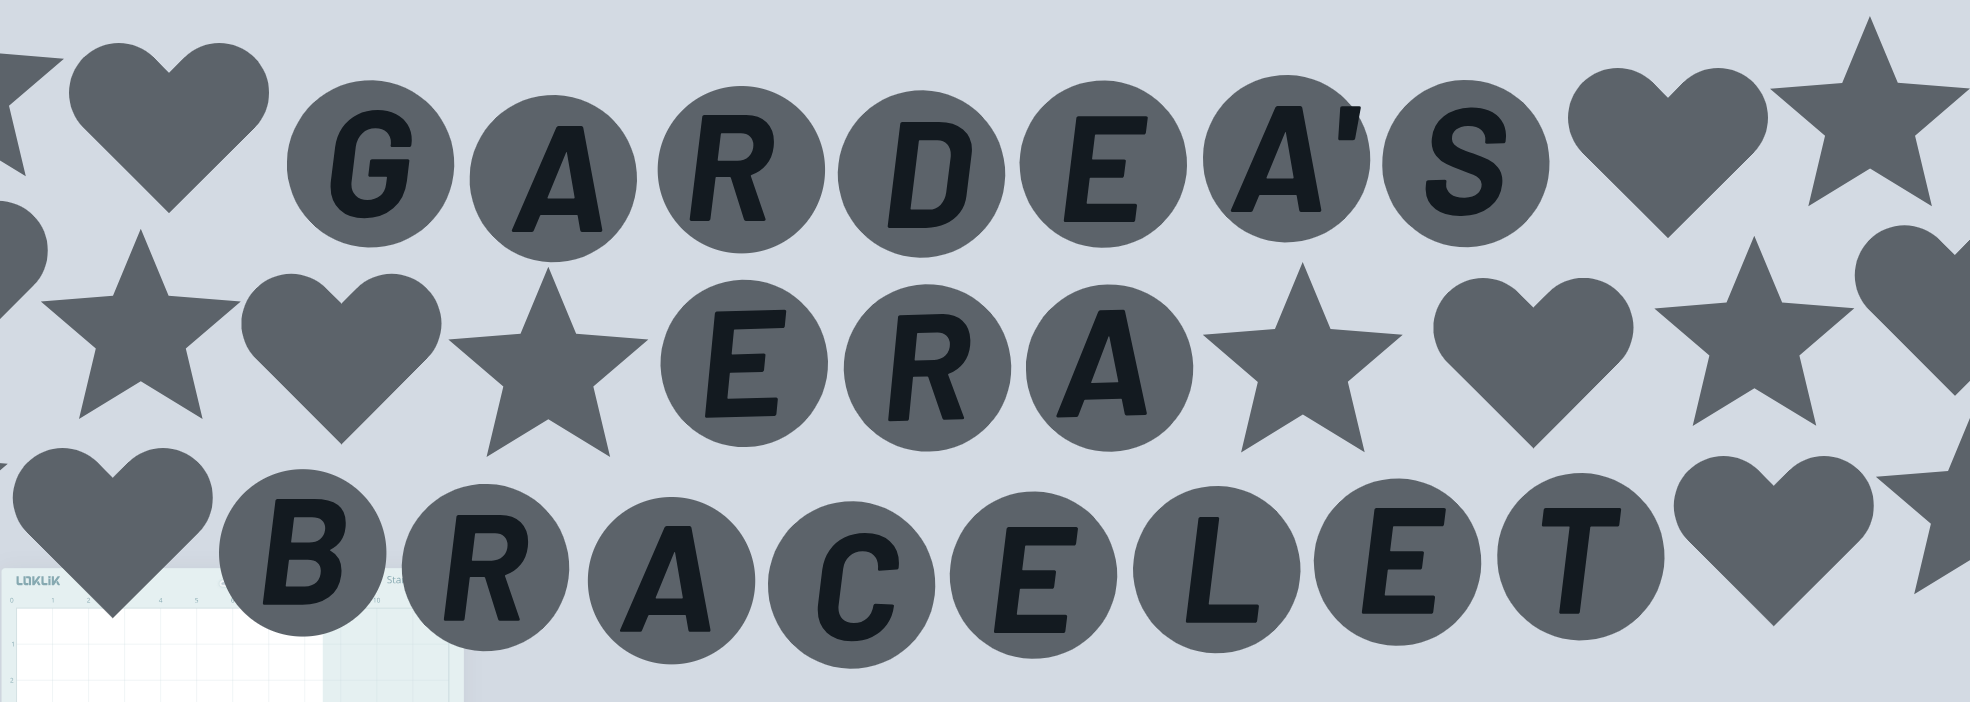
Using the shape feature, select your preferred shape. For this project, I used the circle, start and heart shapes.
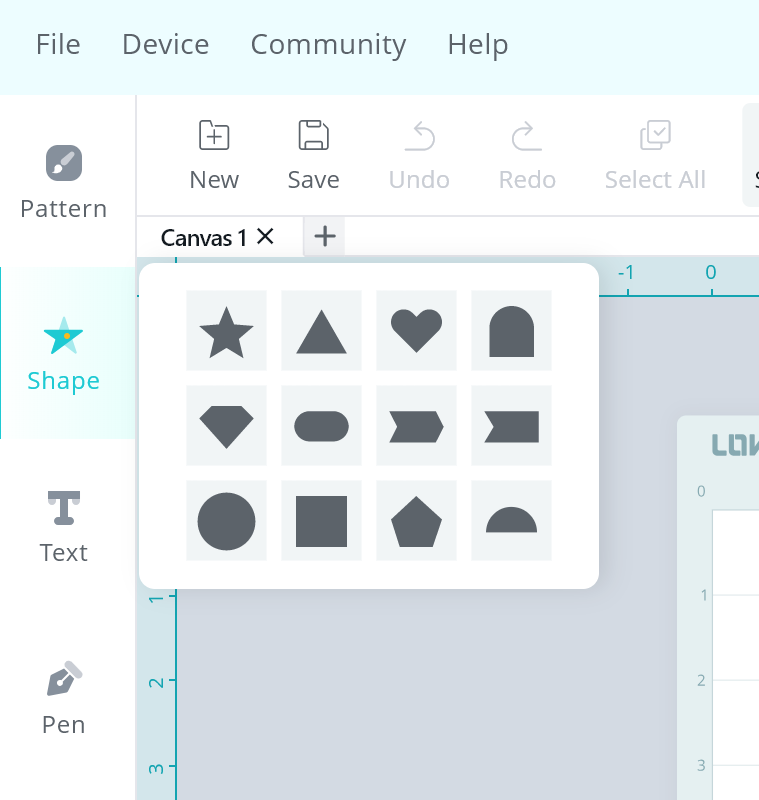
- Here are the sizes for the project that I used. You are able to adjust the sizing depending your paper and preference.

!Crafting Tip
When I am designing a project, I like to maximize the paper usage by sizing the templates according to what would “fit” within the paper size. As you see below, this is the way I have saved on material.
- Using the text feature, type the banner message. For this project, I used the font: Barlow-BlackItalic.

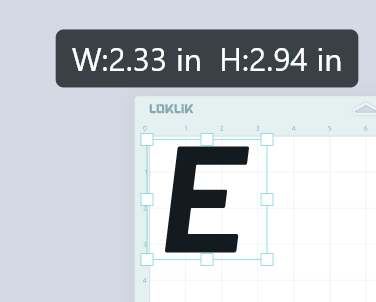
- Resize the lettering to fit inside the banner shapes. Below is the sizing I used for this project.
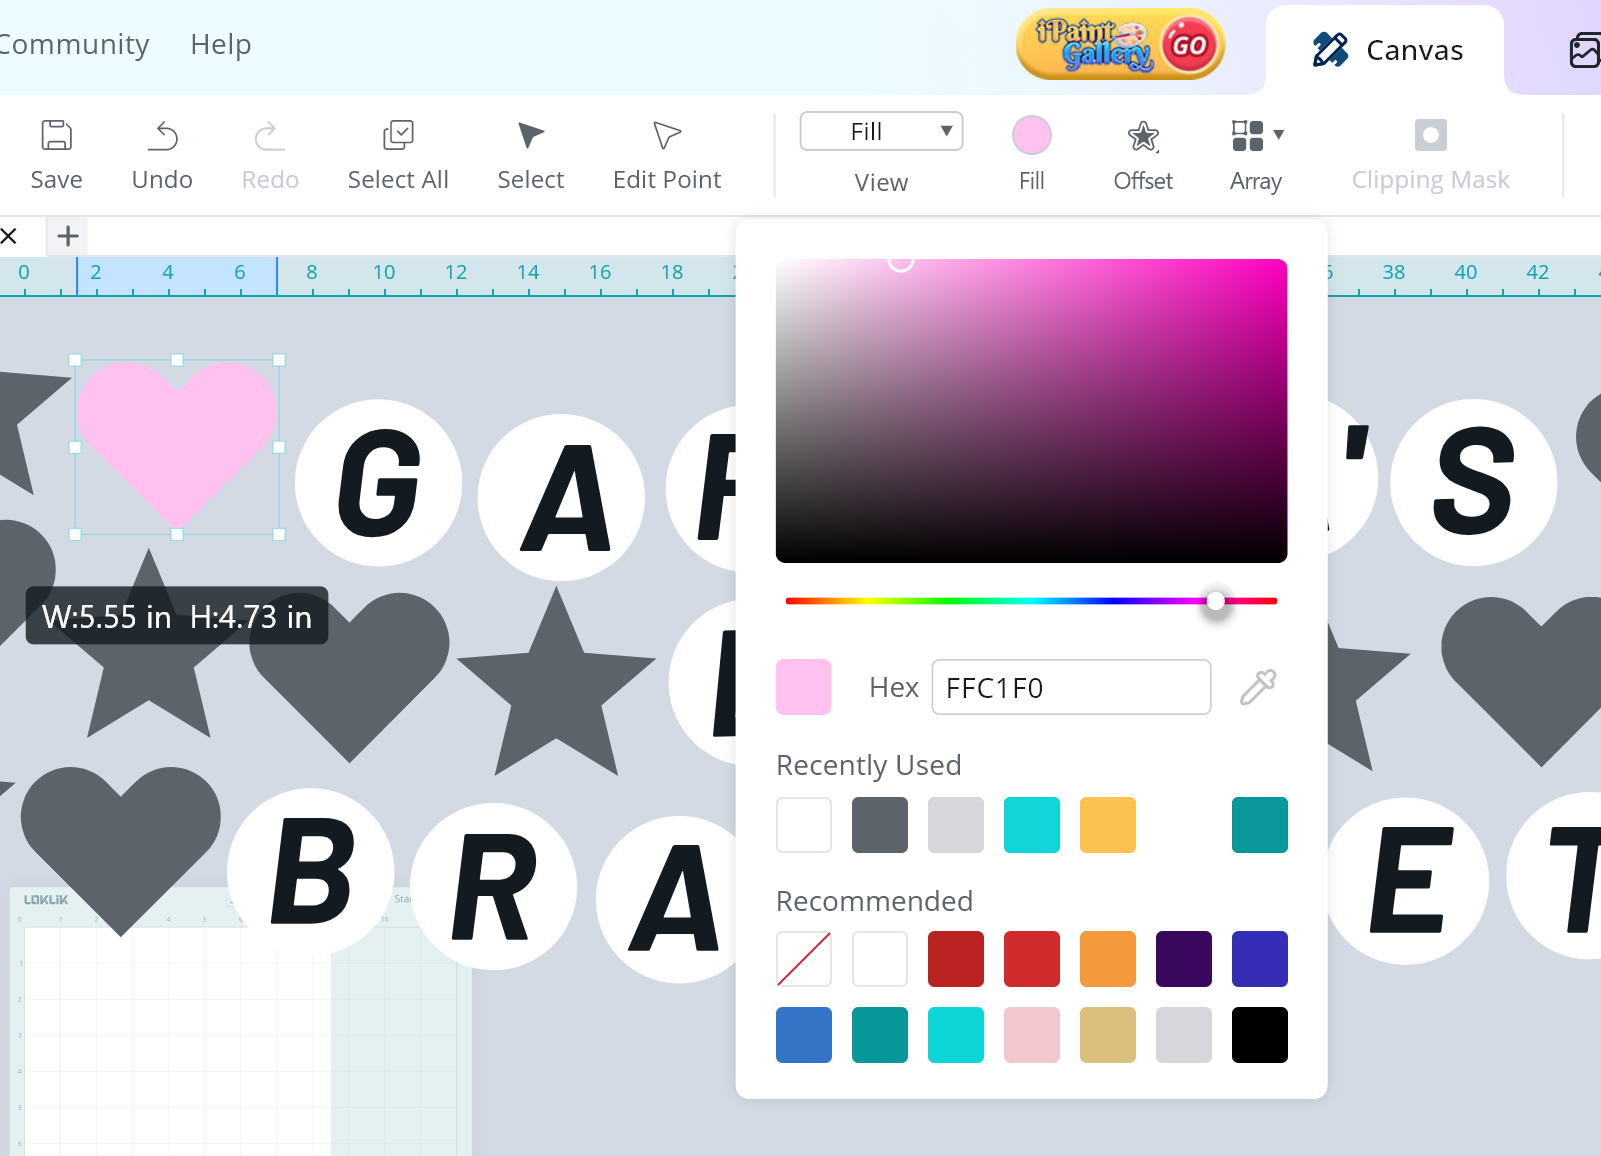
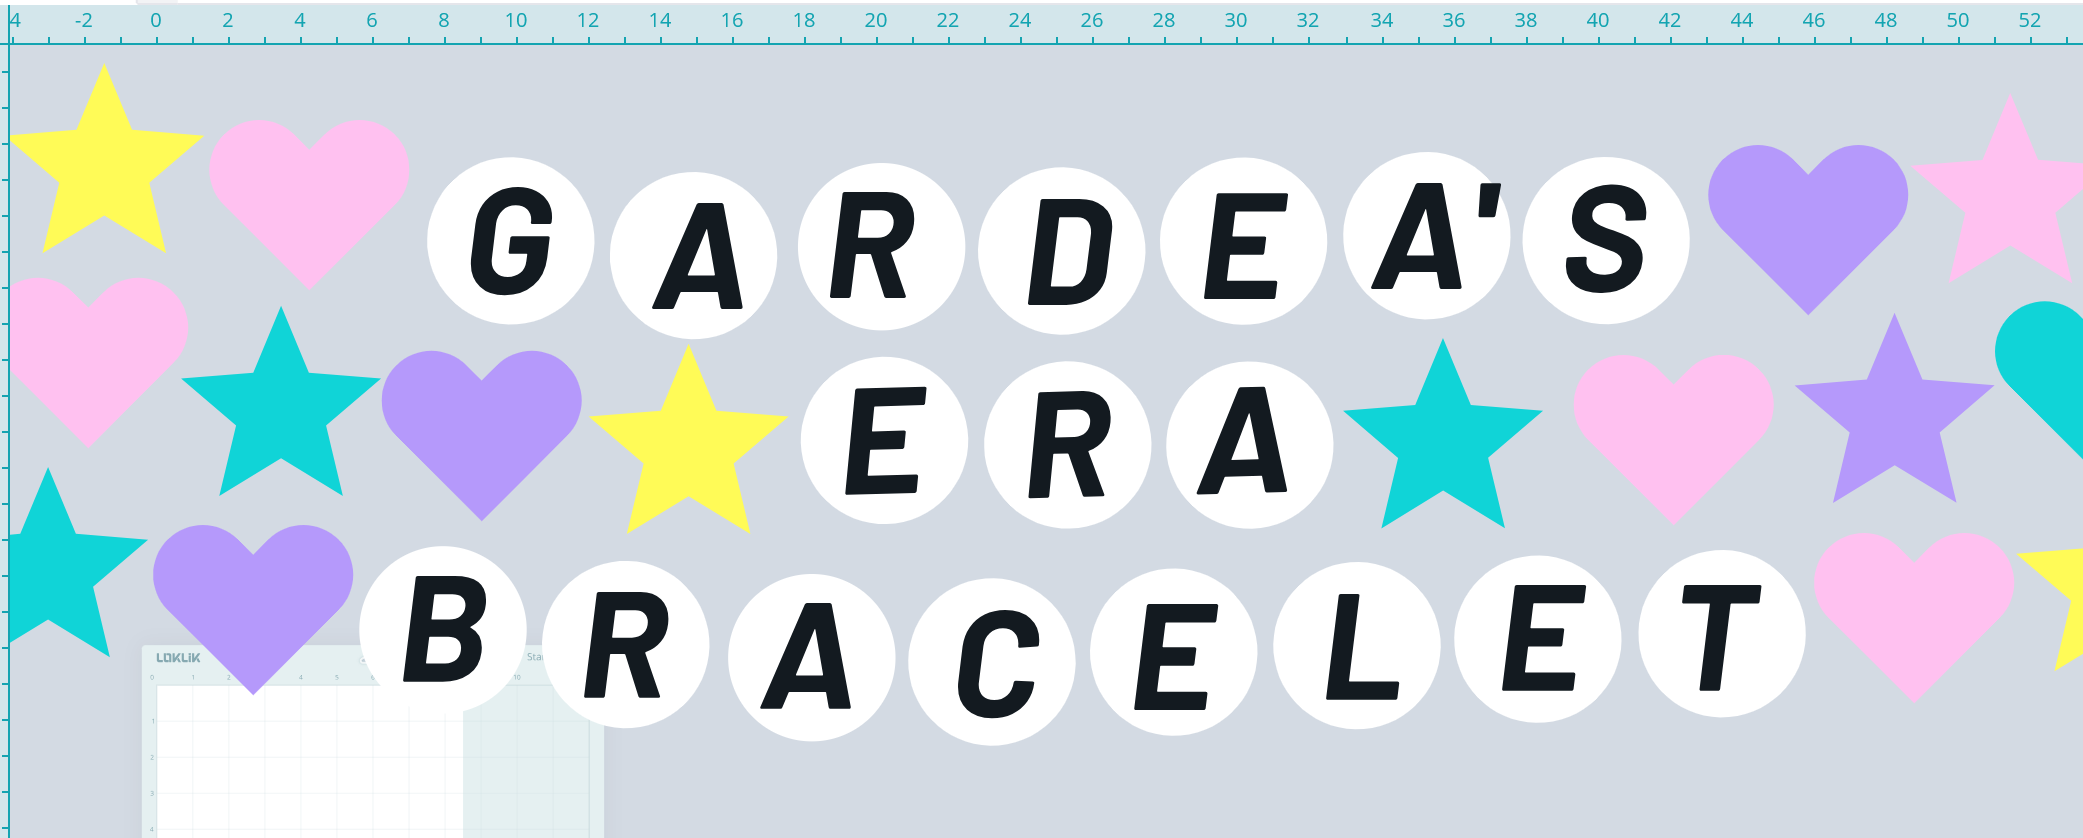
- In order to better visualize the end project, I suggest that you recolor the digital design. This has helped me tweak the color choices prior to cutting the material.
- Select the shape(s) you are wanting to change the color and using the fill color feature, adjust the color dial to select the color of your choice.
- As you see below, you can see the project come to life as you change the color selection. This process helps you decide which colors best fit with each other and how to arrange them.

- The main component of the paper banner is now complete.
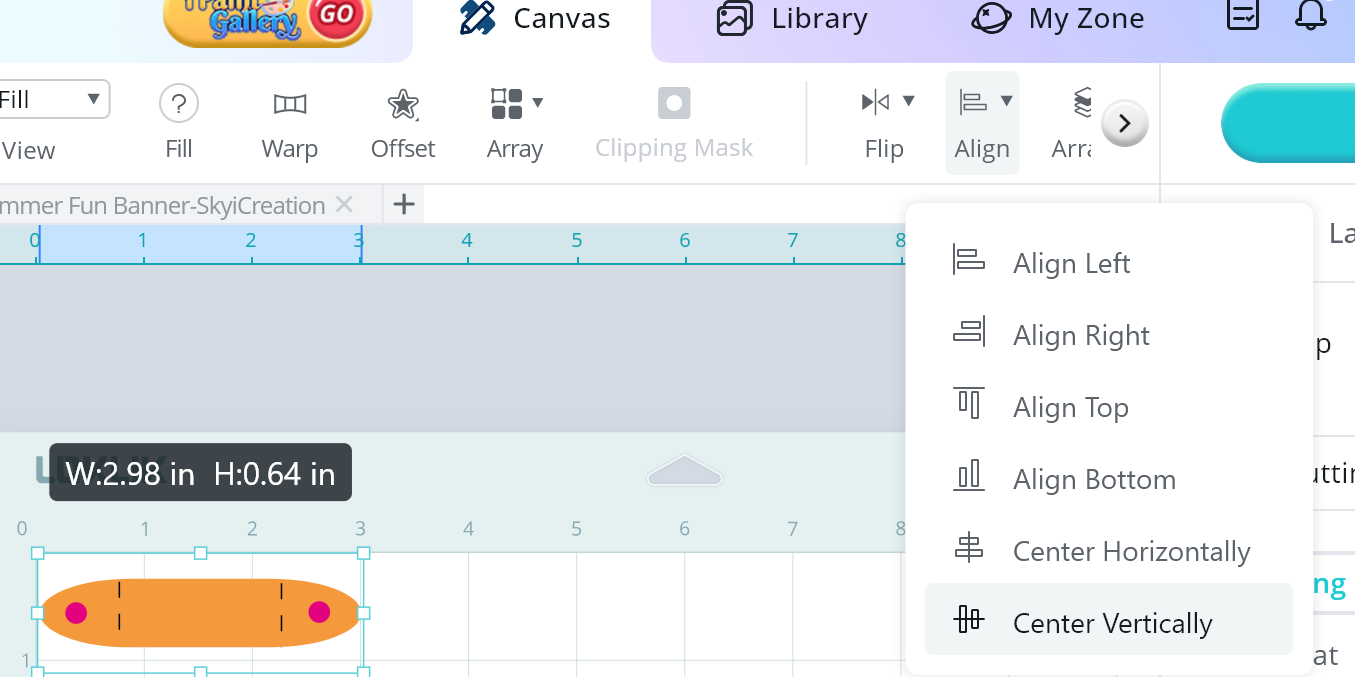
- To help with the assembling process of the paper banner, we will be creating a template thread the ribbon thru. Begin by using the “Shape” feature and adding an oval rectangle measuring.
- Make sure you unlock the sizing restriction in order to resize the part as needed.
- Resize the oval rectangle to be 2.98in wide by .63in tall.

- Using the “Shape” feature and add 2 small circles measuring .2in wide and place them like the photo below.
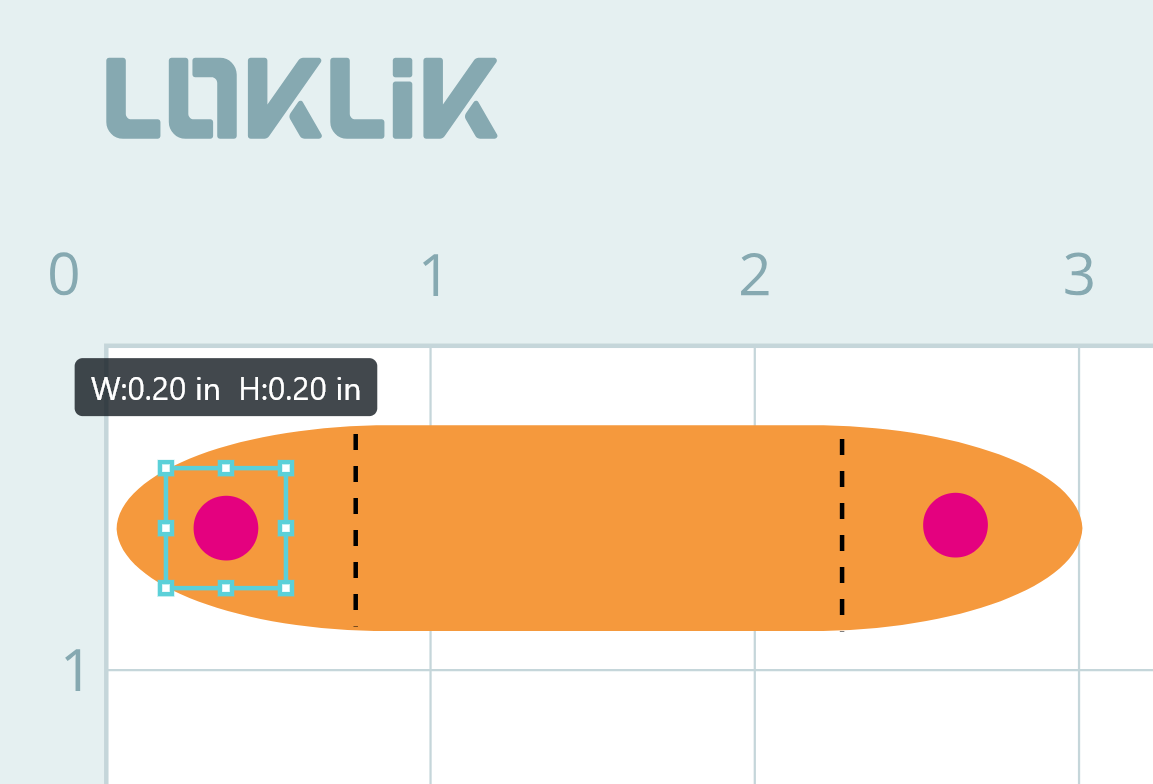
-
Use the Align feature and select Center Vertically to ensure that they are placed in the center (from top/bottom).
-
Add score lines using the pattern feature and selecting the dashed line option instead of a solid line.
-
Copy and paste your hanging template as needed to have one per shape of your paper banner.
Great job! Now you have the designs ready to cut.
- Send all of the pieces to cut.
Cut Settings
Material Type: Cardstock Paper (180g/97lb)
- Force: 7.5
- Speed: 5
- Passes: 2
Score Settings
Material Type: Cardstock Paper (180g/97lb)
- Force: 5.5
- Speed: 5
- Passes: 2
Assembling the Paper Banner
- Glue the lettering to the circle/heart/star bases using craft glue. Repeat this for all of the lettering.

- Using craft glue, add the banner ribbon template piece. Make sure that you gently crease the score marks and glue the flat side to the middle/top portion of the popsicles. The flaps should be facing upward.
- Using a ribbon, string the twine thru the holes. I started with the last letter of the banner and worked thru to the first letter.

WONDERFUL!!! You have made a cute “Eras” themed paper banner.
