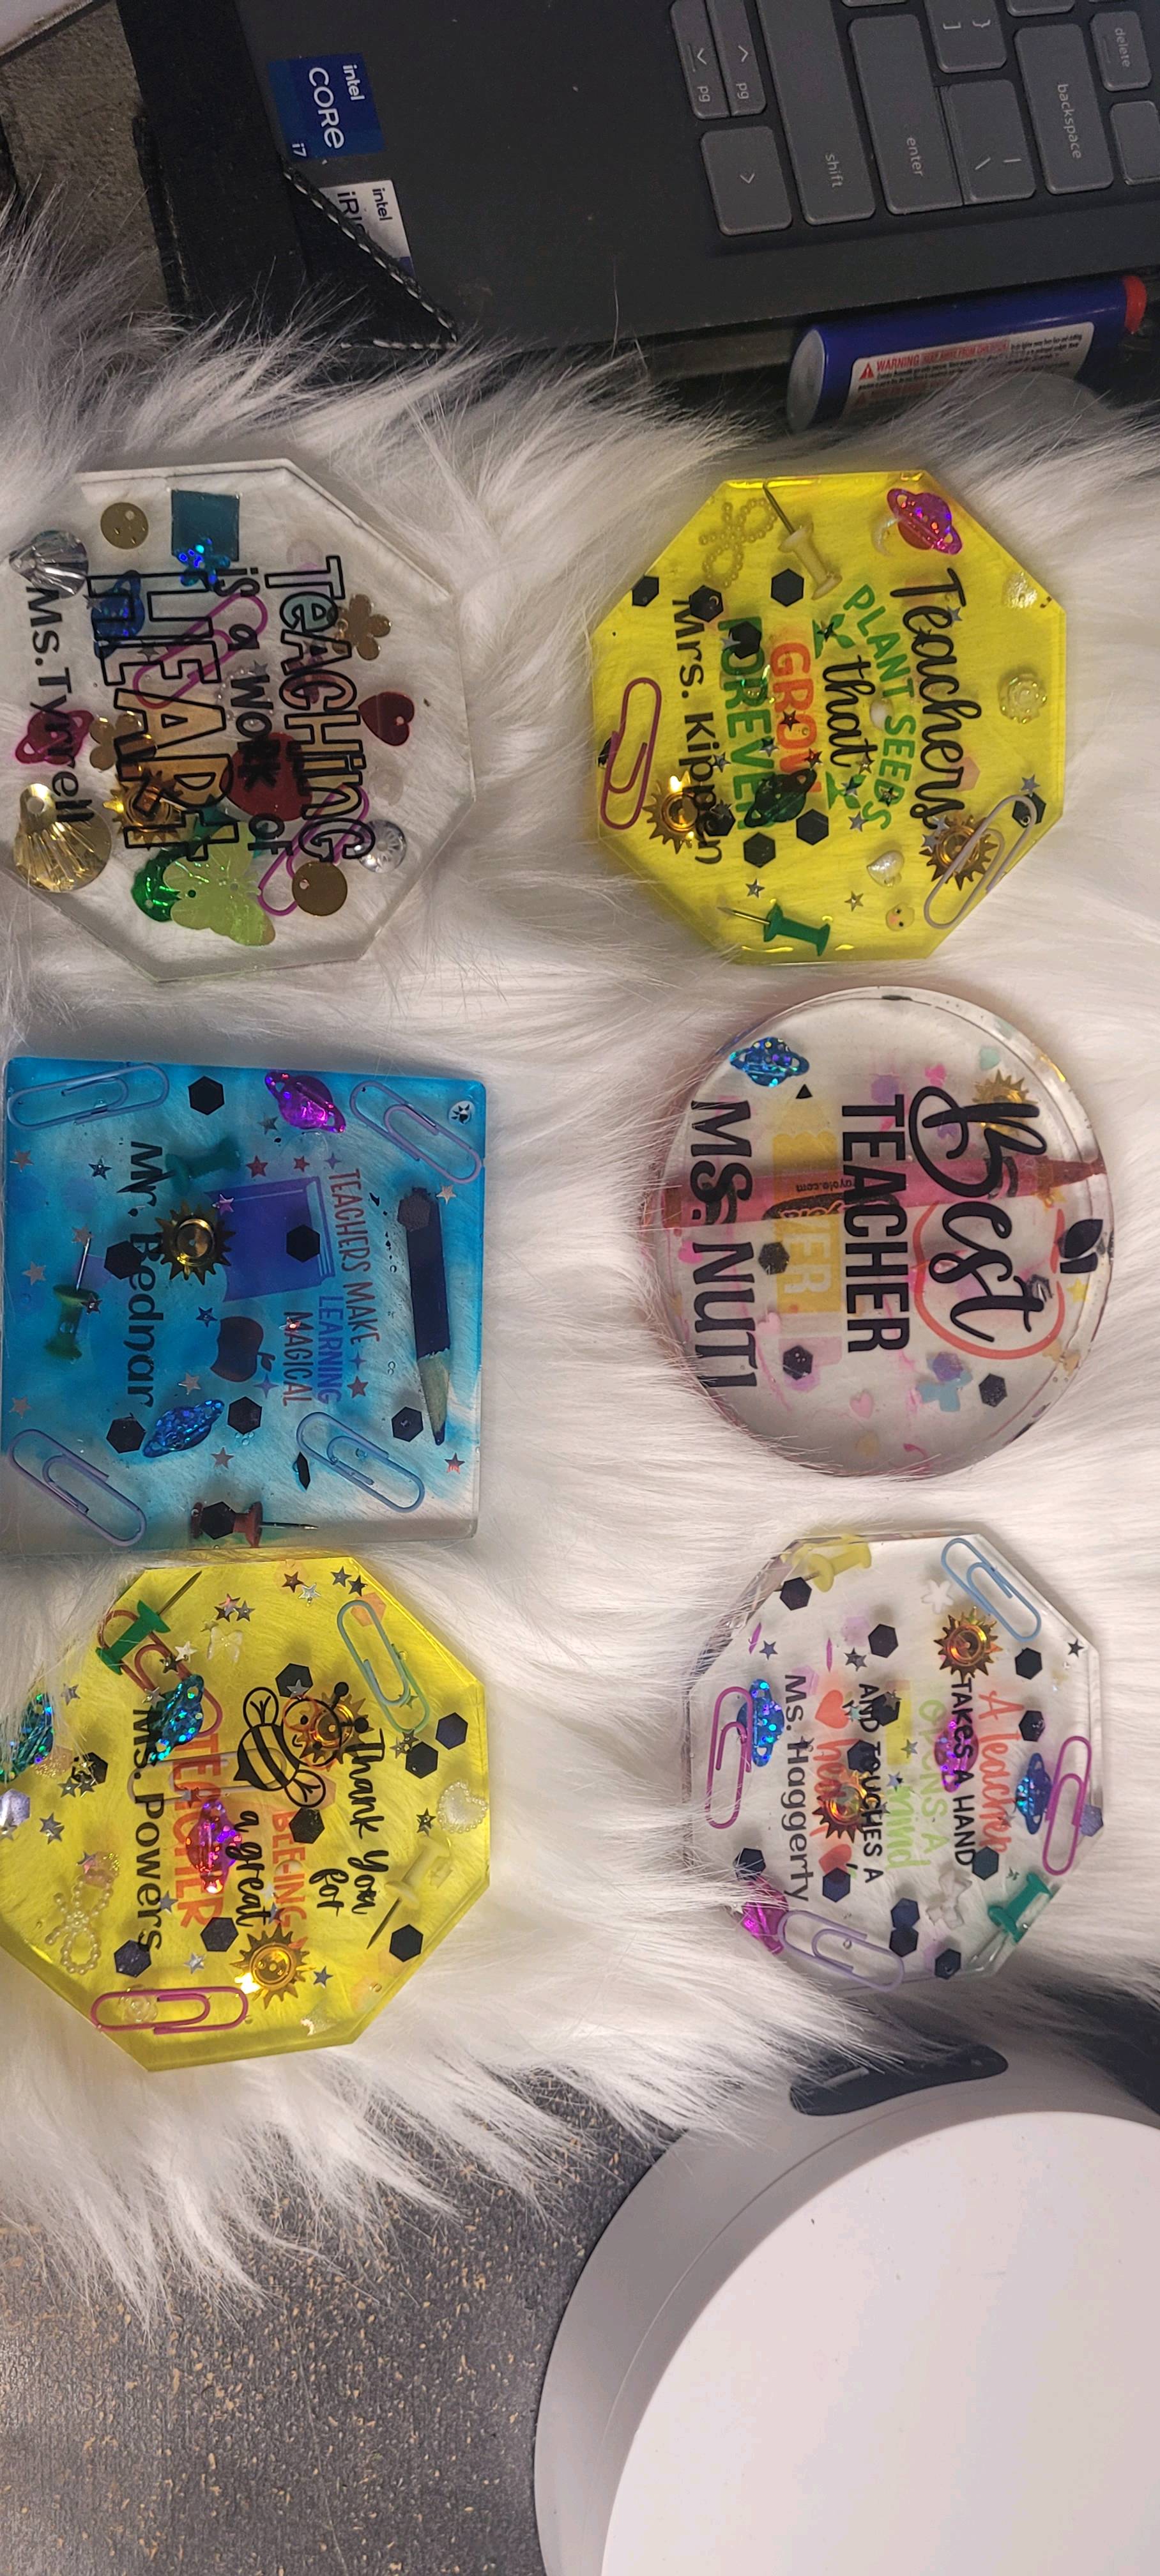
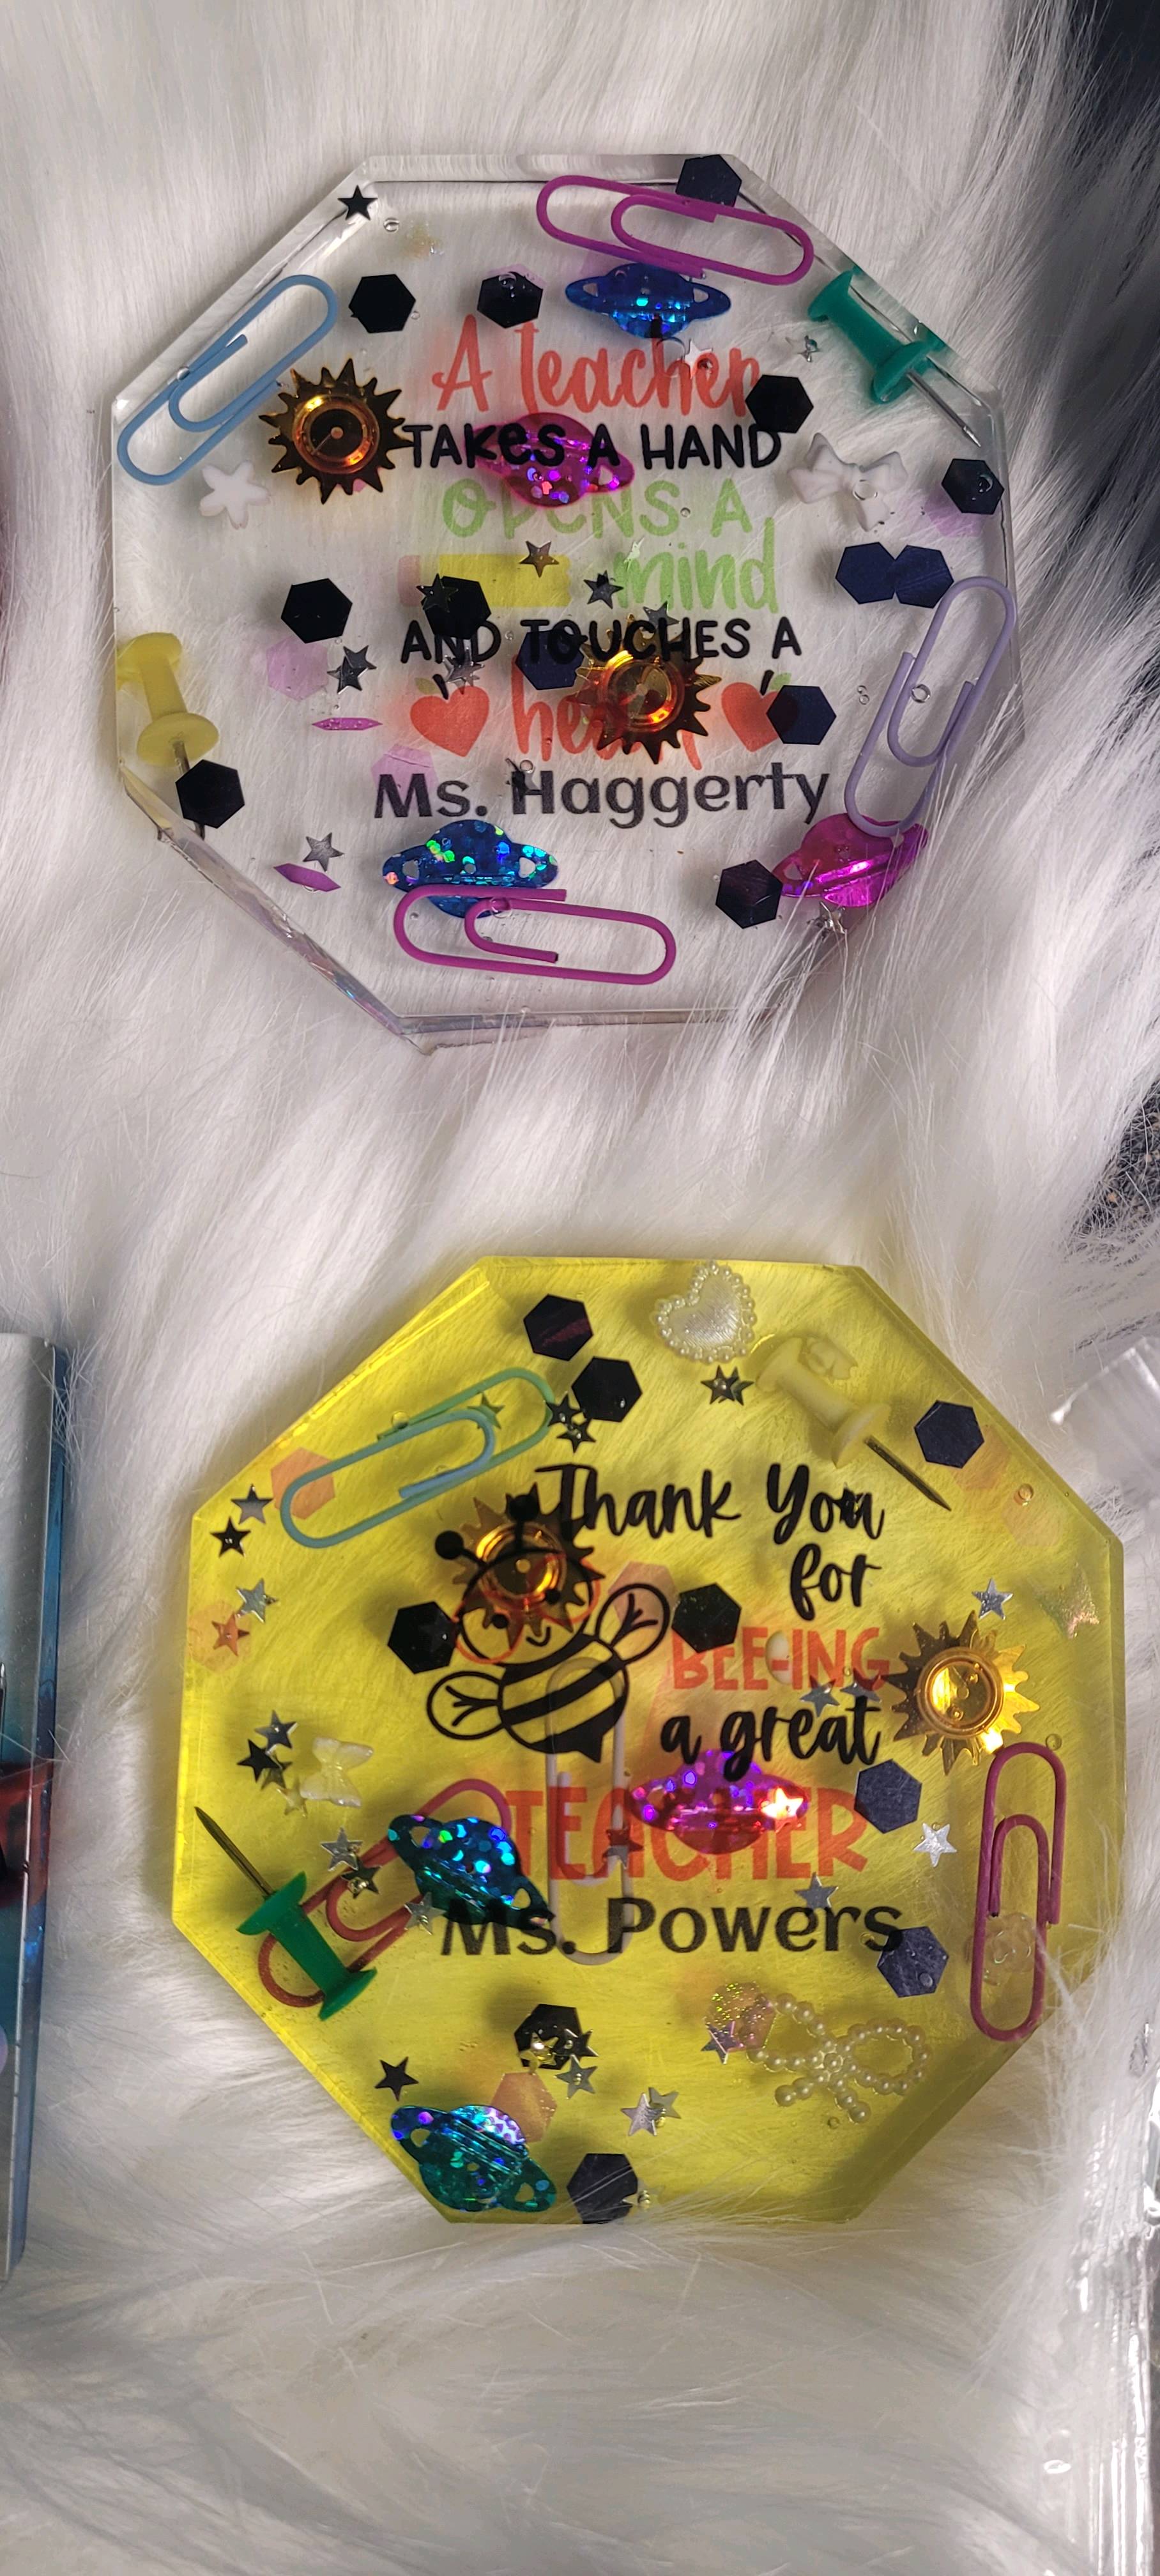
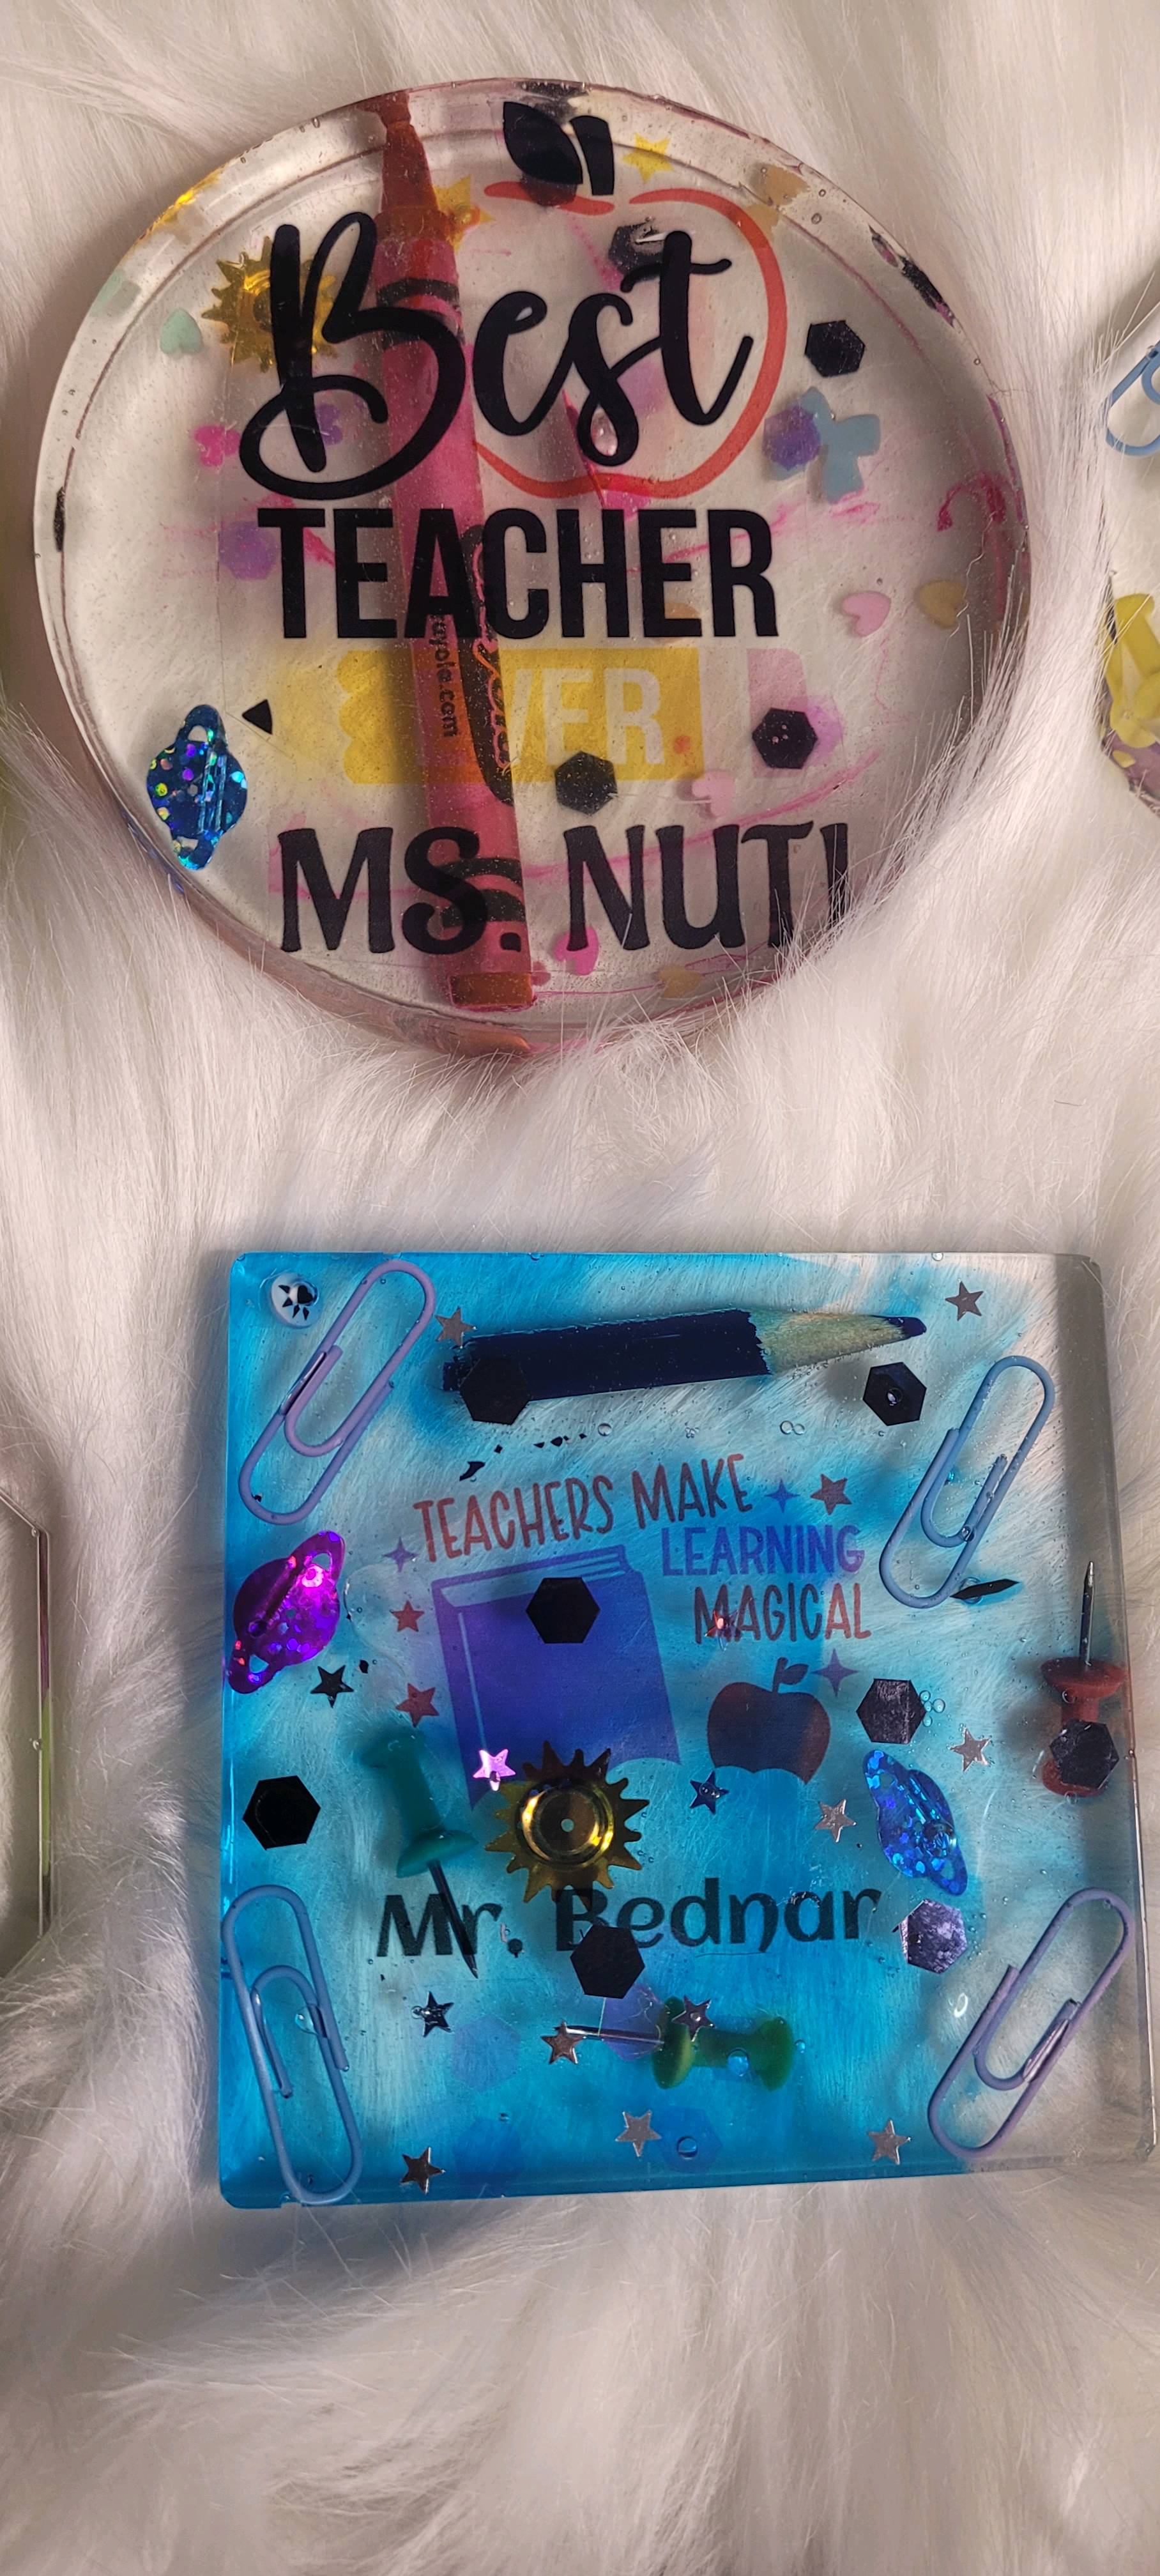
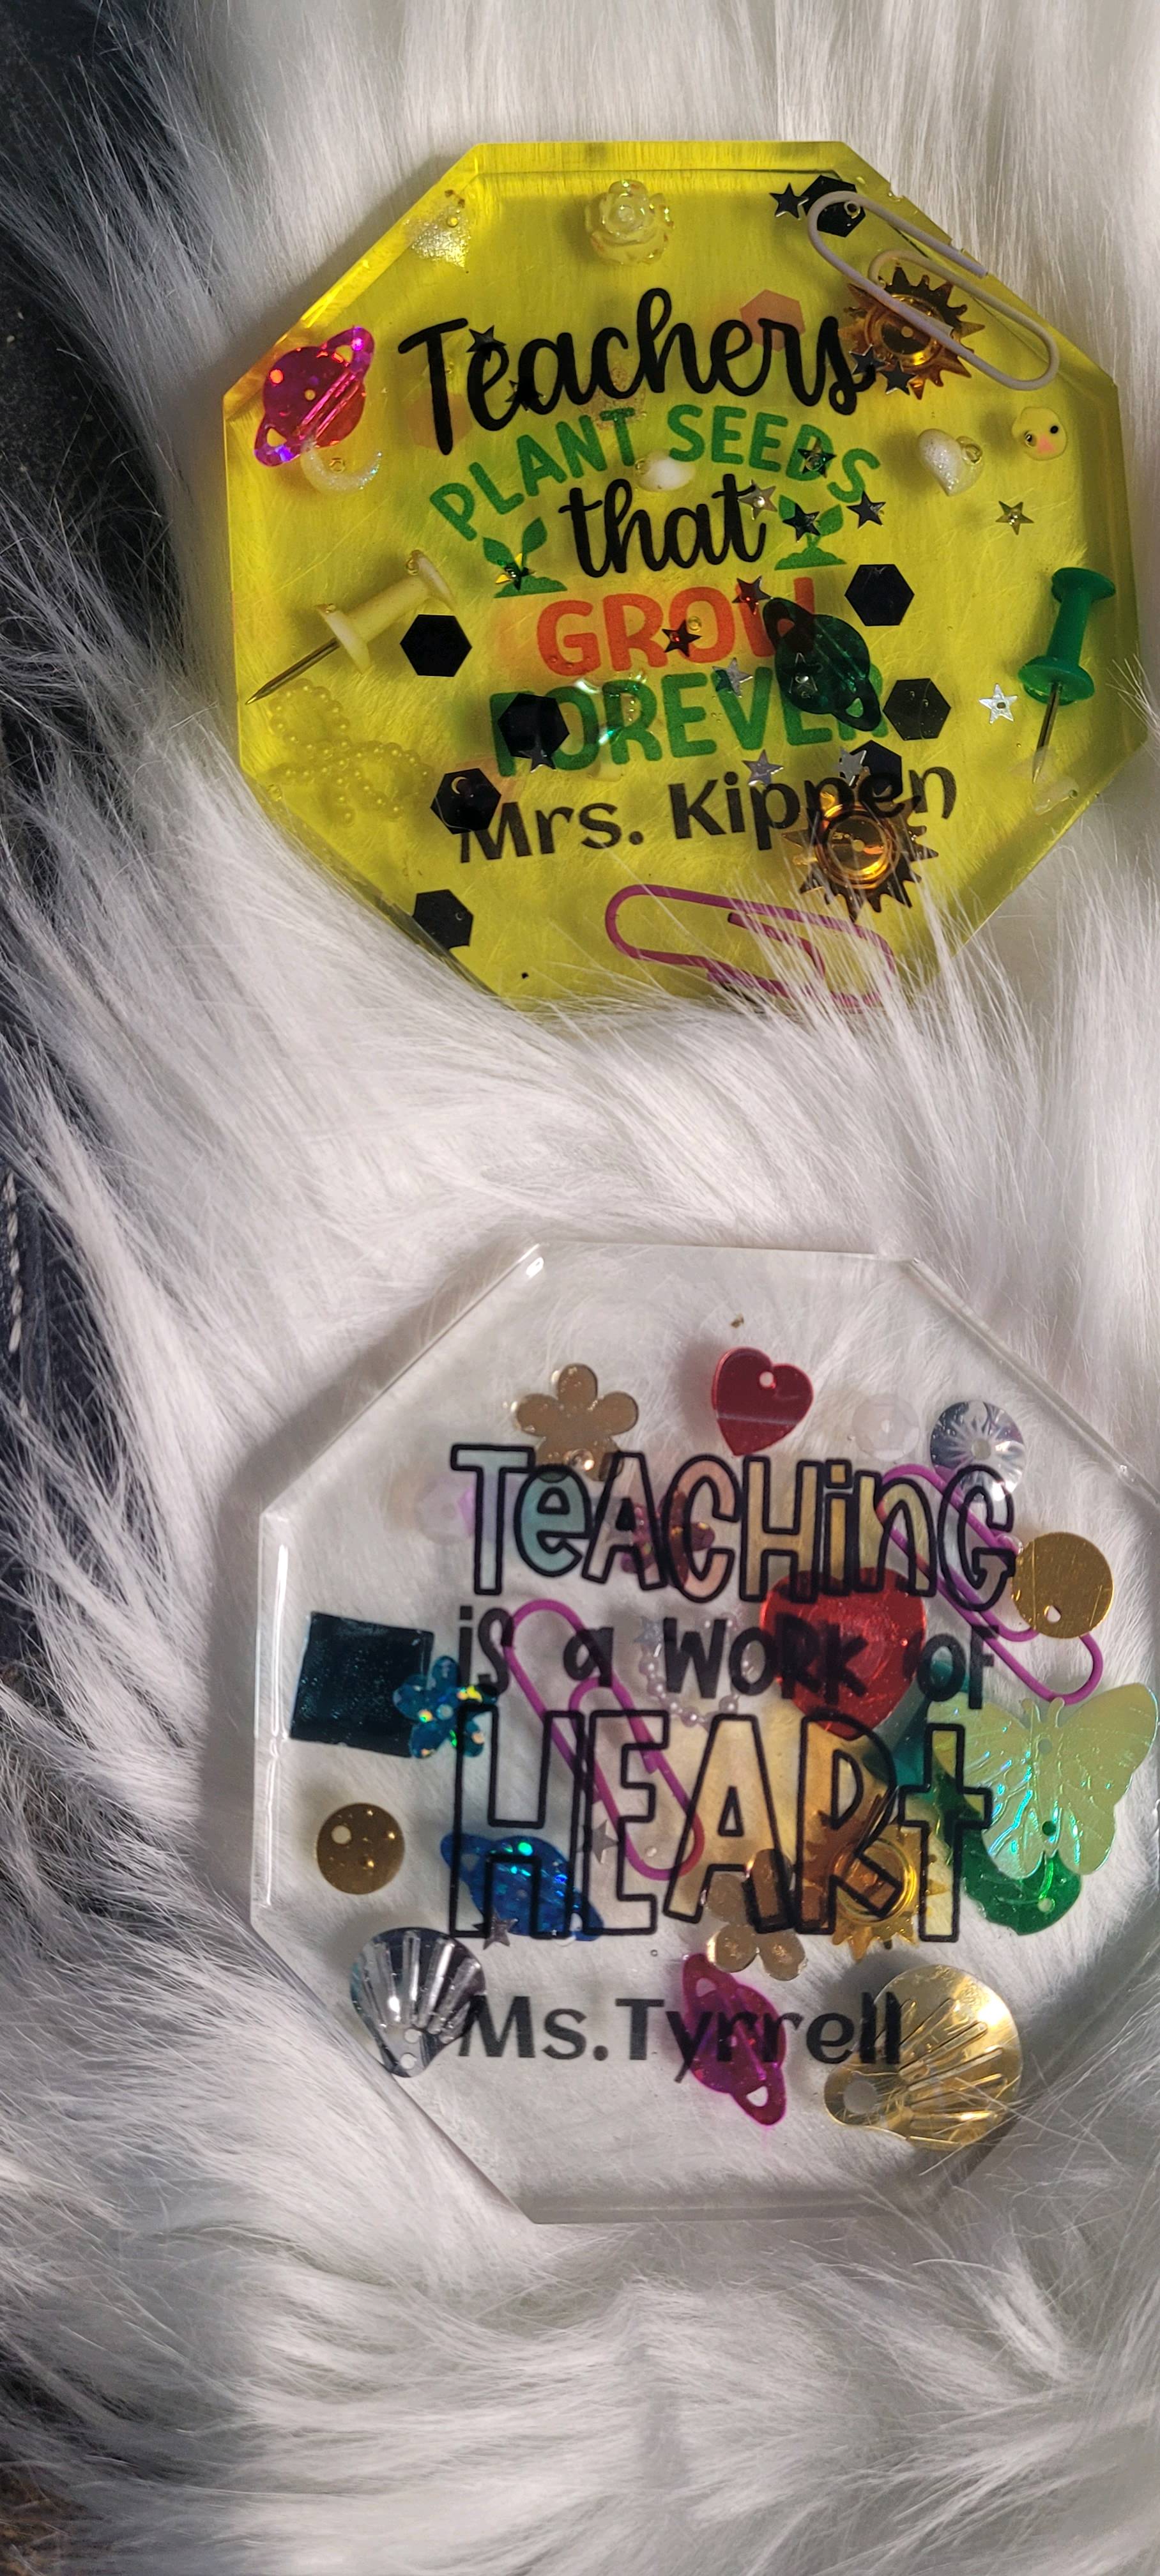
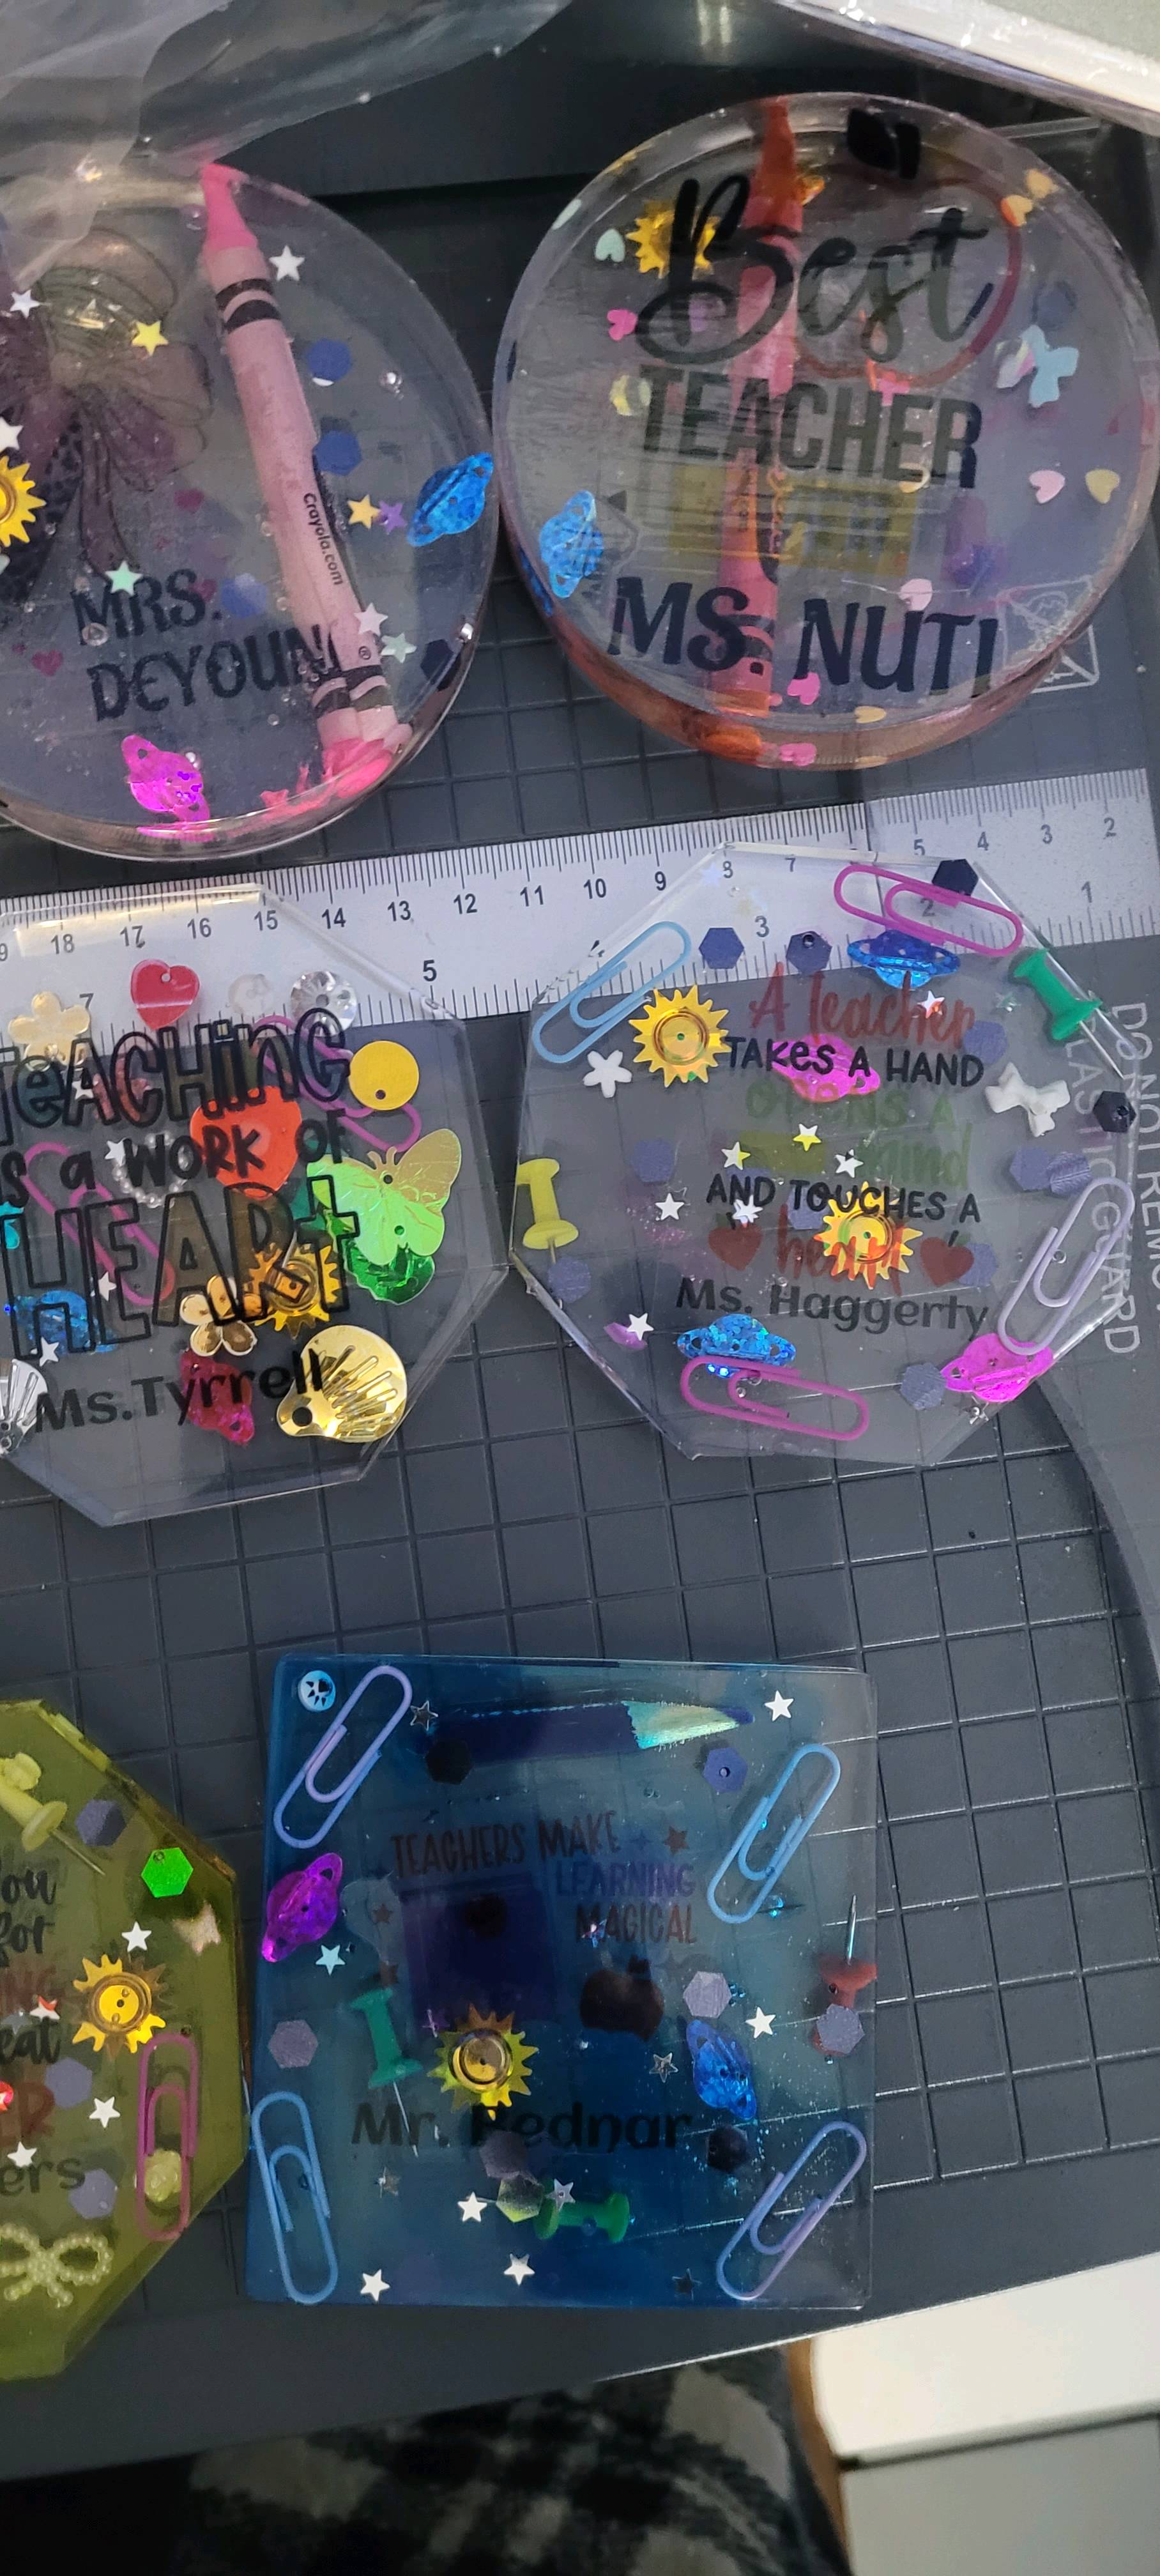
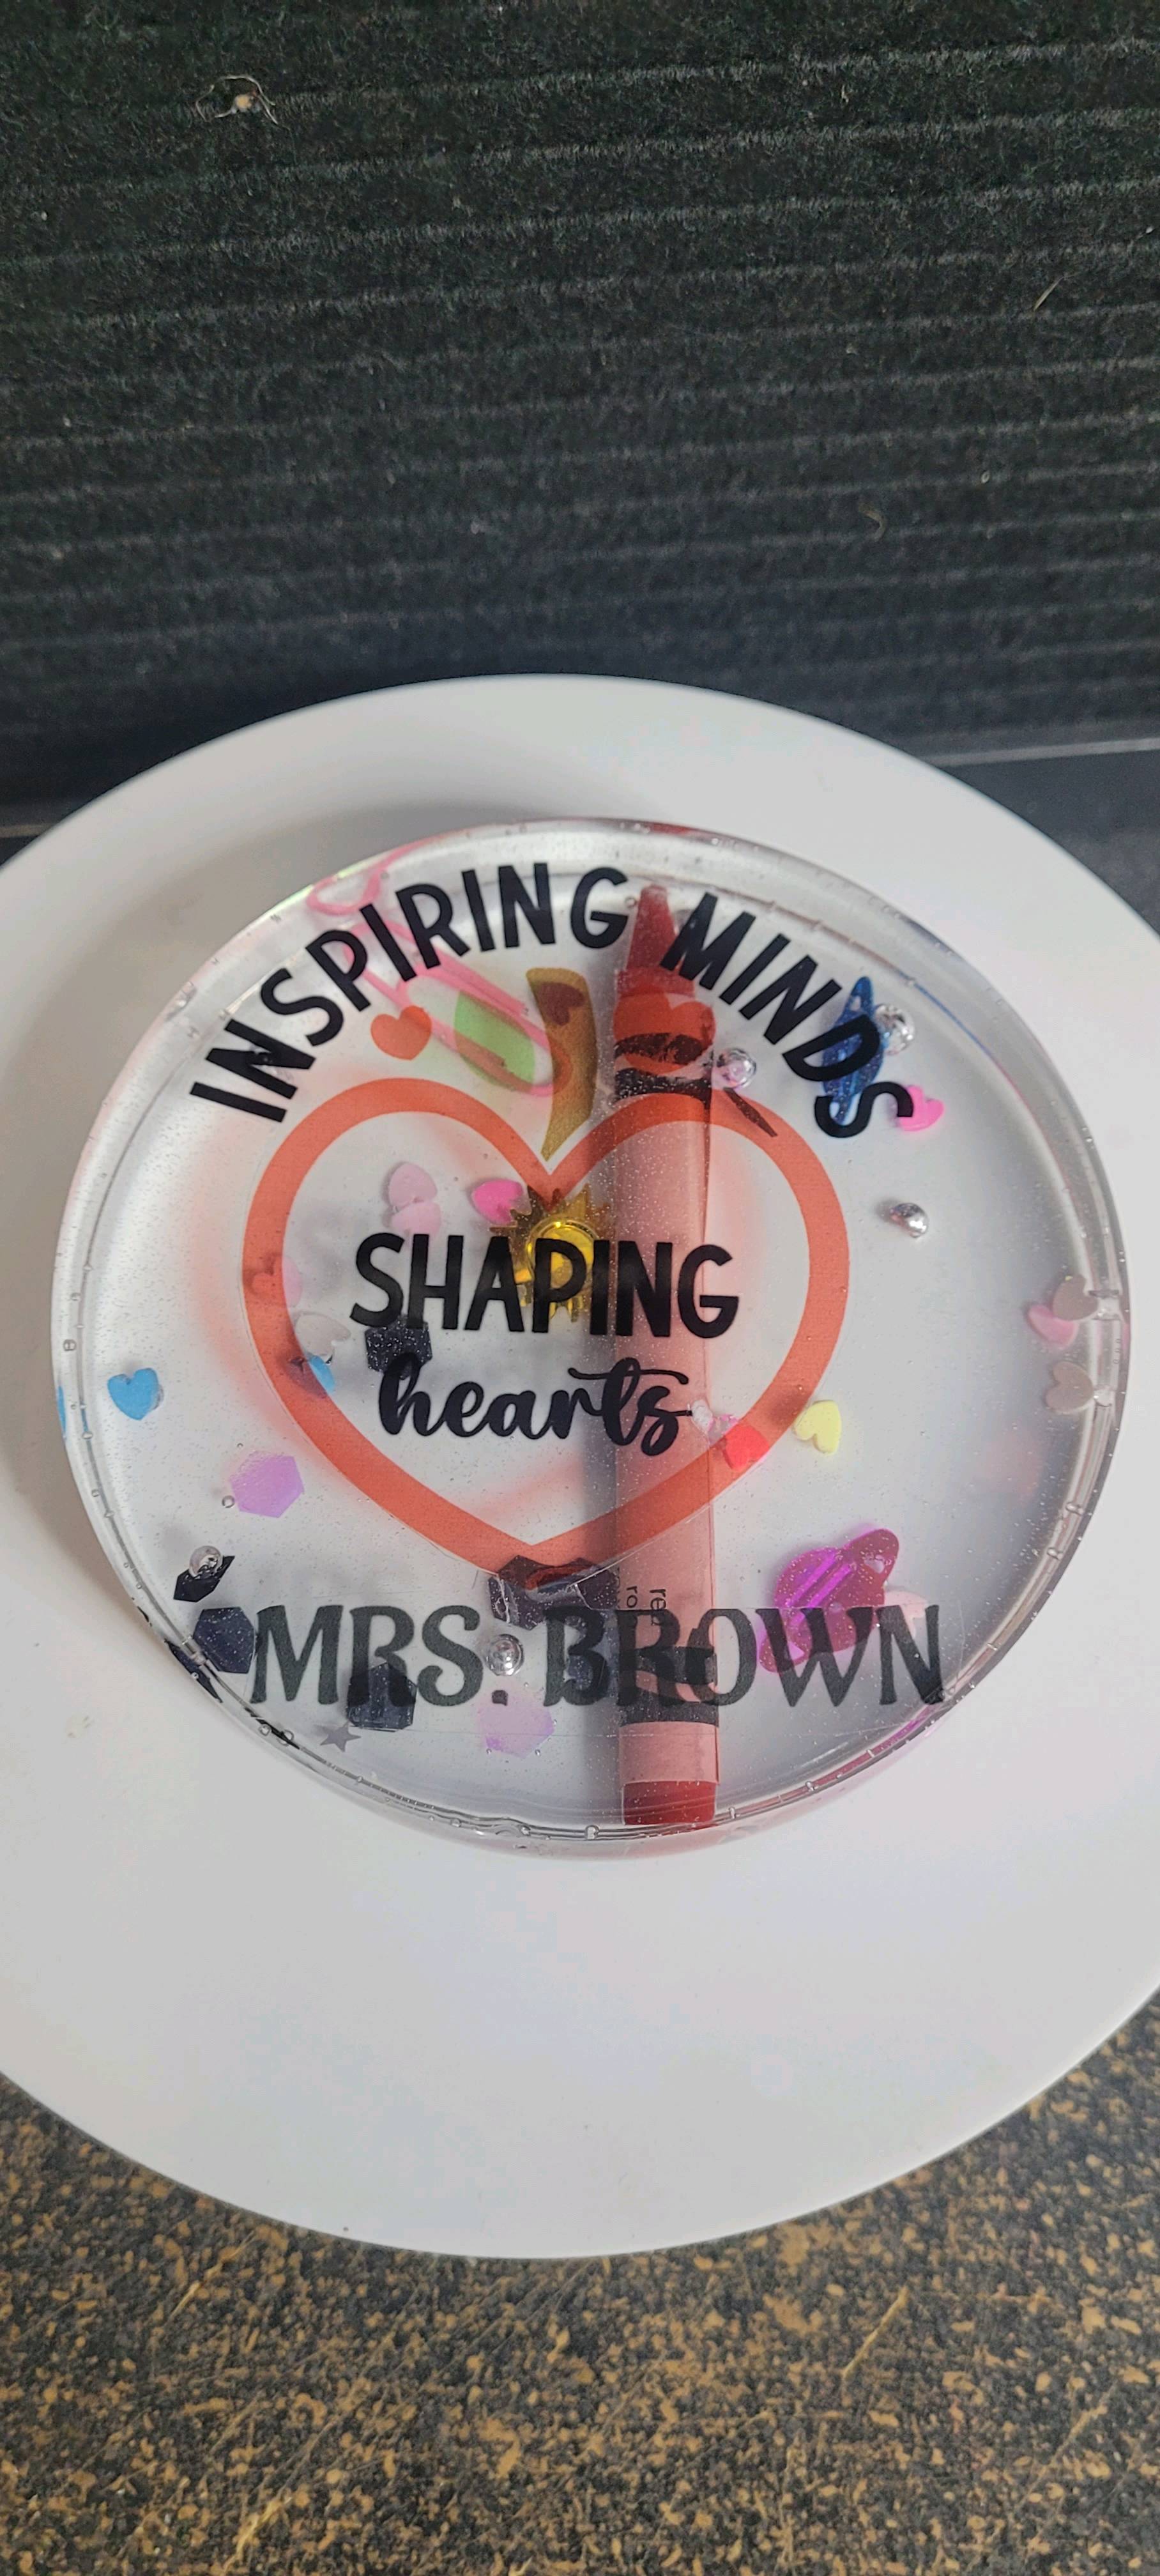
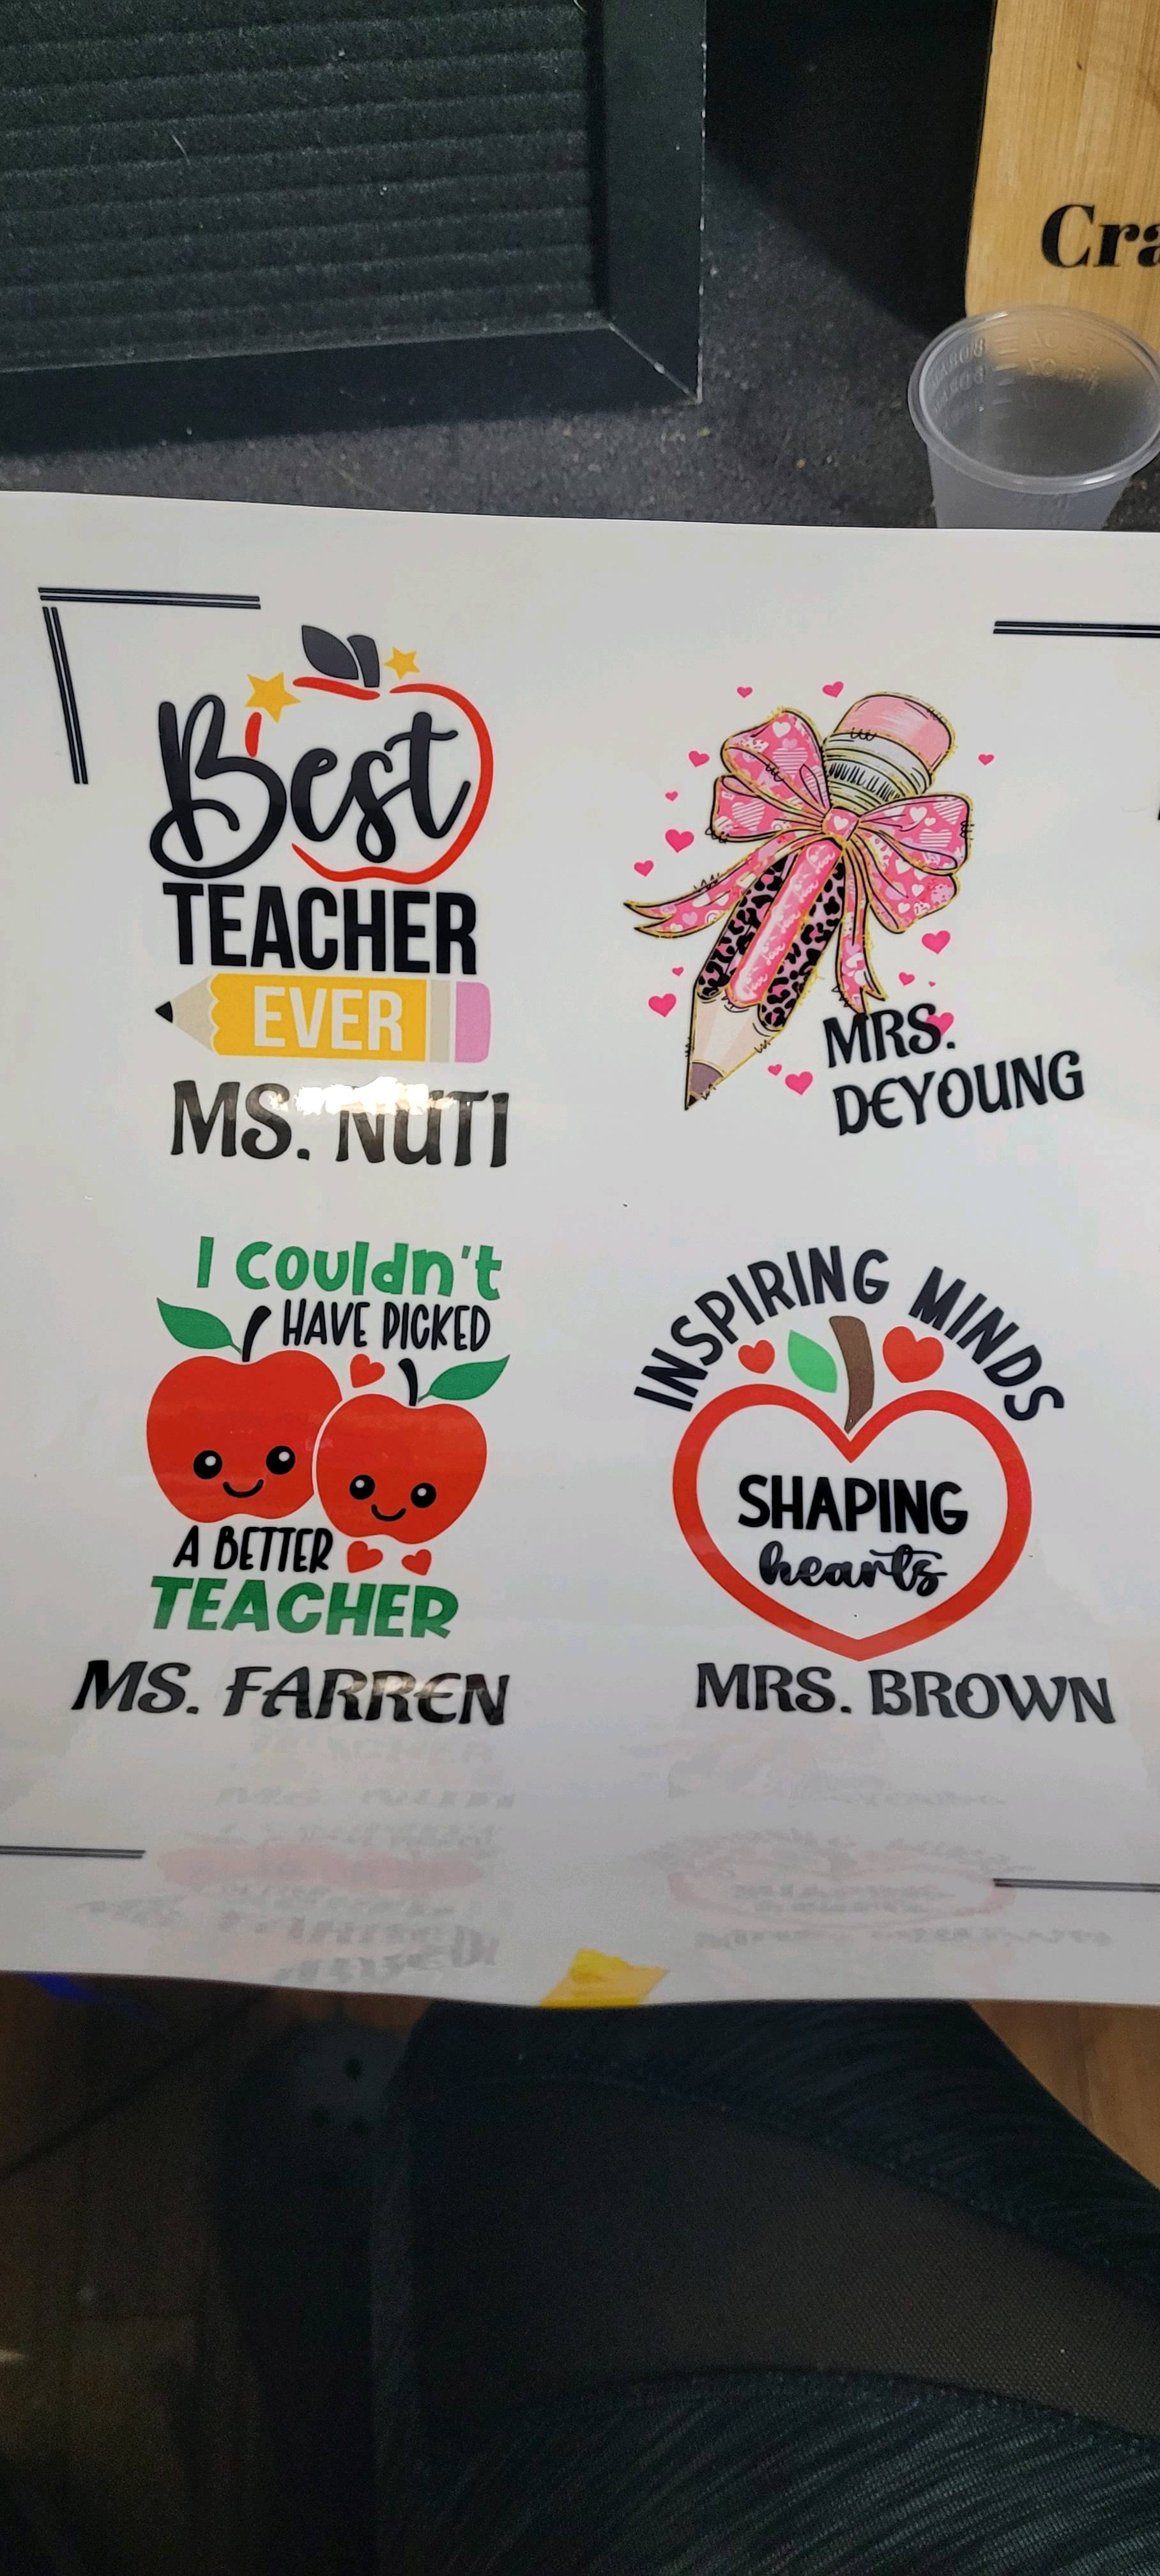
I made my very first resin coaster set, and I wanted them to be something special for Teacher Appreciation Day. I started with the teacher-themed designs from IdeaStudio and personalized each one with the teachers’ names. Before pouring any resin, I printed the designs onto HTVRONT sublimation stickers and pressed them at 335°F for 60 seconds with medium pressure with my auto heat press 2. They came out so clear and vibrant — the colors really popped.
For the resin, I used ErCortArt Resin and Hardener, pouring everything into my Let’s Resin molds. To bring in that fun classroom energy, I added real crayons, mini pencils, paper clips, push pins, and other little school-themed pieces I grabbed from Amazon.
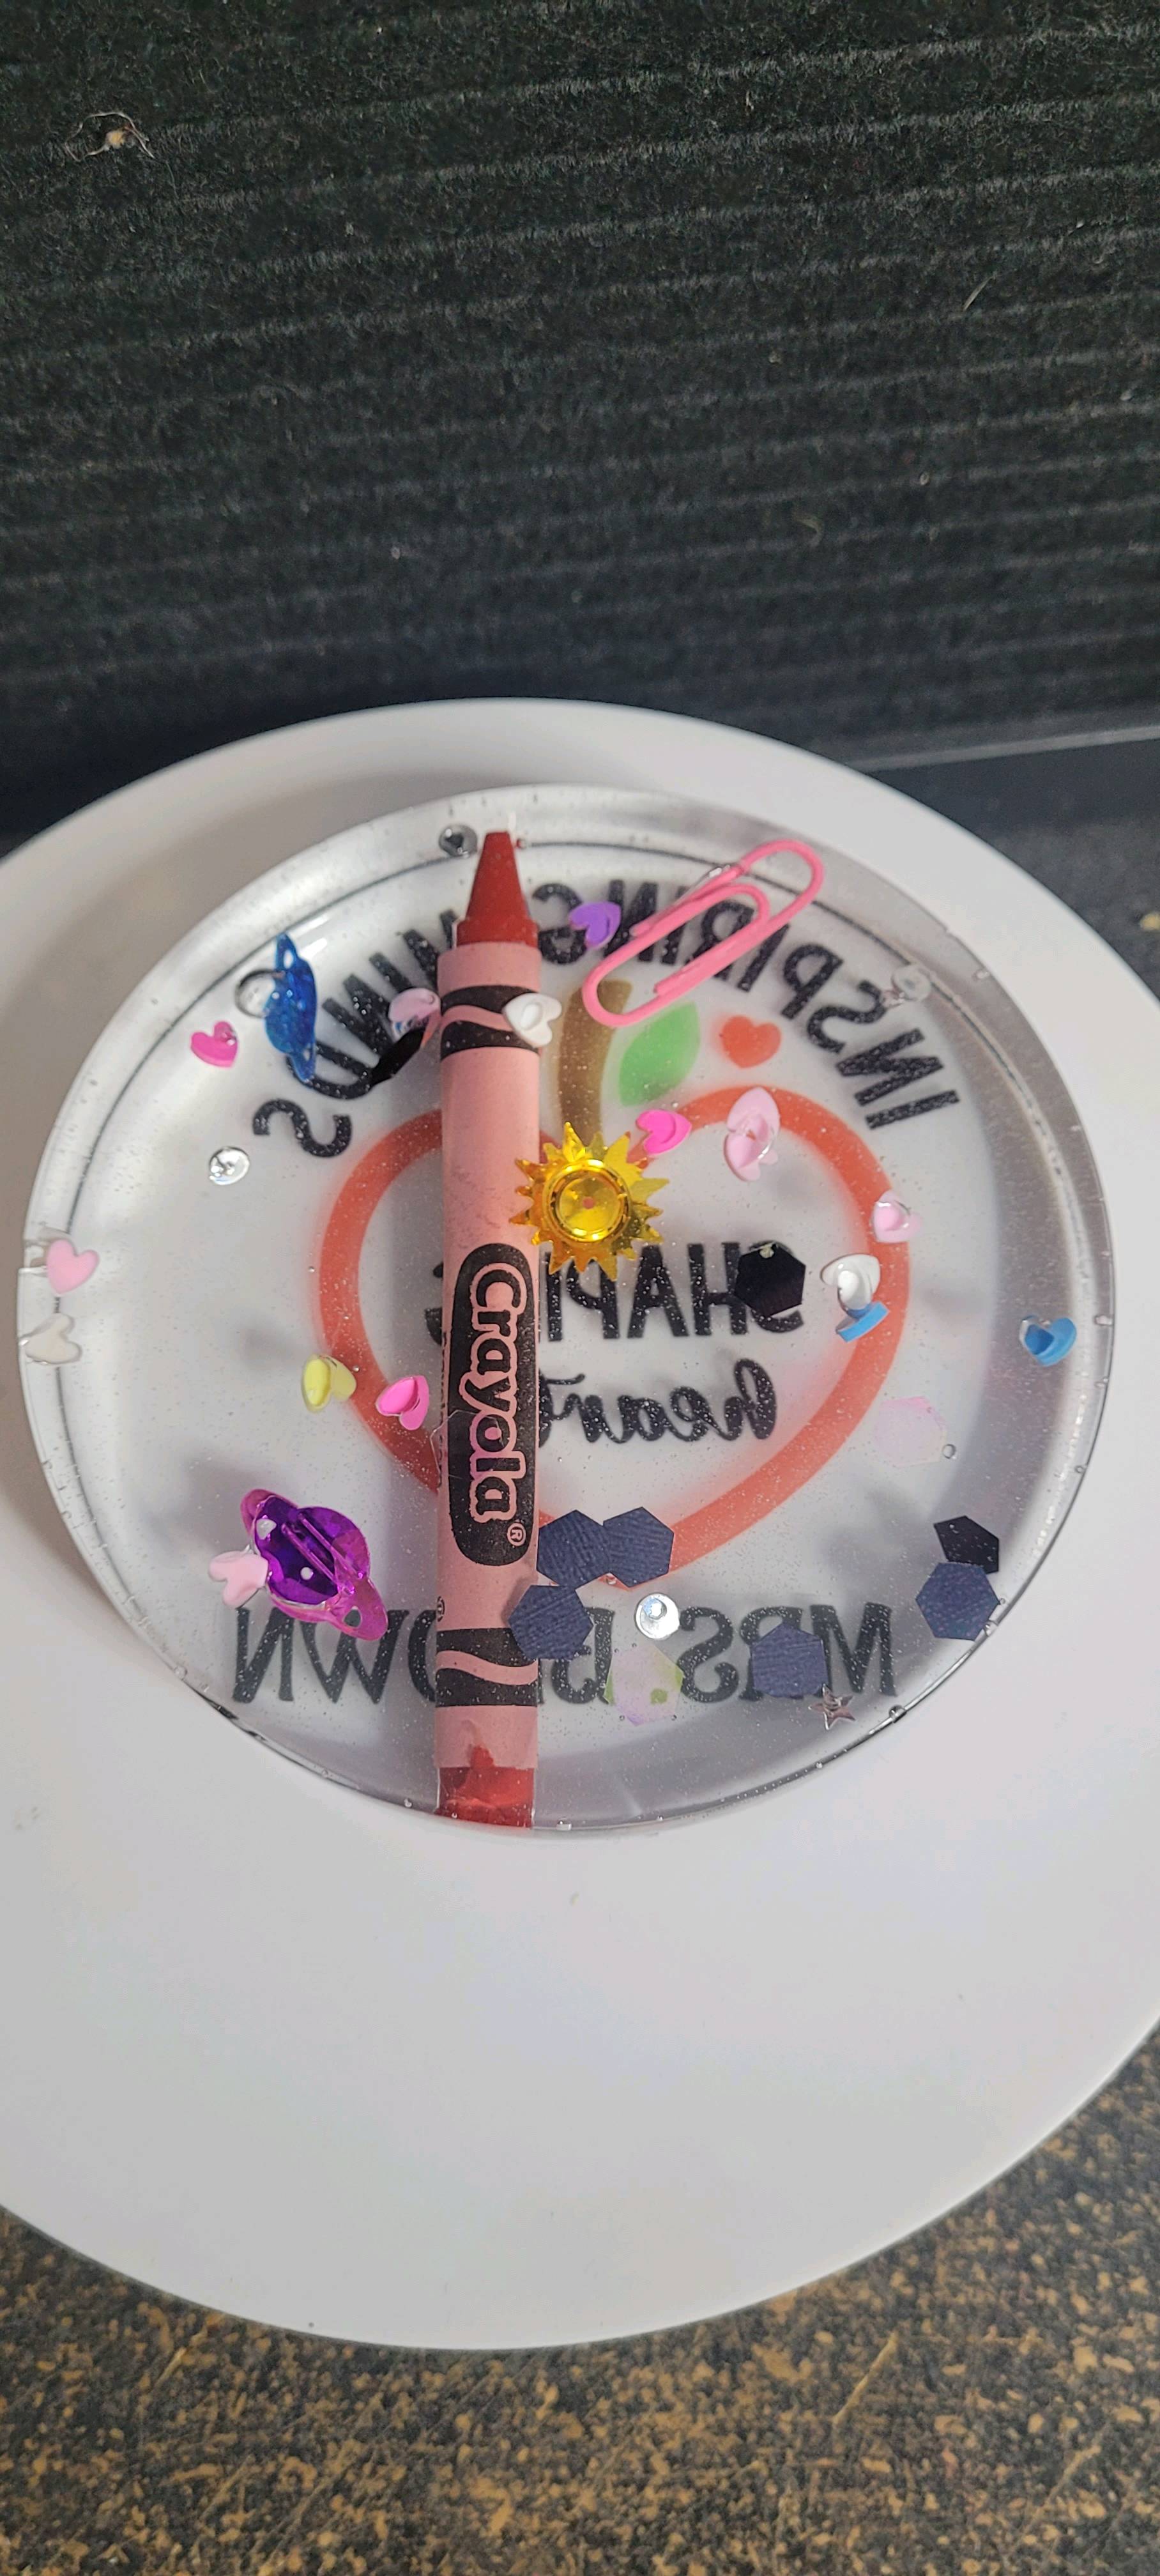
Once everything was arranged, I poured the resin and let it cure. I definitely had a few hiccups — the coaster ended up uneven, and smaller ones the pencil and push pin poked through the surface. All of them had sharp edges that I had to clean up afterward.
But even with the imperfections, I absolutely love how they came out. They’re colorful, personal, and full of personality — the perfect handmade thank‑you for the teachers who pour so much into our kids.
Nice job on your first resin coasters. Yeah, stuff likes to float to the top when in resin. Gotta babysit it for the first 45 minutes to an hour and keep pushing them down with a toothpick. Bubbles also like to form under the objects. Gotta pop those with a torch. They look good though! Fantastic idea using the crayons, paperclips, and thumbtacks.
I don’t use a heat gun. Every time I do, the resin gets too way too hot and will start burning the mold. When it gets too hot, it will start to harden very quickly, and you won’t have the working time you need to add the add-ins, nor will you be able to get the bubbles out, because it’s already hardened to where you can’t control them. Then you just get holes all throughout the finished product. So I suggest using a chef’s torch for bigger projects, or a grill lighter for the small ones. This way you don’t overheat or blow the resin out of the mold. I’ve also done that, too.
I just wrote a Beginner’s Guide to Resin for my blog. There are some free printable guides to go along with them, too, if you want to check it out. Here’s the link to the hub post that contains all three parts.