Hi Crafters,
Taking good photos of your projects is actually not that hard! With a few simple tips, you can make your project instantly more eye-catching. We’ll guide you step by step on how to take fantastic photos with just your phone!
Step 1: Get Ready to Shoot
![]() Your phone is all you need As long as your phone has a camera with at least 5 megapixels (most do!), you’re good to go. Pro Tip: Make sure your photo is sharp! Zoom in after taking it to check the focus.
Your phone is all you need As long as your phone has a camera with at least 5 megapixels (most do!), you’re good to go. Pro Tip: Make sure your photo is sharp! Zoom in after taking it to check the focus.
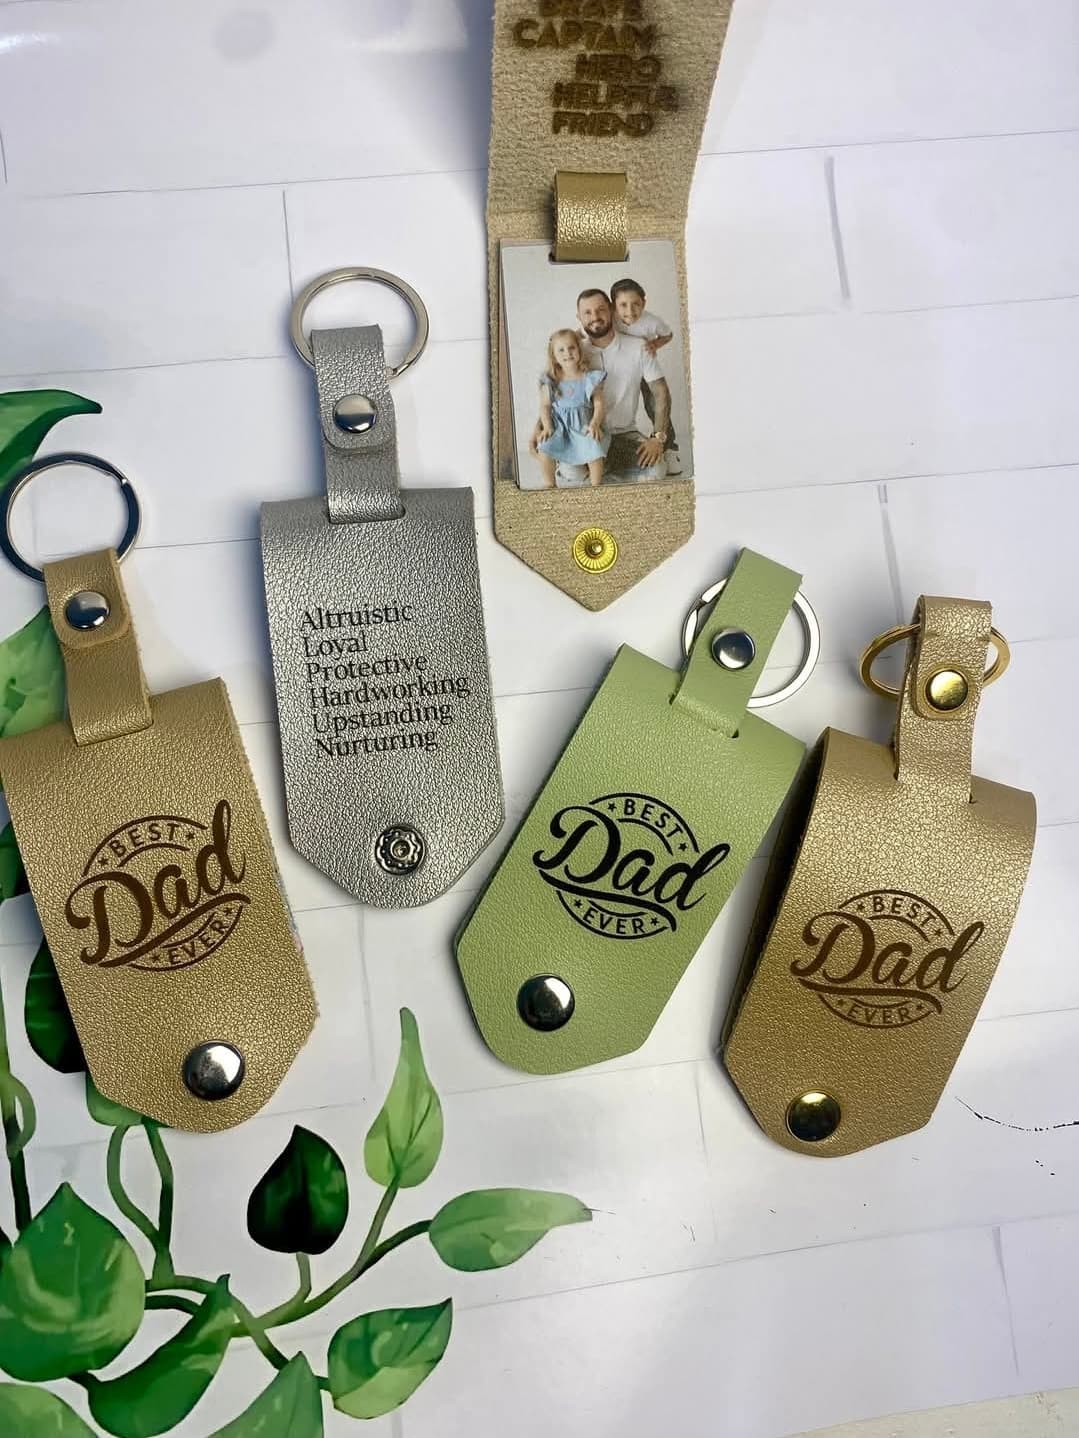
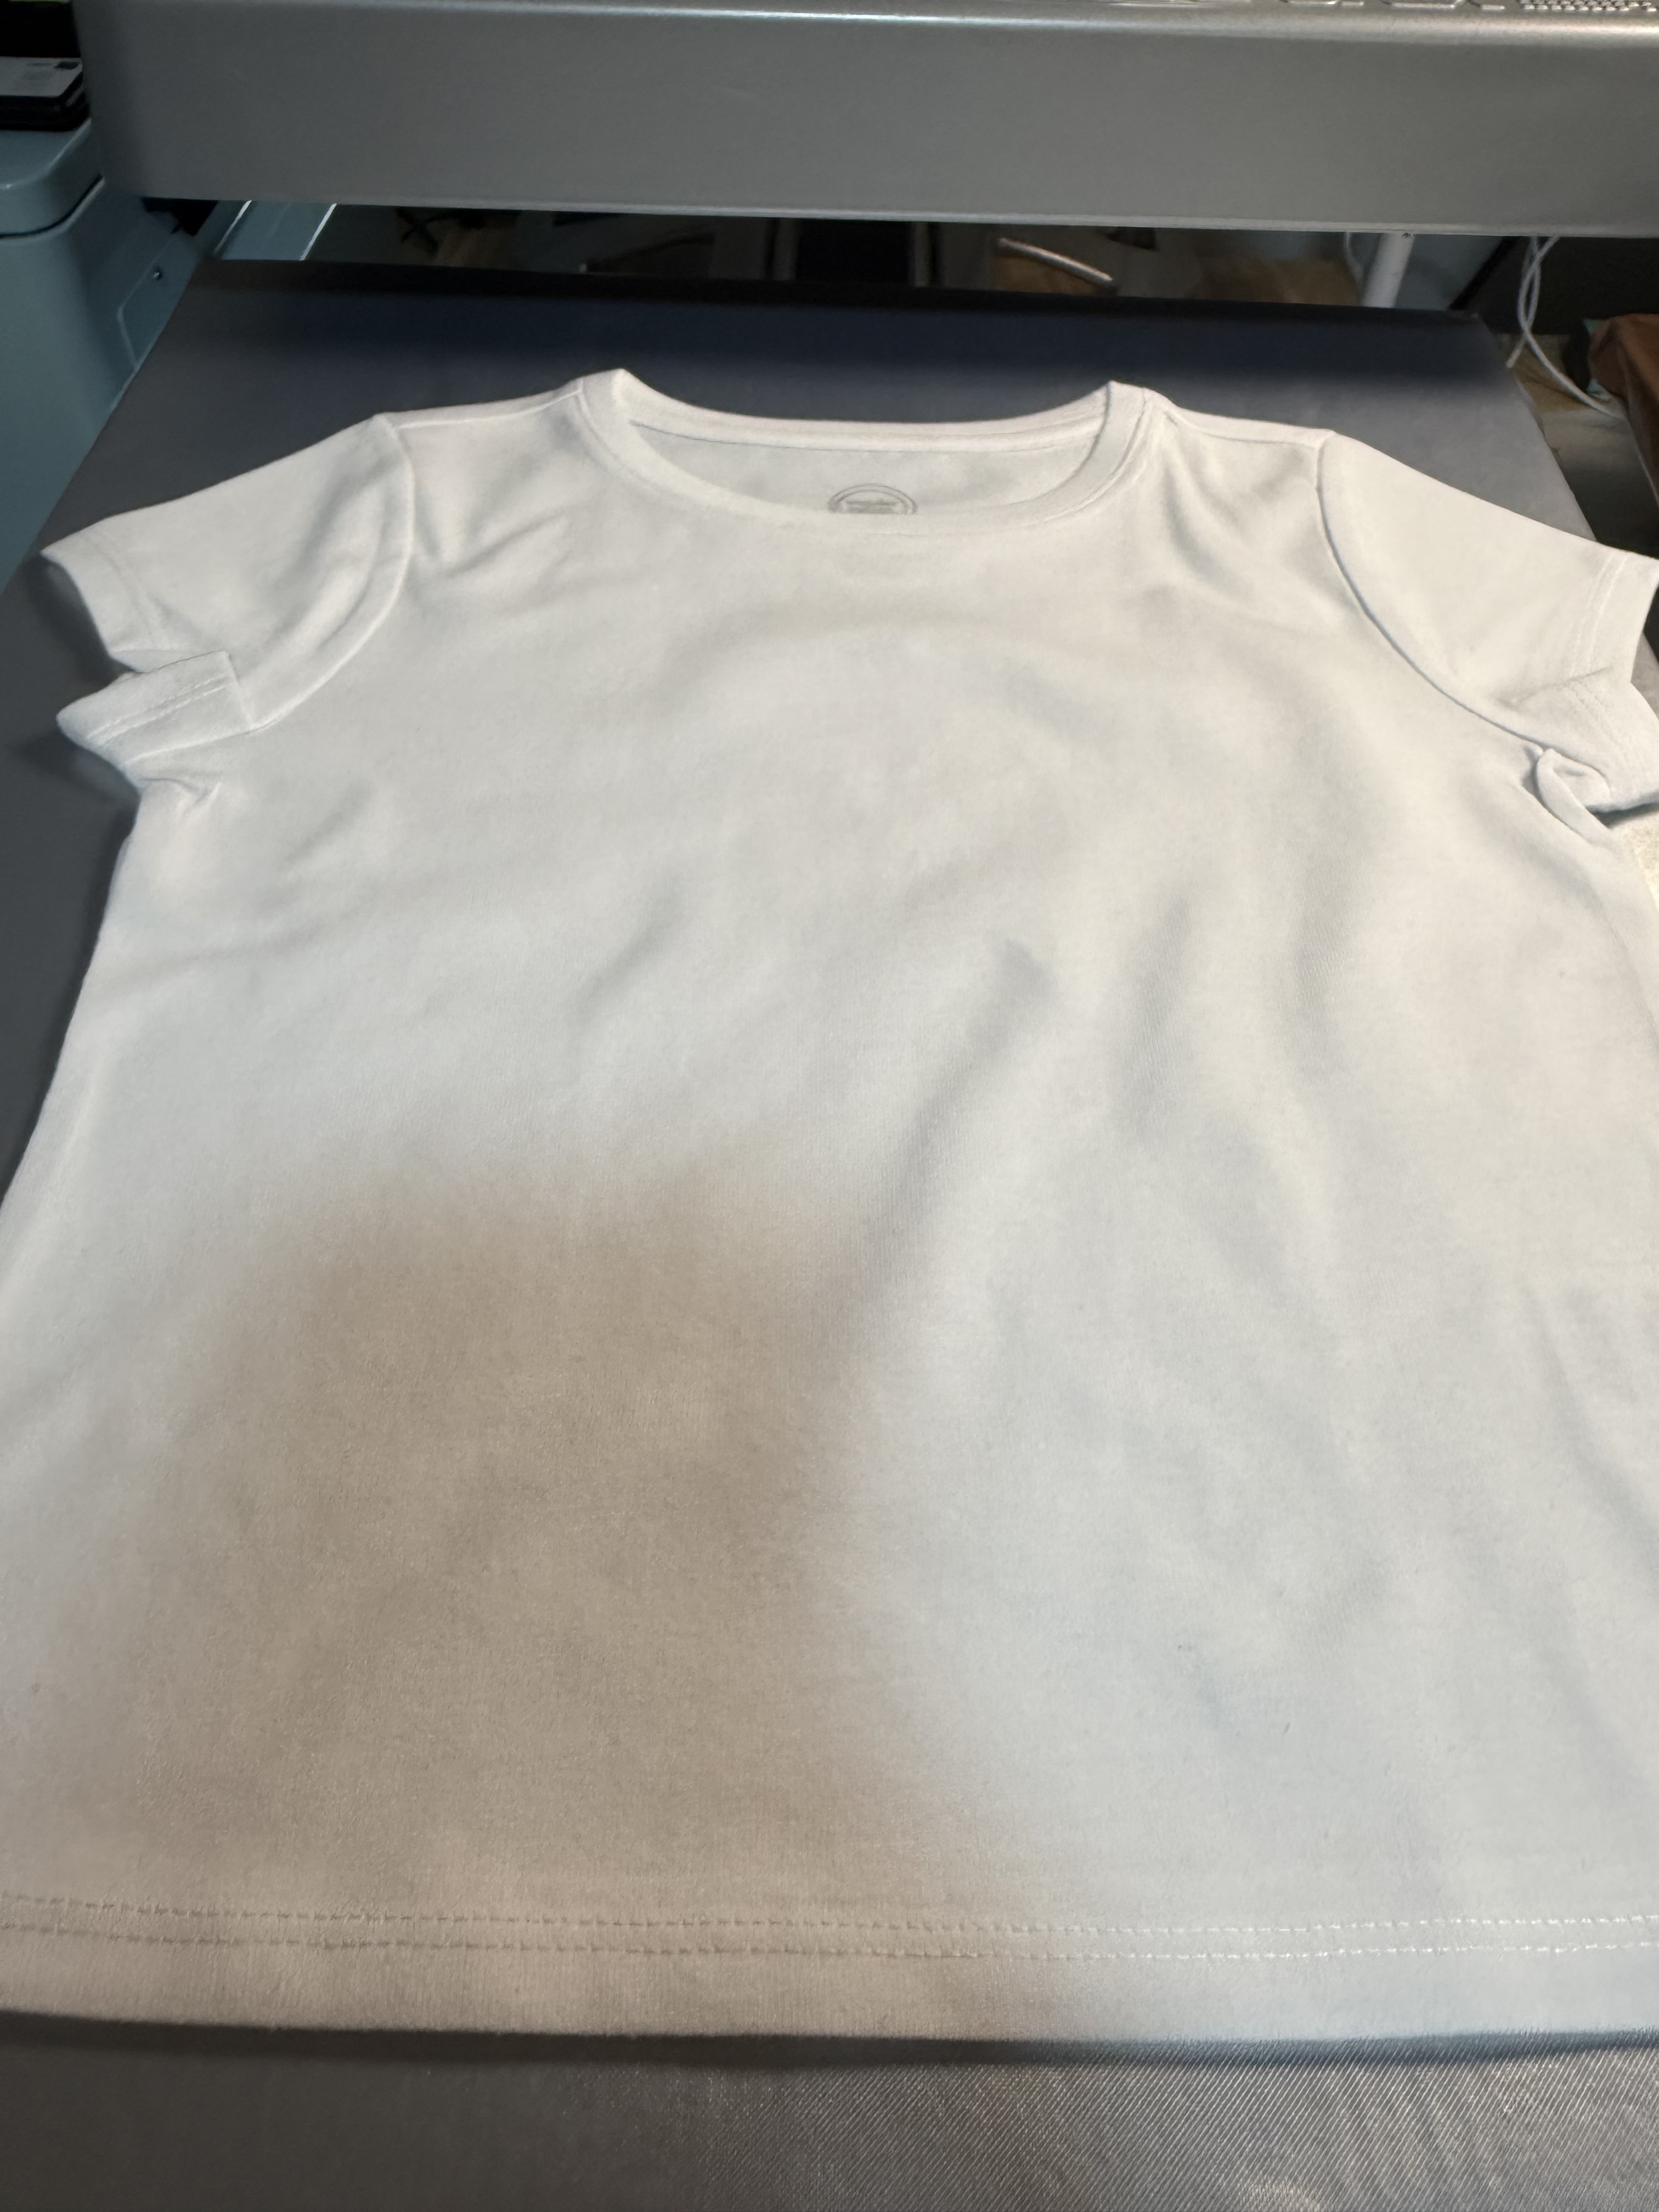
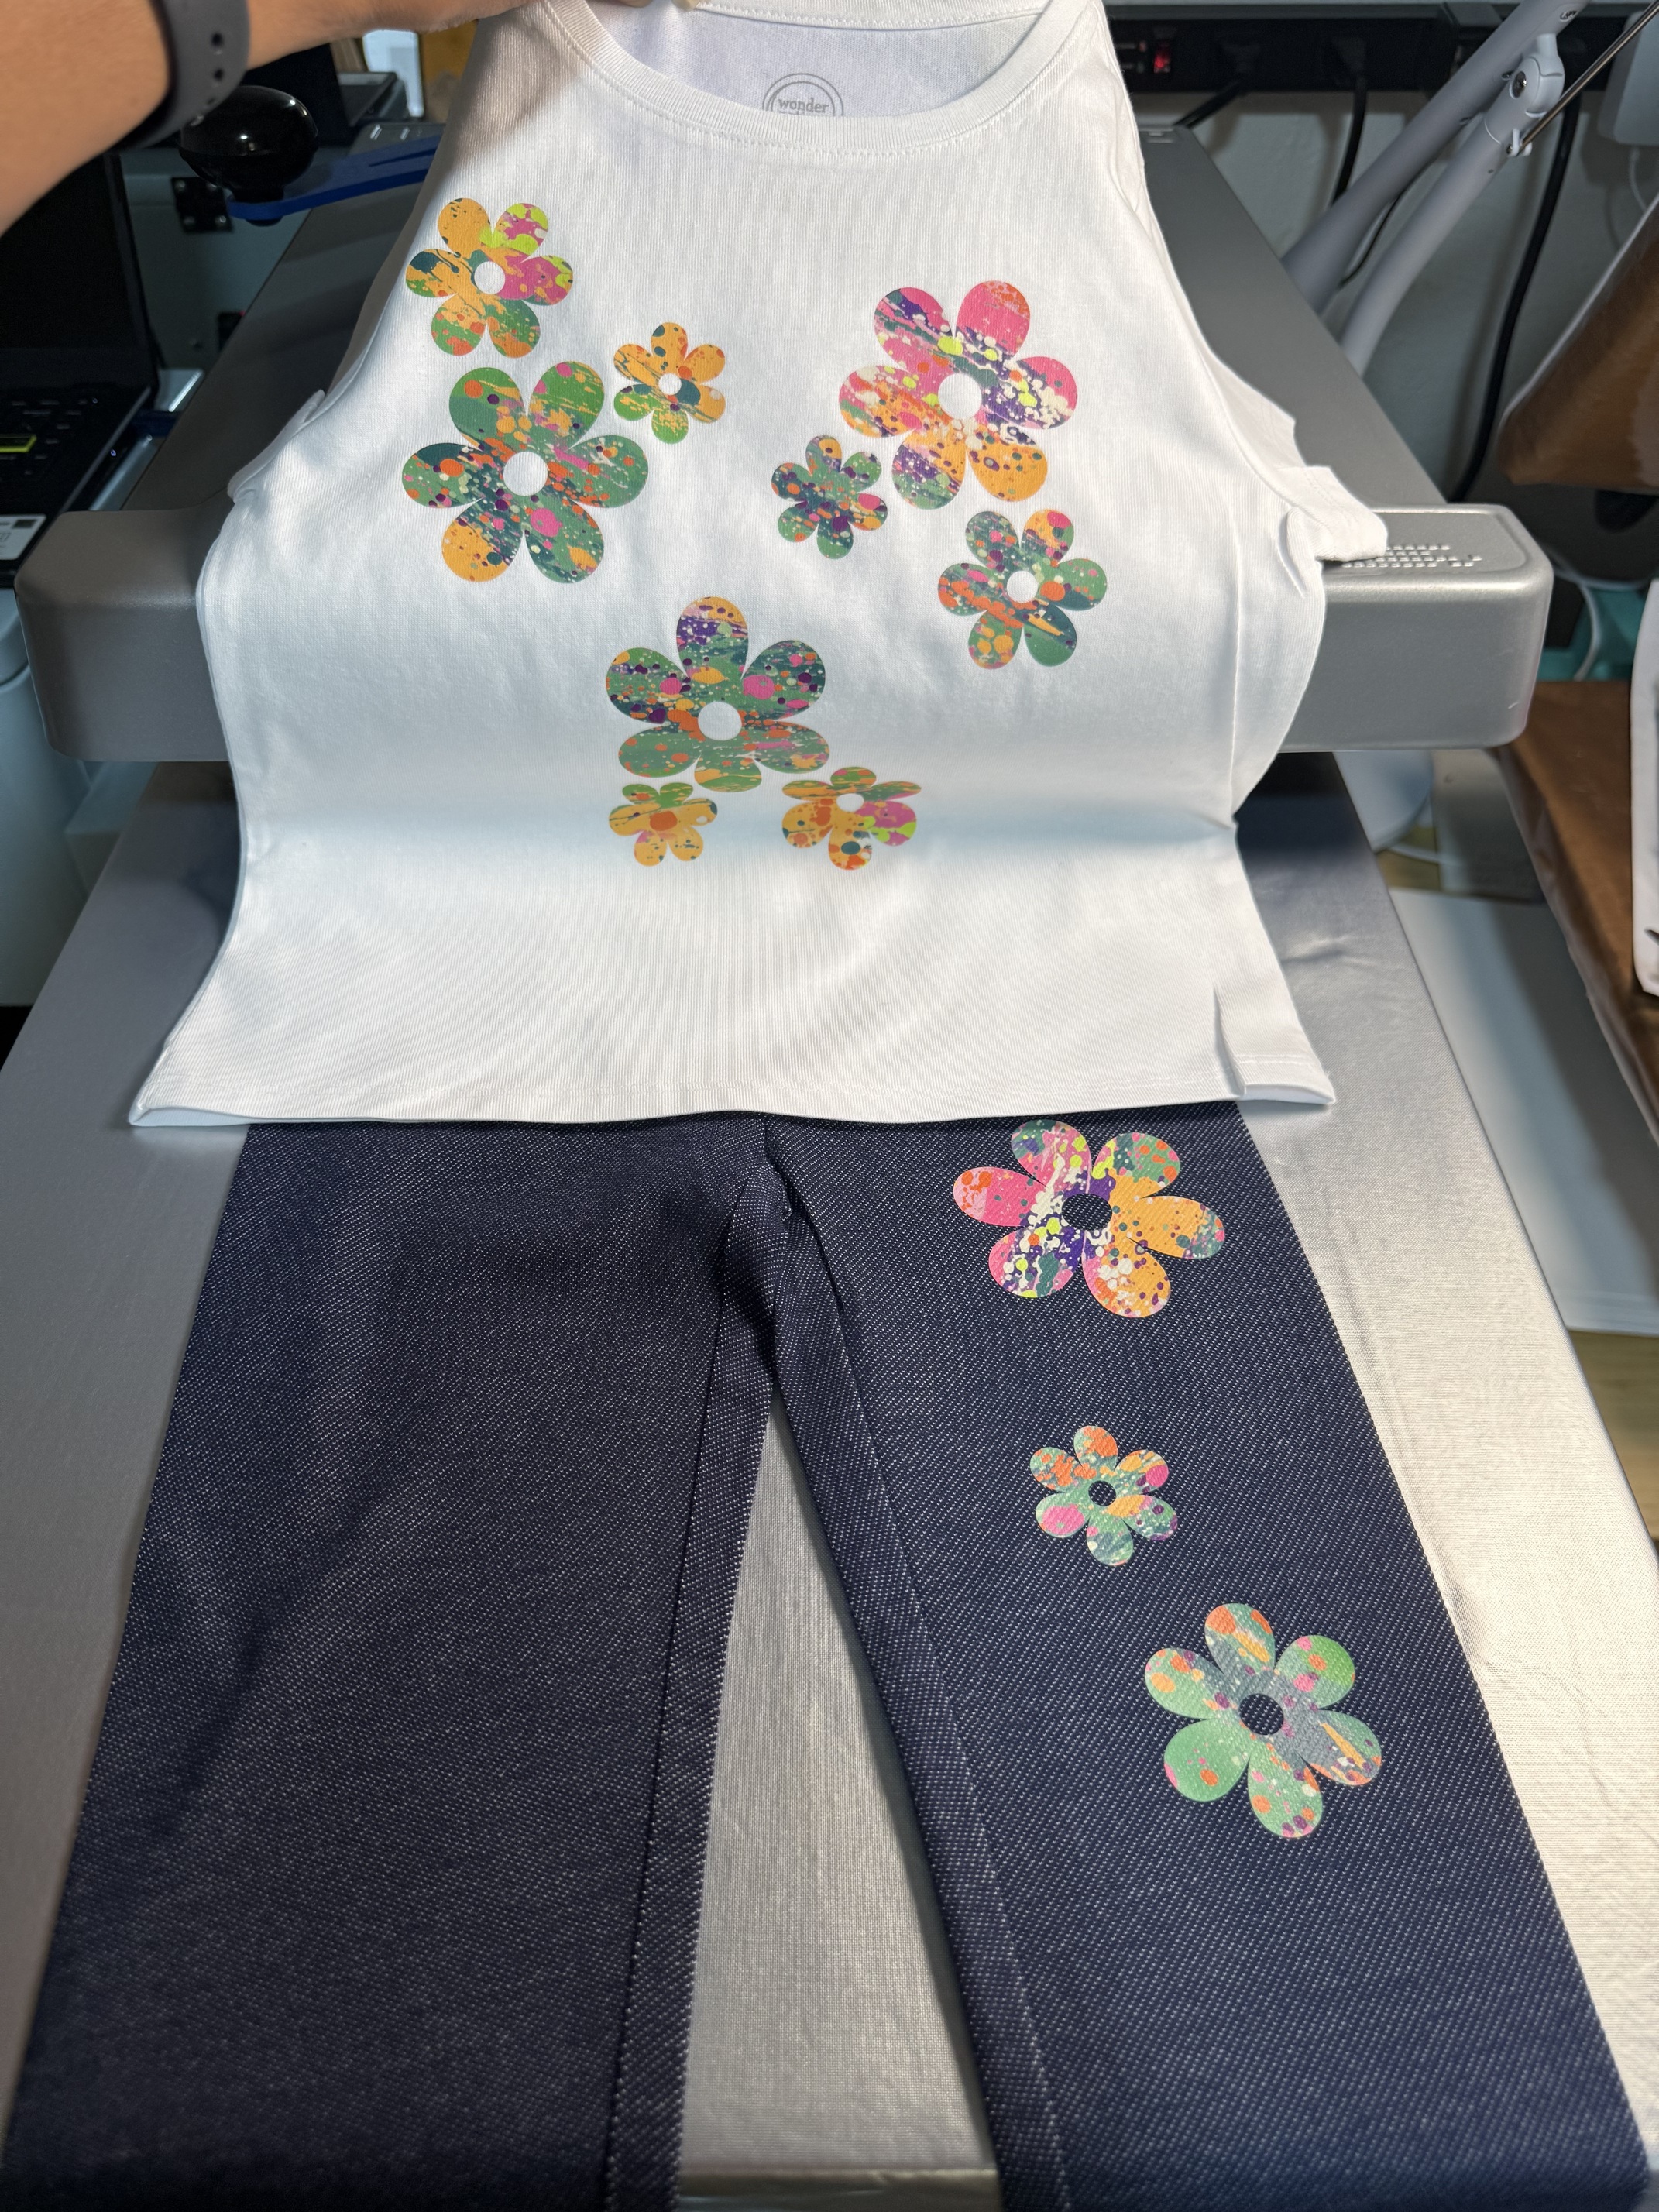
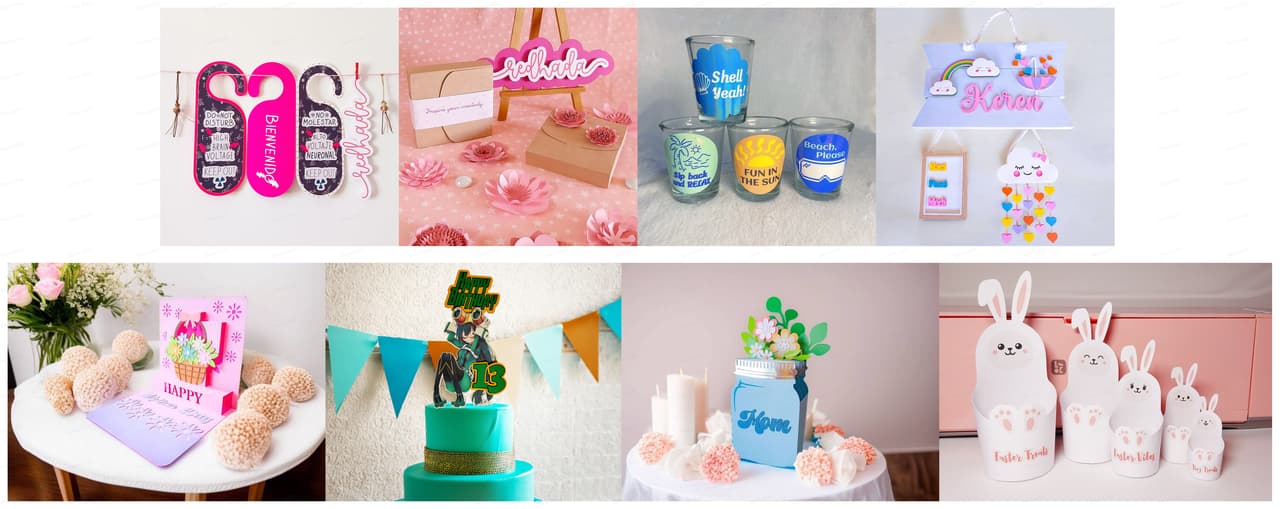
![]() Choose a clean background The simpler the background, the more your project will pop. Stick to white, beige, or light gray backgrounds for a clean look. Want to add a little style? Try props that match your project’s theme, like:
Choose a clean background The simpler the background, the more your project will pop. Stick to white, beige, or light gray backgrounds for a clean look. Want to add a little style? Try props that match your project’s theme, like:
-
Tablecloths, wooden boards, or felt sheets
-
Fabric decorations
-
Craft tools or materials
-
Your LOKLiK or HTVRONT machine in action
This “natural scene” will better showcase the creative atmosphere of your project.
Step 2: Find the Best Way to Shoot
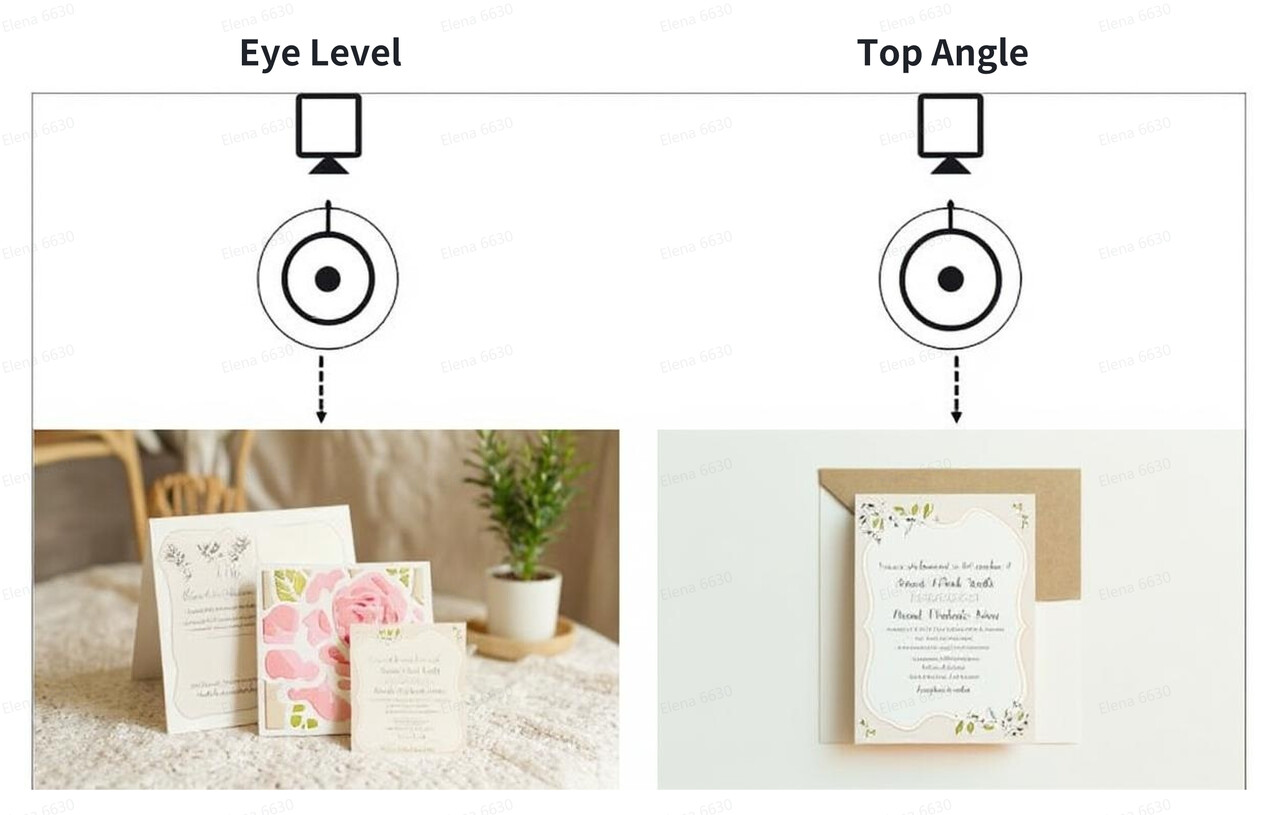
![]() Angles matter
Angles matter
-
Top-down shot: Camera directly above the work (ideal for flat items like cards, coasters, or greeting cards)
-
Straight-on shot: Camera parallel to the work, facing directly (best for 3D items like figurines, storage boxes, etc.)
-
Tip: Try to keep your phone level and avoid tilting it for a more organized, visually appealing shot.
![]() Shoot horizontally
Shoot horizontally
-
Landscape orientation gives you more space and is easier to crop and display
-
Aim for a 1:1 or 3:2 ratio when possible—it fits most platforms perfectly
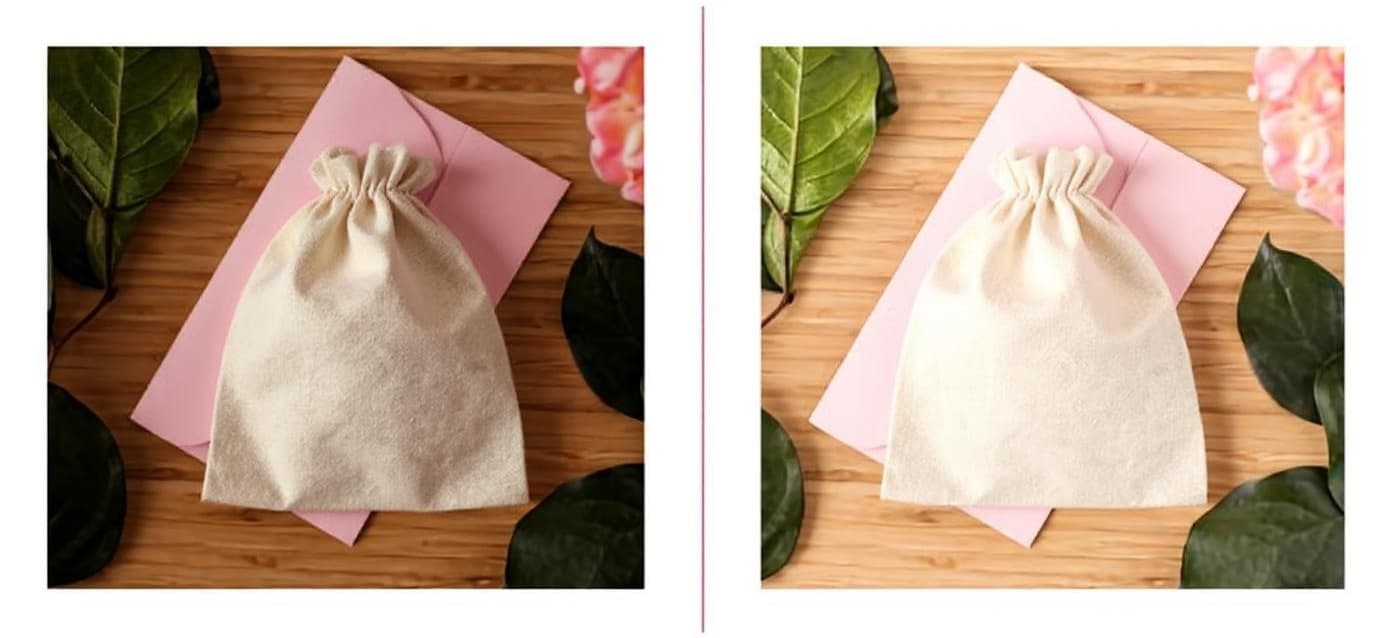
![]() Use natural light Daylight is your best friend. Shoot near a window or in a bright room during the day. If the light is too harsh or creates shadows, soften it with a sheer curtain, gauze, or white paper for a more natural effect.
Use natural light Daylight is your best friend. Shoot near a window or in a bright room during the day. If the light is too harsh or creates shadows, soften it with a sheer curtain, gauze, or white paper for a more natural effect.
After taking the photo, double-check:
-
Is it clear?

-
Are the colors true to life?
-
Is the background clean?
Step 3: Edit Lightly to Make It Shine
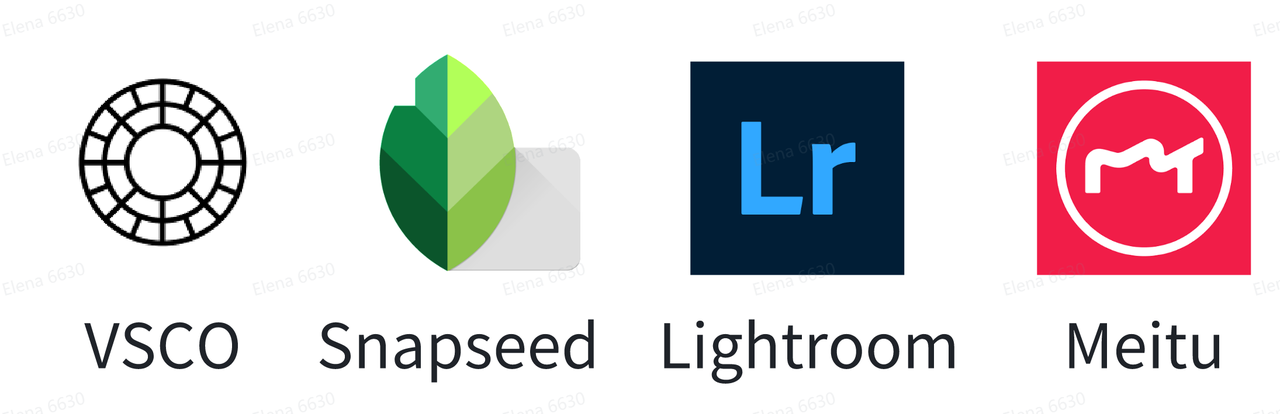
You don’t need to over-edit—just a little tweak can go a long way. Use your phone’s built-in editor or try these free apps:
-
Snapseed (easy to use with lots of tools)
-
Lightroom (for pro-level color control)
-
VSCO (great filters and presets)
-
Meitu (simple and beginner-friendly)
![]() Recommended edits:
Recommended edits:
Contrast ↑: Enhance the details

Saturation ↑: Make the colors pop
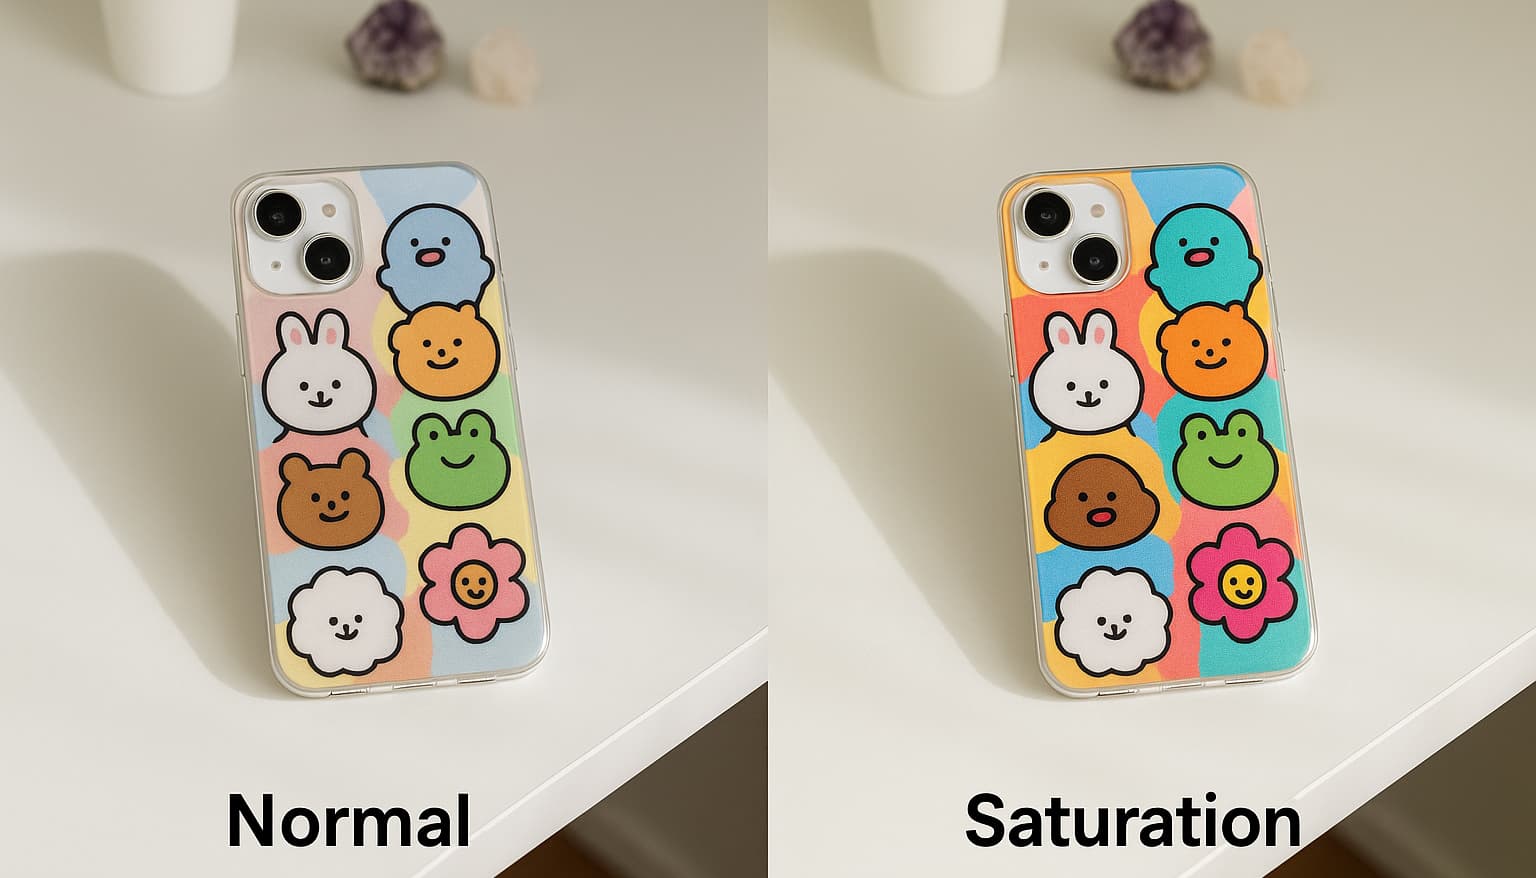
Shadows ↓: Lighten dark areas for a cleaner, brighter image
Step 4: Create Collages the Smart Way
Want to showcase multiple angles or details? Go for a collage! Just remember:
-
Use apps like Pic Jointer to create clean layouts
-
Avoid using collages as your cover photo—it can look cluttered
-
Cover photo tips:
-
Square format (1:1) works best
-
For landscape images: crop the center portion
-
For portrait images: crop to center and highlight the main subject
-
Step 5: Upload Your Project!
-
Use IdeaStudio on your computer, or
-
Open the LOKLiK App on your phone to upload your photos and project details
Add a short description so others can understand your creative process and inspiration!
![]() Final tip: You don’t need professional equipment to take great photos—just a phone or common camera, natural light, and a clean background can make your project shine!
Final tip: You don’t need professional equipment to take great photos—just a phone or common camera, natural light, and a clean background can make your project shine!
![]() Important Reminder: Keep it real! We love seeing your actual handmade work. While editing is fine, please only share photos of real projects you’ve made—not mockups, AI renders, or digital composites. Let’s keep the community authentic and inspiring for everyone.
Important Reminder: Keep it real! We love seeing your actual handmade work. While editing is fine, please only share photos of real projects you’ve made—not mockups, AI renders, or digital composites. Let’s keep the community authentic and inspiring for everyone.
Related article:
A Beginner’s Guide | Getting Started with"Project Sharing"